
V1.3 Rubik Cube Like Puzzle Tile Style 3x3x3

Print Profile(2)


Description
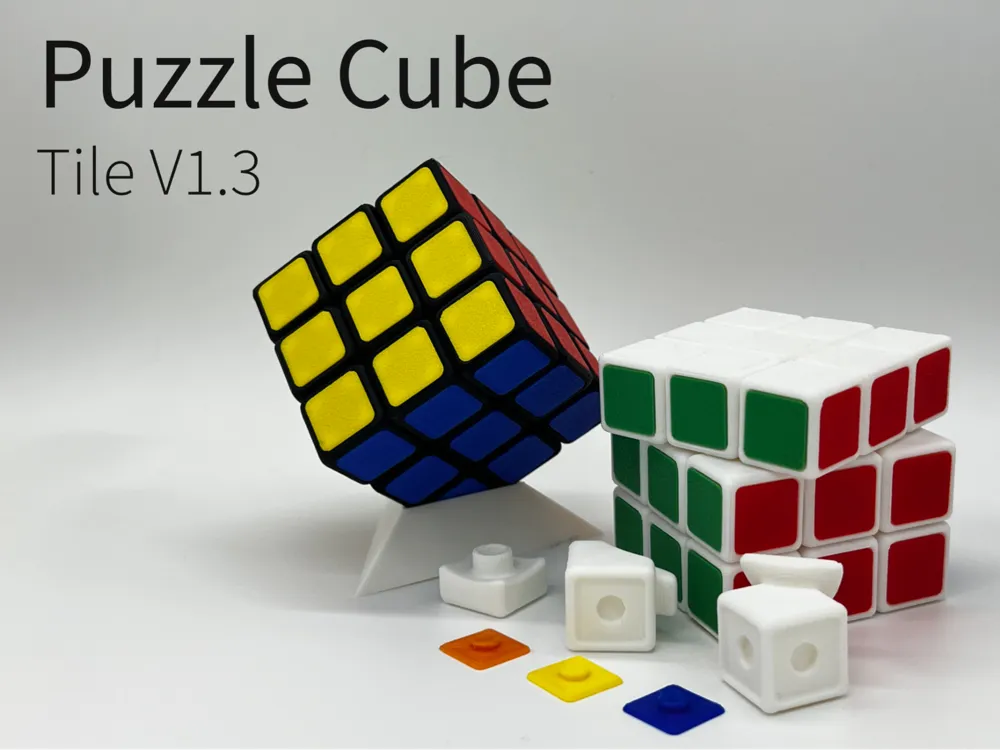
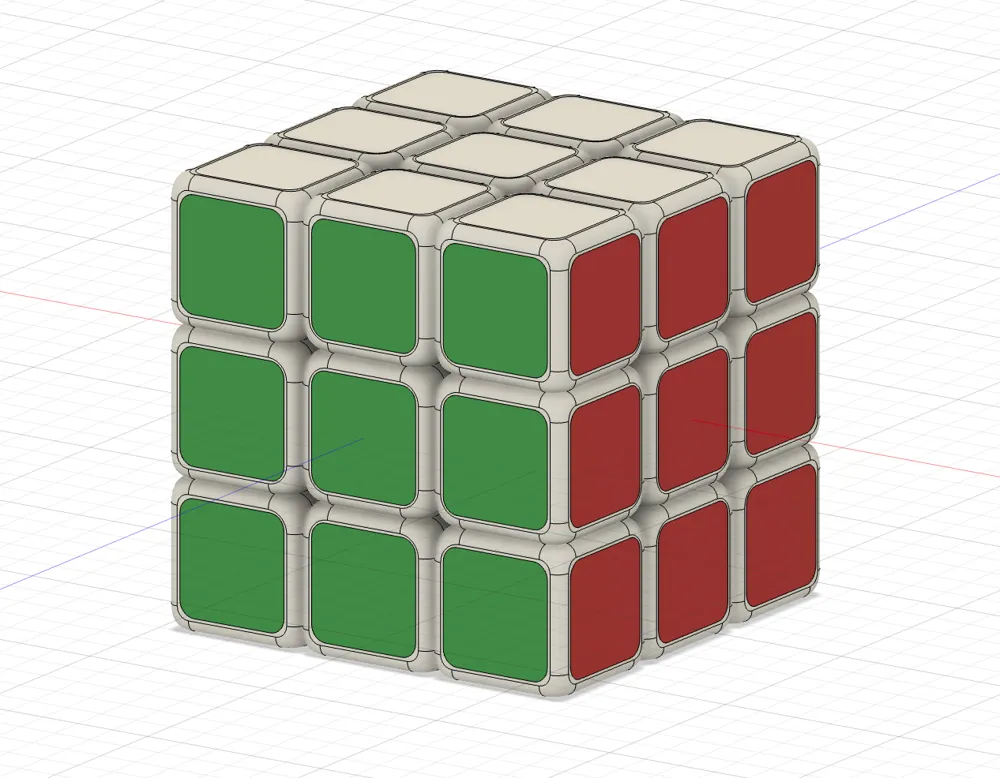
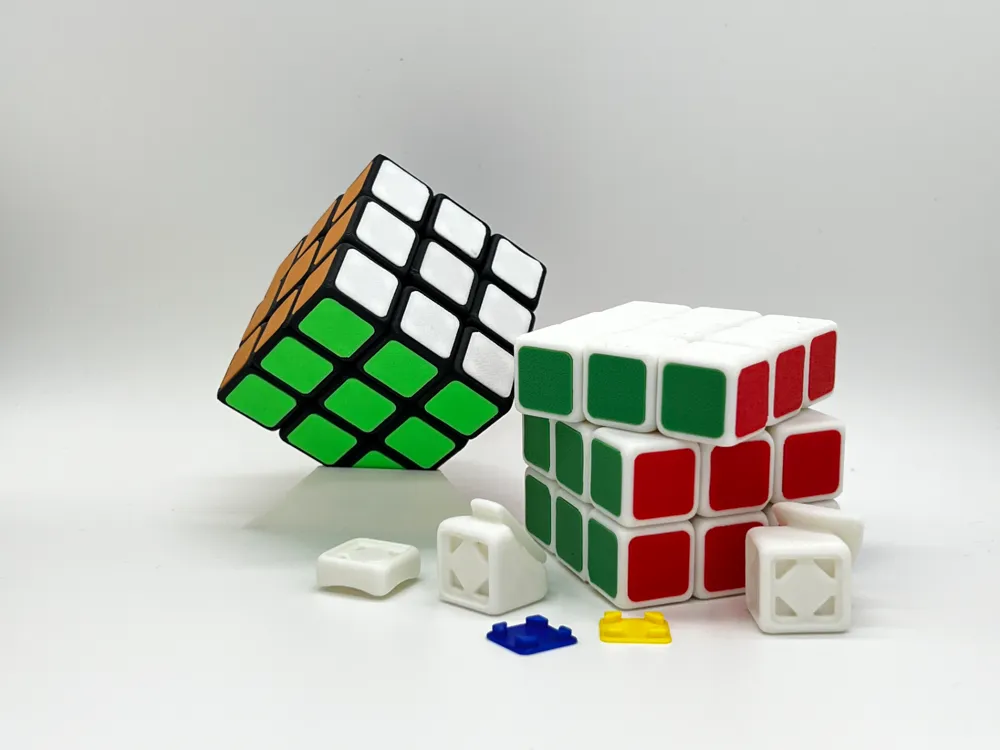
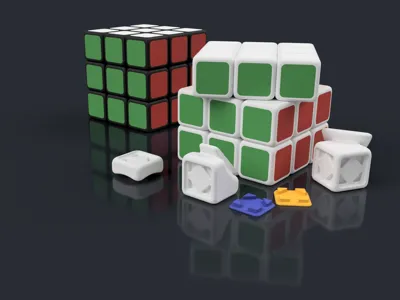
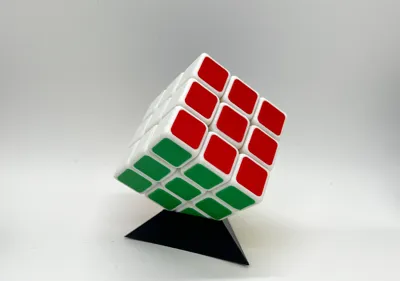
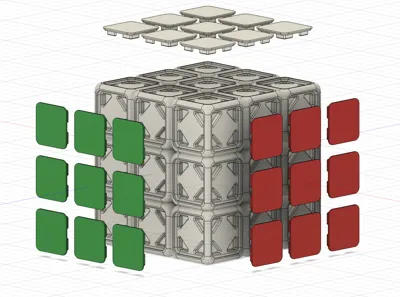
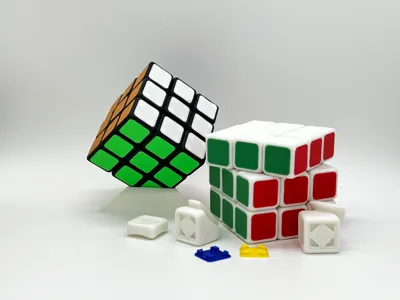
Experience the timeless challenge of the Rubik-style 3x3x3 Cube Puzzle with a modern 3D-printed twist! This edition features color-tiled pieces, offering a durable and vibrant alternative to traditional stickered designs. Fully 3D-printed and screwless, it’s easy to assemble and built to last—perfect for both puzzle-solving and display.
Boost Me (for free)
Love this tiled design? Click “Boost” to support me! Your support helps inspire more colorful and creative 3D-printing projects!
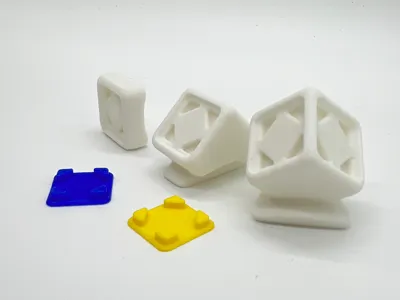
Disclaimer: This model contains small pieces like color tile pieces. Applying glue is high recommended if you have kids/pets in your home to avoid kids/pets accidentally eating those tile pieces.
V1.3 Updated January 12 2025:
- Size Adjustment
- New tile design makes it easier to install
- Some parts are compatible with other V1.3 Cubes.
Features:
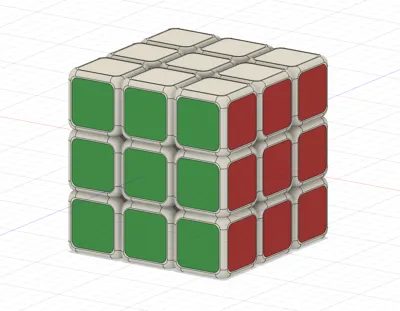
- Color-Tiled Design:
- Fully 3D-Printed Construction: No screws, springs, or extra hardware required—just print and play.
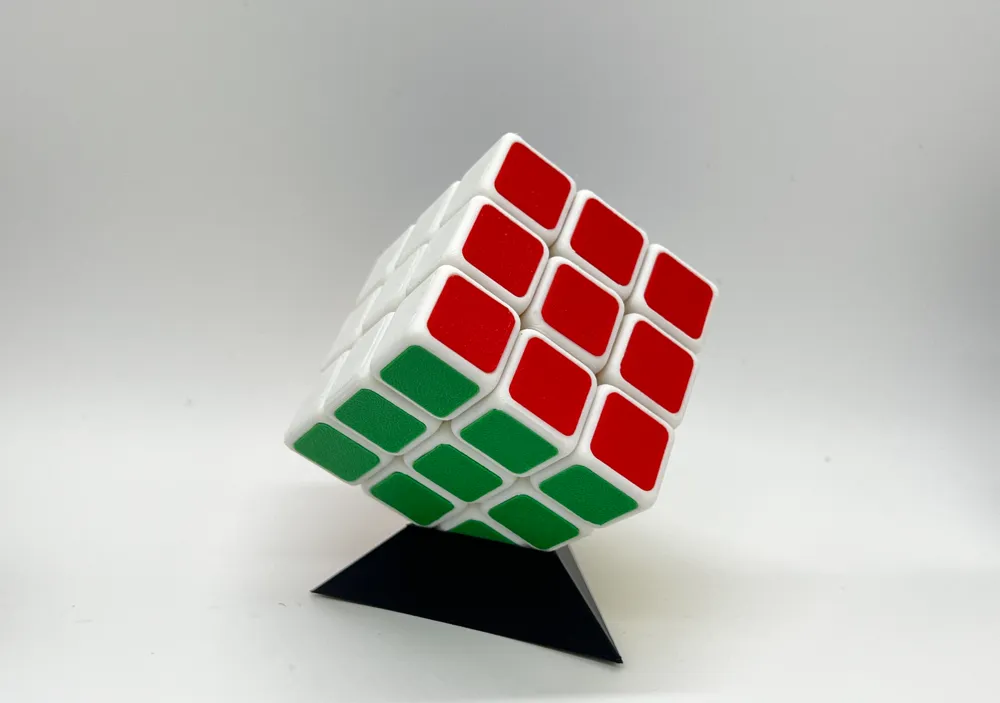
- Customizable Colors: Print the tiles in 6 different colors to match the classic Rubik’s Cube layout—or create your own unique color scheme.
- Durable and Scratch-Resistant: Designed for frequent handling without the risk of peeling or fading.
- Tool-Free Design: Pieces snap together easily, ensuring a smooth and secure build.
Check out more Rubik Cube Style Puzzle designs:
Classic 3x3x3 (So-called Rubik's Cube)
Series 3x3x3 Variations:
Series 3x3xN:
Series NxNxN:
Others:
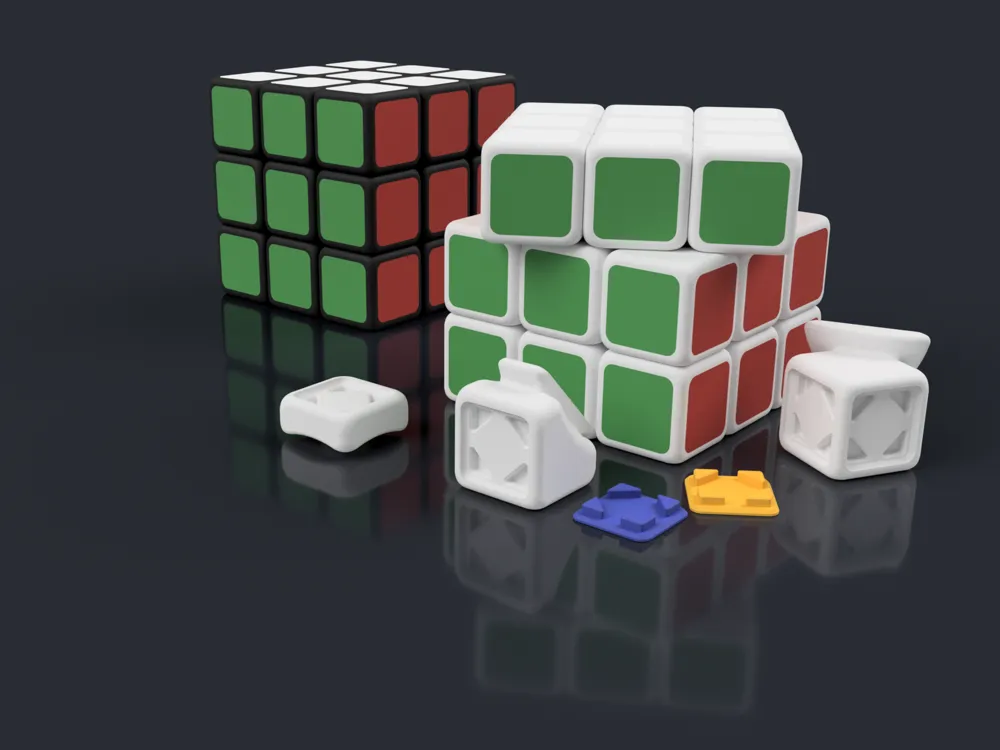
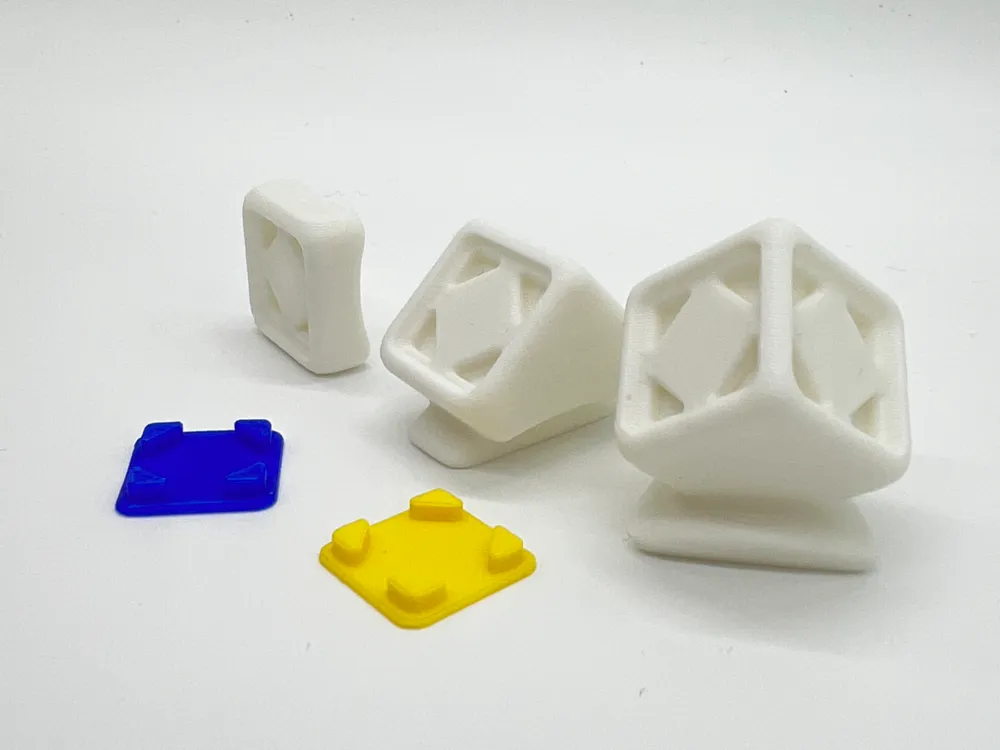
Part List:
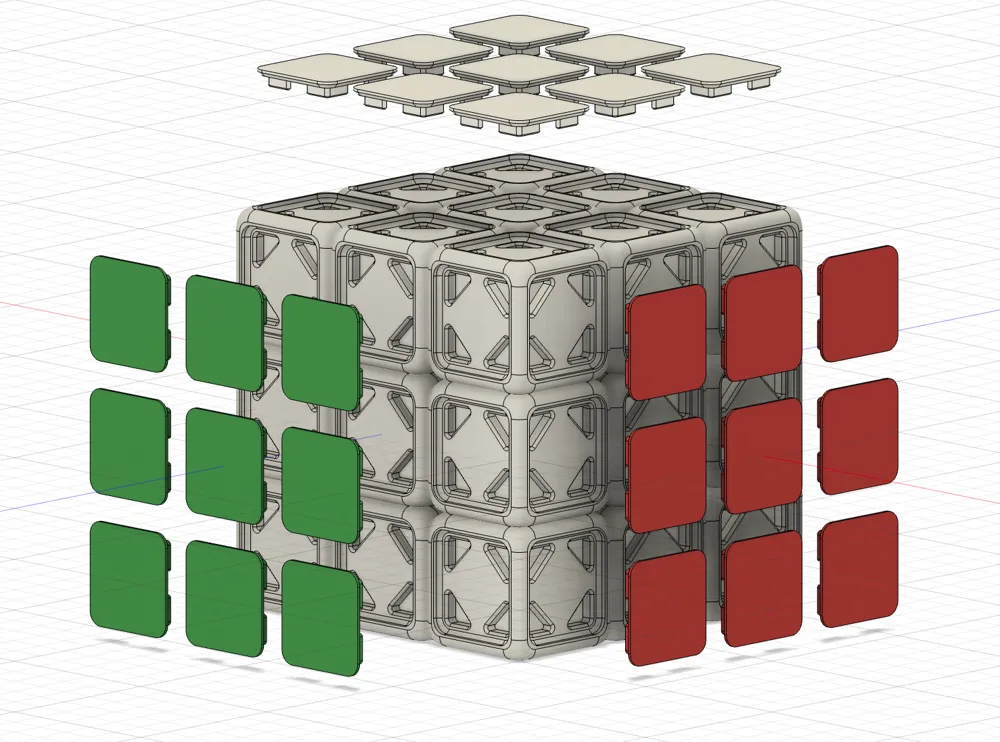
- Plate 1 (Print once, with any color)
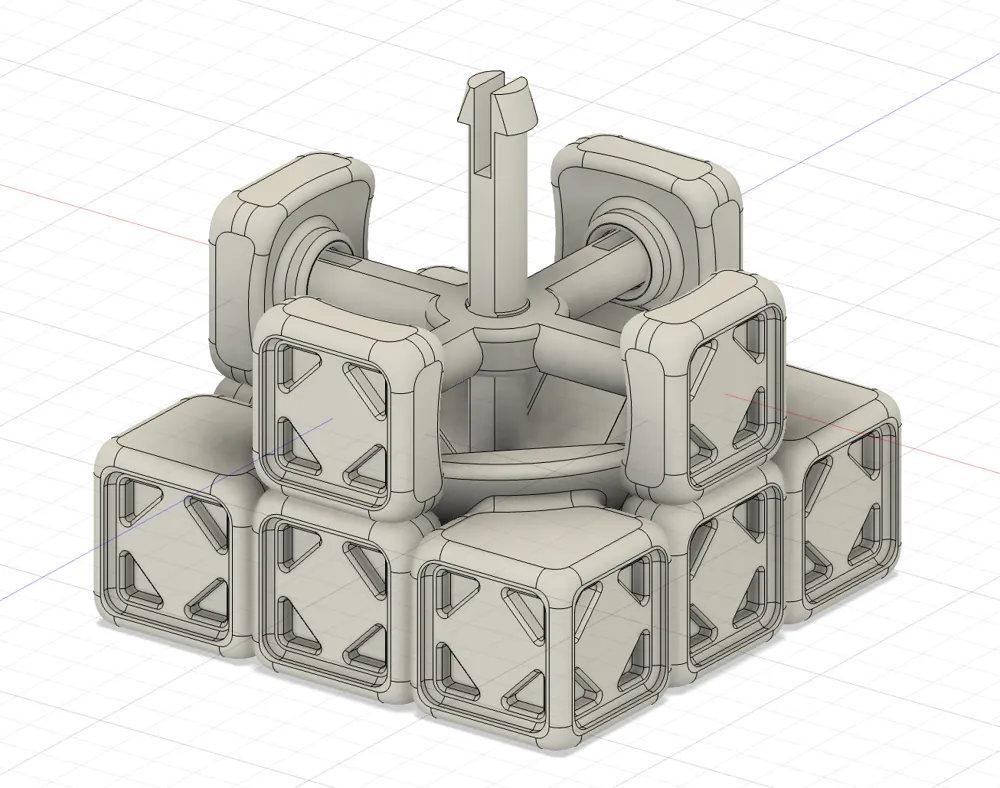
- Axis Cross and Axis Stick
- 6 Center Pieces
- 8 Corner Pieces
- 12 Edge Pieces
- Plate 2 (Print 6 times, with 6 different colors)
- 9 Color Tile
Assembly Instructions:
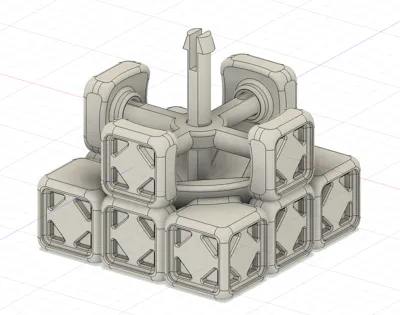
Insert the axis stick into the center ring of axis cross. Try to place the ring at center of the stick.
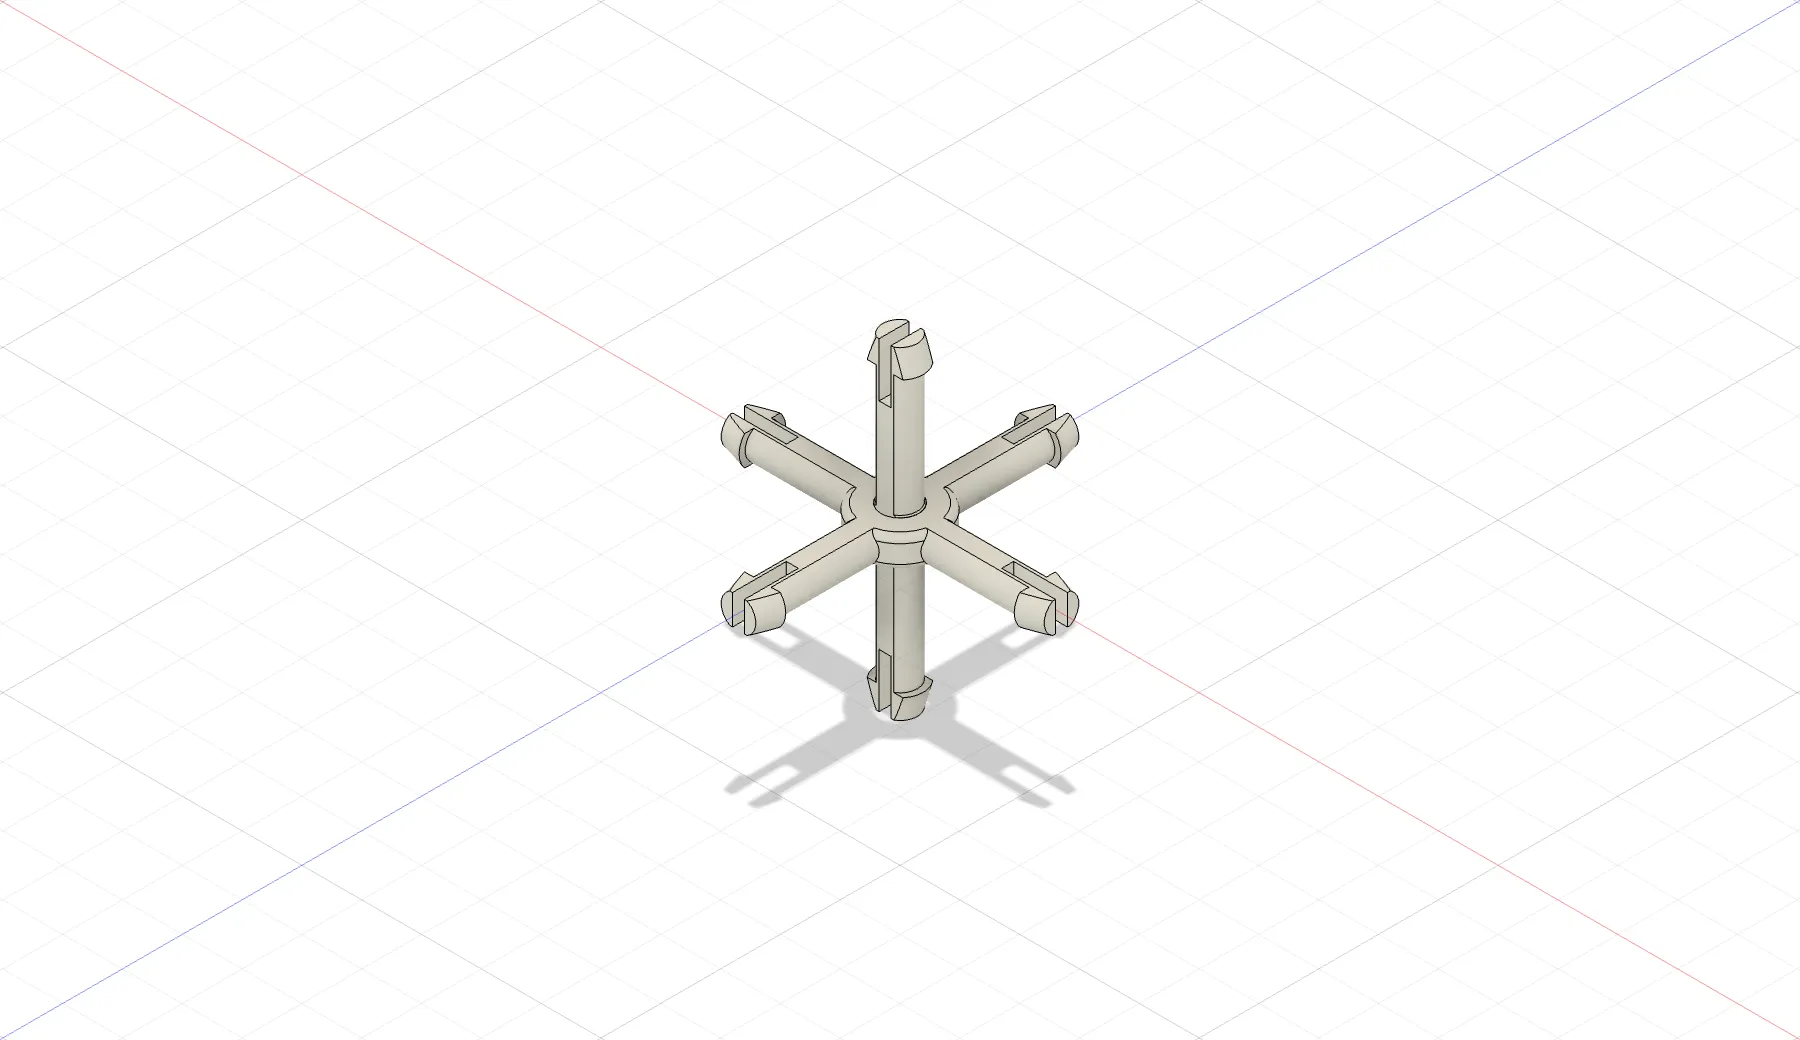
Clip 5 center pieces onto the ends of the axis.
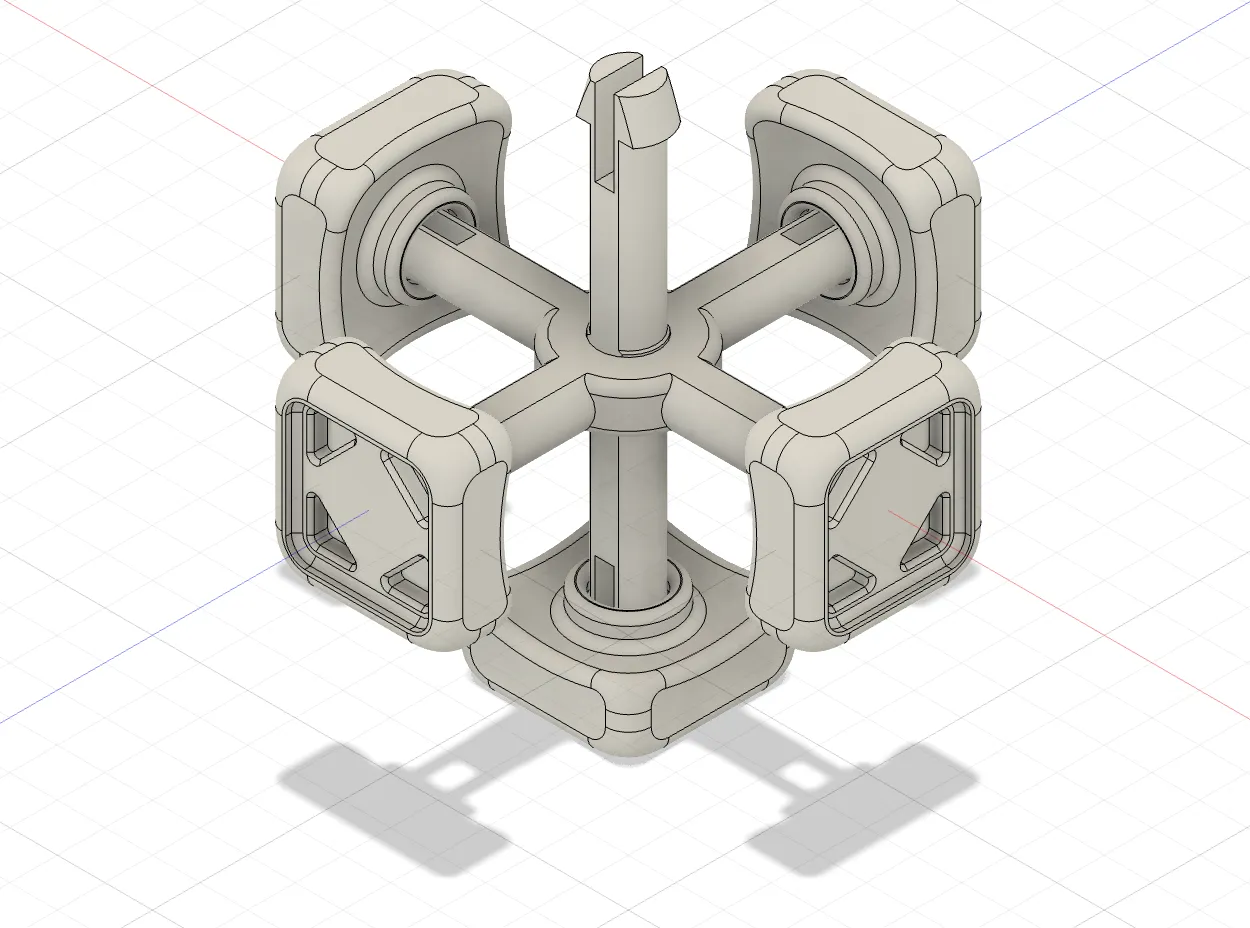
Slide 4 edge pieces between the center pieces of bottom layer and middle layer.
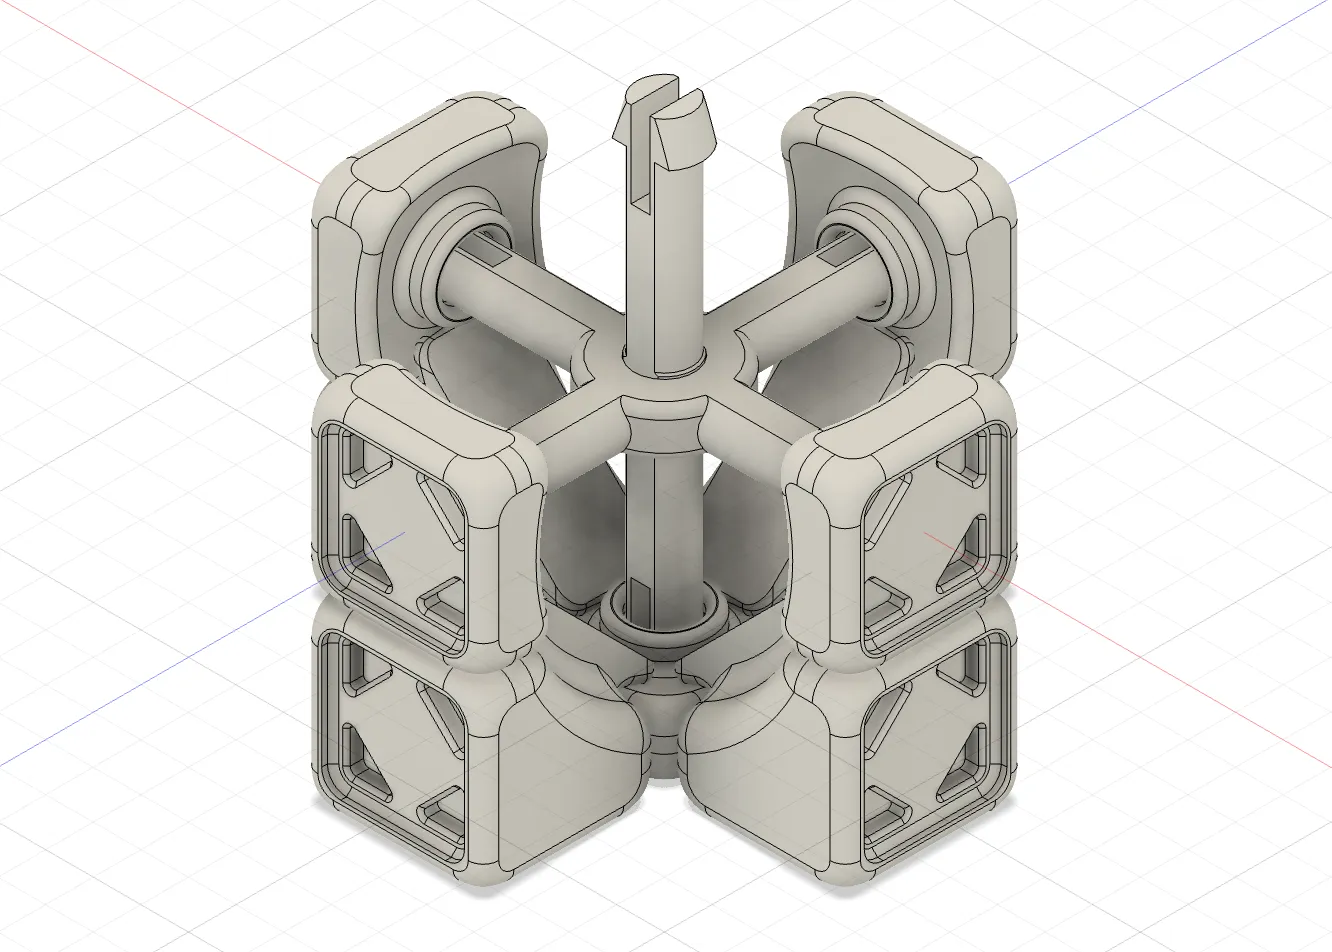
Place 4 corner pieces to the bottom layer, between edge pieces.
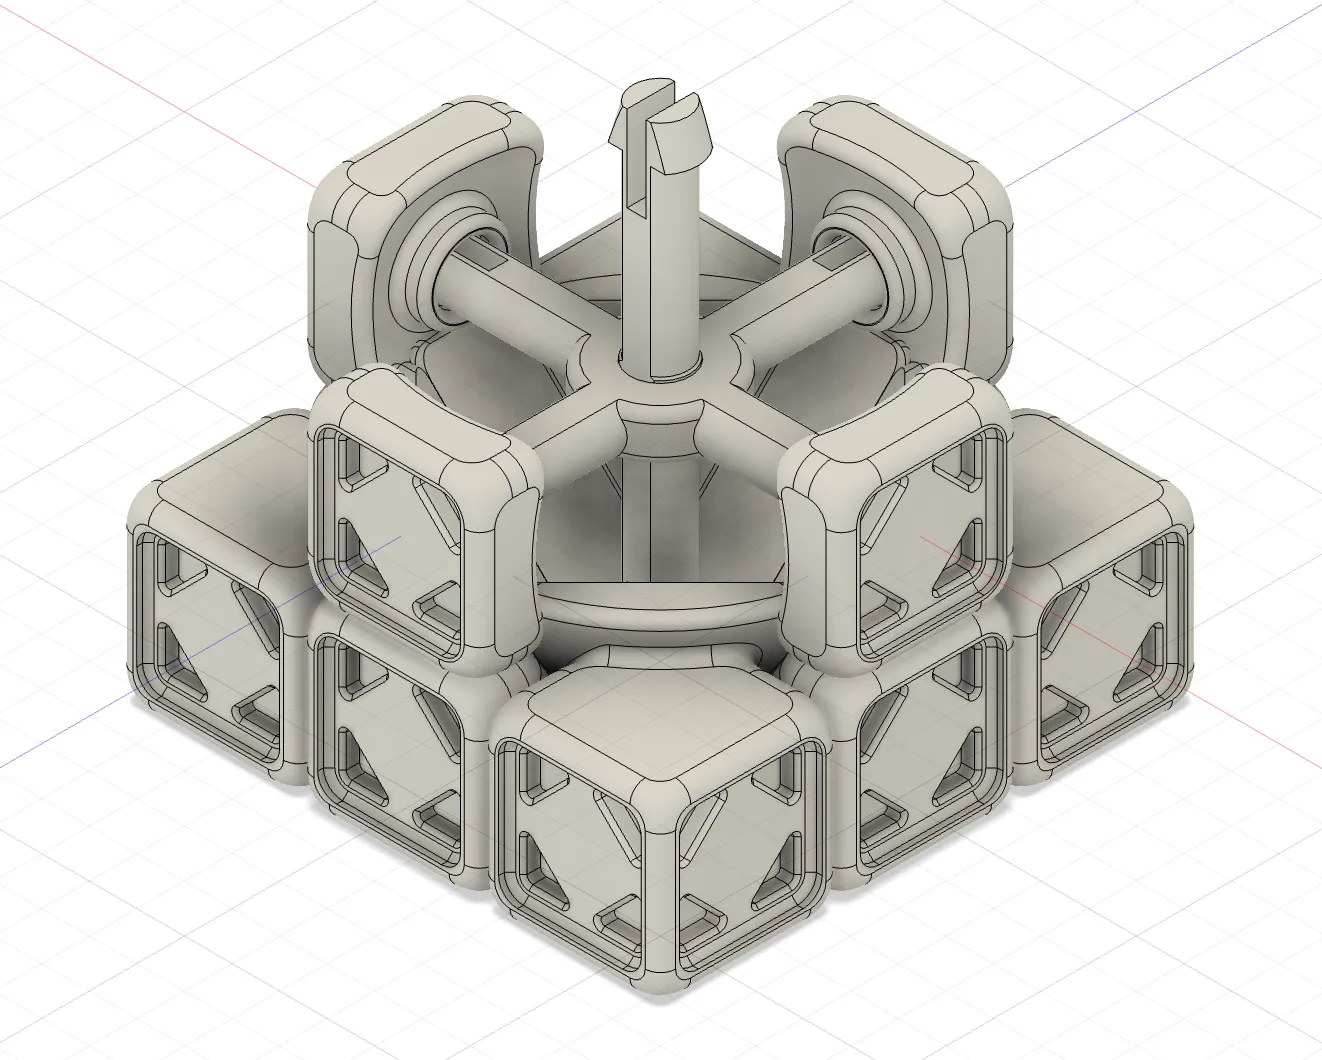
Slide 4 edge pieces between the center pieces in the middle layer.
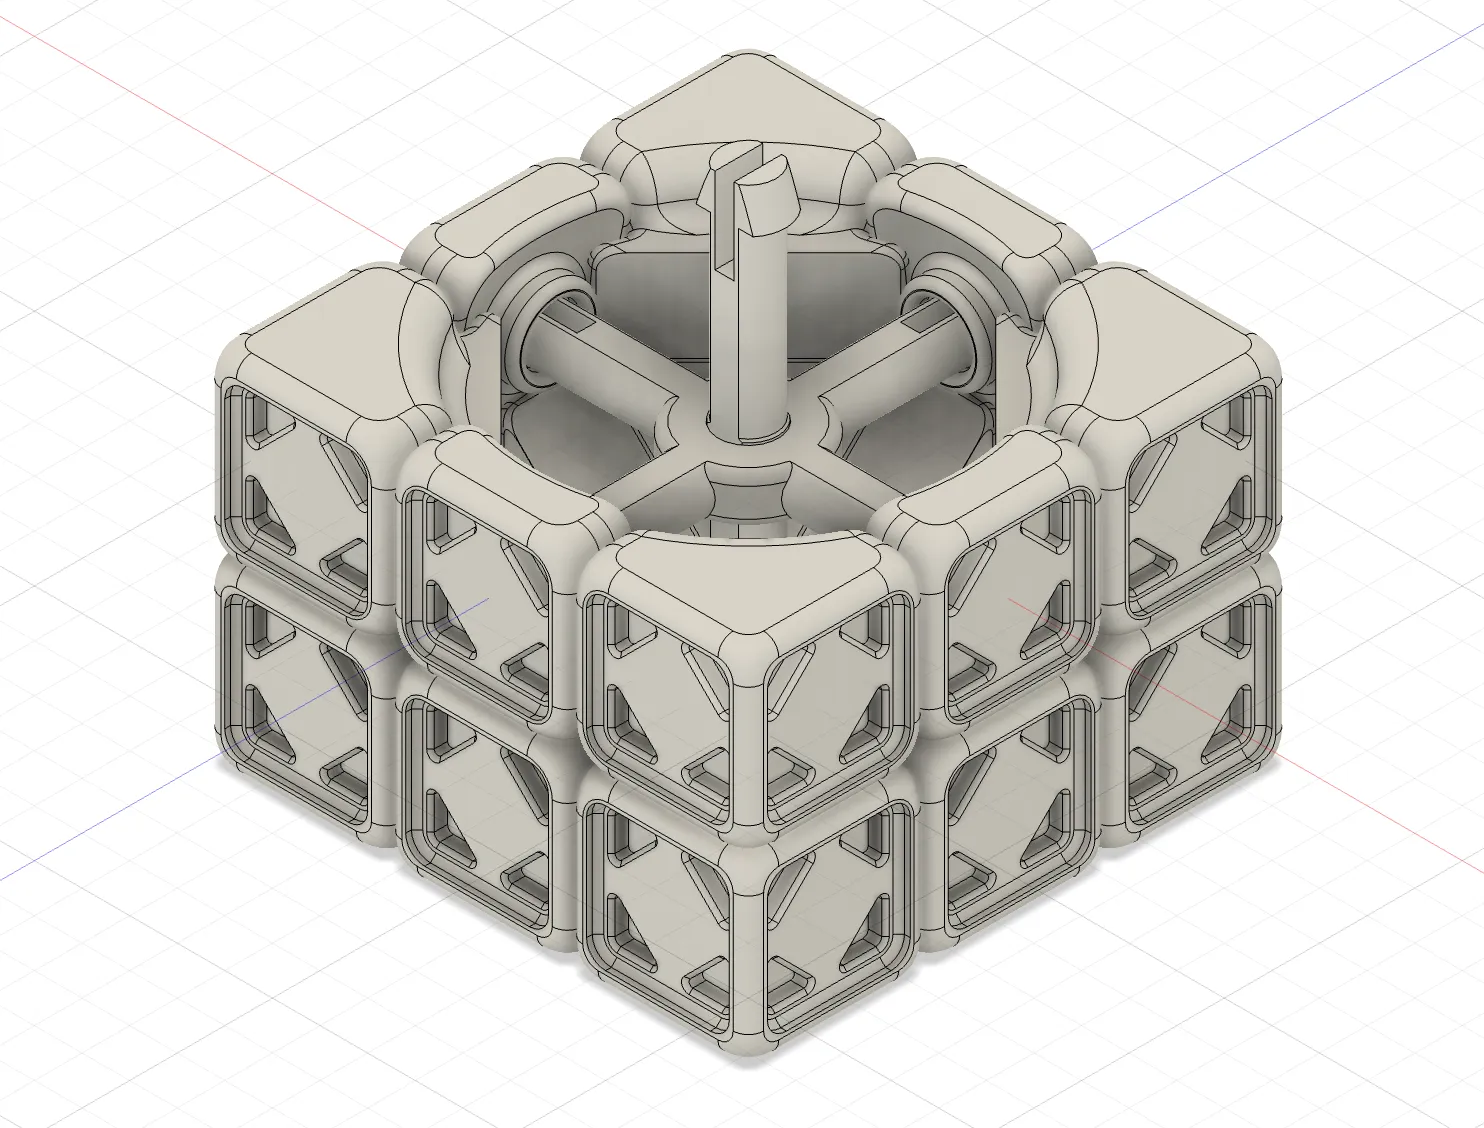
Place 4 corner pieces and 4 edge pieces to the top layer.
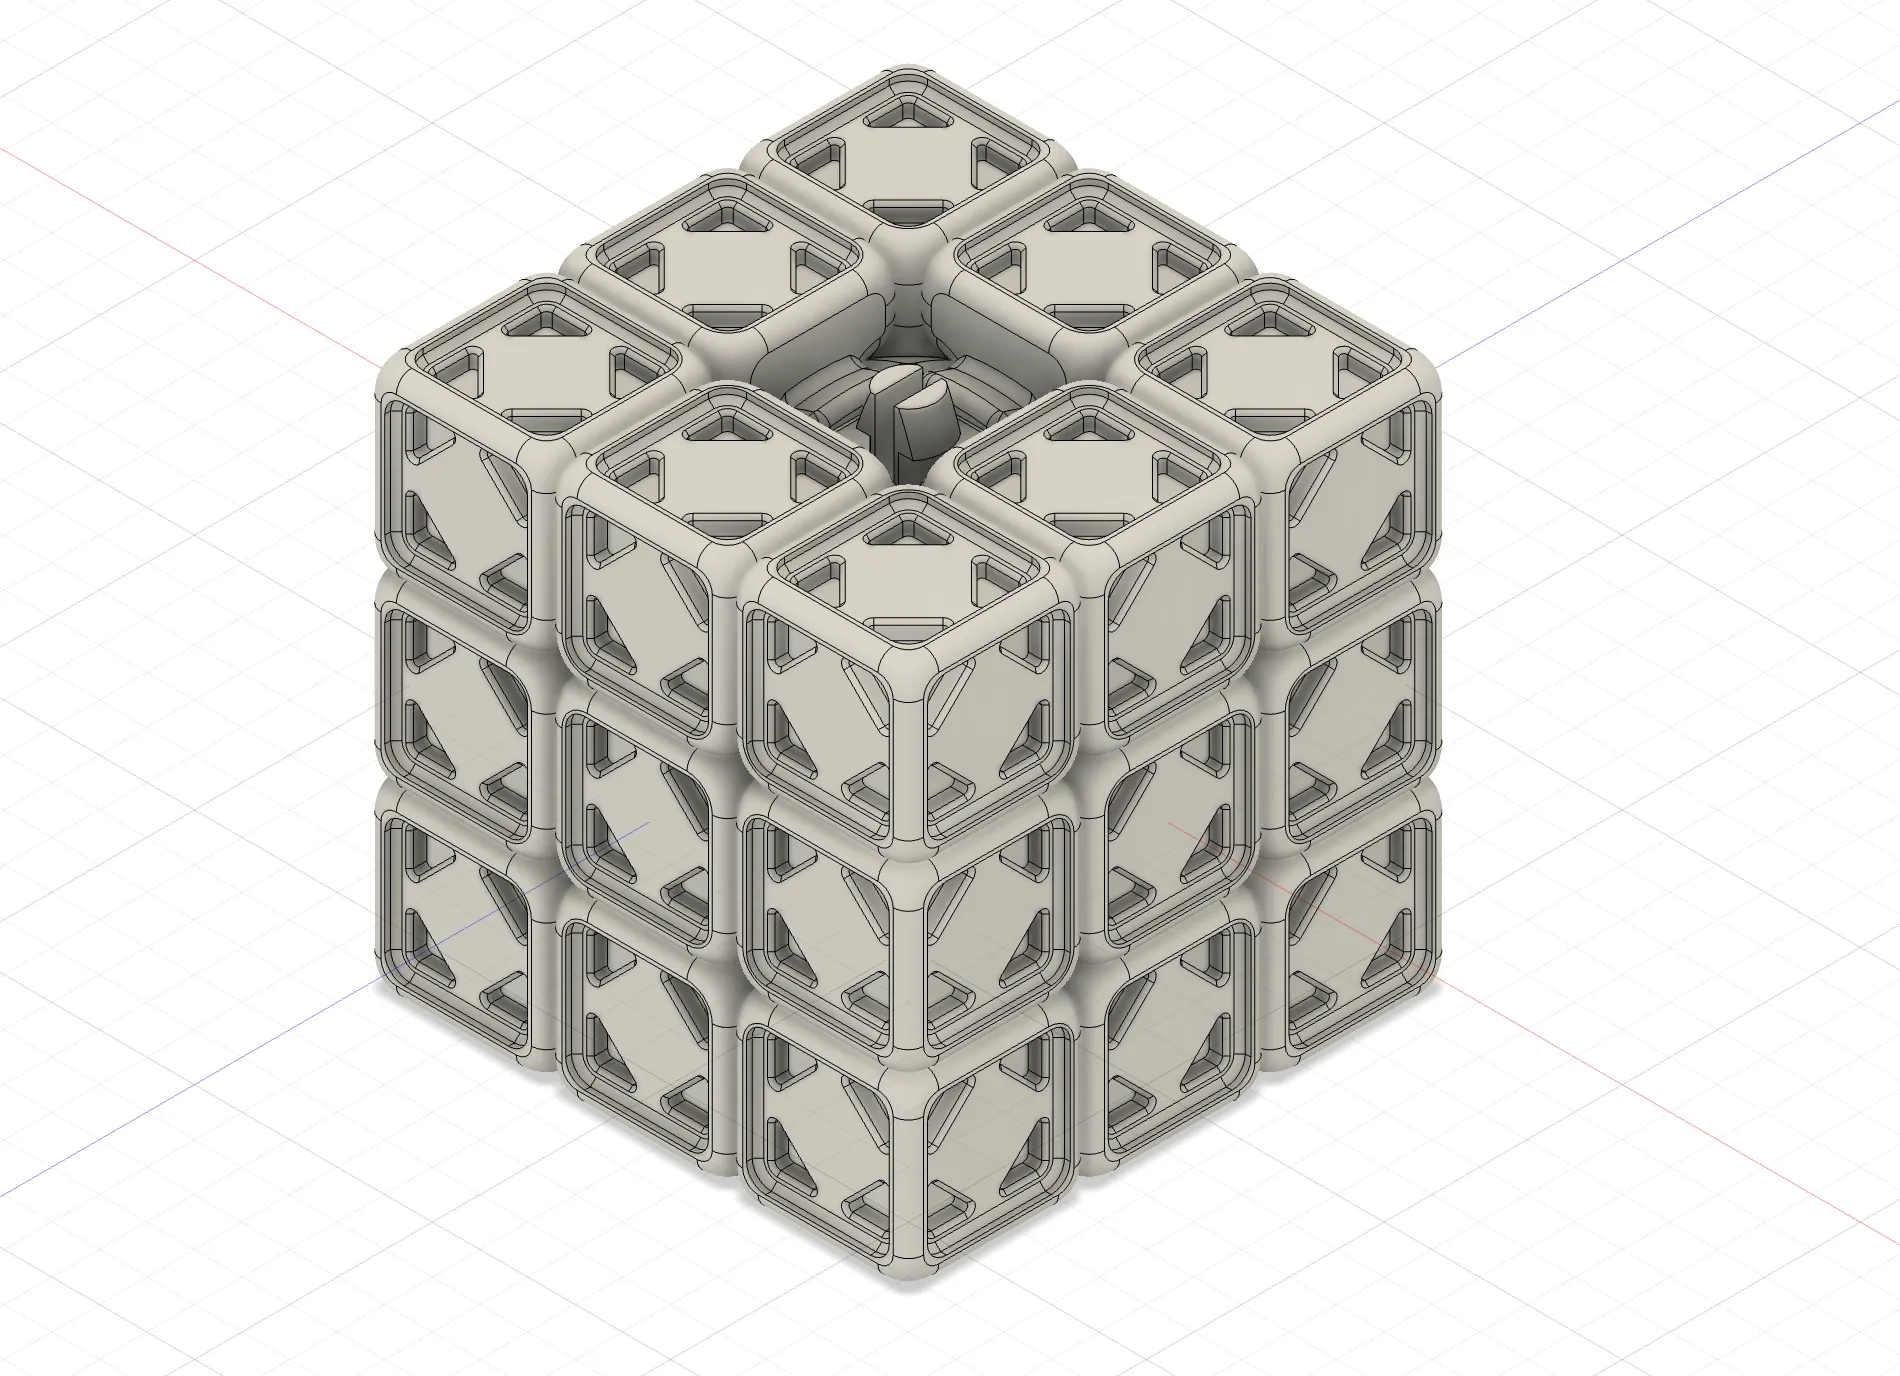
Clip center piece to the top layer. Done!
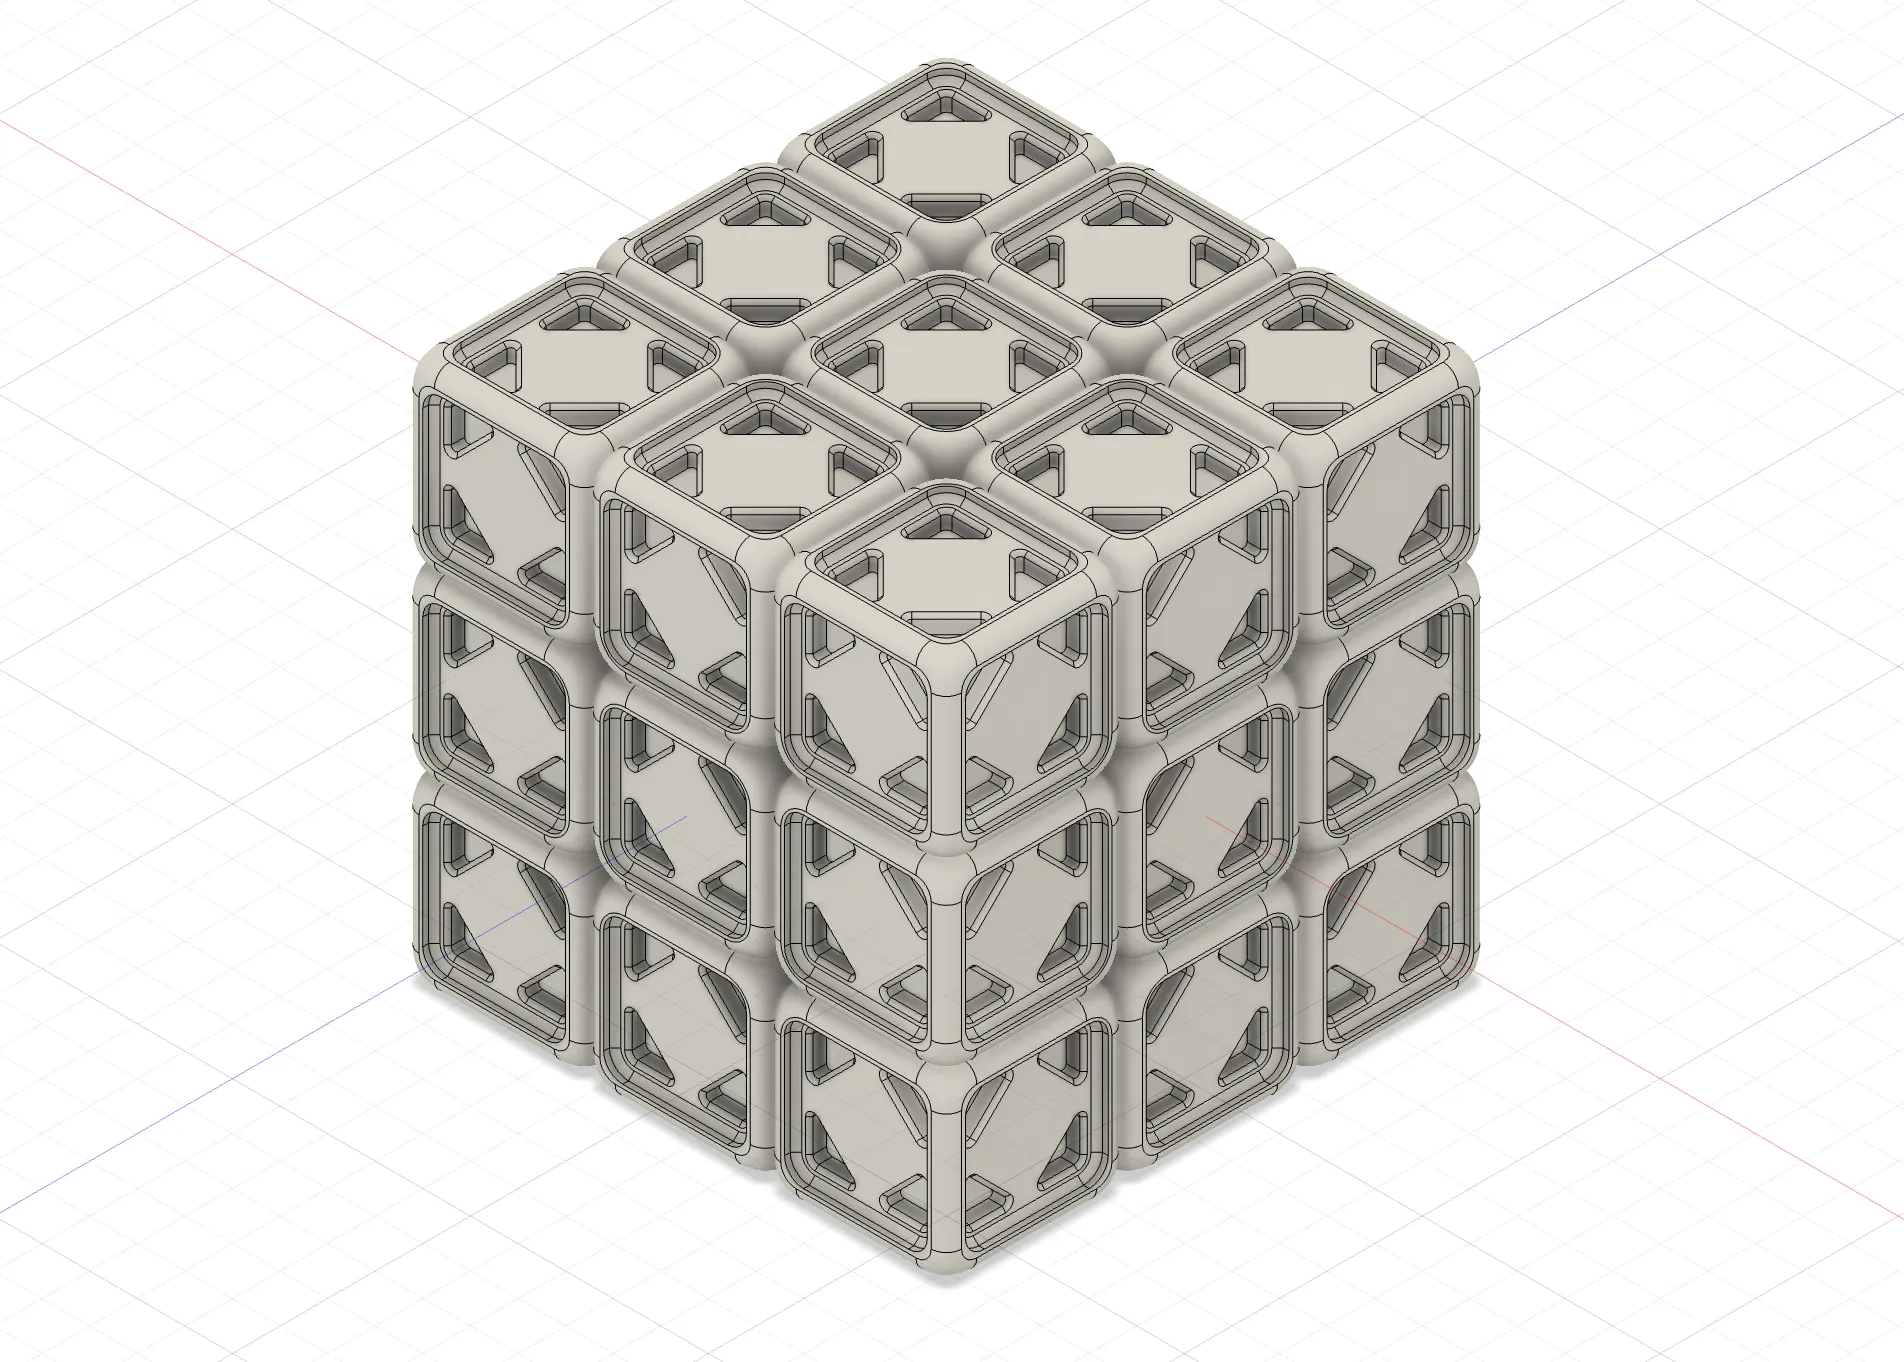
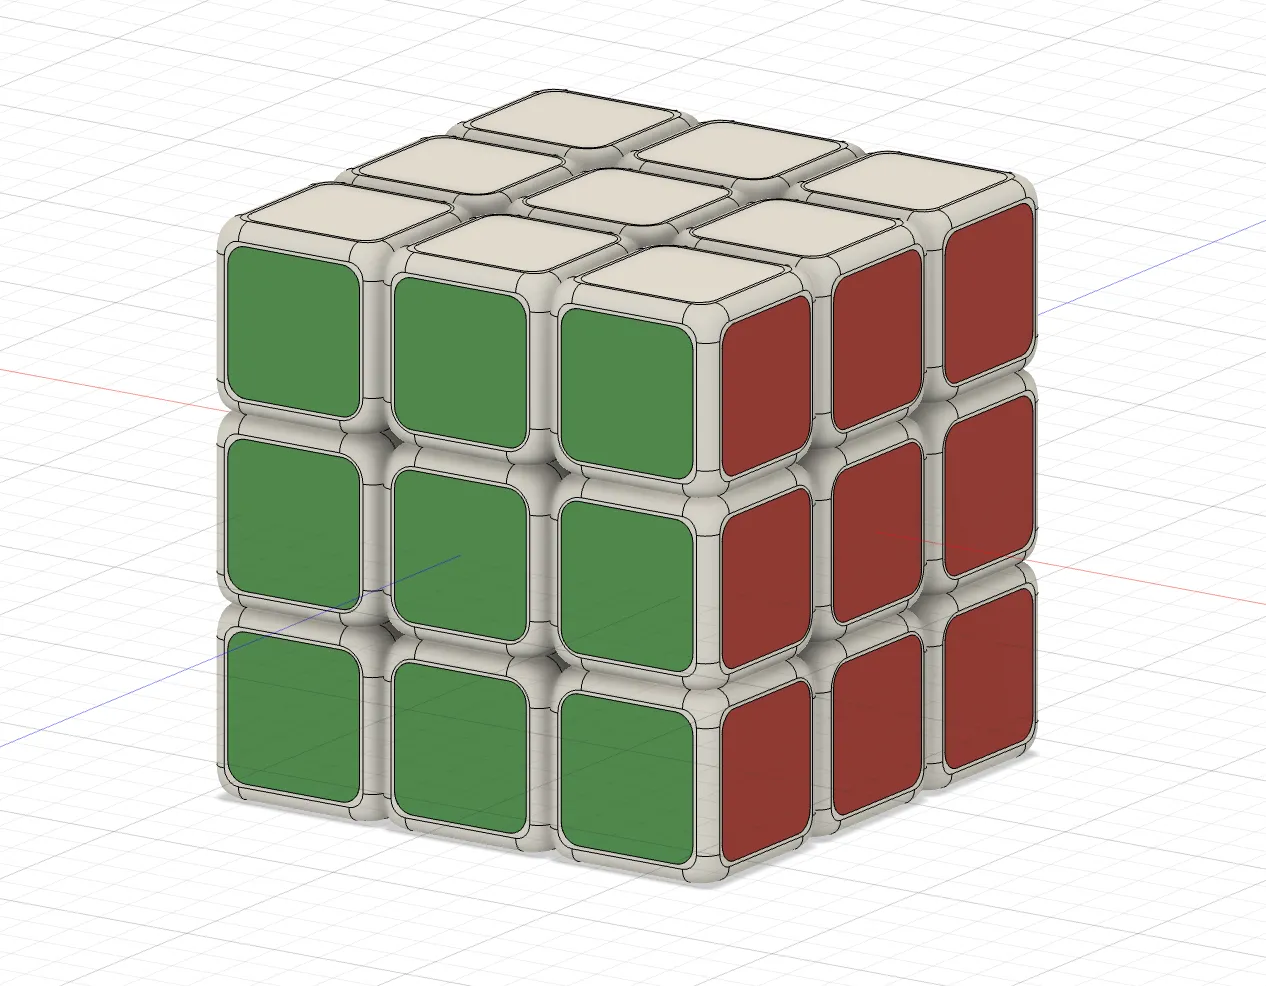
Apply Tile Pieces to the 6 faces of the cube. The classic colors are:
Front: Green
Back: Blue
Top: White
Bottom: Yellow
Left: Orange
Right: Red
Glue is not necessary by design, but some filament may give smaller pieces that may drop during playing.
Applying glue is high recommended if you have kids/pets in your home to avoid kids/pets accidentally eating tile pieces.
- Optional but recommend: Apply silicone based lubricants for smoother rotation.
Boost Me (for free)
Love this tiled design? Click “Boost” to support me! Your support helps inspire more colorful and creative 3D-printing projects!
License

You shall not share, sub-license, sell, rent, host, transfer, or distribute in any way the digital or 3D printed versions of this object, nor any other derivative work of this object in its digital or physical format (including - but not limited to - remixes of this object, and hosting on other digital platforms). The objects may not be used without permission in any way whatsoever in which you charge money, or collect fees.


Comment & Rating (172)