
Rubik Style Cube Puzzle Style Colorblock

Print Profile(1)

Description
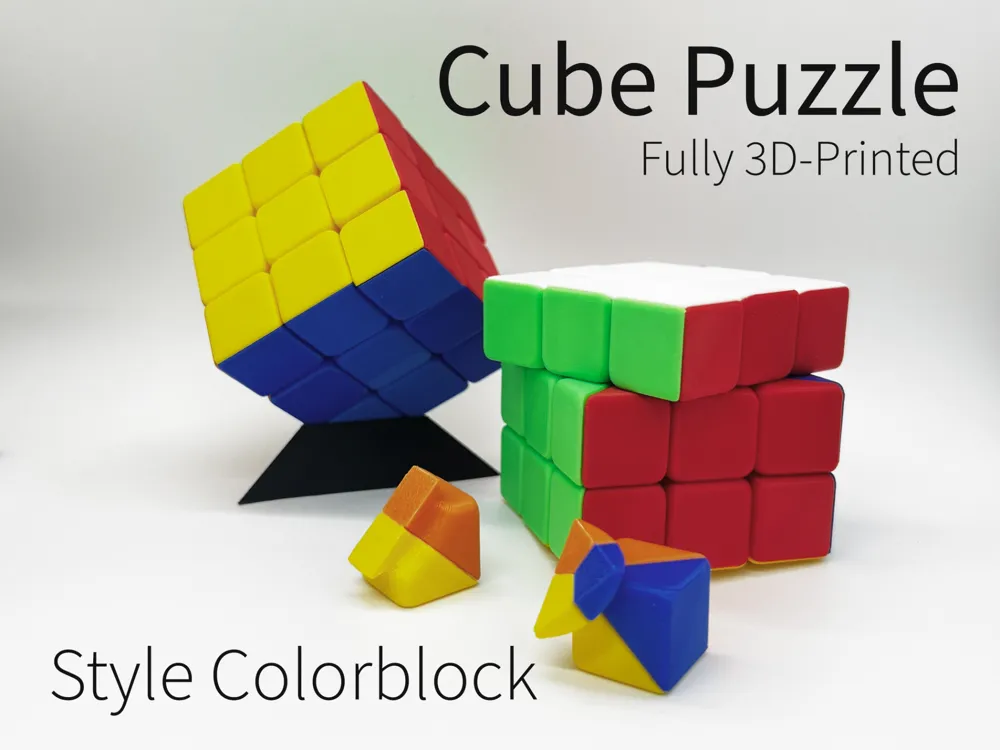
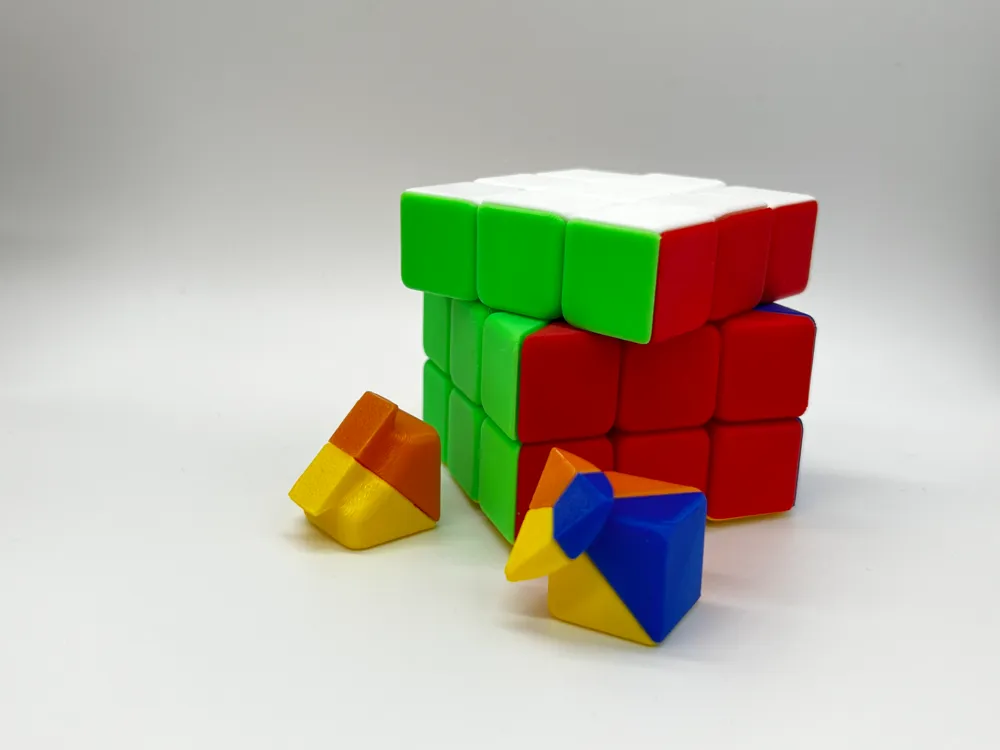
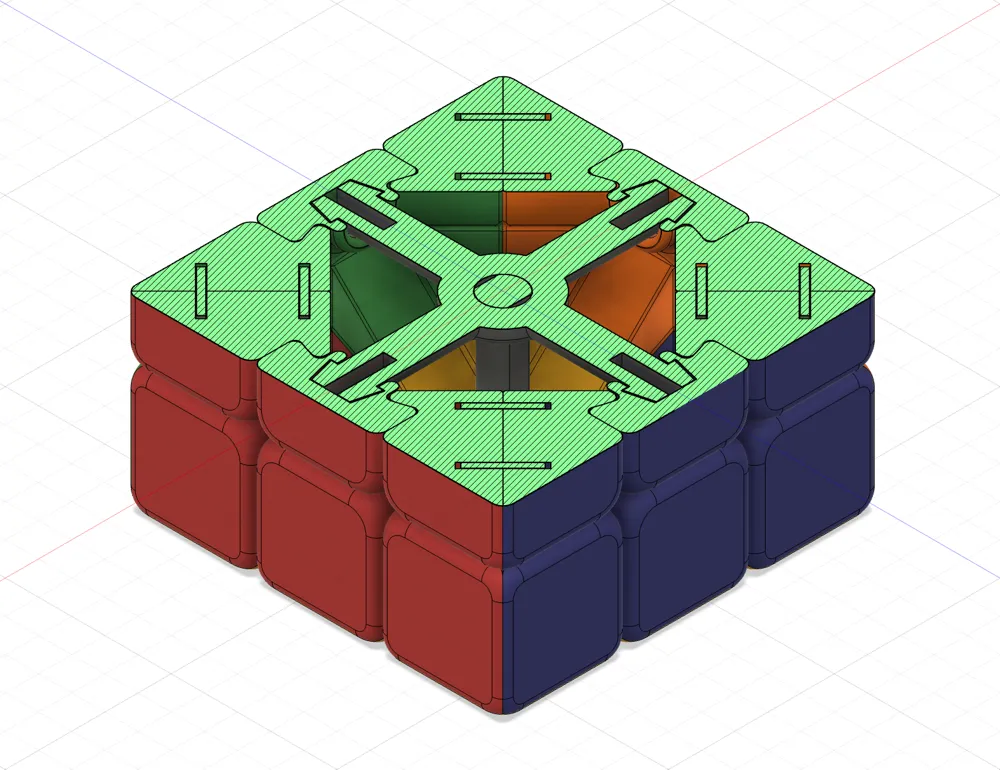
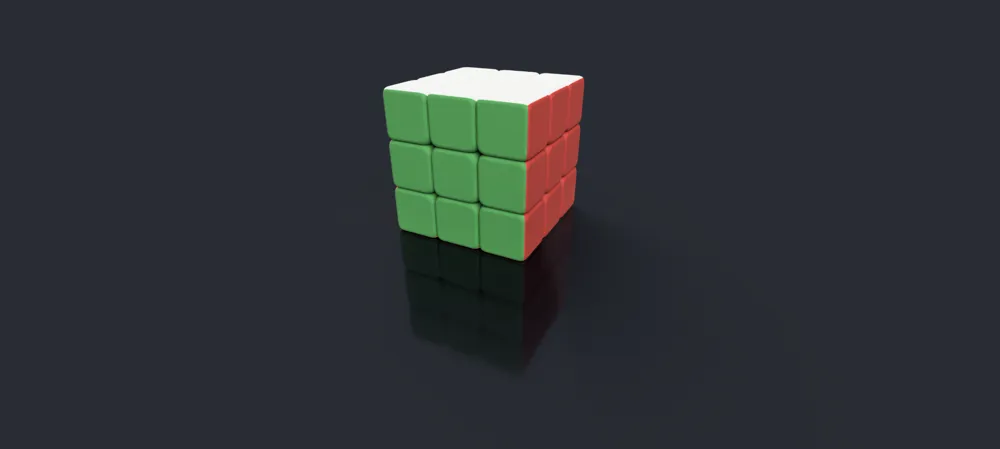
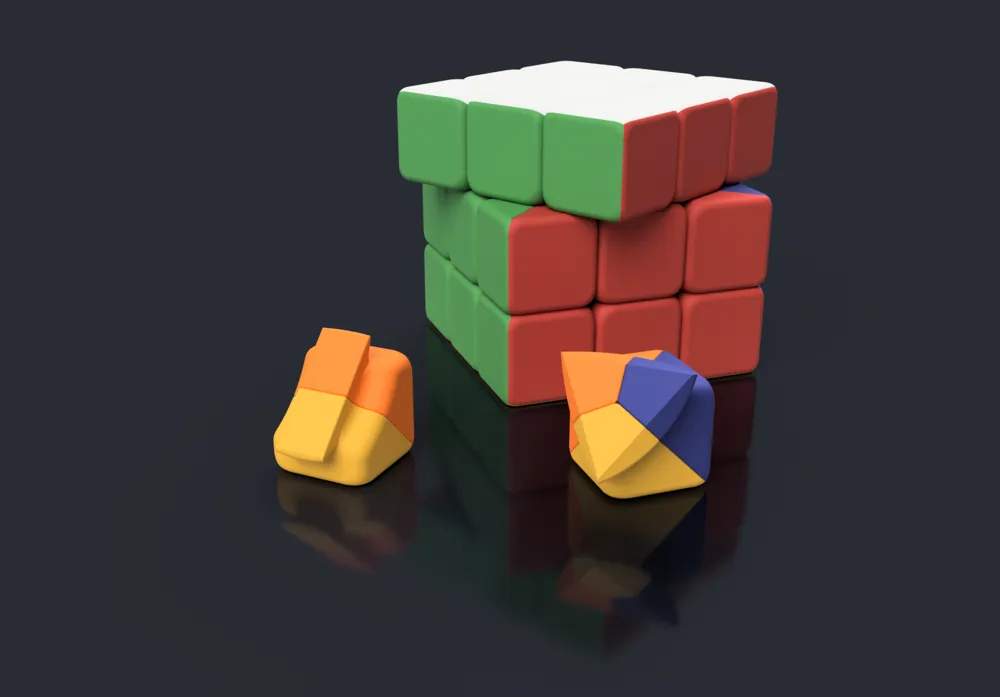
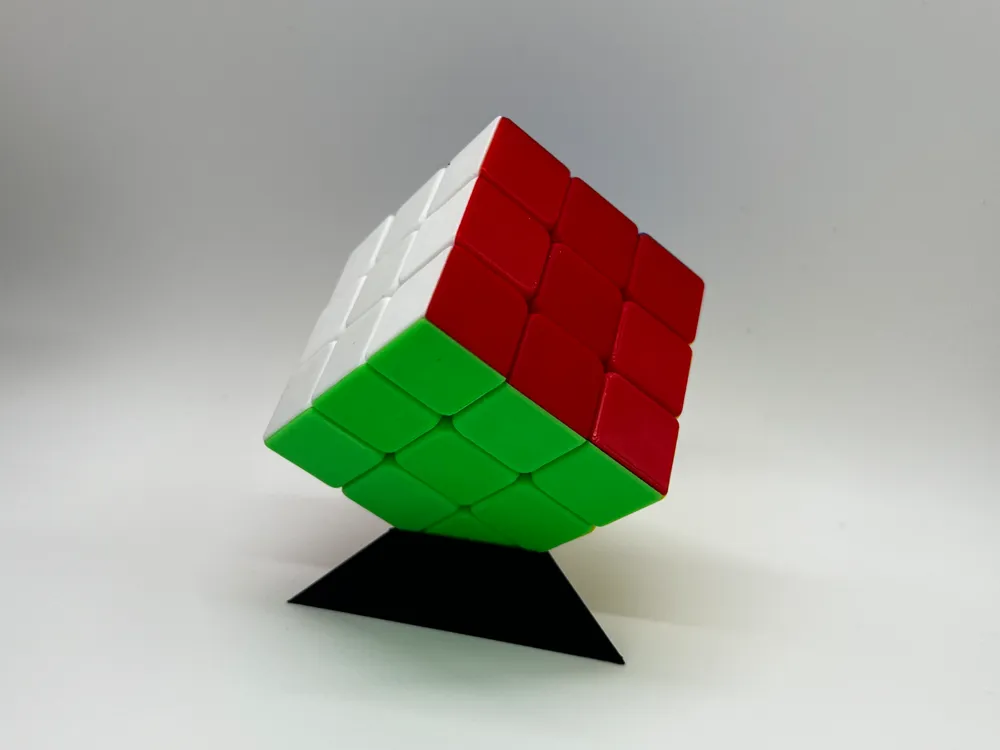
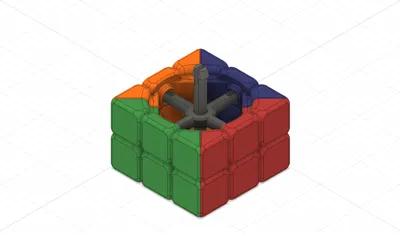
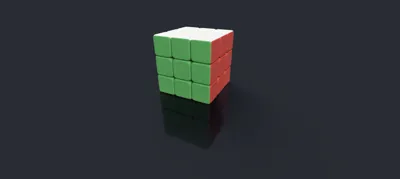
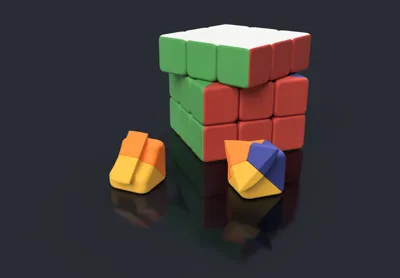
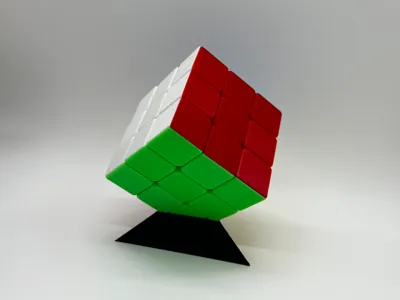
Elevate your 3D-printed puzzle game with this Multi-Color 3x3x3 Rubik’s Cube! Designed for makers who love vibrant, customizable creations, this version replaces the need for stickers by splitting edge and corner pieces into multiple parts, allowing for unique color combinations straight from the printer.
Boost Me (for free)
Love this colorful creation? Click “Boost” to help share it with the maker community—for free! Every boost helps spread the joy of 3D printing and puzzle-solving.
Features:
- Multi-Part Edge and Corner Pieces:
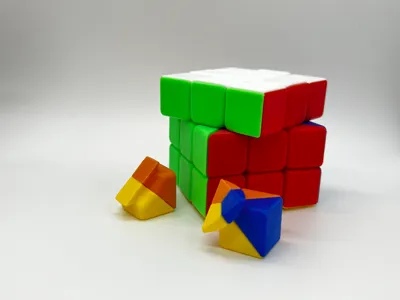
- Each edge is split into 2 sub-parts.
- Each corner is split into 3 sub-parts.
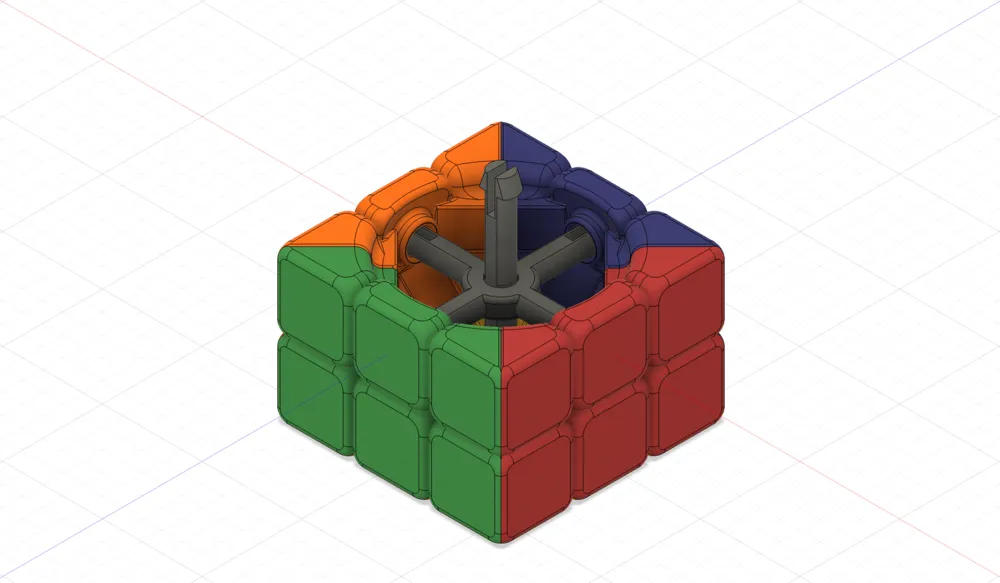
- Print the axis and internal chips in any color.
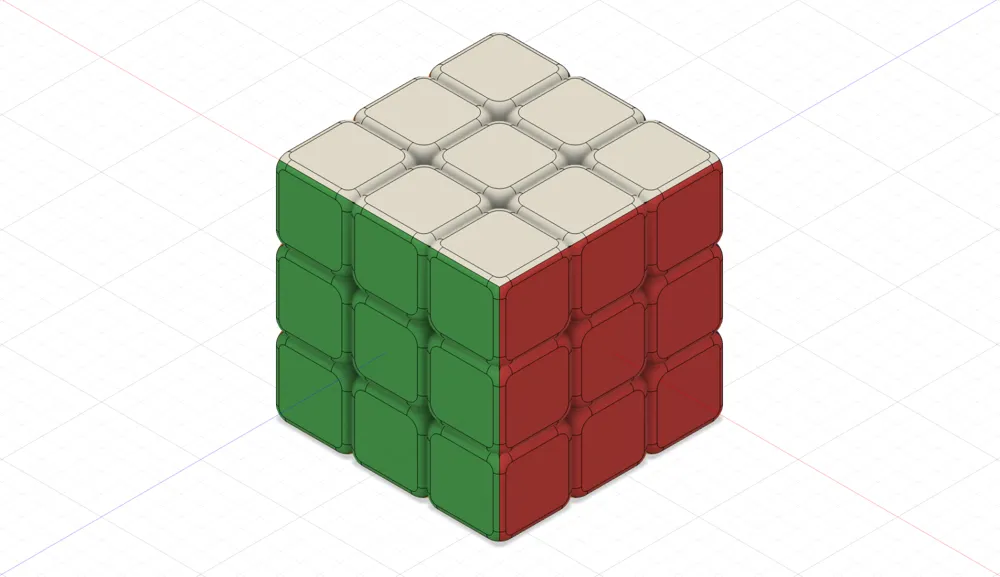
- Print the block pieces in 6 different colors to replicate the classic Rubik’s Cube design—or customize it as you like!
- Tool-Free Assembly: Easily snap together the edge and corner pieces without the need for screws, glue, or special tools.
Personalize Your Cube: Mix and match colors to create your own unique style, from traditional layouts to modern, creative patterns.
Printing Instructions:
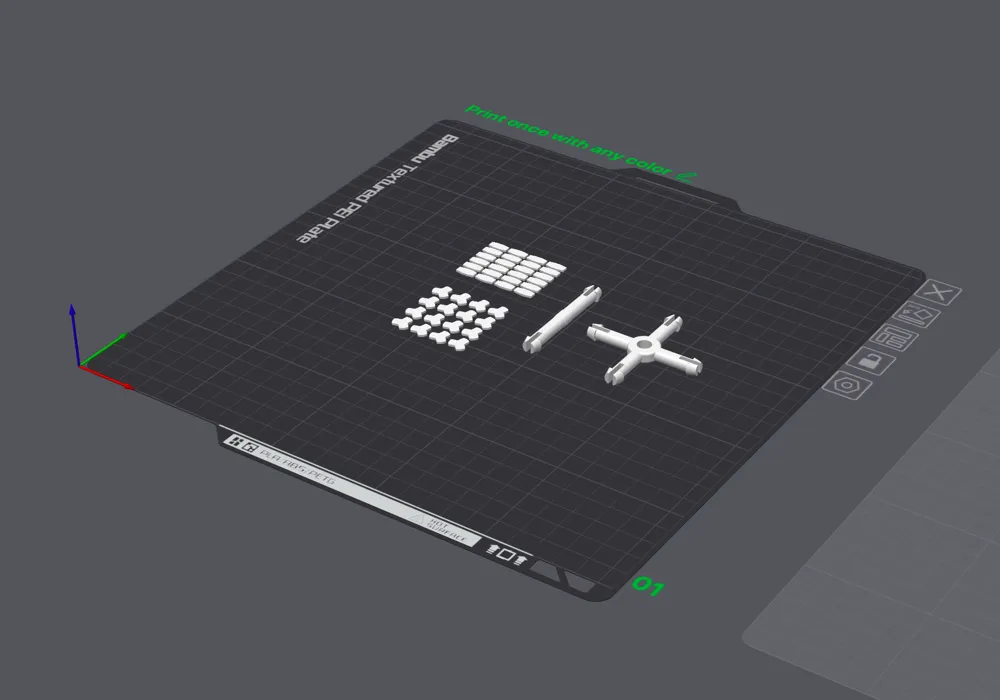
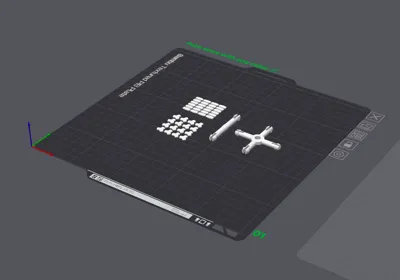
Print plate 1 (Axis and chips) in any color:
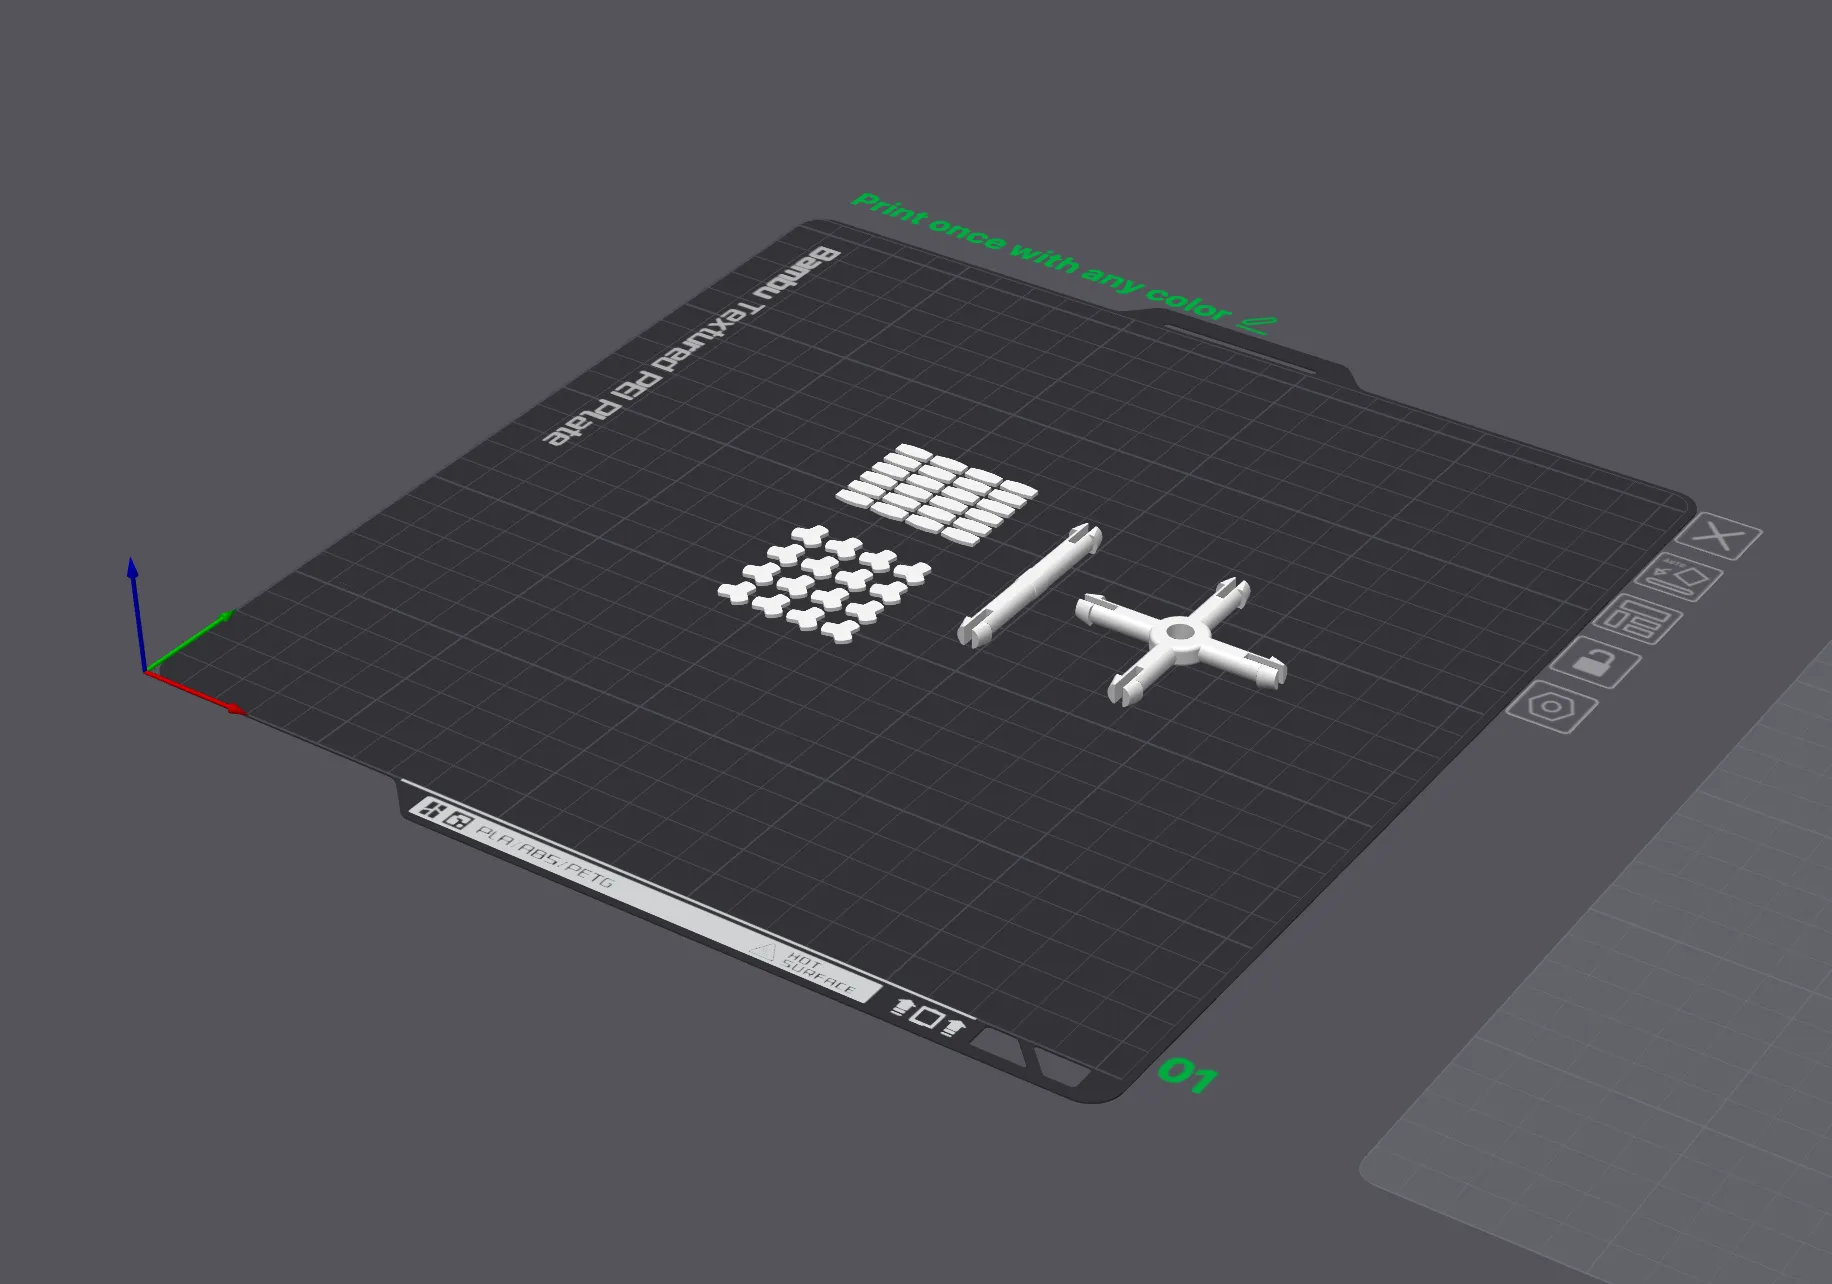
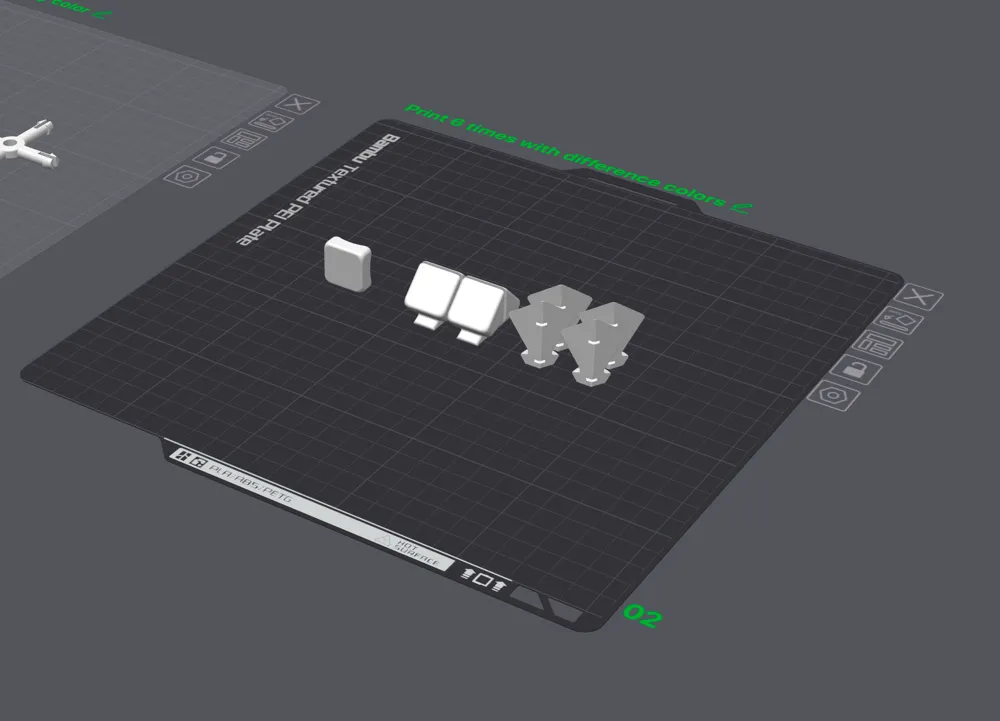
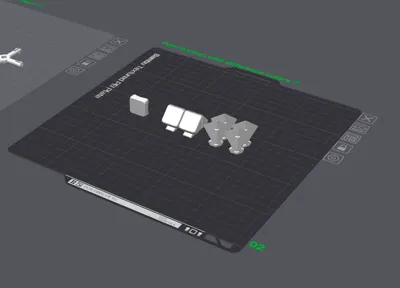
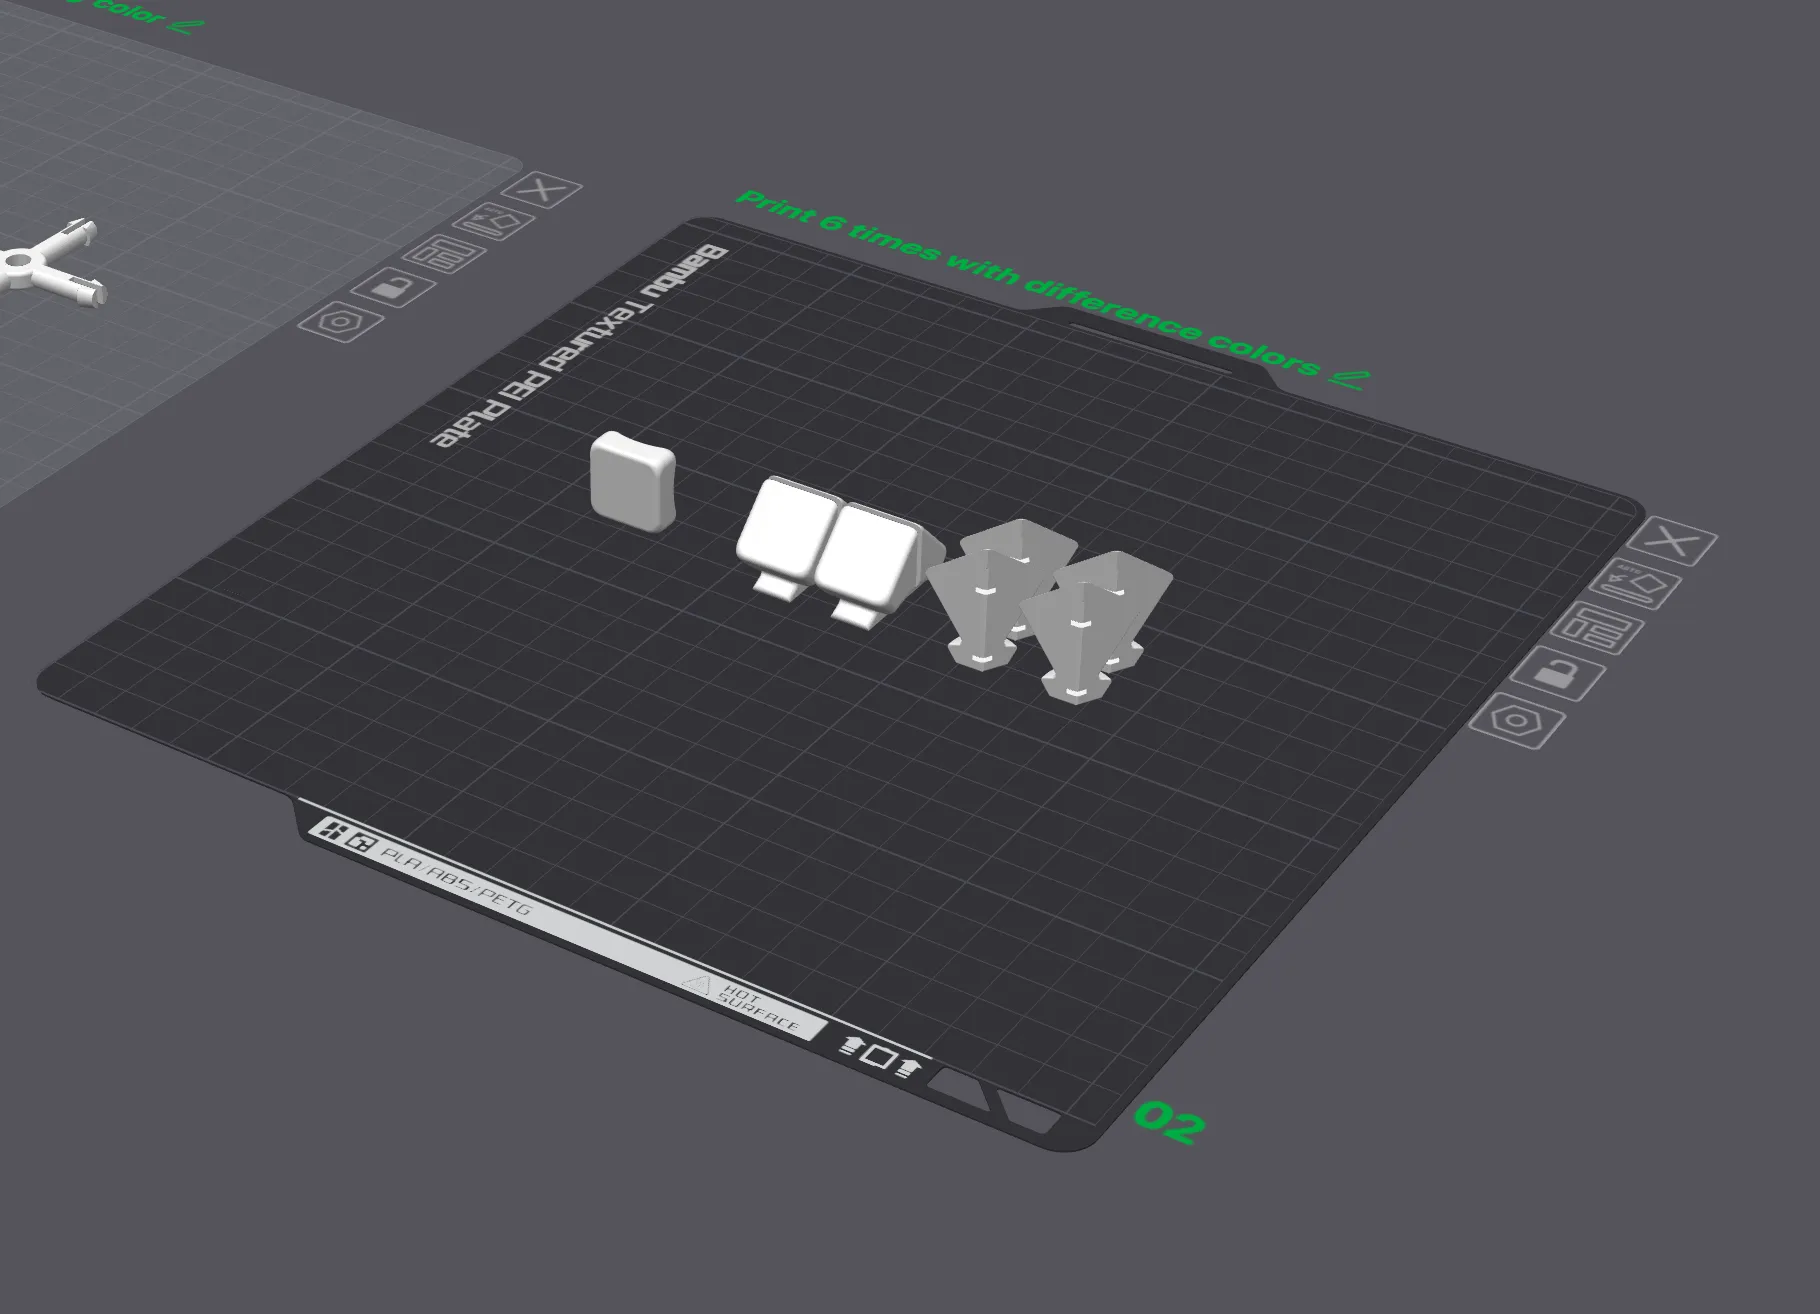
Print plate 2 (Center, edge, and corner pieces) 6 times, in 6 different colors.
A classic Rubik's cube uses the following 6 colors: White, Yellow, Red, Orange, Blue, Green. You may use any color you like.
Check more Rubik's Cube designs:
- Single color 3x3x3 Rubik's Cube
- 1x2x3 Rubik's Cube, normal and mirror style
- Mirror Cube 3x3x3
- Diamond and Hexagonal Bipyramid Cube
- Axis Cube 3x3x3
Parts list:
Plate 1 x 1:
- 1 axis cross
- 1 axis stick
- 16 corner chips
- 24 edge chips
Plate 2 x 6:
- 1 center piece
- 4 corner sub-pieces
4 edge sub-pieces
Assembly Instructions:
- Print the parts in the desired colors. This instruction uses the classic Rubik's Cube colors, in the following arrangement
B
L
U
R
F
D
- Assemble 12 edges in the following steps shown in figure. Use 2 chips to hold two sub-pieces together.
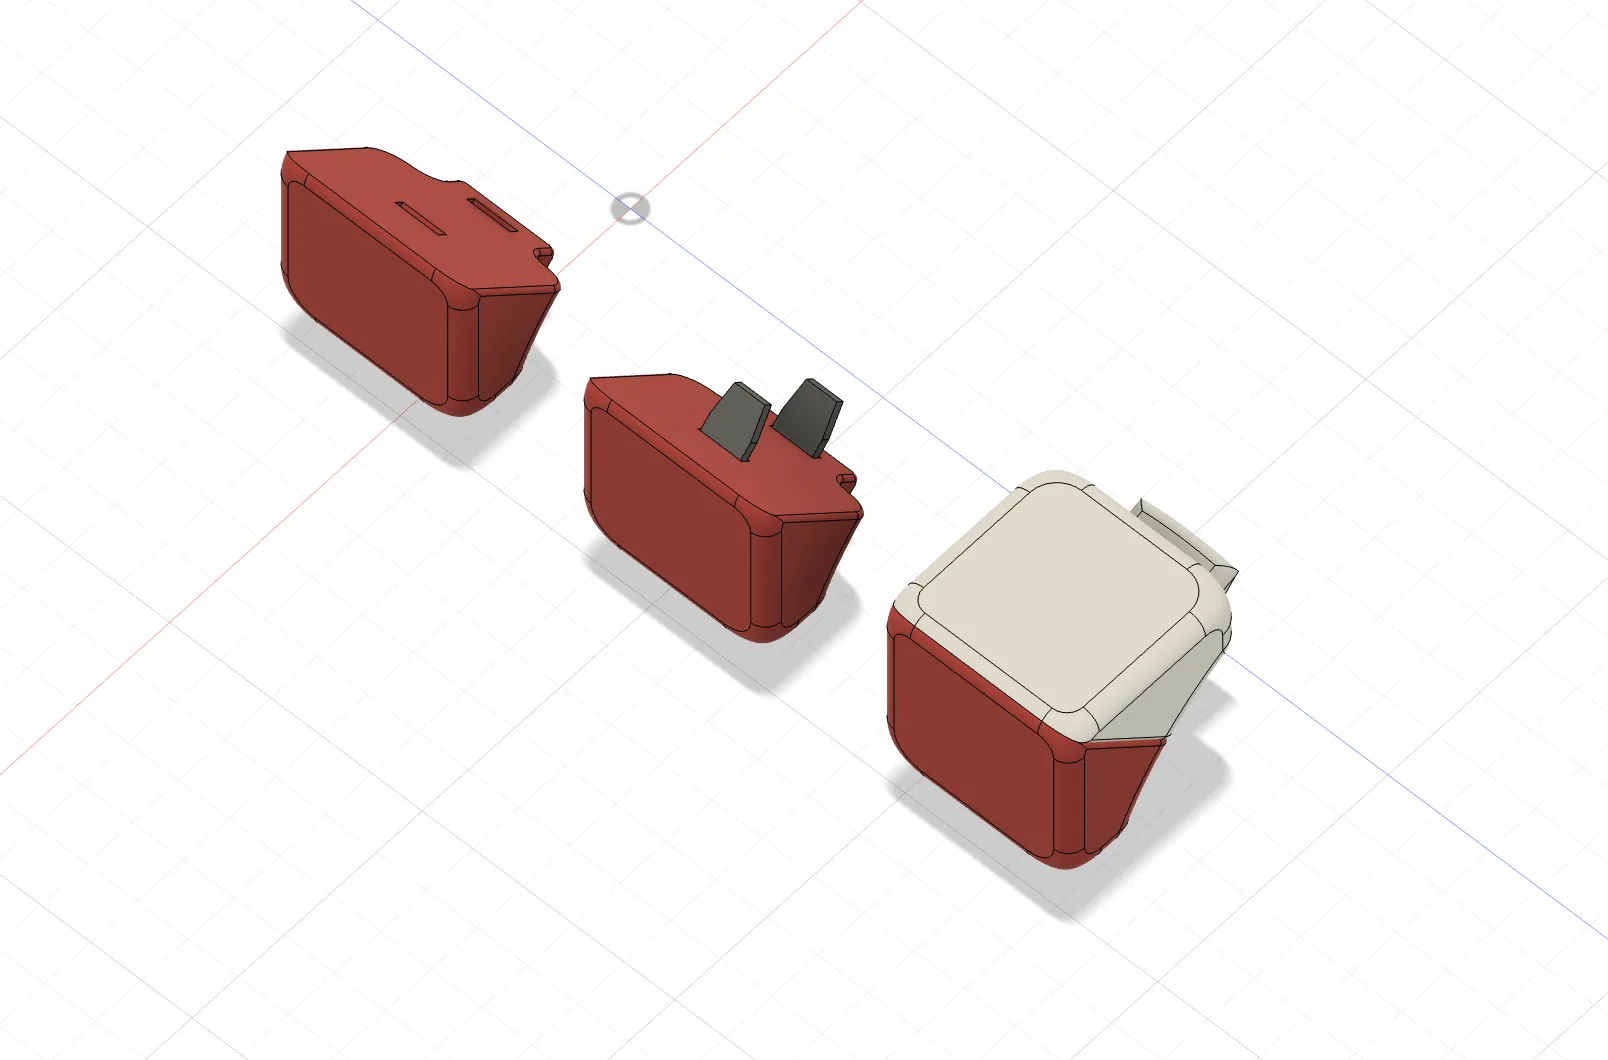
- The 12 edges are in color:
- Red-White, Red-Yellow, Red-Green, Red-Blue,
- Orange-White, Orange-Yellow, Orange-Green, Orange-Blue
- Green-White, Green-Yellow, Blue-White, Blue-Yellow
Assemble 8 corner pieces in the following steps shown in figure. Use 2 chips to hold two sub-pieces together.
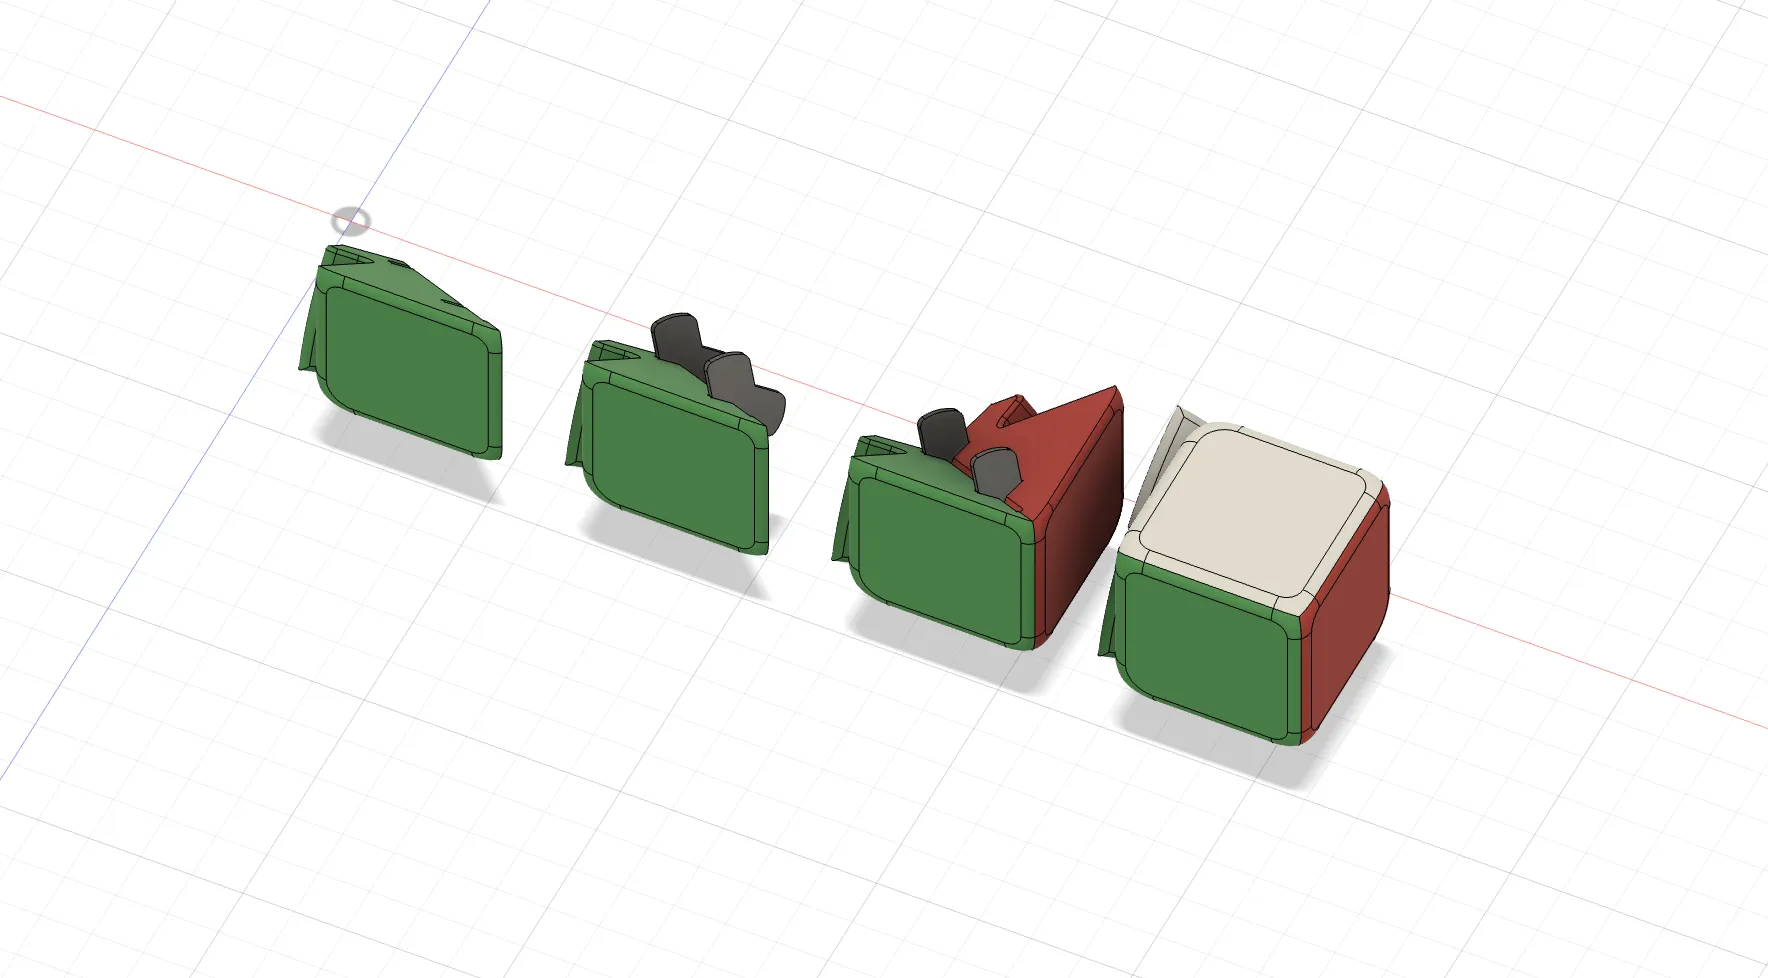
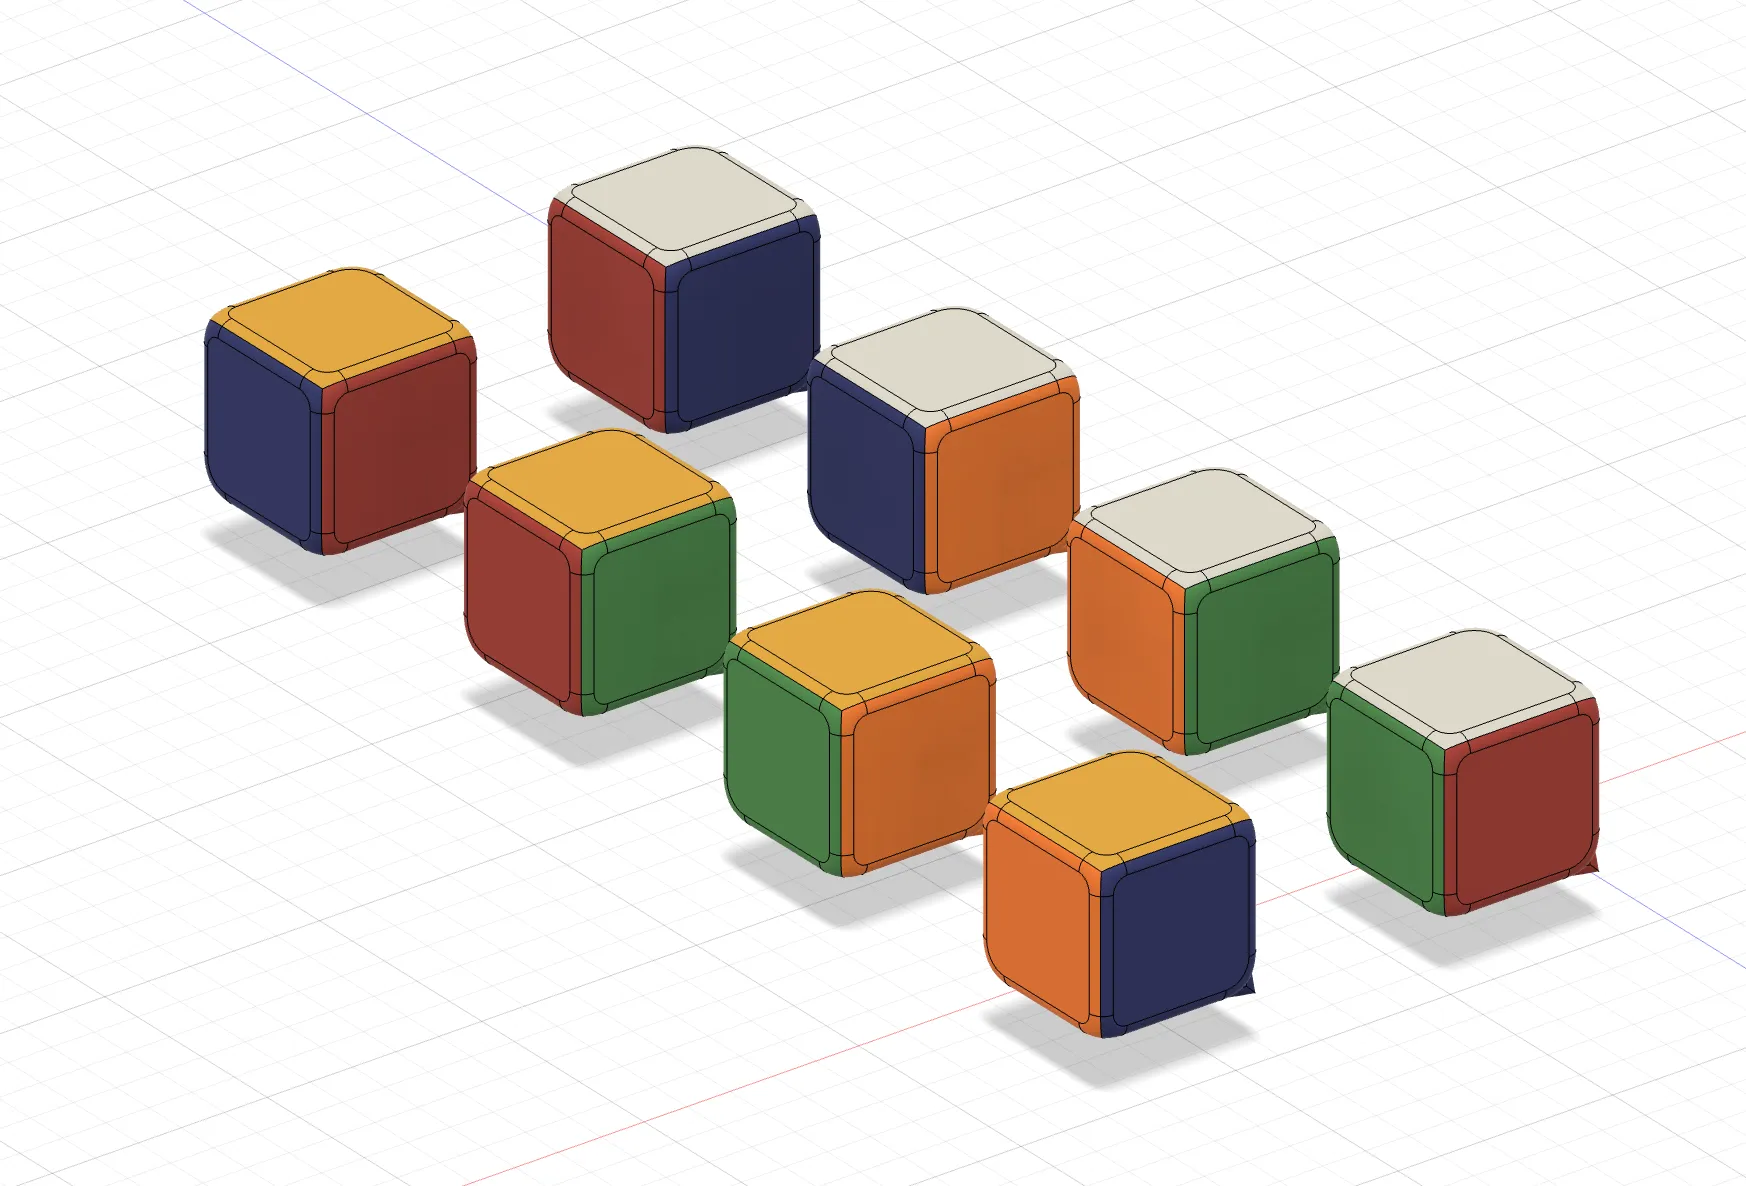
Please be careful to assemble corners in correct order of color.
The 8 corner pieces have colors (clockwise, check the figure):
- White-Blue-Red, White-Orange-Blue, White-Green-Orange, White-Red-Green
- Yellow-Red-Blue, Yellow-Green-Red, Yellow-Orange-Green, Yellow-Blue-Orange
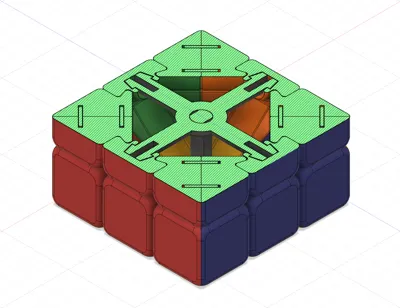
Insert the axis stick into the center ring of axis cross. Try to place the ring at center of the stick.
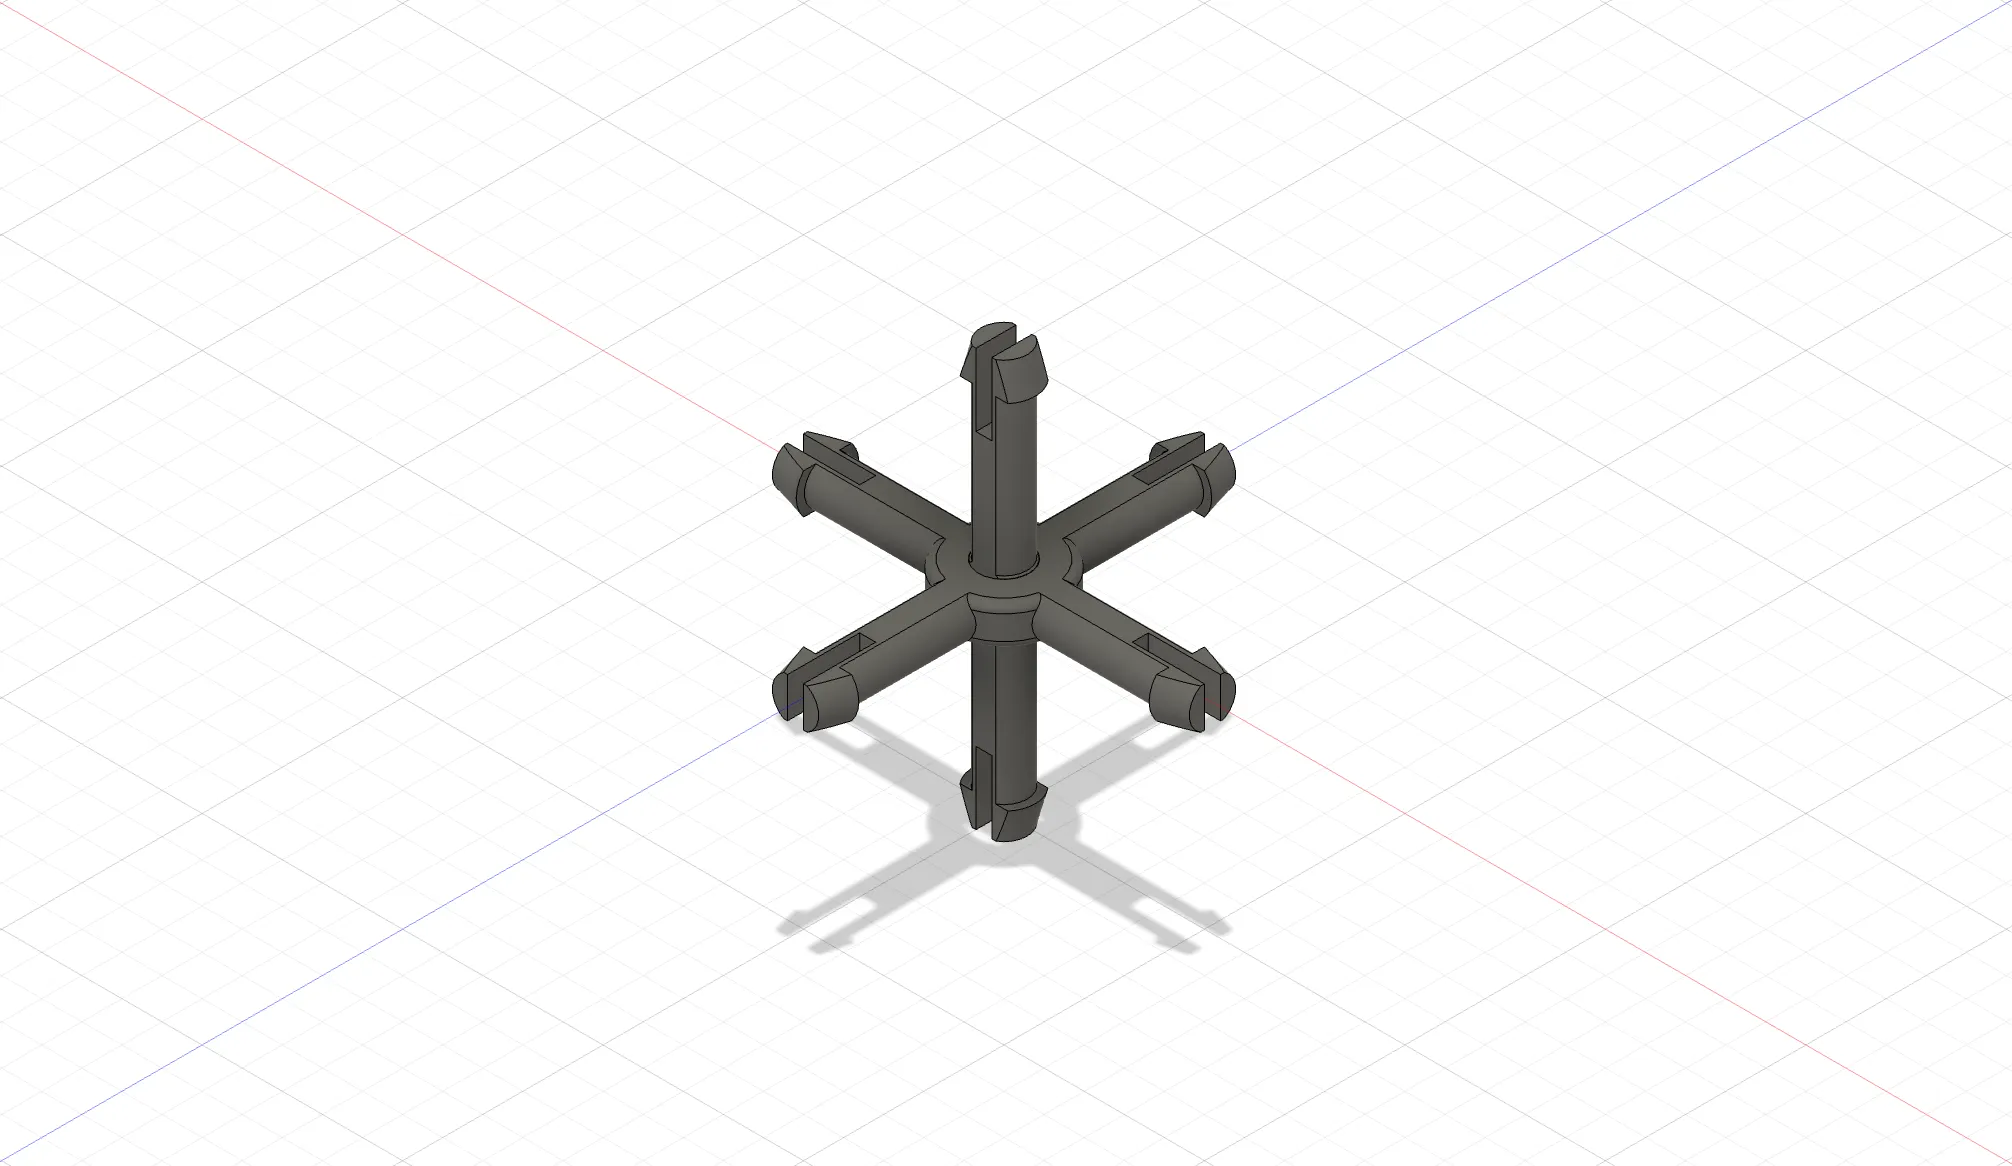
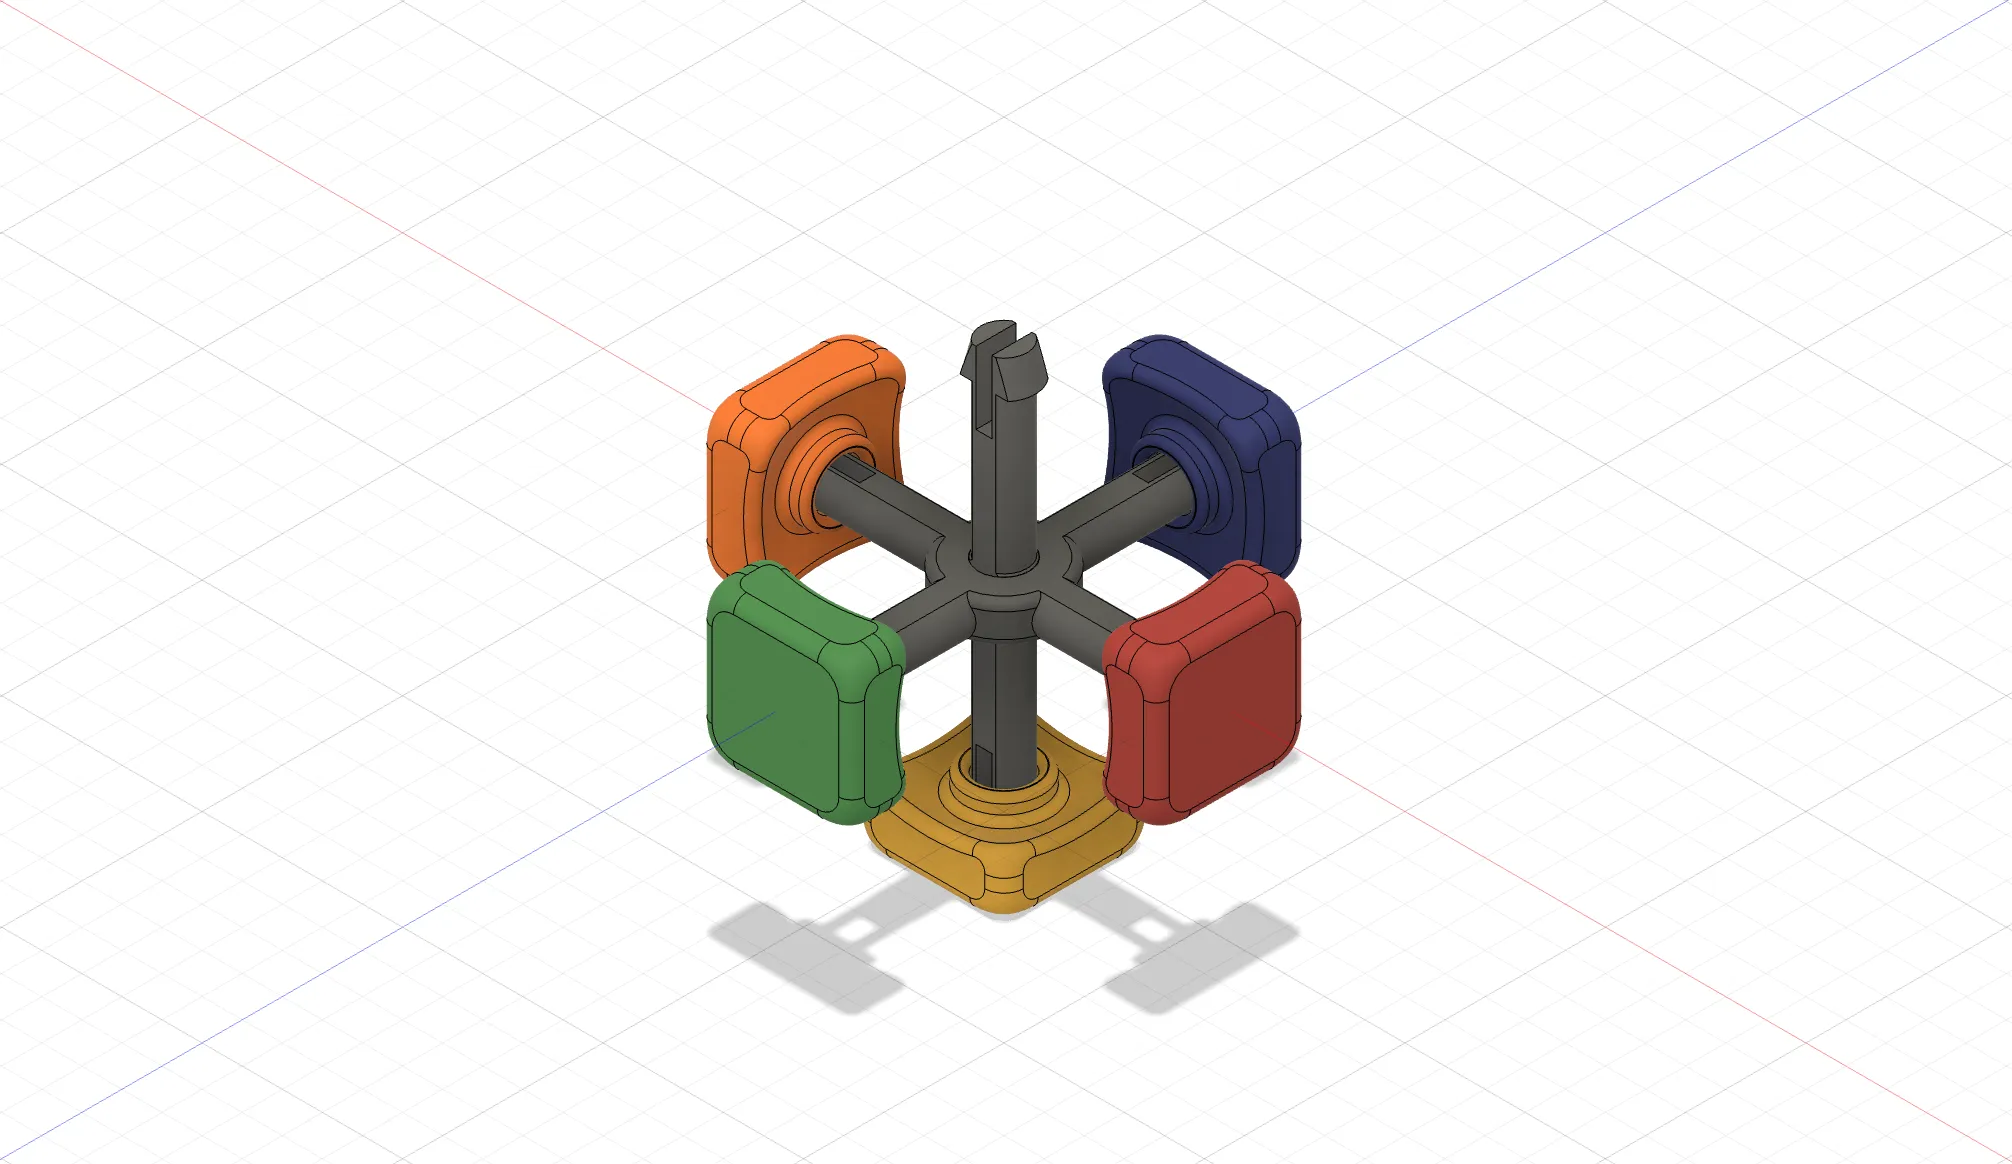
Clip 5 center pieces onto the ends of the axis, with the following order.
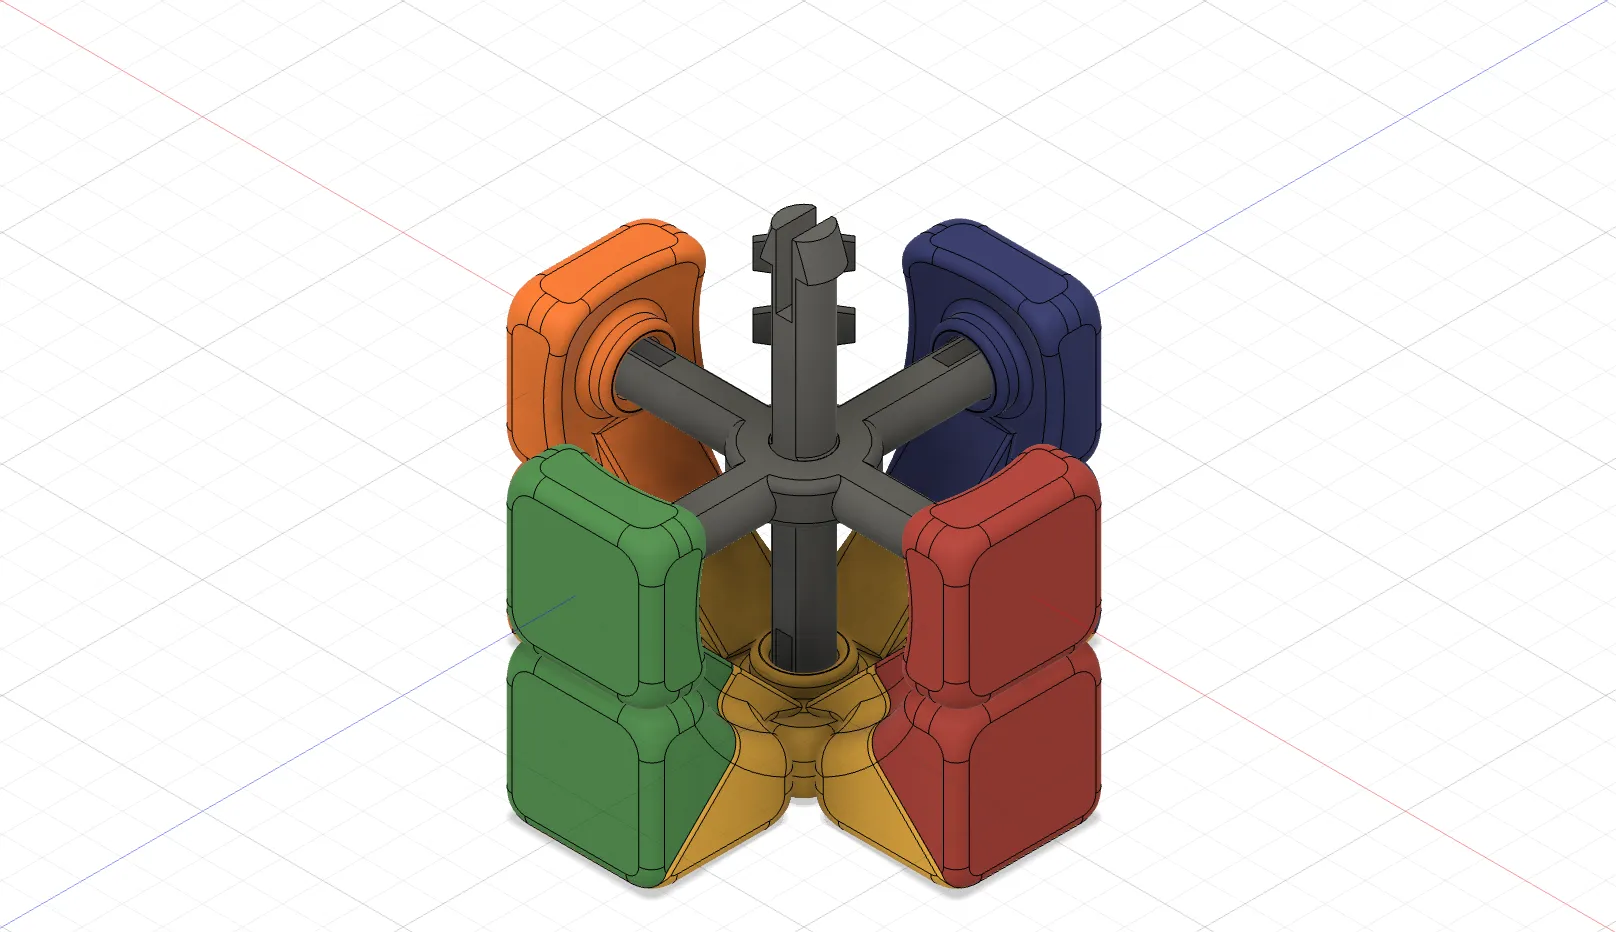
Slide 4 edge pieces between the center pieces of bottom layer and middle layer.
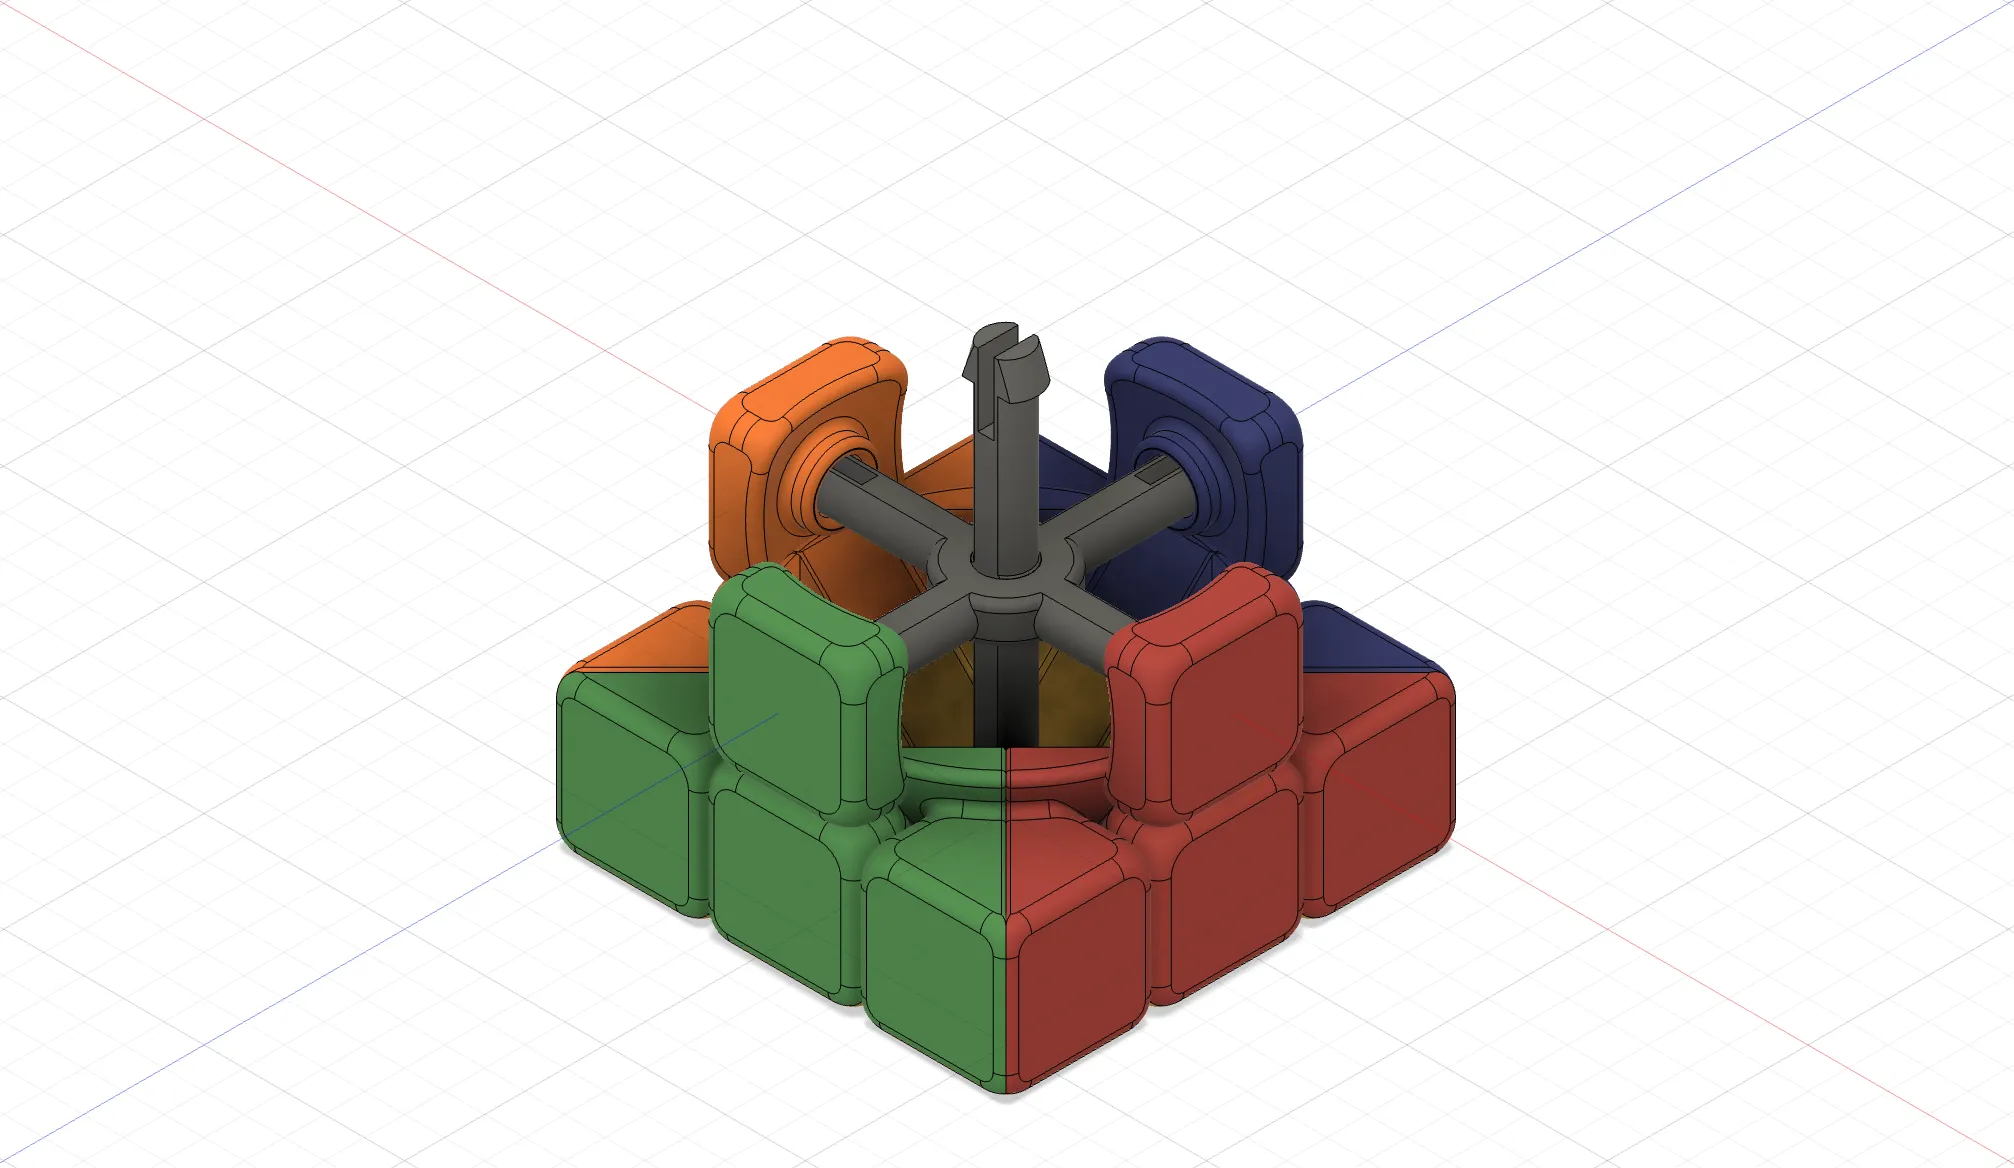
Place 4 corner pieces to the bottom layer, between edge pieces.
Slide 4 edge pieces between the center pieces in the middle layer.
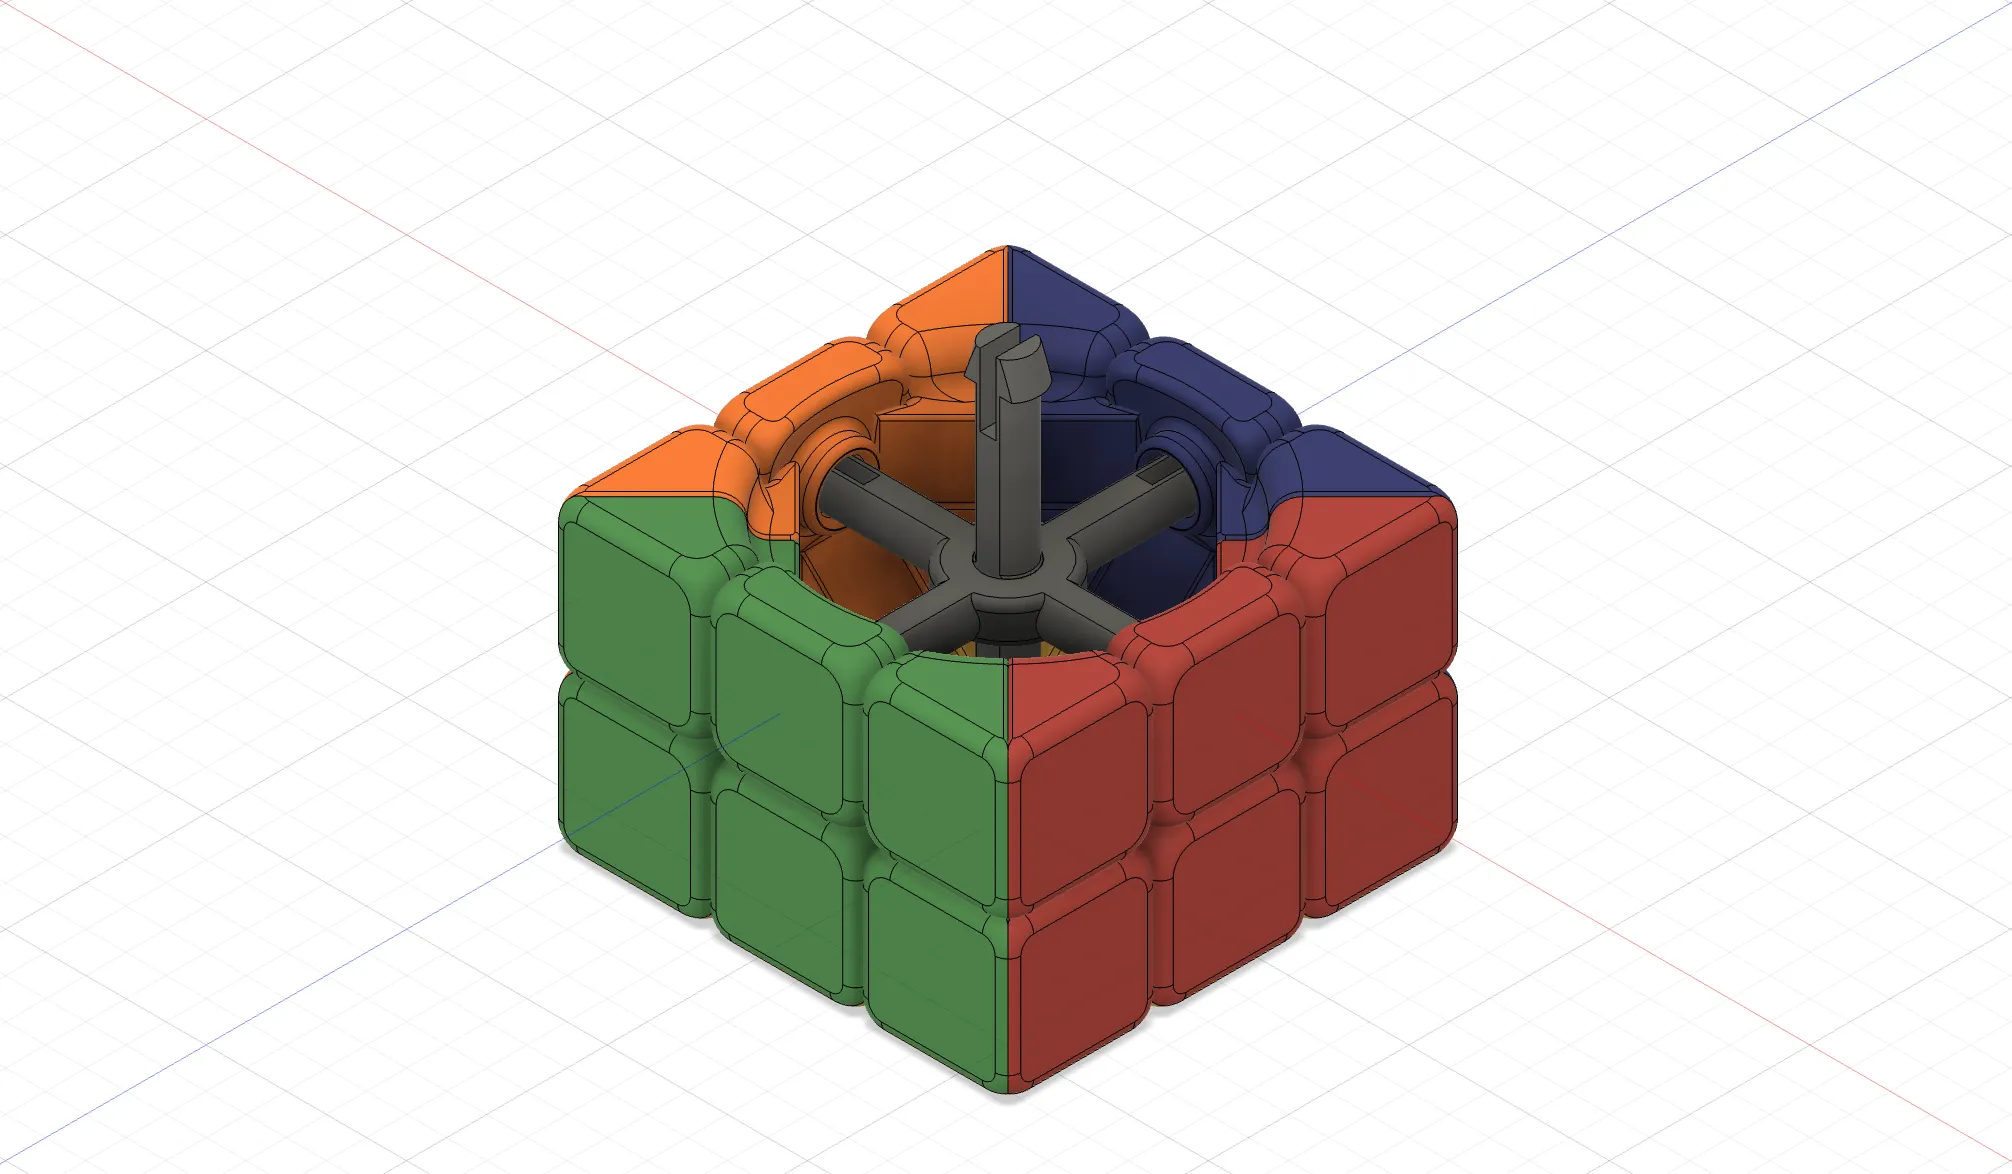
Place 4 corner pieces and 4 edge pieces to the top layer.
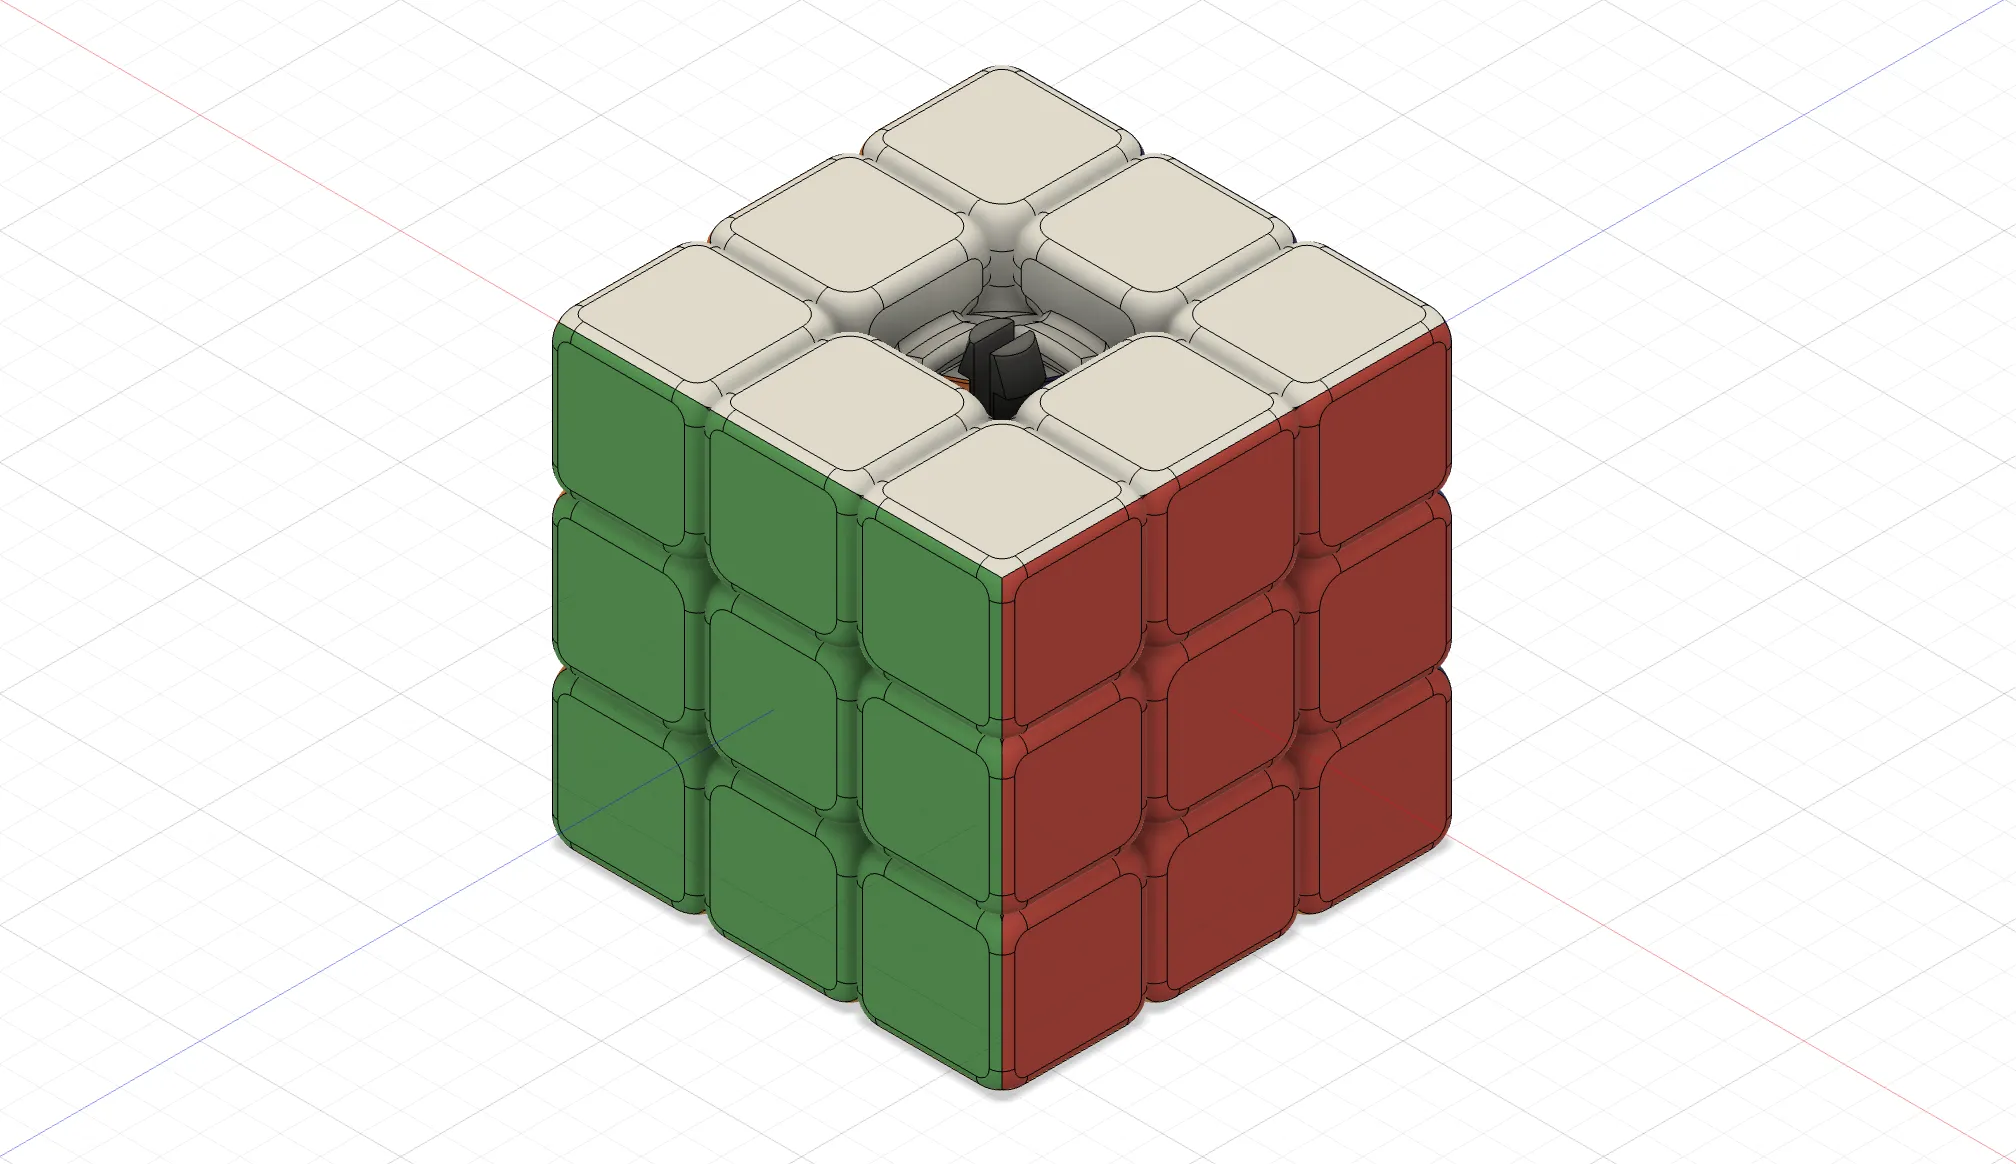
Clip center piece to the top layer. Done!
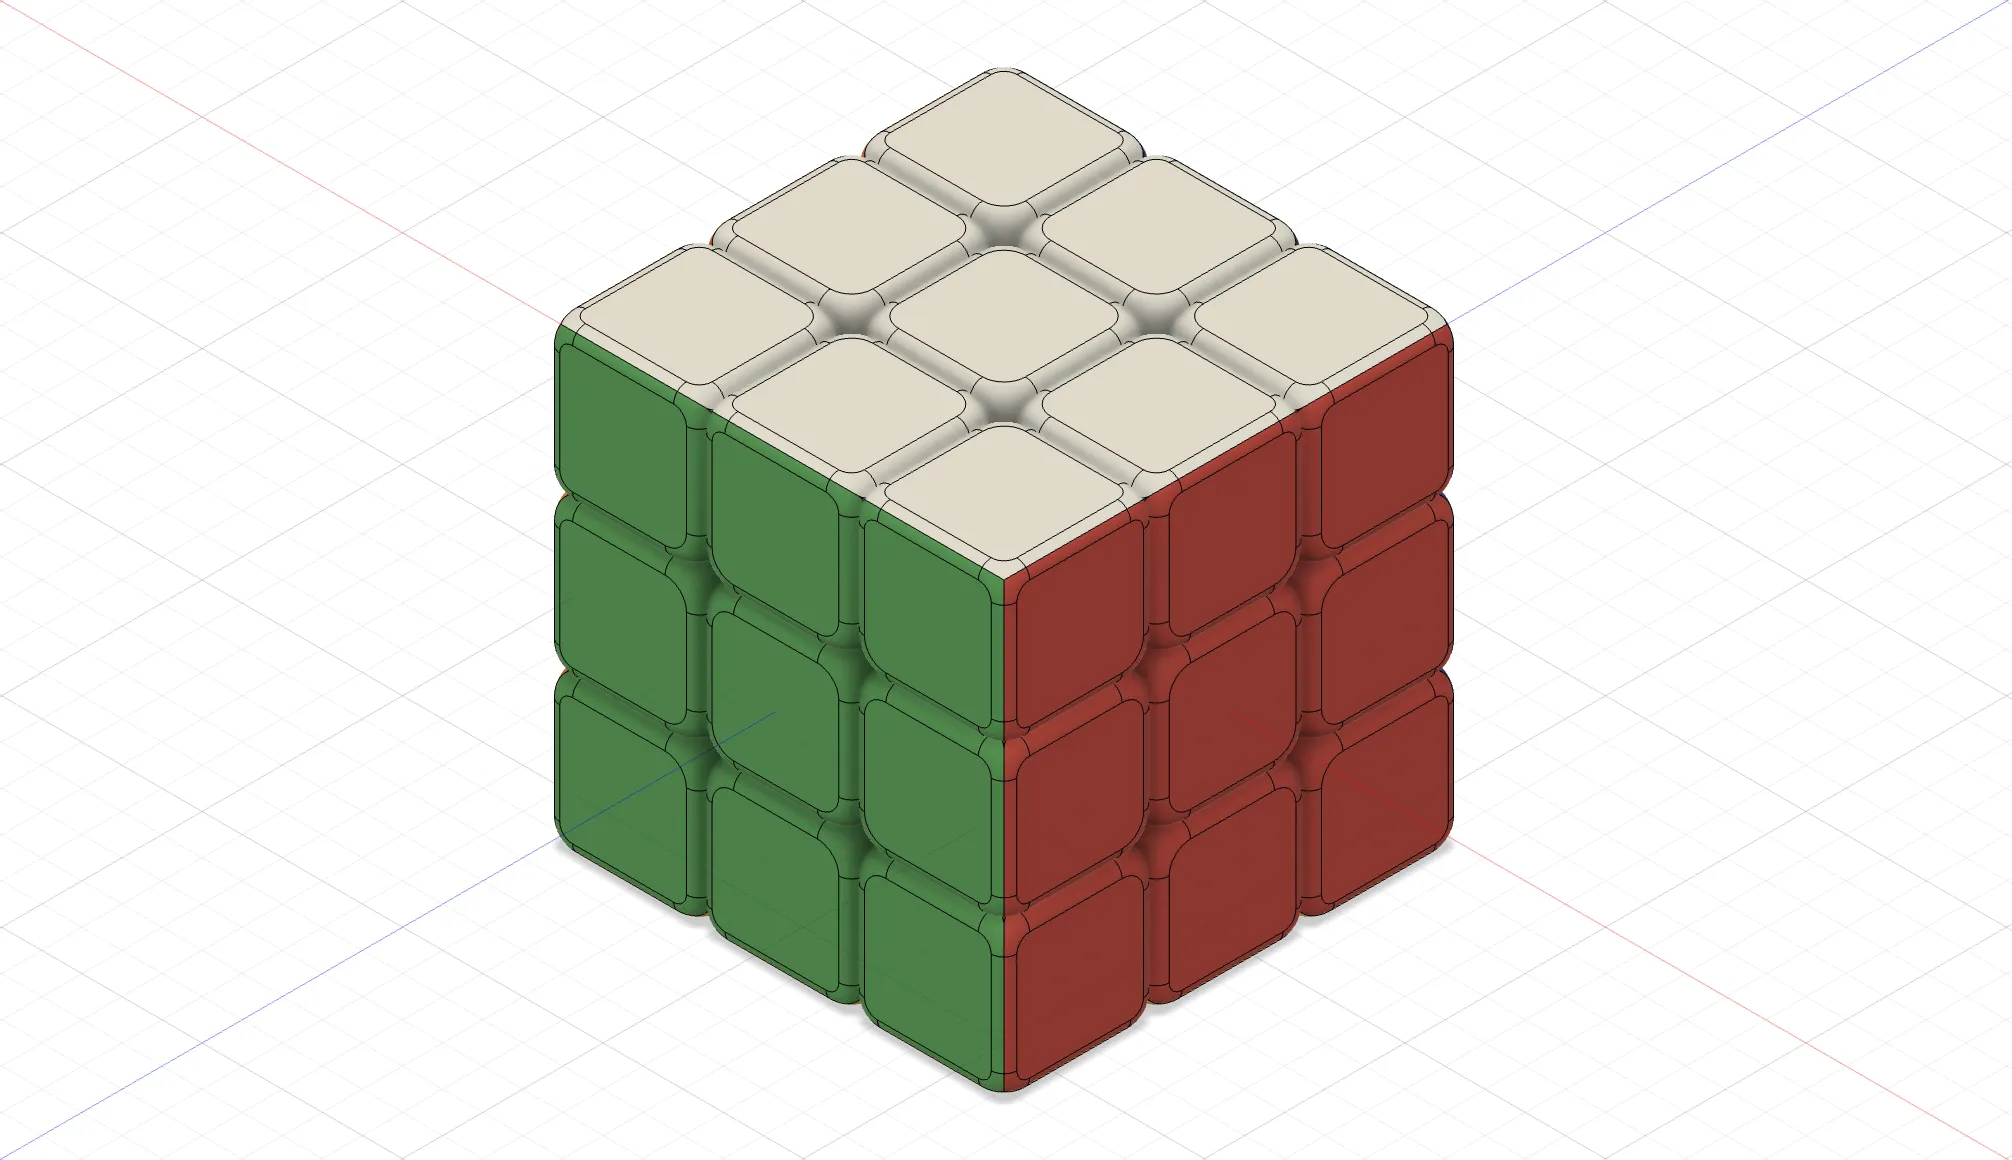
Optional, but recommend: Apply lubricant to the finished Rubik's Cube. Silicone based lubricant is recommended.
Unleash your creativity and bring your Rubik’s Cube to life with this multi-color masterpiece! Download now and start printing!
Boost Me (for free)
Love this colorful creation? Click “Boost” to help share it with the maker community—for free! Every boost helps spread the joy of 3D printing and puzzle-solving.
License

You shall not share, sub-license, sell, rent, host, transfer, or distribute in any way the digital or 3D printed versions of this object, nor any other derivative work of this object in its digital or physical format (including - but not limited to - remixes of this object, and hosting on other digital platforms). The objects may not be used without permission in any way whatsoever in which you charge money, or collect fees.


Comment & Rating (80)