
Rubik Cube Style Puzzle 2x2x2, 3 Styles
Print Profile(3)


Description
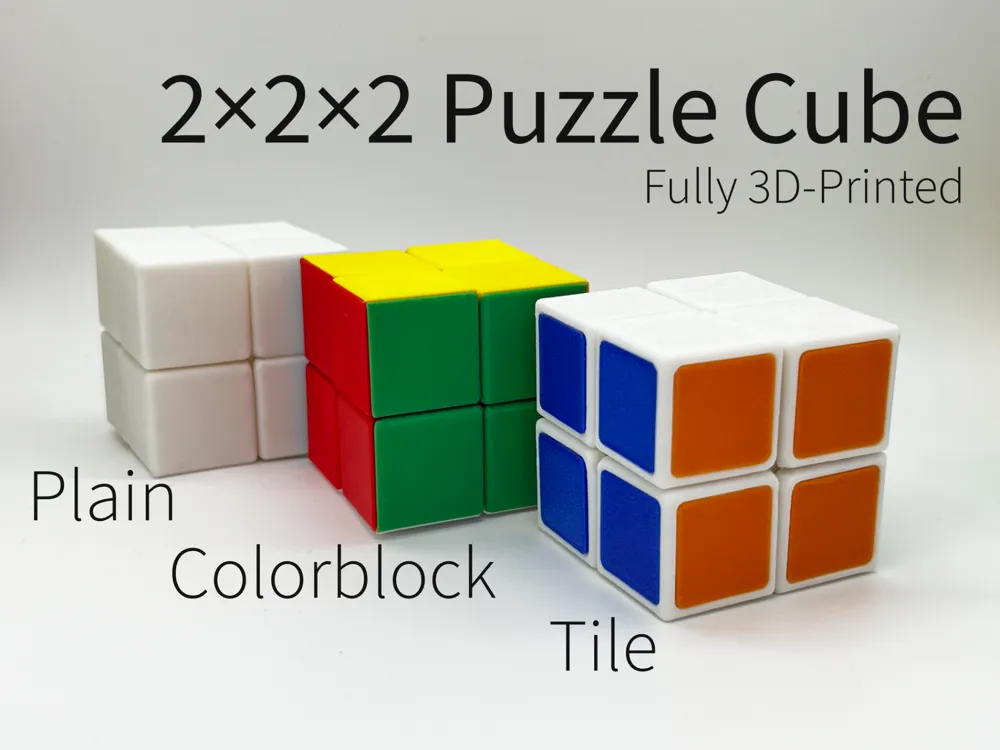
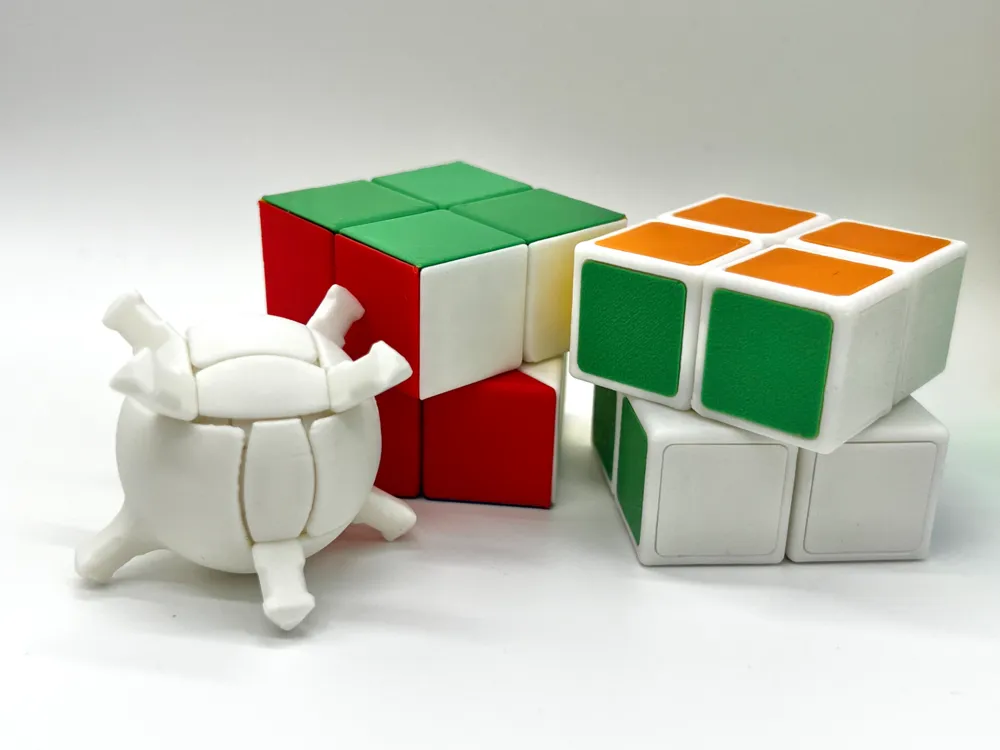
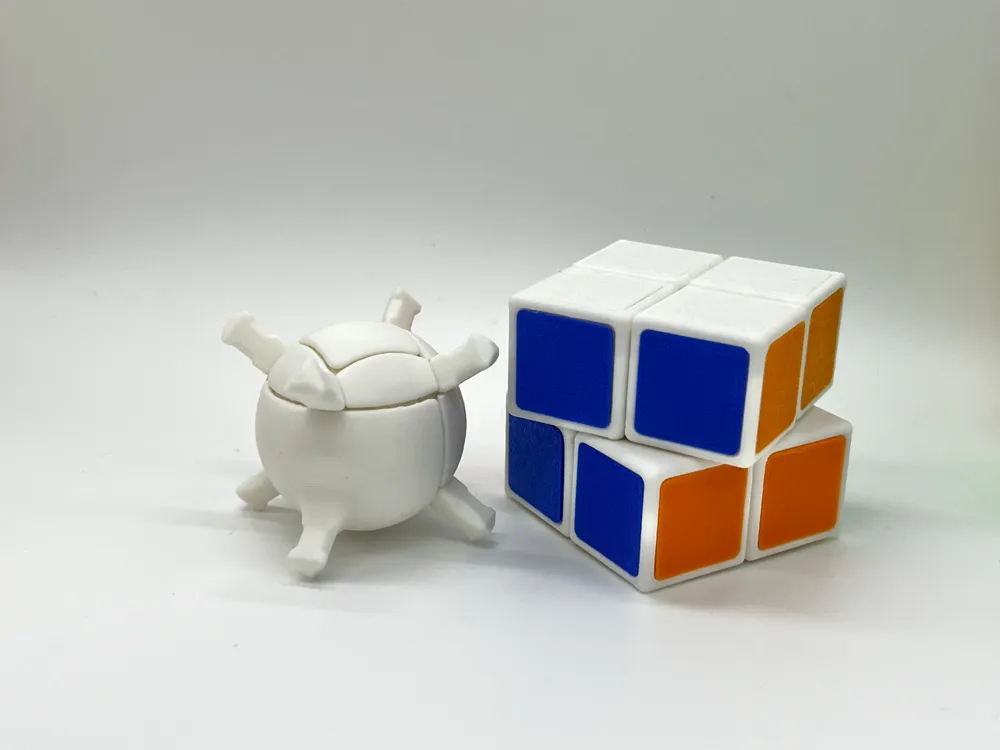
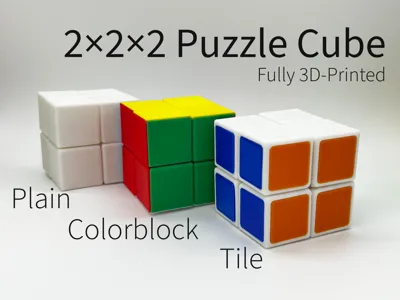
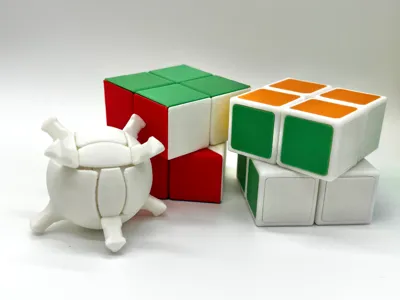
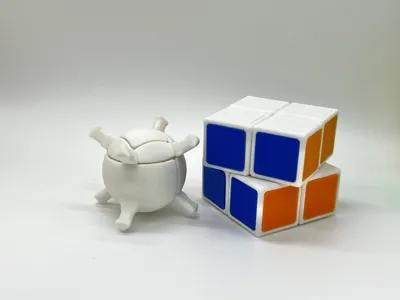
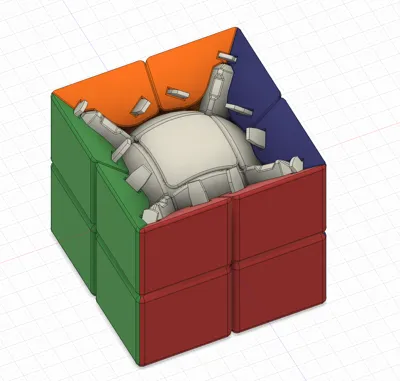
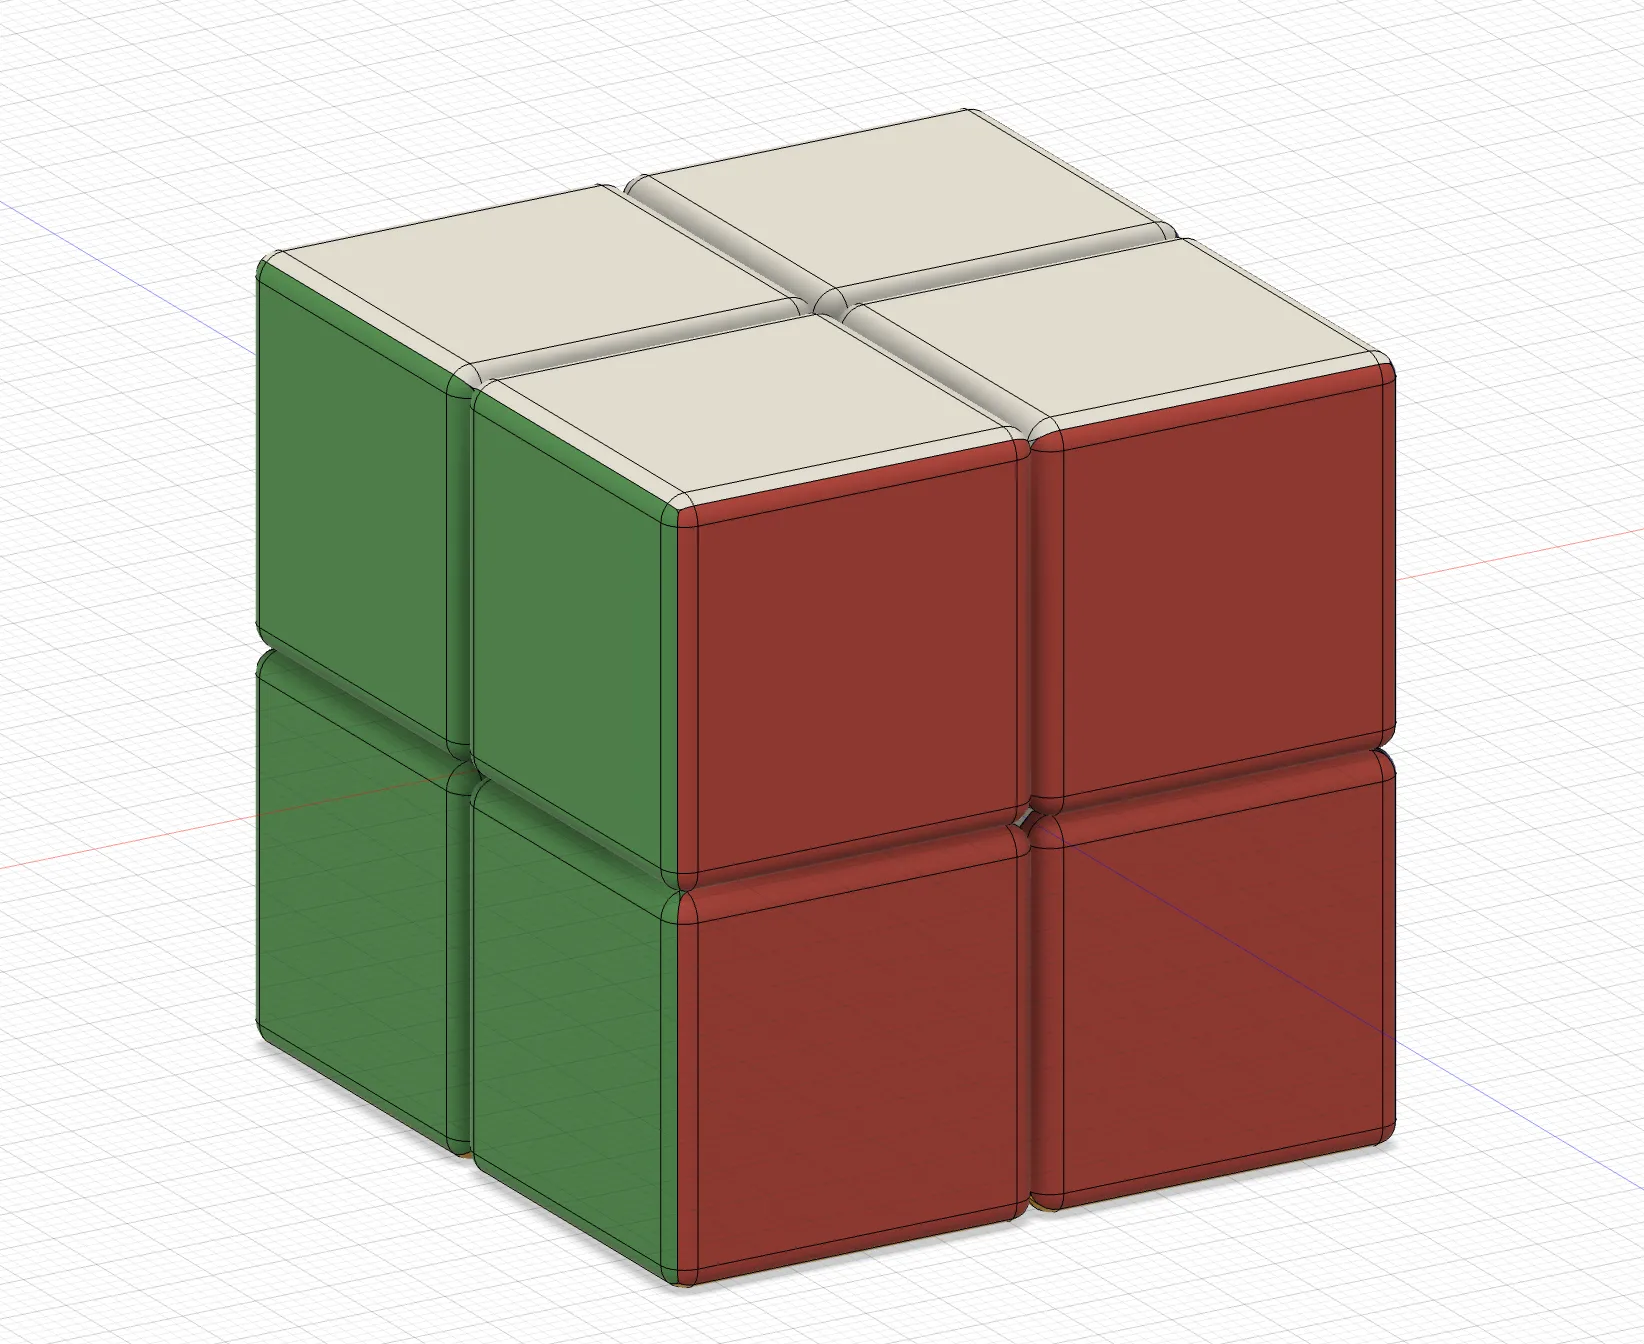
This 2x2x2 Rubik’s Cube is a compact, fully 3D-printed puzzle available in three unique styles to suit different tastes and purposes—Plain, Tile, and Colorblock. Whether you want a sleek single-color design, vibrant tiles, or bold multi-colored blocks, this puzzle is perfect for both playing and decorating.
Boost Me (for free)
Love these versatile designs? Click “Boost” support the author! Your support inspires more creative and colorful 3D-printing projects!
Features:
- All styles requires no extra parts, and can be printed without AMS.
1. Plain Style (Mono Color)
- Minimalist Design: Print in a single color for a clean and modern look.
- Great for Decoration: Perfect as a sleek centerpiece for your desk or shelf.
2. Tile Style
- Sticker-Free Design: Features separate colored tiles that snap into place—durable, scratch-resistant, and fade-proof.
- 6-Color Customization: Print tiles in 6 different colors for the classic Rubik’s Cube aesthetic, or create your own patterns.
- Long-Lasting Colors: Designed to withstand frequent handling without peeling or fading.
3. Colorblock Style
- Bold and Fun Design: Each face is split into larger, solid-colored pieces for a unique, playful look.
- 6-Color Customization
Printing Instructions:
- Plain Style: Print the entire cube in one color.
- Tile Style: Print the Plate 1 in a neutral color and Plate 2 in 6 different colors for a classic look.
- Colorblock Style: Print Plate 1 in a neutral color and Plate 2 in 6 different colors.
Part List:
Common Parts:
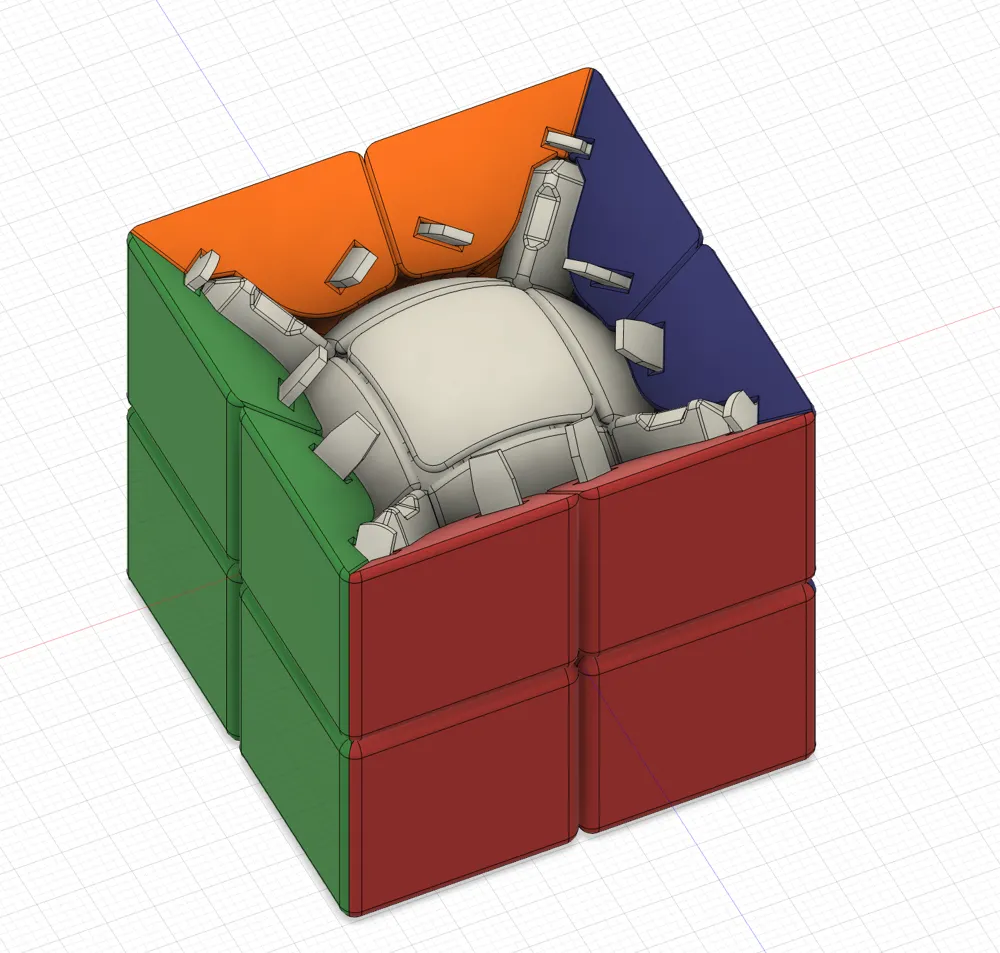
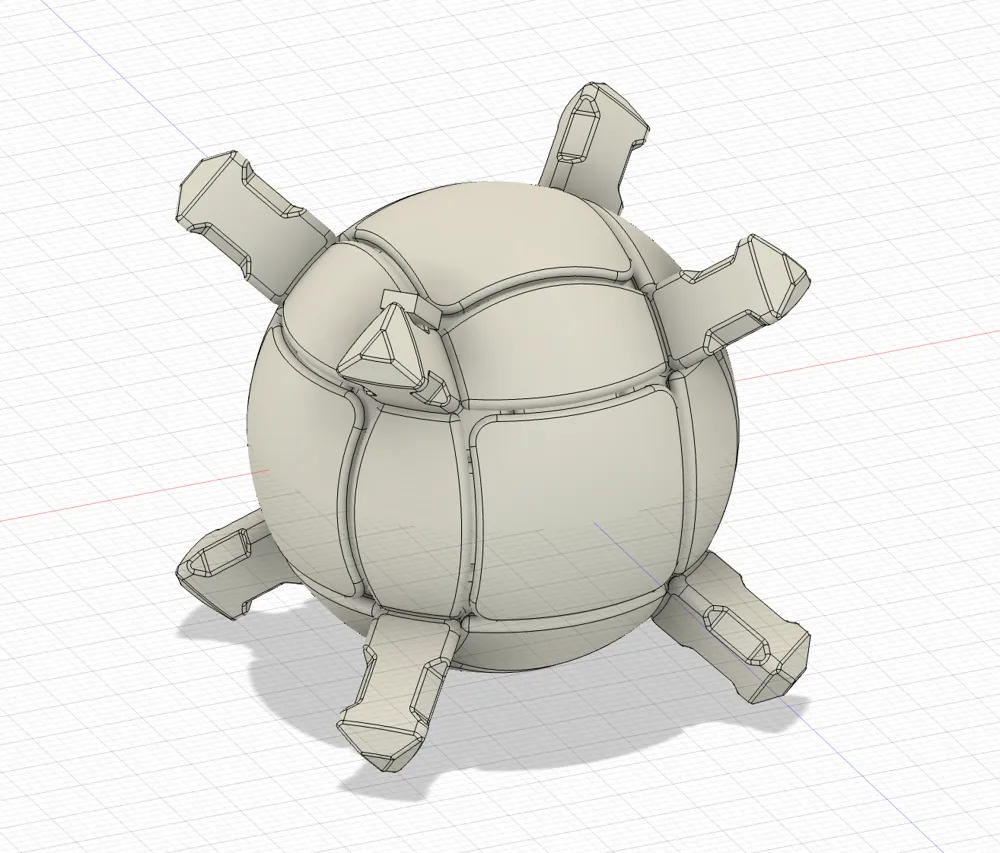
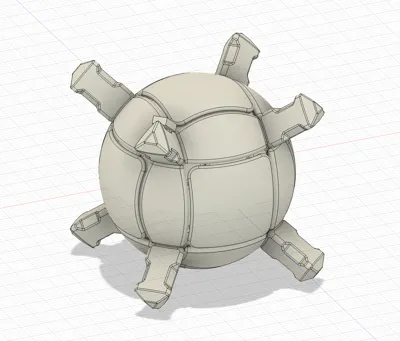
- 1 Core Piece, 1 Core Cap
- 3 Center Pieces
- 7 Corner Stick Pieces
- 9 Edge Pieces
Parts for Plain Style:
- 8 Corner Blocks
Parts for Tile Style:
- 8 Corner Blocks
- 24 Tile Pieces (4 Tile Pieces each color)
Parts for Colorblock Style:
- 24 Corner Face Pieces (4 Corner Face Pieces each color)
- 10 Triangle Chips (8 used, 2 spare)
- 27 Rectangle Chips (24 used, 3 spare)
Assembly Instructions:
Assembly of Core Parts (Common for all 3 styles)
- Remove all supports and clean up edges if necessary.
Clip 3 Center Pieces to the Core Piece.
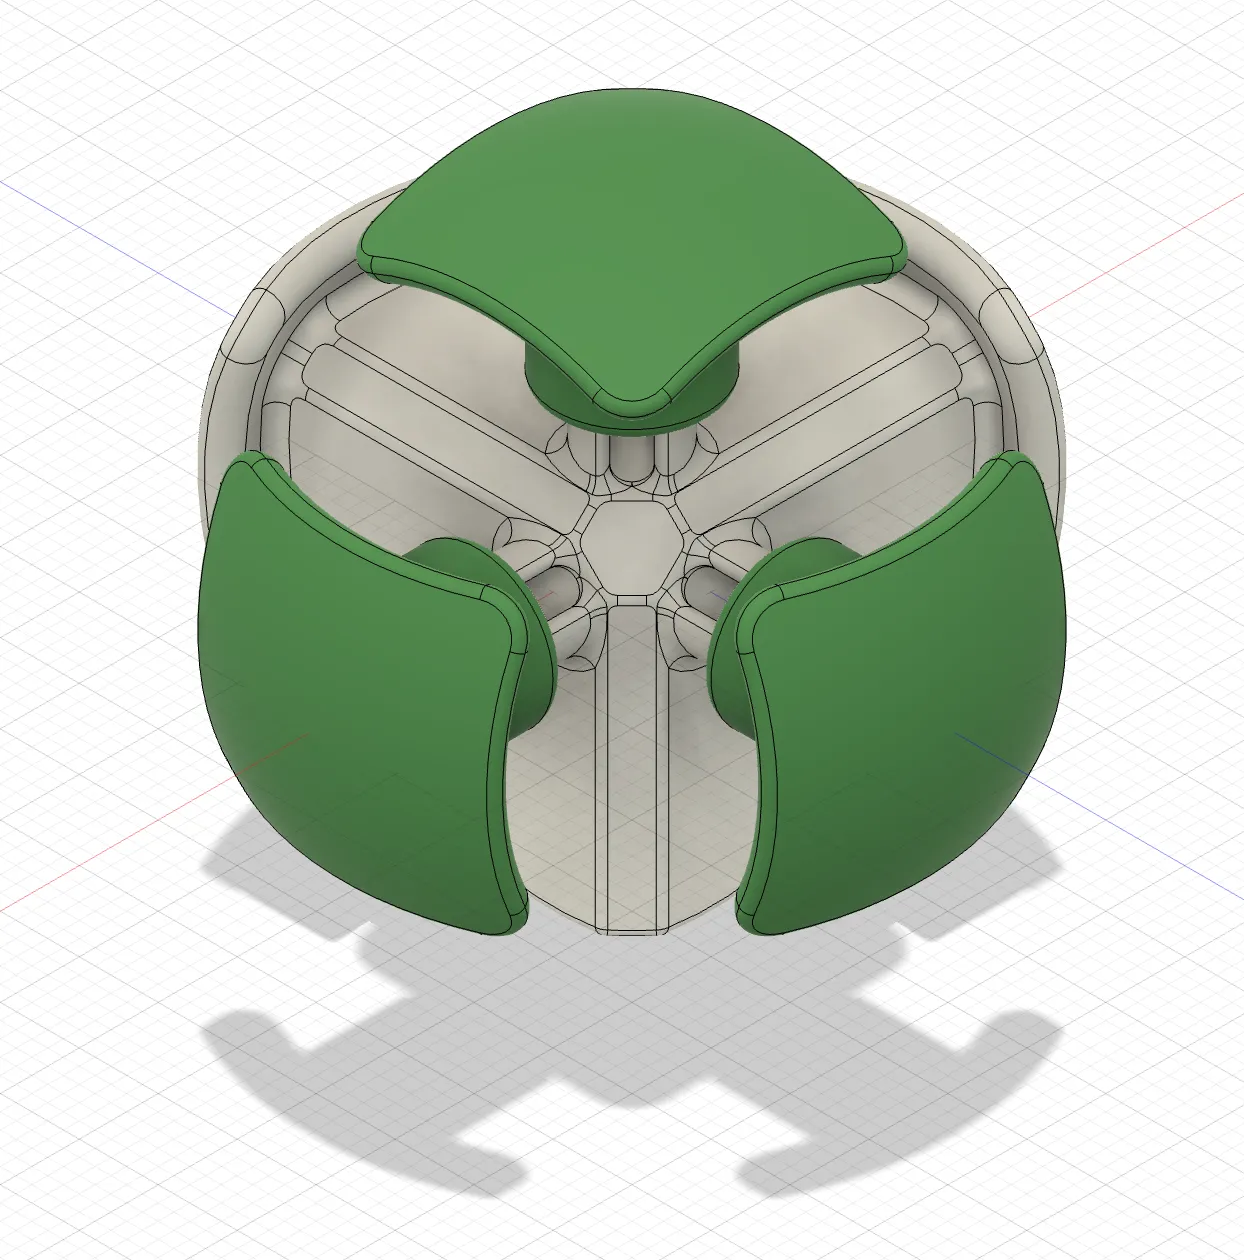
Slide in 1 Corner Stick Piece, and 2 Edge Pieces.
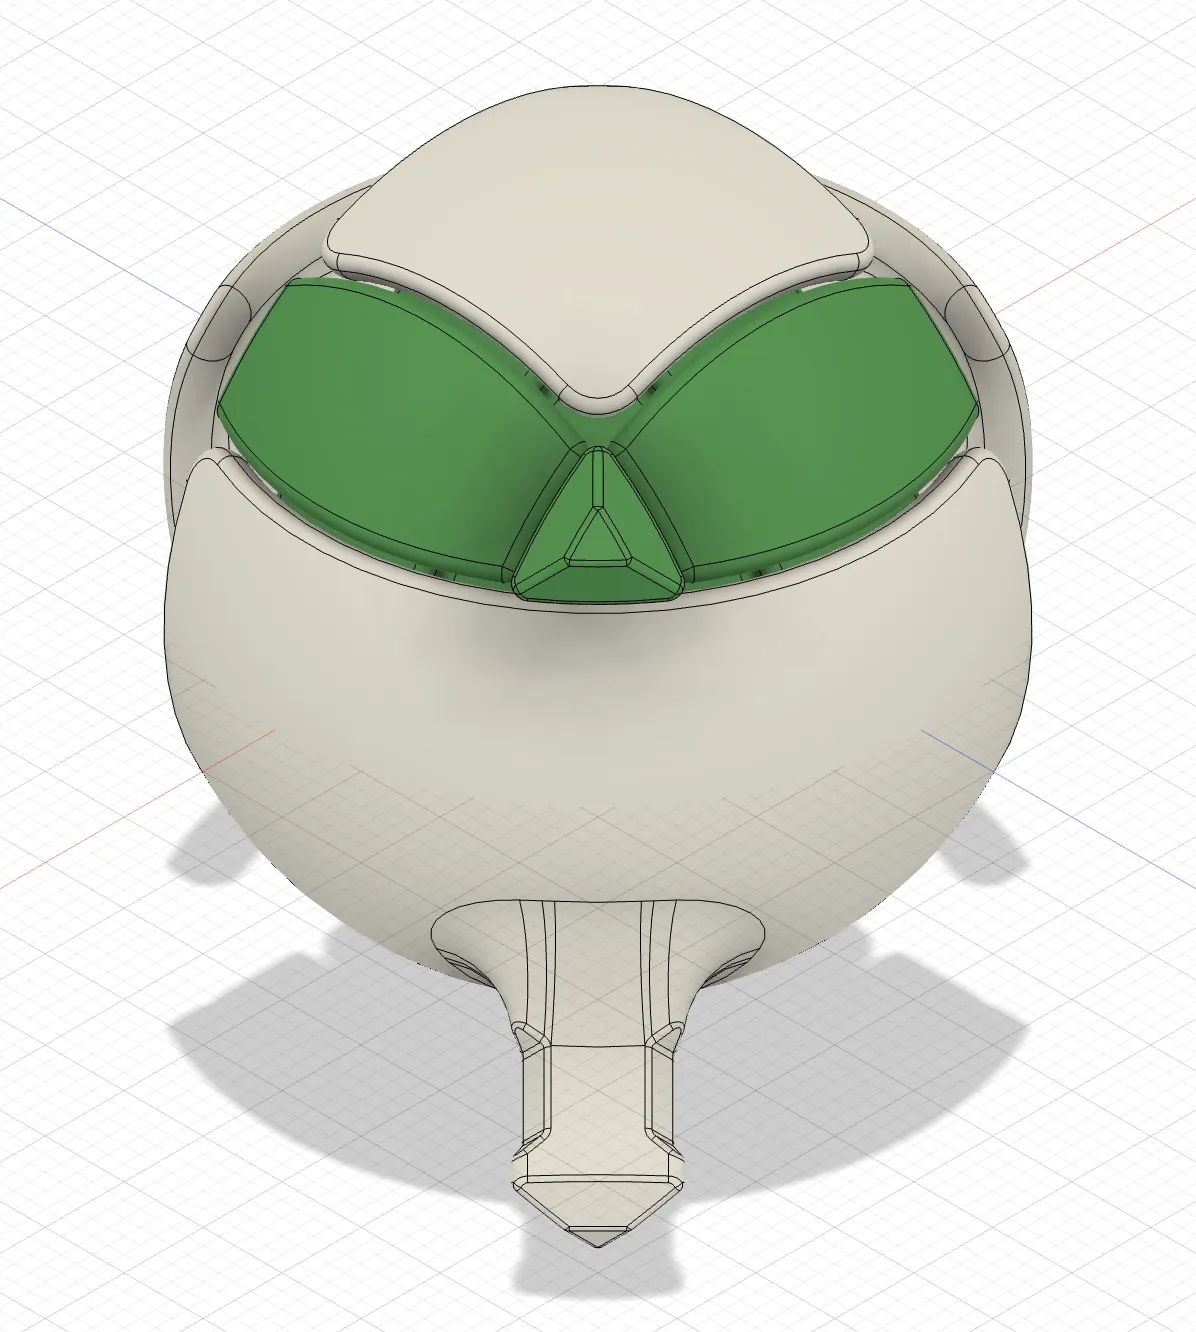
Slide in 1 Corner Stick Piece, followed by 2 Edge Pieces.
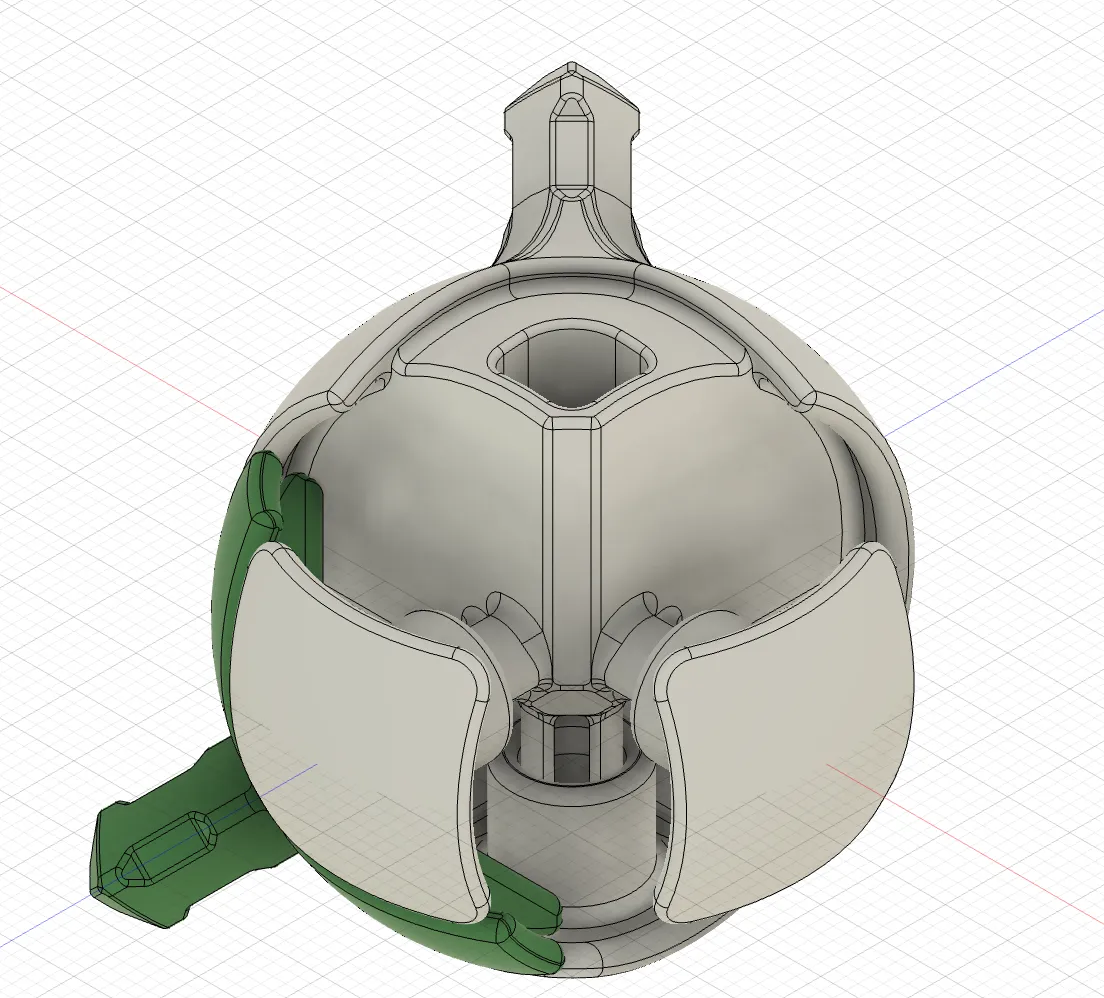
Add 1 Edge Piece, and rotate the Center Piece and Edge Piece 90 degrees to the shown position.
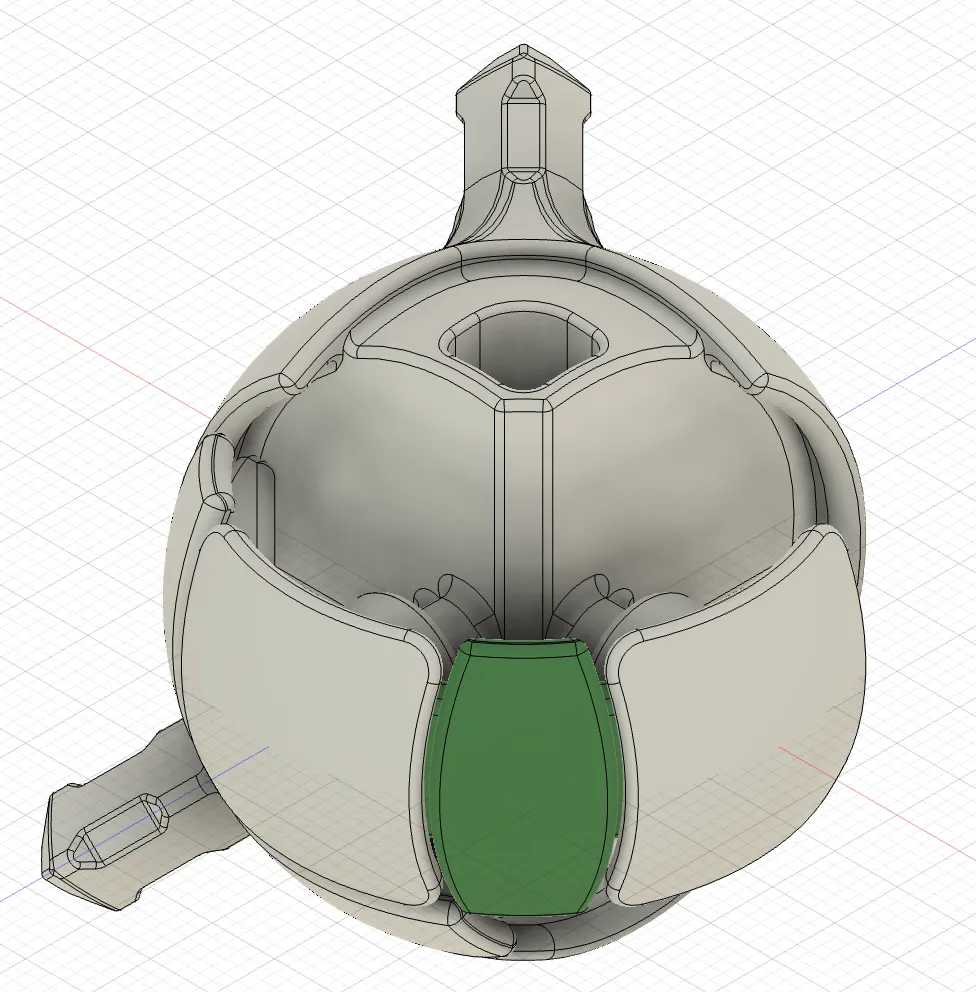 . rotate =>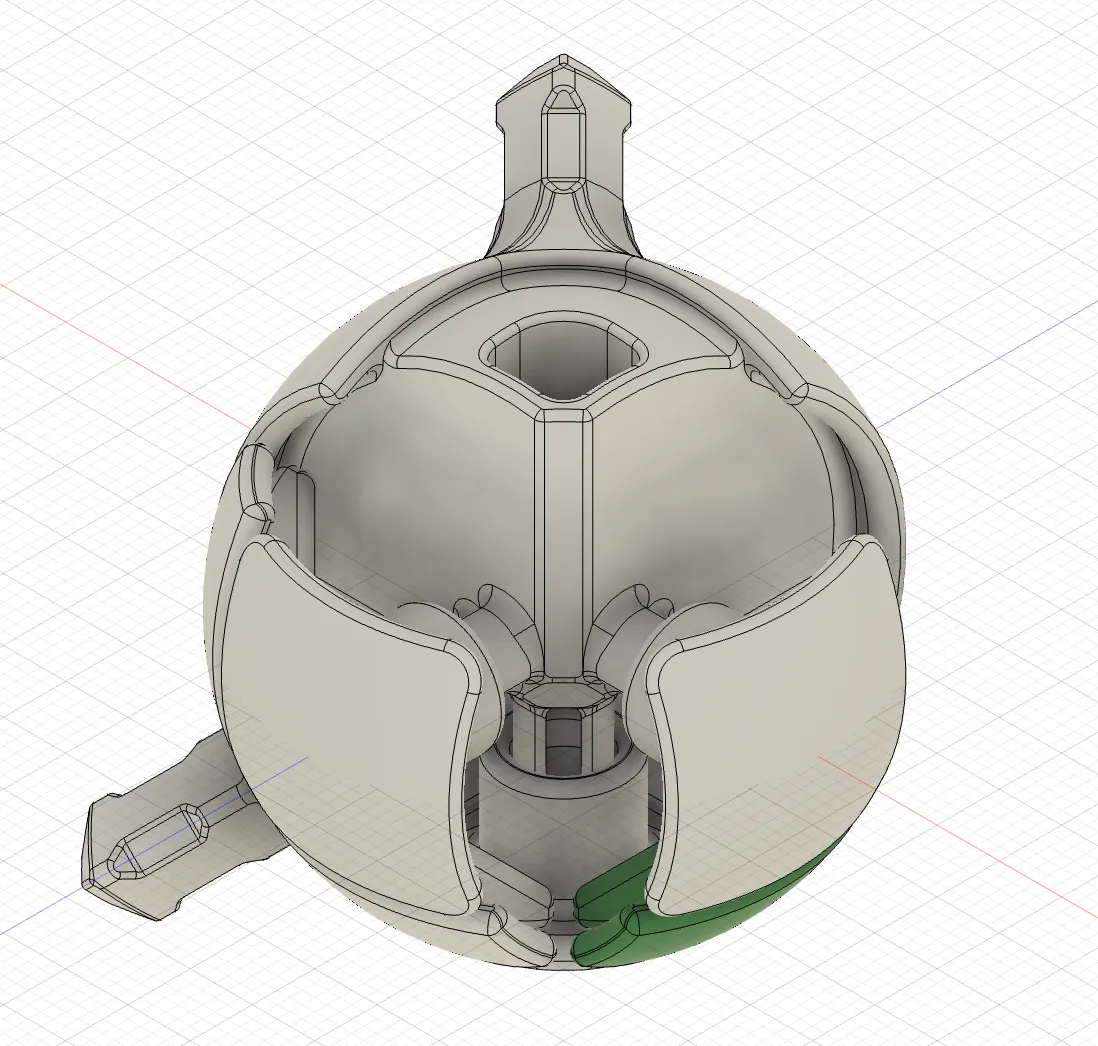
Add 1 Corner Stick Piece, followed by 1 Edge Piece.
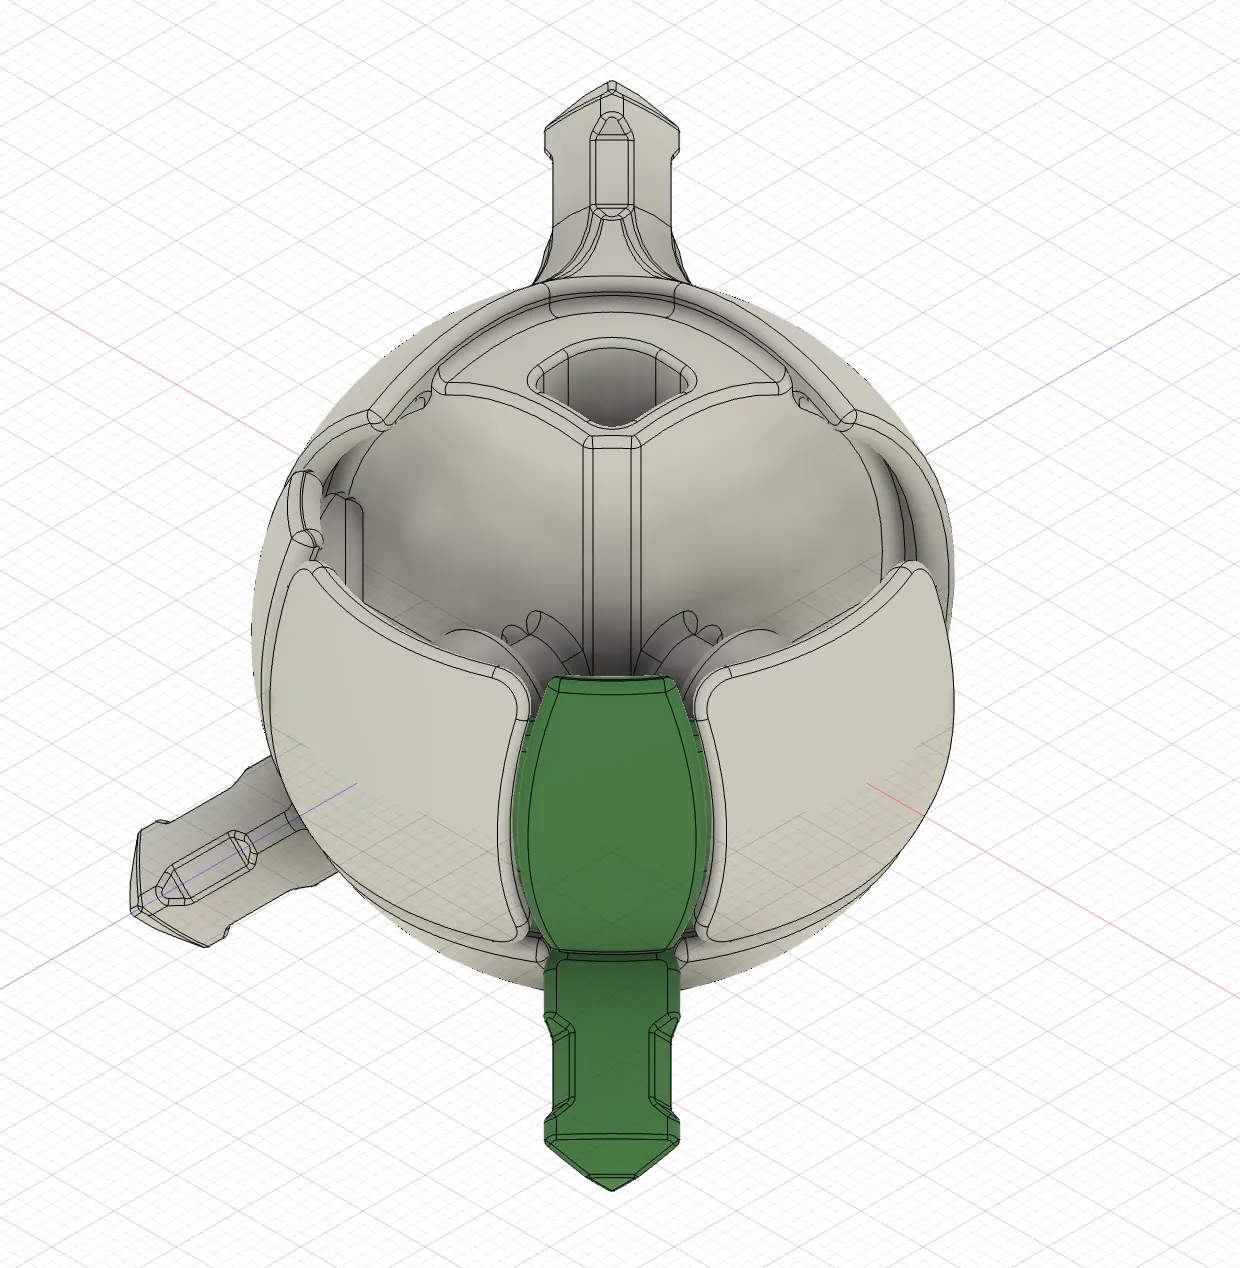
Add 1 Corner Stick Piece, following by 1 Edge Piece.
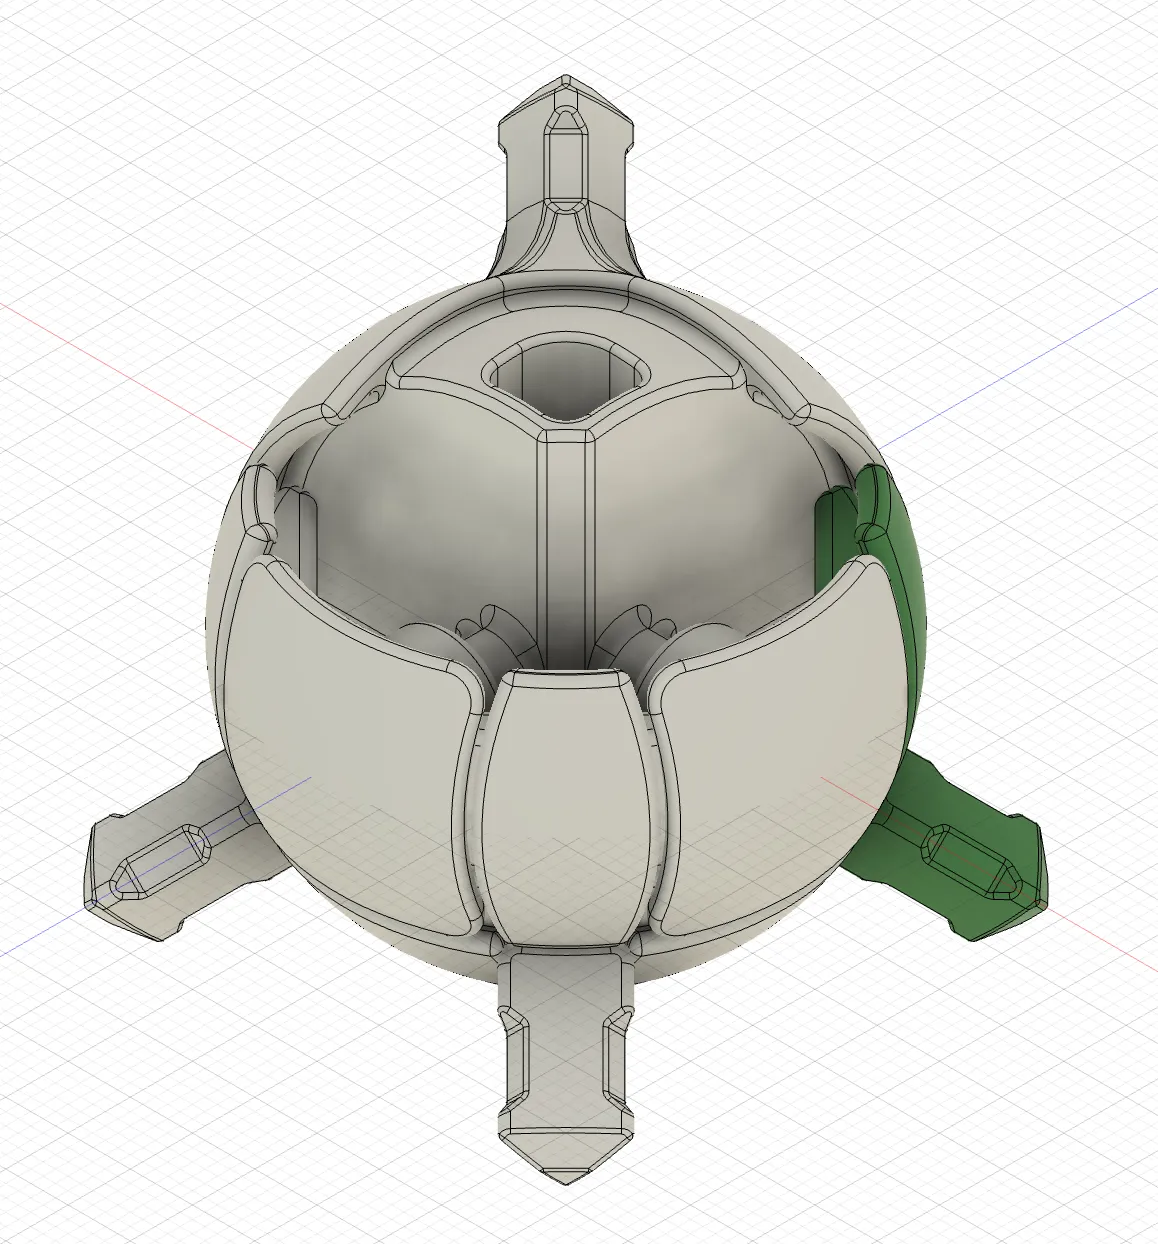
Put 3 Corner Stick Pieces and 2 Edge Pieces to the top layer. One Edge Piece should be inserted last.
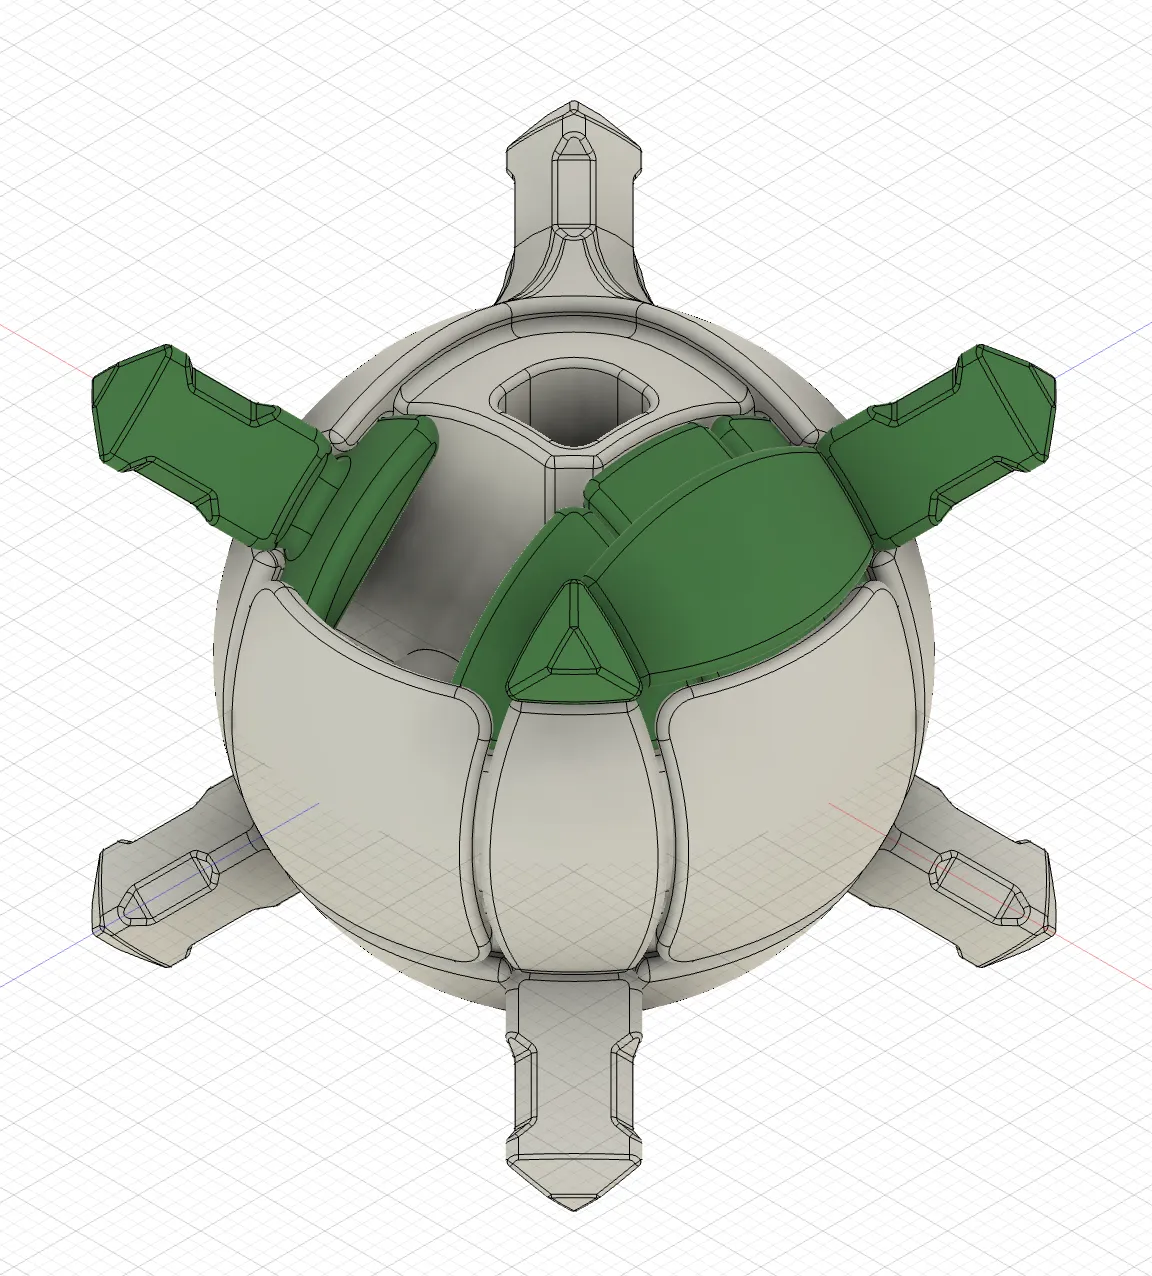 .
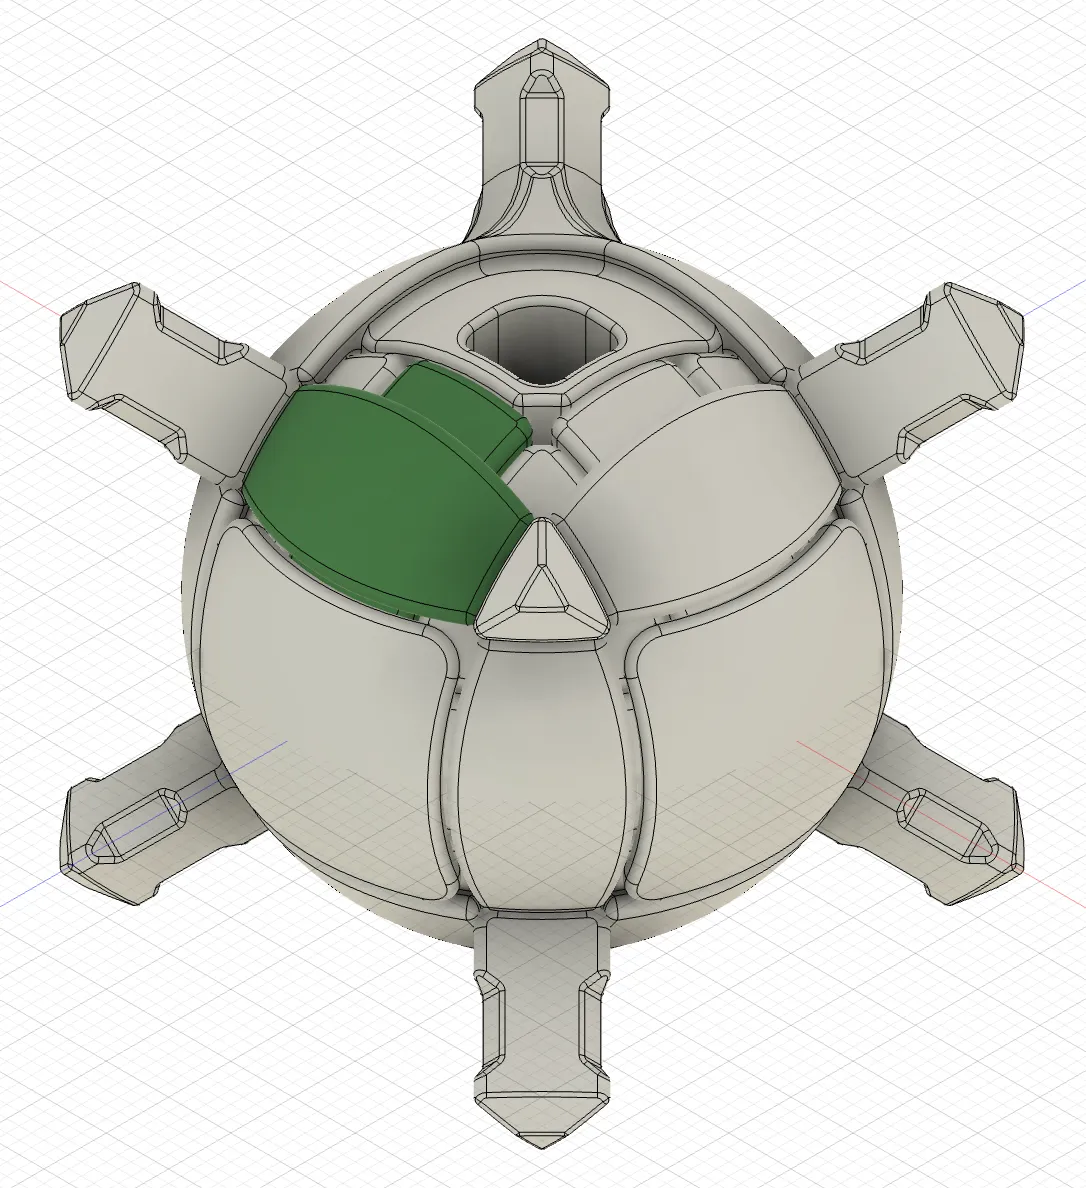
. 
Insert the Core Cap Piece to the Core Piece.
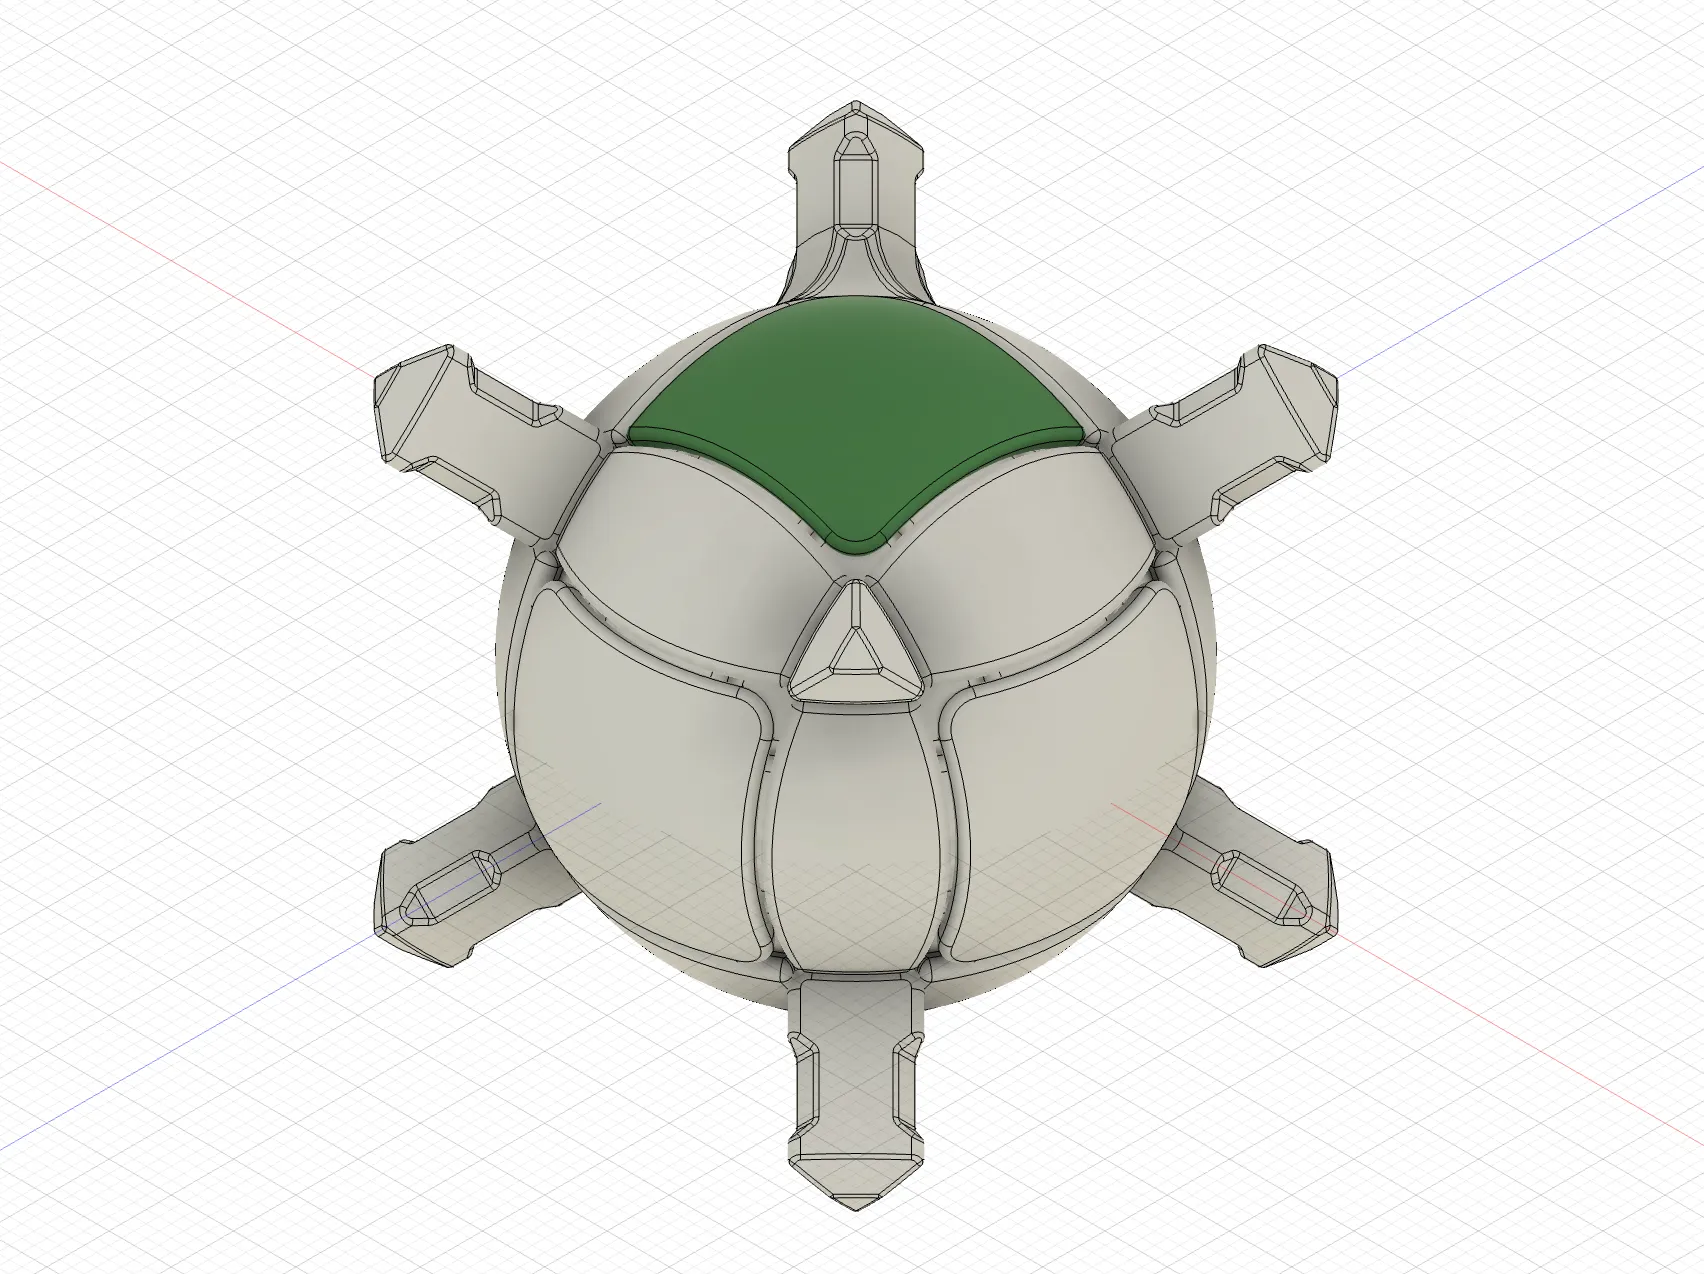
Optional: Apply silicone based lubricants to the core.
Follow the following instructions based on your style.
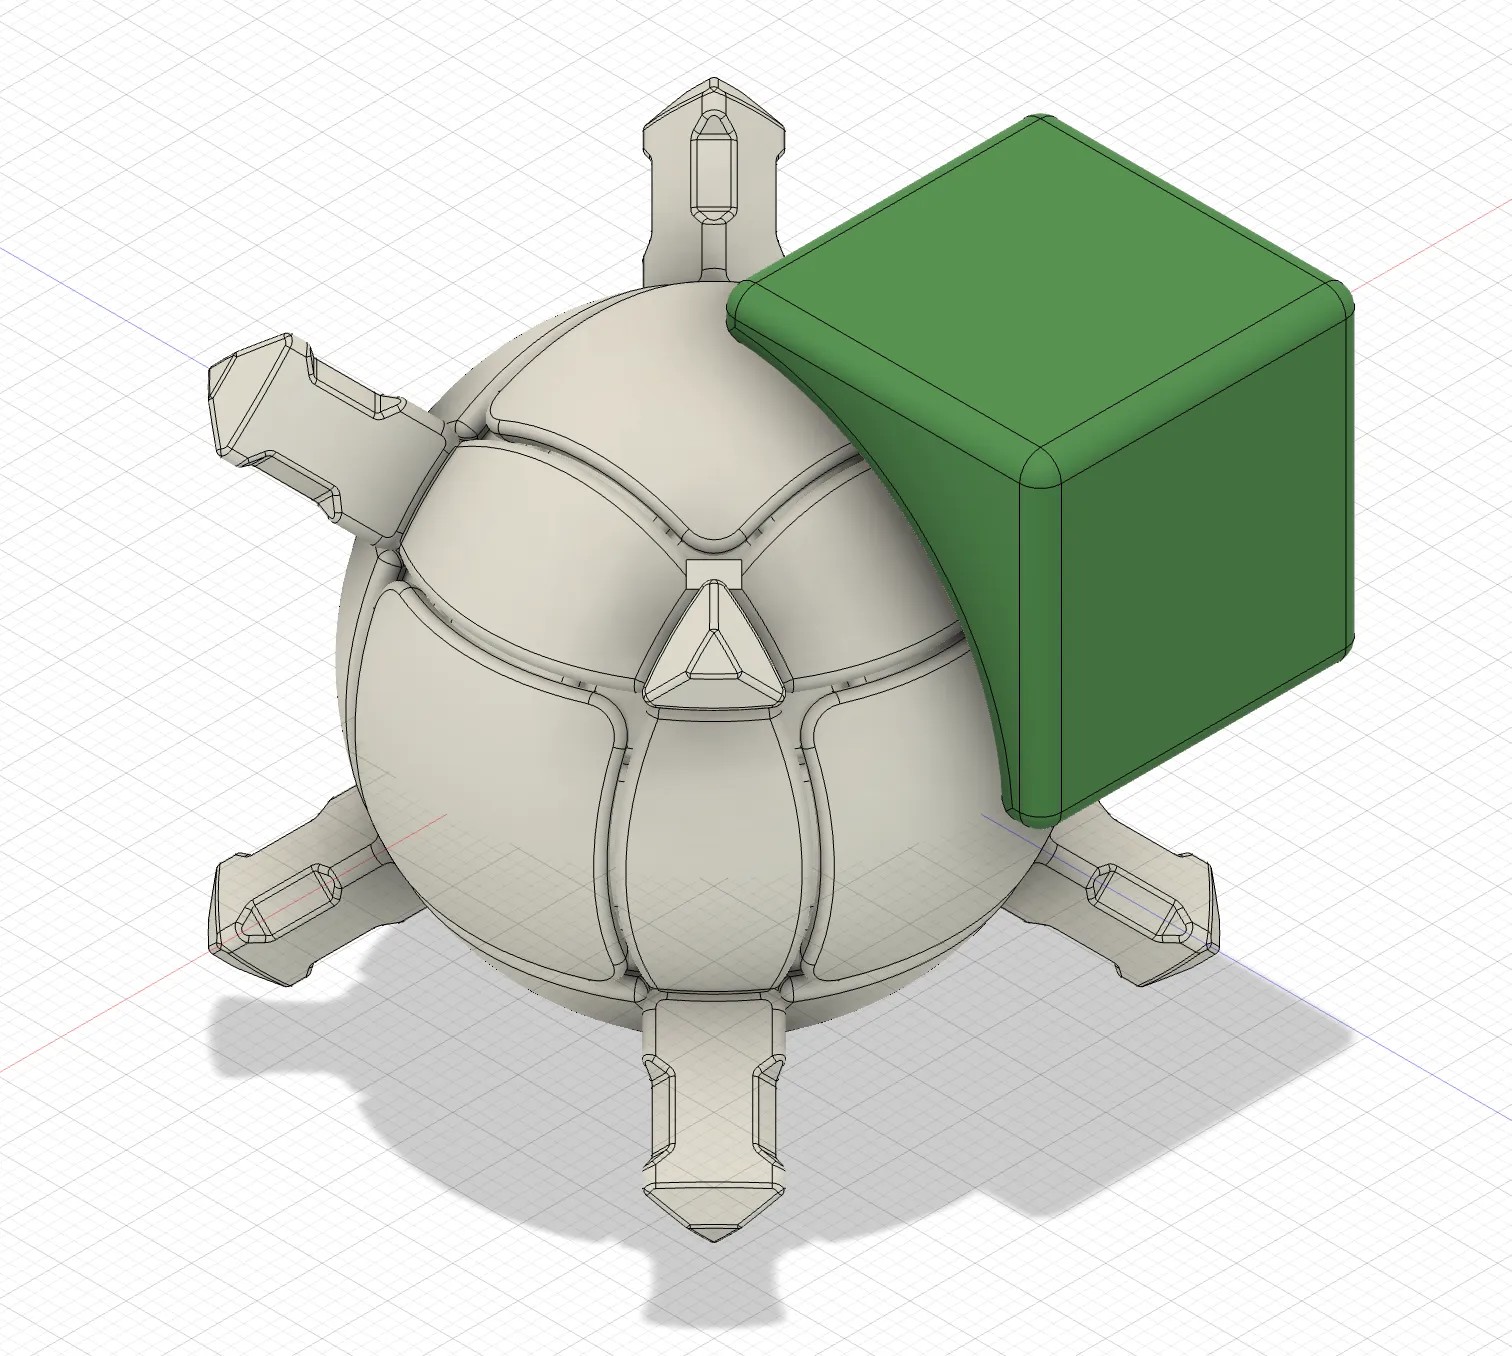
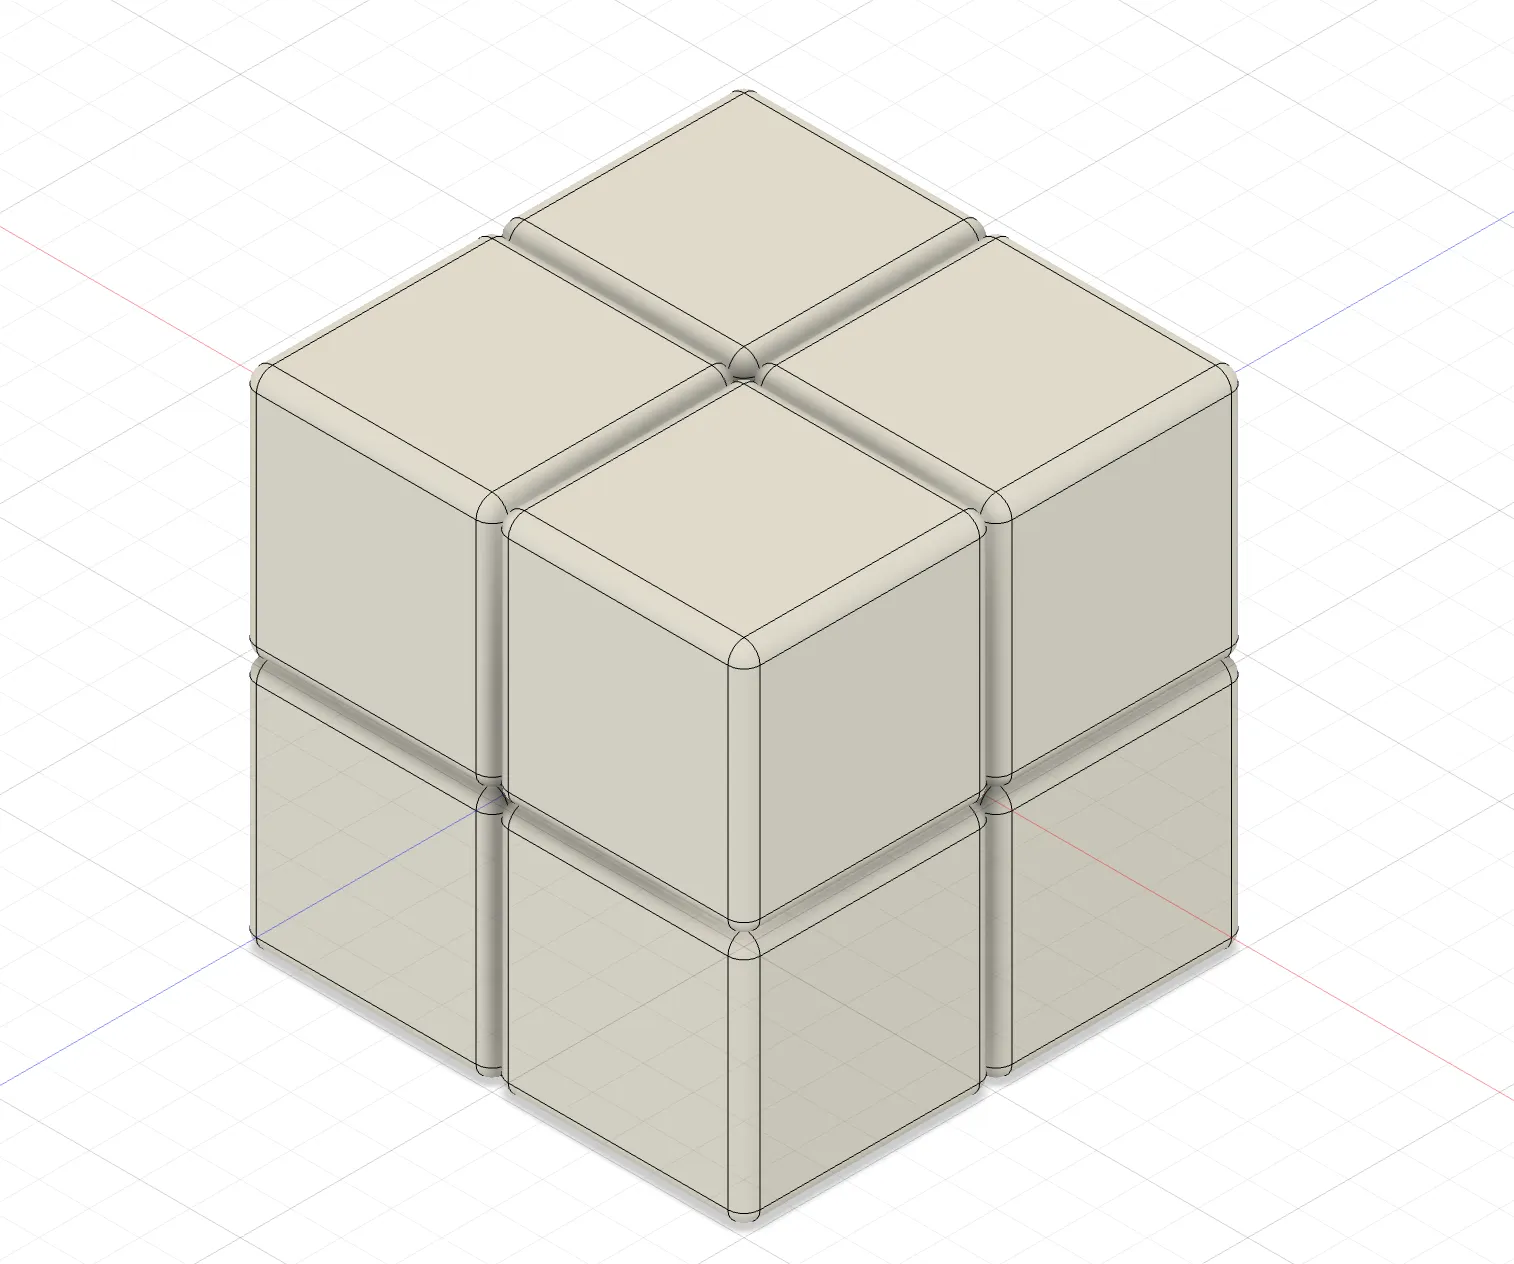
Assembly of Plain Style
Cap the Corner Block Piece to the Corner Stick. Repeat to cap all Corner Block Pieces.
Assembly of Tile Style
Cap the Corner Block Piece to the Corner Stick. Repeat to cap all Corner Block Pieces.
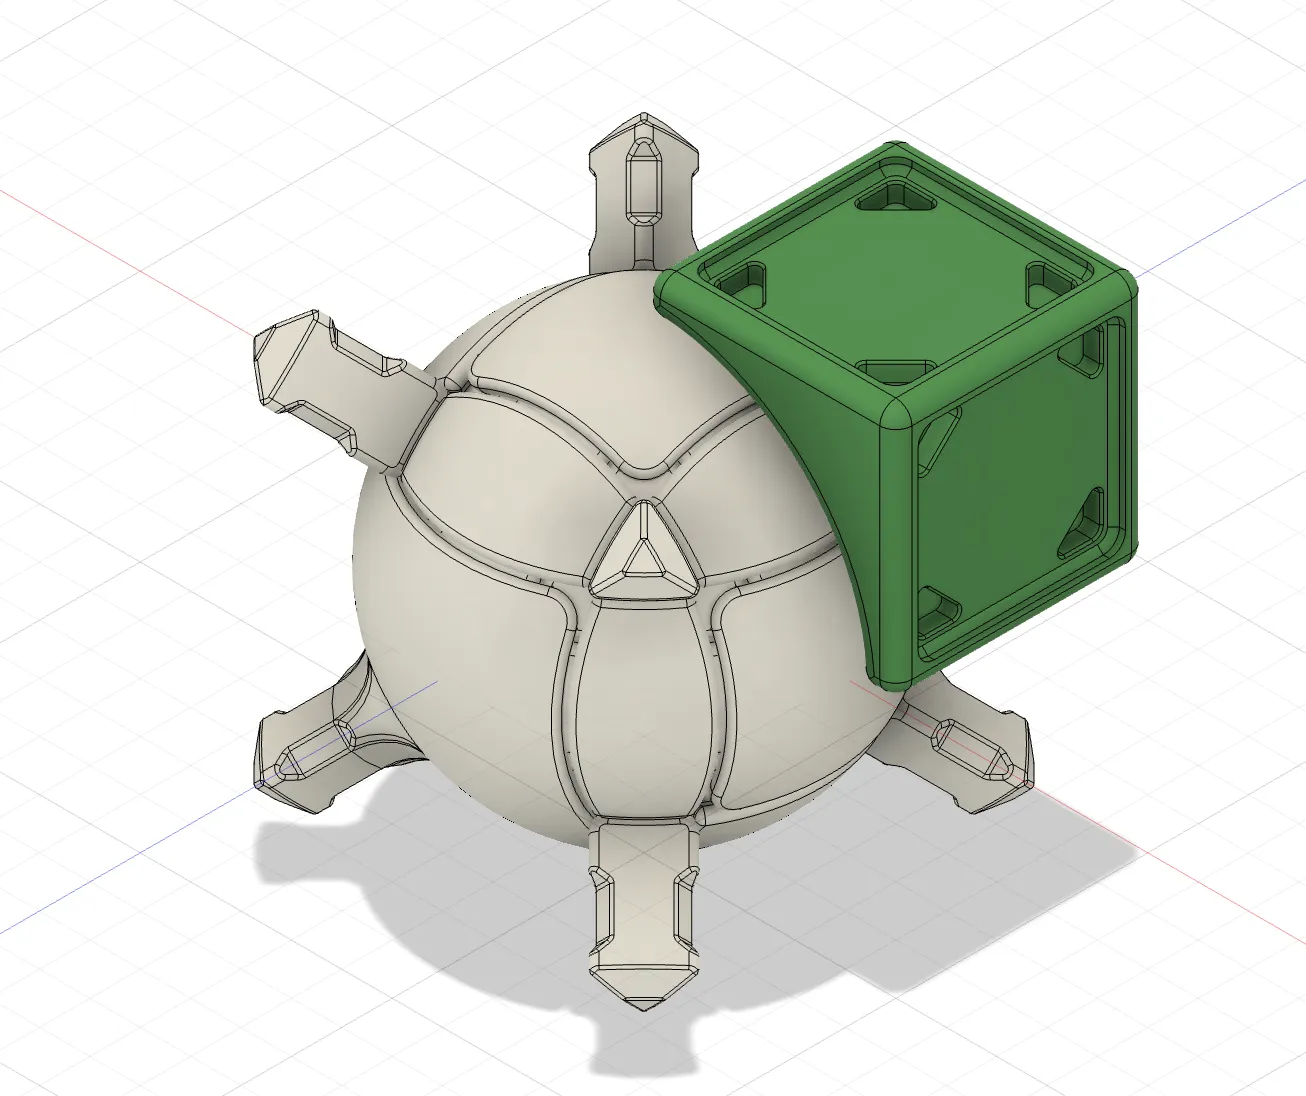 .
. 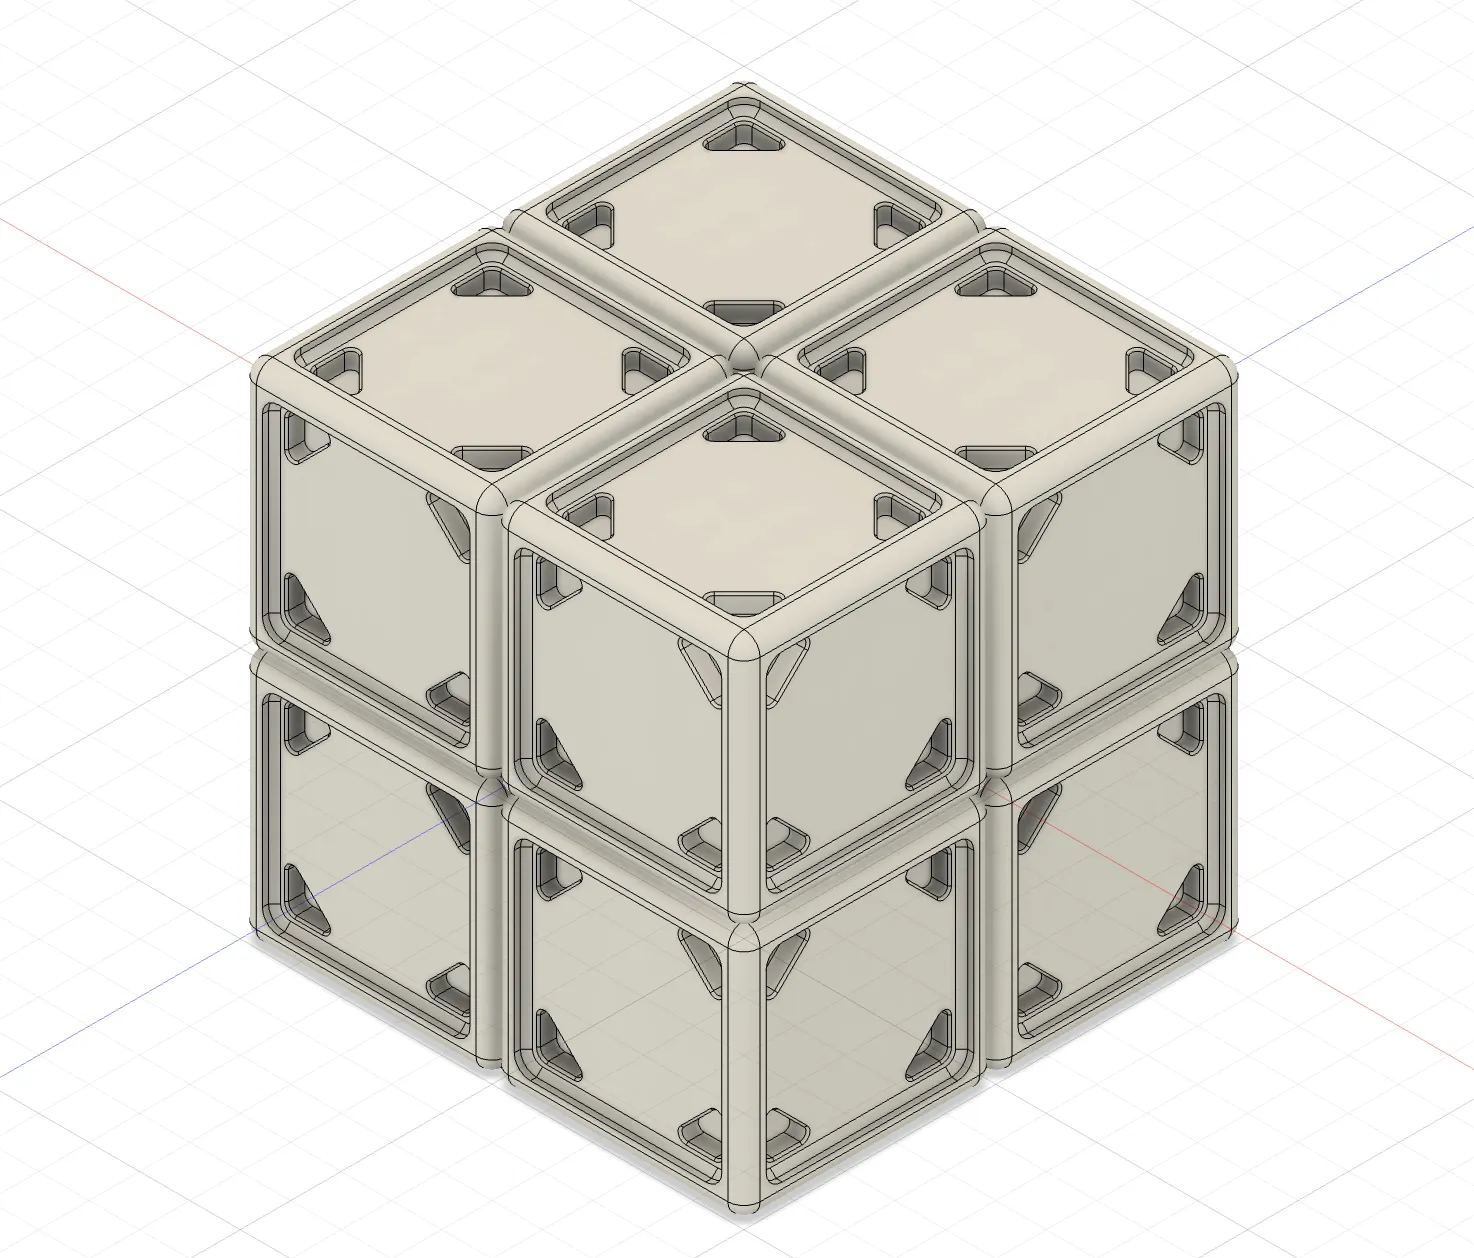
Apply Tile Pieces to the slots. Done!
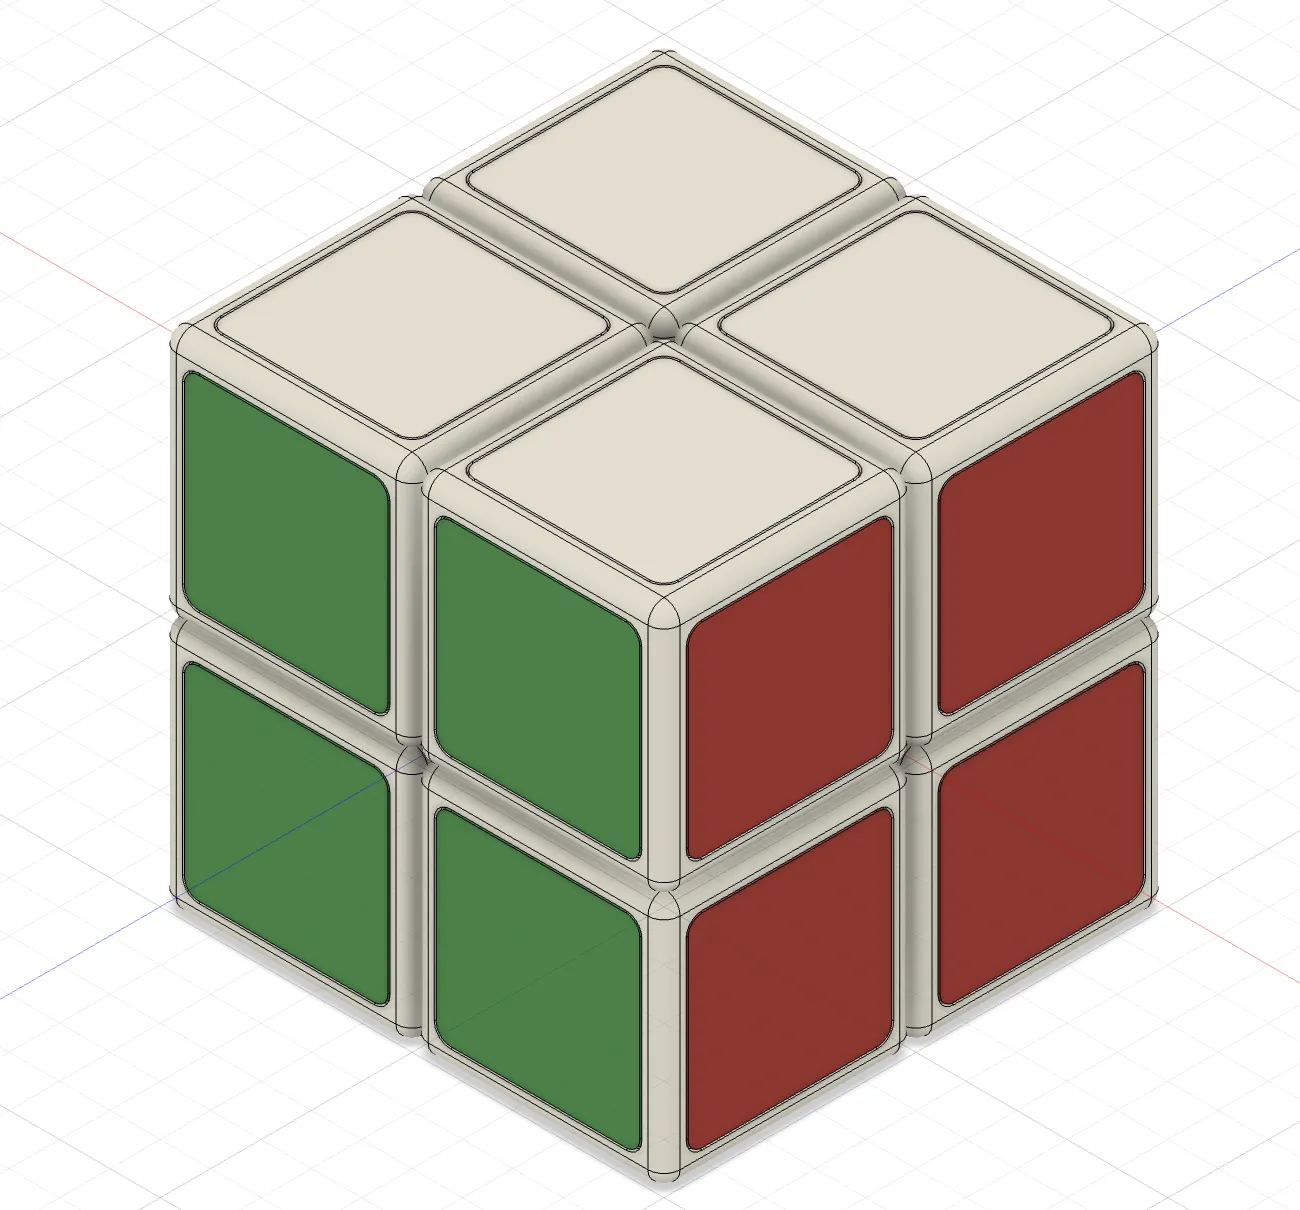
Assembly of Colorblock Style
- Break all chips into chip pieces.
Put 1 Corner Face Piece with 3 chips to the Corner Stick, and put second Corner Face Piece to the chips, and the third.
Each corner uses 3 Corner Face Pieces, 1 Triangle Chip, and 3 Rectangle Chips.
Capping the last piece is somehow difficult.
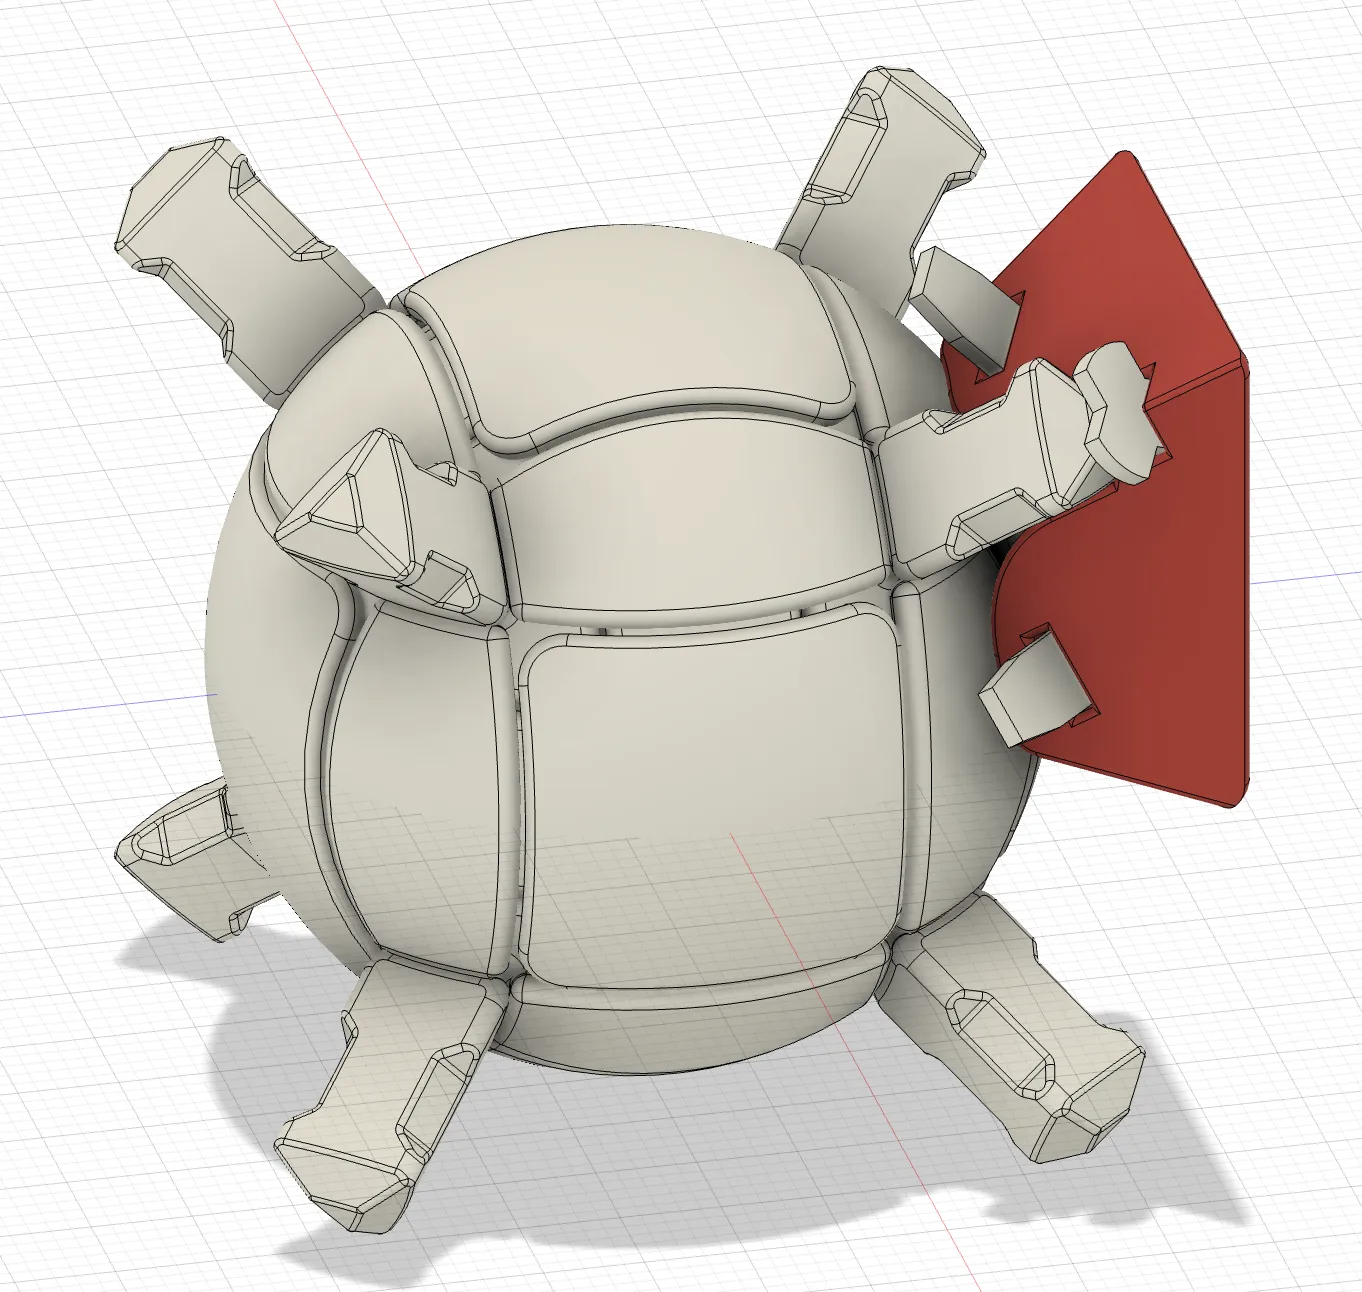
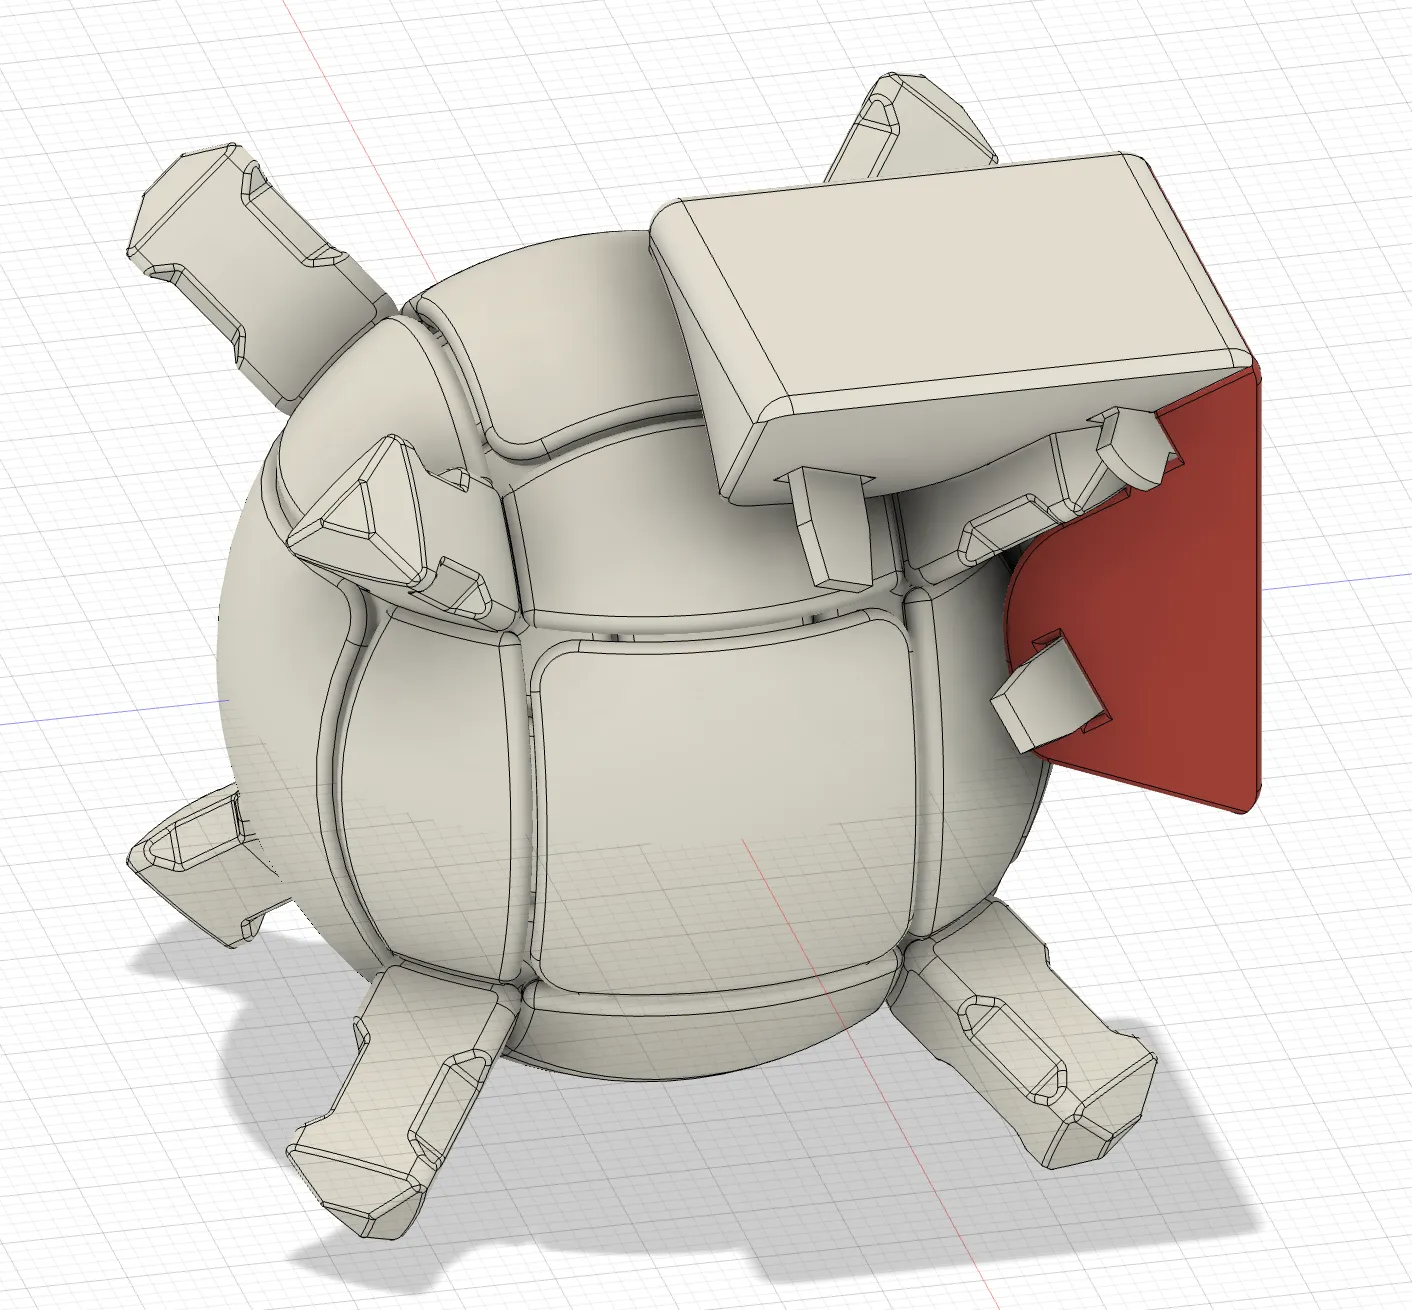
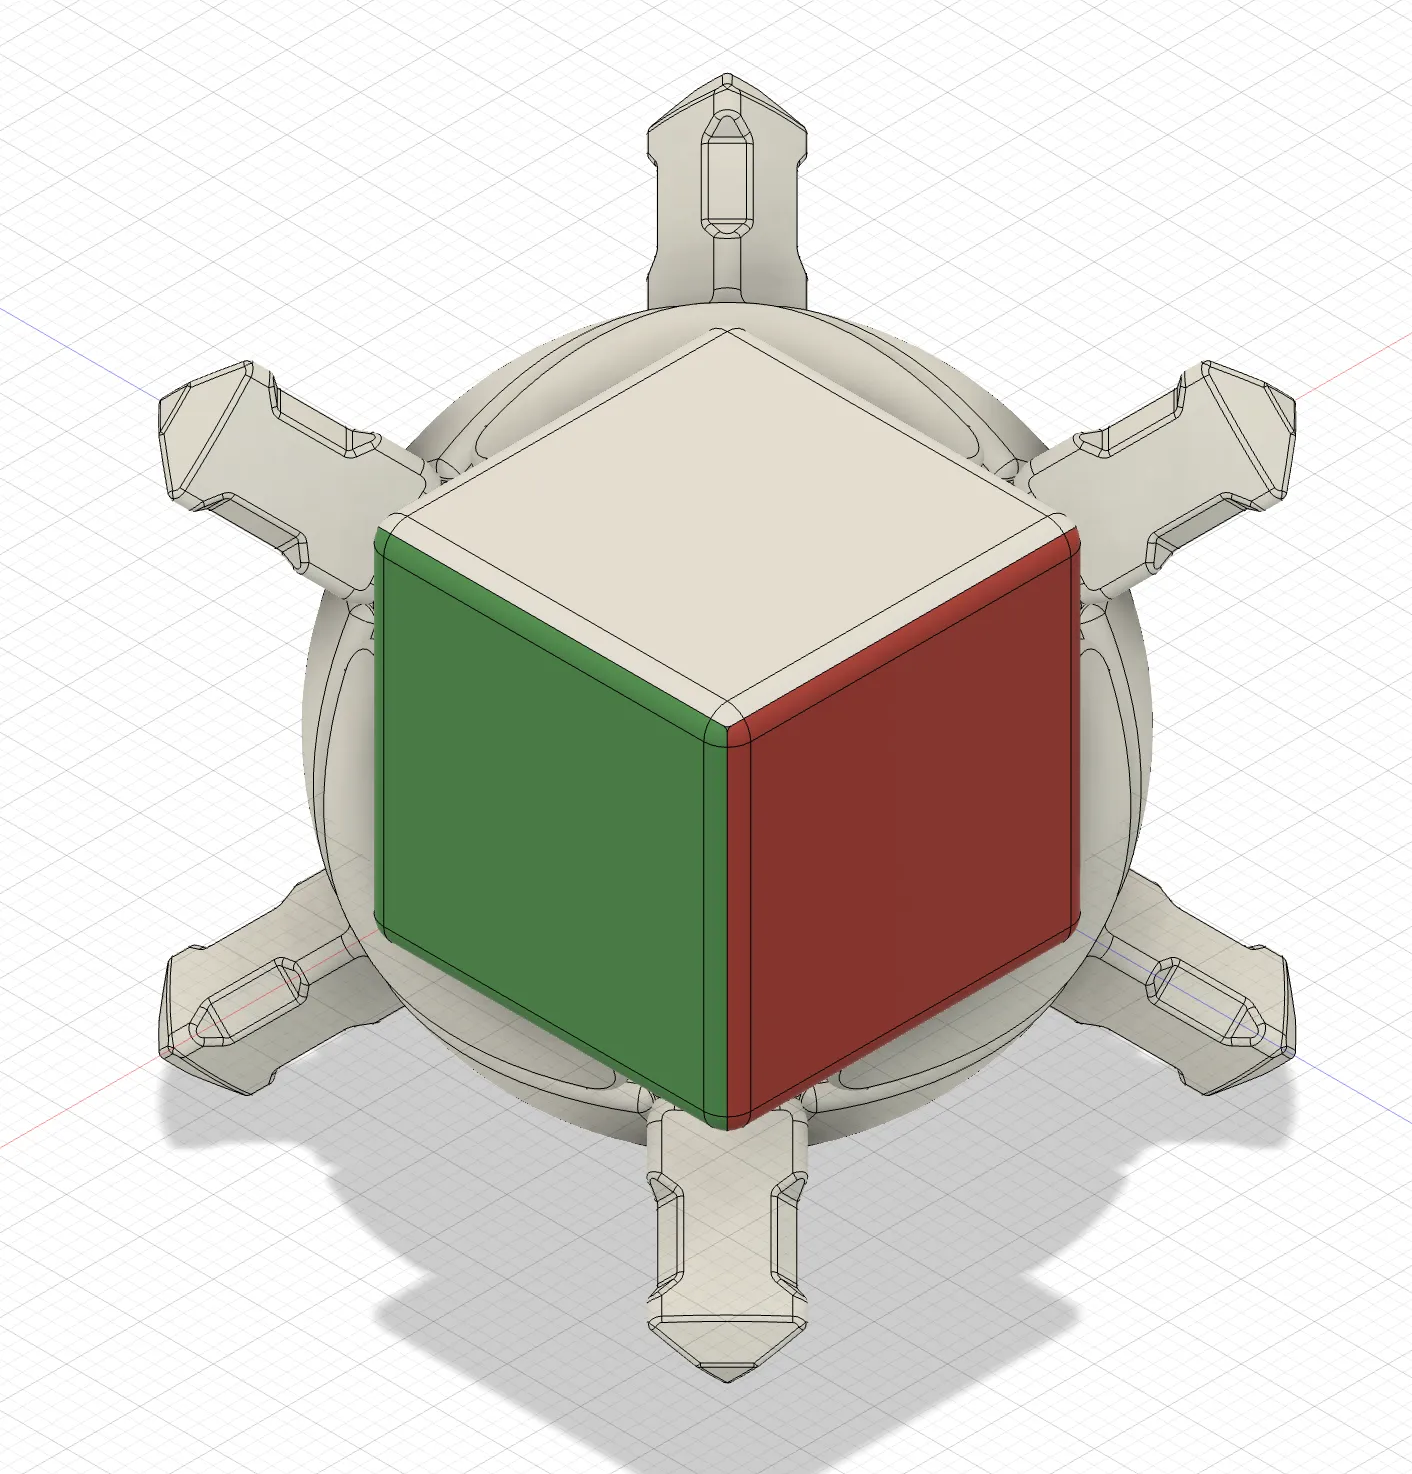
Repeat to add all corners, Done!
Boost Me (for free)
Love these versatile designs? Click “Boost” support the author! Your support inspires more creative and colorful 3D-printing projects!
License

You shall not share, sub-license, sell, rent, host, transfer, or distribute in any way the digital or 3D printed versions of this object, nor any other derivative work of this object in its digital or physical format (including - but not limited to - remixes of this object, and hosting on other digital platforms). The objects may not be used without permission in any way whatsoever in which you charge money, or collect fees.


Comment & Rating (154)