Cute Sitting Spraycan


Print Profile(4)


Description
⚠️If you want to see all my models (i.e. middle fingers), turn on nsfw in your account settings under preferences⚠️
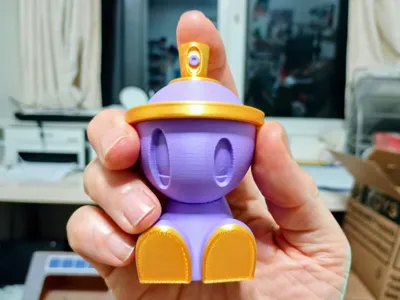
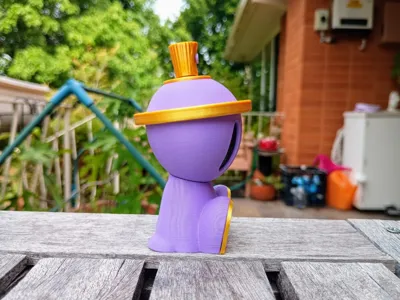
Hey everyone. Here is my attempt to model the Canbot, originally created by UK-based artist Czee13.
The Canbot is printable without an AMS. It has a poseable head and a little ball inside the head to give a rattle-can “shake”.
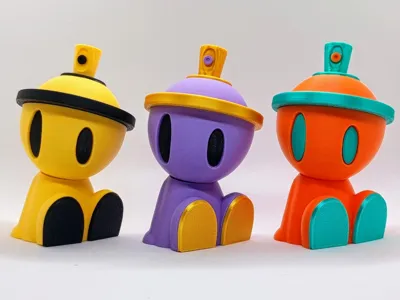
It is ~9cm (3.5") tall and there are three print profiles for various colour combinations and one containing all the different heads:
- Two colour - two variants
- Three colour
- Gold Edition
- Heads - has three head variants including a blank head without eyes for custom paint jobs.
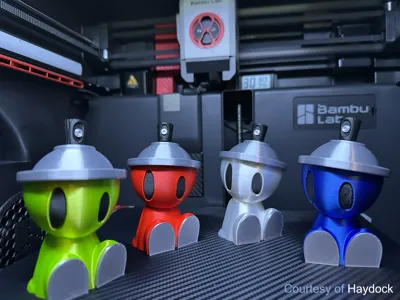
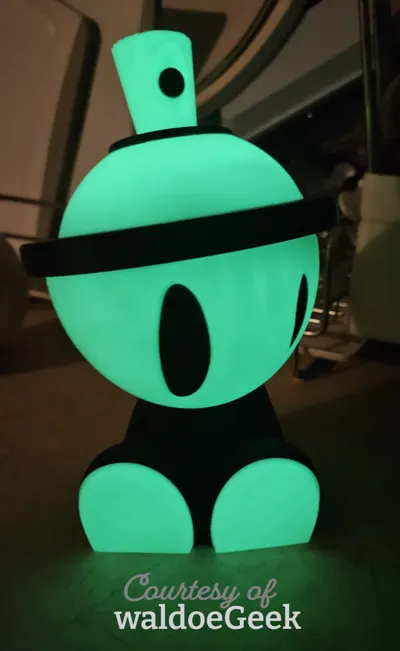
Happy printing and I look forward to seeing all the colour variations you come up with. I wish I had some PLA sparkle or galaxy filament as I reckon they will look awesome printed with it.
NB: Colour variants and building instructions are below.
Colour Variants
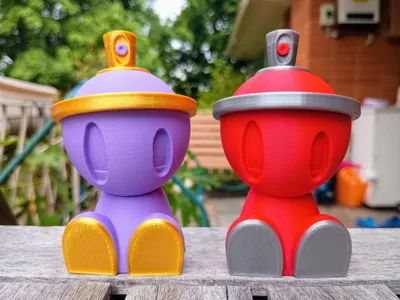
Two Colour - Variant #1

Printed with sunlu silk pla+ light gold, bambulab matt pla purple, bambulab basic pla red and x3d pla silver
Two Colour - Variant #2

Printed with bambulab matt pla yellow and x3d basic pla black
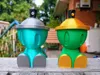
Three Colour

Printed with x3d pla silver, sunlu silk pla+ blue and light gold, bambulab pla basic mistletoe green
Gold Edition

Printed with sunlu silk pla+ light gold and x3d basic pla black
Parts


Building Instructions
- Requires glue
- The head can be mounted on the body at any time.
Hat
- The alignment pin is used to align the top, rim and head when gluing.
- First press the alignment pin into the top. Depending on your filament, the alignment pin may press fit into the top, but if it is a bit loose then glue it first.
- Put some glue on the top of the rim and place the top on top, ensuring that the seam of the top and the rim are aligned. The seam line is designed to be at the back of the head so it is not seen.
- Put the rattle ball inside the head
- Glue the bottom side of the rim to the head, ensuring that the seam lines are at the back of the head.
- Glue the valve to the top, ensuring that the seam is at the back.
- Glue the nozzle hole to the nozzle.
- Place the nozzle into the value. Depending on the type of filament used the nozzle can be pressed into the valve without glue required so the nozzle can rotate freely. Do this by pressing and rotating at the same time. If you just press, then you make break the small end part of the nozzle.
Head and Body
- Slide the head on to the body if you haven't already done so.
- Glue on the shoes soles to the feet. I find it easiest to glue them while the Canbot is sitting on a flat surface, so the bottoms of the sole align perfectly with the ground. Just ensure it is on a surface that you don't mind glue going on and that you move it around while holding the soles in place to ensure it doesn't stick to the surface that you are working on (which can happen if you put too much glue).
You can find other models here


License
You shall not share, sub-license, sell, rent, host, transfer, or distribute in any way the digital or 3D printed versions of this object, nor any other derivative work of this object in its digital or physical format (including - but not limited to - remixes of this object, and hosting on other digital platforms). The objects may not be used without permission in any way whatsoever in which you charge money, or collect fees.
Comment & Rating (136)