
Case for the MMSS
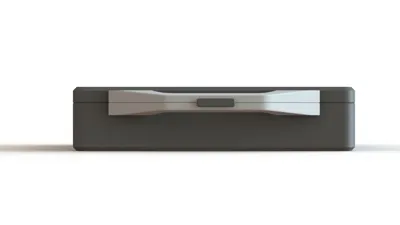
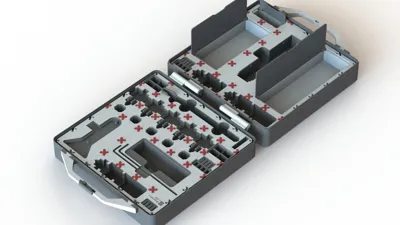
Print Profile(1)








Description
Boost Me (for free)
I usually don’t ask for this, but I’ve noticed that many creators actively encourage it on other platforms—and it makes sense, as it helps increase visibility. So, if you can follow me, it would make difference. It’s a great way to support my work and show appreciation. For more insight subscribe my blog at: https://designrepcom.com/ This design is freely available for the community, but if you enjoy my work and would like to show your support, you can boost this project. Thanks!
First things first.
To all the community that has appreciated my work, I’m still surprised that you are still willing to support me as a creator and developer. I would like to thank everyone that has supported me up to now and to all those that will do in the future.
Now, I am showcasing my latest project; this would never have been possible without your support. A lot of time and effort has been put to this, so I hope you think it is worthwhile.
Introduction
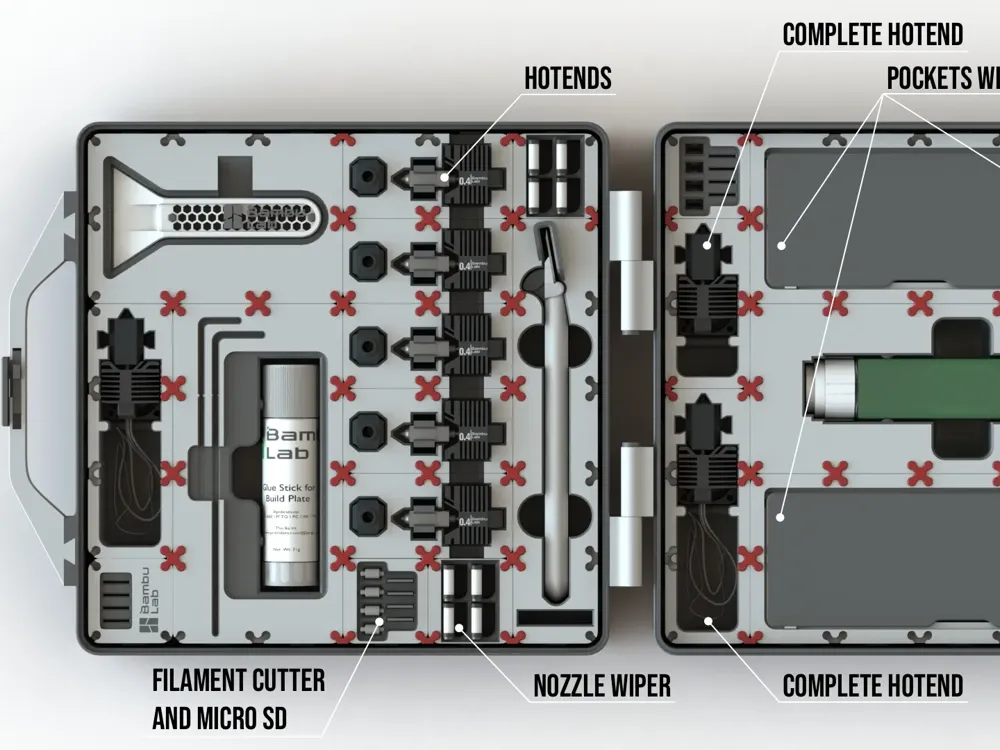
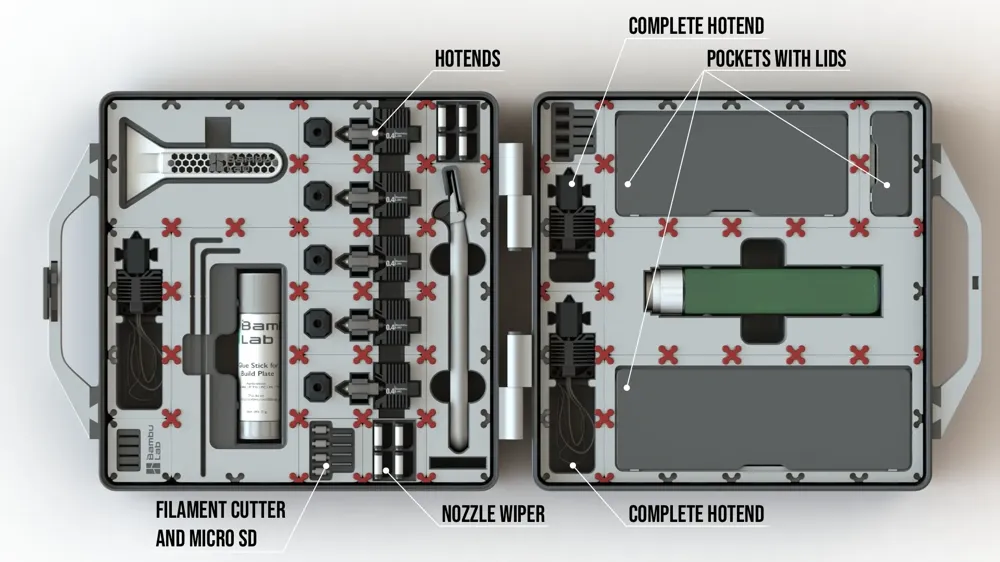
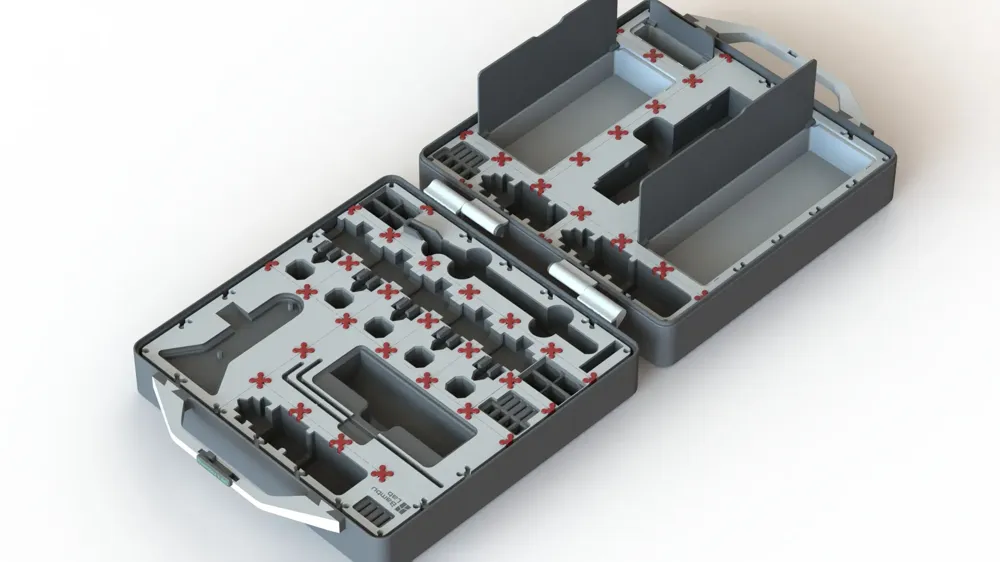
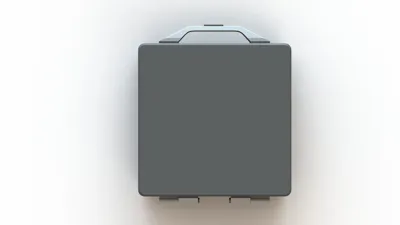
I've been keeping an eye on the community and taking note of all the comments and suggestions regarding the original Tools and Accessories Box. Part of what I've been working on in the background was to prepare for this. The MMSS (Multi-Modular Storage System), is the foundation for the new case, and it’s not just for Bambu labs, not just for 3d Printers, but for all that will find it useful.
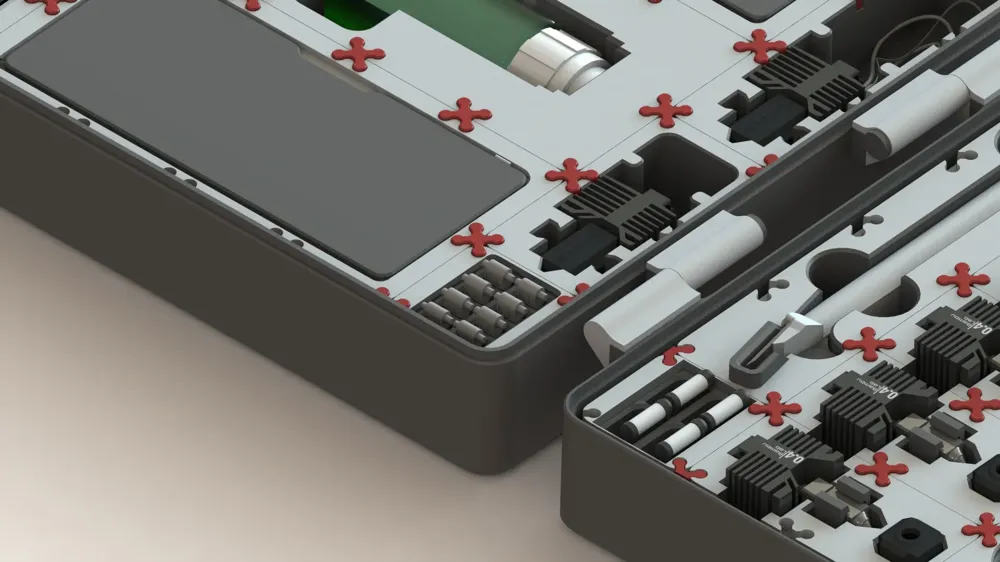
You can remix the “modules" that make up the MMSS as you see fit, I have made them for the community to use as they need. The new Box with lid for MMSS and now this new case, can be used to protect and transport your modules, and whatever you decide to put in them.
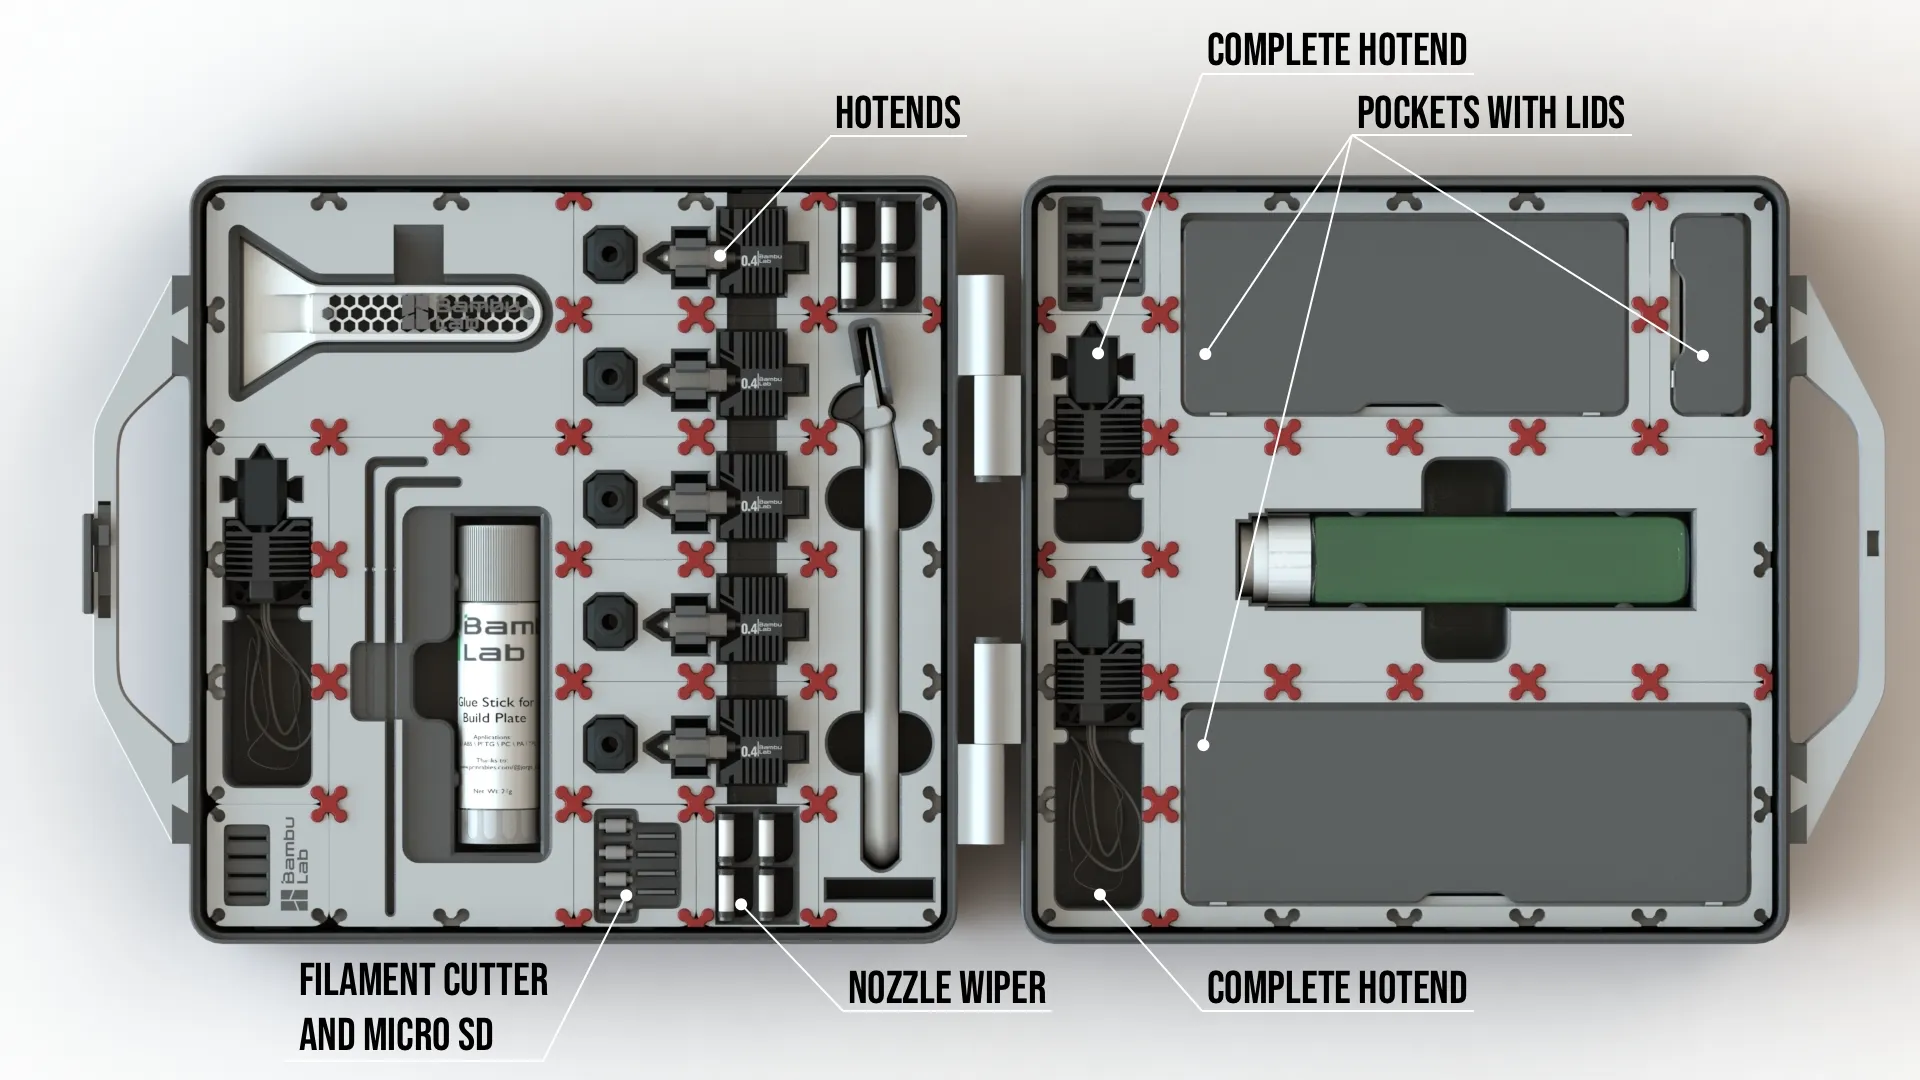
The evolution:
This case is an accumulation of ideas, as you have seen from the beginning,
- Modules;
- Frame;
- Box with lid;
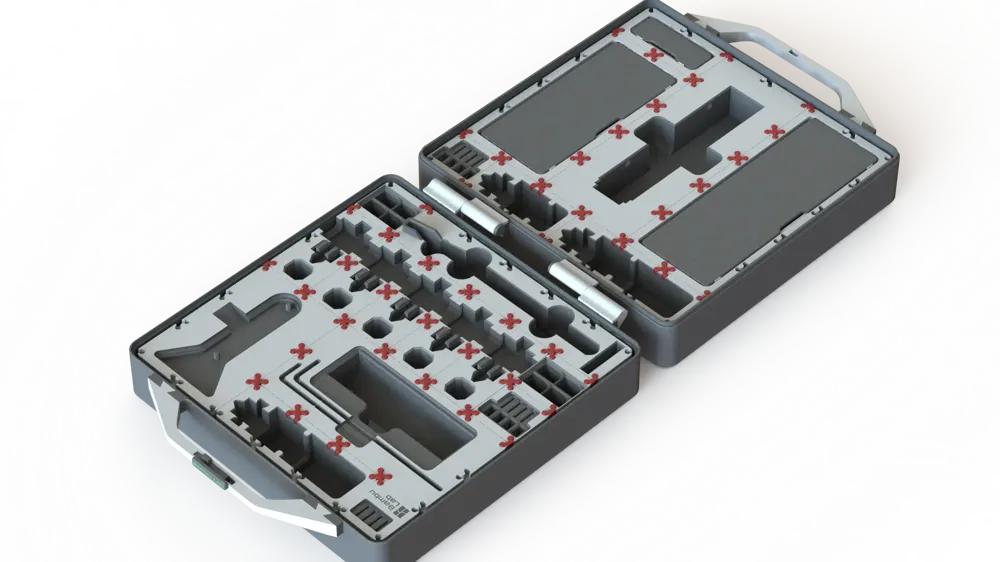
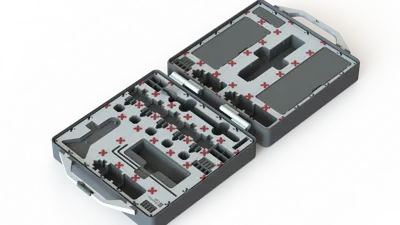
- and now a case with hinge and lock mechanism, which is also modular...
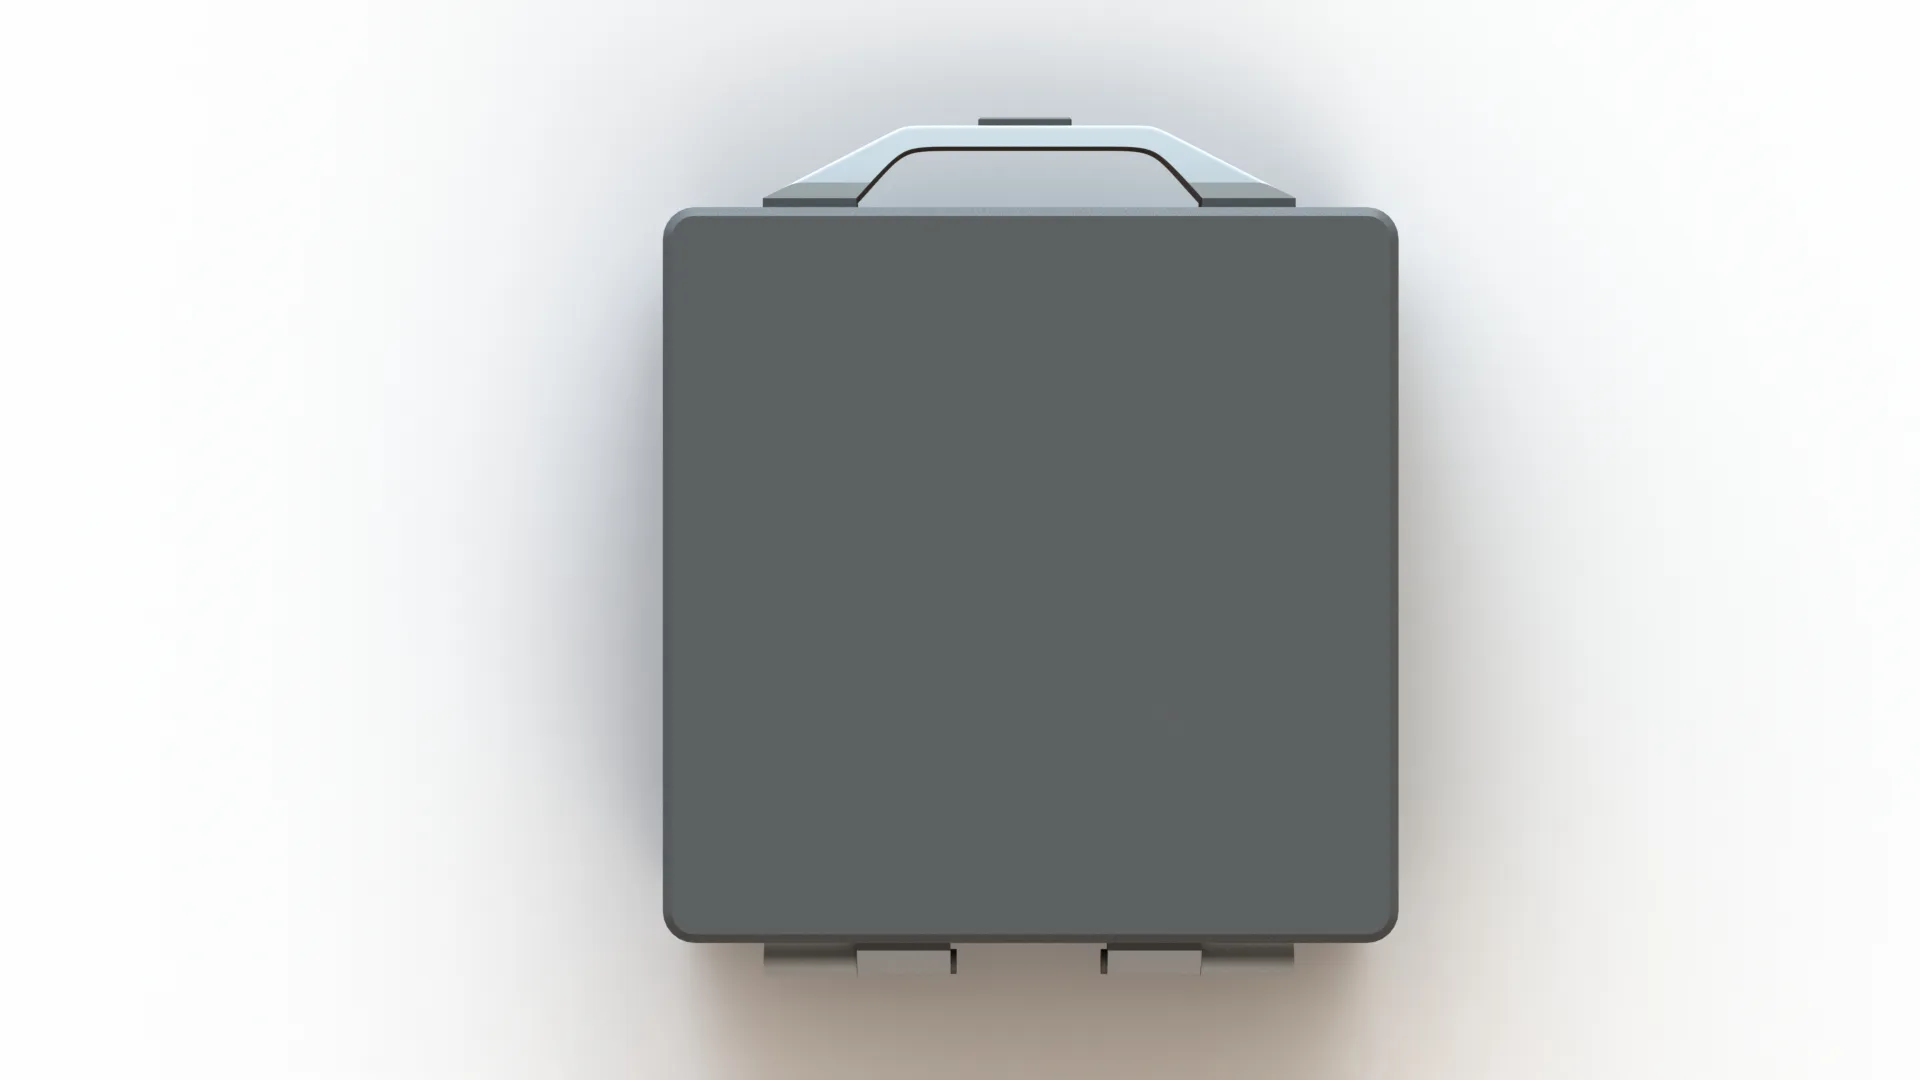
Organization, protection, and mobility
A fully customized, “make things as you need” case that you only need to add modules to when necessary.
This project can evolve over time, with new modules, new options. Being modular the possibilities are endless.
It is not only flexible:
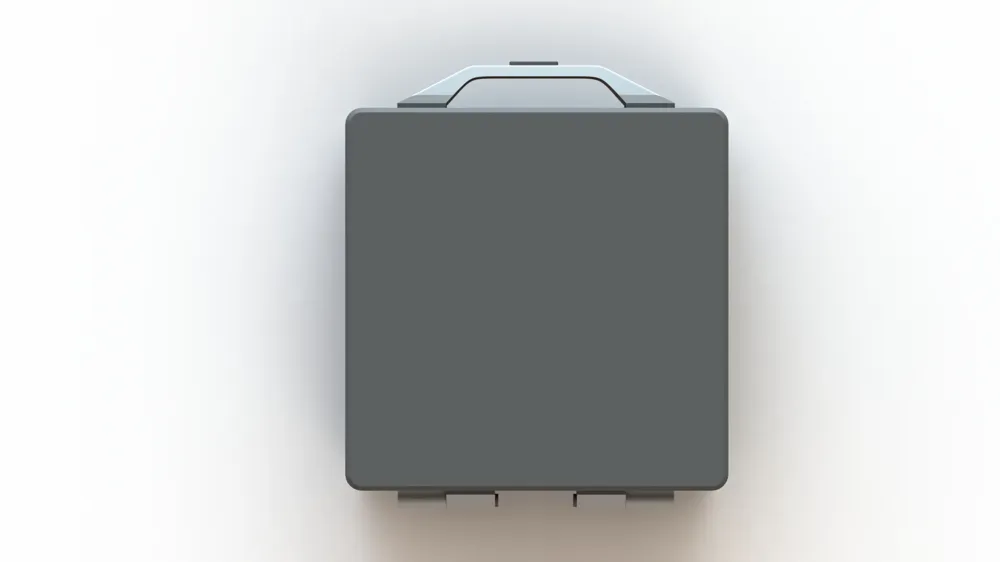
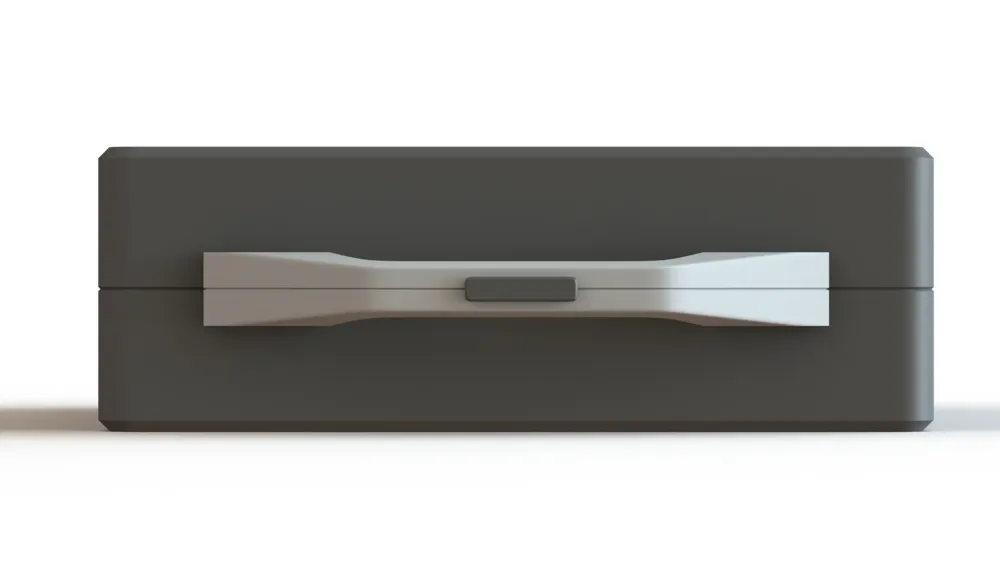
- The handle and hinges are modular too, they can be printed separately, which makes printing easier. If you decide you don’t need them then you have a nice tidy box.
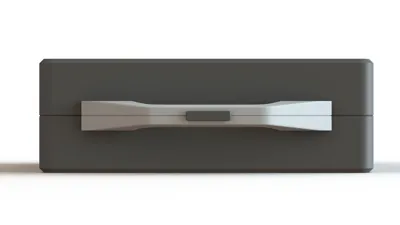
- The handle also features a handy lock tab, discreet and functional. This solves one of the most pressing issues of the previous model, the printing of the external shell.
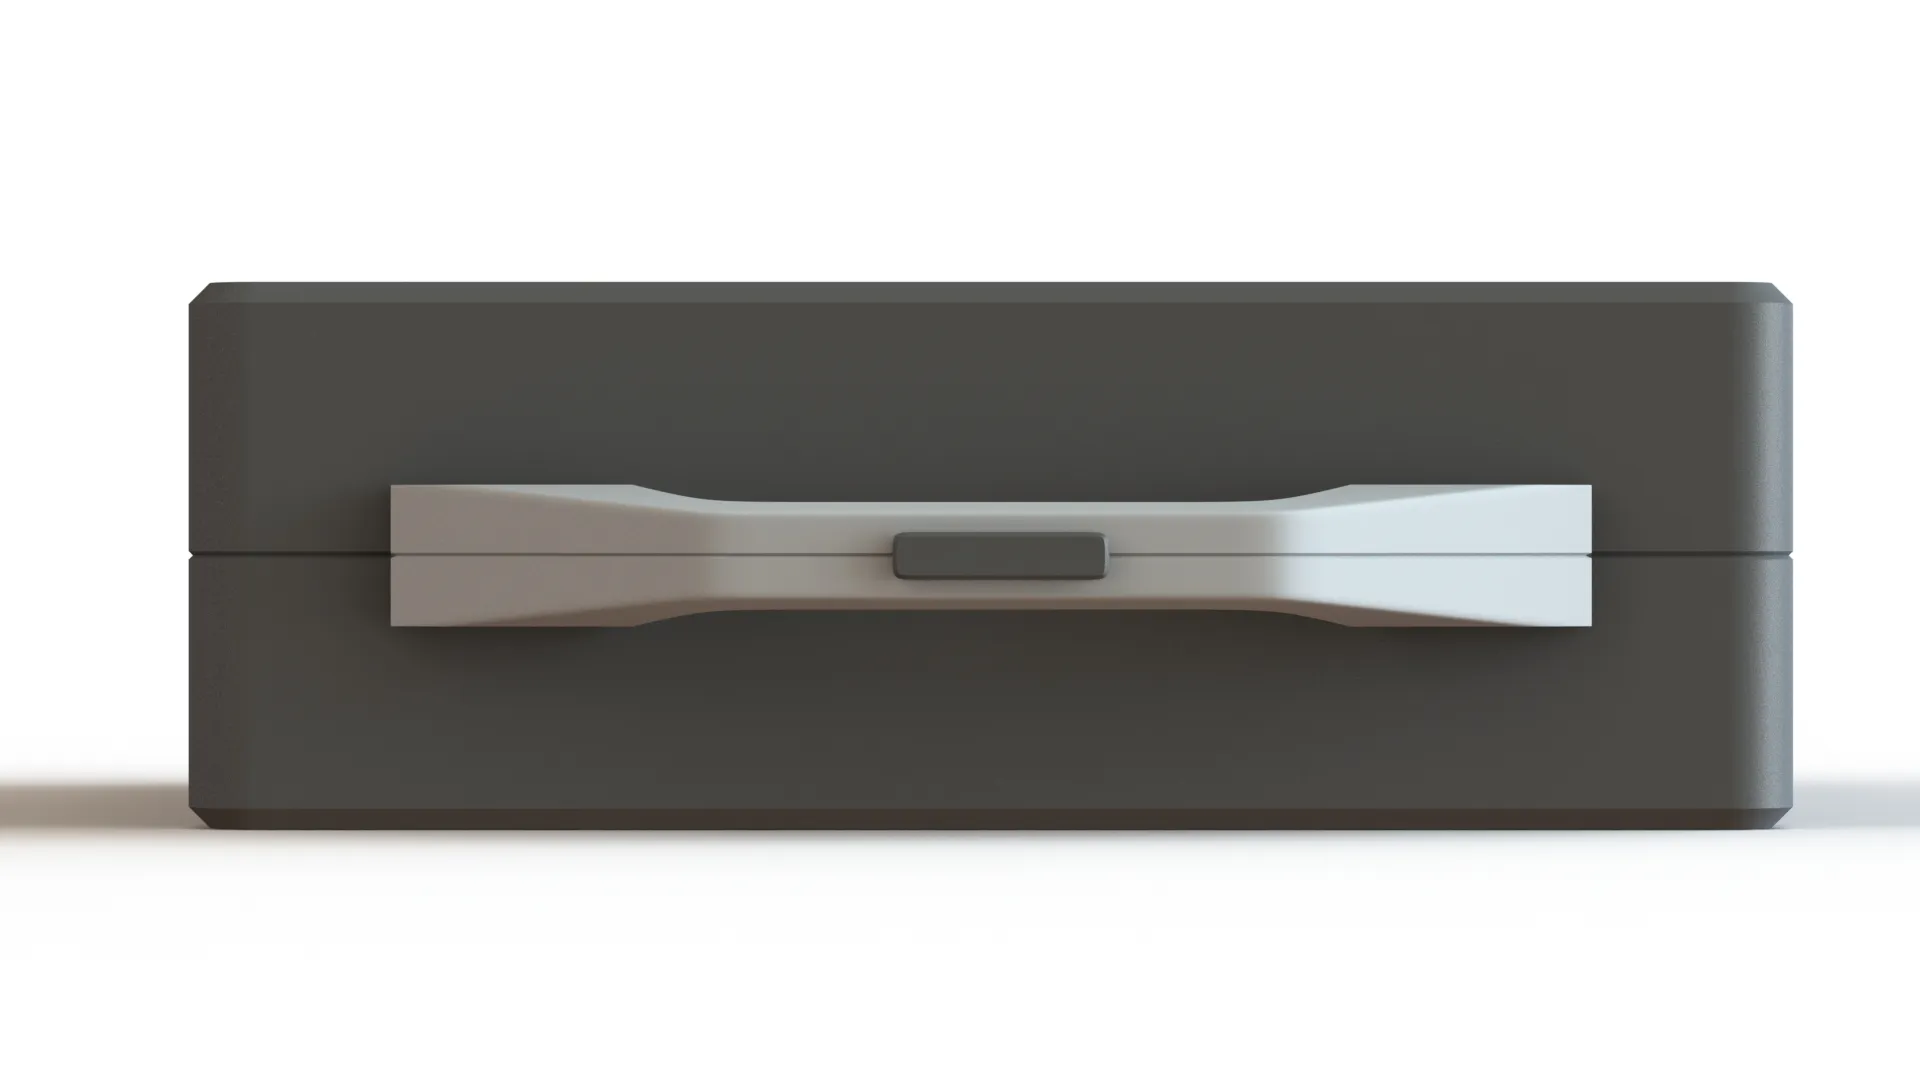
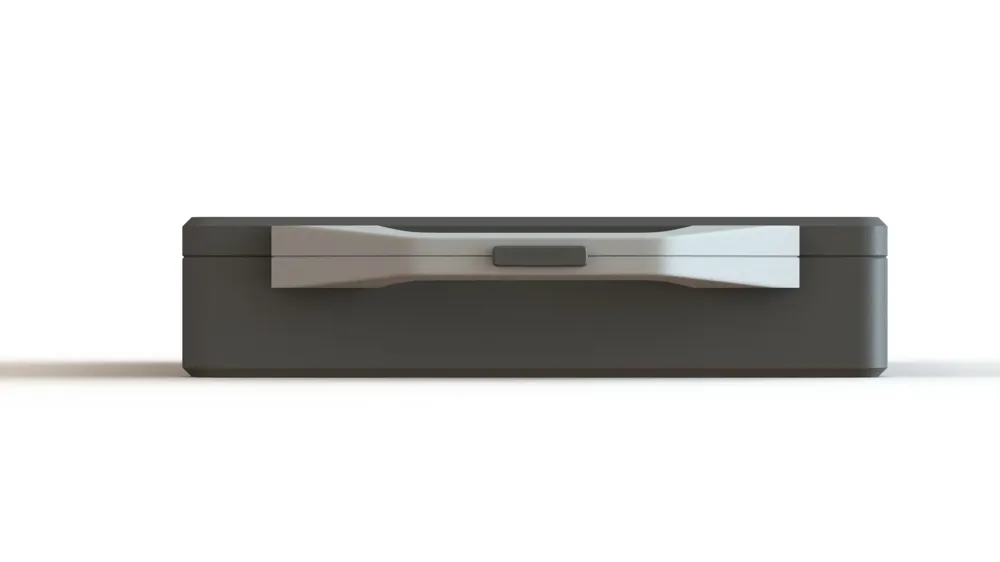
There is also a smaller version, the lid is thinner and has an area reserved for PTFE tubes:
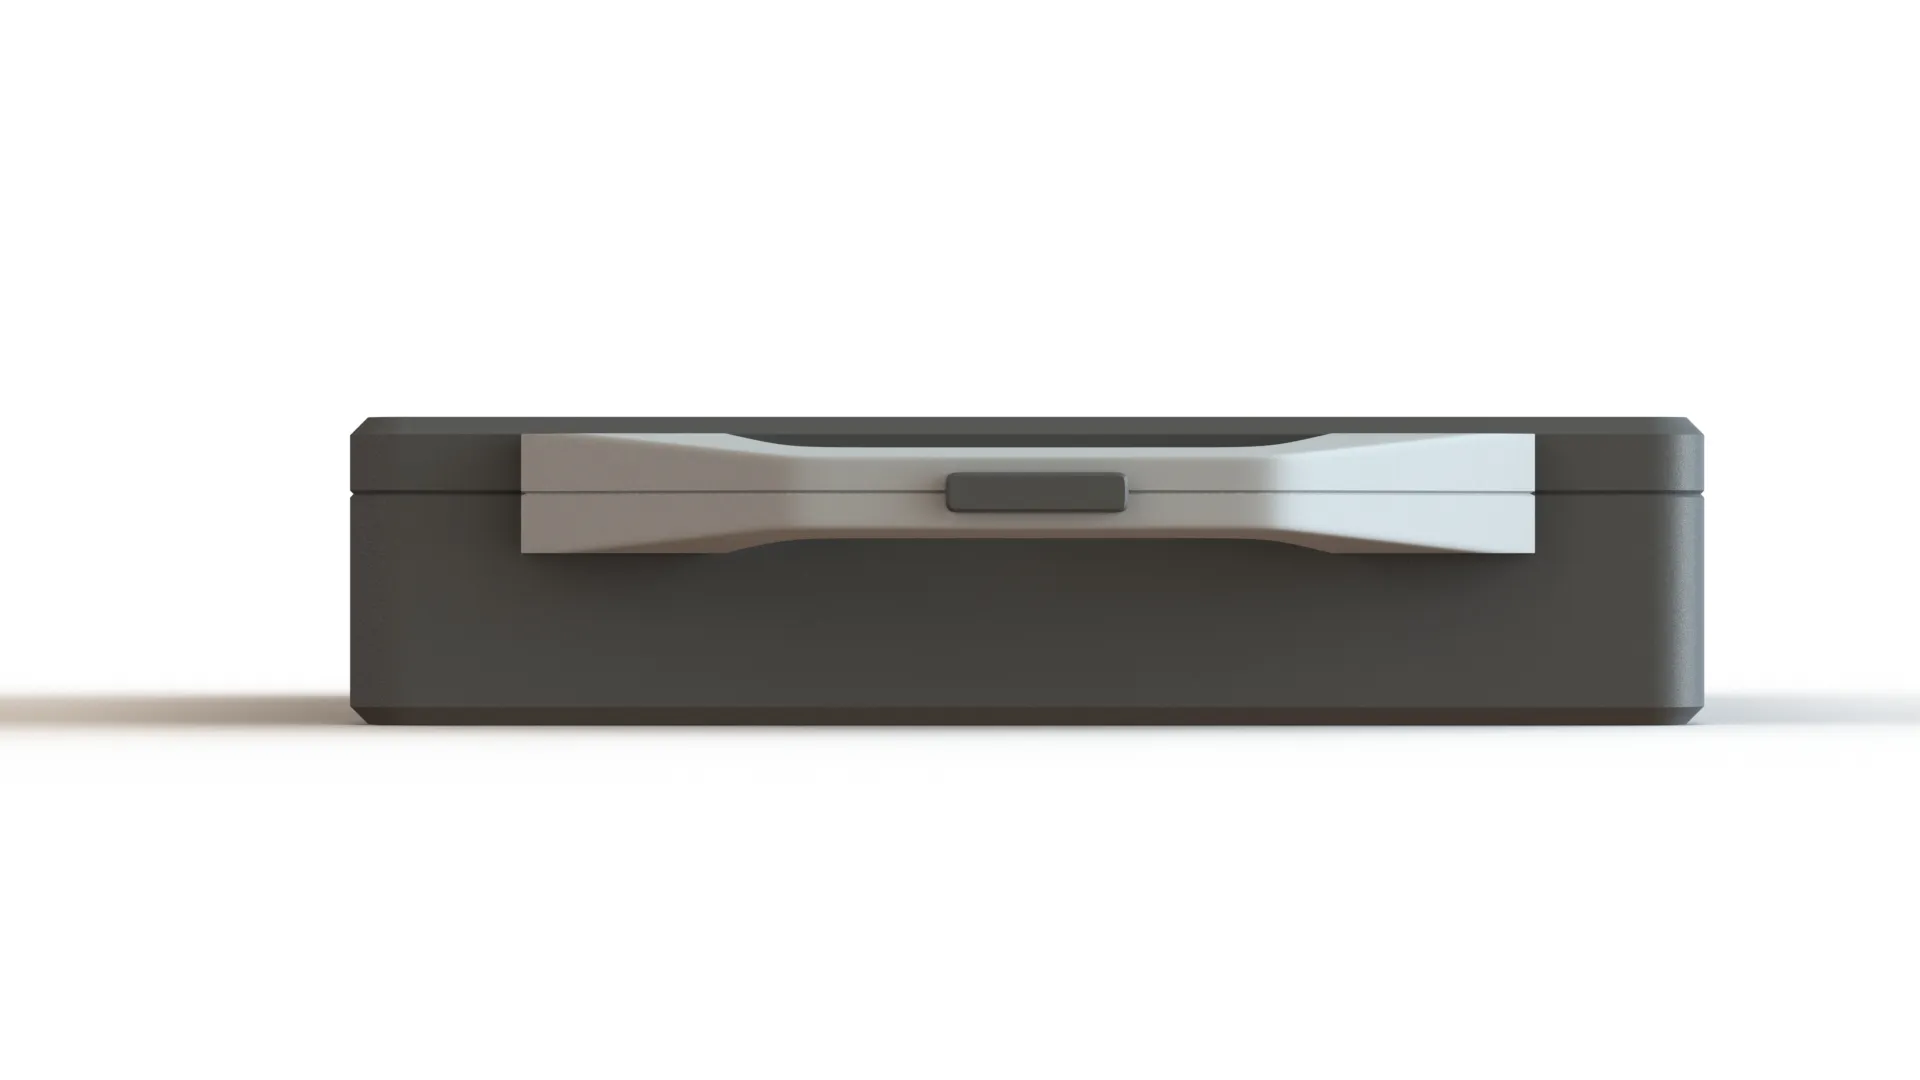
Example with the thinner lid:
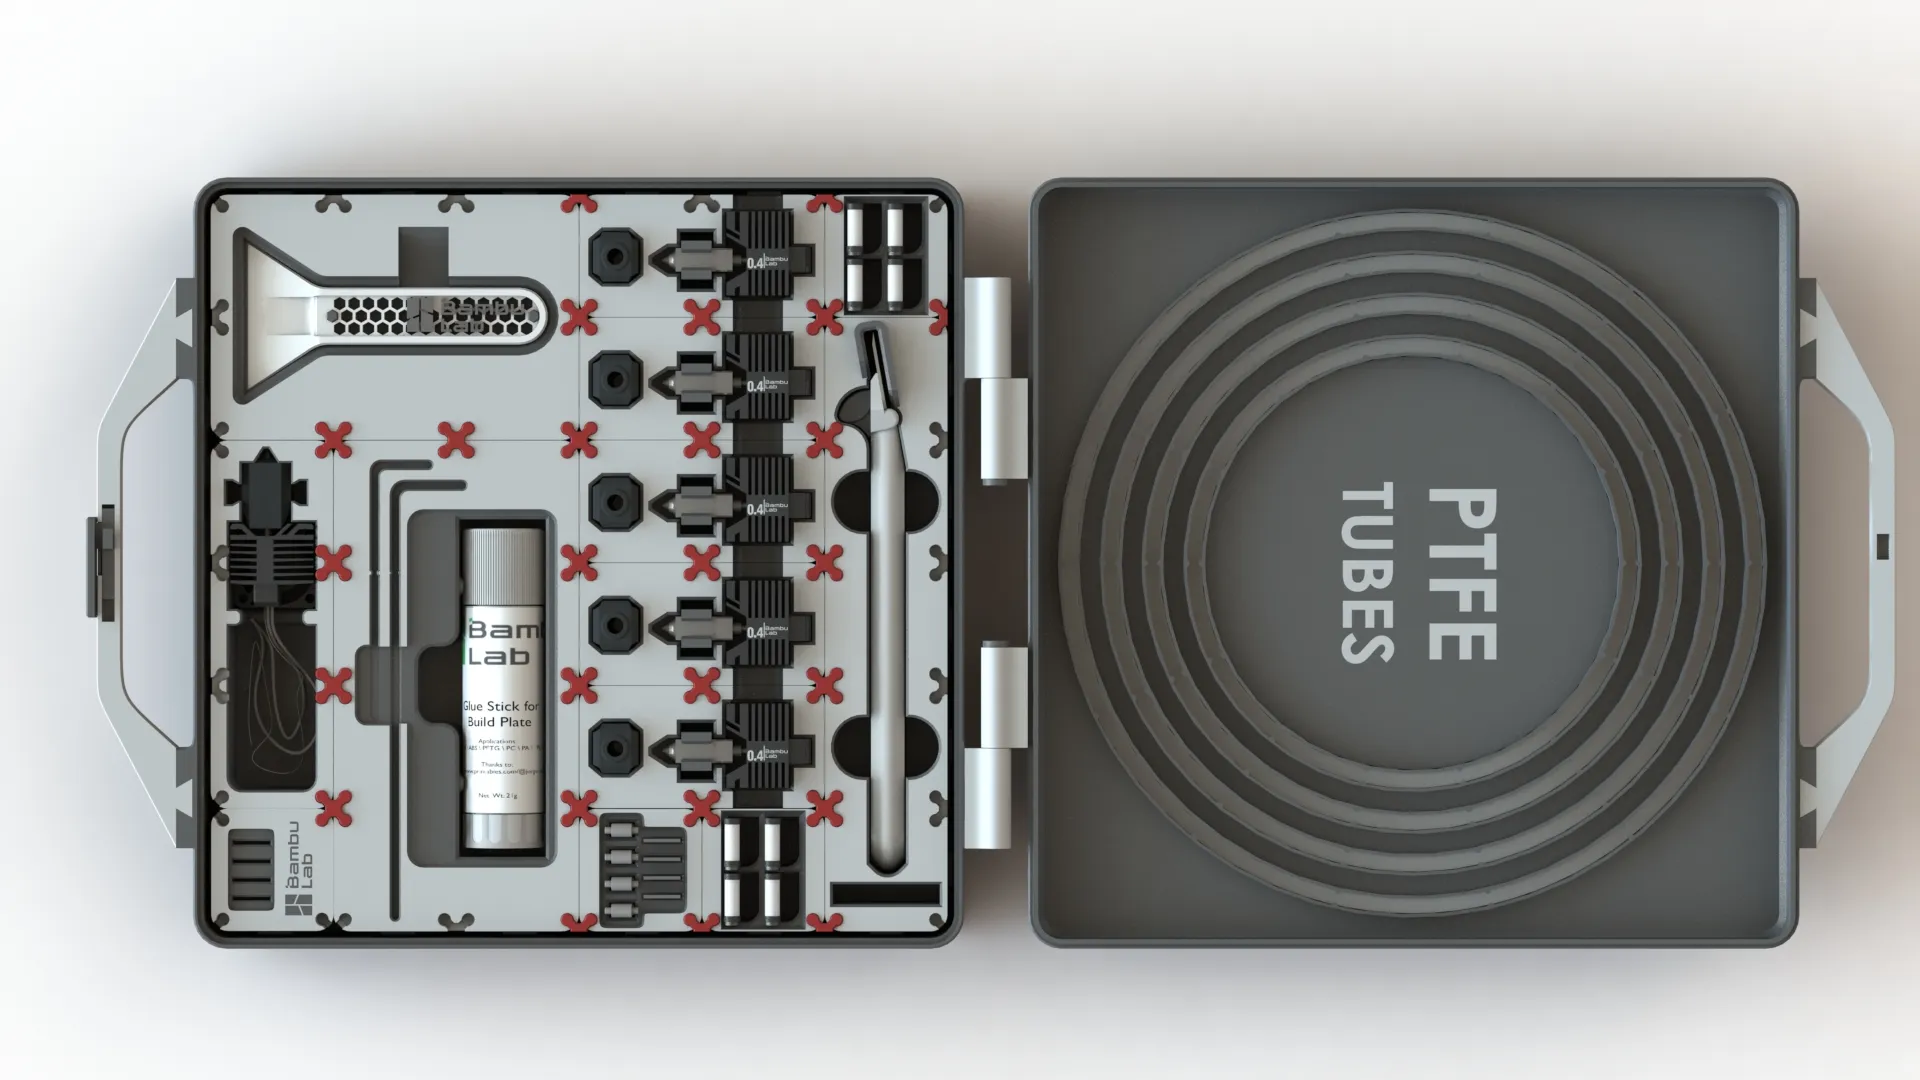
Nice, isn't it?
- The hinges, they are also modular, so again, you can use it or not...
- If you take out the handle and the hinge, you get a box.
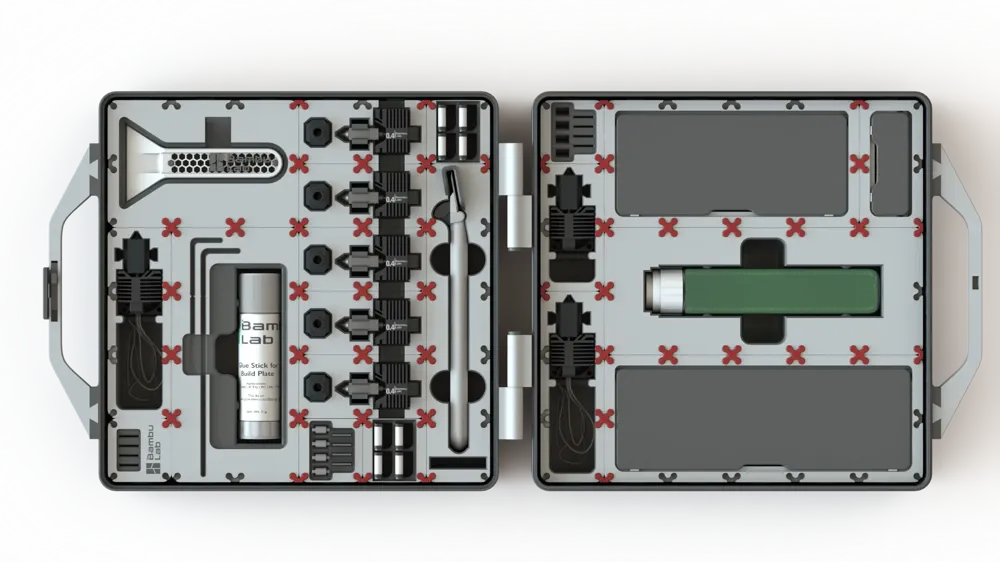
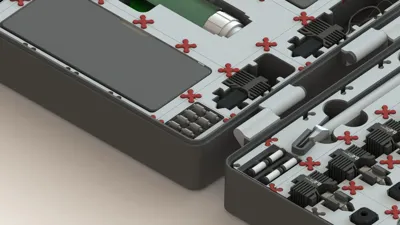
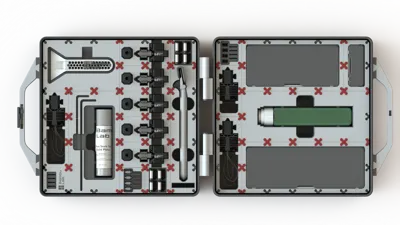
- You don’t have to fill all the spaces with modules if they are not needed. But if you don't like to see a half empty case, then you can print "blind" modules (as shown below). However, in order not to waste resources, you can create modules with what you plan use in the future.
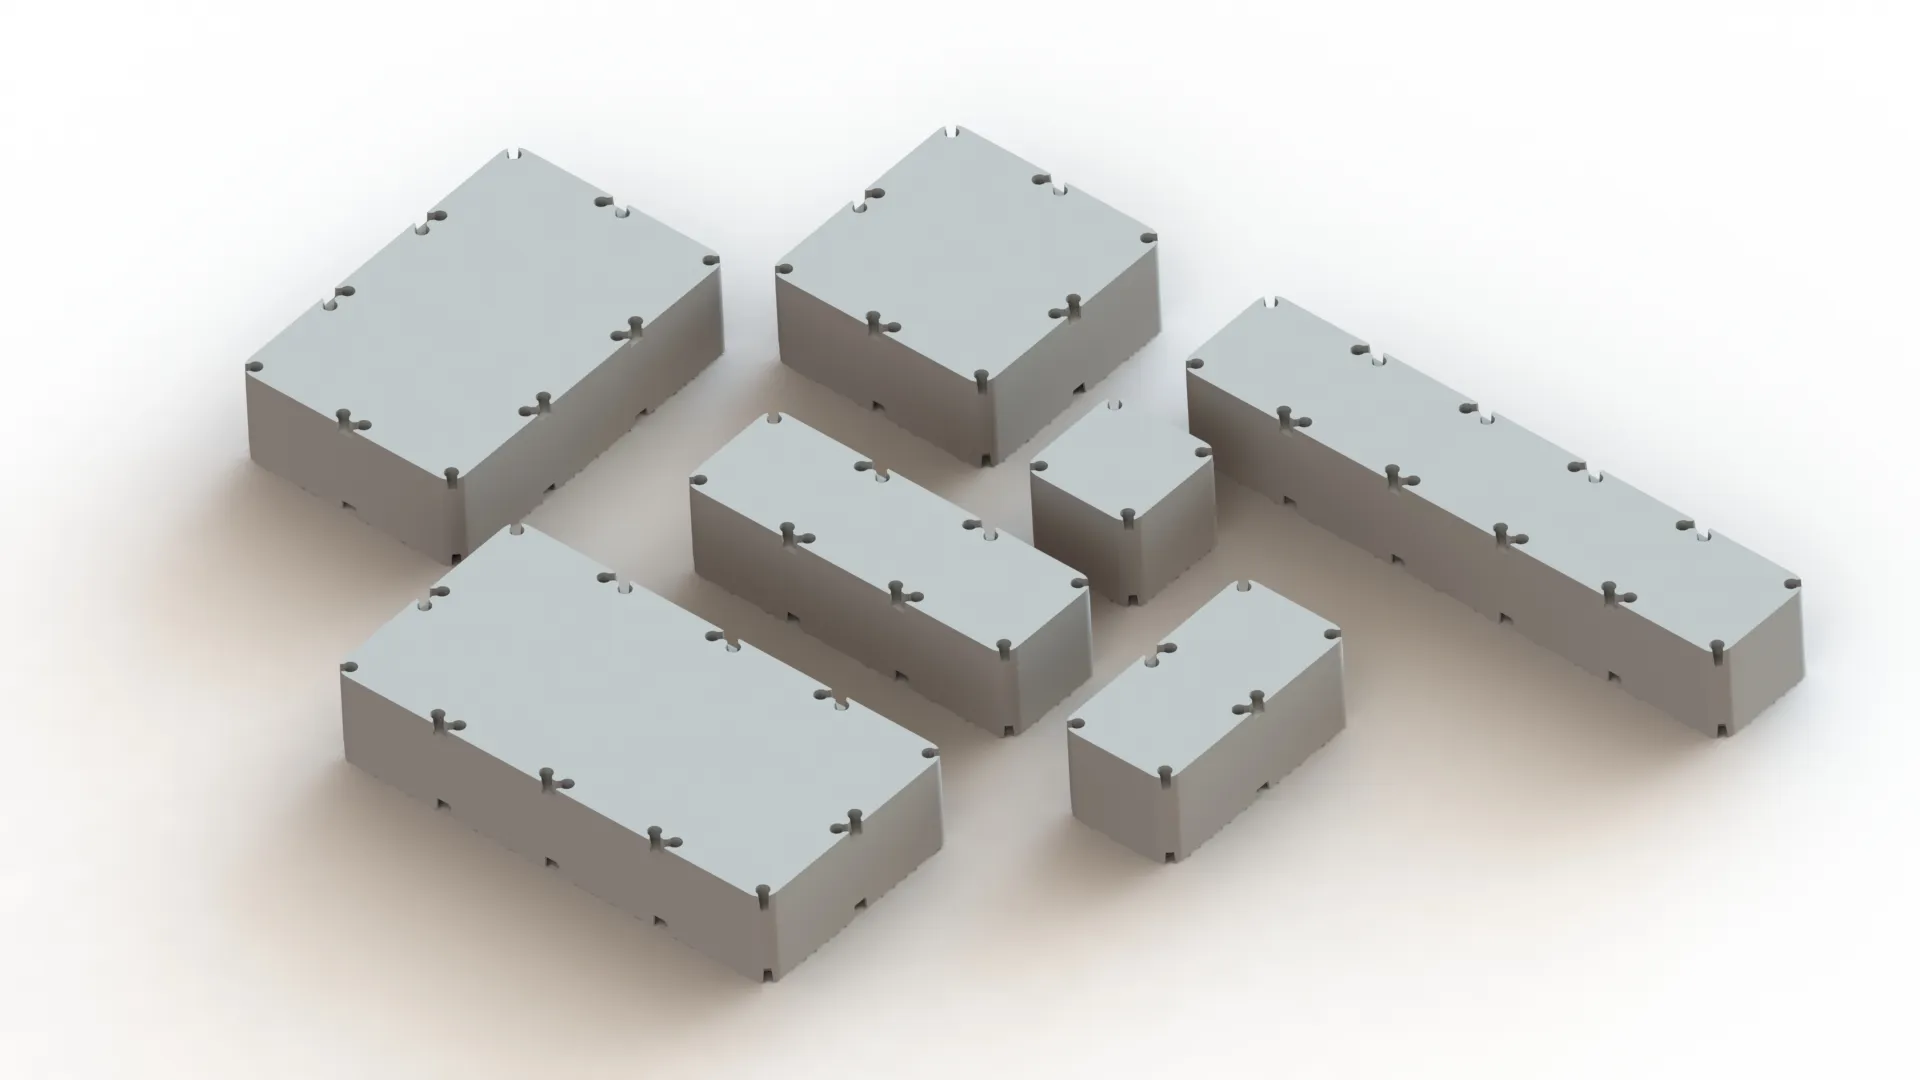
All the modules designed by me and remixed by the community should fit into the MMSS, the possibilities are endless. You can have pockets in the lid, one of each module for different accessories or a case with only one type of module.
The MMSS can be used for anything, accessories, chemicals for your aquarium, telescopic equipment like lens, food, and of course, your 3D printer.
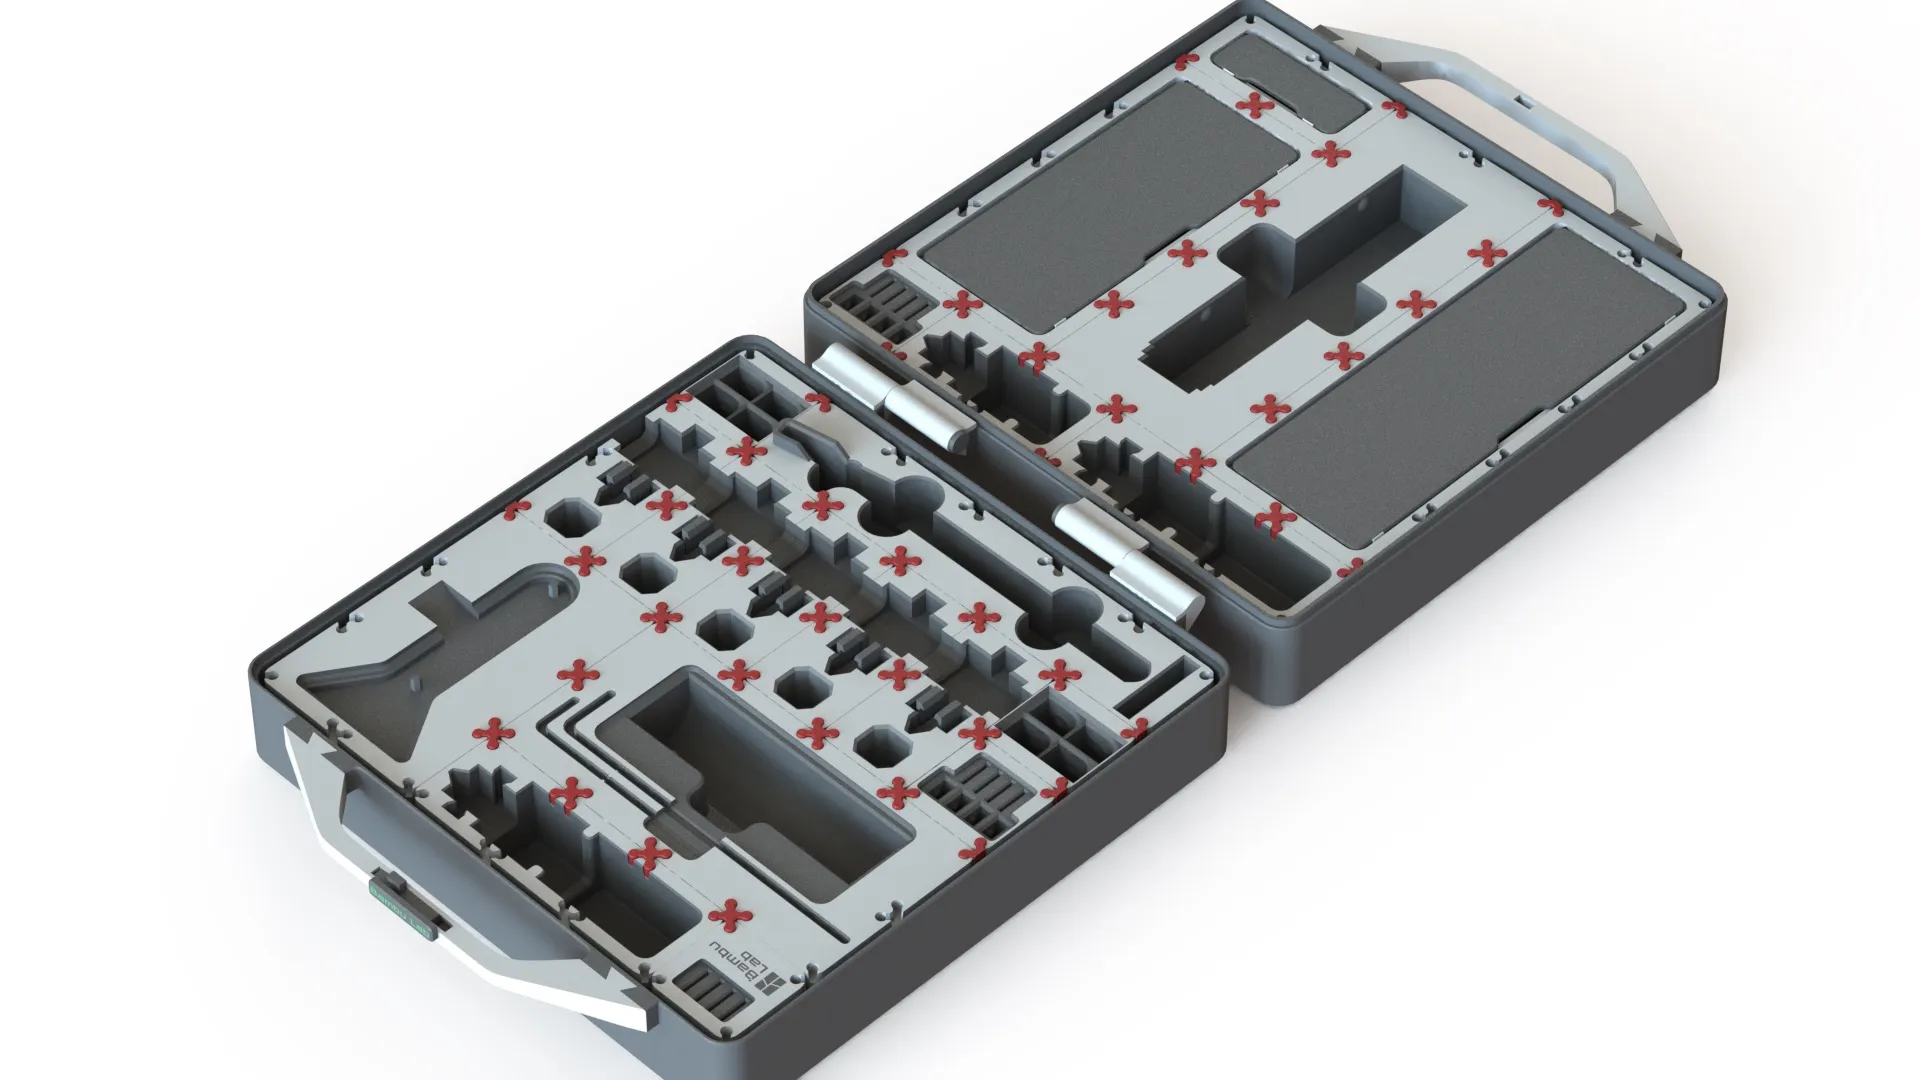 | 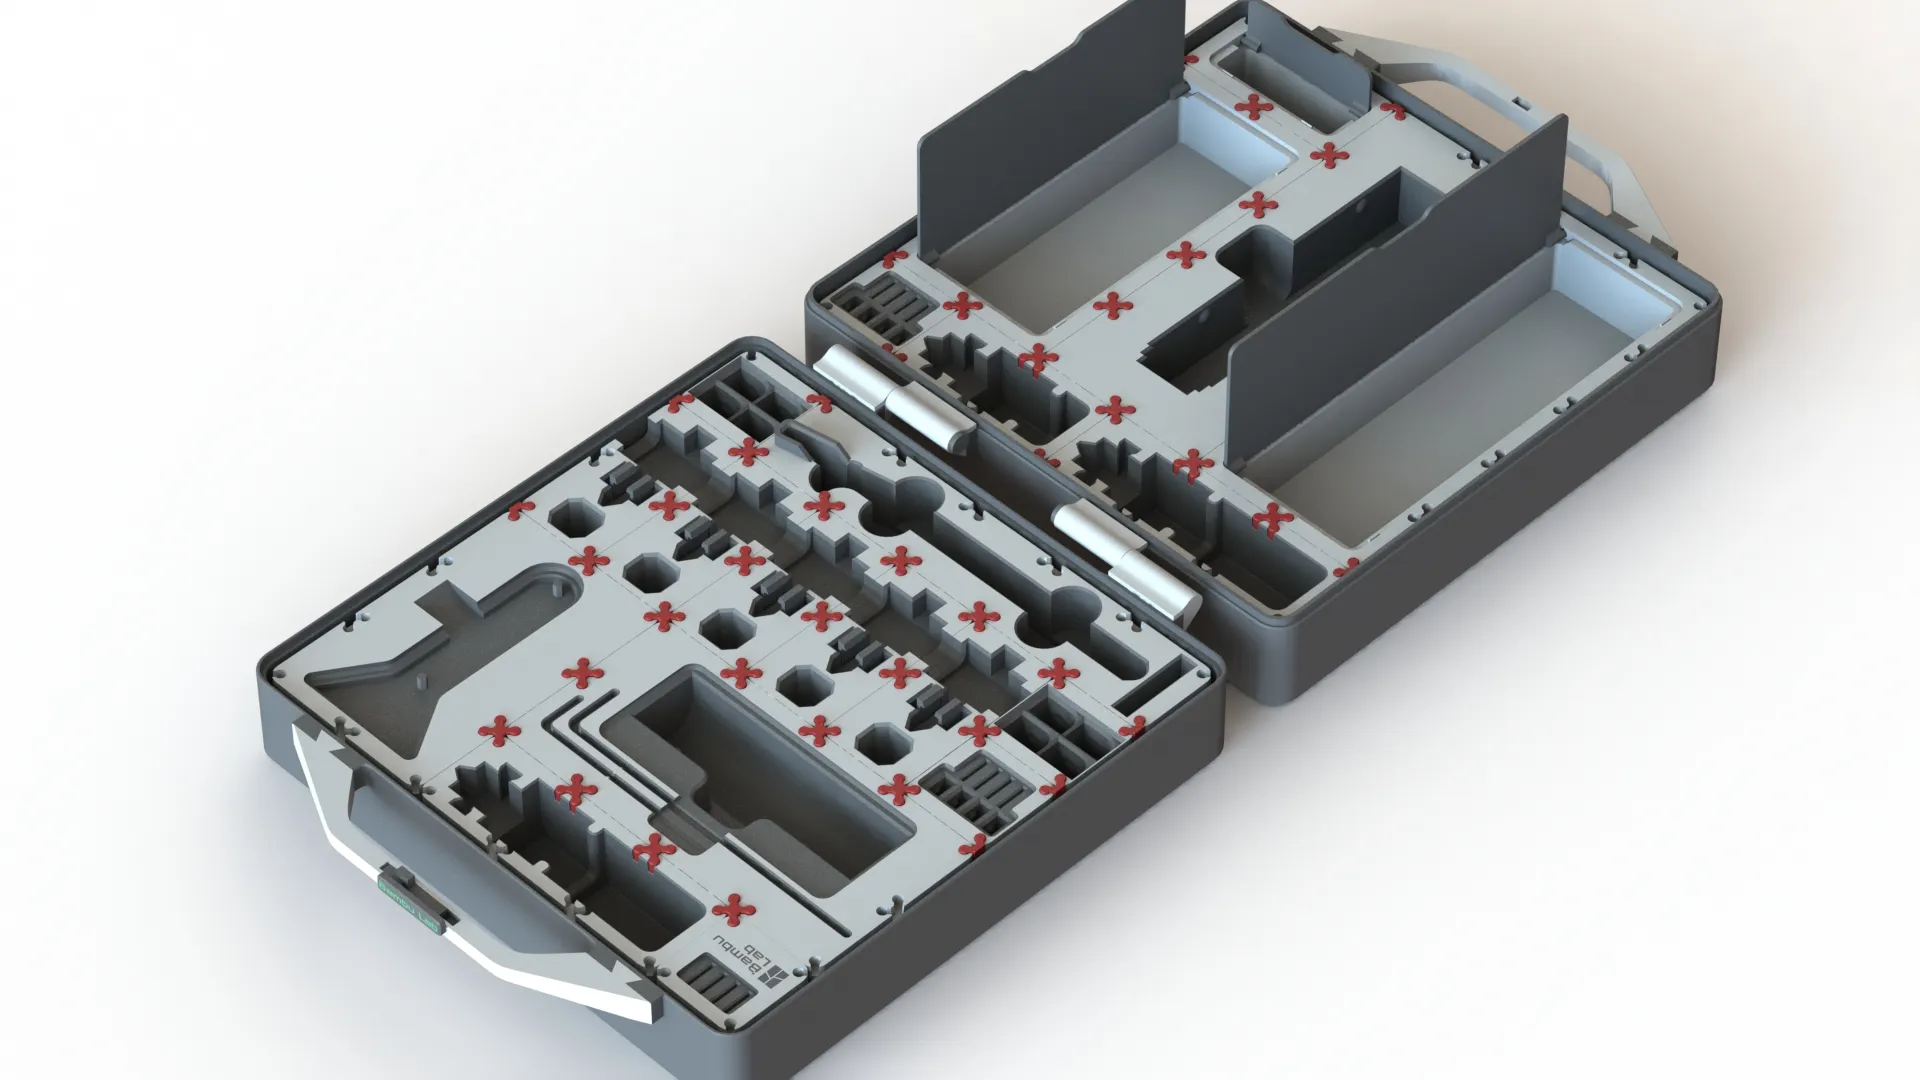 |
Print orientations
There are some aspects that are important to refer:
- Always calibrate the material,
- be sure the material is dry.
- This two last point are the topmost for print failures.
- For the latch mechanism, use a thinner layer (lower than 0.2mm). It is better to print this part alone.
- If you have a 0.2mm nozzle, this is a good time to give it some use ;)
- (in the case you have a bambu lab printer) Locate that element near the auxiliary fan. On the Prusa printers, you can place it anywhere. I've added a 3mf file, with basic settings that worked for me using a quality PLA (Bambu lab). “ Lock_mechanism_assembly.3mf ”
If someone what's to try to match the color scheme of the render images, I've tried to approximate to this filament colors
- Check the BOM list for the filament recommend.
Assembling
the assembly of this should be straightforward. The exploded view is self-explanatory.
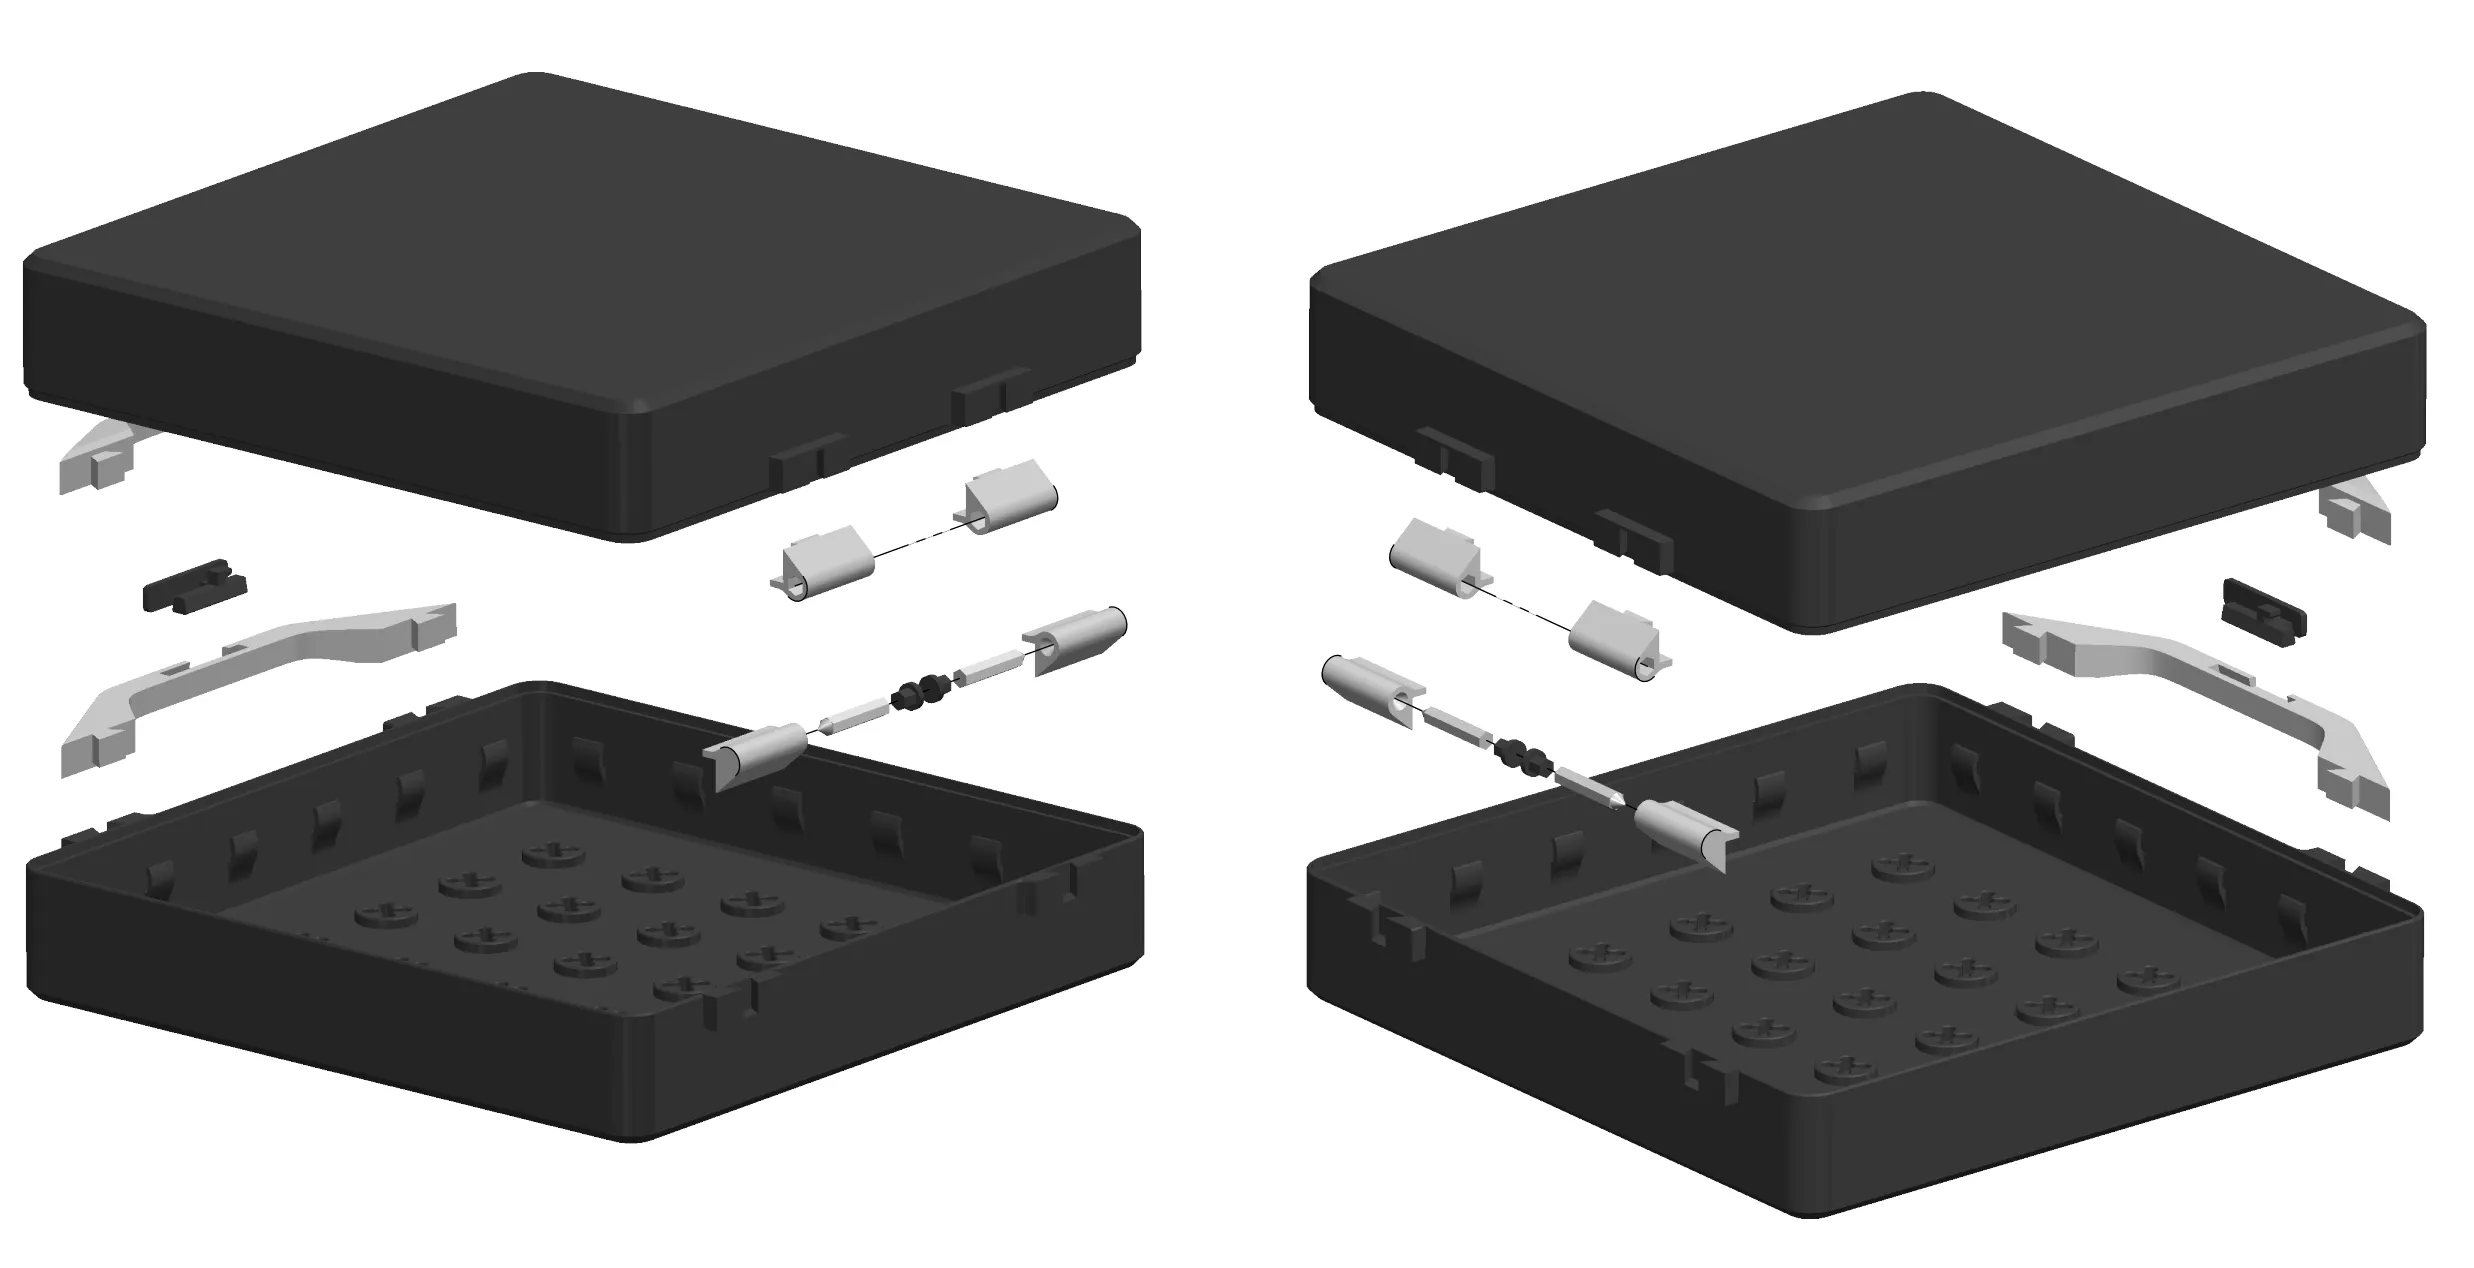
To assembly the lock mechanism you can proceed like this video:
You will need a couple of parts that make part of the MMSS basic system:
- The stars
- and modules
- Basic modules, if you want to make your own
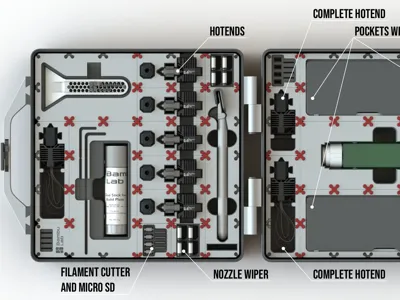
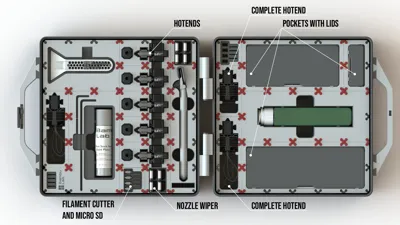
- Pre-made modules, here there are several, and many are exclusive for the bambu labs printers:
- MMSS 2x4 Module - Glue Stick and Hexagonal Keys
- MMSS 1x1 Module - MicroSD
- MMSS 1x1 Module - Nozzle Wipper
- MMSS 1x1 Module - Filament Cutter + MicroSD
- MMSS 1x1 Module - Filament Cutter
- MMSS 1x2 Module - Hotend and Silicon Sock
- MMSS 1x3 Module - Complete Hotend
- MMSS 2x3 Module - Small Scraper
- MMSS 2x5 Module - Liquid Glue
- MMSS various Modules - Pockets with Lid
- MMSS 2x3 Module - Spool Holder
- MMSS 1x5 bambu lab original scraper
- MMSS 2x2 Module – X1C
- MMSS for AMS Modules
- 4x Active extrusion wheel assembly;
- 4x Active support shaft assembly;
- 4x PTFE Tube Fast Connector;
- 4x Driven Support Shaft Assembly
- 1x First Stage Feeder
- 1x MMSS 3x2 Module - AMS Buffer
- MMSS for the A1 printer
- More to come… I'm always adding new modules, please check my profile for the later information, some are free, others are only available as exclusives for members.
- Batteries Modules
- More to come… I'm always adding new modules, please check my Collection for the MMSS for more.
Change log
Sometimes I update or add more print profiles, they can be found under the section “Download STL/CAD Files”
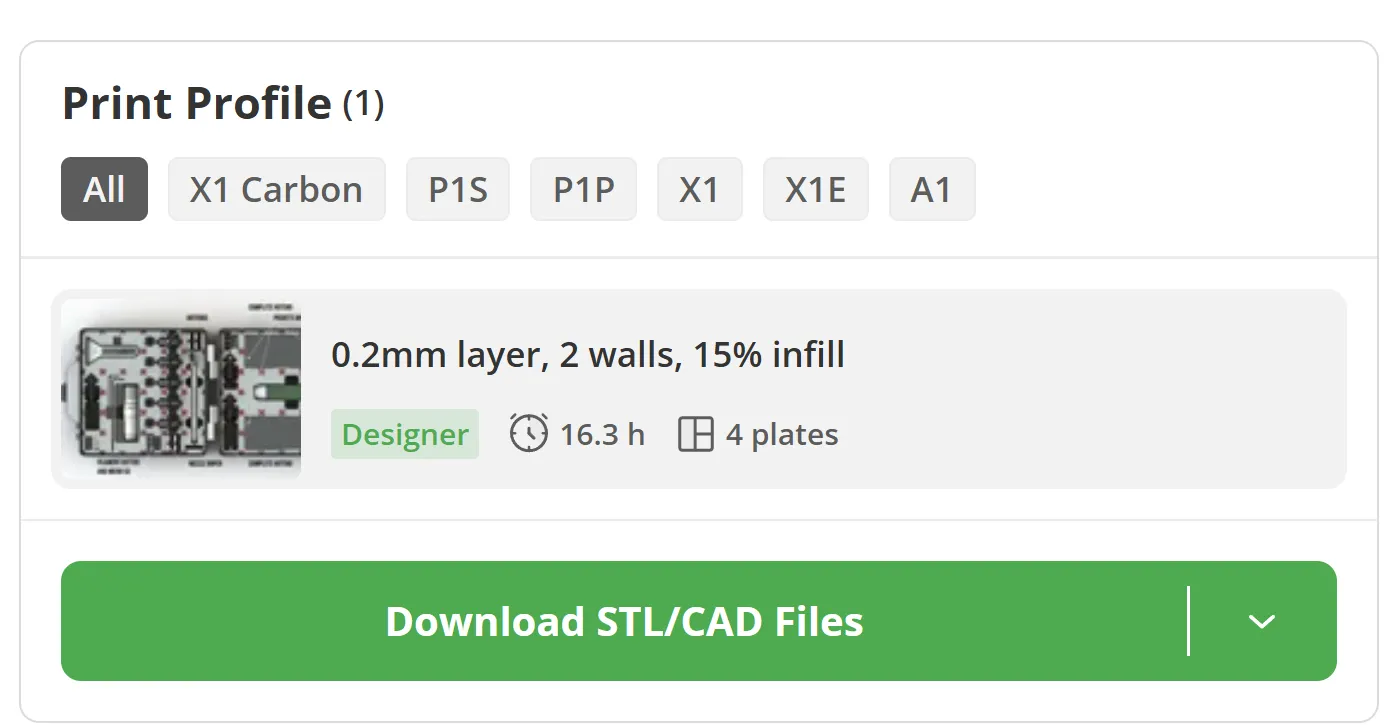
- Change seam position on the 3mf file to aligned, some members reported that it is easy to insert the hexagonal pin that way. That pin was designed to have a little of interference on the fitting, but if find that it's impossible to insert it, make sure that the filament is calibrated, if the calibration does not resolve, scale it so that the transversal section is narrower.
- Added label for the lock tab: “P1P, P1S, X1, X1C, A1 Mini and AMS”, you can find them on the “Handle” folder. They are separated by bodies, so if you split them on the slicer you will be able to change color on the letters with ease.
- Added “Lock_mechanism_layer_0,12_or_less_labels_A1-P1P-P1S-X1-X1C.3mf” that features all the lock tabs ready to print, delete the one you don't need and print (best with 0.2mm nozzle).
Curious About My Tools? Check This Out!
For those of you who often ask about the tools I use to bring ideas to life, this article, The Journey From Idea To Object (Part I), offers some insights into the initial stages. It highlights the use of various tools, including software like Autodesk Fusion for CAD design, Blender for render and Bambu Studio for 3D printing preparation, and other... So, if you're curious about the software and hardware too, that I've incorporate in my workflow, take a look at the link for more details!" – Visit https://designrepcom.com/ for much more.
License

You shall not share, sub-license, sell, rent, host, transfer, or distribute in any way the digital or 3D printed versions of this object, nor any other derivative work of this object in its digital or physical format (including - but not limited to - remixes of this object, and hosting on other digital platforms). The objects may not be used without permission in any way whatsoever in which you charge money, or collect fees.


Comment & Rating (36)