Angina Pectoris - Lamp


Print Profile(1)


Description
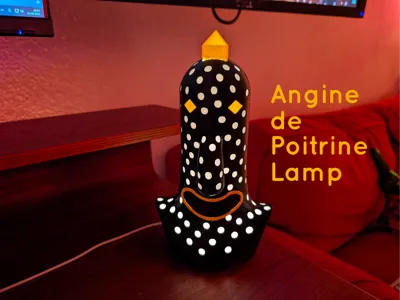
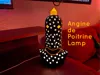
Angine de Poitrine Lamp
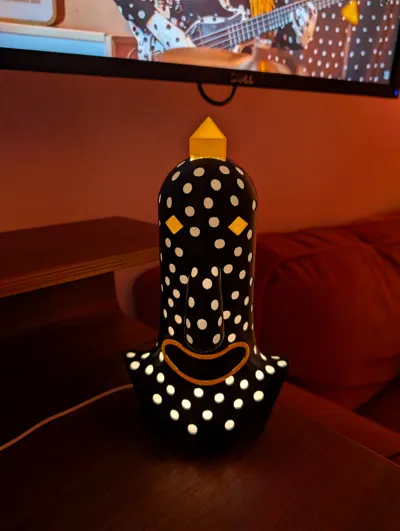
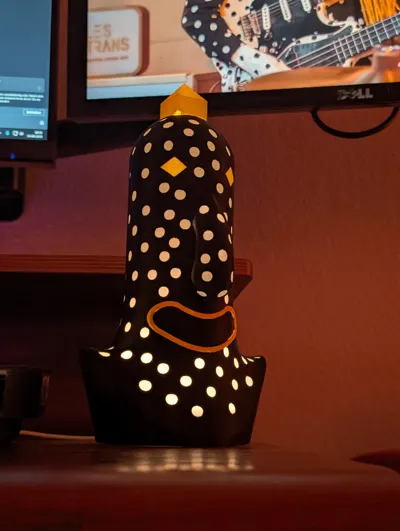
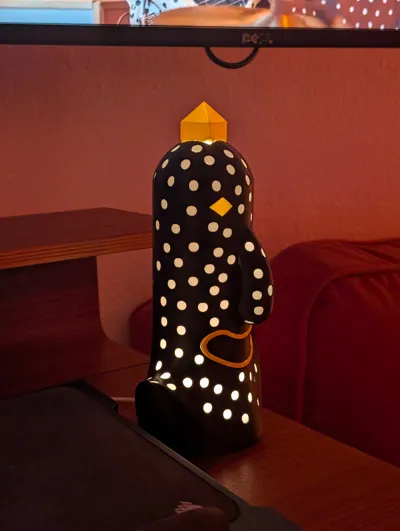
Bring the raw, frantic energy of Angine de Poitrine to your desk or studio! This design captures their distinct drummer in a light piece. It is fully optimized for multicolor printing and seamlessly integrates with standard hardware components.
Hardware Needed:
- LED Kit: Bambu Lab / Maker's Supply LED Lamp Kit 001 (Features a circular puck light with a convenient inline switch).
3D Printing Instructions
This model is optimized for multi-material systems like the Bambu AMS. For the absolute best results, follow these preparation steps:
- Print Settings: Use the provided .3mf file as it is. All core parameters, wall loops, and infill densities are already pre-configured for optimal structural integrity.
- Color Setup: Ensure your AMS slots are mapped correctly to match the intended multicolor layout of the drummer before sending the job to the printer.
- Supports: Enabled. Due to the dynamic overhangs of the drummer's pose and the internal geometry of the lamp cavity, supports are required. Regular or tree supports work great — just ensure careful removal around the finer details.
- Components to Print:
- The main Drummer Lamp body.
- The LED adapter base.
🔌 Assembly Instructions
Putting the lamp together takes less than two minutes. Follow this straightforward sequence:
1.Print & Clean:Approx. 5 min.
Carefully remove all support material from the main lamp body and ensure the internal base mounting channels are entirely clear of debris.
2.Prepare the LED Kit:Approx. 1 min.
Unbox your Maker's Supply LED Kit 001. Route the USB cable and inline switch through the bottom slot of the printed LED base plate.
3.Seat the Puck:Approx. 30 seconds.
Press the circular LED puck firmly into the printed base housing. It should snap or slide into place tightly. You can use the included 3M adhesive pad for an extra-secure hold.
4.Final Integration:Finished!.
Align the assembled LED base with the bottom cavity of the drummer lamp. Press it up into the body until it sits flush. Plug it into any USB power source, flip the switch, and enjoy the show!
I hope you enjoy this print! If you have any questions feel free to reach out!
Boost Me (for free)
If you like this model, consider giving me a boost! This really helps putting this much work into the designs ;)
Membership
You can now subscribe to my Membership program to support me or to get access to commercial use of my models! Thanks for all your help!
Also have a look at my other lights, some are 100% 3D printable!

Verdantia - A Nature-Inspired Lamp - Easy To Build

IcoFlux - A Fully 3D Printed Lamp

Florahedron V2 - A Fully 3D printable Lamp

Prisma Petal - Bambu Lab LED Kit


PrismaPetal V2 - A Fully 3D Printed Lamp

Orbiflora - A 100% 3D printable Lamp!


License
You shall not share, sub-license, sell, rent, host, transfer, or distribute in any way the digital or 3D printed versions of this object, nor any other derivative work of this object in its digital or physical format (including - but not limited to - remixes of this object, and hosting on other digital platforms). The objects may not be used without permission in any way whatsoever in which you charge money, or collect fees.
Comment & Rating (3)