
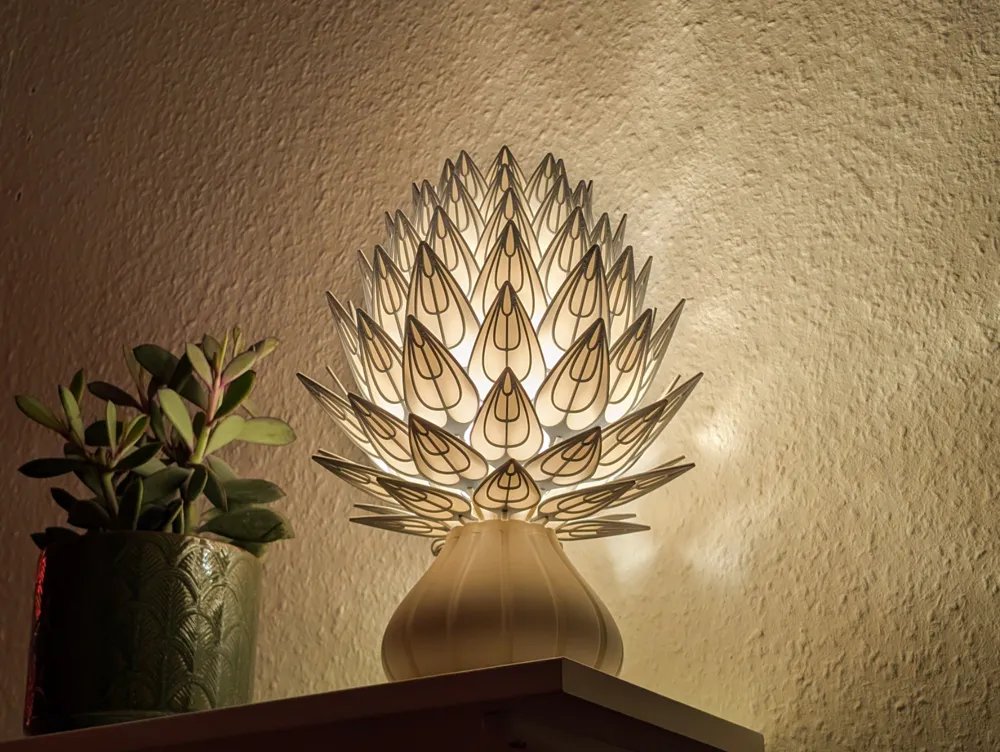
PrismaPetal V2 - A Fully 3D Printed Lamp

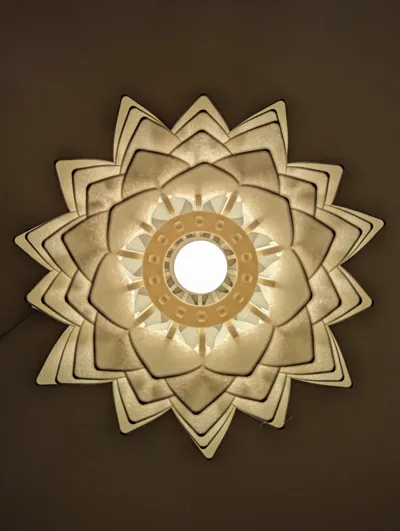
Print Profile(3)


Bill of Materials


Description
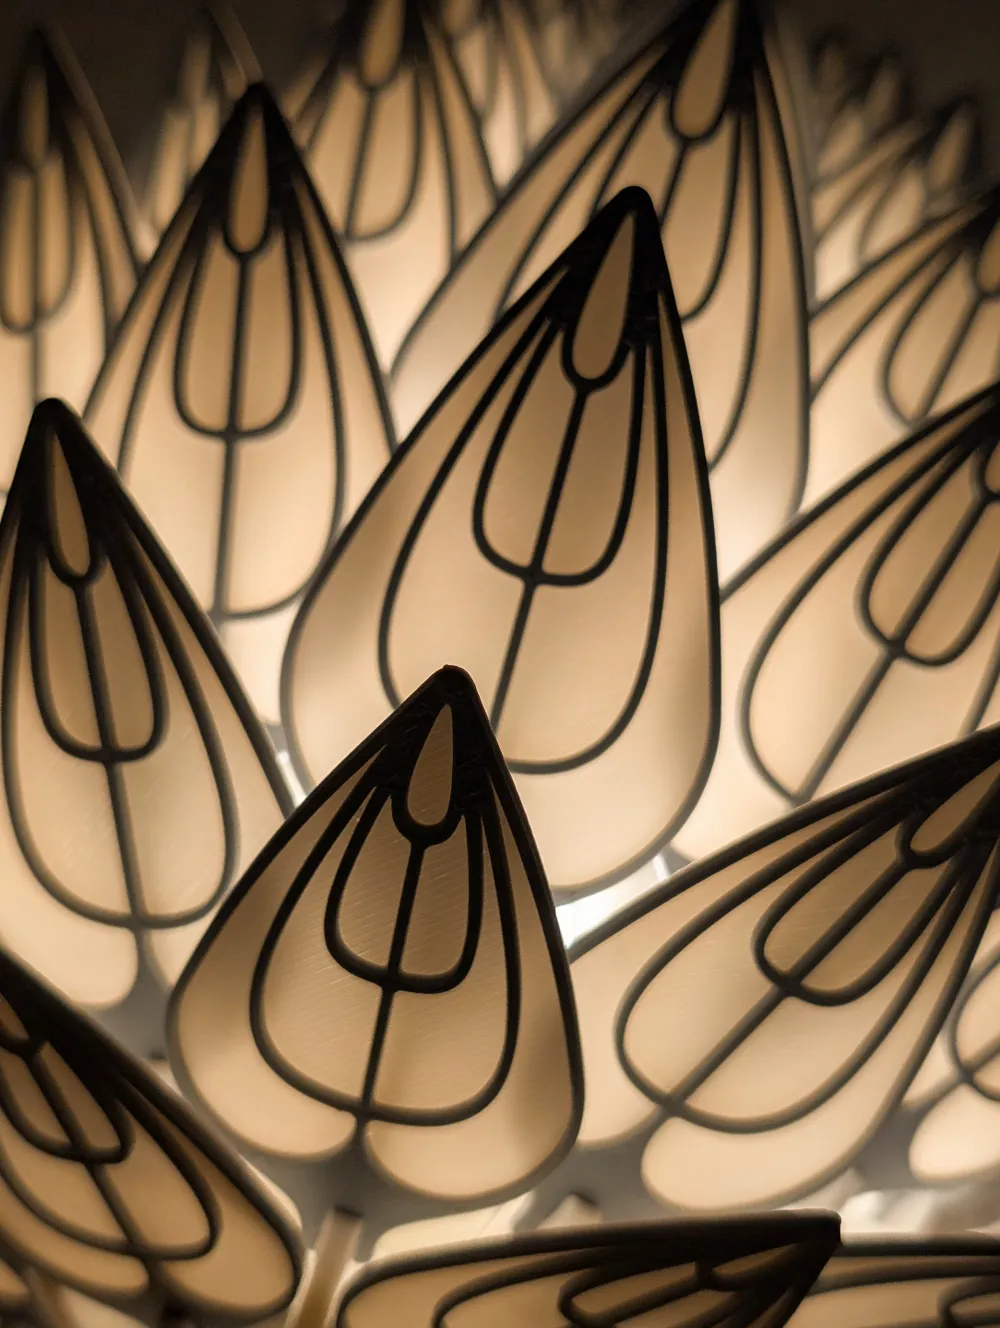
This is the optimised version of the PrismaPetal Lamp. It adresses some ideas of the community and includes some new mechanics, new Leaf designs and a new vase! Here is the Prisma Petal V1, you can also use the old leafs or the old vase as you like!
About:
This is a completely 3D printed lamp! (except the bulb and socket ;))
The goal of this design was to make an easy to assemble lamp which would not need any other parts than the bulb and the socket.
Only one part of the whole assembly needs support!
Extra Parts:
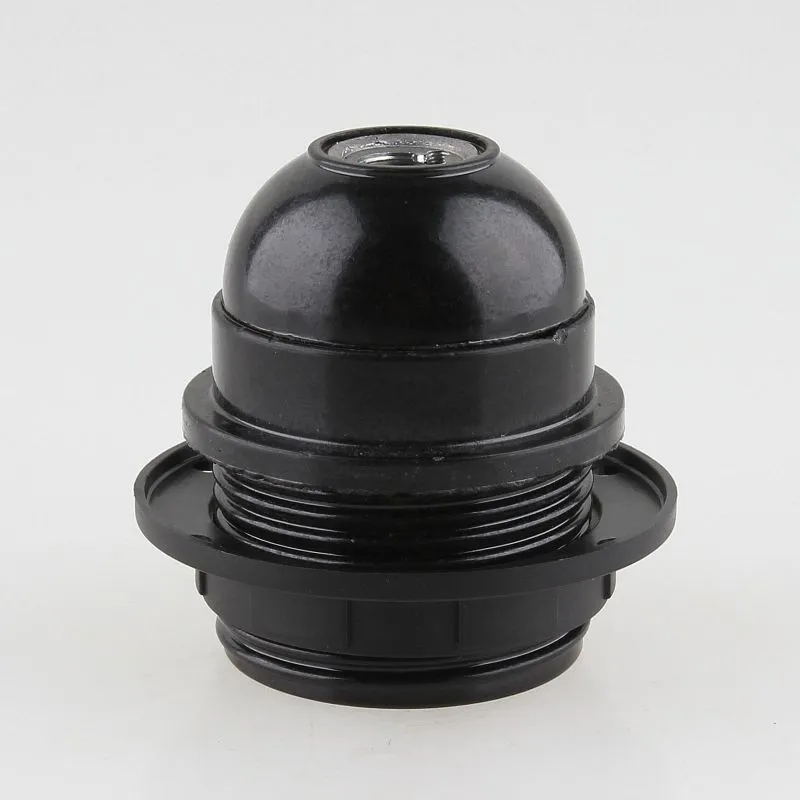
You need a E14 socket and a power cable for this build.
The part that holds the socket has a M28 thread as most common E14 sockets have.
So be sure to use a socket that has this thread. If you cant find one it will fit as well but wont be hold in place as good.
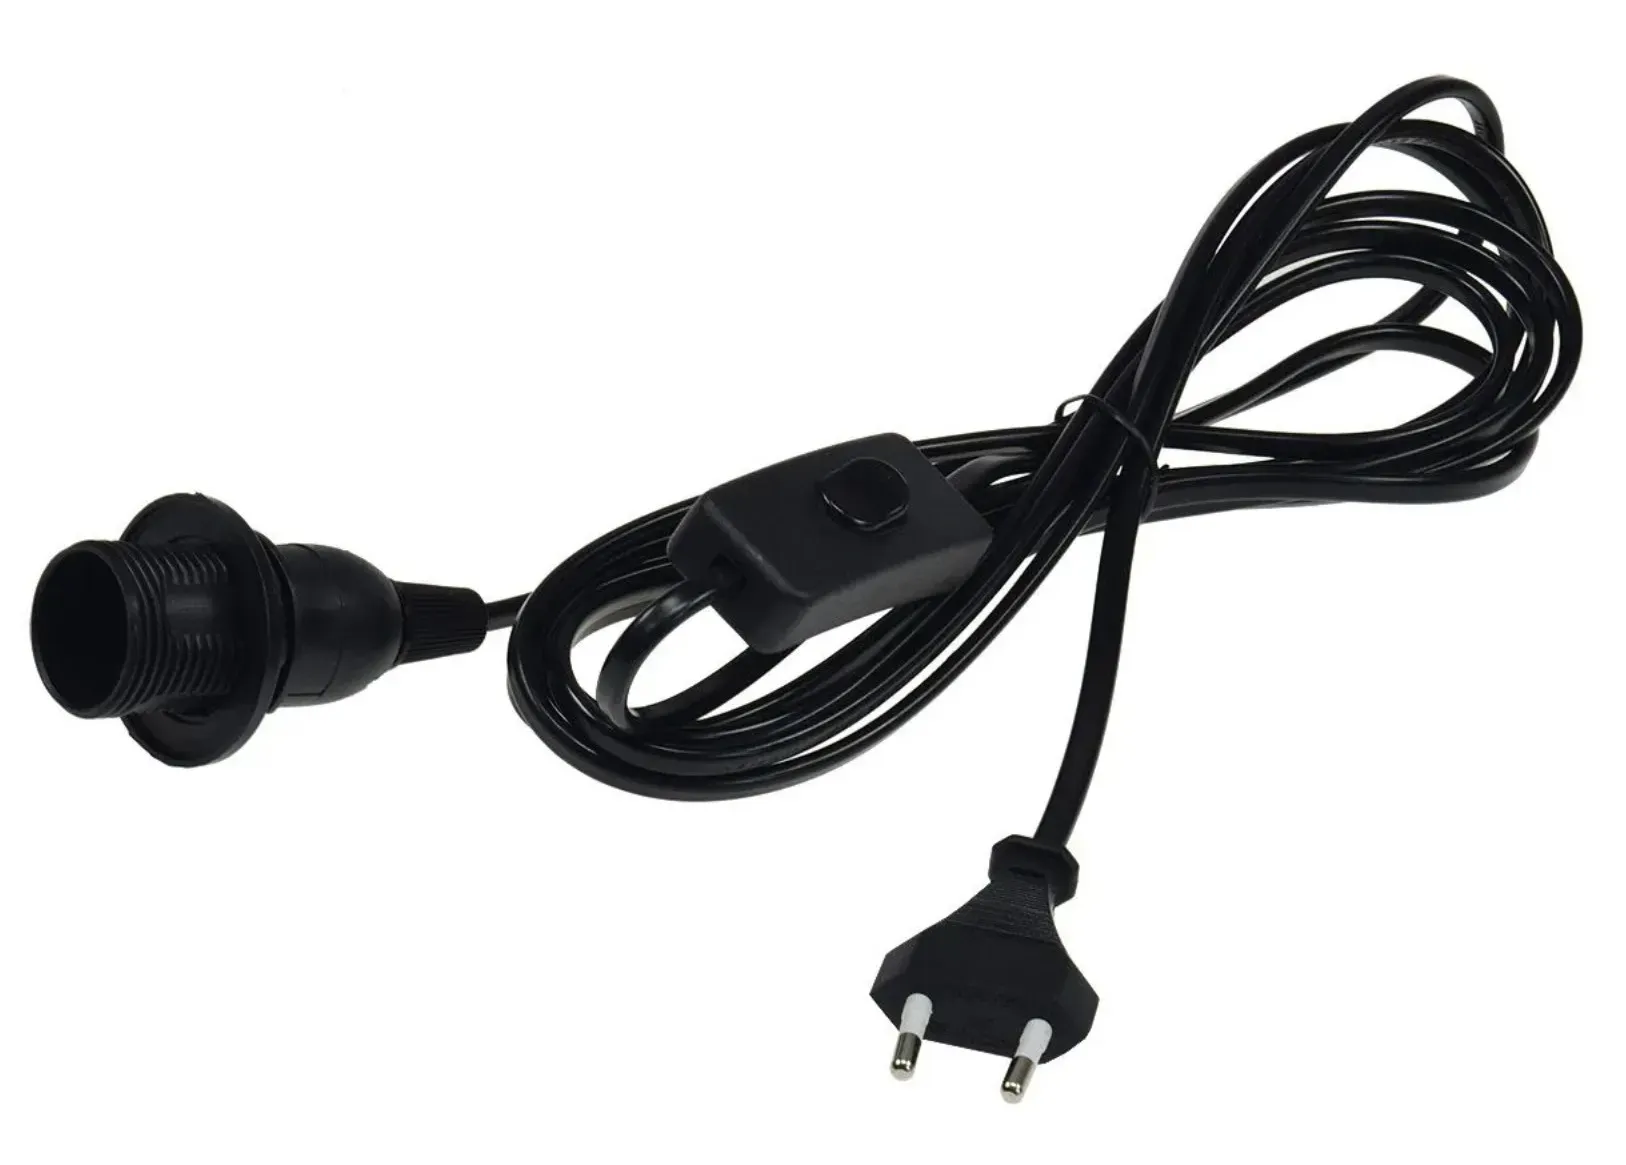
There are also versions you can buy with cable and switch:
New Features:
- Leafs are interchangable with V1
- a new top ring for more rigidity
- a new vase that is also interchangable with V1
- the base now has a E14 thread
Assembly Instructions
1. Print the Required Parts
Print the following parts (or all plates of the provided print profile):
- 1x Vase
- 1x Base
- 1x Top Connector
- 7x Spline Even and 7x Spline Odd
- Leaf Parts:
- 21x Leaf 1, 28x Leaf 2, 28x Leaf 3, 14x Leaf 4 (These differ in size; for a simpler build, you can print 91x Leaf 1 and 28x Leaf 2).
2. Prepare the Lamp
- Pull the cable through the vase.
- Thread the light socket into the base.
- Insert the light bulb into the socket.
3. Assemble the Splines and Leafs
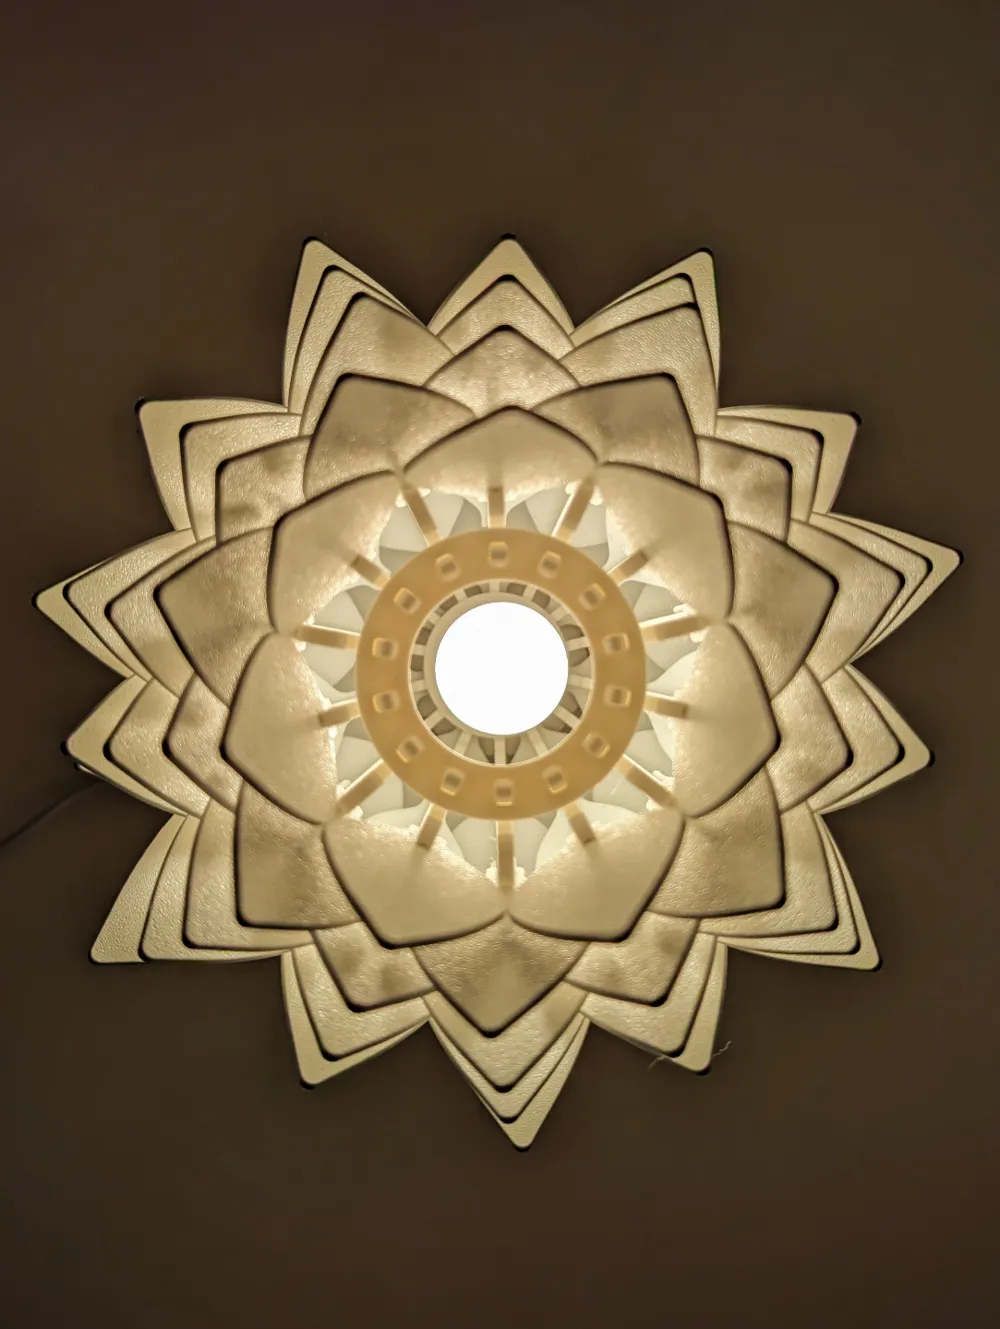
- Attach all splines (Spline Even and Spline Odd) to the base and put the top connector ring on top of the splines.
- Clip the leaf parts to the splines:
- Sort the leafs by size:
- The smallest is Leaf 1, and the largest is Leaf 4.
- Attach the leafs in the following order:
- For Spline Even: 1 - 2 - 3 - 4 - 3 - 2 - 1
- For Spline Odd: 1 - 2 - 3 - 4 - 3 - 2
- Start by inserting Leaf 1 (the smallest) into the top slot of each spline.
- Sort the leafs by size:
4. Final Assembly
- Place the base on top of the vase. Turn it slightly to secure it in place.
- Fix the cable in place at the bottom using a small cable clip (optional)..
There you go! Hope you will have fun with this build and the lamp! If you have any suggestions or questions feel free to write me!
Id love to see some pictures of your build if you happen to print this!
I plan to make some variations of the leafs and the base in the future, so come back again at some point ;)
If you want to support me further or want to sell all my models commercially, check out my PATREON!
Or if you want to support me once, buy me a coffee ☕💡
Membership
You can now subscribe to my Membership program to support me or to get access to commercial use of my models! Thanks for all your help!
Boost Me (for free)
If you like this model, consider giving me a boost! This really helps putting this much work into the designs ;)
Also have a look at my other lights, some are 100% 3D printable!
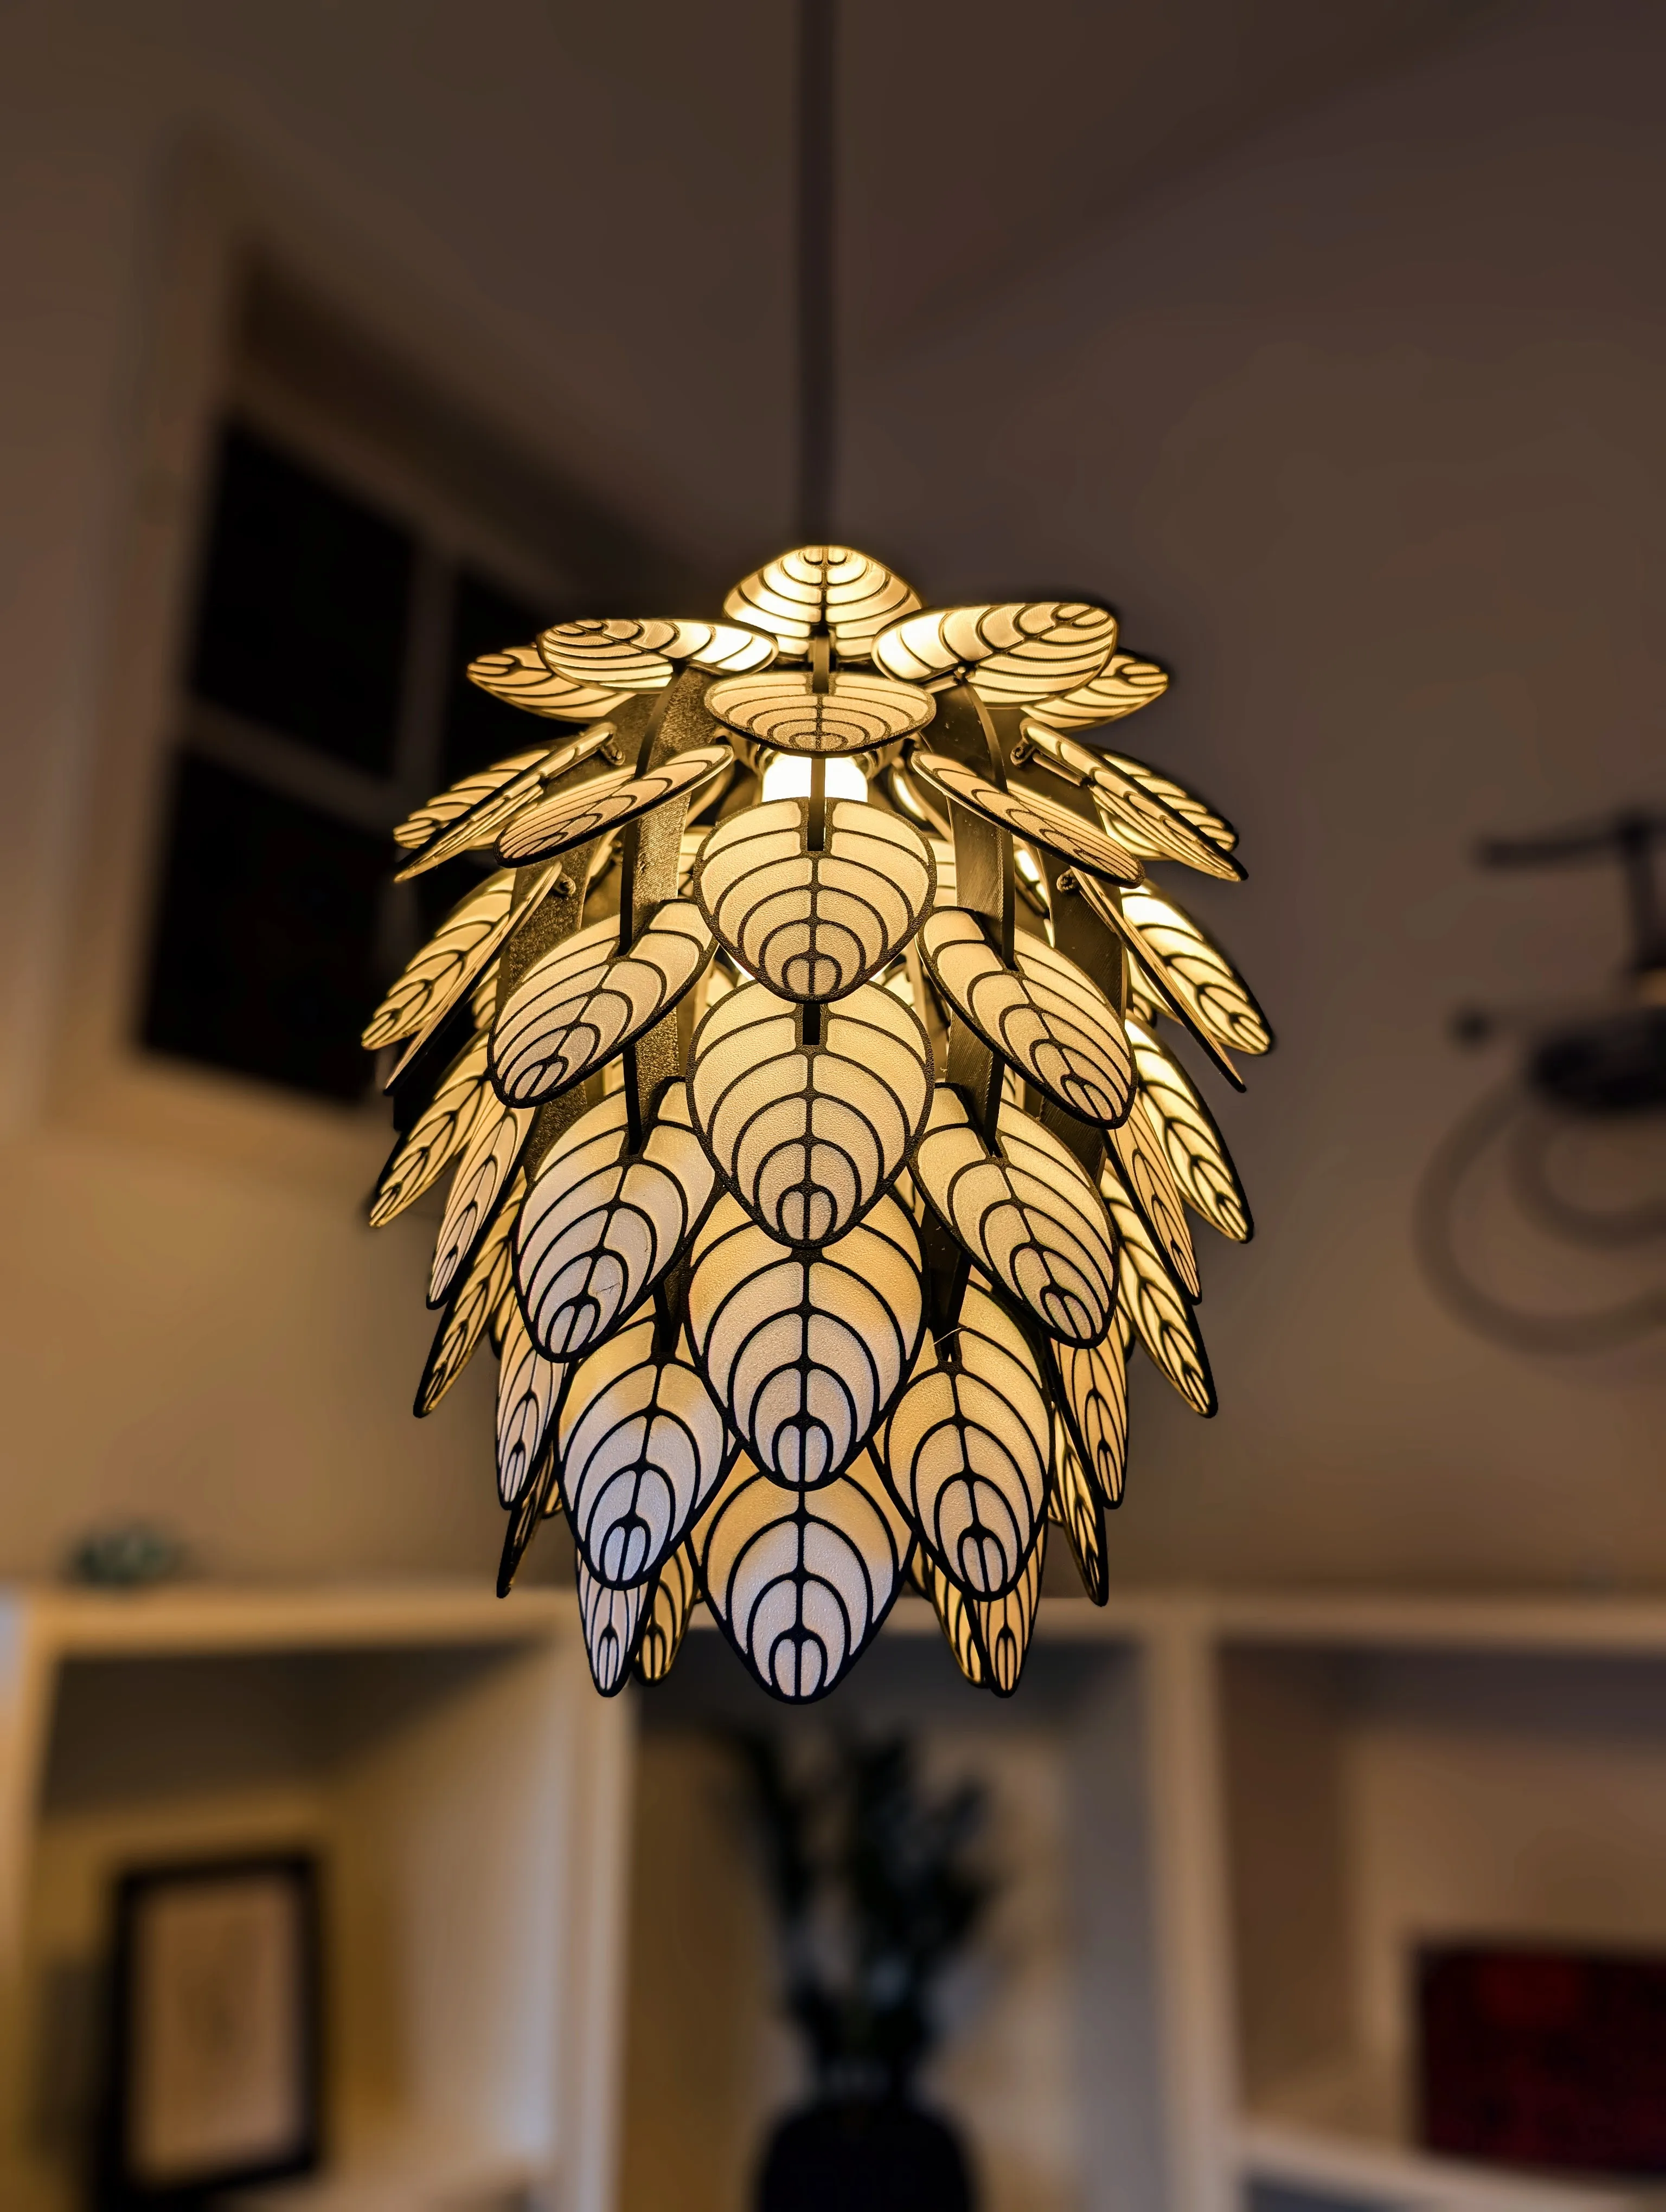
Orbiflora - A 100% 3D printable Lamp!
License

You shall not share, sub-license, sell, rent, host, transfer, or distribute in any way the digital or 3D printed versions of this object, nor any other derivative work of this object in its digital or physical format (including - but not limited to - remixes of this object, and hosting on other digital platforms). The objects may not be used without permission in any way whatsoever in which you charge money, or collect fees.


Comment & Rating (1050)