Levitating Lotus - Levitation Set, Tealight or RGB


Print Profile(6)


Bill of Materials


Description
🌸🌸This levitating lotus flower is designed for the Bambu Lab Magnetic Levitation Kit! 🌸🌸
🕯️🕯️ It offers standalone functionality for Bambu Lab LED tealights and waterproof RGB tealights!🕯️🕯️
All parts (except the Power Lid) are designed for support-free 3D printing!
⚠️⚠️Never use real candles near any filament!!⚠️⚠️
Parts to Print:
- Base Assembly
- 1x Base Flower
- 1x Base Lid
- 1x Decorative Top Panel for the Lid
- 6x Clips (to connect the lid and decorative panel)
- 1x Touch Lid
- 1x Power Lid
- Float Assembly
- 1x Floating Flower
- 1x Ring to secure the induction ring
- 1x Floating Diffusor
Step-by-Step Assembly
Base Assembly
- Power Cable Installation
- Disconnect the power input cable and thread it through the hole in the Base Flower.
Screw the nut onto the cable from underneath.

Place the Power Lid over the power cable and press it into position.

- Install the Magnetic Core
- Carefully press-fit the magnetic core into the slot in the Base Flower.
Use consistent force, but handle the parts with care to avoid breakage.

- Touch Sensor Installation
Thread the touch sensor through its Touch Lid diagonally.

- Insert the sensor into its slot in the base, then secure the Touch Lid on top.

- Attach the Decorative Lid
- Connect the Base Lid and Decorative Top Panel using the 6 printed clips.
- Align the clips with their slots and press them firmly into place.

Align the assembled lid with the base, there is a gap in the outer ring for where the power cable is. Press the lid onto the base until secure.

Float Assembly
- Install the Induction Ring
- Place the induction ring into the Floating Flower.
Secure it using the printed Ring by pressing it firmly into position.

- Magnet and LED Installation
Place the magnet on top of the induction ring.

Press-fit the LED PCB into the Floating Diffusor.

- Assemble the Float Top
Secure the Floating Diffusor onto the Floating Flower by press-fitting it.

Final Steps
- Test the Assembly
- Reconnect the power input cable to the levitation base.
- Position the assembled float carefully to achieve levitation.
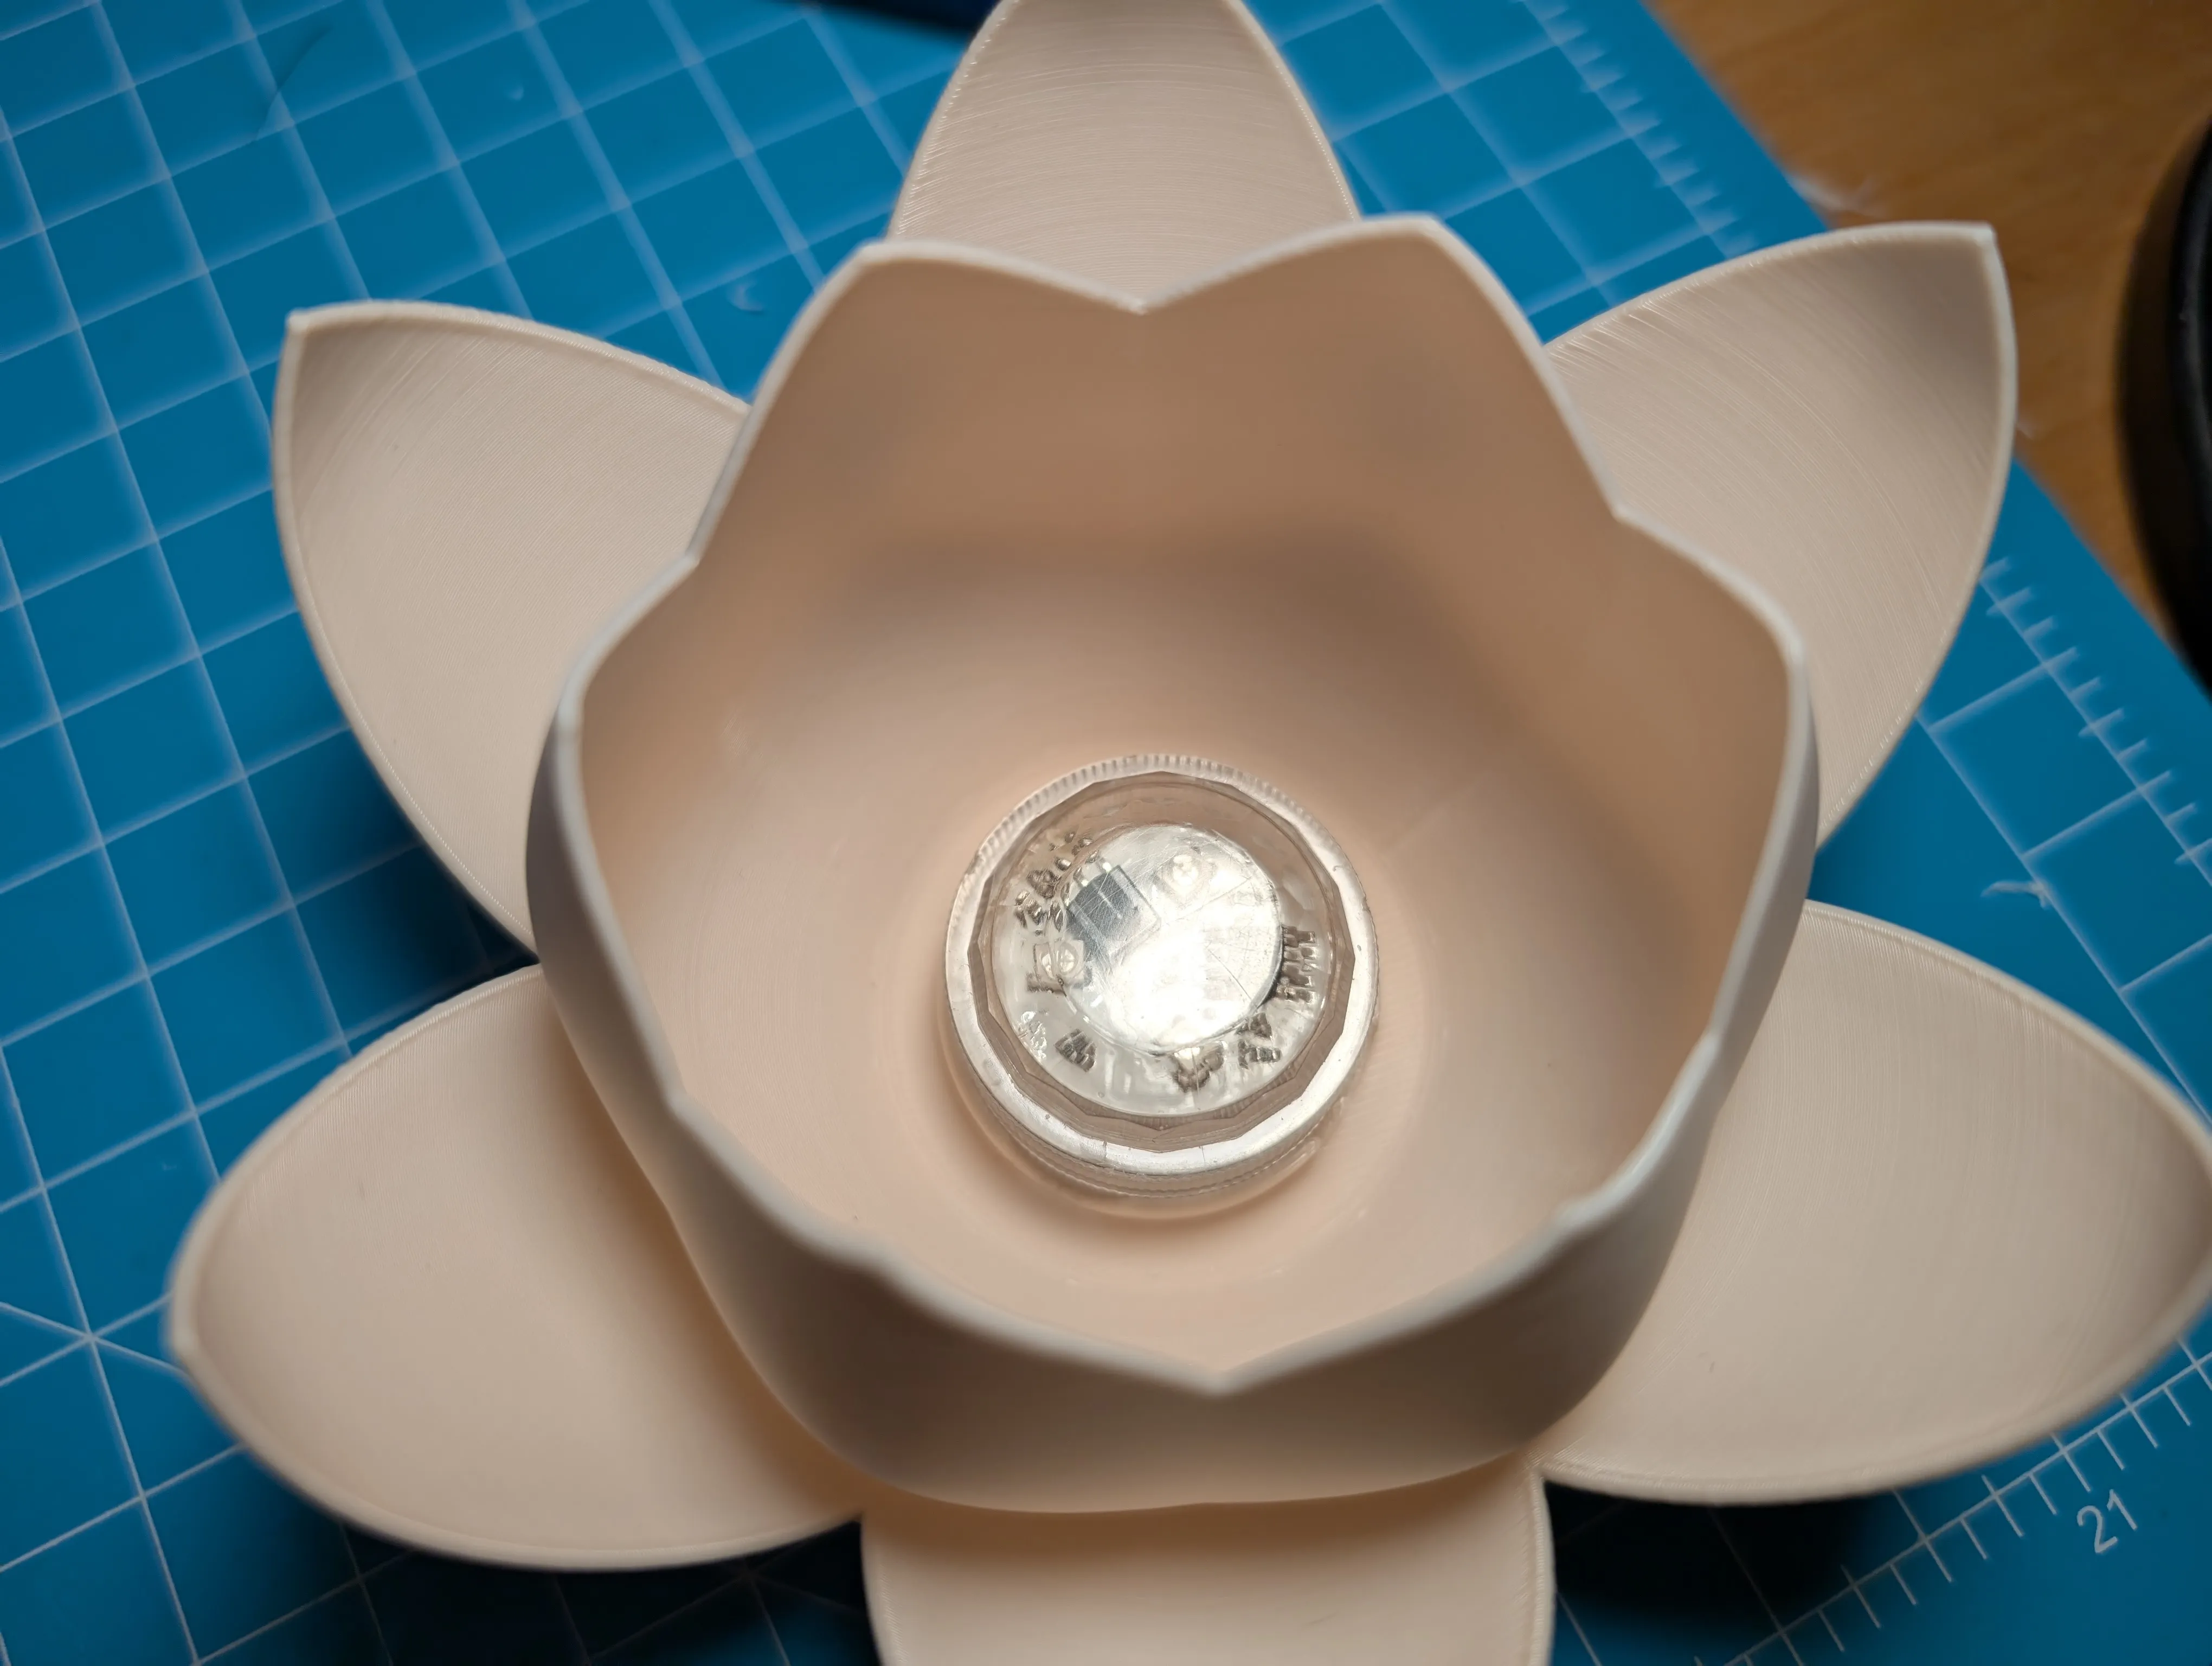
Standalone Mode with LED tealight or RGB tealights
For standalone use, place the LED tealight or waterproof RGB tealight into the Floating Flower.

If you had any questions, thoughts or problems with this print feel free to reach out! Id love to see some pictures of this if you happen to print one!
If you want to support me further or want to sell all my models commercially, check out my PATREON!
Membership
You can now subscribe to my Membership program to support me or to get access to commercial use of my models! Thanks for all your help!
Boost Me (for free)
If you like this model, consider giving me a boost! This really helps putting this much work into the designs ;)
Also have a look at my other lights, some are 100% 3D printable!

IcoFlux - A Fully 3D Printed Lamp

Florahedron V2 - A Fully 3D printable Lamp

Prisma Petal - Bambu Lab LED Kit


PrismaPetal V2 - A Fully 3D Printed Lamp

Orbiflora - A 100% 3D printable Lamp!


License
You shall not share, sub-license, sell, rent, host, transfer, or distribute in any way the digital or 3D printed versions of this object, nor any other derivative work of this object in its digital or physical format (including - but not limited to - remixes of this object, and hosting on other digital platforms). The objects may not be used without permission in any way whatsoever in which you charge money, or collect fees.
Comment & Rating (69)