Stackable AMS Trim


Print Profile(1)

Description
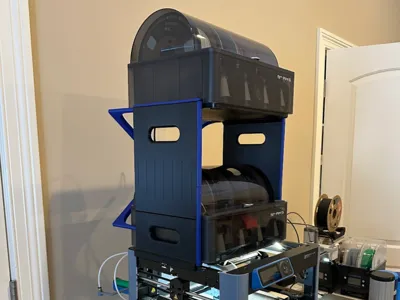
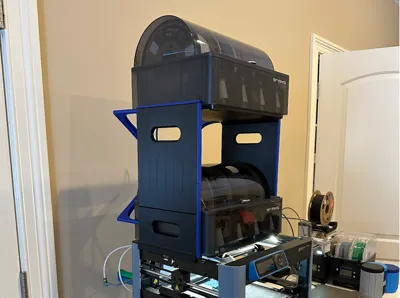
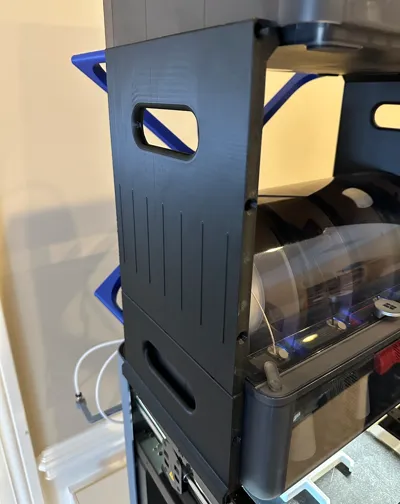
I chose the stackable AMS Shelf by GekoPrime - https://makerworld.com/en/models/16573#profileId-15395 as my AMS stacking system because it fits on my P1P as well as can stack beside the printer.
I also used the X-Brace by Adamation to make it a bit more rigid. https://makerworld.com/en/models/857949#profileId-807588
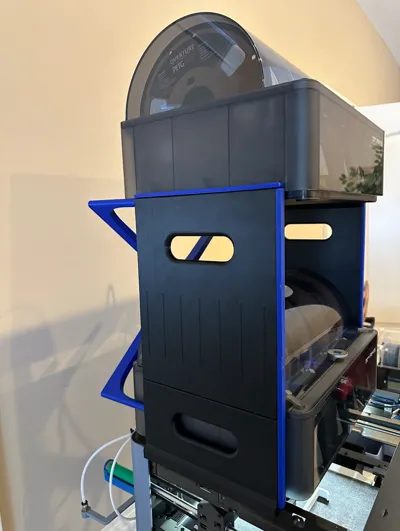
I highly recommend both. The stacker has holes in the front and back for bracing but since I'm only using the back there are unused holes that needed to be filled.
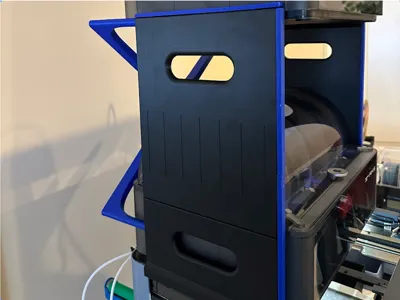
My model plugs these holes but also provides a visual “trim” effect that I thought was cool. I used the same color on the trim as the X-Brace. Adamation also has plug holes if you would rather something smaller - https://makerworld.com/en/models/858126#profileId-807784
You can also avoid the holes in the front by modifying the original Fusion model that GekoPrime provides. I found that on Printables. Although, some folks are using the front holes for extra bracing, I've found that the X-Brace is more than adequate and very nicely designed.
I glued my X-Brace into the back of my AMS Stacker to increase rigidity. I will probably glue in the trim pieces as well. I used a 30 minute epoxy, sparingly. There is not a lot of “wiggle room” in the trim pieces. Check the fit before you mix up the epoxy!
Printing
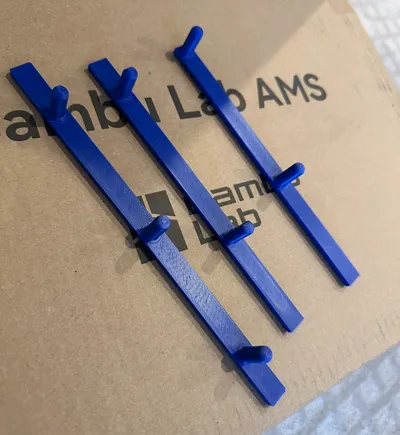
The download consists of three pieces and makes one complete side so you will have to print three more for the other side. Each piece is completely different and will only install correctly in one spot. It's fairly easy to figure out.
When removing a piece use two hands and lift up on each end being careful not to snap off a dowel in your AMS Stacker holes. Lift slowly and gently and lift from the middle when needed as well.
This model has a long and interesting history of design. I don't know that I could do it justice or get its origins completely correct. Hopefully someone can in the comments.

Comment & Rating (2)