MINI Z-Axis Cap w/ ZuM


Print Profile(1)

Bill of Materials

Description
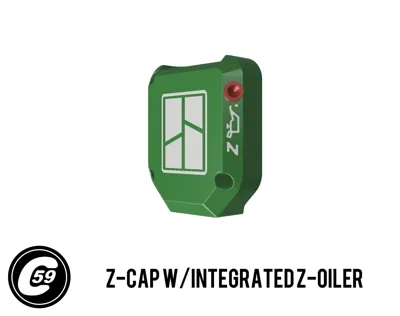
MINI Series Z-Cap Oiler Cap MSZOC
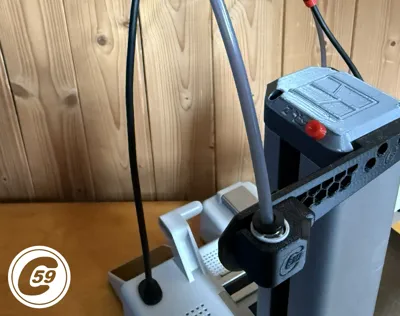
Z-Axis Cap that help you lube the lead screw and mount thing on the MINI
Need an easier way to lubricate the Z-axis or mount accessories on it? Introducing the MSZOC, now available to print!
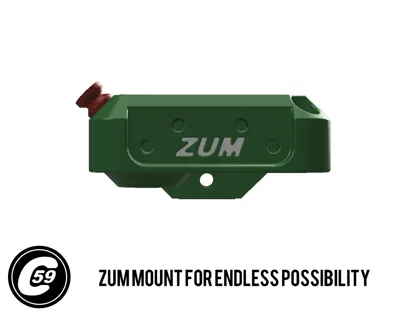
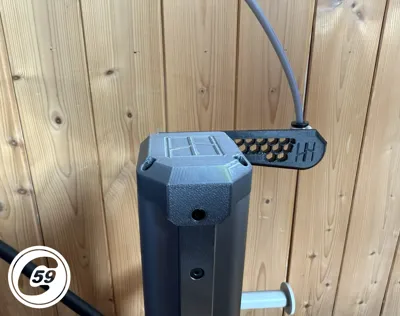
ZUM Mount
Customize with Ease
Design or download accessories for the rear ZUM mount to meet your specific needs. Requires four screws (Maker's Supply BOM available below) and uses the same screws as the AMS Lite mounting bracket for reference.
A spool adapter, Top Threaded PTFE Mount and other accessories are available here: MSLPH Low Profile Handle
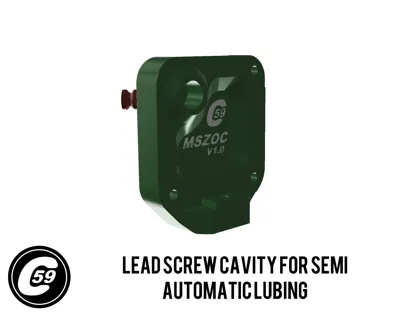
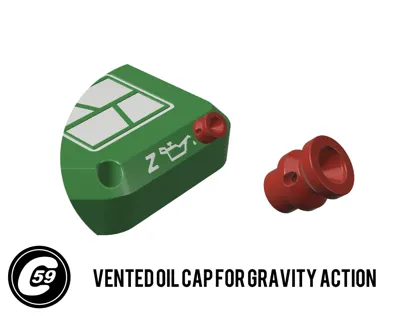
Z-Oiler: Semi-Automatic Lubrication
Maintain your printer effortlessly with the Z-Oiler. Simply add a few drops of lubricant into the port—gravity handles the rest. Use the oil supplied with your Bambu printer or a compatible alternative.
A printable dust cap is available to protect the Z-Oil port from dust and debris. For the Oil cap, check out the MSLPH page. [Click here to access it on my page]
MSOEC PTFE Bracket (Included in Profile)
The MSOEC bracket is a flexible, generic mount designed for the launch of the ZUM mount system. It works seamlessly with the original PTFE quick connect, ensuring secure attachment.
To further stabilize the quick connect, a clip is available in the MSLPH handle profile. This clip prevents detachment and is highly recommended for consistent performance.
MSLPH Handle Version of this available !
https://makerworld.com/en/models/985576
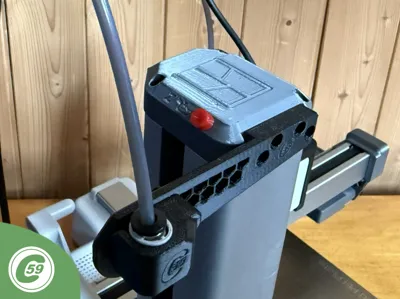
Installation Instructions
- Place the Z-Cap:
Align the handle flush with the top of the tower. - Insert into the Rail Slot:
Gently push the cap into the bearing rail slot. - Align and Secure the Front Screw:
- Center the cap and insert the long front screw.
- Tighten it lightly to hold the cap in place.
- Ensure the bolt holes on the tower side are properly aligned.
- Install the Top Screws:
Loosely install the three top screws. - Tighten the Bolts:
Securely tighten all four bolts, but avoid overtightening to prevent damage. - To test, move the X gantry up and down along the Z-axis. If you notice any rubbing, clean the inside of the lead screw cavity. In my tests, some setups showed minor rubbing while others did not, so make adjustments as needed!
And that’s it! You’re all set to semi-auto oil the lead screw and attach accessories to the Z-axis top !
The green render is the original 3D CAD model in software.
Install Action HD VIDEO:
V1.0 Specifications MSZOC + MSOEC
Material: PETG (recommended for durability and strength).
Printer Settings:
- Profile: Standard
- Layer Height: 0.20 mm
- Mode: CERTIFIED LUDICROUS
- Infill: 30%
- Walls: 6
- Bottom Layers: 3
- Top Layers: 5
Printing Details:
- Supports: Not required
- Print Time: 1:32
- Filament Usage: 0.92 oz
Estimated Cost: ~$0.66 (based on a $26 PETG spool)
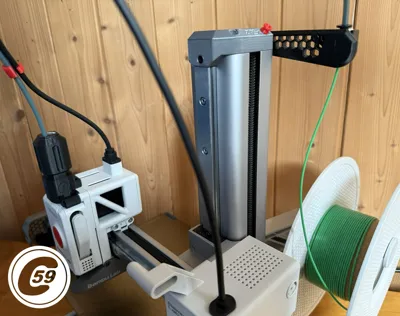
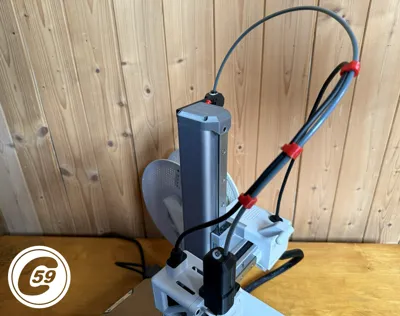
Streamlined Tube and Cable Management For A1 MINI
Tired of tangled cables or upgrades that just don’t feel right anymore?
👉 AMPC PTFE x Cable Clip A1/MINI
👉 ASBB HUB Support A1/MINI
Elevate your 3D printer setup today!
Boost Me (for free)
🚀 Boost Your Project! 🚀
If you love what I'm working on, hit the Boost button! Your support helps me continue to create, improve, and share even more exciting designs. Thank you for being part of this journey!
Enjoy your printing journey, and remember—keep your fingers away from the poop chute, she's angry!
"I’ll be sure to keep you updated with any future developments. If you come across any issues or need assistance, don’t hesitate to reach out—I’m here to help!"
You shall not share, sub-license, sell, rent, host, transfer, or distribute in any way the digital or 3D printed versions of this object, nor any other derivative work of this object in its digital or physical format (including - but not limited to - remixes of this object, and hosting on other digital platforms). The objects may not be used without permission in any way whatsoever in which you charge money, or collect fees.
Current ver.1.0_01/12/2025
© 2025 C59 Design Lab. All rights reserved.
License
You shall not share, sub-license, sell, rent, host, transfer, or distribute in any way the digital or 3D printed versions of this object, nor any other derivative work of this object in its digital or physical format (including - but not limited to - remixes of this object, and hosting on other digital platforms). The objects may not be used without permission in any way whatsoever in which you charge money, or collect fees.
Comment & Rating (13)