Search models, users, collections, and posts
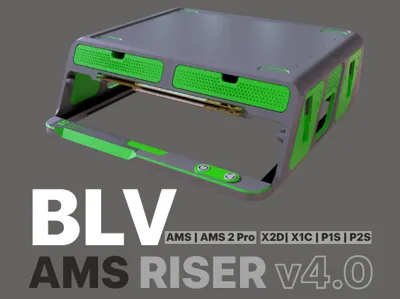
P1S / X1C AMS raiser with led (old and new AMS)
Remixed by
IP Report


Print Profile(4)

Old AMS back parts 0.2mm layer, 4 walls, 15% infill
Designer
15.4 h
4 plates

All parts P1S/P1P/X1C raiser
Designer
29.9 h
9 plates

New and old version V2 rear connection
Designer
31.3 h
9 plates
PETG / Slow / 0.16mm layer, 4 walls, 15% infill
23.1 h
5 plates
Open in Bambu Studio
Boost
406
1019
179
59
1.6 k
1.3 k
Released
Description
I remix 2 differents raiser for my needs with switch for led and adapt for P1S
New improvements:
- I've add the new AMS version file from user_3551197704
- Old AMS V2 rear parts connection review (see pictures)
- New AMS V2 rear parts connection review (see pictures)
- Rear connection is bigger on V2 updated
Add this part for people ask me (not tested yet, please give me feedback and I will make correction if needed)
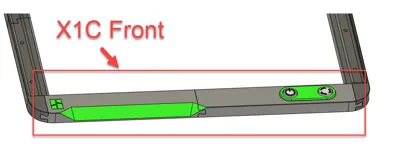
- X1C front parts
- P1S without switch front part
Amazon parts for Led:
Led strip: https://www.amazon.ca/dp/B0C2P8CZBD?ref=ppx_yo2ov_dt_b_product_details&th=1
Switch: https://www.amazon.ca/dp/B07Y1GDRQG?ref_=cm_sw_r_mwn_dp_0QE4XXP4WPF85H8ZM4J4&language=fr-CA&th=1
For X1C

This remix is based on
This source model was used for remixing/sharing before its license was restricted.

This source model was used for remixing/sharing before its license was restricted.

License
This user content is licensed under a
Creative Commons Attribution-Noncommercial-Share AlikeRemixes (5)
Click to see more
Comment & Rating (179)