
Attach any 3D Model to HSW / Skadis / Multiboard
Print Profile(2)


Description
Attach any 3D Model to HSW / Skadis / Multiboard
Version 2 of this model available at: https://makerworld.com/en/models/552190
- With additional boards and connector types
- Multiconnect
- More flexible connectors layout and alignments
- More capable adapter structure for models w/o a back to attach to
Overview
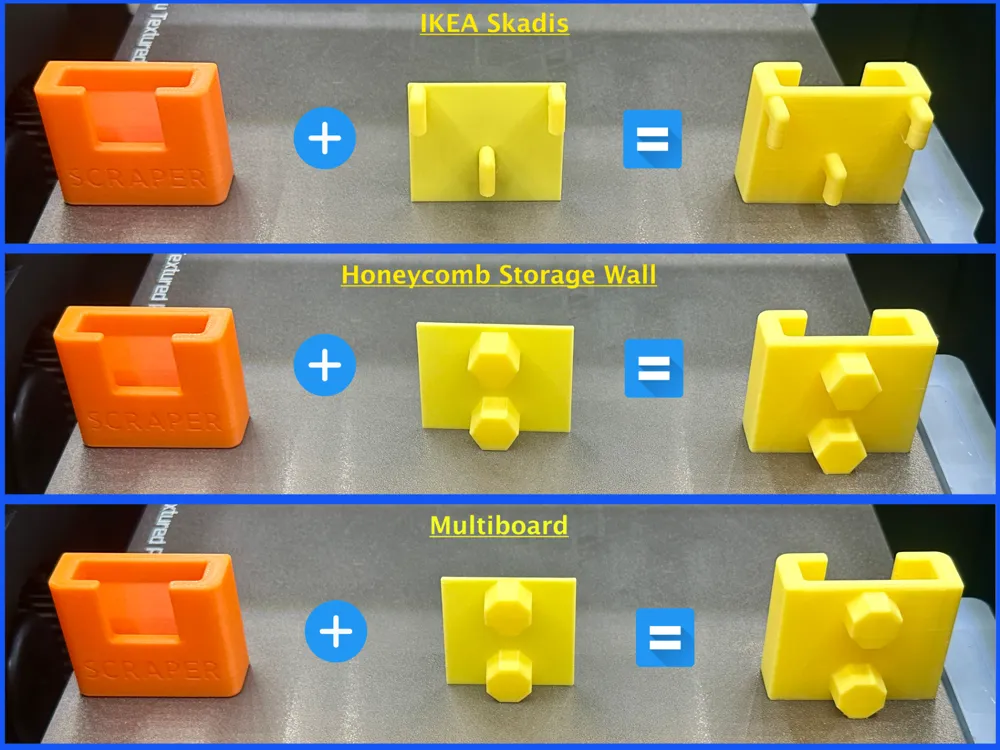
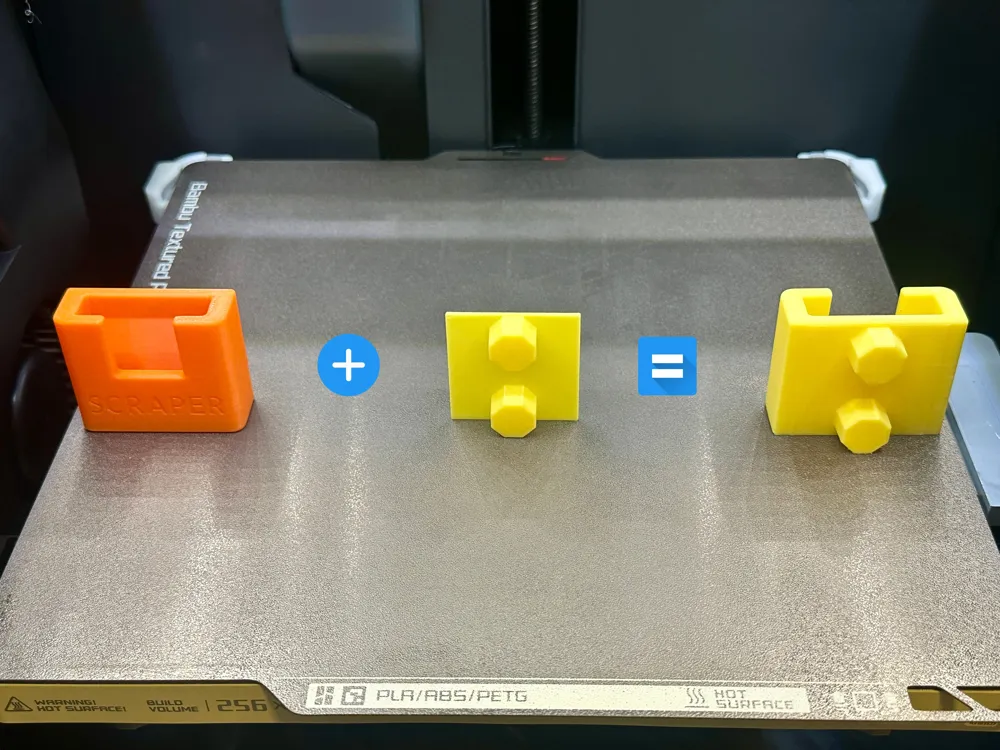
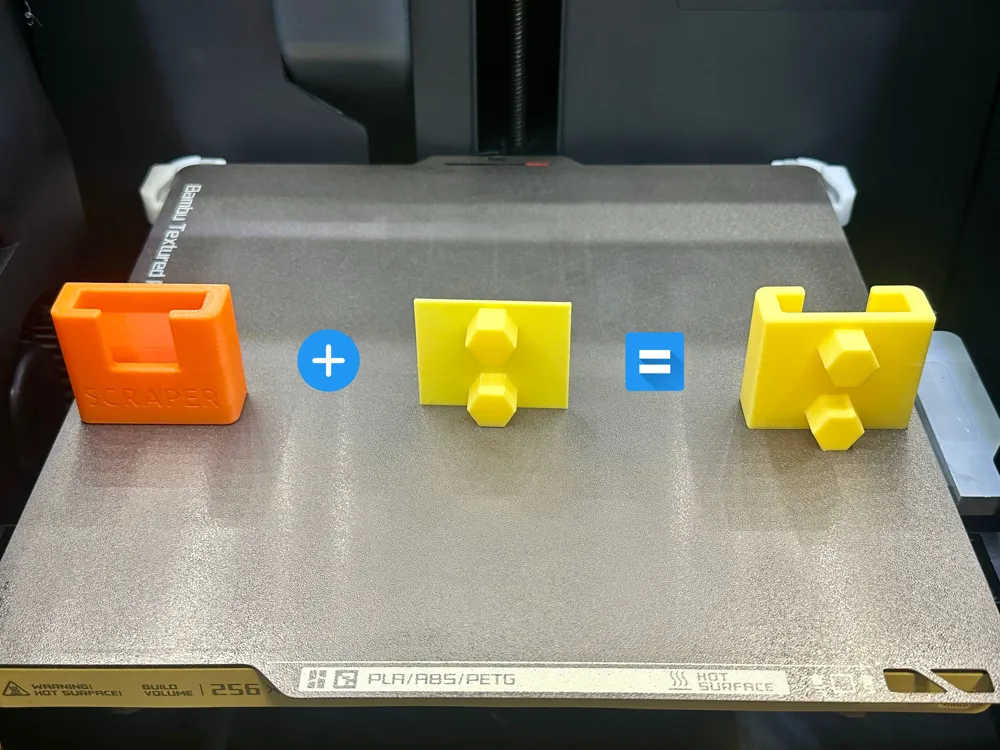
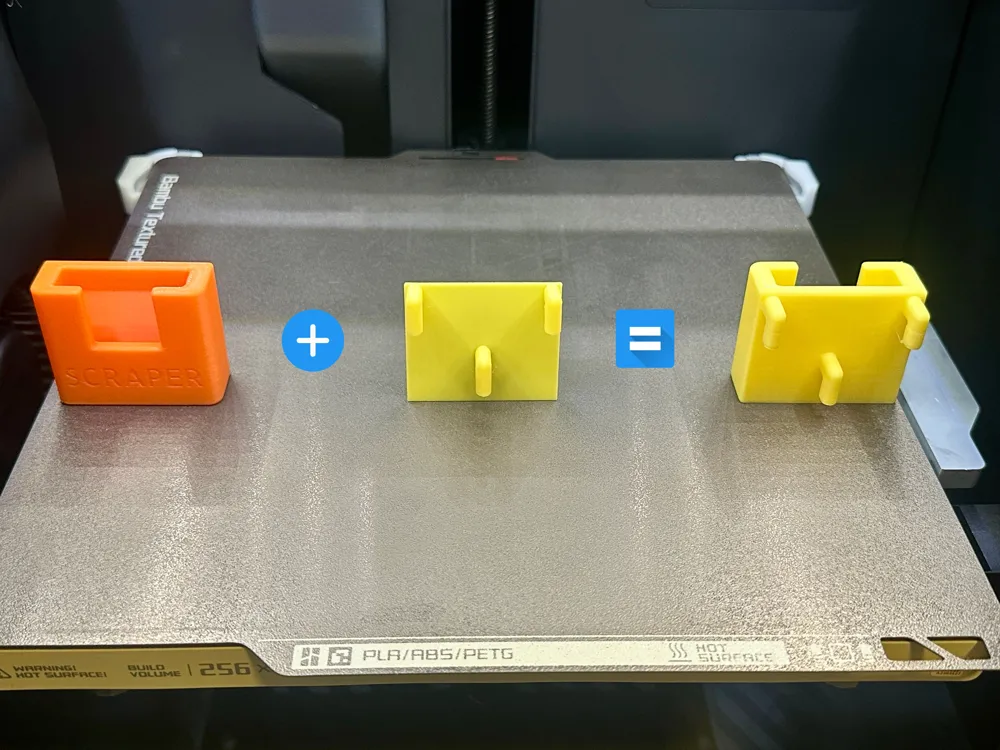
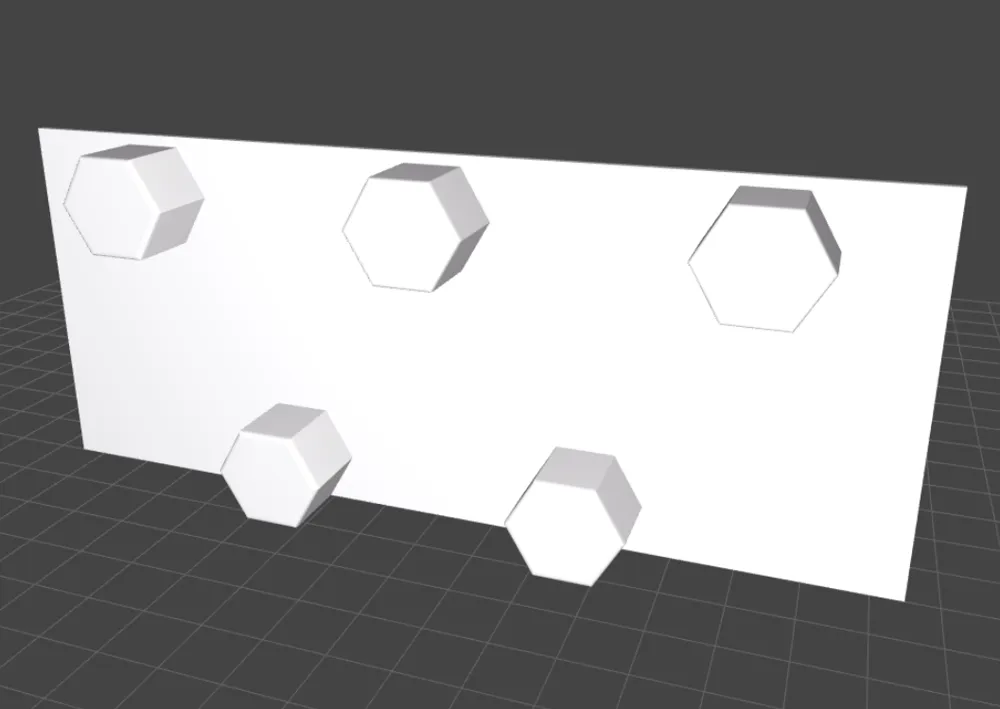
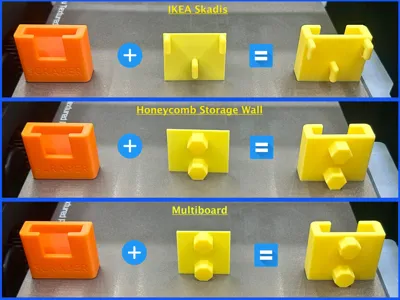
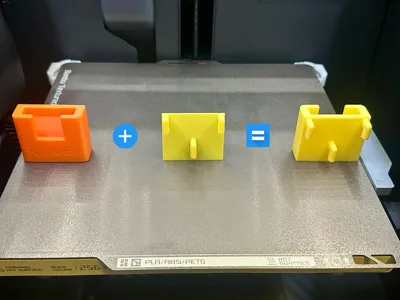
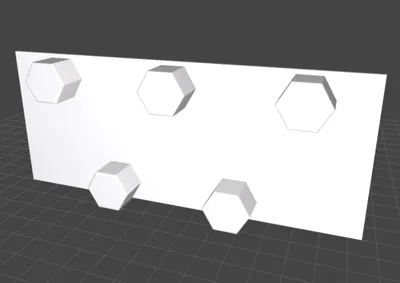
This parametric 3D model allows you to attach any 3D printable model to various board systems, supporting honeycomb storage wall (HSW), IKEA Skadis, and Multiboard. By adjusting the parameters, you can generate a custom plate with connectors that fit the specified board system or just the connectors.
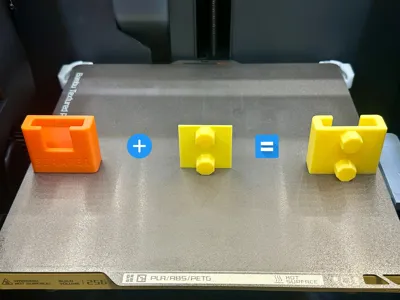
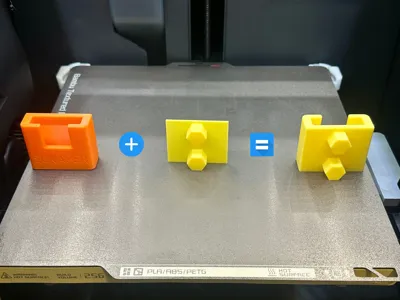
The plate or connectors can then be easily added to your target 3D model in the slicer software for printing an attachable model.
Note: I'm open to consider adding additional connector types, if you have a need please let me know by adding a comment.
Important Update (July 22, 2024): I released a more advanced version of this model inspired by the need to mount a MakerWorld "Make My Desk Organizer" generated model, which is fantastic. The original model wasn't flexible enough due to the resulting organizer structure, so I improved it, adding capabilities like brackets and more configuration options. However, these changes led to more complex configuration and different defaults, so I decided to keep both models: this one for simpler cases and the new one for more complex scenarios. You can try the new version and see which you prefer. It's available at https://makerworld.com/en/models/552190. |
Important Note: If you're using a print profile, for best results please use one marked with ‘Designer’. This model is sensitive to fine accuracies, and I have tested and recommend my ‘Designer’ print profile. Other print profiles have not been tested by me, so their effectiveness and printed parts quality cannot be guaranteed. Additionaly, please don't automatically follow print settings from non designer print profiles as strength and accuracy are crucial here due to the delicate nature of the connectors. |
Boost Me (for free)
If you enjoyed this model, please consider boosting it to encourage the creator to continue developing this and other models !
Follow Me To receive updates on new models I upload, Honeycomb Storage Wall, Multiboard or Skadis related and others |
A unique filament clip using a simple rubber band. Designed my own clip when none I found would work. Available at https://makerworld.com/en/models/1369230  | My finest work. My masterpiece. My engineering achievement. Check it out! https://makerworld.com/en/models/1138678
|
Usage Instructions
- Select Connector Type: Choose the type of connectors you need (HSW-Plug, IKEA-Skadis, MB-PushFit).
- Set Dimensions: Input the desired width and height for the connection area.
- Adjust Clearance: Specify the tolerance parameters for the selected connector type. Note that tolerance is dependent on the exact material, printer, and board in use.
- Generate STL: Use the provided OpenSCAD file to generate the STL file.
- Combine Models: In your slicer software (e.g., Bambu Studio, Orca or other), import the generated STL together with your target 3D model. Assemble / Merge them using the slicer software and orient them so the connectors properly align for installation as you want.
- Orca Slicer / Bambu Studio - Stacking Models | Bambu Lab Wiki
- Prusa Slicer - Edit objects in Prusa Slicer using Merge - YouTube
- Add Supports: Depending on the exact connectors layout, supports may be required. Tree manual support works best by coloring only the bottom of the connectors. You can find more information on this in my other model: https://makerworld.com/en/models/497259 .
- Print: Send the assembled model to your 3D printer.
Small Tip: Clearance is sometimes a challenge with these boards, mainly Honeycomb Storage Wall and Multiboard. I recommend testing fit first with a small sample (even on some simple cube) using the same the orientation you plan to print your model, and then if it doesn't fit well, adjust the tolerance parameters of the connectors. That way, you can reach a perfect fit. If you change material, it may be worthwhile to make another test with the new material. Some more info is available in the Tips & Tricks section on my other model at https://makerworld.com/en/models/497259. And if using HSW you can also use my specialized tool for testing HSW Clearances available at https://makerworld.com/en/models/551921.
Bonus: Unrelated to this mode, with Honeycomb Storage Wall specifically, it is difficult to take out the inserts after placing them in. That has been addressed by my other model, available at https://makerworld.com/en/models/161520 .
Parameters
General
- Connectors_Type: Specifies the type of connectors to generate. Options include HSW-Plug (Honeycomb Storage Wall), IKEA-Skadis, and MB-PushFit (Multiboard).
- Plate_Width: Defines the width of the plate in millimeters.
- Plate_Height: Defines the height of the plate in millimeters.
- Plate_Thickness: Defines the thickness of the plate in millimeters. Set to 0 to generate only the connectors.
Honeycomb Storage Wall
- HSW_Connector_Tolerance: Adjust the tolerance for the connectors to ensure a perfect fit with the Honeycomb Storage Wall. This value is reduced from the distance between the facing faces of the hexagonal connector. Use negative values to increase the connector size and positive values to reduce it.
IKEA Skadis Board
- SKADIS_Connector_Diameter_Tolerance: Adjust the tolerance for the diameter of the connectors to fit the IKEA Skadis board. This value is subtracted from the connector's diameter, primarily affecting its width.
- SKADIS_Connector_Depth_Tolerance: Modify the tolerance for the depth of the connector slot. This value is added to the slot depth, ensuring a proper fit on the board.
Multiboard
- MB_Connector_Tolerance: Adjust the tolerance for the connectors to ensure a perfect fit with Multiboard. This value is reduced from the distance between the facing faces of the hexagonal connector. Use negative values to increase the connector size and positive values to reduce it.
License

You shall not share, sub-license, sell, rent, host, transfer, or distribute in any way the digital or 3D printed versions of this object, nor any other derivative work of this object in its digital or physical format (including - but not limited to - remixes of this object, and hosting on other digital platforms). The objects may not be used without permission in any way whatsoever in which you charge money, or collect fees.


Comment & Rating (186)