
TwistBand Clip – Filament Clip Using a Rubber Band
Print Profile(1)

Description

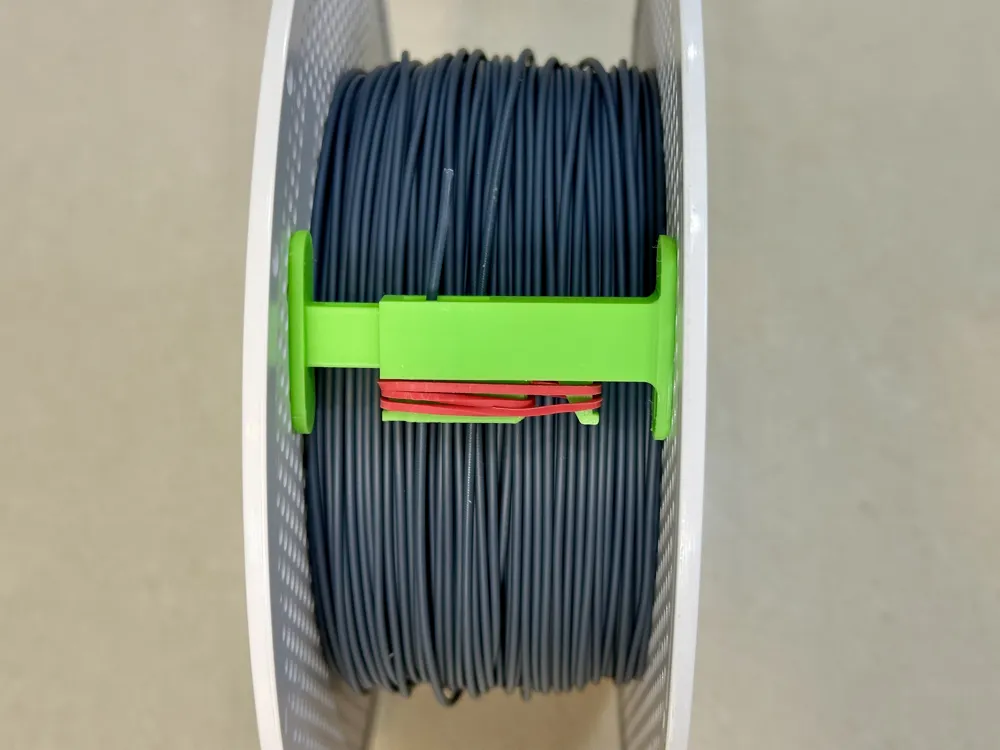
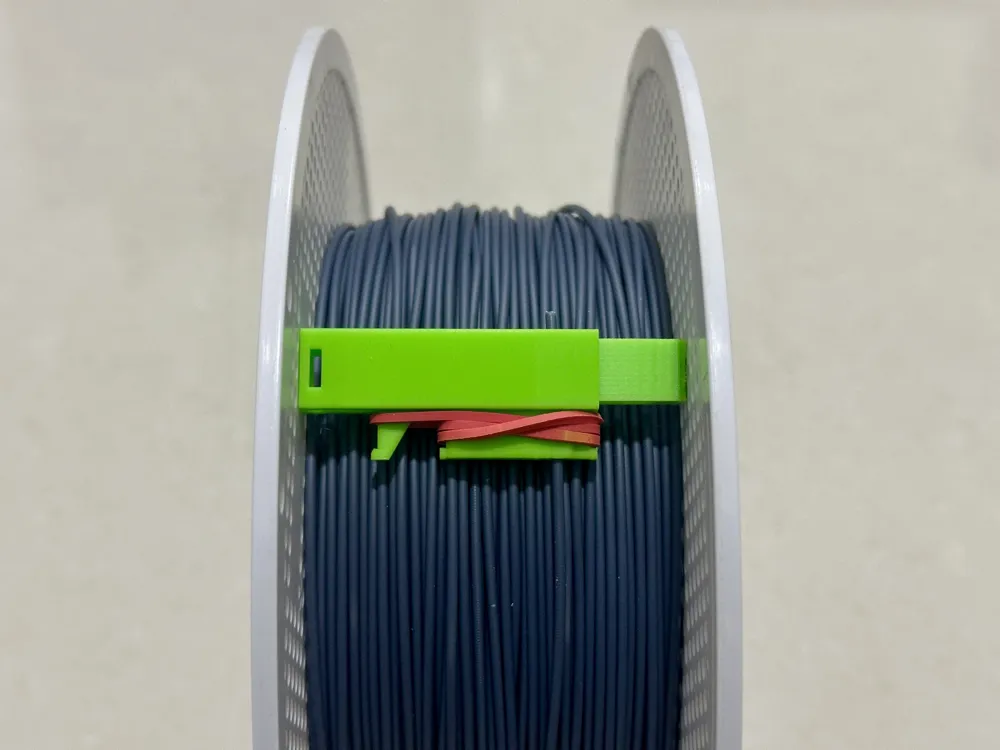
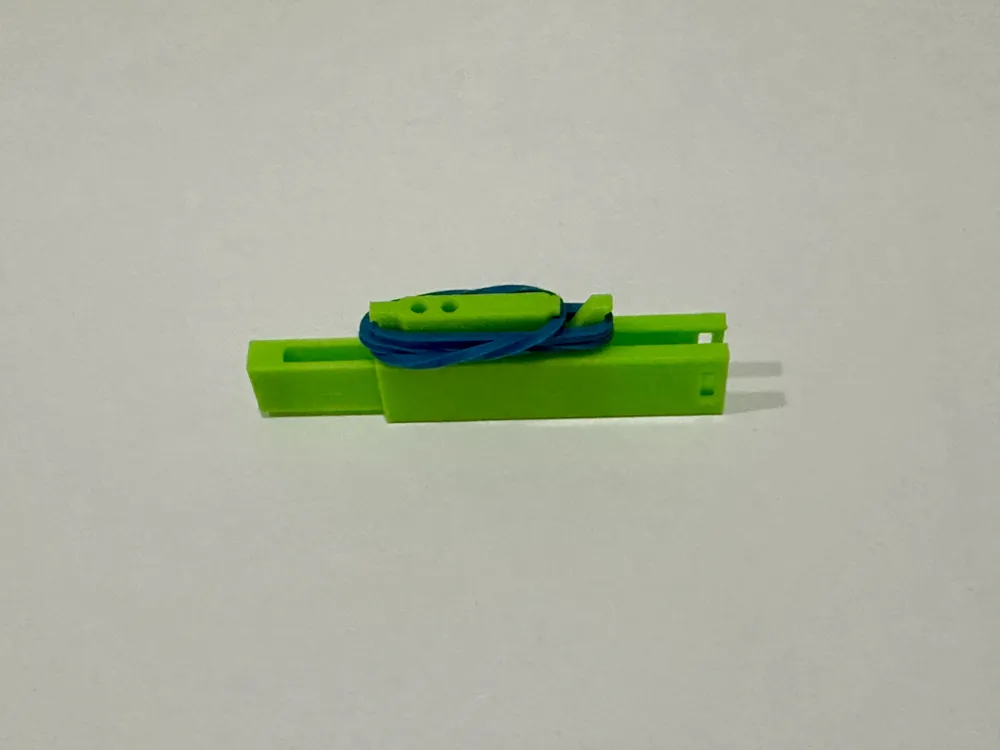
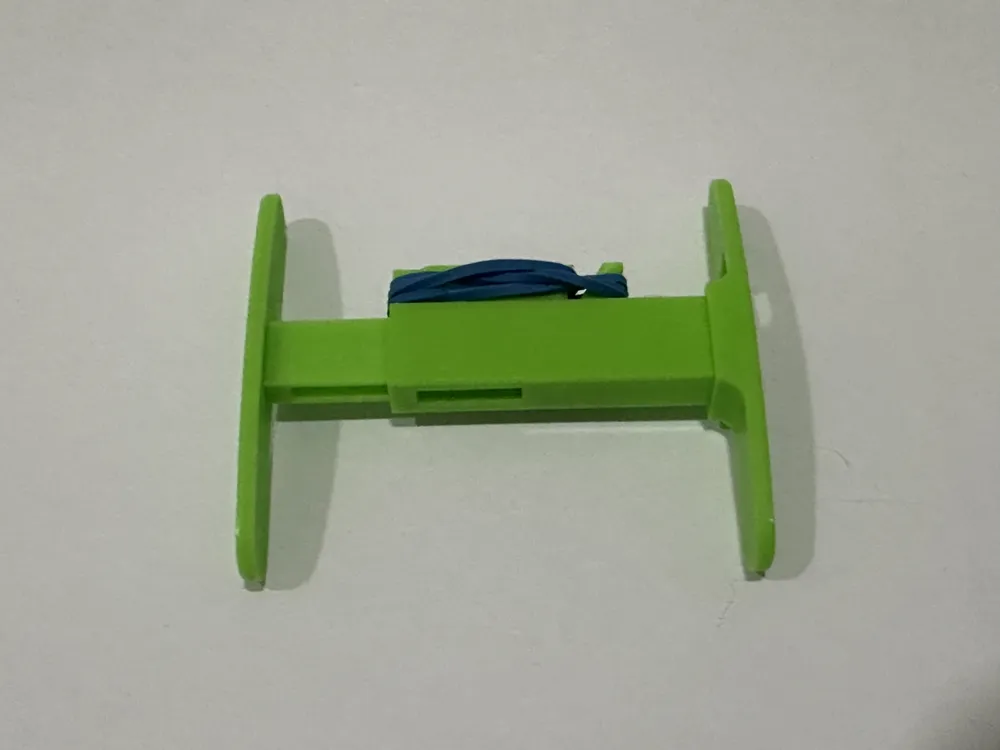
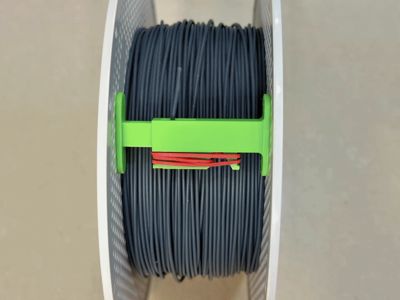
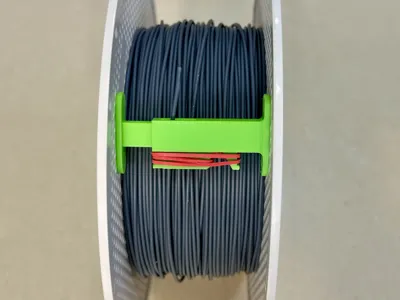
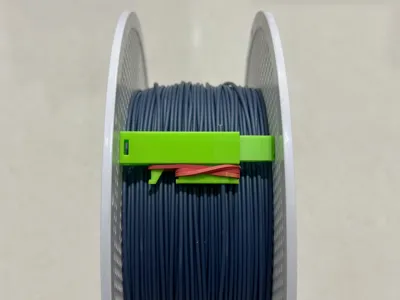
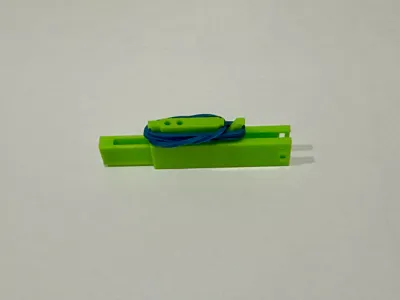
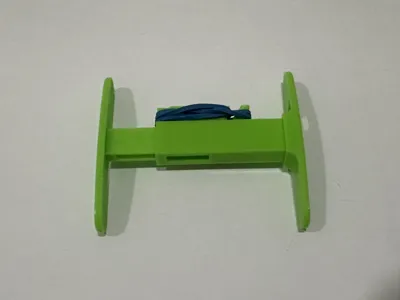
This filament clip design uses a simple rubber band to secure the clip to the internal sides of a 3D filament spool, while the clip itself holds the filament. It’s a versatile, easy-to-use solution with several unique advantages:
- Easy Setup: Just slide the clip between the spool’s sides and pass the filament through — or the other way around.
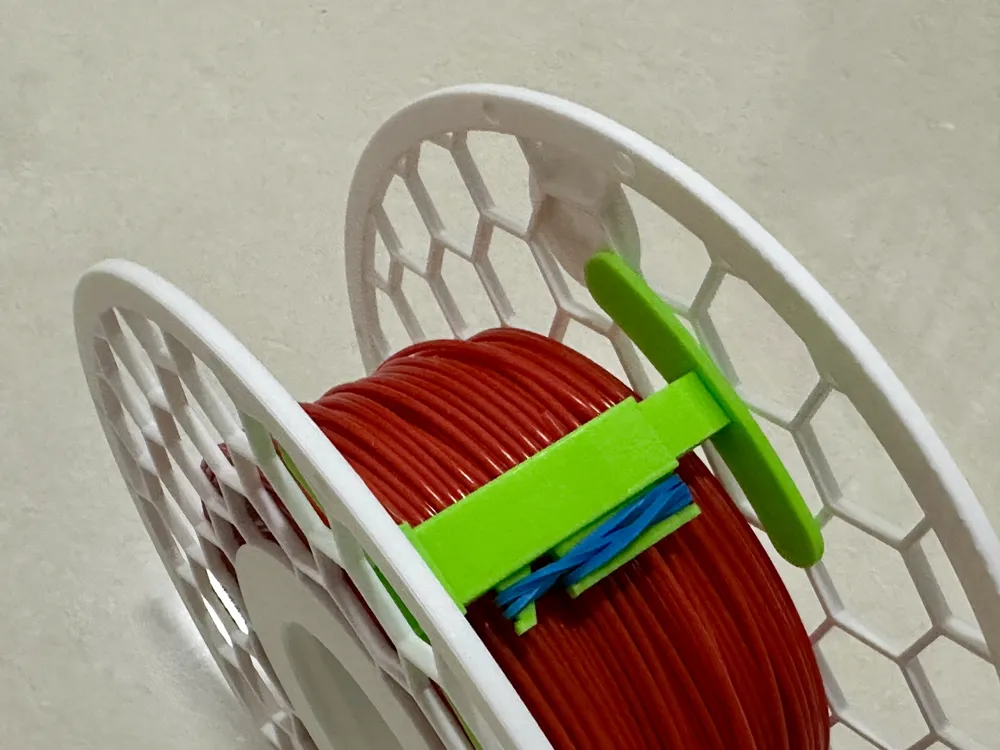
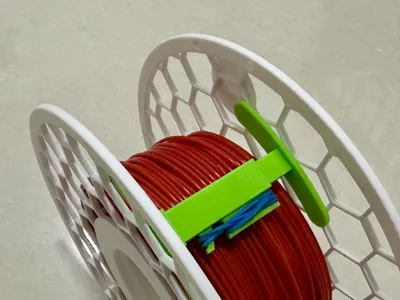
- Wide Compatibility: The standard version works with most spools that have flat internal flange areas. Optional wide pads are included to support spools with large holes (typically 3D-printed respoolable types).
- Adjustable Fit: One clip fits a wide range of spool internal widths (50 mm to over 60 mm), so no need to print different clips for different spool types.
- No Rotation Interference: The clip remains within the spool’s diameter and won’t block rotation — useful in dryers.
- Dryer-Resistant: Unlike clips that rely on 3D-printed flex or tension (which weakens in heat), this design uses a standard rubber band. I tested a common grocery-store rubber band in a dryer at 66°C for 7 hours with no impact on performance.
Boost Me (for free)
If you enjoyed this model, please consider boosting it to encourage the creator to continue developing this and other models !
My finest work. My masterpiece. My engineering achievement. Check it out! https://makerworld.com/en/models/1138678
|
Background
When I first got my 3D printer, one recurring annoyance was securing filament to the spool to avoid tangling. I tried many commercial and self-designed clips, but all had trade-offs:
- Difficult to Use: Some required tedious work to hook the filament onto itself.
- Compatibility Issues: Some fit only specific spool sizes or relied on specific holes in certain brands. I had to print a dedicated clip per spool type — too much hassle with many spool types.
- Heat Sensitivity: Clips with 3D-printed springs would fail after a dryer cycle.
- Rotation Limitation: Some clipped to the outer rim, blocking spool rotation in dryers.
This rubber band-based design solved all that and more. It’s simple, adjustable, and works across most spools with no special customization.
Variants
There are three clip variants — choose the one that best suits your needs:
- Basic – Minimal rectangular ends.
- Narrow Pads – Oval, narrow pads on both ends.
- Wide Pads – Oval, wide pads on both ends, designed for spools with large holes or open side areas (e.g., low-material spools used for re-spooling).
Printing Instructions
- If you expect the clip to be used in a dryer or high-heat environment, print it in PETG, ABS, or ASA. PLA might deform over time. The rubber band generates the holding force, so structural integrity is all that matters here.
- IMPORTANT: You know your printer best. Consider adding a brim for the vertically oriented parts with the. small base (only), since they have a small footprint. I’ve had no issues, but it’s worth considering.
Basic Clip
There are two versions of the basic clip:
• One with a smooth end on the inner part.
• One with a rough end, made using the fuzzy skin modifier for added grip (may vary by spool).Both versions work well. Choose the one you prefer.
- Print Orientation:
• For the rough end fuzzy skin version, print orientation must match the provided profile so the fuzzy surface ends up where needed.
• For the smooth version, you can print the inner part vertically (preferably with the hook at the bottom, but either way works). This orientation is efficient for printing more clips in one go.
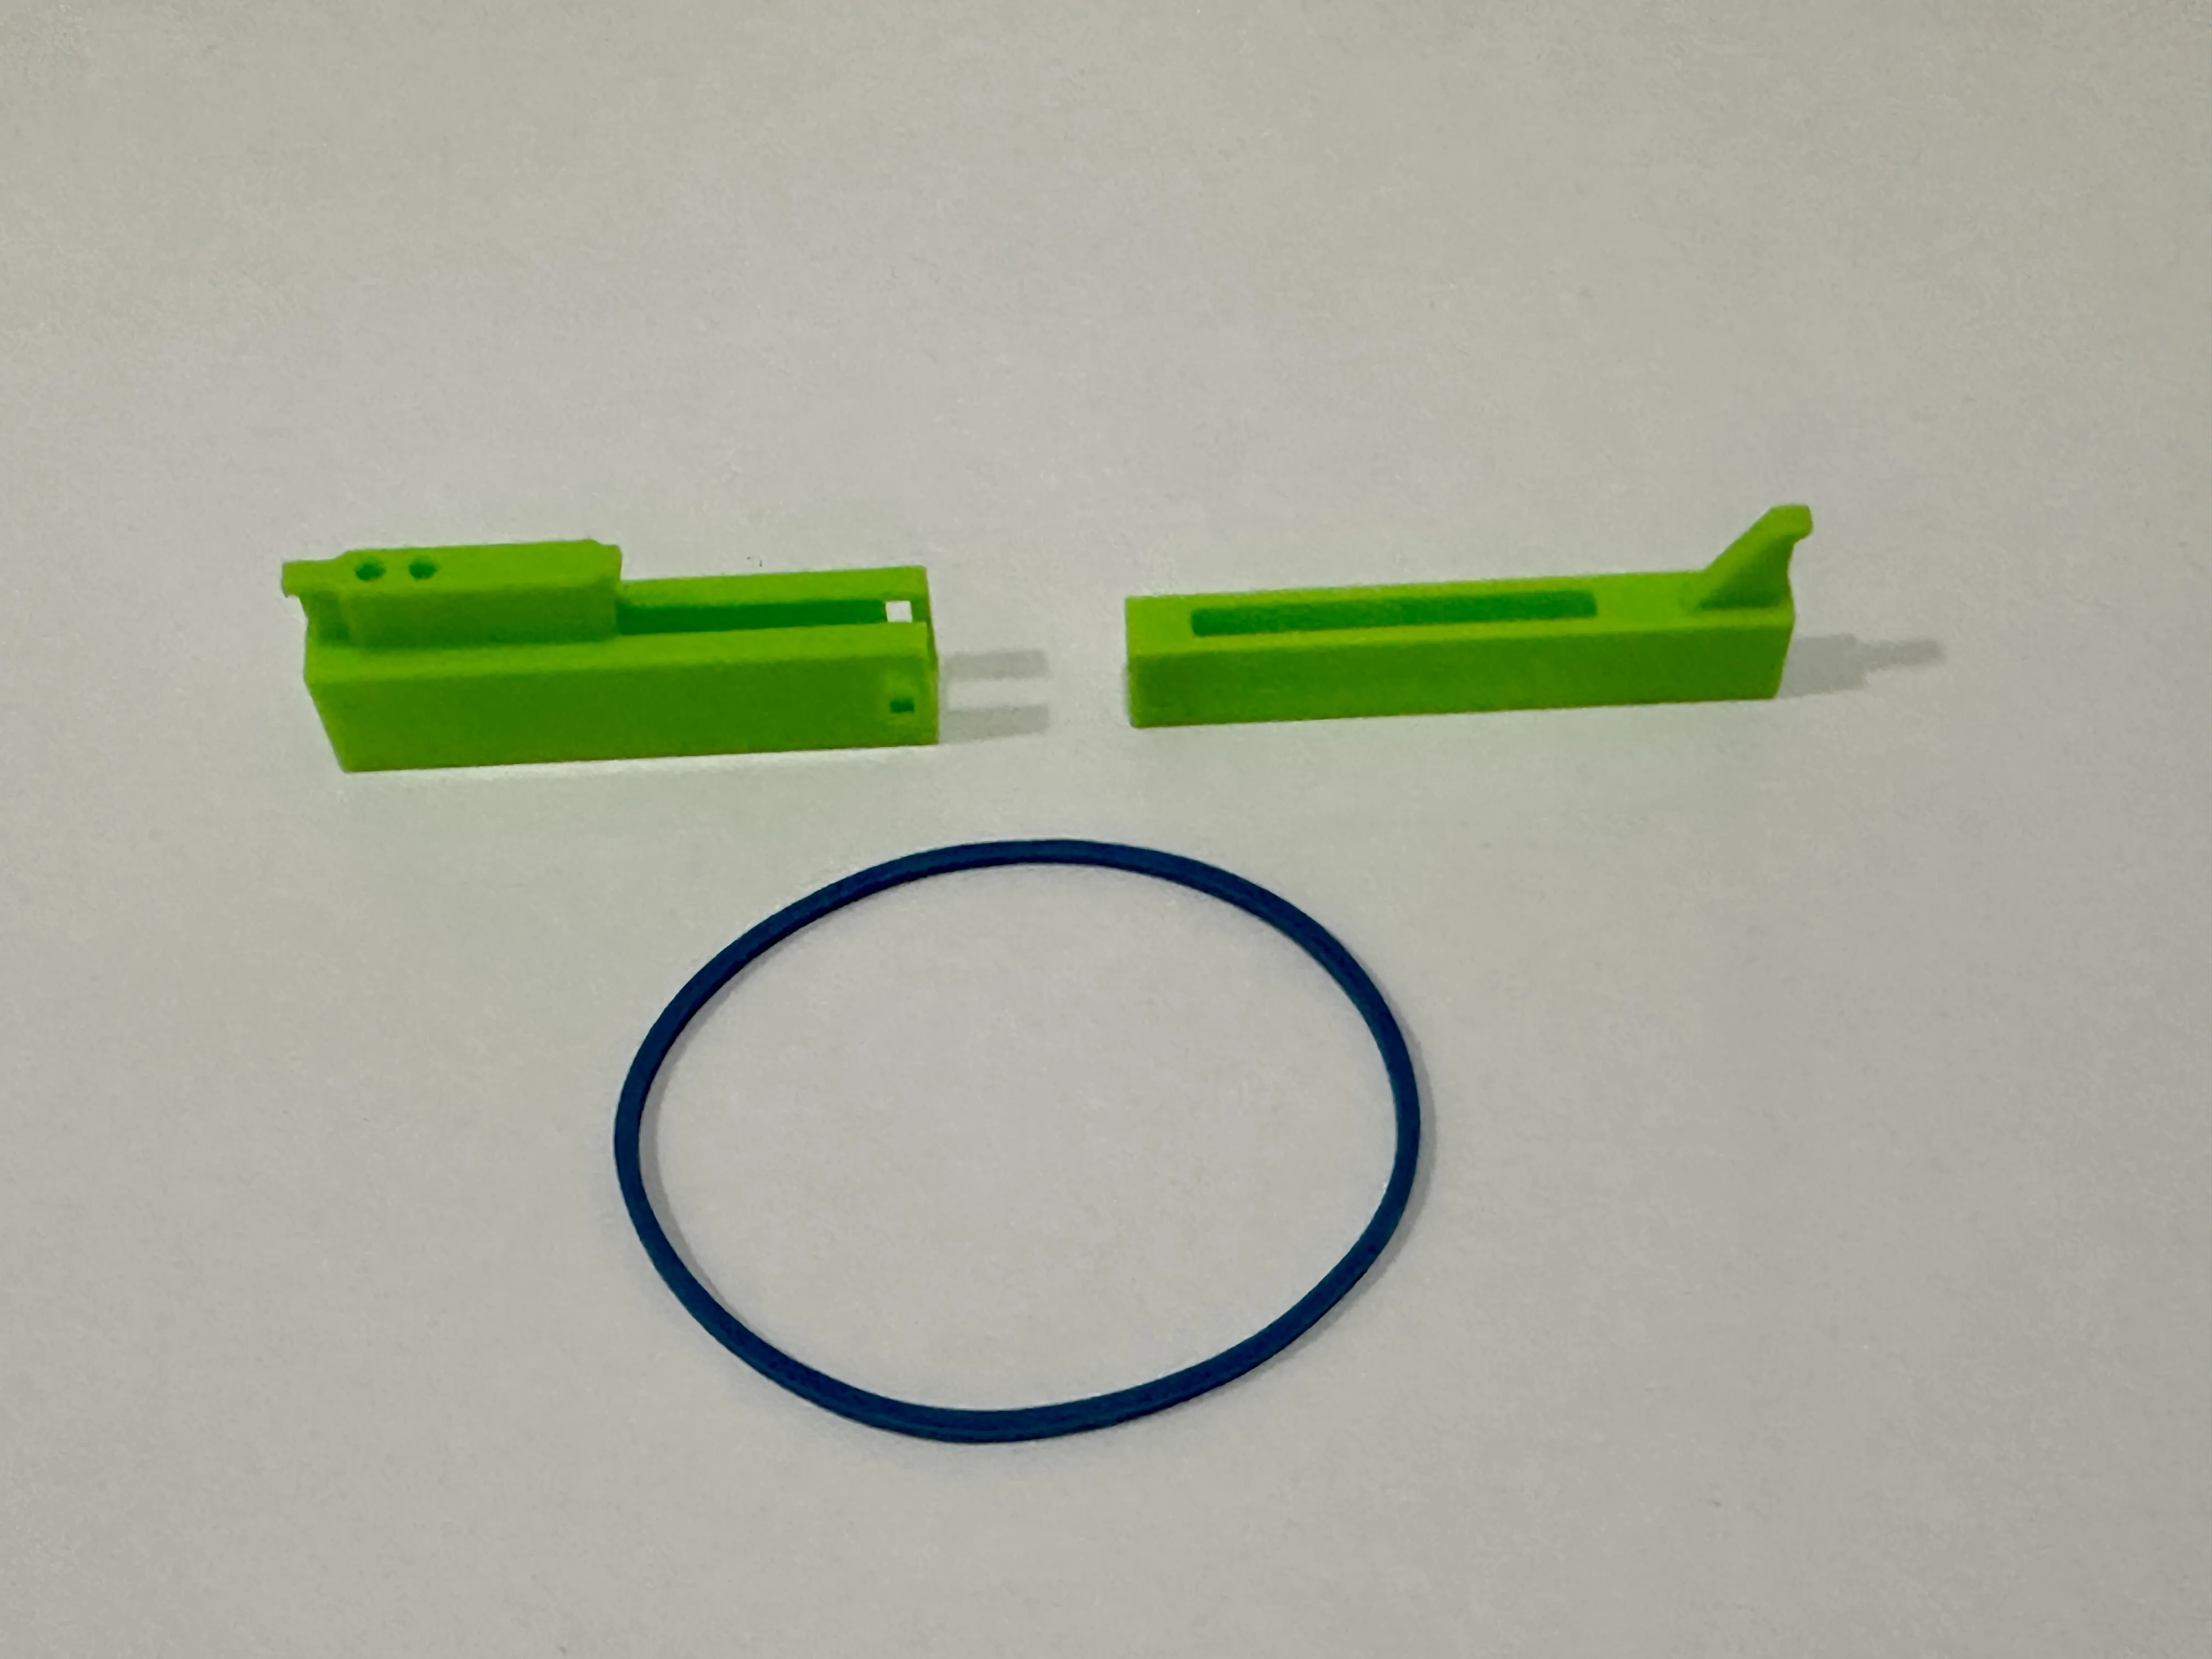
The base clip consists of two parts that slot together, as shown in the photos. A rubber band, twisted between two hooks, creates the tension needed to secure the clip to the spool and hold the filament in place.
Step 1: Components
Step 2: Slot them together
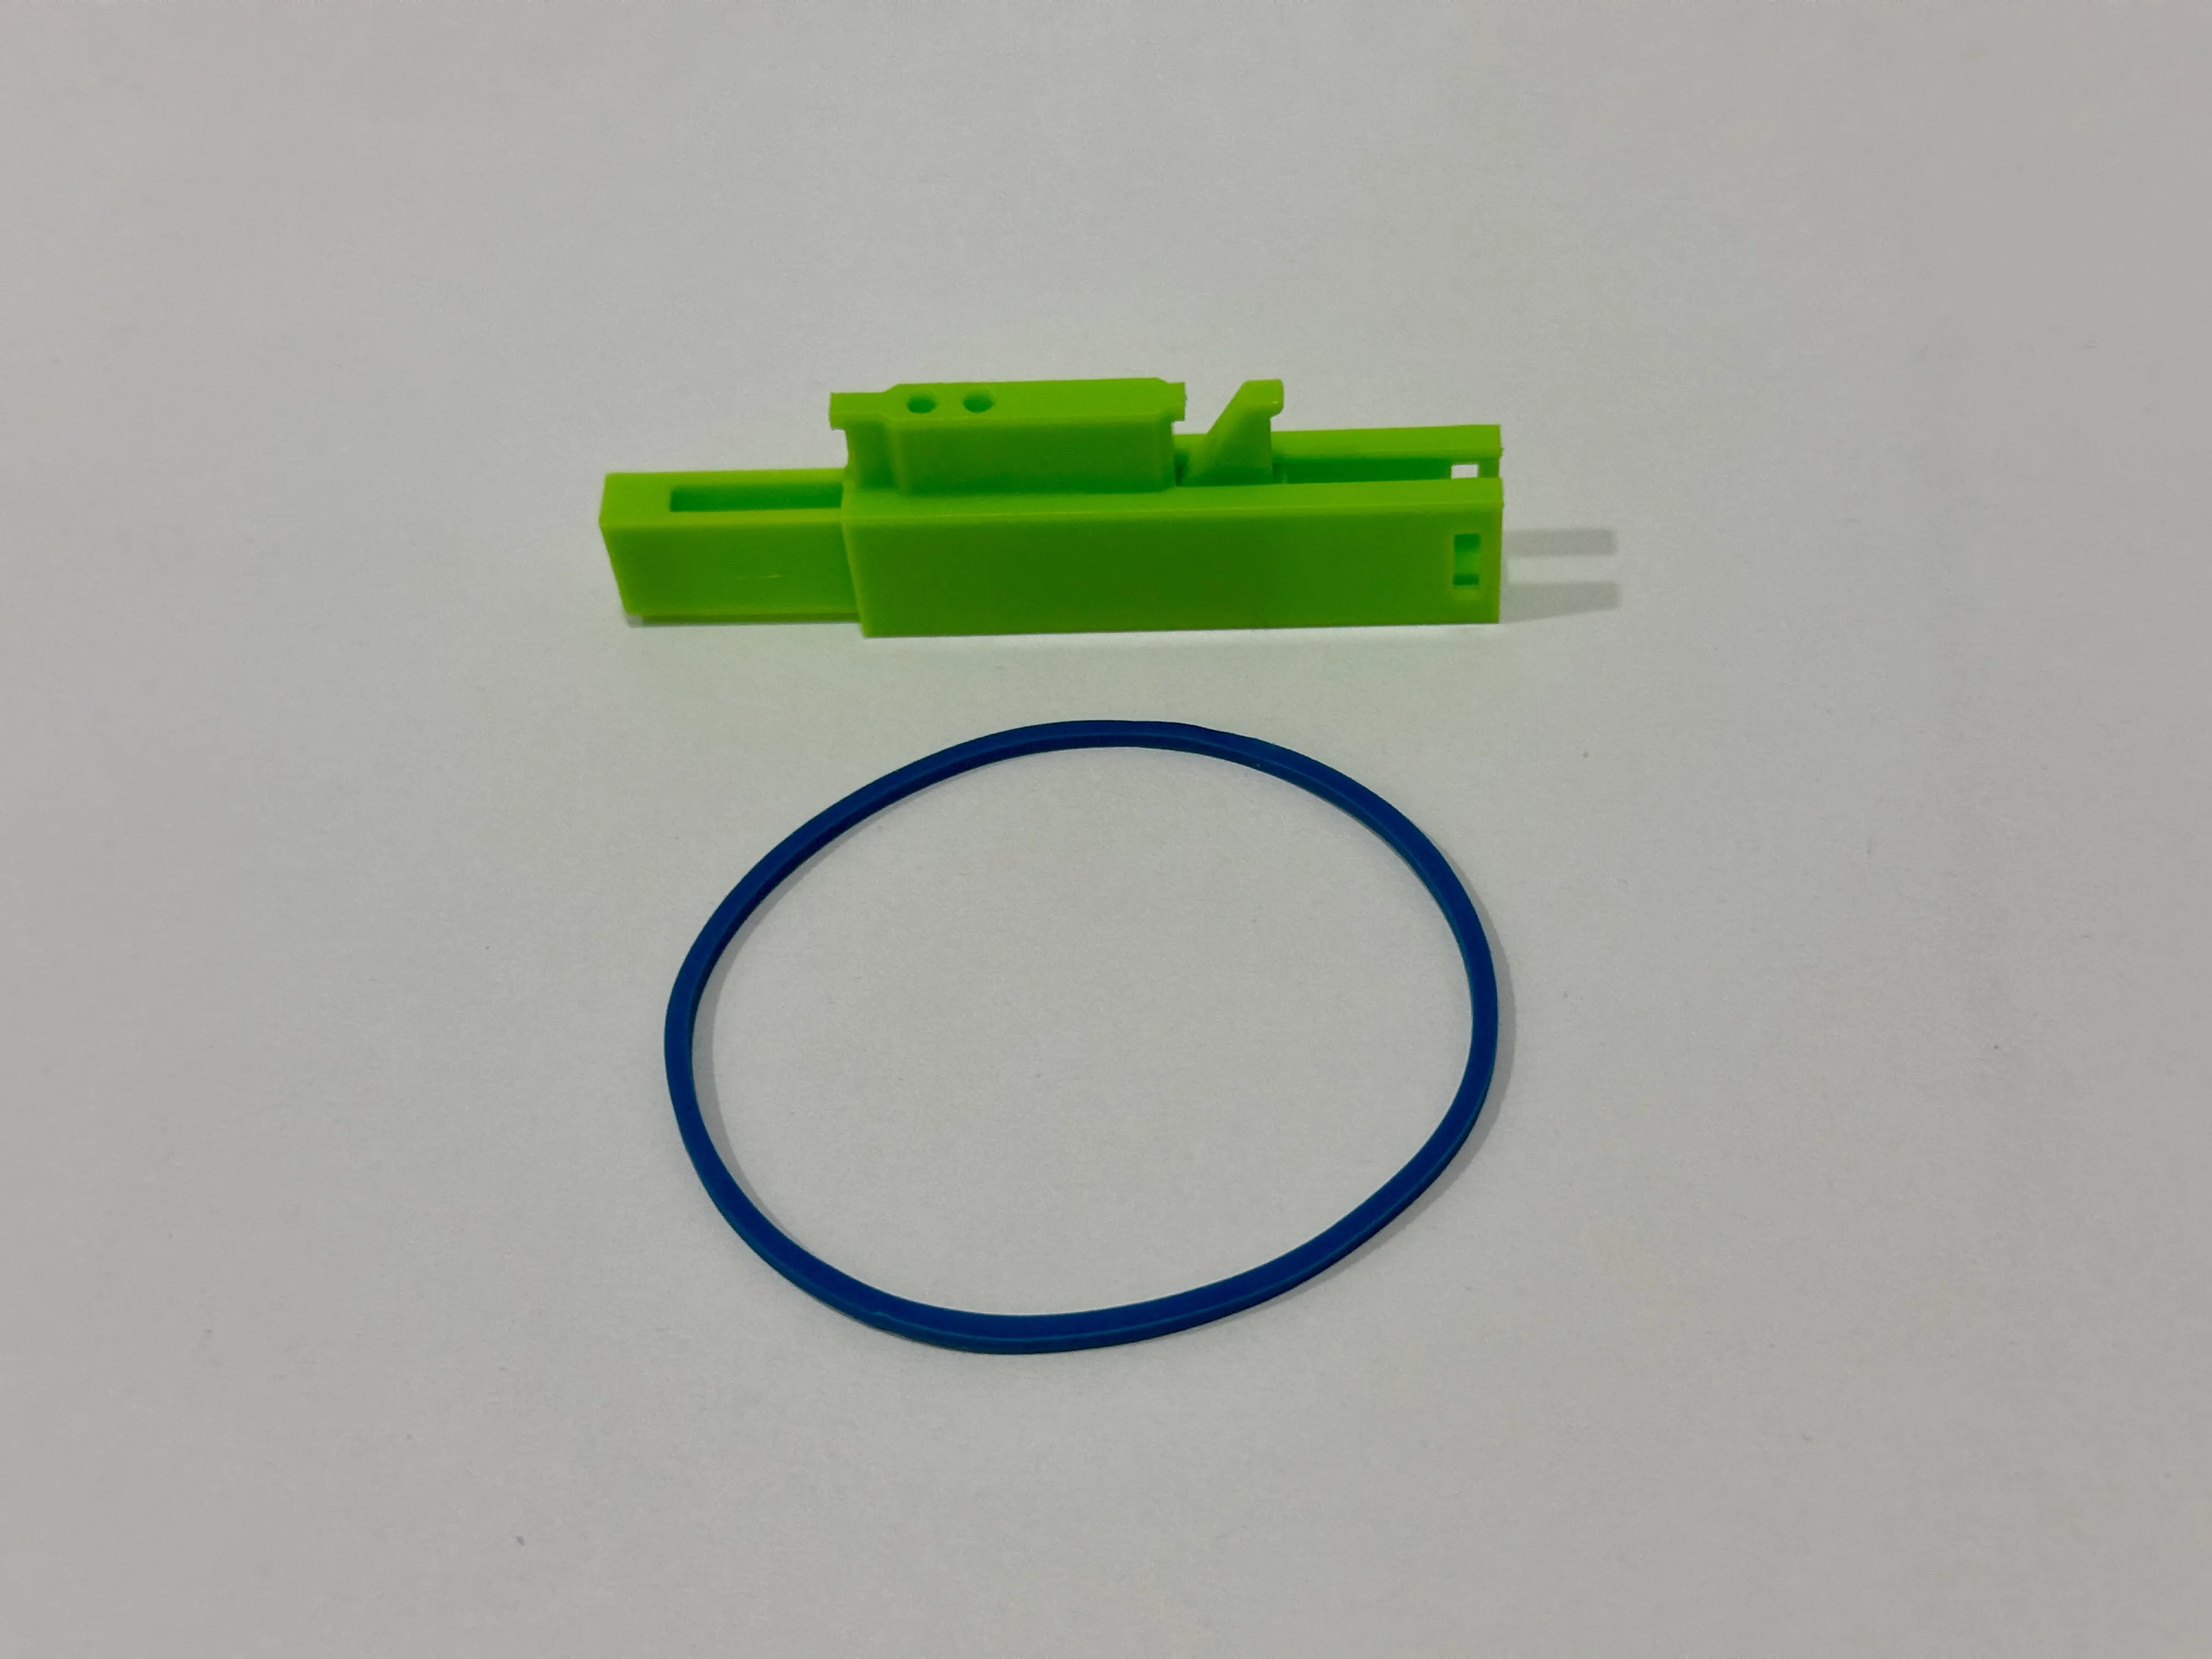
Next, add the Rubber Band in:
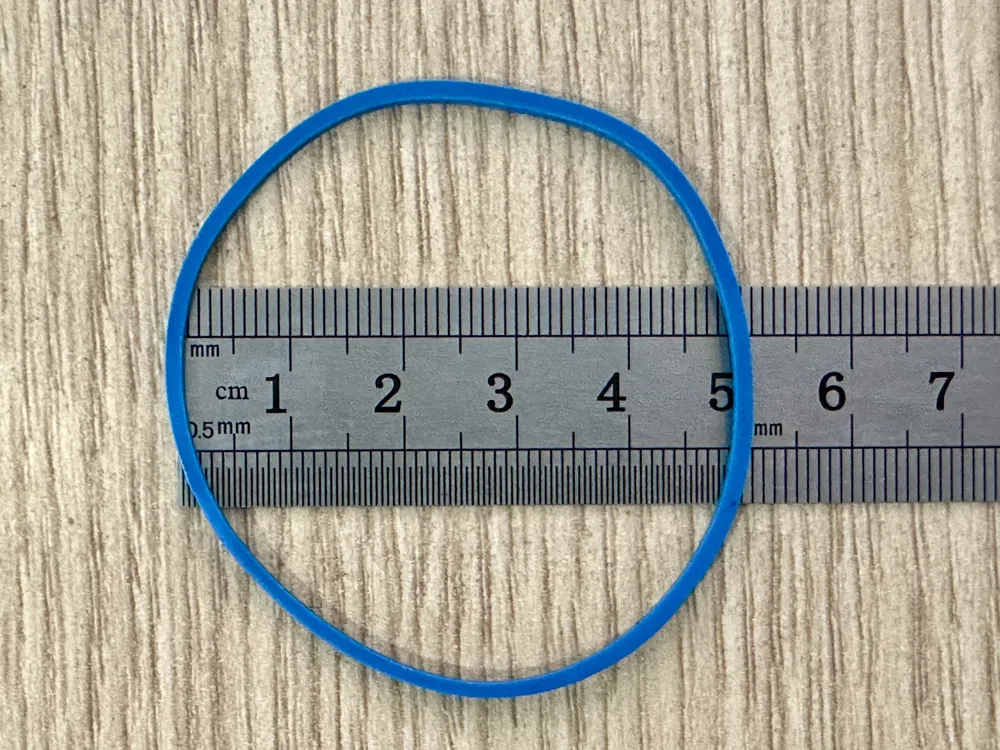
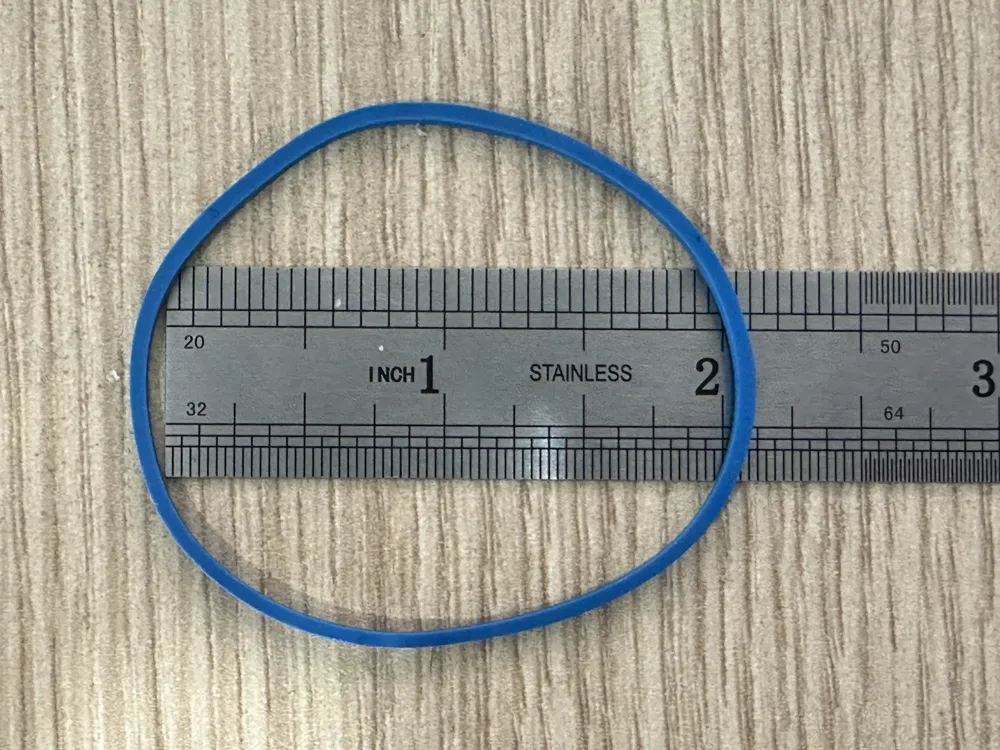
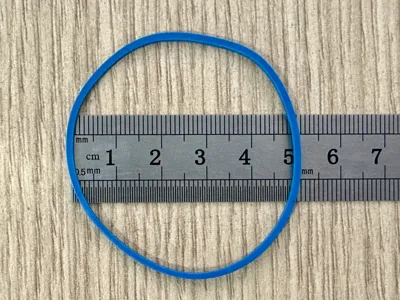
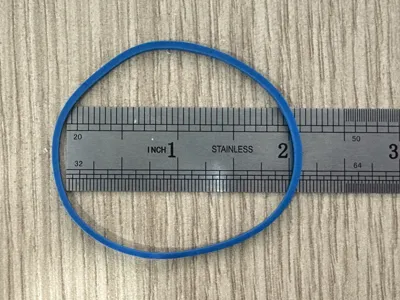
- Rubber Band: Works with typical rubber bands — tested with 8 cm and 10 cm in relaxed length. Shorter (down to ~2 cm) may also work.
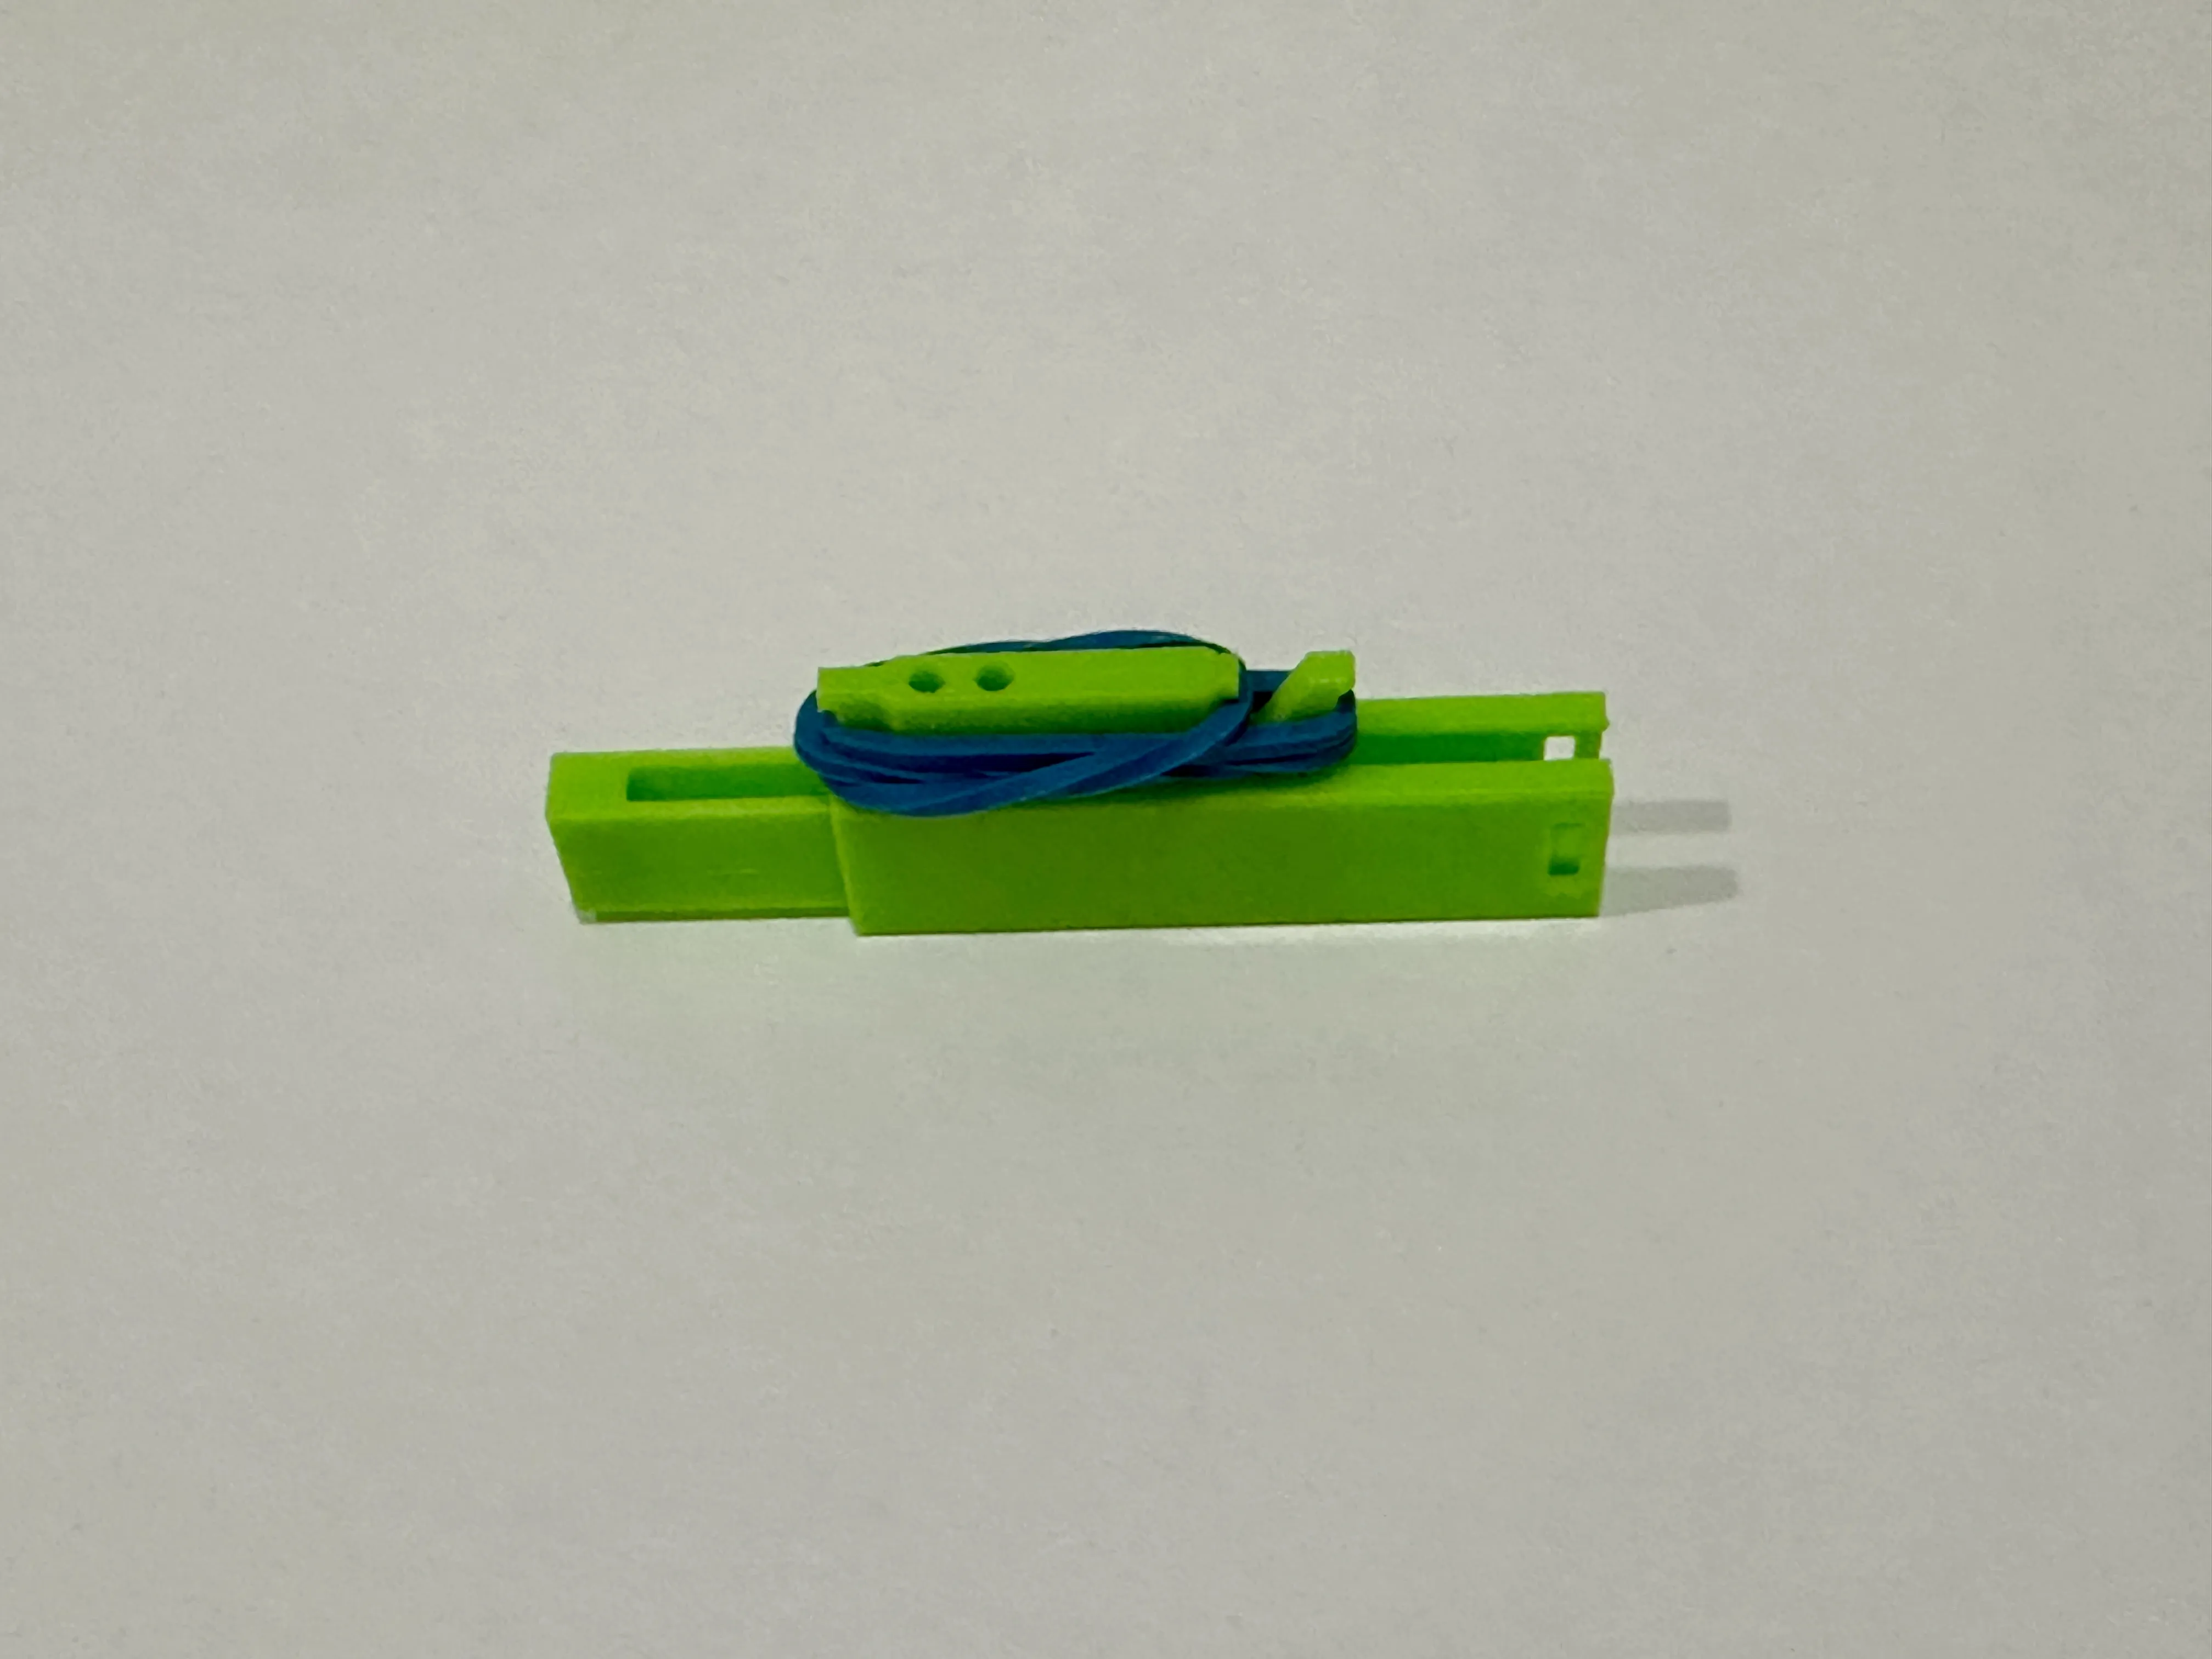
- Tension Tuning: Adjust tension by twisting the rubber band and selecting different hook positions.
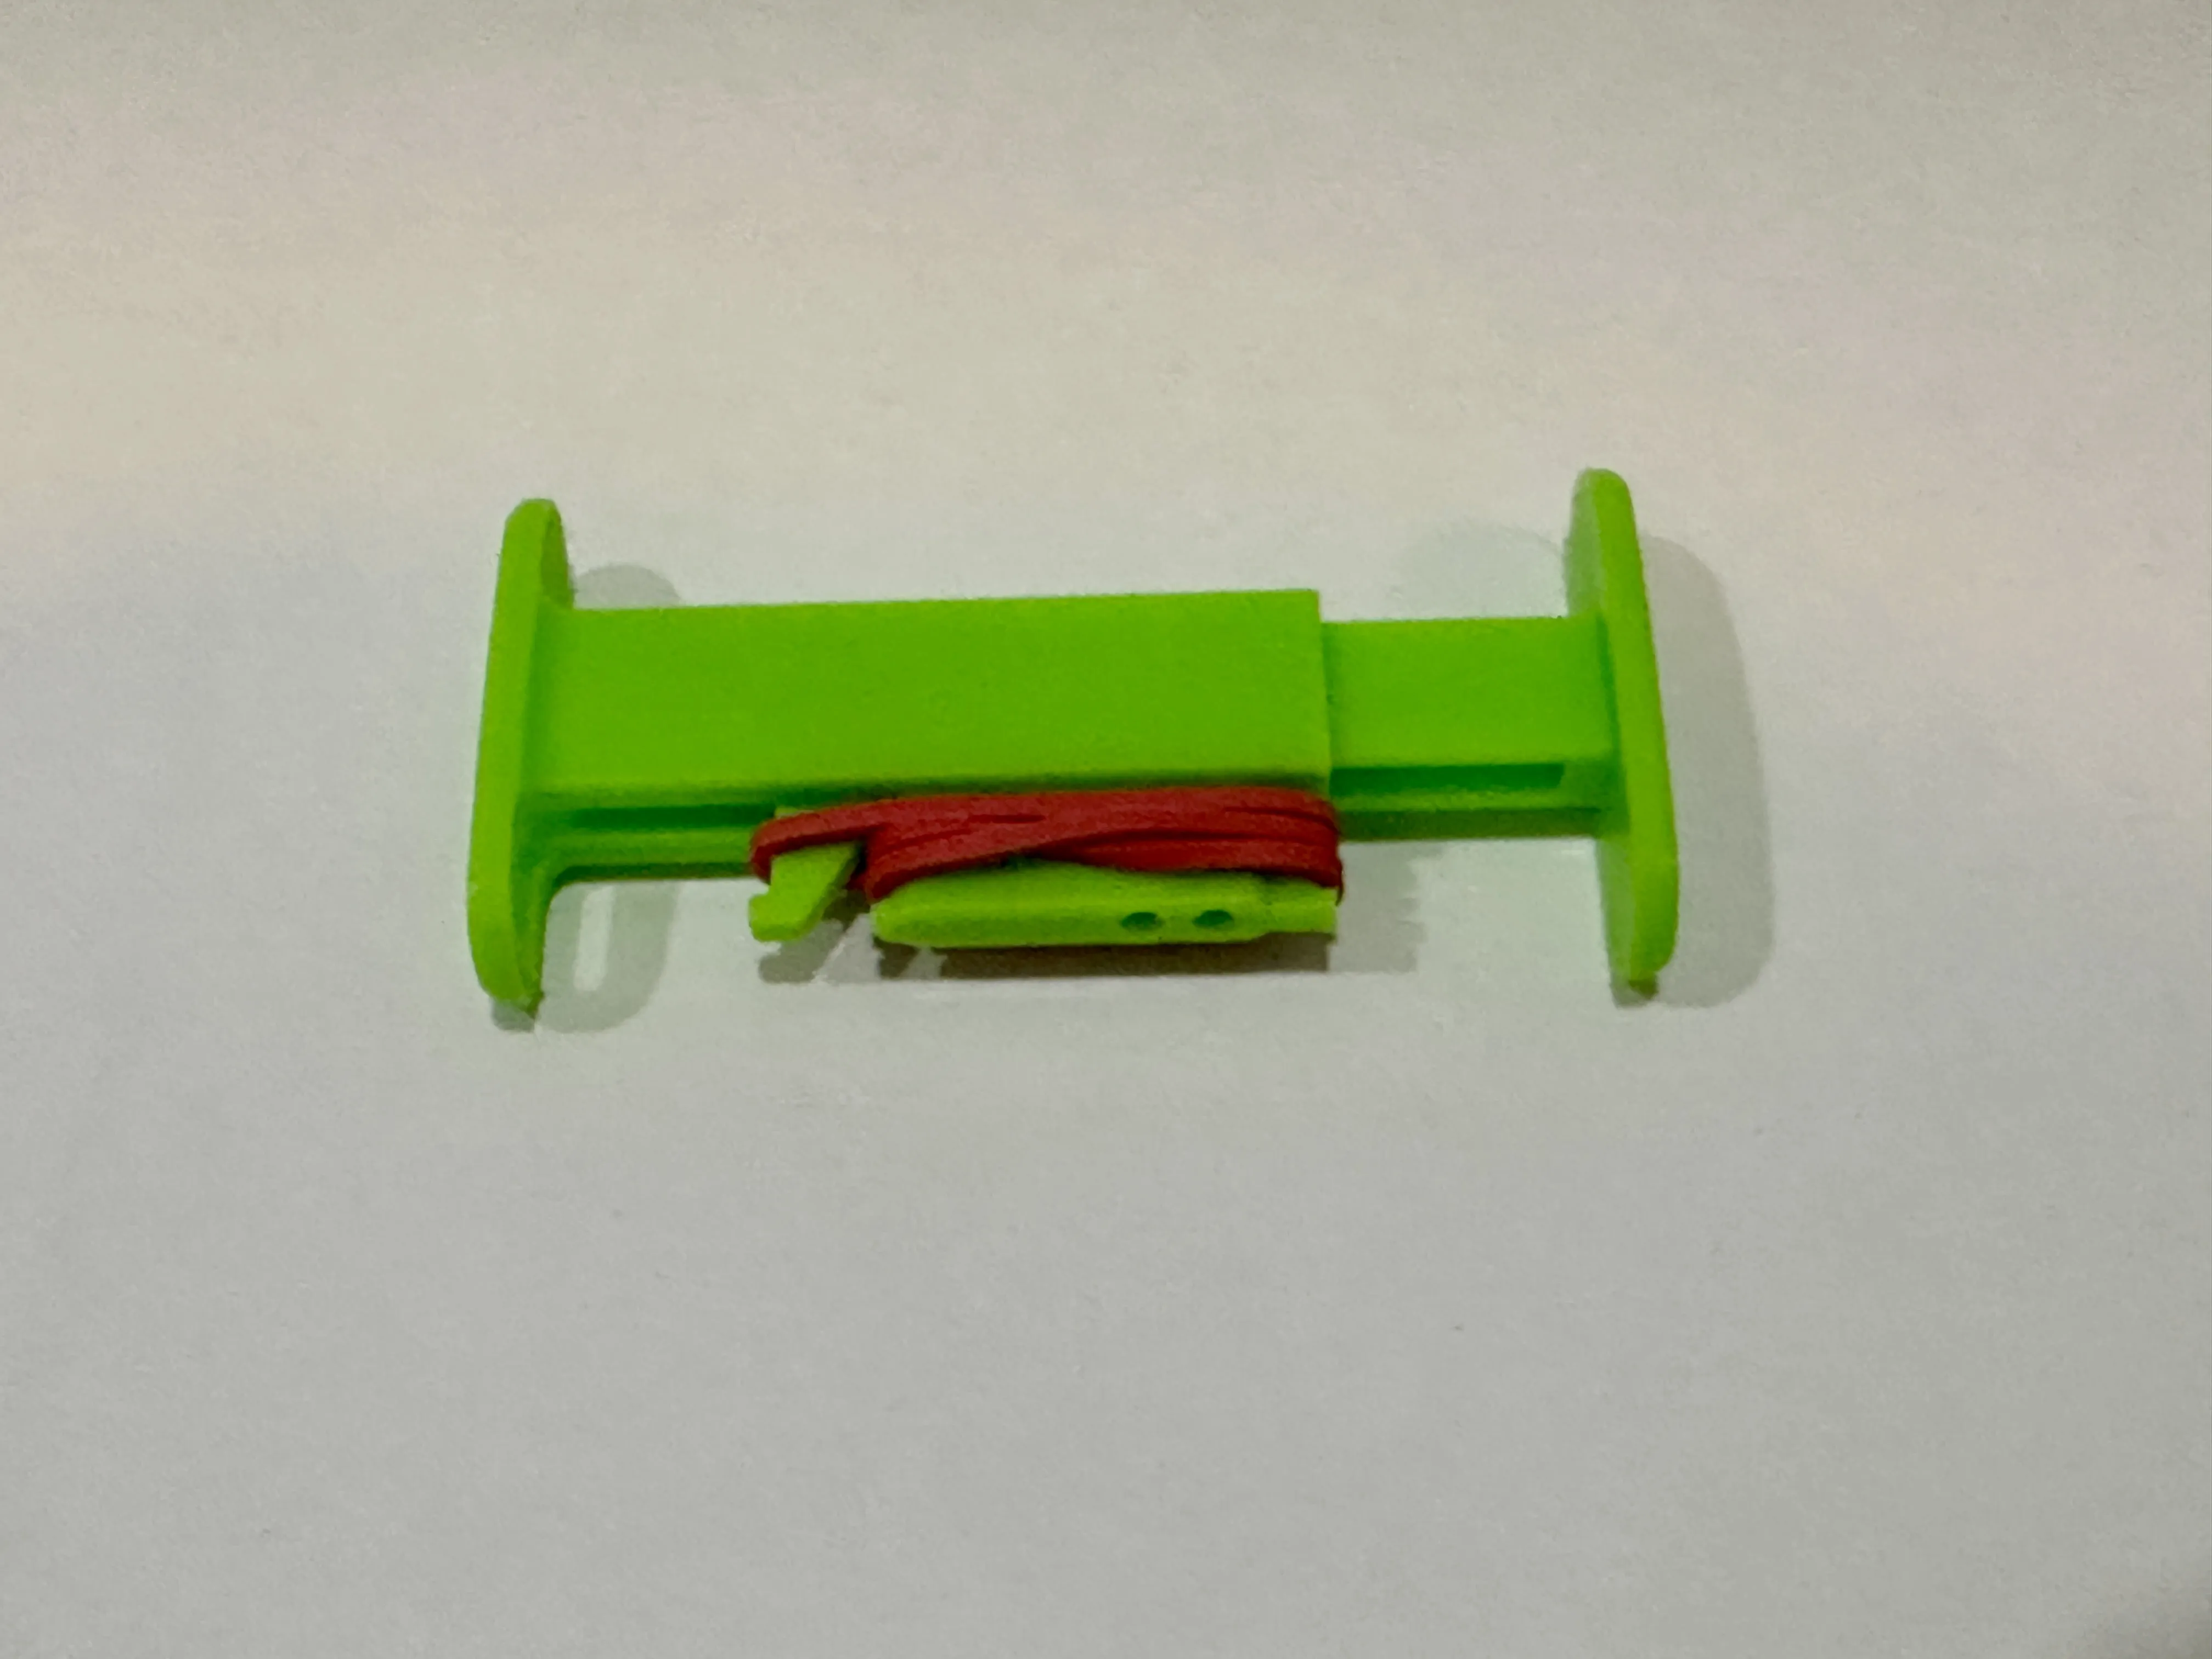
Twist the band around the hooks. Use more or fewer twists to increase or reduce tension. Press the clip into the spool and evaluate tension. If too tight, shift twists from the outer to the inner hook. Experiment to find the setup that suits your preference.
Step 3: Twist the rubber band around the hooks
Oval Pads Variant
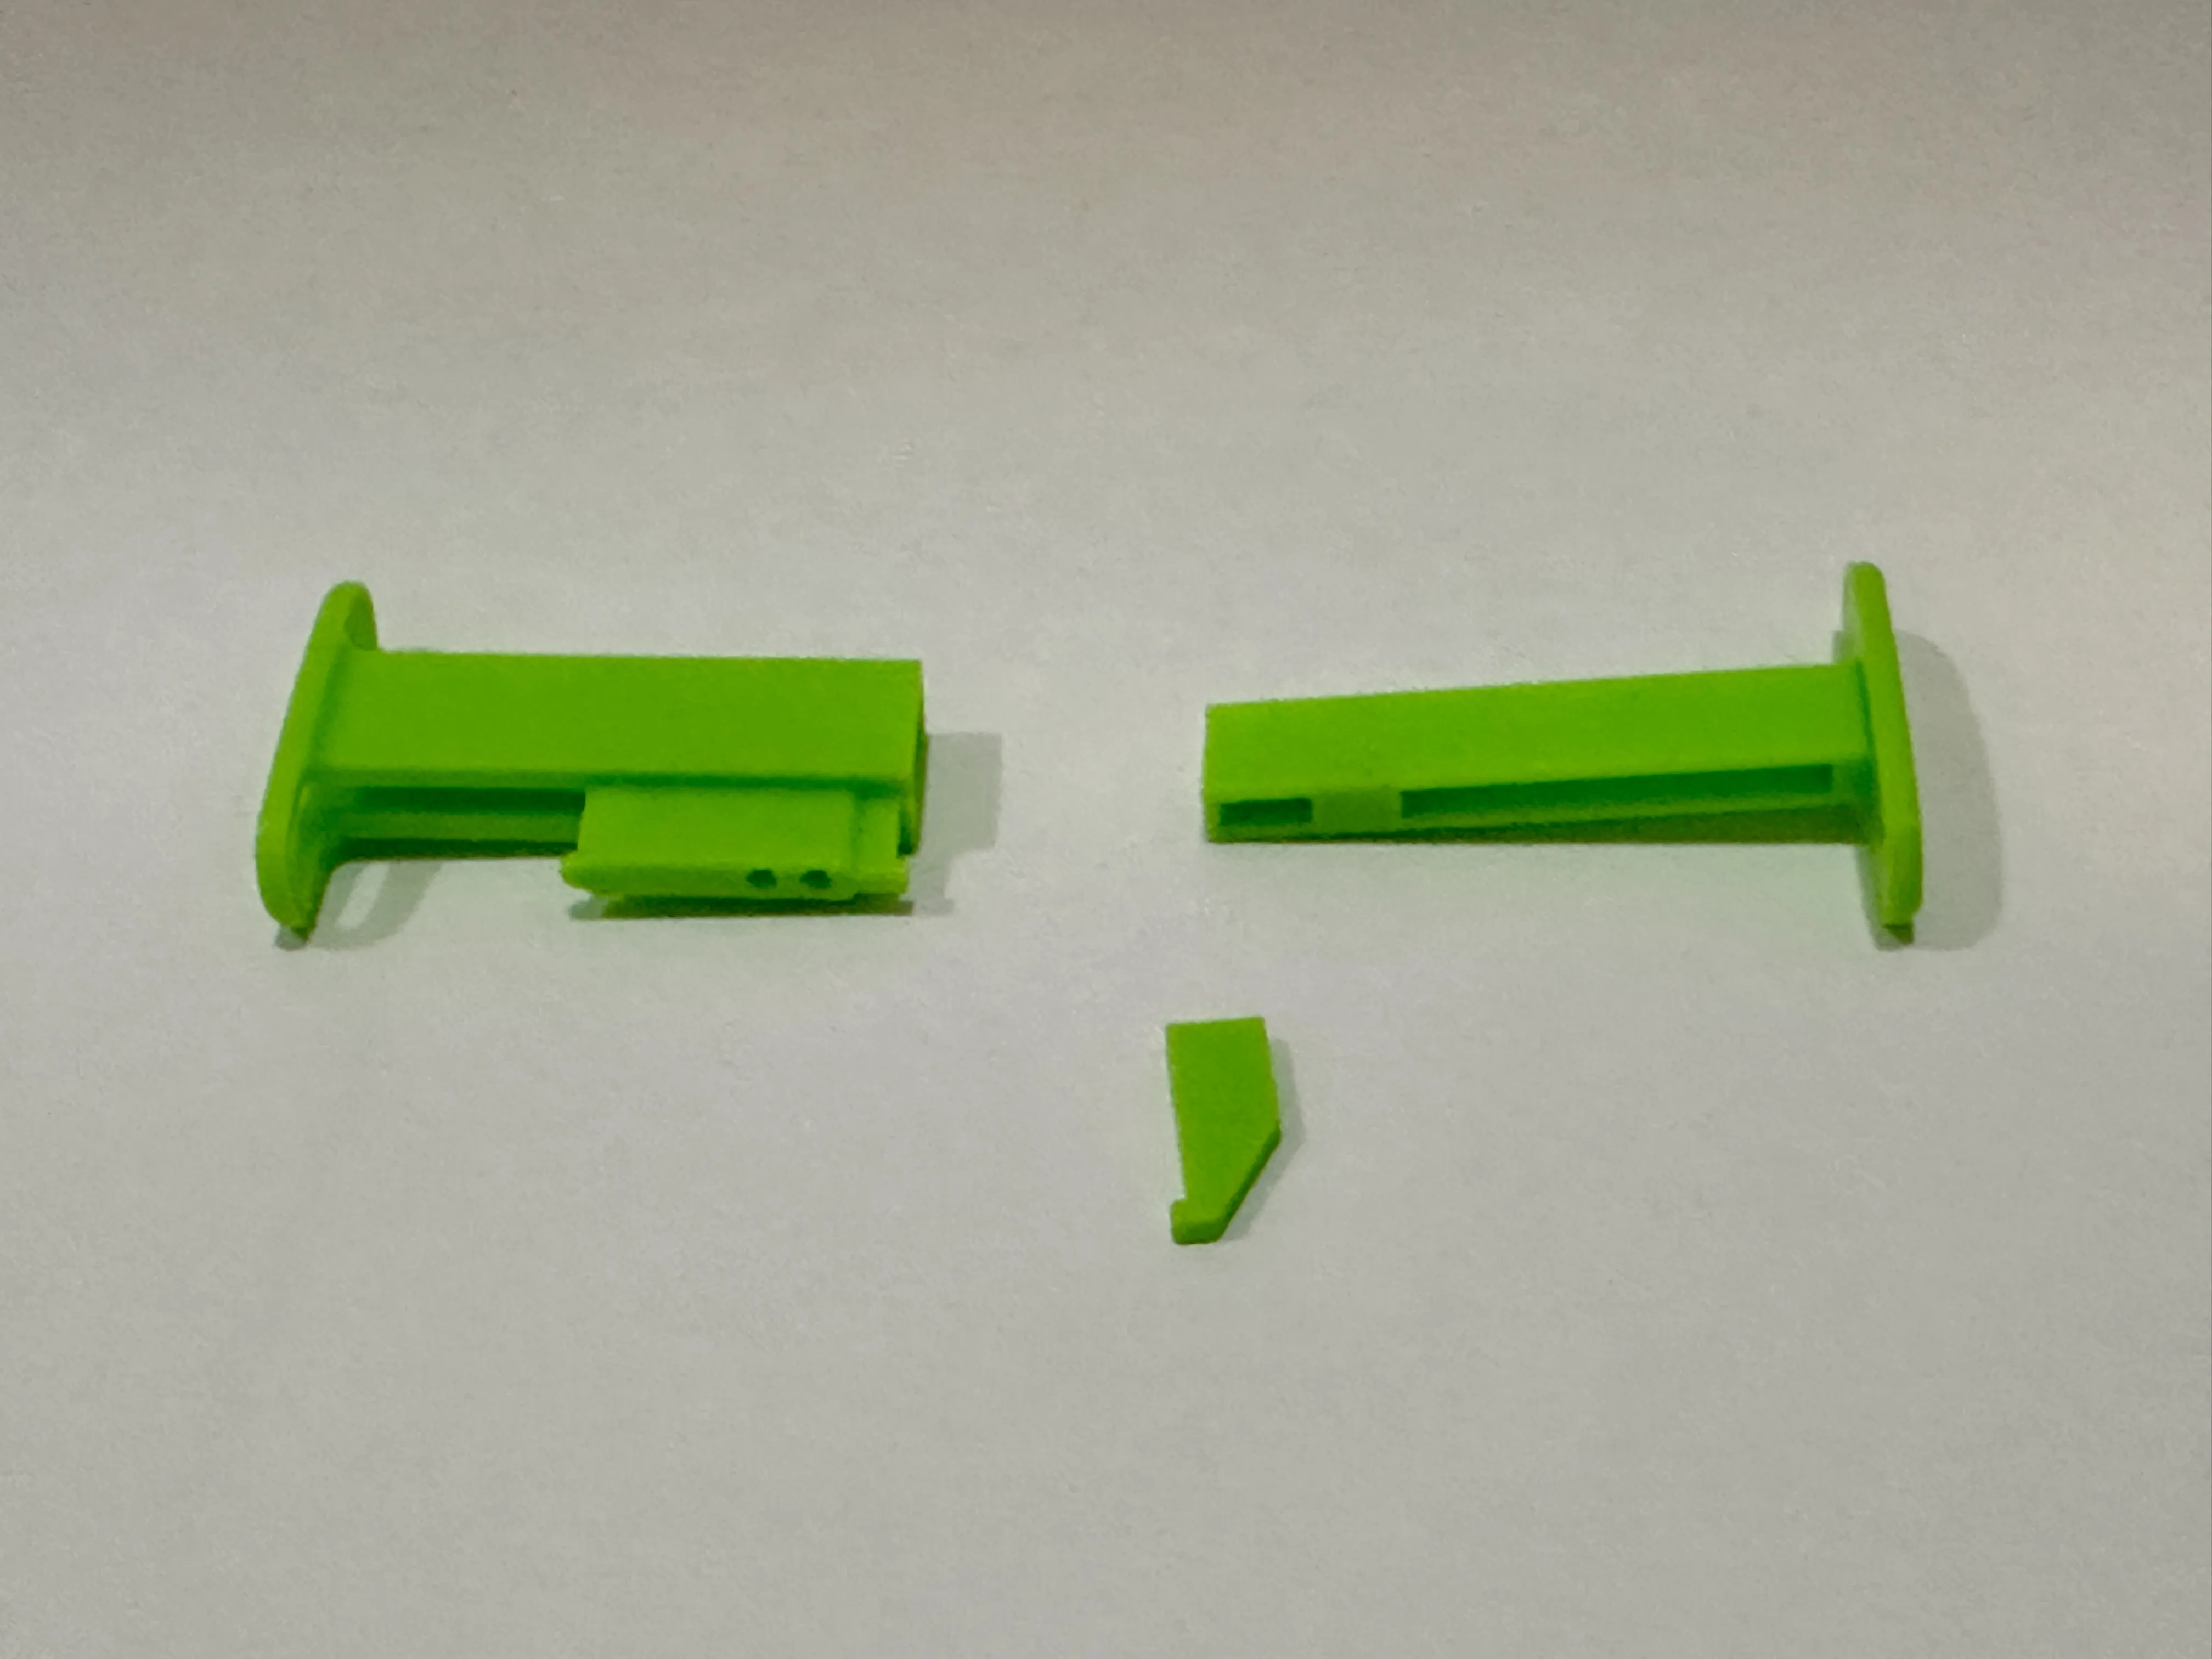
- These variants use the same clip base but add pads for improved contact with the spool sides. Assembly is slightly different.
- Pads are left- and right-handed — ensure you use the correct one for each side.
Step1: Components - Don't forget to remove the small supports on one of the pieces
Step 2: Slot the parts together
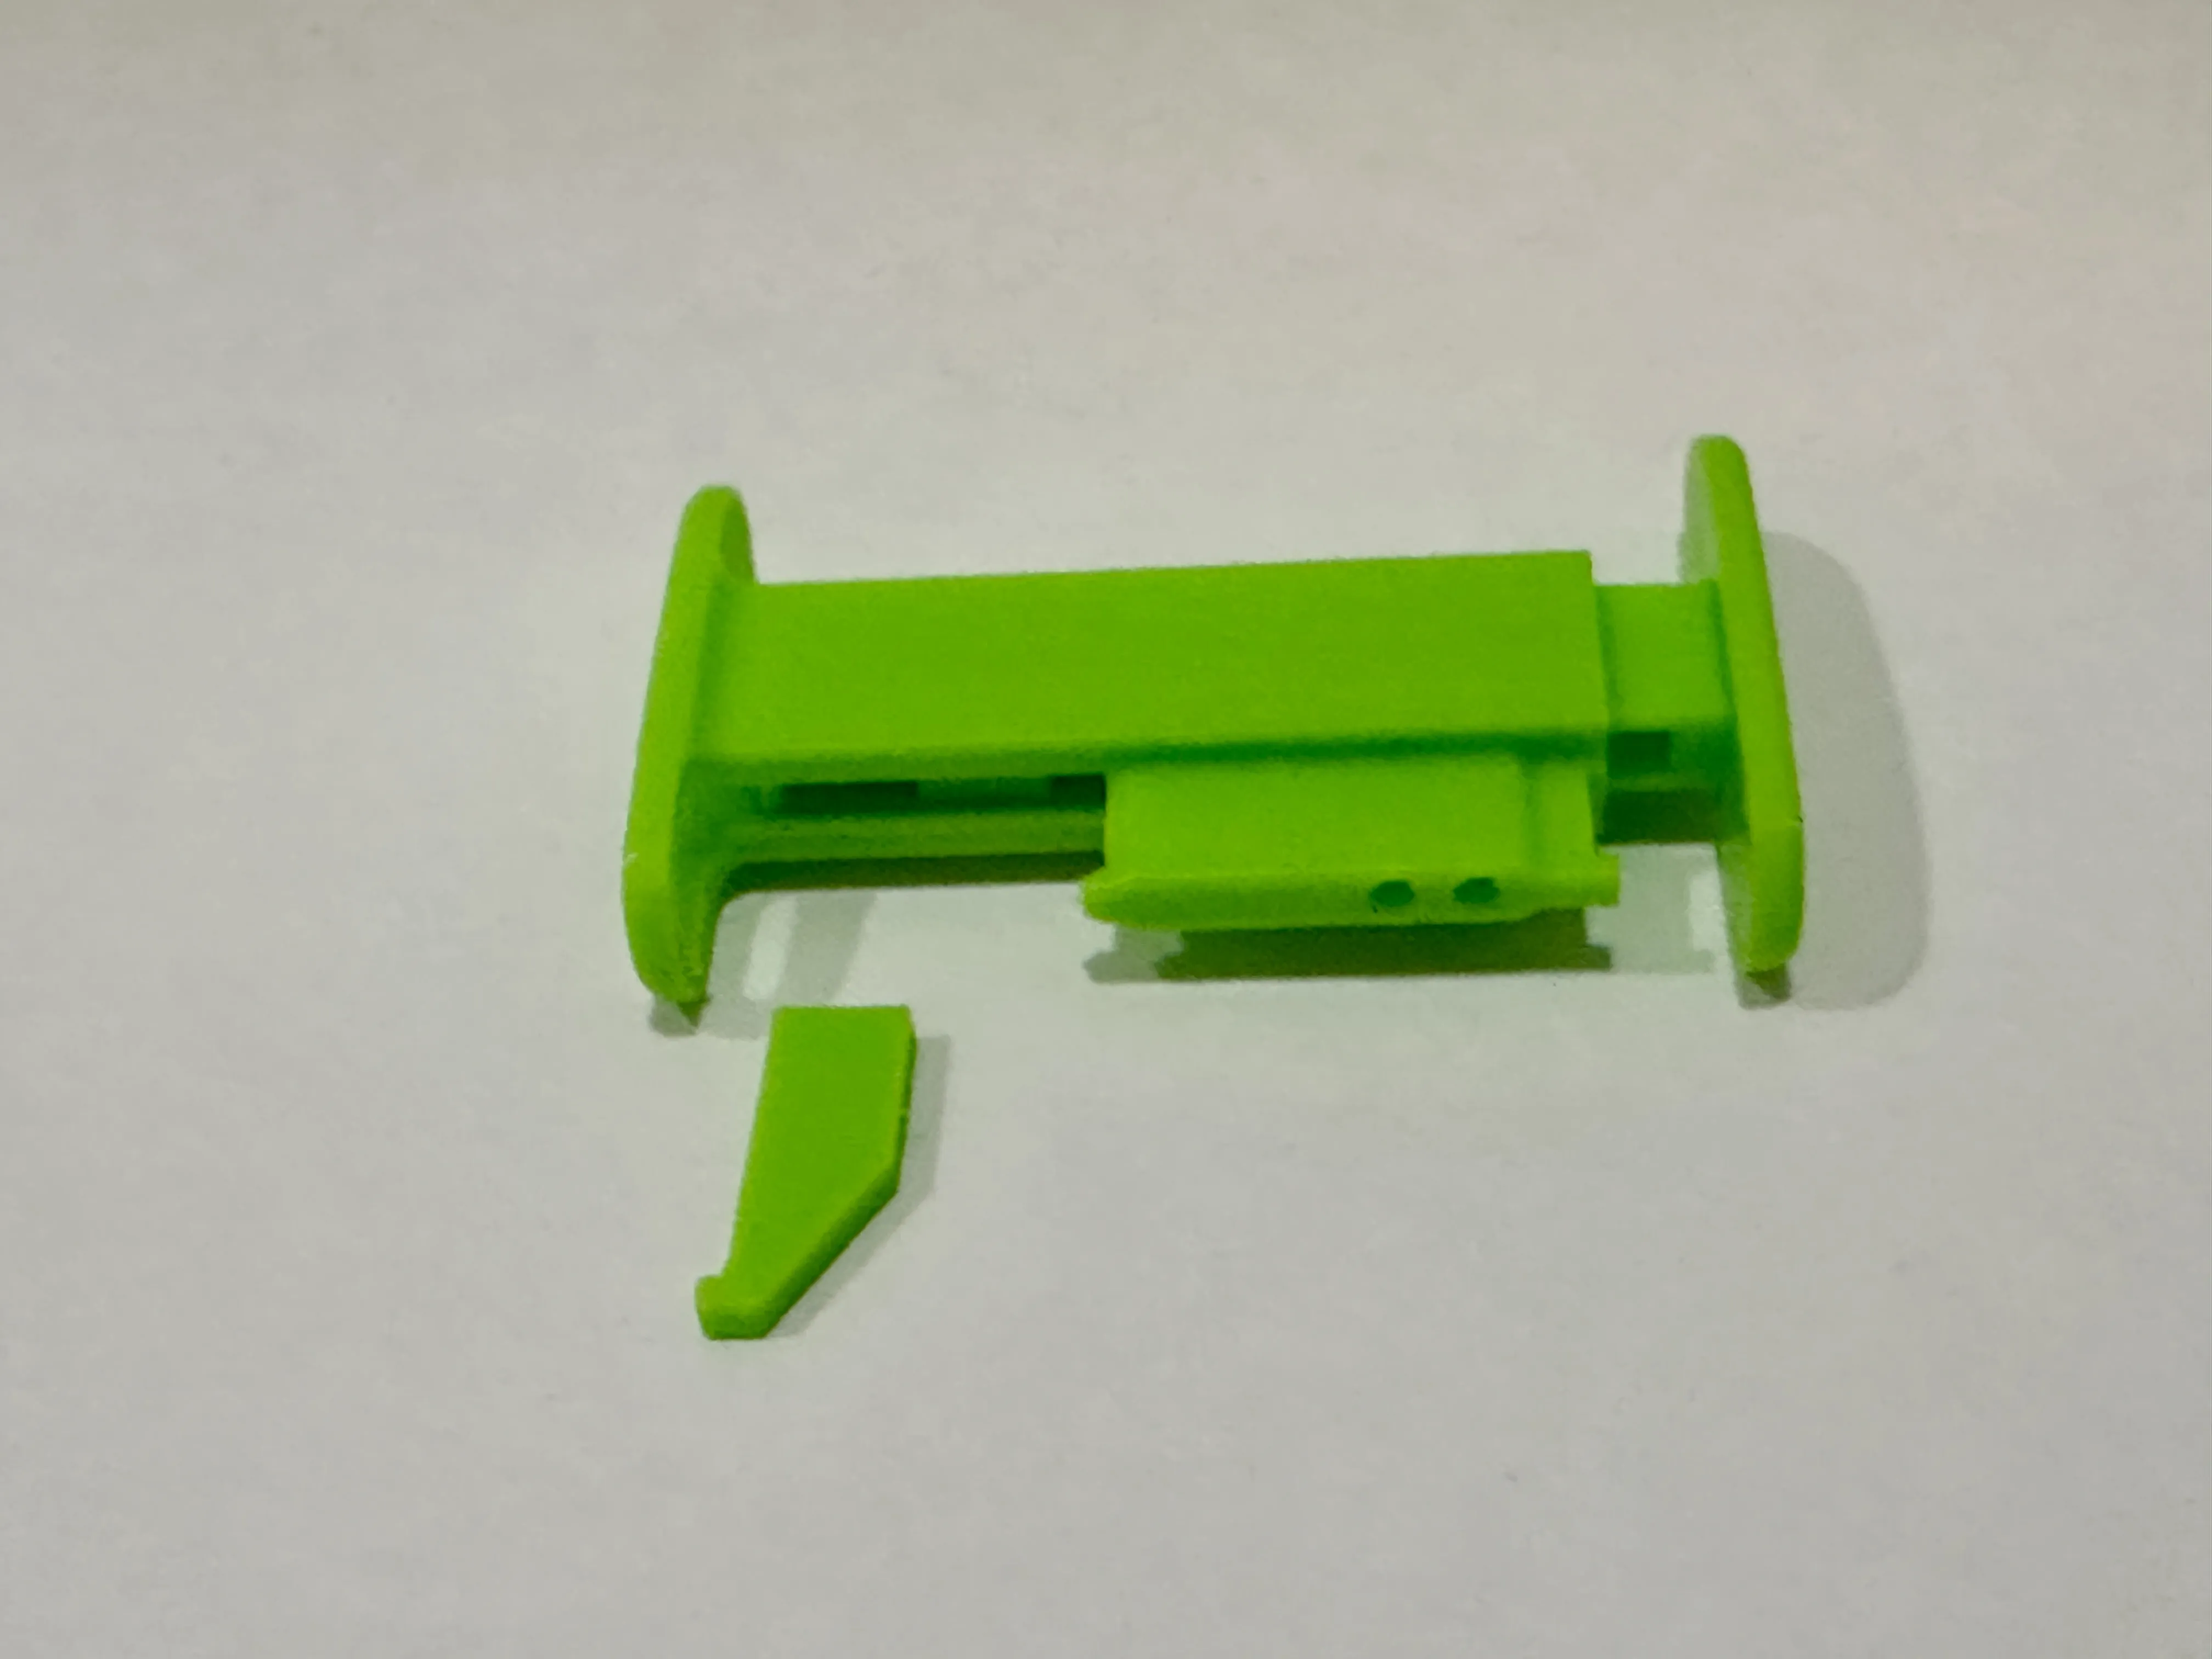
Step 3: Press the hook into the slot (some pressure may be needed — it’s a tight fit for a secure hold)
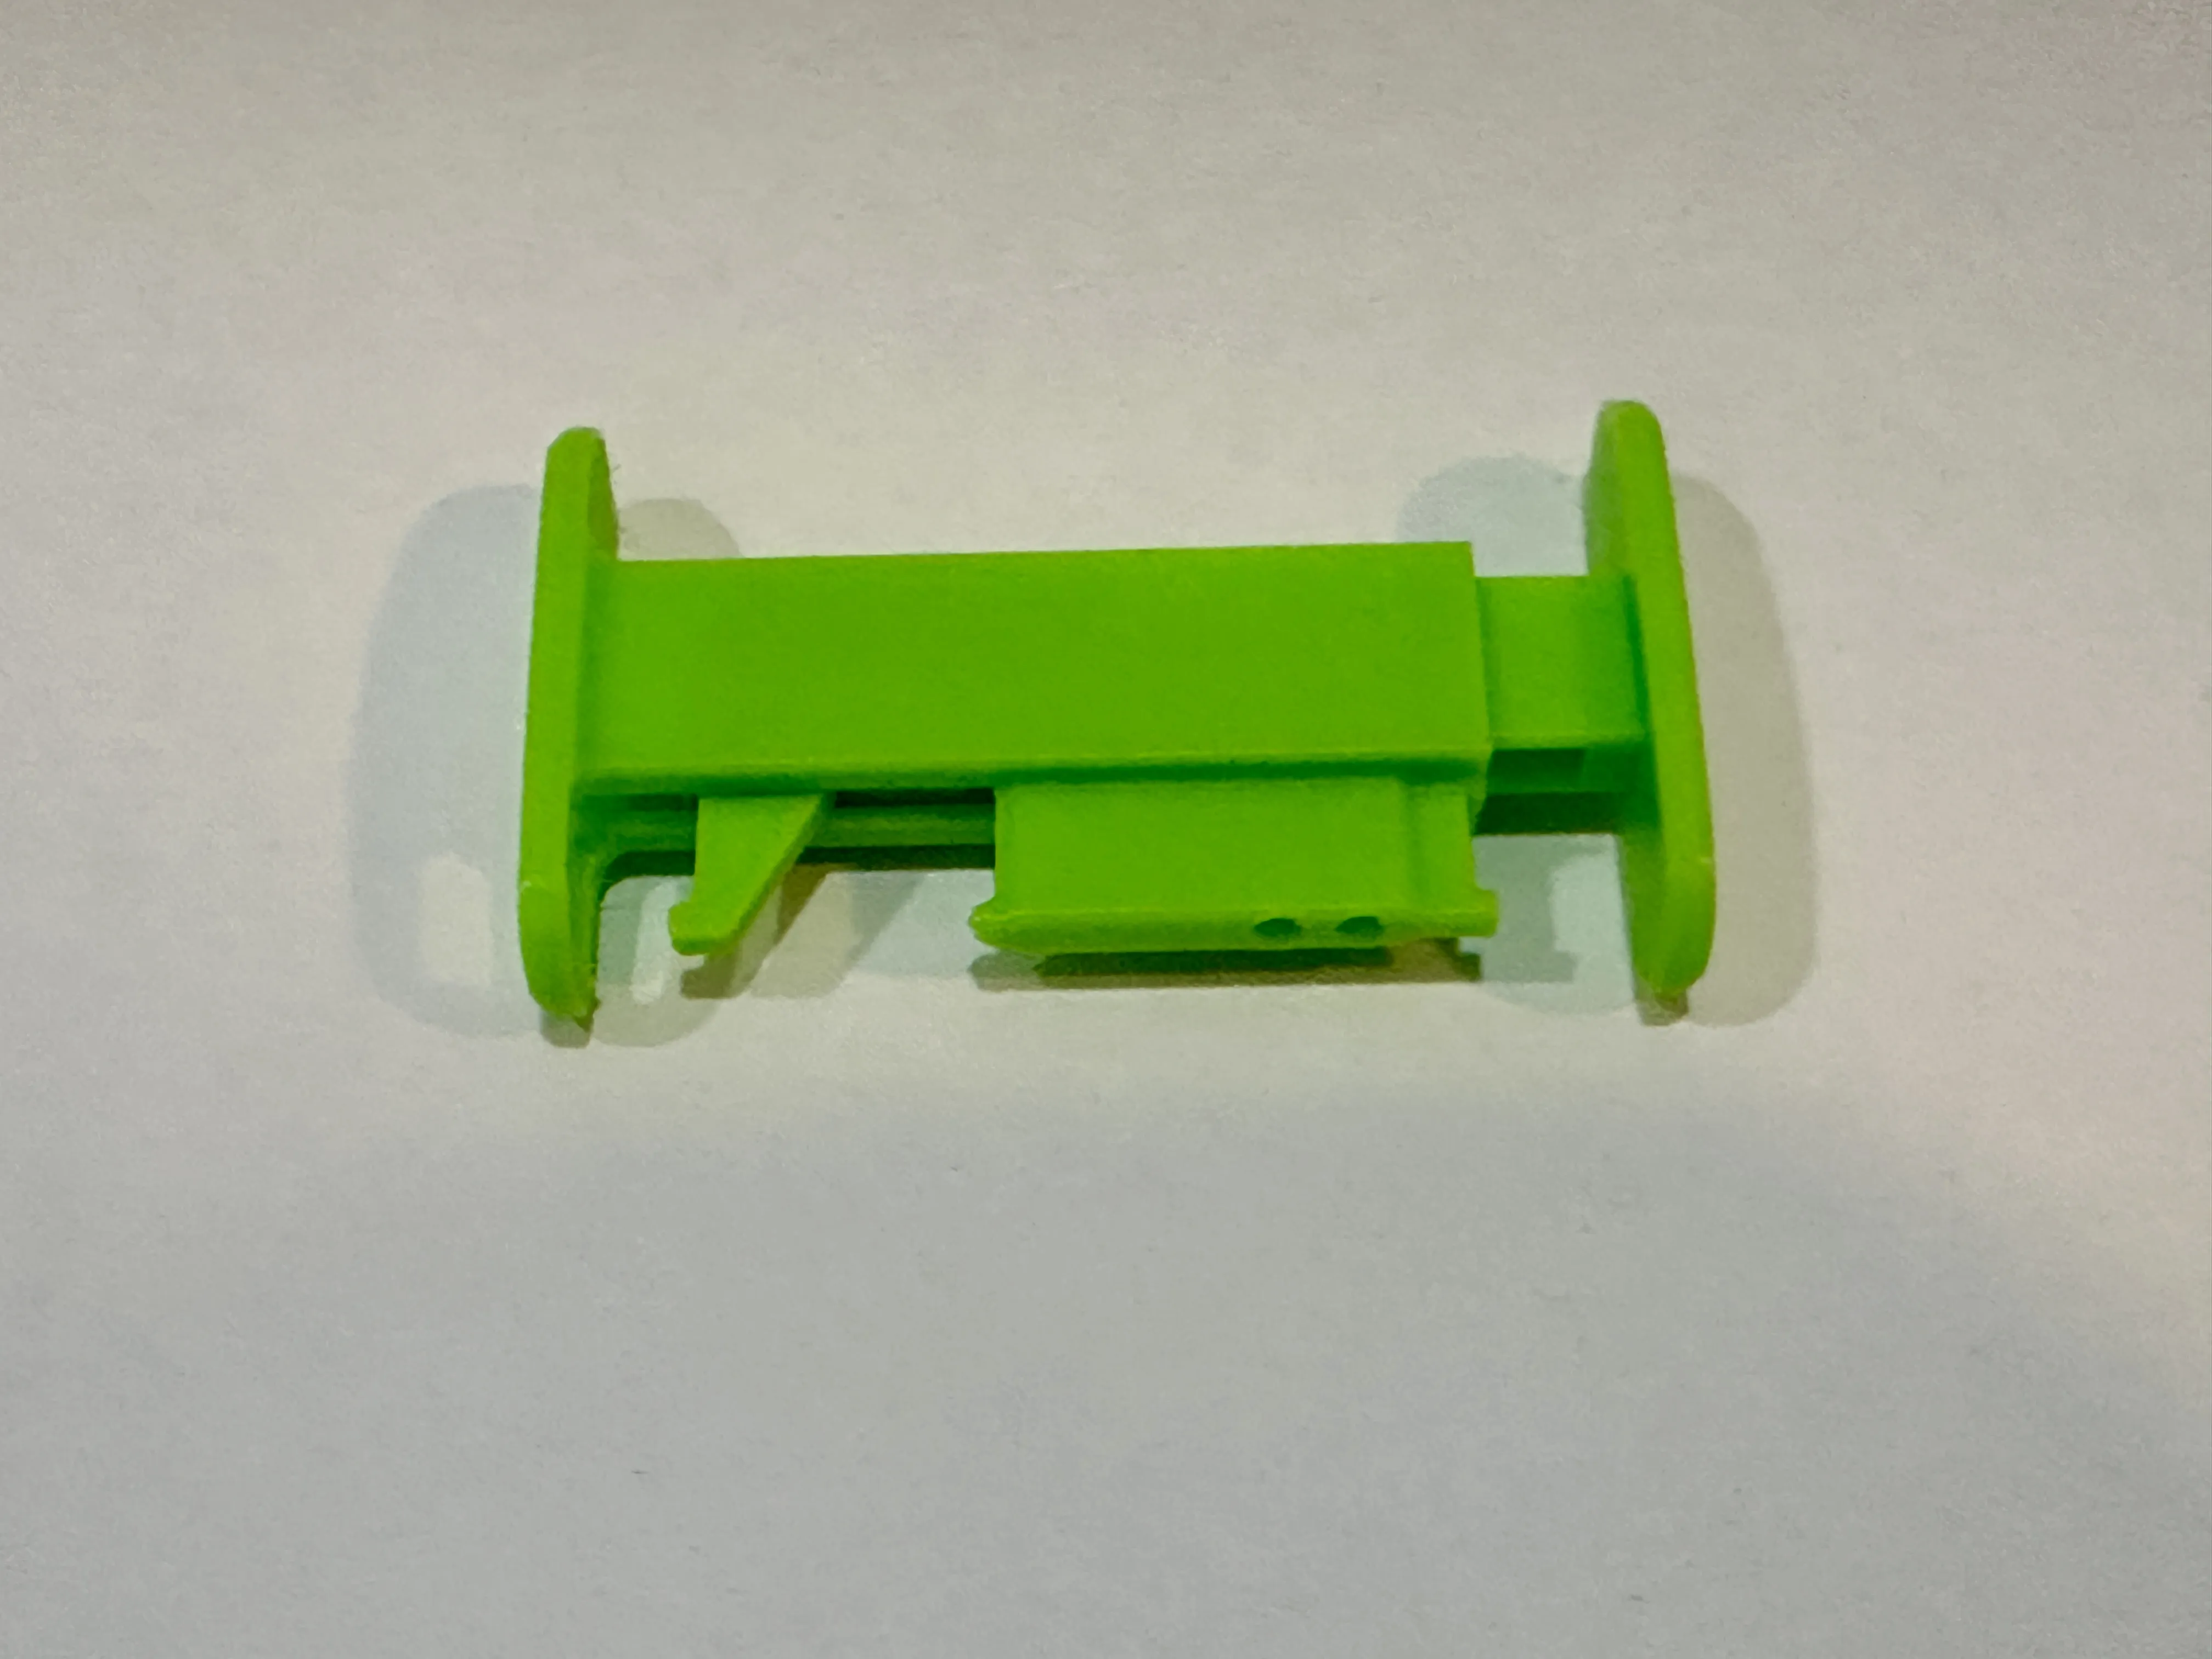
Step 4: Twist the rubber band around the hooks
Final Thoughts
This simple but effective design, with a cool mechanism, gives you a reliable, reusable way to secure filament. No tangles, no dedicated clip-per-spool headaches, no heat failure. And if the rubber band wears out — just replace it.
License

You shall not share, sub-license, sell, rent, host, transfer, or distribute in any way the digital or 3D printed versions of this object, nor any other derivative work of this object in its digital or physical format (including - but not limited to - remixes of this object, and hosting on other digital platforms). The objects may not be used without permission in any way whatsoever in which you charge money, or collect fees.


Comment & Rating (69)