

Print Profile(1)

Description
Mount Any Model to Skadis, Multiboard, HSW and openGrid
- No need for any CAD expertise to get any model mounted to YOUR wall board, including models made for other board types.
- Supports Pushfit connectors, Multiconnect, Snaps
- Flexible connectors layout
- Many other options …
New !!! Now with openGrid and Multiconnect (for Multiboard and opneGrid).
Usage Instructions
- Configure Parameters:
- Choose the appropriate connector type you would like to use.
- Adjust the dimensions of the back plate, bottom plate, and brackets if/as needed.
- Adjust any other parameters to your liking, specifically always consider the vertical print options
- Generate Mount Model STL:

- Use the “Customize” and provided parameters to generate the 3D mount model and download the STL file.
- Assemble in Slicer:
- Import both the model you want to attach and the generated mount model into your slicer software.
- In your slicer software (e.g., Bambu Studio, Orca or other):
- If required use the ‘Cut’ tool to remove any connectors to other boards already there (many models for HSW, Multiboard, Skadis, openGrid are available, so you can adapt them to the board you need)
- Assemble / Merge them using the slicer software and orient them so the connectors properly align for installation as you want.
- Orca Slicer / Bambu Studio - Stacking Models | Bambu Lab Wiki
- Prusa Slicer - Edit objects in Prusa Slicer using Merge - YouTube
- Print: Send the assembled model to your 3D printer.
Overview
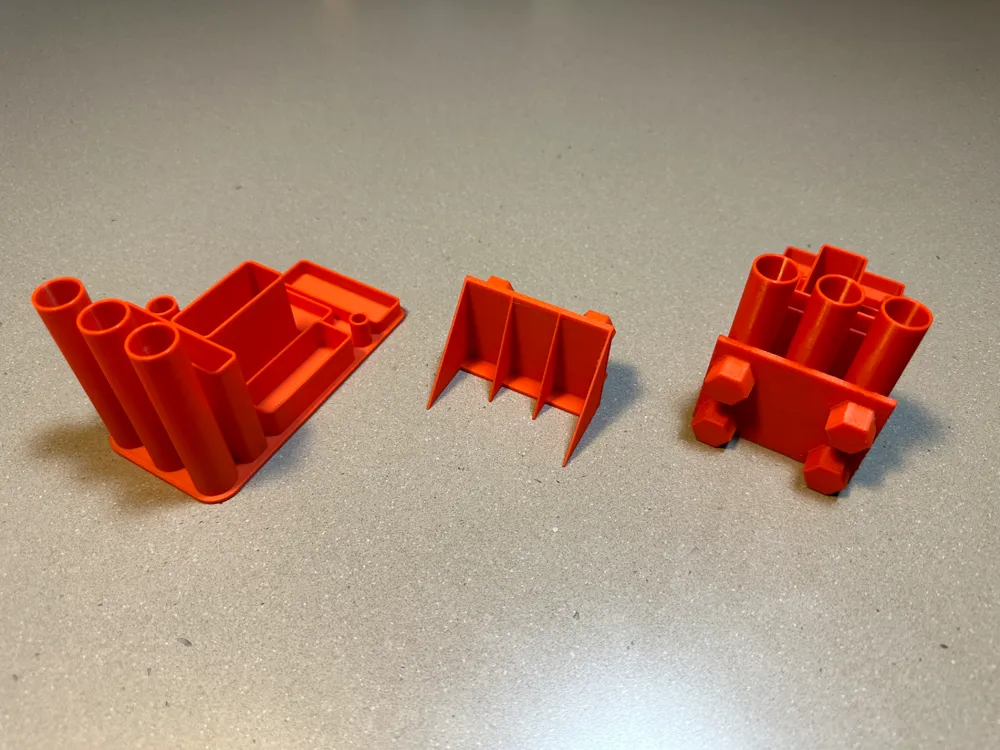
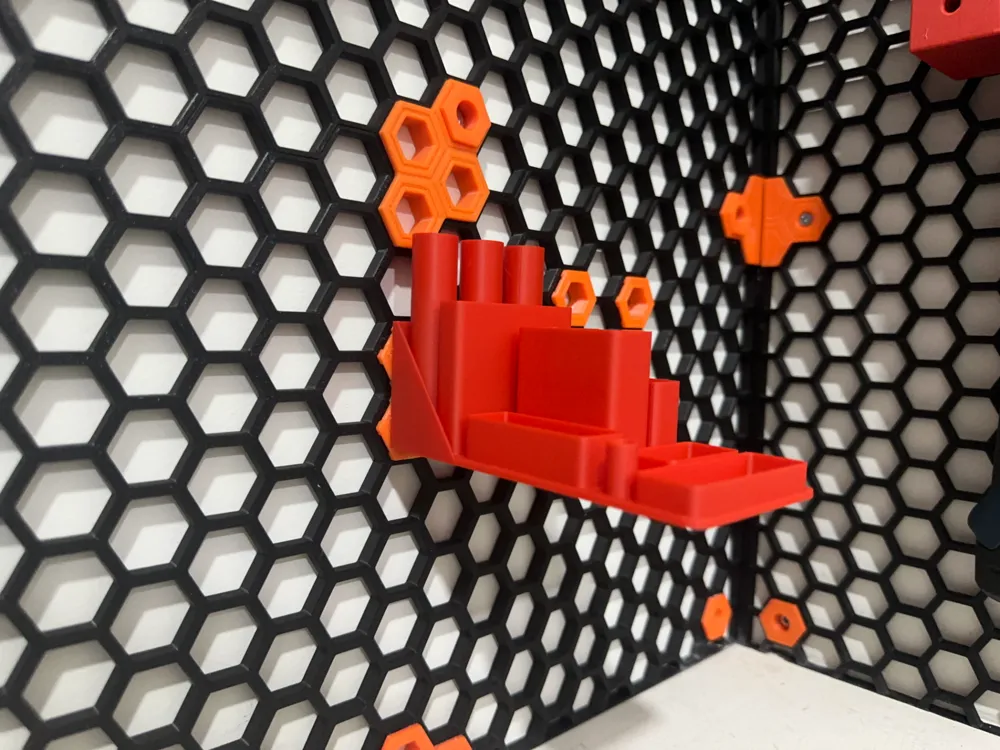
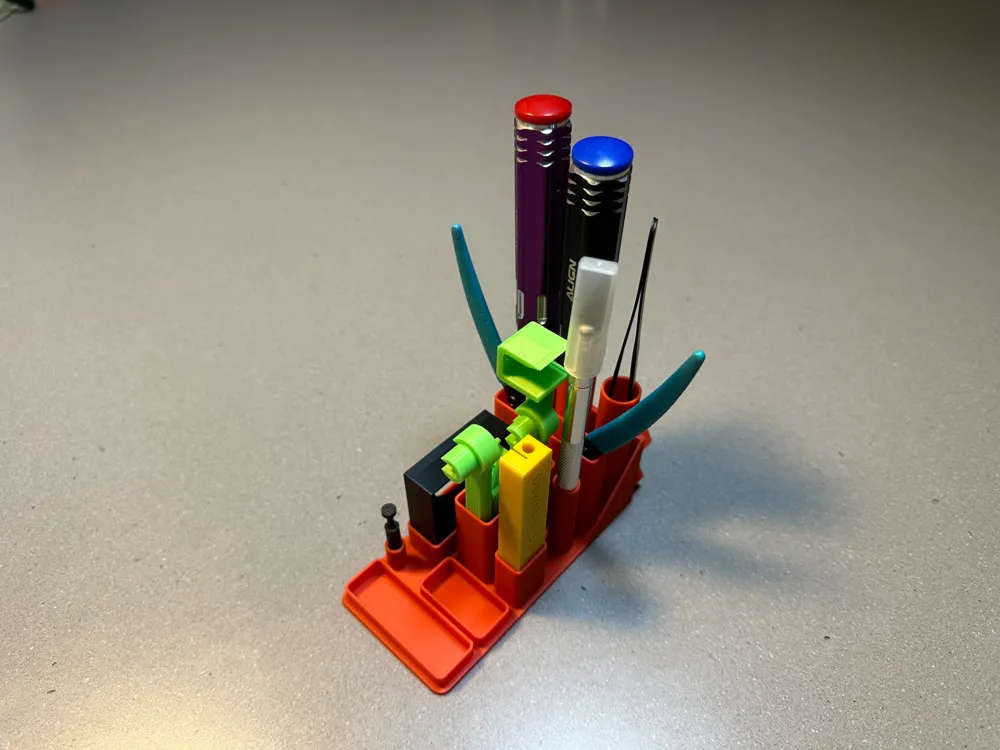
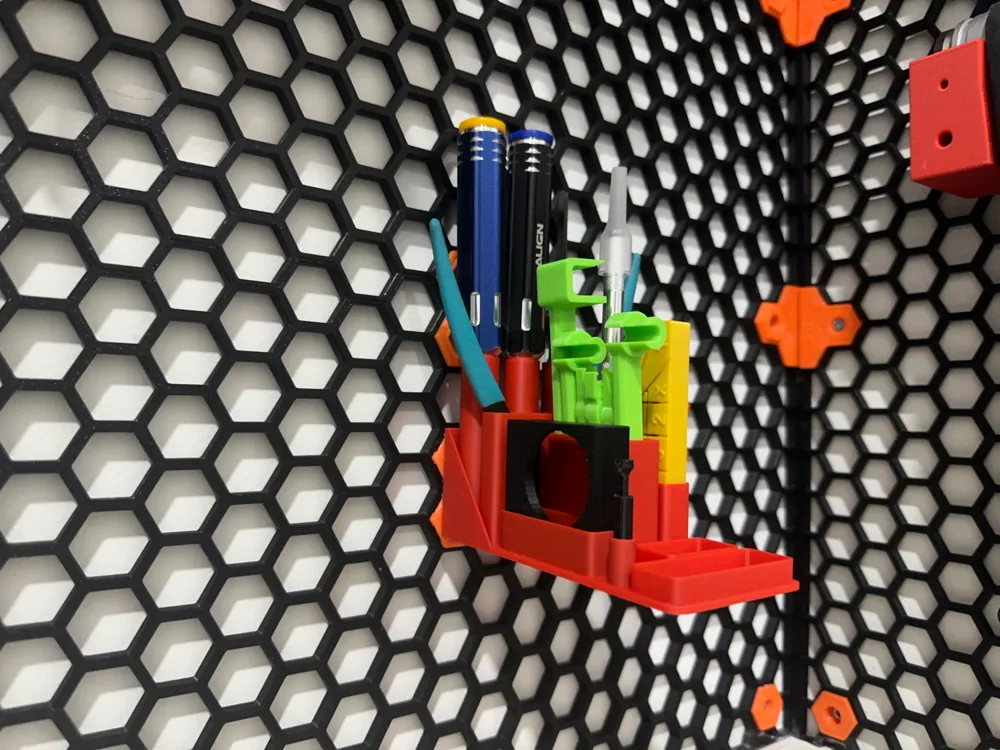
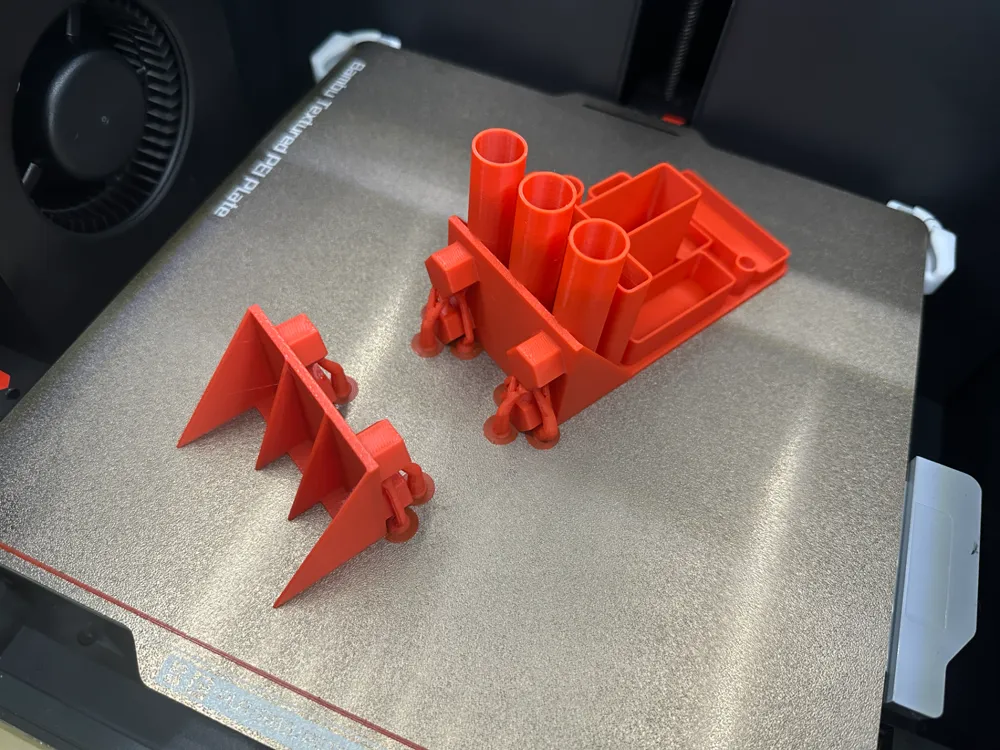
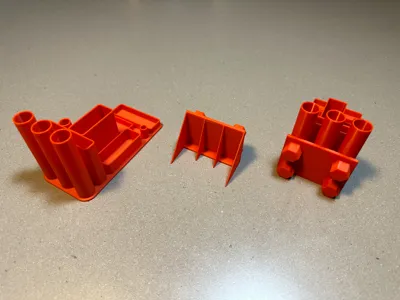
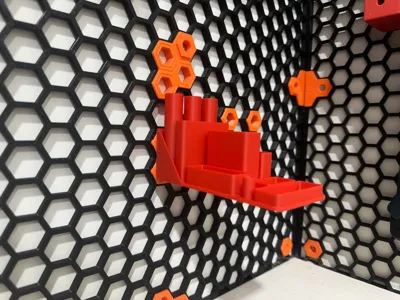
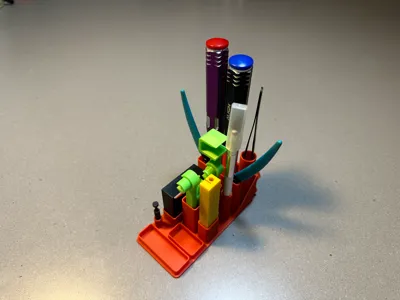
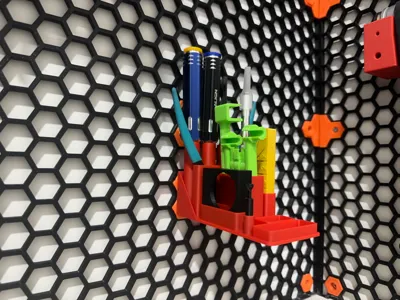
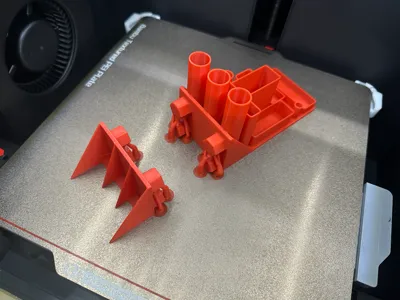
This parametric model is designed to mount just about any 3D Model, to various organization walls such as IKEA Skadis, Multiboard, Honeycomb Storage Wall, and openGrid. The model generates a 3D object that is made of a back plate with connectors, a bottom plate, and up to four brackets to strengthen the mounting. The assembled model can be combined in slicer software with the model you want to mount. This is demonstrated below using MakerLab ‘Make My Desk Organizer’ but it will work just the same for any model.

This model can be used with any 3D model as well, but it has been designed to fit also MakerWorld's "Make My Desk Organizer" (that's why the brackets are available).
Boost Me (for free)
If you enjoyed this model, please consider boosting it to encourage the creator to continue developing this and other models !
Follow Me To receive updates on new models I upload, Honeycomb Storage Wall / Multiboard / Skadis related and others |
I really recommend you checkout my latest model - a unique filament clip. using a simple rubber band. After not finding a filament clip that fit my requirements I designed my own. Available at https://makerworld.com/en/models/1369230 . 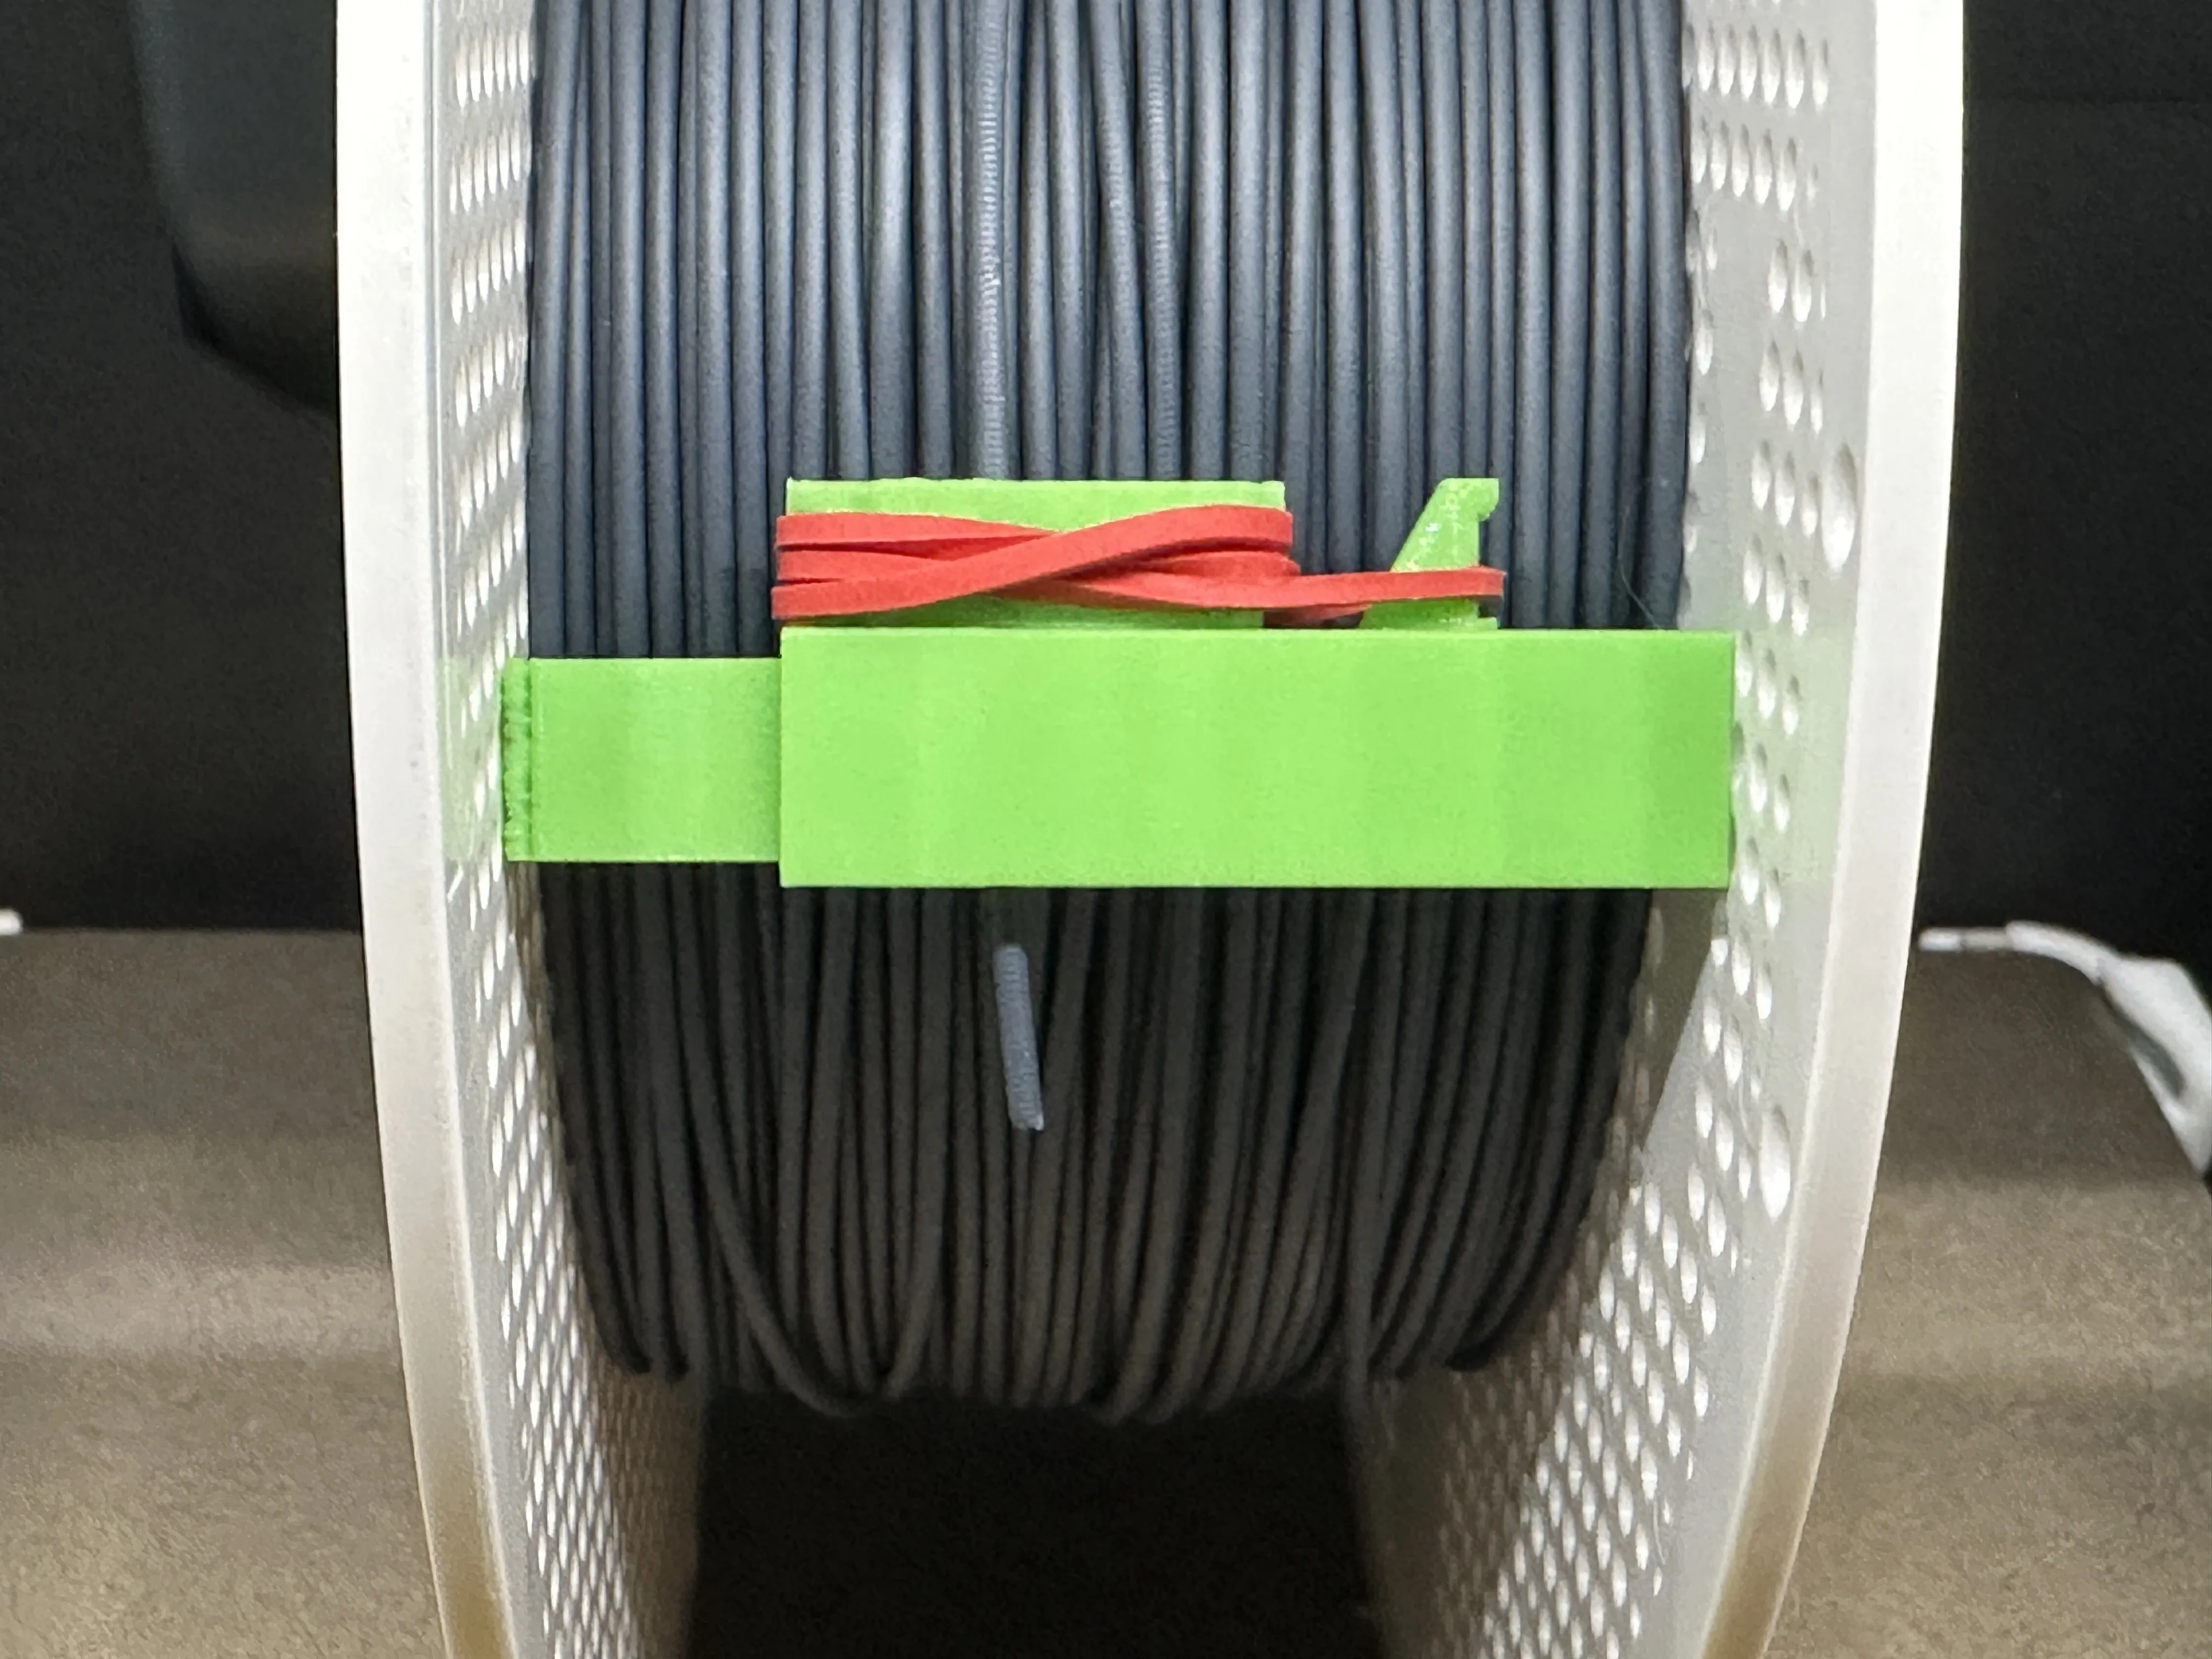 |
Usage Instructions with “Make My Desk Organizer”
- Configure Parameters:
- Choose the appropriate connector type for your organization wall.
- Adjust the dimensions of the back plate, bottom plate, and most importantly the brackets as needed.
- Specify the clearance parameters for the selected connector type. Note that clearance is dependent on the exact material, printer, and board in use.
- Generate Model:
- Use the provided parameters to generate the 3D model in OpenSCAD and download the STL file.
- Assemble in Slicer:
- Import both the desk organizer model and the generated mount model into your slicer software.
- In your slicer software (e.g., Bambu Studio, Orca or other), import the generated STL together with your target 3D model. Assemble / Merge them using the slicer software and orient them so the connectors properly align for installation as you want.
- Orca Slicer / Bambu Studio - Stacking Models | Bambu Lab Wiki
- Prusa Slicer - Edit objects in Prusa Slicer using Merge - YouTube
- Add Supports: Depending on the exact connectors layout, supports may be required. Tree manual support works best by coloring only the bottom of the connectors. You can find more information on this in my other model: https://makerworld.com/en/models/497259 .
- Print: Send the assembled model to your 3D printer.
Small Tip: Clearance is sometimes a challenge with these boards, mainly Honeycomb Storage Wall and Multiboard. I recommend testing fit first with a small sample (even on some simple cube) using the same the orientation you plan to print your model, and then if it doesn't fit well, adjust the tolerance parameters of the connectors. That way, you can reach a perfect fit. If you change material, it may be worthwhile to make another test with the new material. Some more info is available in the Tips & Tricks section on my other model at https://makerworld.com/en/models/497259 .
Bonus: Unrelated to this mode, with Honeycomb Storage Wall specifically, it is difficult to take out the inserts after placing them in. That has been addressed by my other model, available at https://makerworld.com/en/models/161520 .
Parameters
General
- Connectors_Type: Type of connectors (HSW-Plug, IKEA-Skadis, Multiboard-PushFit, Multiboard-Multiconnect, openGrid-Snaps, openGrid-Multiconnect).
- Connectors_Vertical_Placement: How to place connectors vertically
- Plate_Mode: Advanced (with all features) or Basic (disabled brackets and bottom plate)
- Plate_Width: Width of the back and bottom plates.
- Plate_Height: Height of the back plate.
- Plate_Thickness: Thickness of the back plate.
- Bottom_Depth: Depth of the bottom plate.
- Bottom_Thickness: Thickness of the bottom plate.
Bracket X (X from 1 to 4, can be specified for each of the 4 brackets)
- Bracket_X_Generate: Enable or disable Bracket X.
- Bracket_X_Depth: Depth of Bracket X.
- Bracket_X_Height: Height of Bracket X.
- Bracket_X_Thickness: Thickness of Bracket X.
- Bracket_X_Pos_From_Side: Specifies where the Pos parameter (described next) is measured from.
- Bracket_X_Pos: Position along the width.
Honeycomb Storage Wall
- HSW_Connector_Clearance: Clearance for HSW connectors.
IKEA Skadis Board
- SKADIS_Connector_Diameter_Clearance: Diameter clearance for Skadis connectors.
- SKADIS_Connector_Depth_Clearance: Depth clearance for Skadis connectors.
Multiboard
- MB_Connector_Clearance: Clearance for Multiboard connectors.
openGrid
- OG_Snap_Type: Standard or Light.
- OG_Avoid_Support: Snaps modified to not require support when printing vertically.
- OG_Alignment: Snaps position vertical alignment to back-plate.
- OG_Top_Row_Directional_Snap: Use directional snaps on the top row
- OG_Connector_Clearance: Clearance for the snaps dimensions
Multiconnect - applies to both Multiboard Multiconnect and openGrid Multiconnect
- MC_Style: QuickChange or Basic
- MC_Alignment: Alignment of plate to board
- MC_Vertical_Print: Optimize for printing muticonnect vertically
Notes
- Ensure the connectors type matches your organization wall system.
- Adjust clearances based on your specific material and printer tolerances.
- Supports may be required depending on the layout of the connectors and brackets. Using tree supports can help.
License

You shall not share, sub-license, sell, rent, host, transfer, or distribute in any way the digital or 3D printed versions of this object, nor any other derivative work of this object in its digital or physical format (including - but not limited to - remixes of this object, and hosting on other digital platforms). The objects may not be used without permission in any way whatsoever in which you charge money, or collect fees.


Comment & Rating (69)