
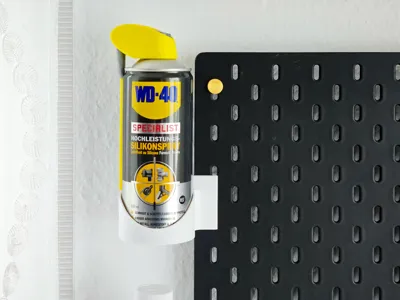
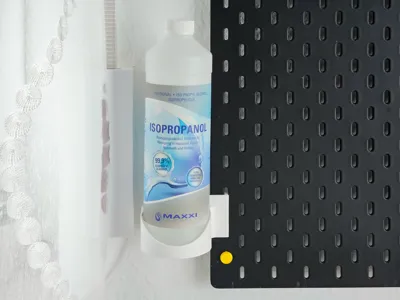
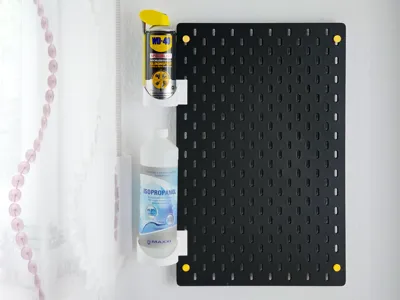
Bottle Holder for IKEA Skadis (Left Side)

Print Profile(6)


Description
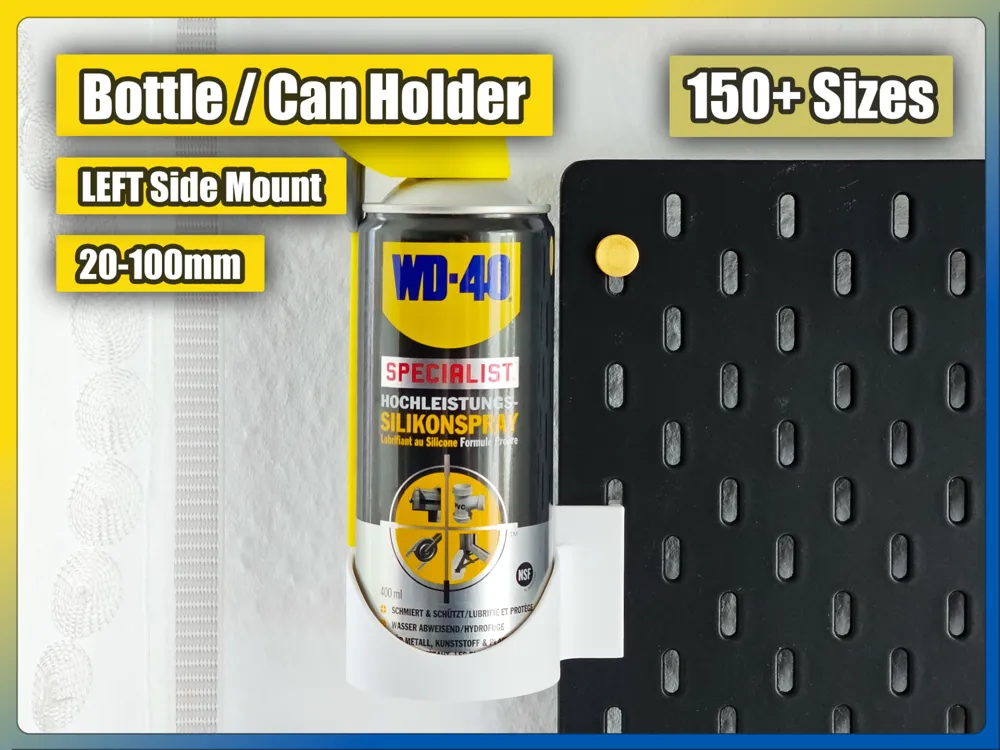
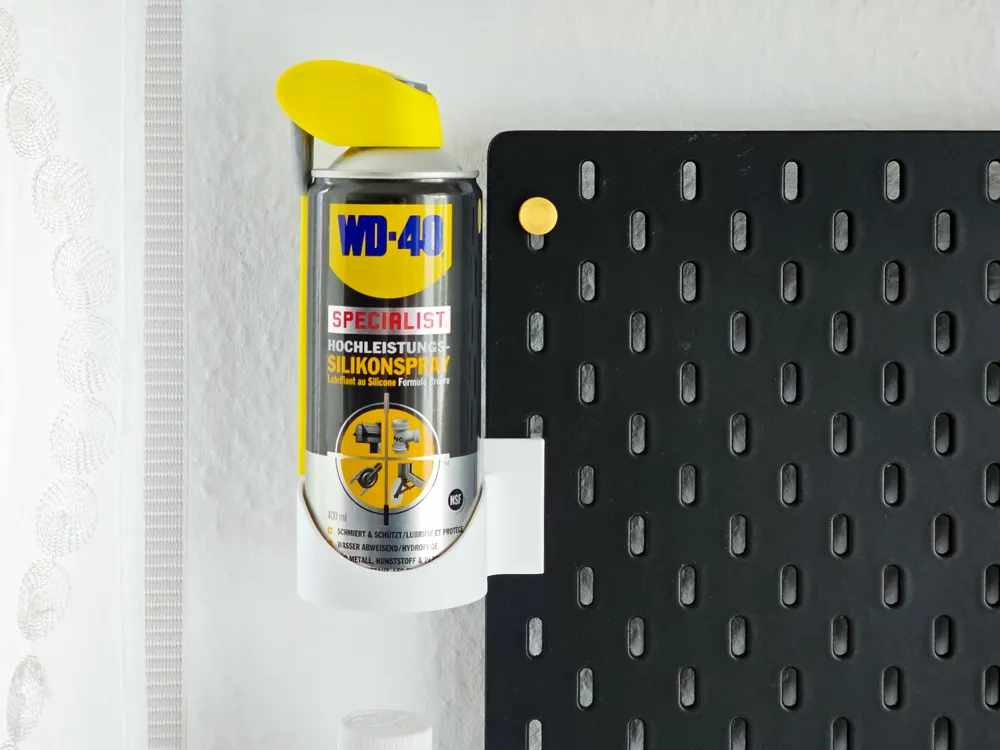
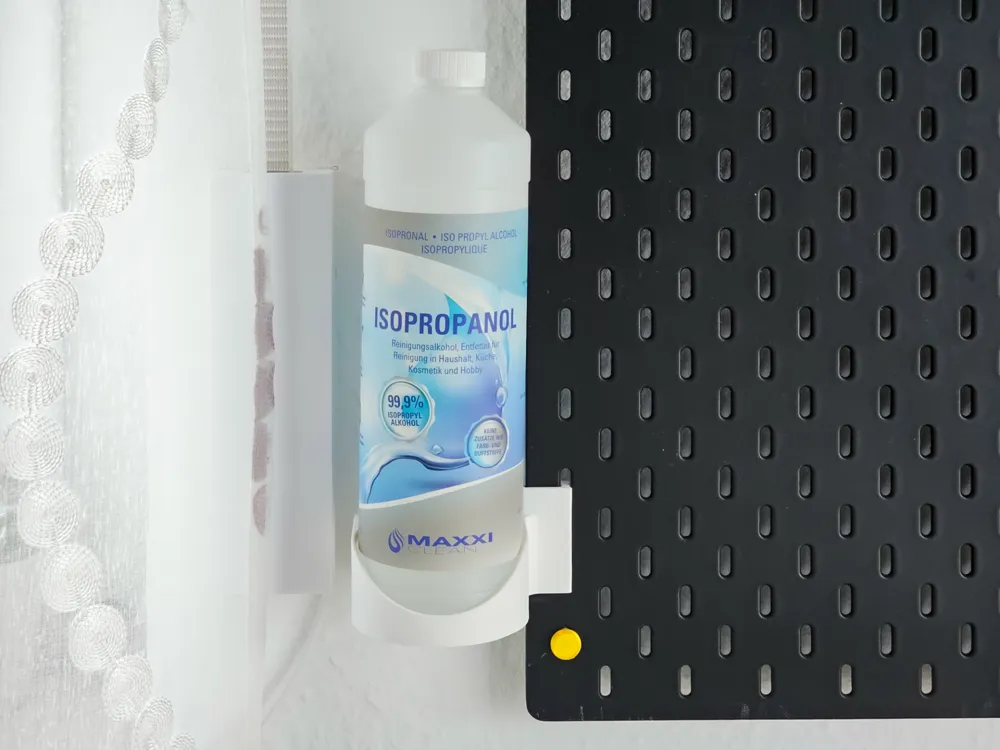
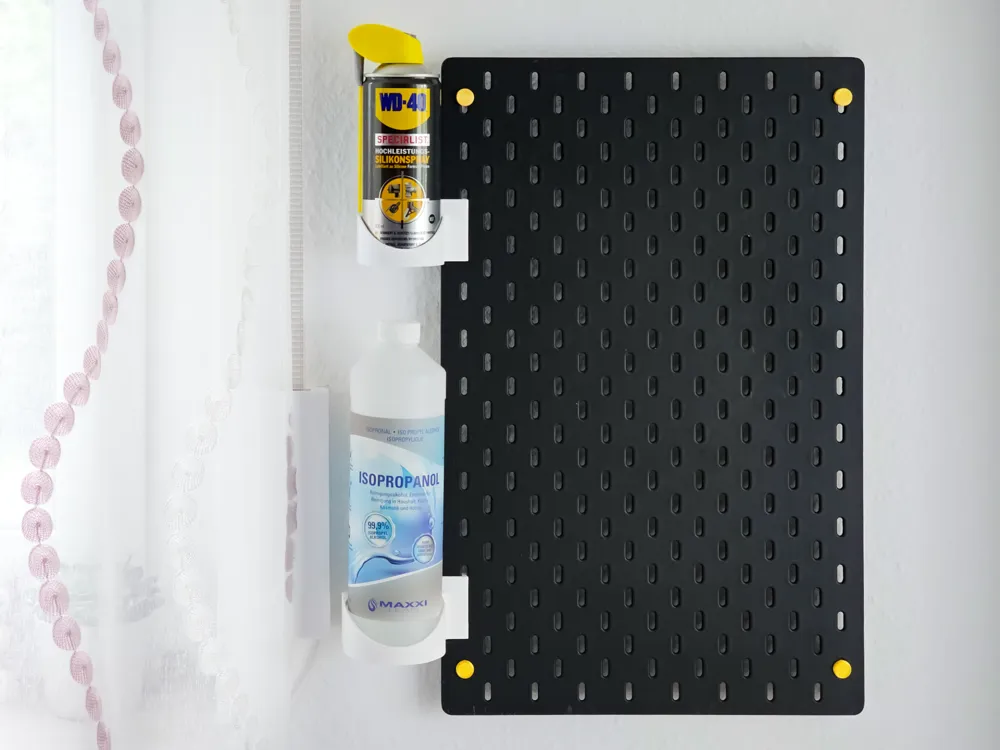
This holder is specifically designed to accommodate a wide range of bottles and cans, with sizes ranging from 20 to 100mm. The print profiles include all sizes in 1mm increments, with intermediate sizes (X.5mm) available in the STL folder. Beware that I already added .5mm of tolerance to each size, so a 36mm holder is actually 36.5mm in size. The holder can be mounted at the side of your IKEA Skadis board. It is compatible to all original boards and DIY boards that follow the same specs. I uploaded a tutorial as PDF file with installation instructions.
Updates
08.07.2024 | v1.1: I modified the hooks and the stabilizing lip for better mounting stability, and I revised the installation guide accordingly. All profiles have been updated.
Printing
It is extremely important to use a durable, slightly flexible material with very good layer adhesion as mounting the holder will put some stress on the holder. PETG is the best choice among popular materials but I did all my tests with regular PLA to make sure it will work too. DO NOT USE Silk PLA, matte PLA or any other kind of material that affects layer adhesion negatively. To increase your chances with PLA you can switch the infill type to lightning or add a modifier only covering the mounting bracket and set it to lightning. This will basically remove all infill allowing the walls to bend effortlessly. For most use cases of the holder, this will not affect the overall performance of the holder. From my experience this was not necessary though.
Installation
- Begin by inserting each hook halfway into the designated holes. Ensure that the slightly thinner part of the hook is fully inserted.
- Start wrapping the holder around the board, keeping the hooks halfway inserted throughout the process.
- Carefully wrap the holder all the way around the board, making sure the hooks remain halfway inserted.
- Once the holder is completely wrapped around the board, fully insert the hooks into their holes.
- Press down firmly on the hooks to fully seat them, ensuring a secure fit, similar to how you would with any other accessory.
Optional: Use this Lock Plug in 10mm to further secure the holder.
Other Bottle Holder Variants
- Regular / Straight: 1 Slot | 2 Slots | 3 Slots
- 45° Angle towards the Front
- Side Mount Left
- Side Mount Right
- 45° Angle towards the Left Side
- 45° Angle towards the Right Side
Skadis Collection
I am constantly developing more IKEA Skadis attachments. Check out my
- IKEA Skadis Shelves, Trays and Container Collection
- General IKEA Skadis Collection
- IKEA SKADIS Boards Collection
Boost Me (for free)
Hey friends! I’m doing this purely as a passion project in the little free time I have (juggling two full-time jobs and a family). If you have questions, requests, or feedback, feel free to shoot me a DM — I’d love to hear from you when I get the chance. Boosts and support mean the world and help keep this hobby alive — thank you so much!
Documentation (1)
License

You shall not share, sub-license, sell, rent, host, transfer, or distribute in any way the digital or 3D printed versions of this object, nor any other derivative work of this object in its digital or physical format (including - but not limited to - remixes of this object, and hosting on other digital platforms). The objects may not be used without permission in any way whatsoever in which you charge money, or collect fees.


Comment & Rating (57)