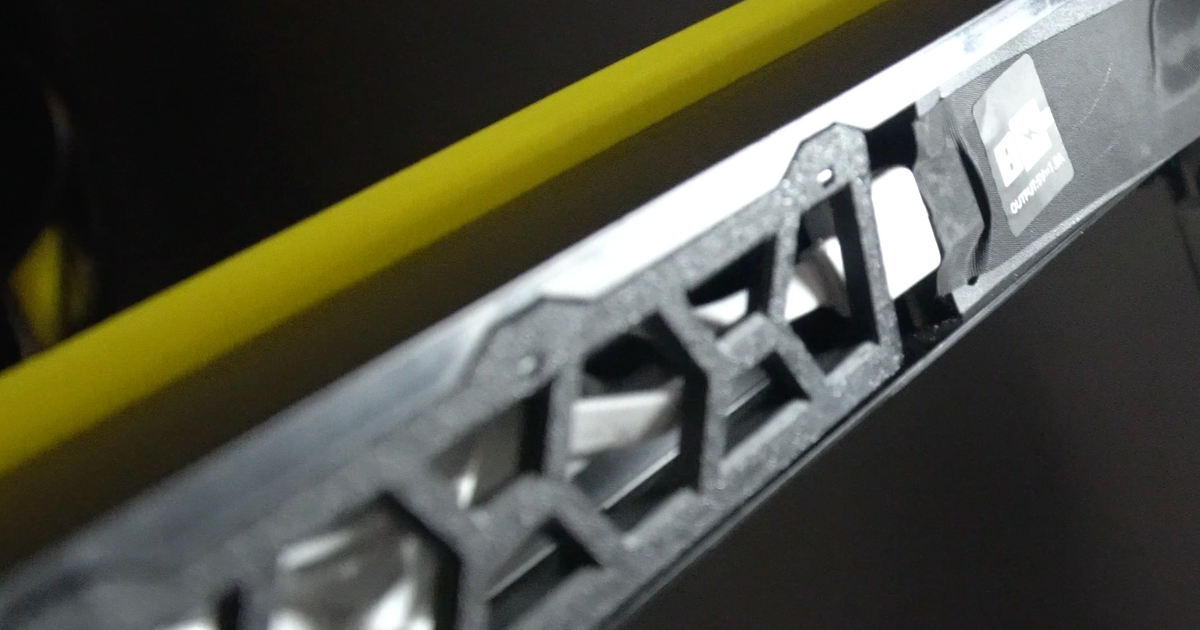
Bambu Lab P1P USB Relais Card Mounting Plate - Remix
Bambu Lab P1P USB Relais Card Mounting Plate - Remix
Print Profile(1)

Description
Using the USB port on the P1P to power a relay card which can be powered using the original LED light connector. This can then turn on various accessories.
In my case, I turn on the LED light. Since I didn't know if the power supply from the original LED connection was sufficient, I installed a relay card.
The connection is roughly as follows:
- The original USB connector provides me with the power for the relay card.
- Control wire for the relay comes directly from the LED connector on the P1P.
- USB connection attached to the output of the relay.
This is how I turn my light on and off with the LED light switch.
In the upper area I made two more holes to attach a second bracket for the lamp.
relay card
Cable for connection to the circuit board (the connector type JST GH 1.25 and 2 pin is important)
https://www.ebay.de/itm/184844268251
USB solder connections or cut off a few plugs
______________________________________________________________
Edit: 02.03.2023
Tobi from LE created another version there with a 45 degree Led strip holder. According to my findings, however, the LED strip holder does not match the "X1 / P1P PTFE Tube Guide to fix loading issues - best of both worlds" because the arc extends too far forward.
DEUTSCH
Verwenden vom USB-Anschluss am P1P, um eine Relais Karte mit Strom zu versorgen welche mit dem originalen LED Licht Anschluss angeschaltet werden kann. Diese kann dann verschiedenes Zubehör anschalten. In meinem Fall schalte ich das LED Licht an.
Da ich nicht wusste ob die Stromversorgung vom originalen LED Anschluss ausreicht habe ich eine Relais Karte verbaut.
Der Anschluss ist im groben so erfolgt:
Originaler USB Anschluss liefert mir den Strom für die Relais Karte.
Steuerkabel für das Relais kommt direkt vom LED Anschluss vom P1P .
USB Anschluss am Ausgang des Relais angebracht.So schalte ich mit dem LED Licht Schalter mein Licht an und aus.
Im oberen Bereich habe ich noch zwei Löcher eingebracht zum anbringen einer zweiten Halterung für die Lampe.Relais Karte
https://amzn.eu/d/0ZVIRTBKabel für Anschluss an der Platine (wichtig ist der Steckertyp JST GH 1.25 und 2 Pin)
https://www.ebay.de/itm/184844268251USB Lötanschlüsse oder man schneidet sich ein paar Stecker ab
https://amzn.eu/d/axrOrWPEdit: 02.03.2023
Eine andere Version hat Tobi aus LE erstellt dort gleich mit 45 Grad Led Streifen Halterung.
Nach meinen Erkenntnissen passt die LED Streifen Halterung aber nicht mit dem "X1 / P1P PTFE Tube Guide to fix loading issues - best of both worlds " zusammen weil der Bogen zu weit nach vorne reicht.


