Welcome
This intro guide is for anyone who has discovered my work and wants to know how to make these designs and get started with 3D printing.
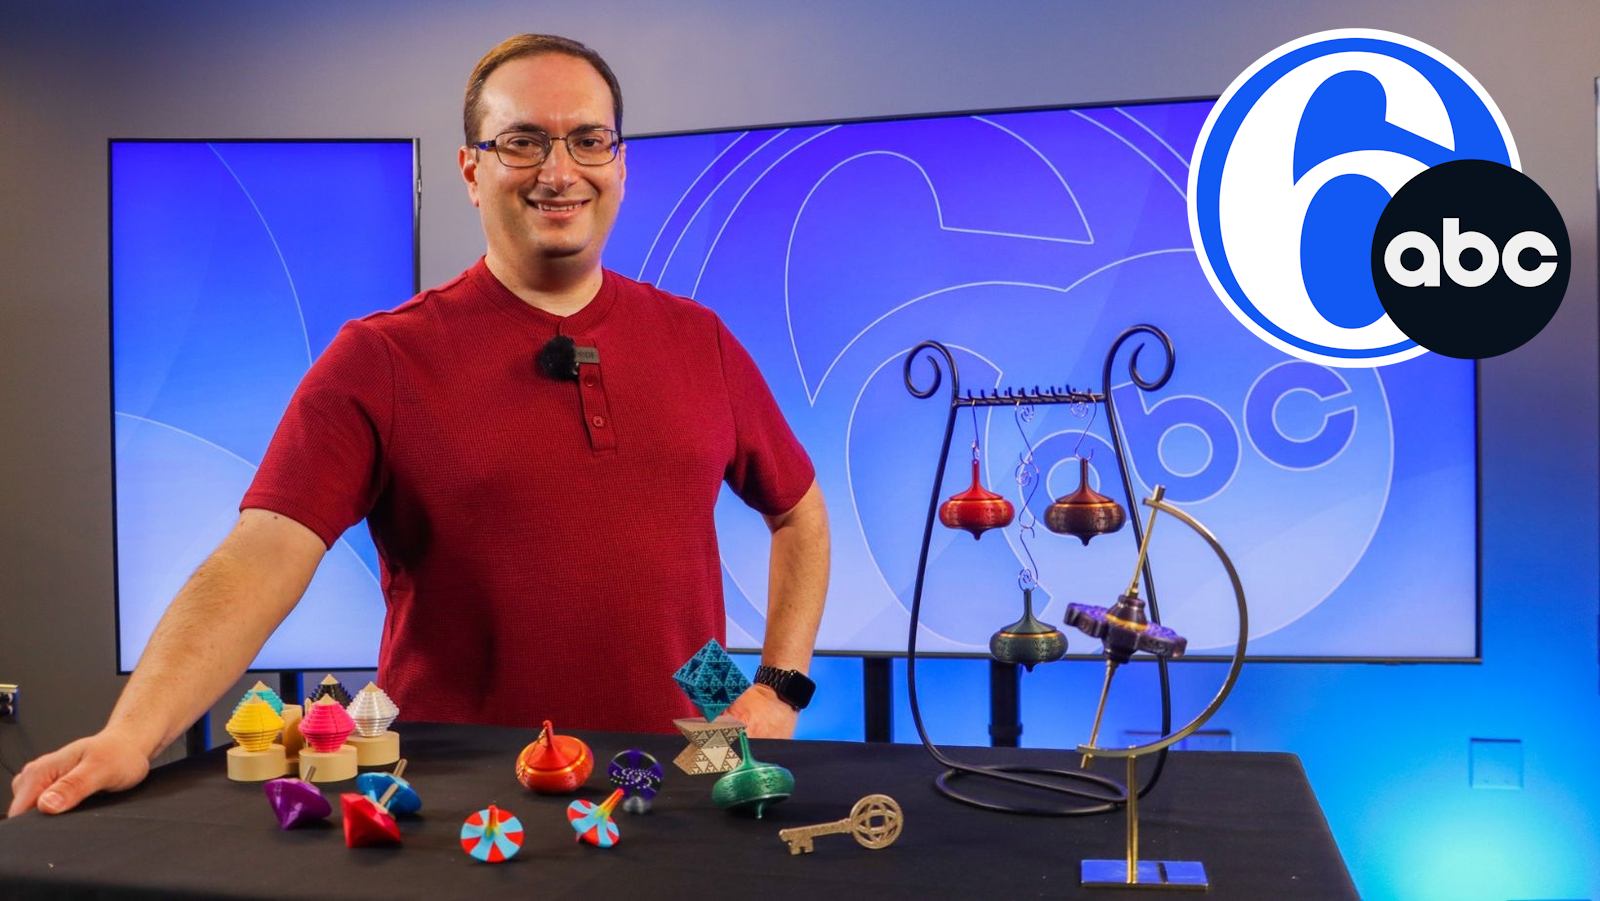
I’m Mike (Prime Tower Designs), and I create illusions, kinetic art, and other models with a fun twist. Thanks to a nudge from 3D printing, I went from corporate employee to independent inventor and designer in under a year. You may not be looking to take a big leap like that, but my hope is to inspire you to take the first step on your own creative journey, wherever it leads.
What Is 3D Printing?
There are several different types of 3D printers. Some use resin that cures with light, others fuse powder, and some work with metal. The most popular kind, and what I use for all of my designs, is a filament printer, sometimes called FDM. It feeds a thin strand of plastic filament through a heated nozzle and builds the object one layer at a time.
Filament printers are the most common choice for hobbyists. They are increasingly affordable, handle a wide range of projects, and work very well for the kinds of illusions, toys, and kinetic models I design. Everything in this article assumes this style of printer.
Why Get a 3D Printer?
I'm not going to claim 3D printing is for everyone, though I’ve come to believe many people would be surprised by how much they enjoy it once they try.
What I can do is share how I got started and how it grew into something much bigger for me. If my story resonates, perhaps it will give you the confidence to take a first step of your own.
My Personal 3D Printing Journey
My formal background is mostly in engineering. I earned a degree in computer science, though I also worked in a visual perception lab while attending university. I've always been fascinated by illusions and sleight of hand, spending countless hours learning card tricks and practicing until I could perform them smoothly. Professionally, I spent twenty years building engineering systems at a large tech company, and over time I felt the need for a creative reset.
Everything changed when I bought a 3D printer for my sons. I discovered that I had just as much fun with it as they did. My first real success was a custom drink coaster for a family event that I personalized using a short script to add a pattern and guest names. From that experience, I realized that my programming skills translated directly into design.
I shared my first basic models here on MakerWorld, and seeing people enjoy them kept me going. From there, I drew on my lifelong interest in perception and magic and created my first hollow face illusion by remixing an existing Lincoln bust. While the concept wasn't new, the effect far exceeded my expectations and attracted more downloads than I'd expected, encouraging me to keep exploring.
This journey has led to filing my first provisional utility patent application and planning for my own design studio in 2026. If you’re curious to learn the story behind a particular one of my designs, I often include those details in its description.
Somewhere along the way, a simple design philosophy emerged.
Engineering + Art = Magic
For me, wonder often comes from the small and unexpected. It appears when you think you understand the boundaries and then witness something that makes you question your assumptions. That feeling does not require fancy electronics, and in some ways technology makes it harder to evoke because our expectations for it are already so high.
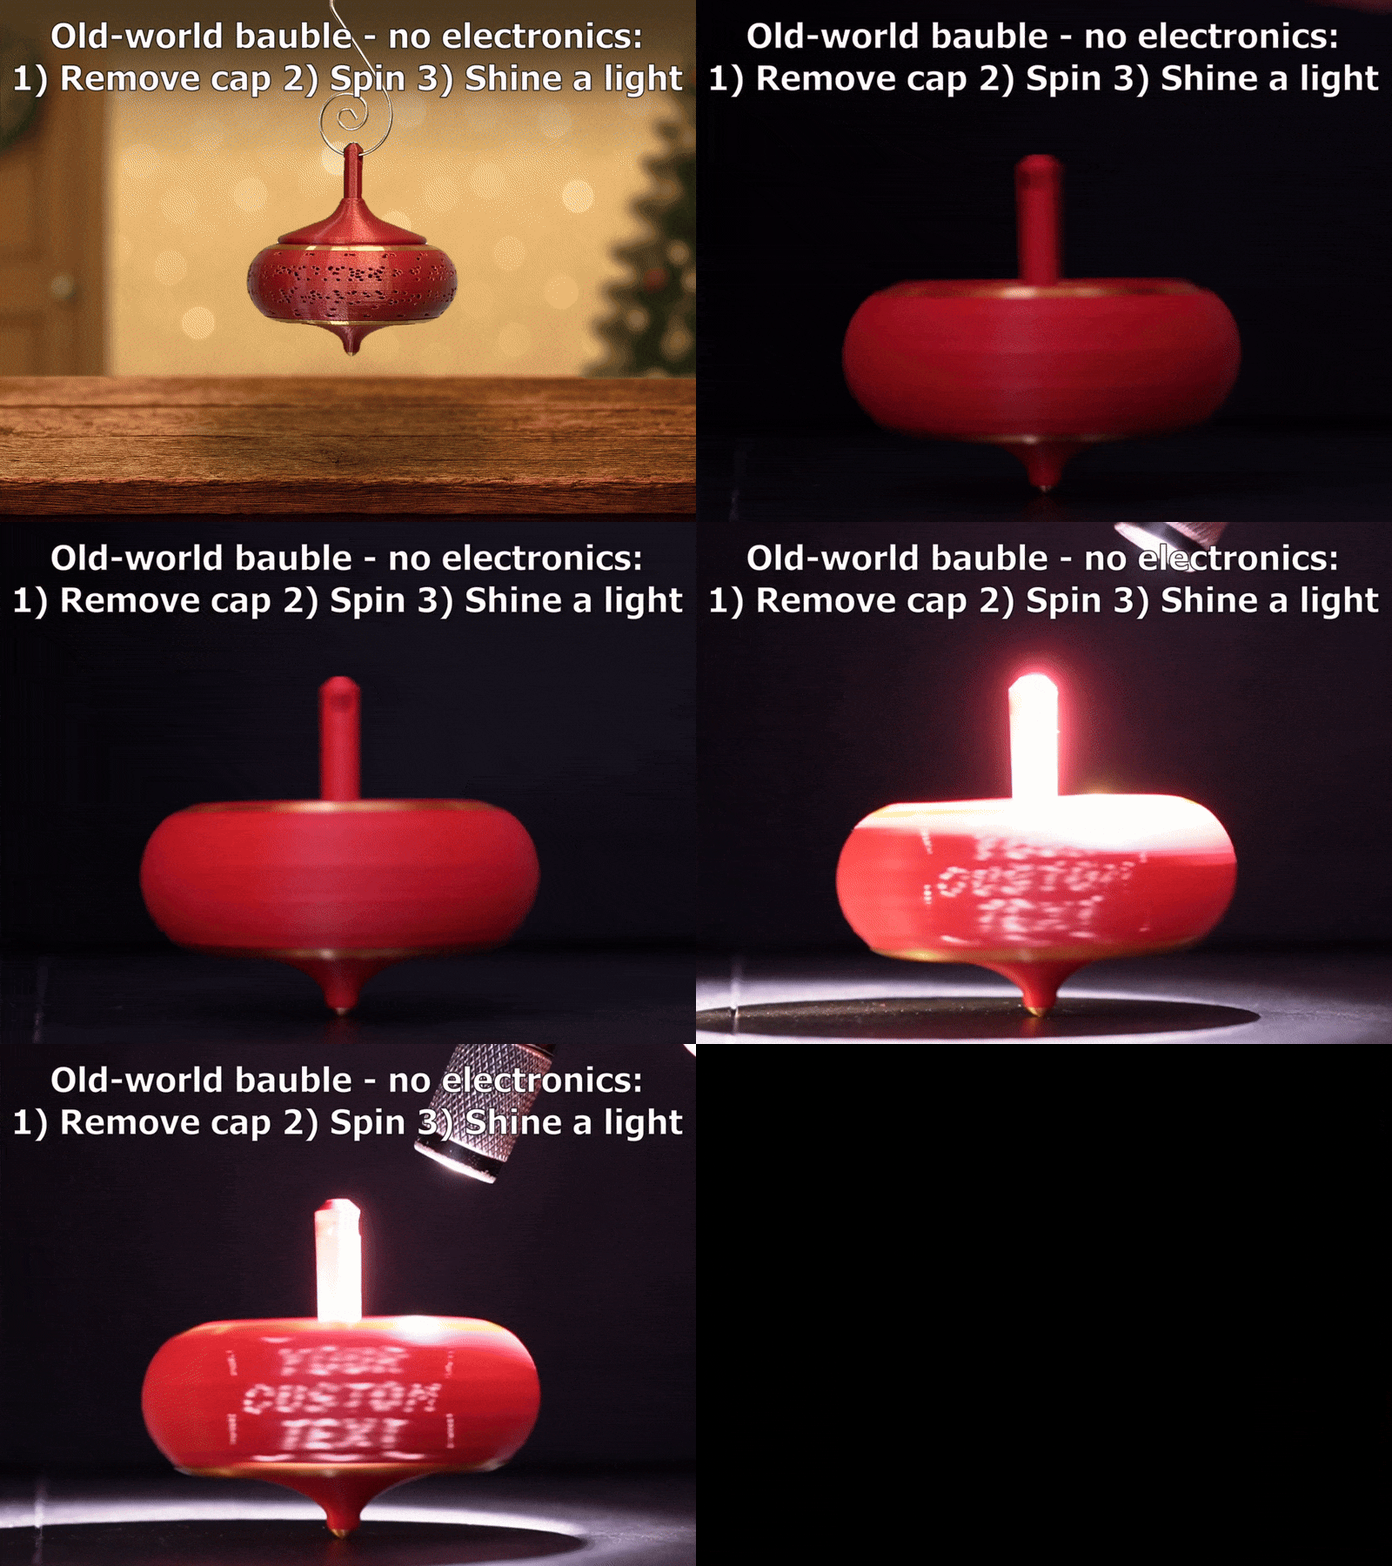
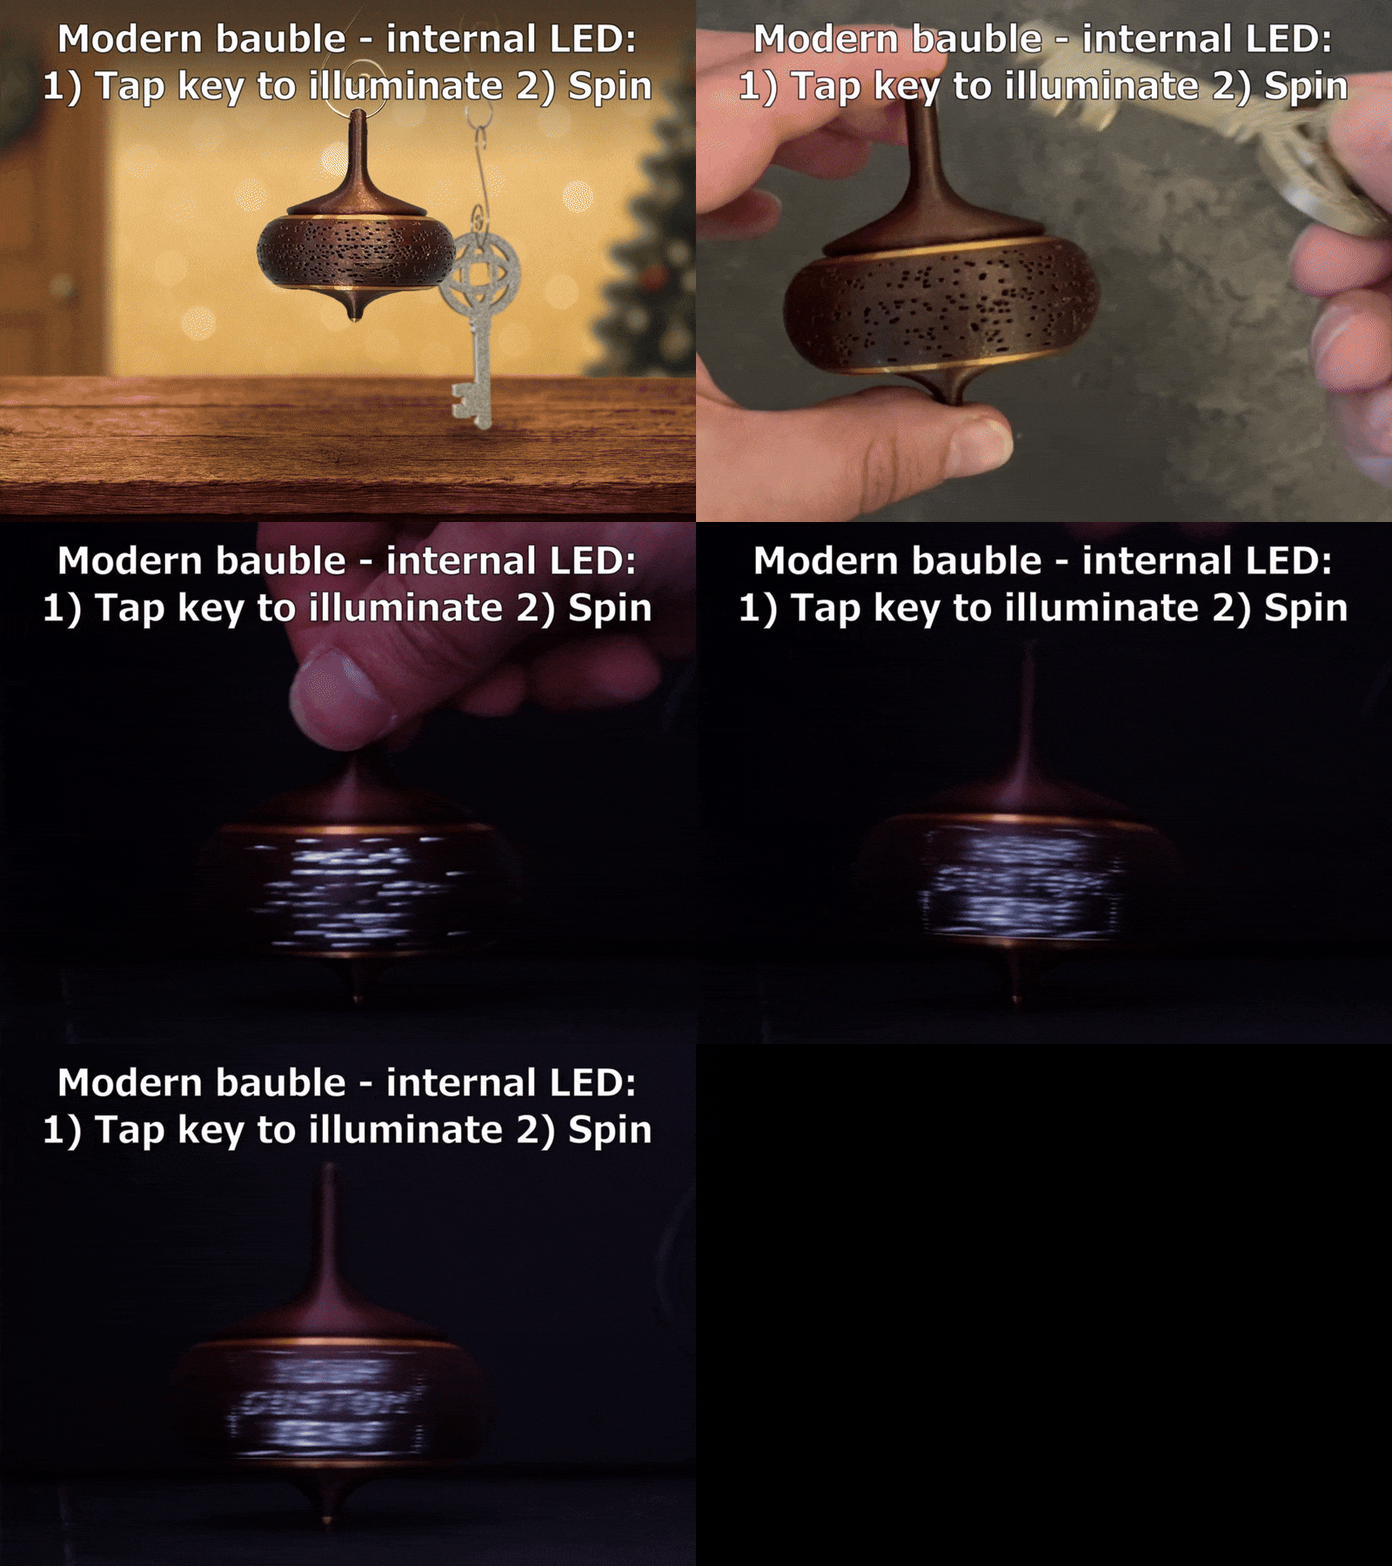
This is the lens through which I view my design process. I start by thinking about the effect I want to create, often relying on basic physics or perception quirks, with a goal of producing a moment that surprises. Even when I include electronics, like optional LEDs, they enhance the experience but are not what make it work.
 |  |
Once I have the seed of an idea, I build a quick prototype to see if it is even possible. Usually it only takes a few attempts to get something that almost works. From there, I iterate until the effect feels strong, clean, and reliable. Only after that do I think about the final form and how to present it. I start with engineering, add a touch of art, and hopefully end up with something that feels like magic.
This is the approach I take, but everyone finds their own way. In time, you’ll discover the process that feels most natural to you.
Choosing Your First Printer
There are many excellent 3D printers available today. I should note that I only have firsthand experience with Bambu Lab printers, which I purchased because I had heard they’re reliable and easy to use. I have been happy with them, but I strongly encourage you to do your own research - there are many independent review sites.
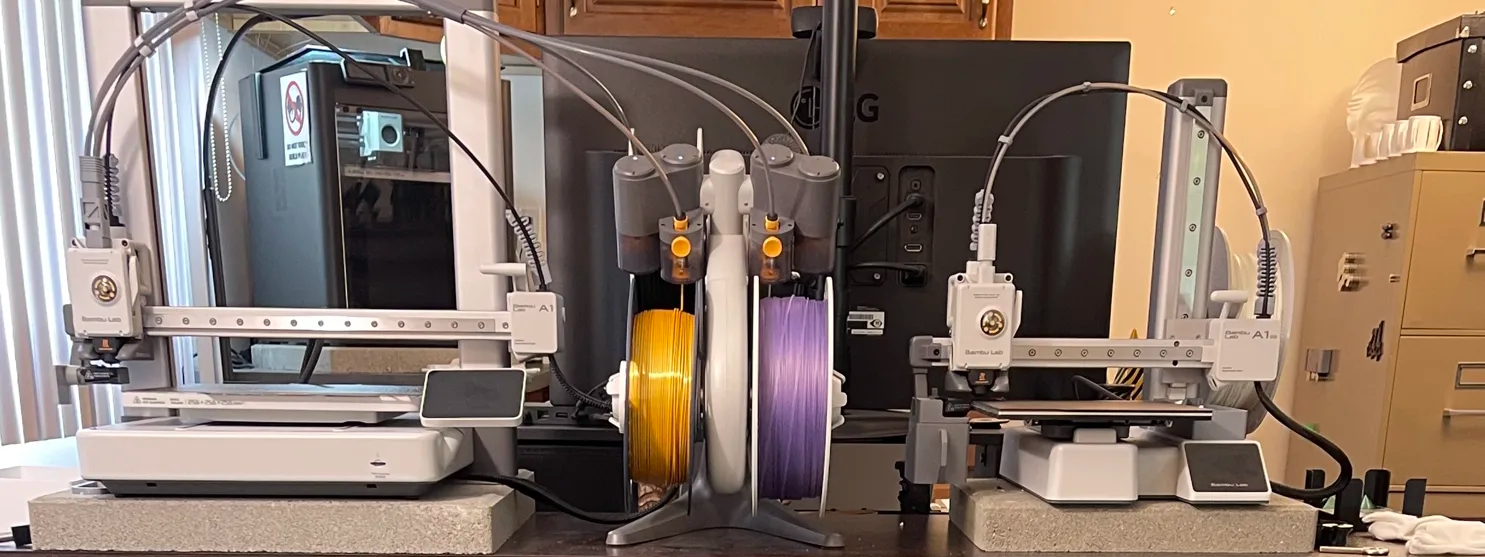
For most new hobbyists, a basic bed-slinger is an affordable and versatile option. In this style of printer, the print surface (the bed) moves back and forth while everything else remains open and unenclosed. As of this writing, you can find a high-quality bed-slinger for about 300 USD, and it will print objects up to roughly 256 by 256 by 256 millimeters. There are also some great smaller options for around 200 USD which are still large enough for the vast majority of my designs. Choosing a more typical size, however, gives you room to grow.
For a step up, consider an enclosed core-XY printer. This style moves the print surface up and down instead of side to side, which can be helpful for the occasional tall, thin print that might otherwise tip over. The enclosure also allows the printer to reach higher temperatures, which is necessary for certain engineering-grade filaments. In my first year and a half of printing, though, I have only needed PLA and PETG. Both materials work well on unenclosed printers, so in most cases a bed-slinger makes an excellent first printer unless you already know you’ll benefit from the advantages of an enclosed core-XY machine.
Another optional piece of hardware is an AMS (Automatic Material System). An AMS allows your printer to switch between multiple filament colors automatically. It is a completely optional accessory that can be purchased later. However, if you already know you want multicolor capability, it is often more economical to buy it as part of a bundle with the printer. I use multicolor printing in many of my designs, but even if you do not have an AMS, nearly all of them can be printed in a single color or by manually swapping the filament during a pause in the print job (although doing so can become tedious).
Whichever printer you choose, the important part is finding something reliable that lets you enjoy the creative side of the hobby.
Filament Basics
Almost everything I print is PLA, a specific type of plastic. It is easy to use, prints cleanly, and works for the vast majority of projects. PETG, another type of plastic, is a little more temperature resistant and can handle outdoor heat or sitting in a hot car, but it prints more slowly and the results tend to be a bit messier. I use PETG only for the occasional project that truly needs it.
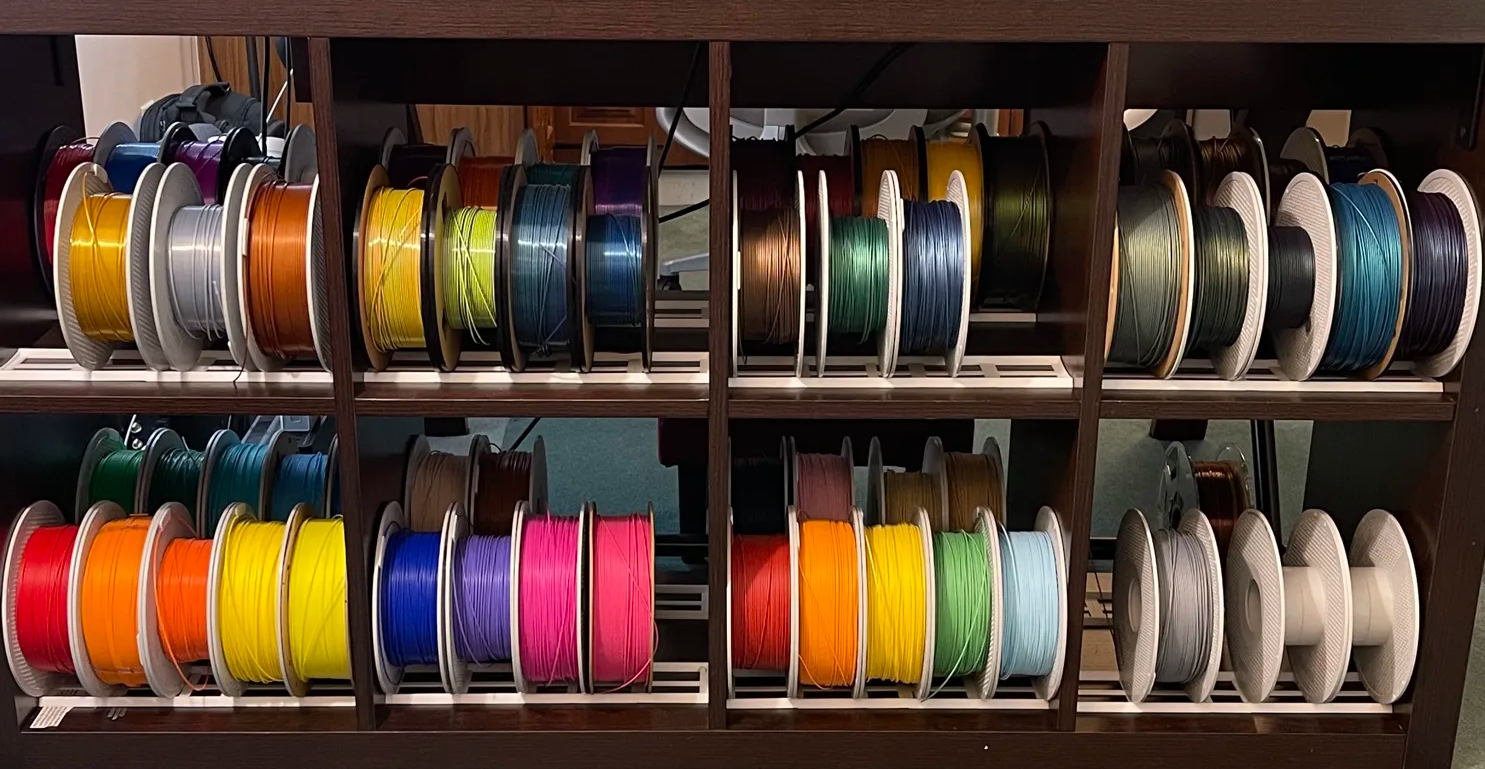
There are also special engineering filaments designed for gears, high loads, or demanding mechanical use, but that is not the space I work in. My designs focus more on creativity, illusions, and play rather than heavy-duty performance. In fact, most designs you'll find on sites like MakerWorld are intended to be printed in PLA.
It is helpful to keep inexpensive black and white basic PLA on hand. Silk PLA has a shiny finish but is usually weaker and not quite as clean for large surfaces, so I tend to use it for accents. I also often print with shimmer filaments which are infused with glass powder. These conceal layer lines and have a more premium look than simple glitter filaments.
Getting Comfortable With Your Printer
If you have not used a 3D printer before, don’t worry. Most modern printers come with clear getting-started instructions that walk you through setup and your first print.
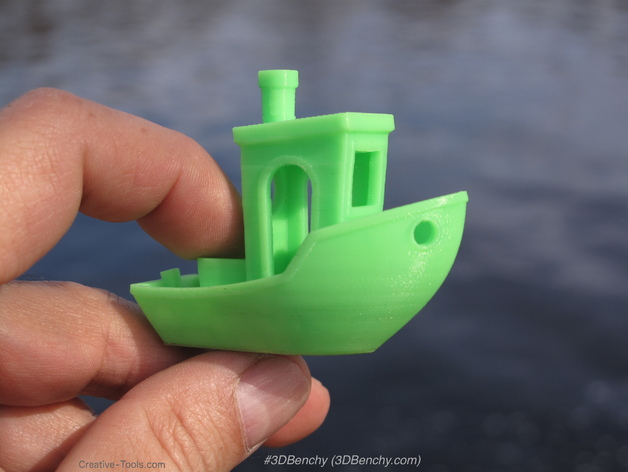
Once you complete that initial walkthrough, there is a large library of free beginner-friendly models on MakerWorld and other 3D printing websites. Print a few simple objects to get comfortable with the process. You do not need to understand every setting or detail right away; modern slicers and printers handle most of the complexity for you. You will naturally learn a little more with every print.
Entry Level Projects from My Portfolio
Once again, if this is your very first time using a printer, I suggest starting with a few basic beginner models from MakerWorld's starter collection. After you have printed a couple of simple objects and have seen your printer complete a job successfully, you will be well prepared to try the projects below. I always strive to include approachable instructions, but if you ever have any questions, please reach out to me.
1. SpinCraft: Color Blend Station
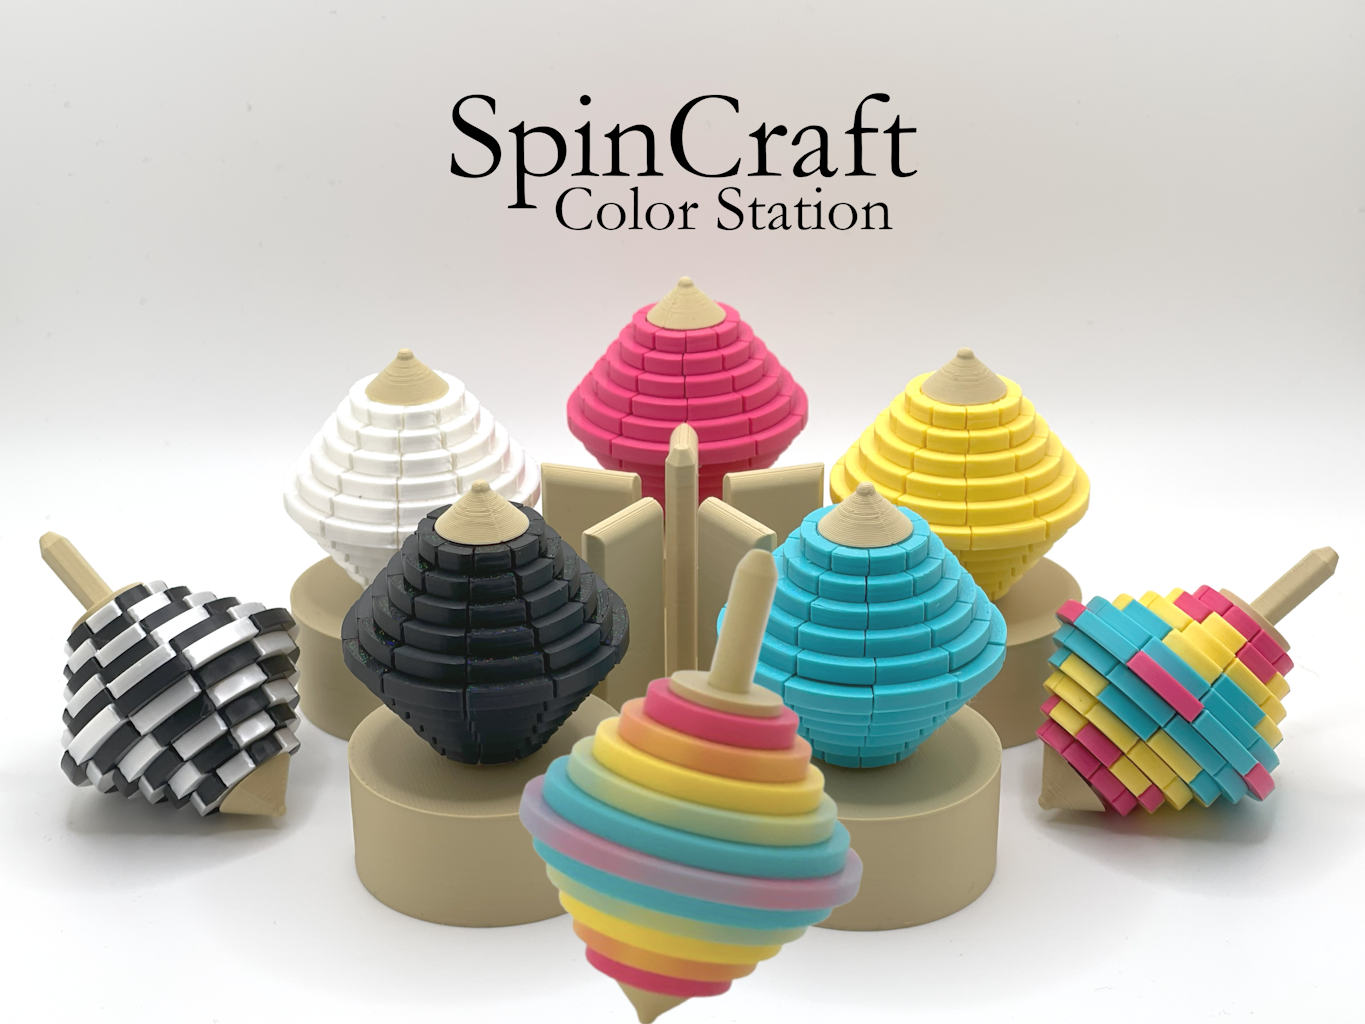
This is a creativity kit built from simple flat disks that print very easily. You do not need an AMS since each color is printed as a separate job. There is no complex assembly beyond snapping together the tops you create. It's fun to try new color combinations to see how they mix when spun.
2. Haunted Bust Illusions
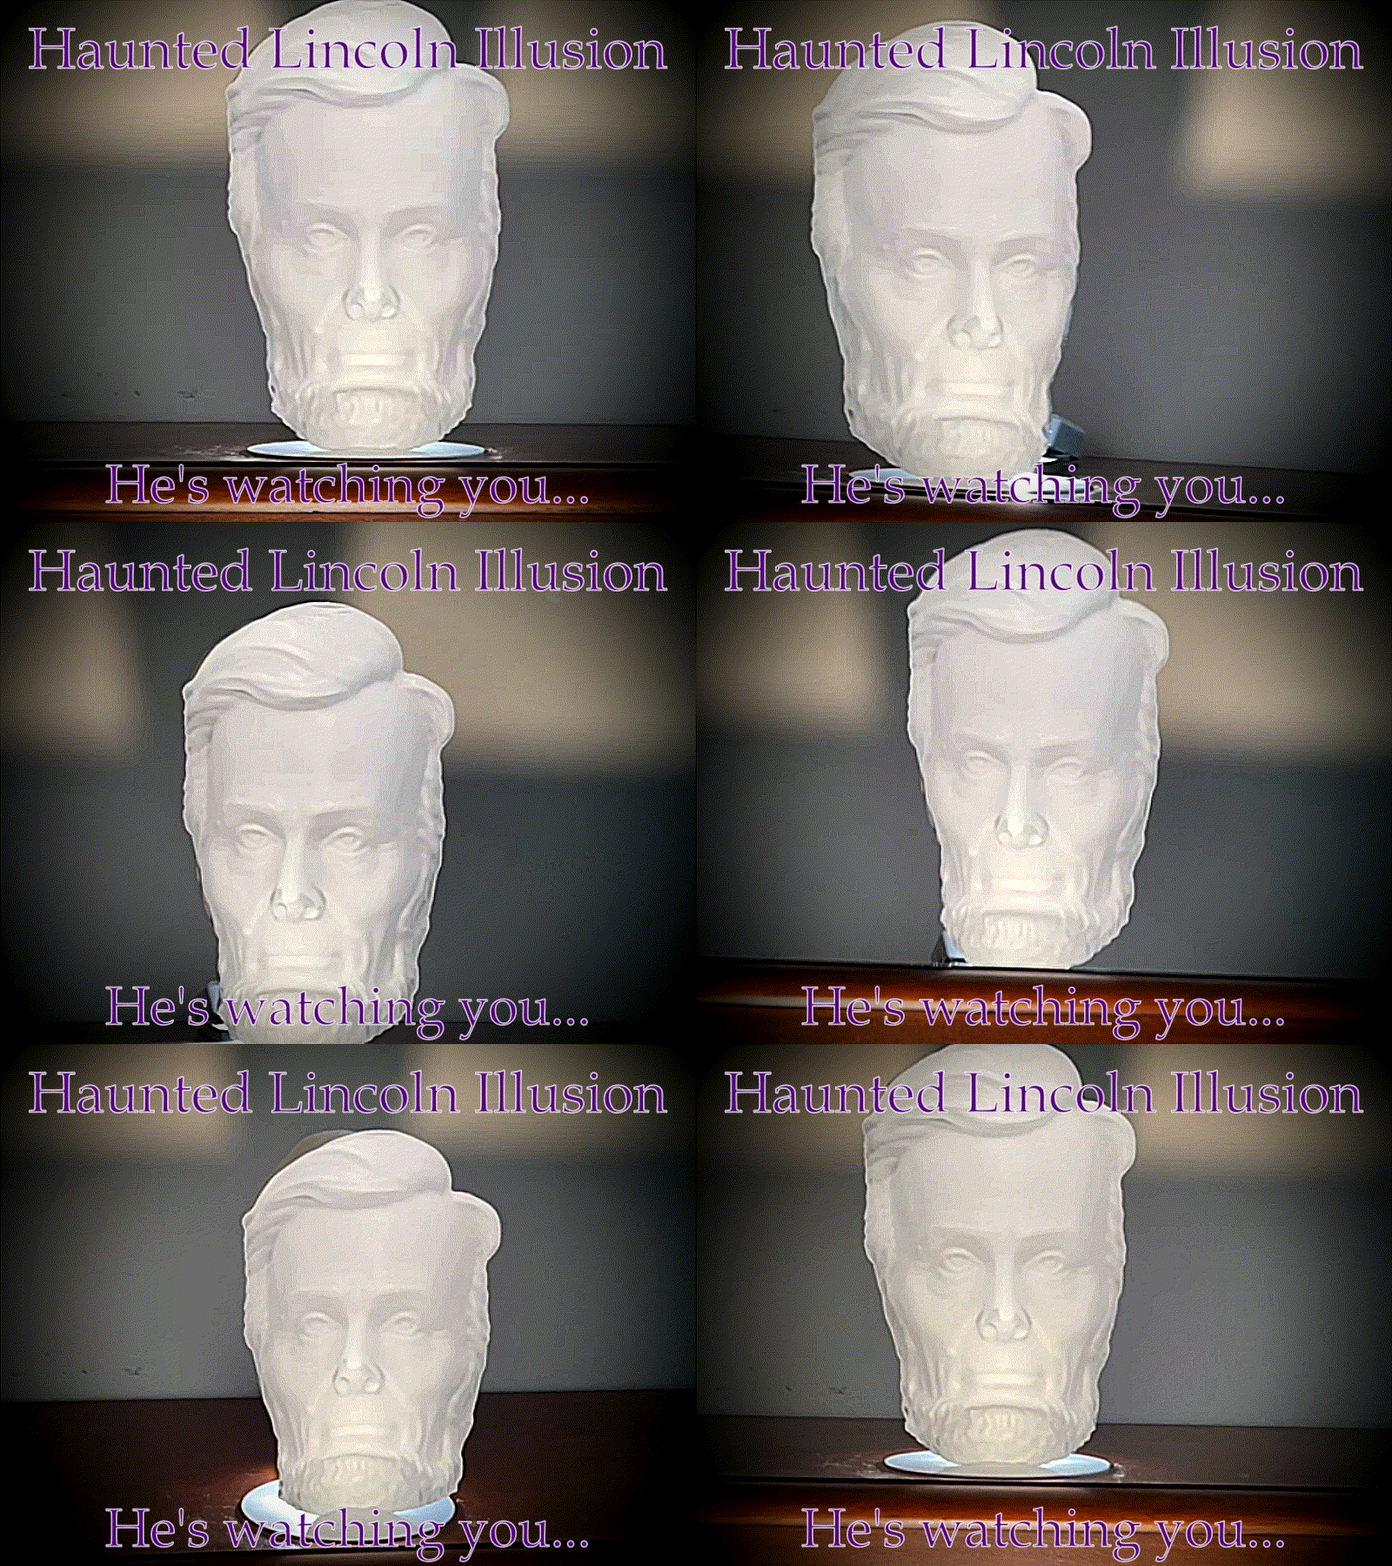 | 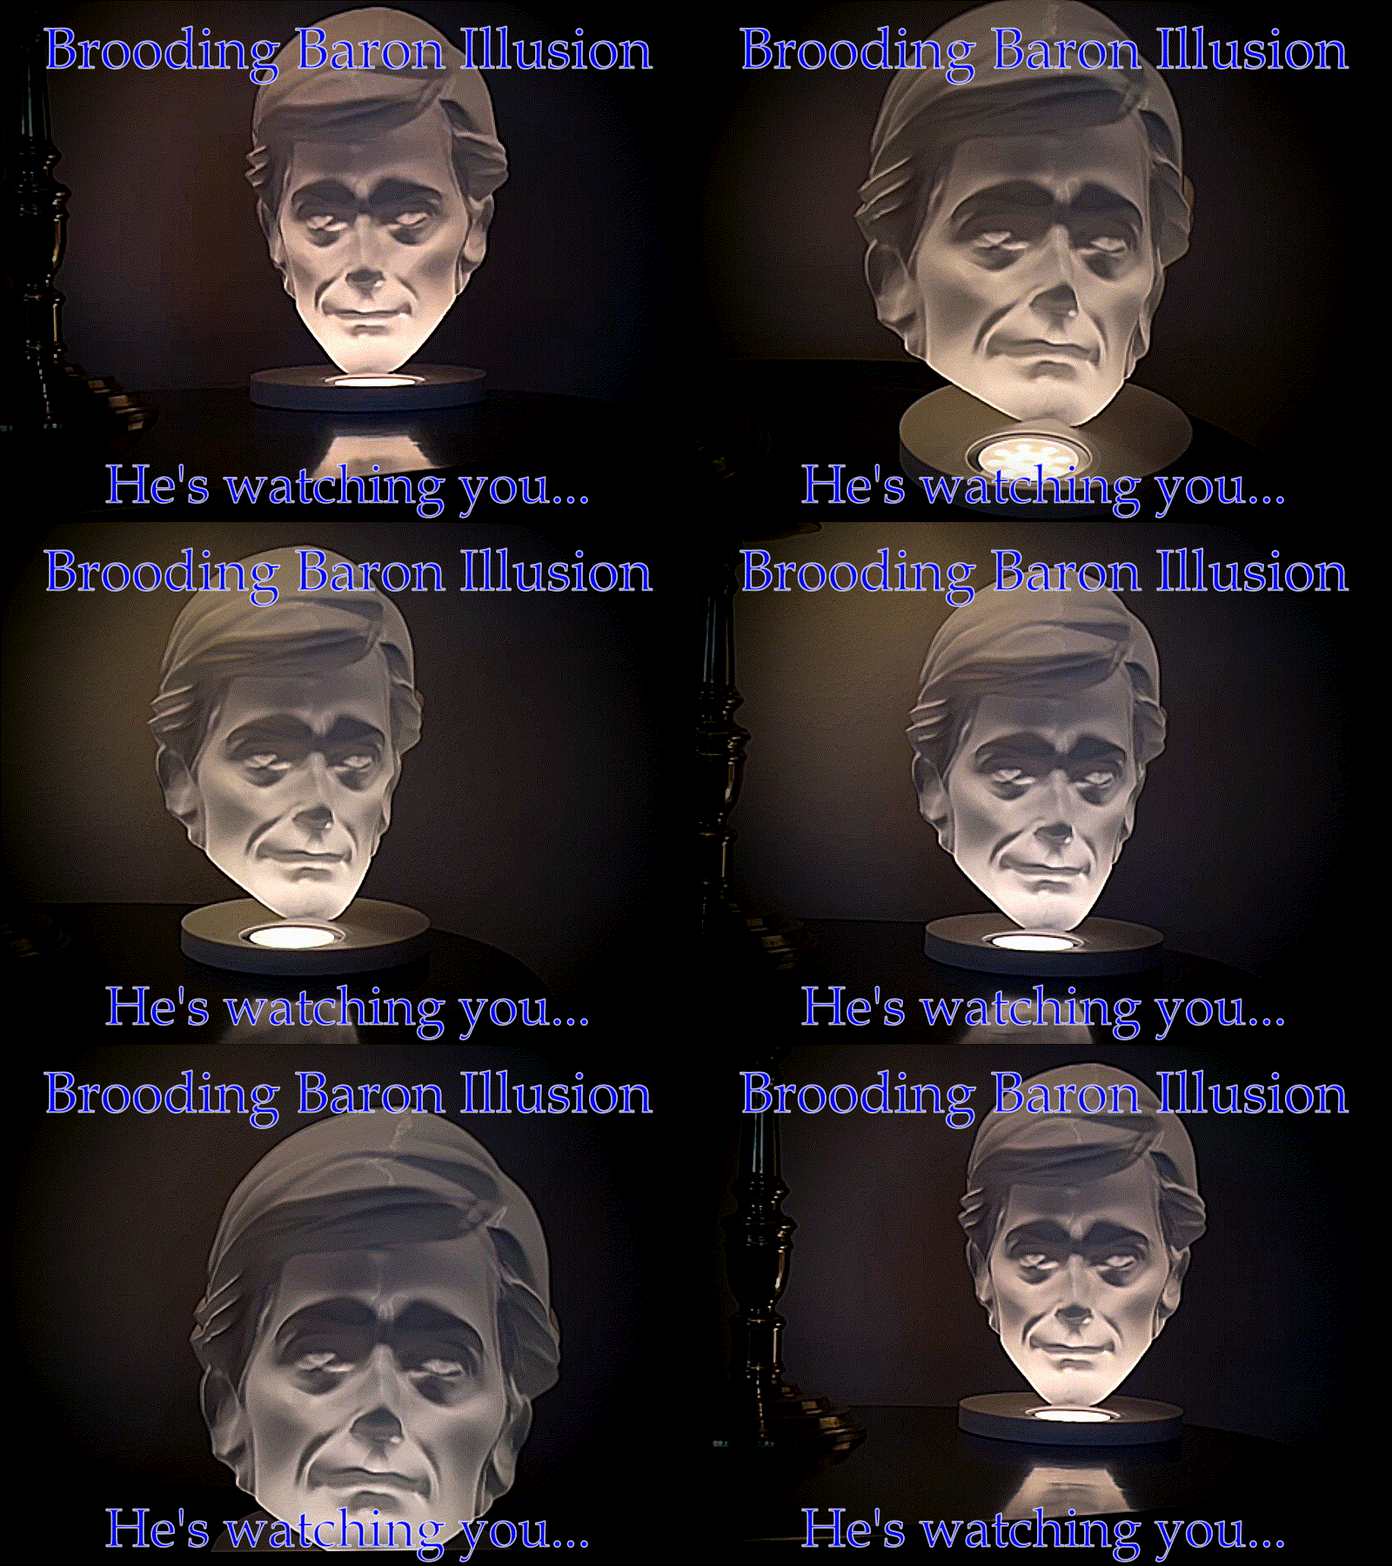 | 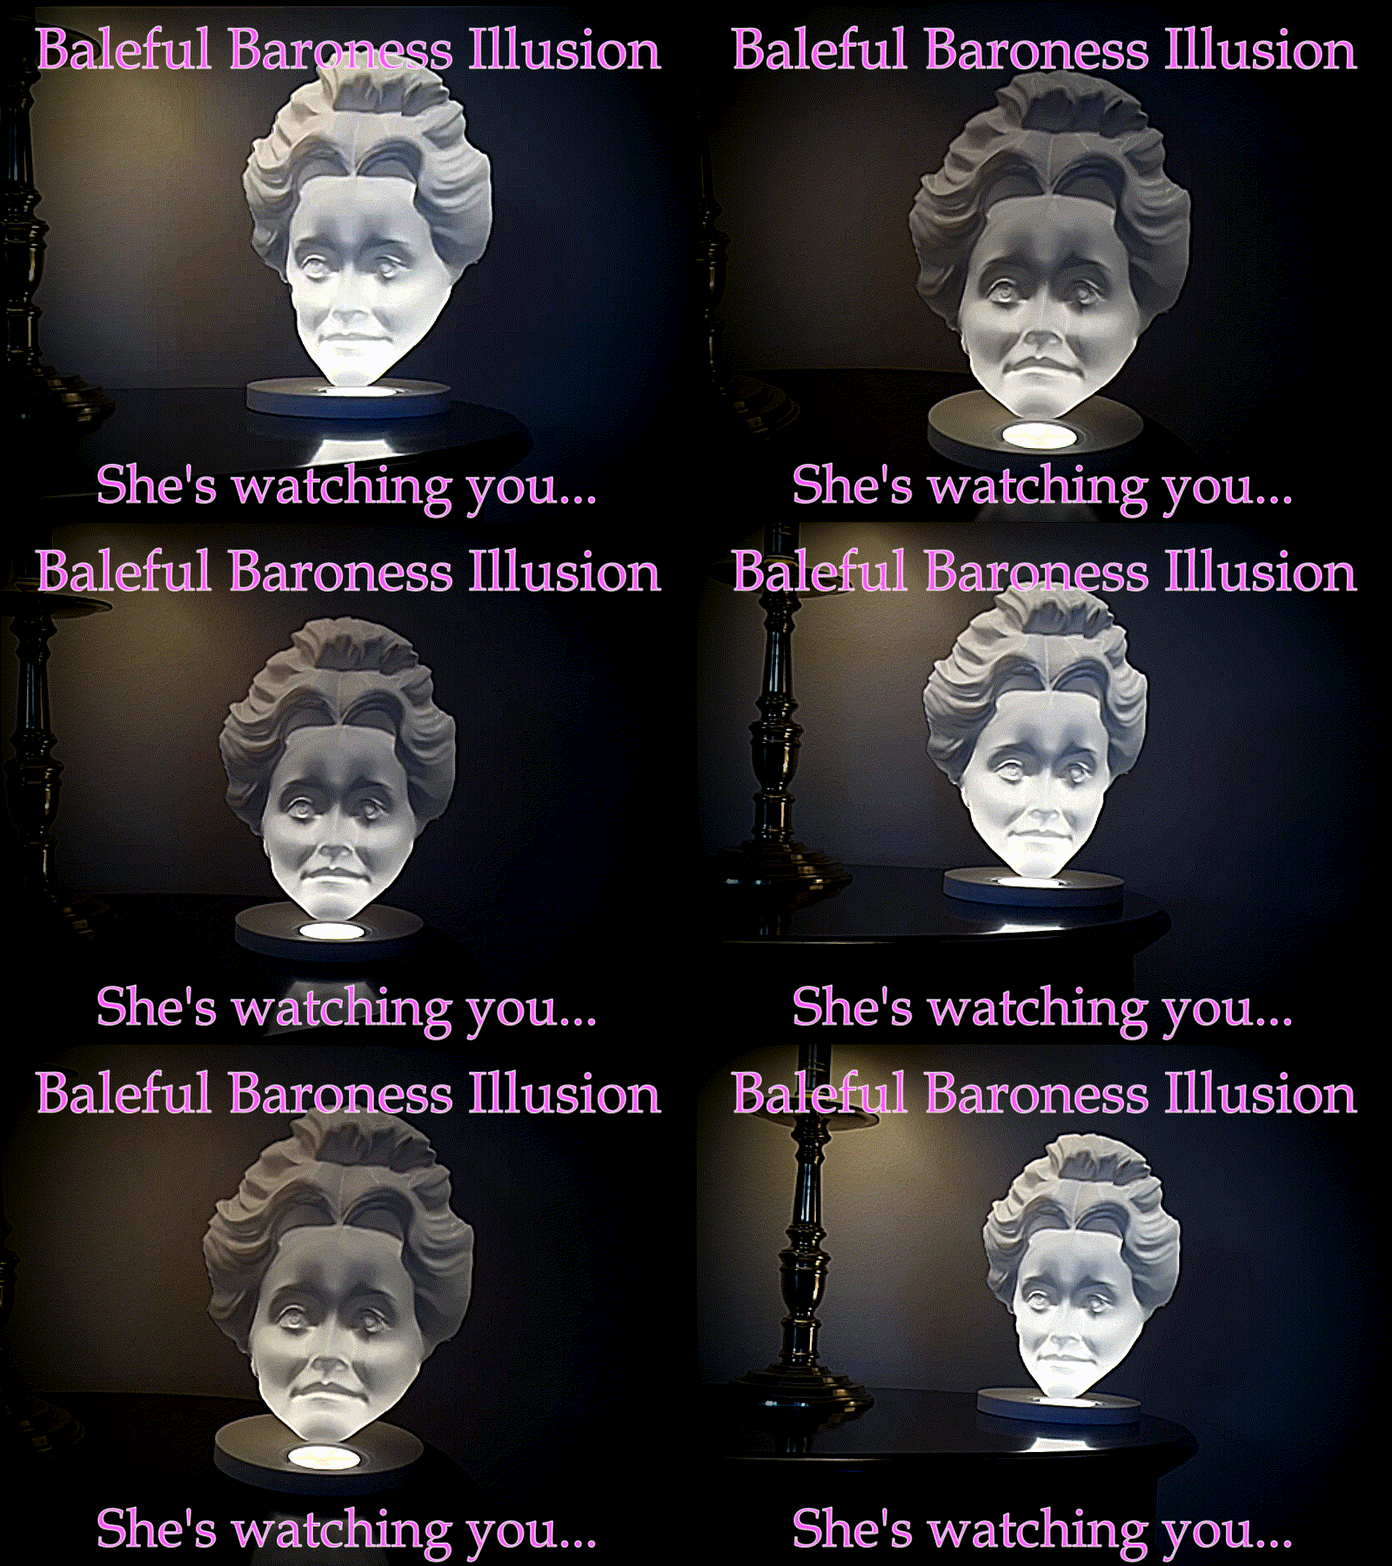 |
These fully stationary illusions use the hollow face effect to create a surprising sense of motion as you walk by. They do not require advanced knowledge to print. Lighting enhances the illusion, but you can improvise with what you already have.
3. Pinhole Tunnel Zoetrope Tops
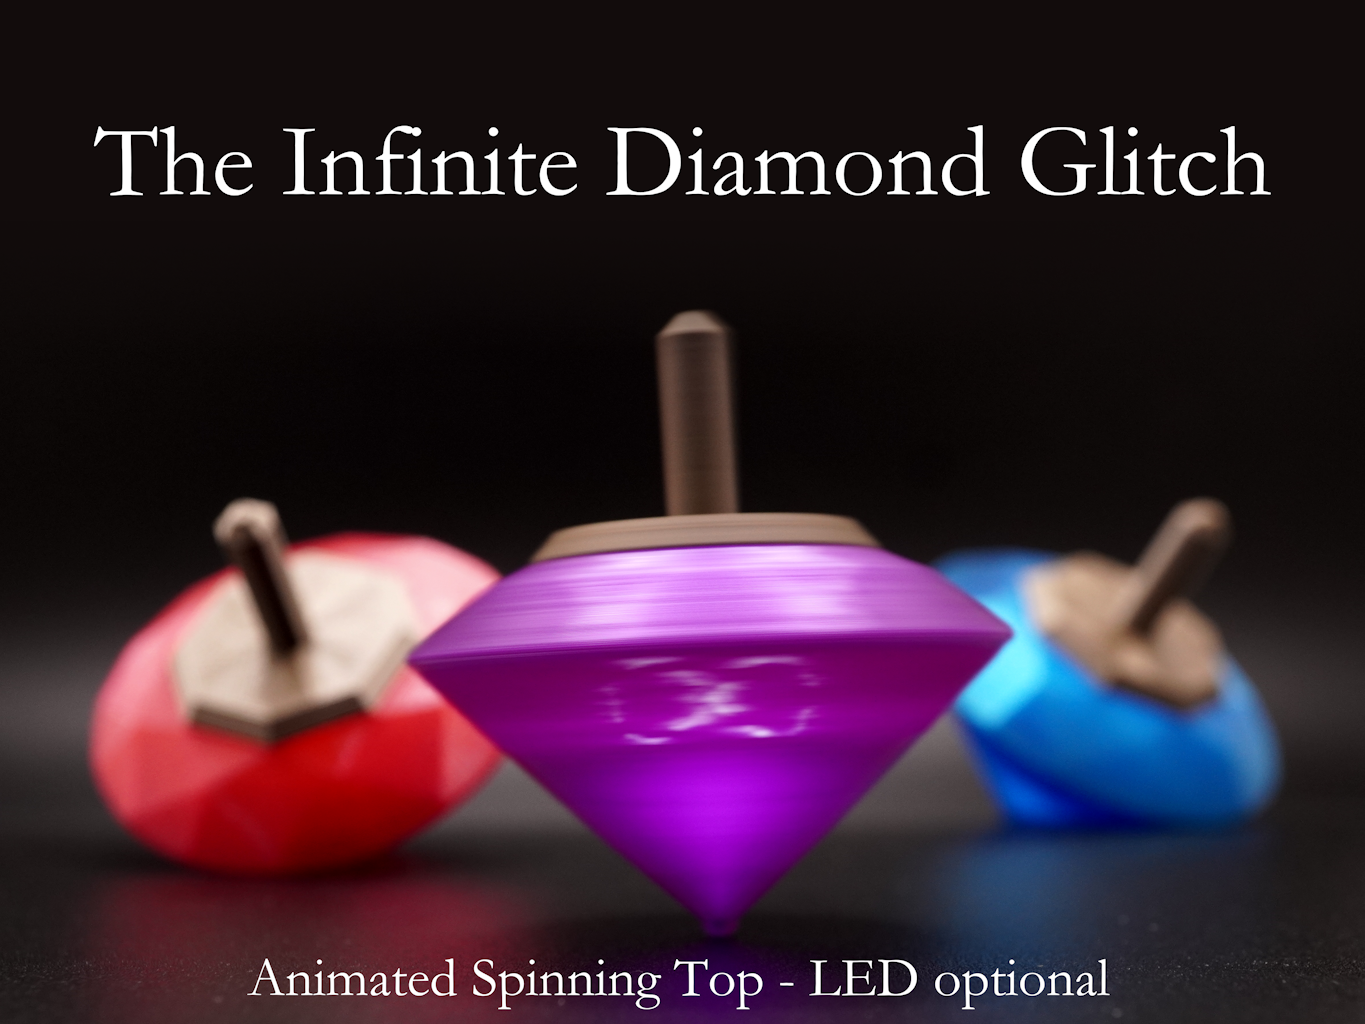 | 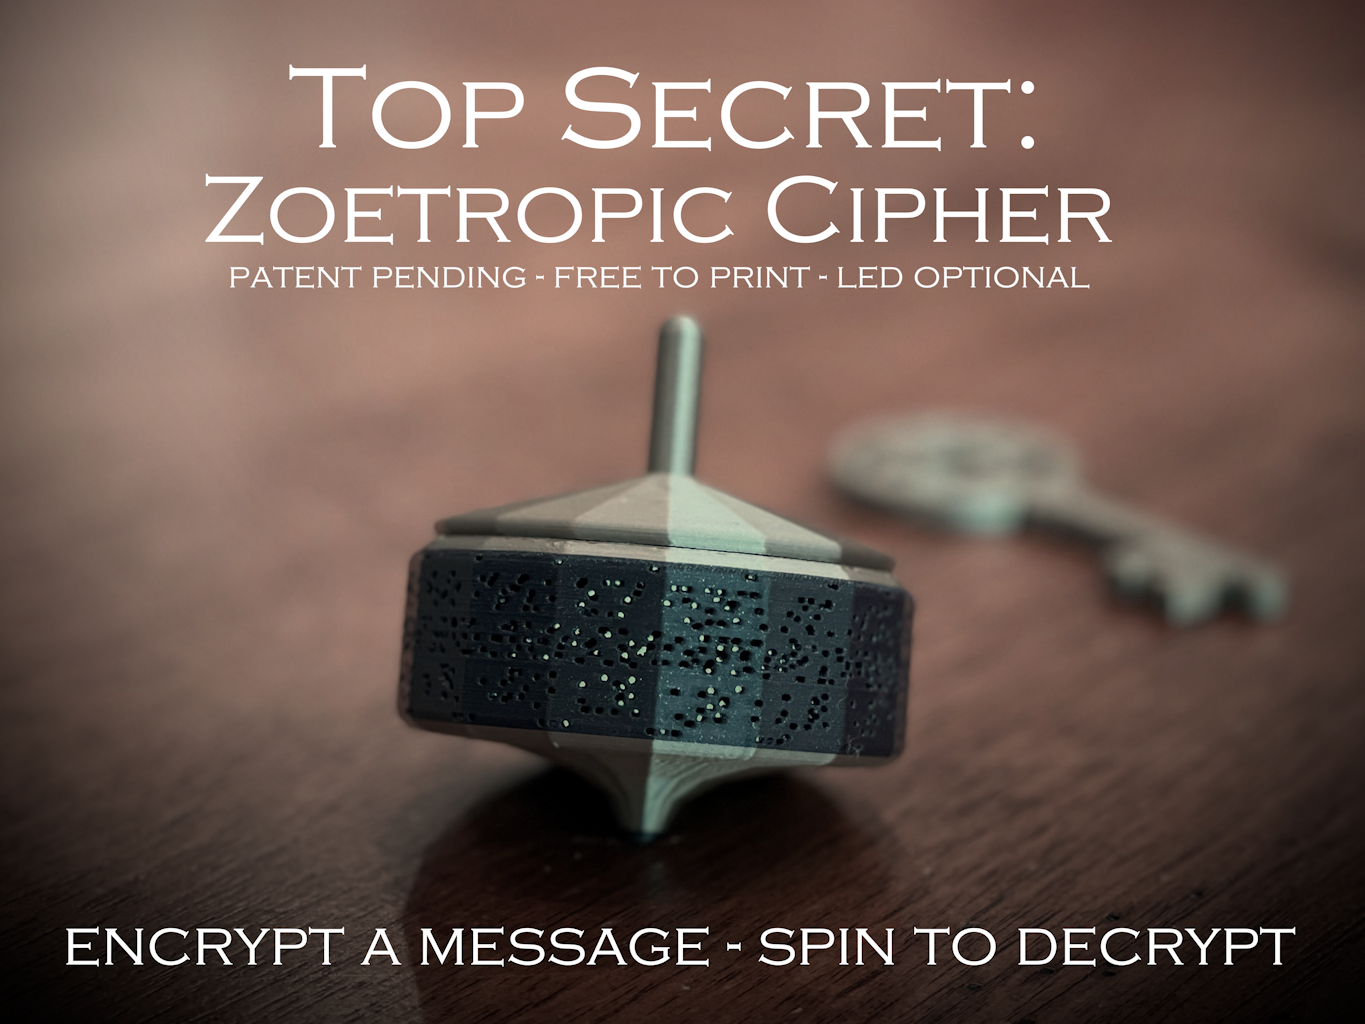 | 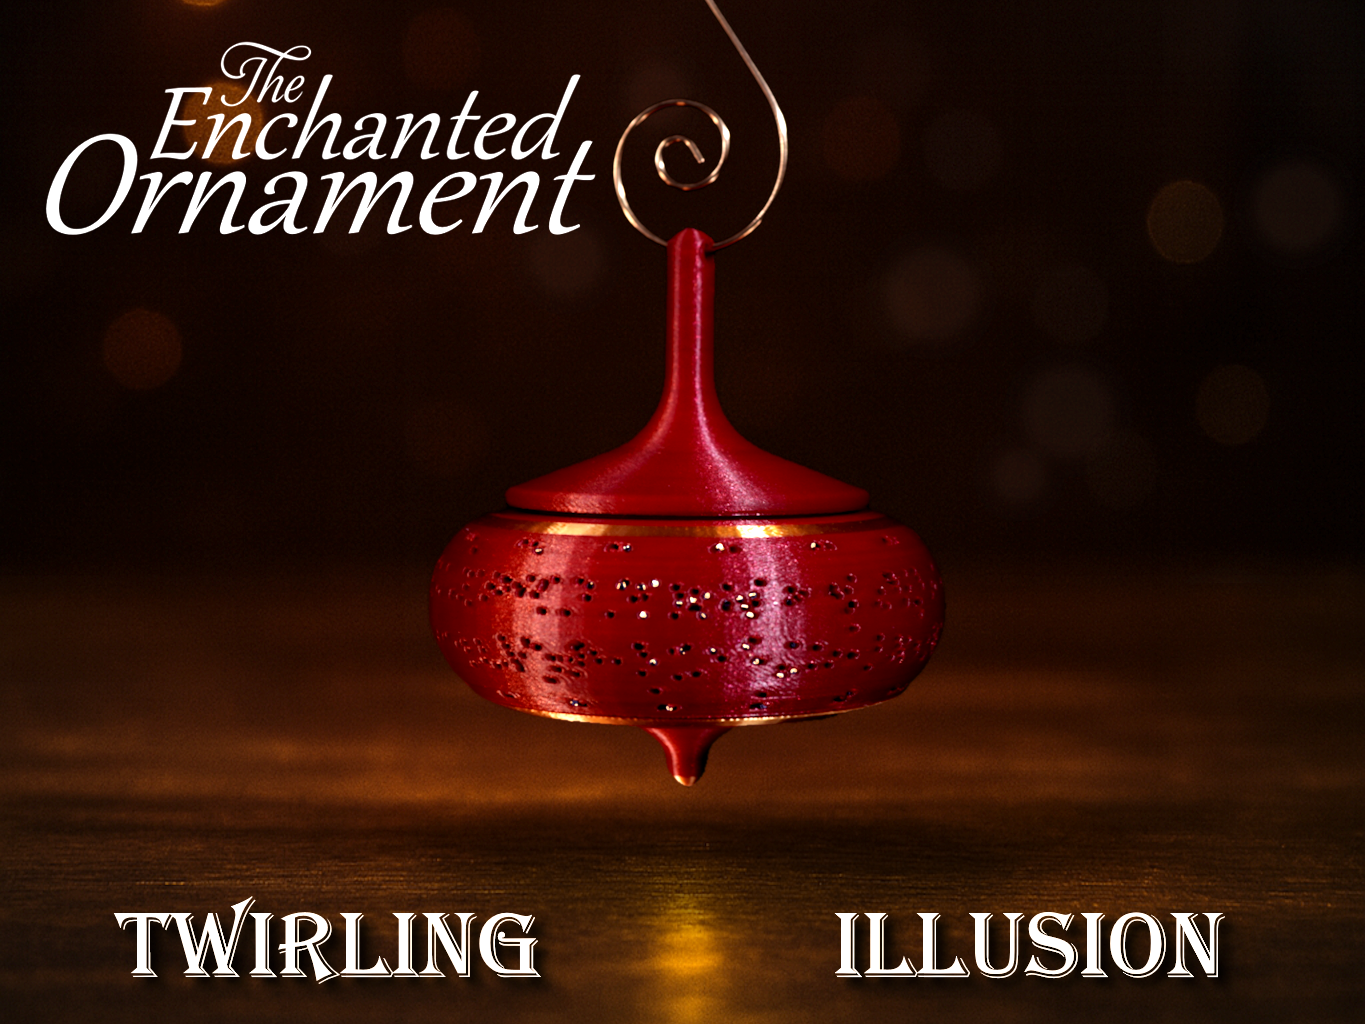 |
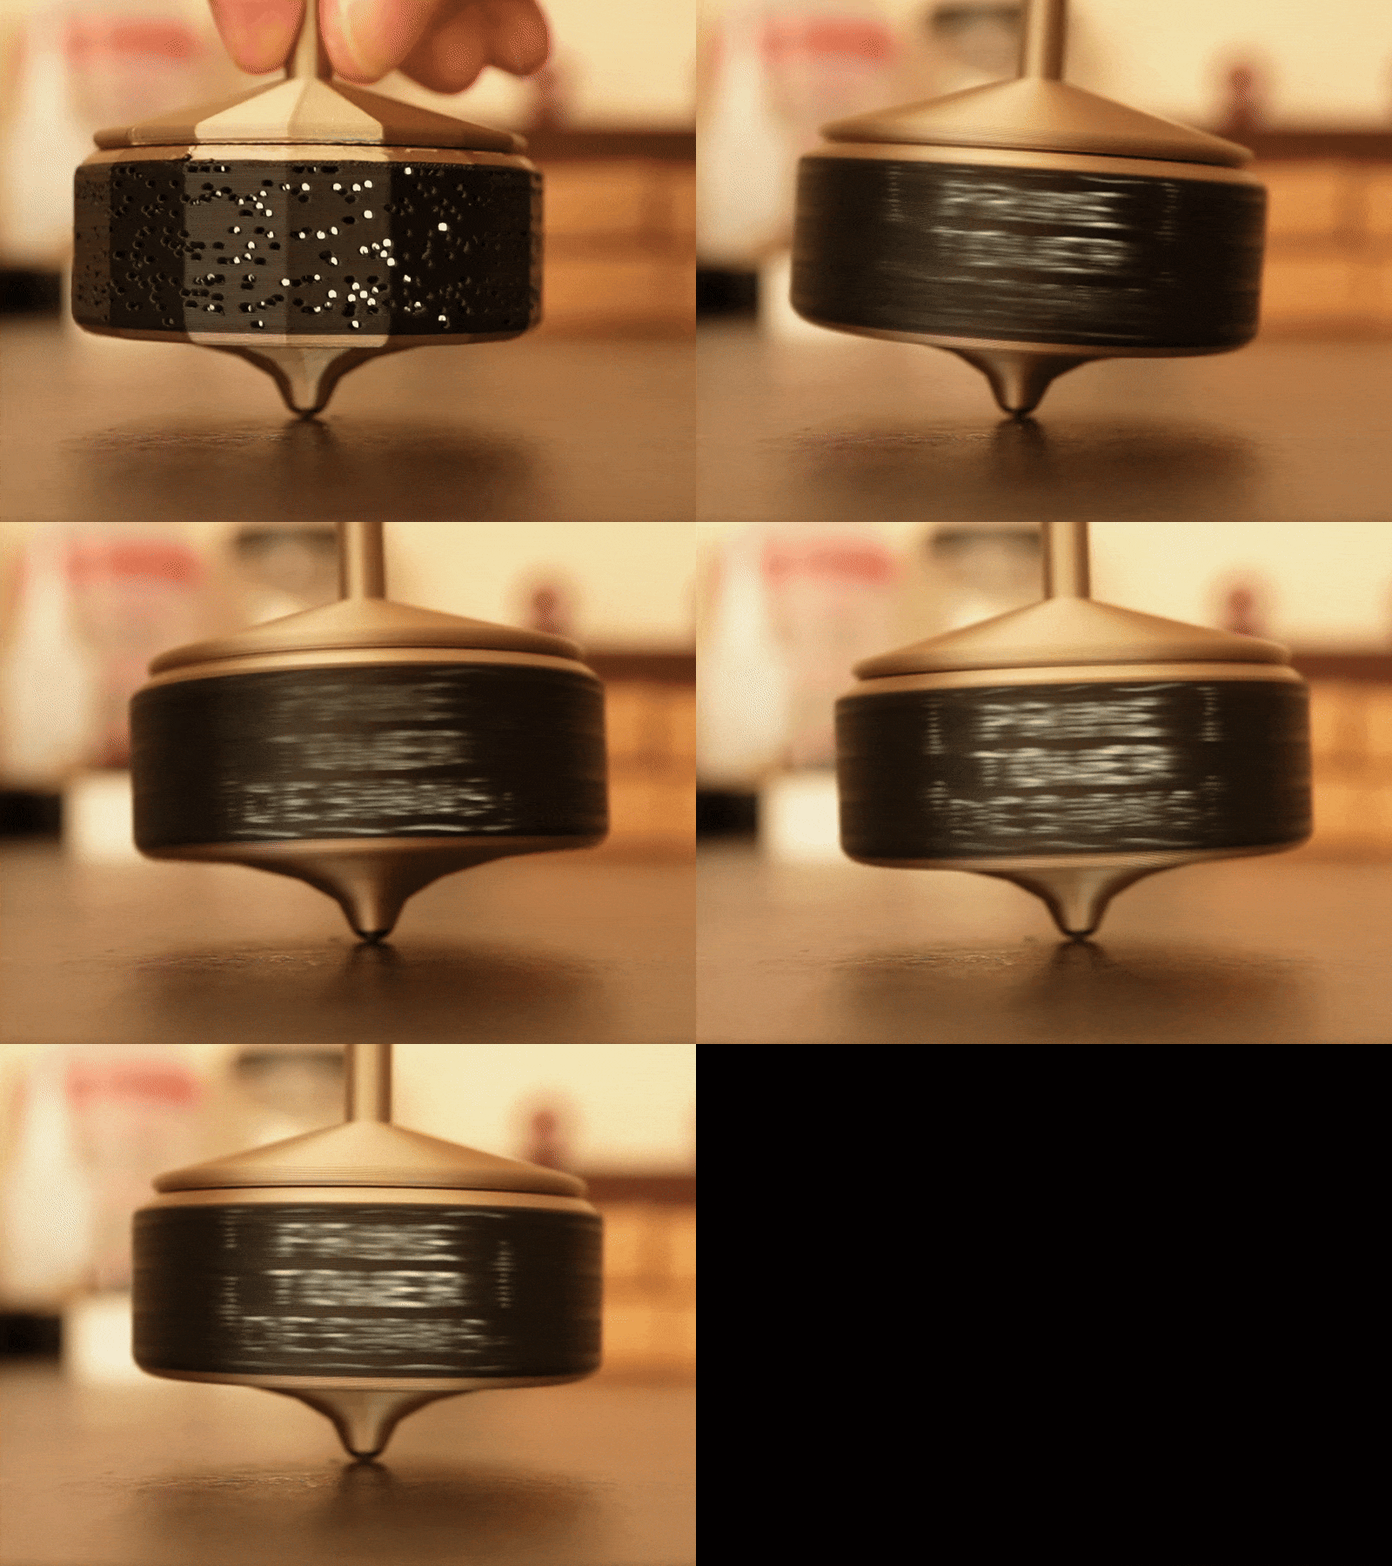
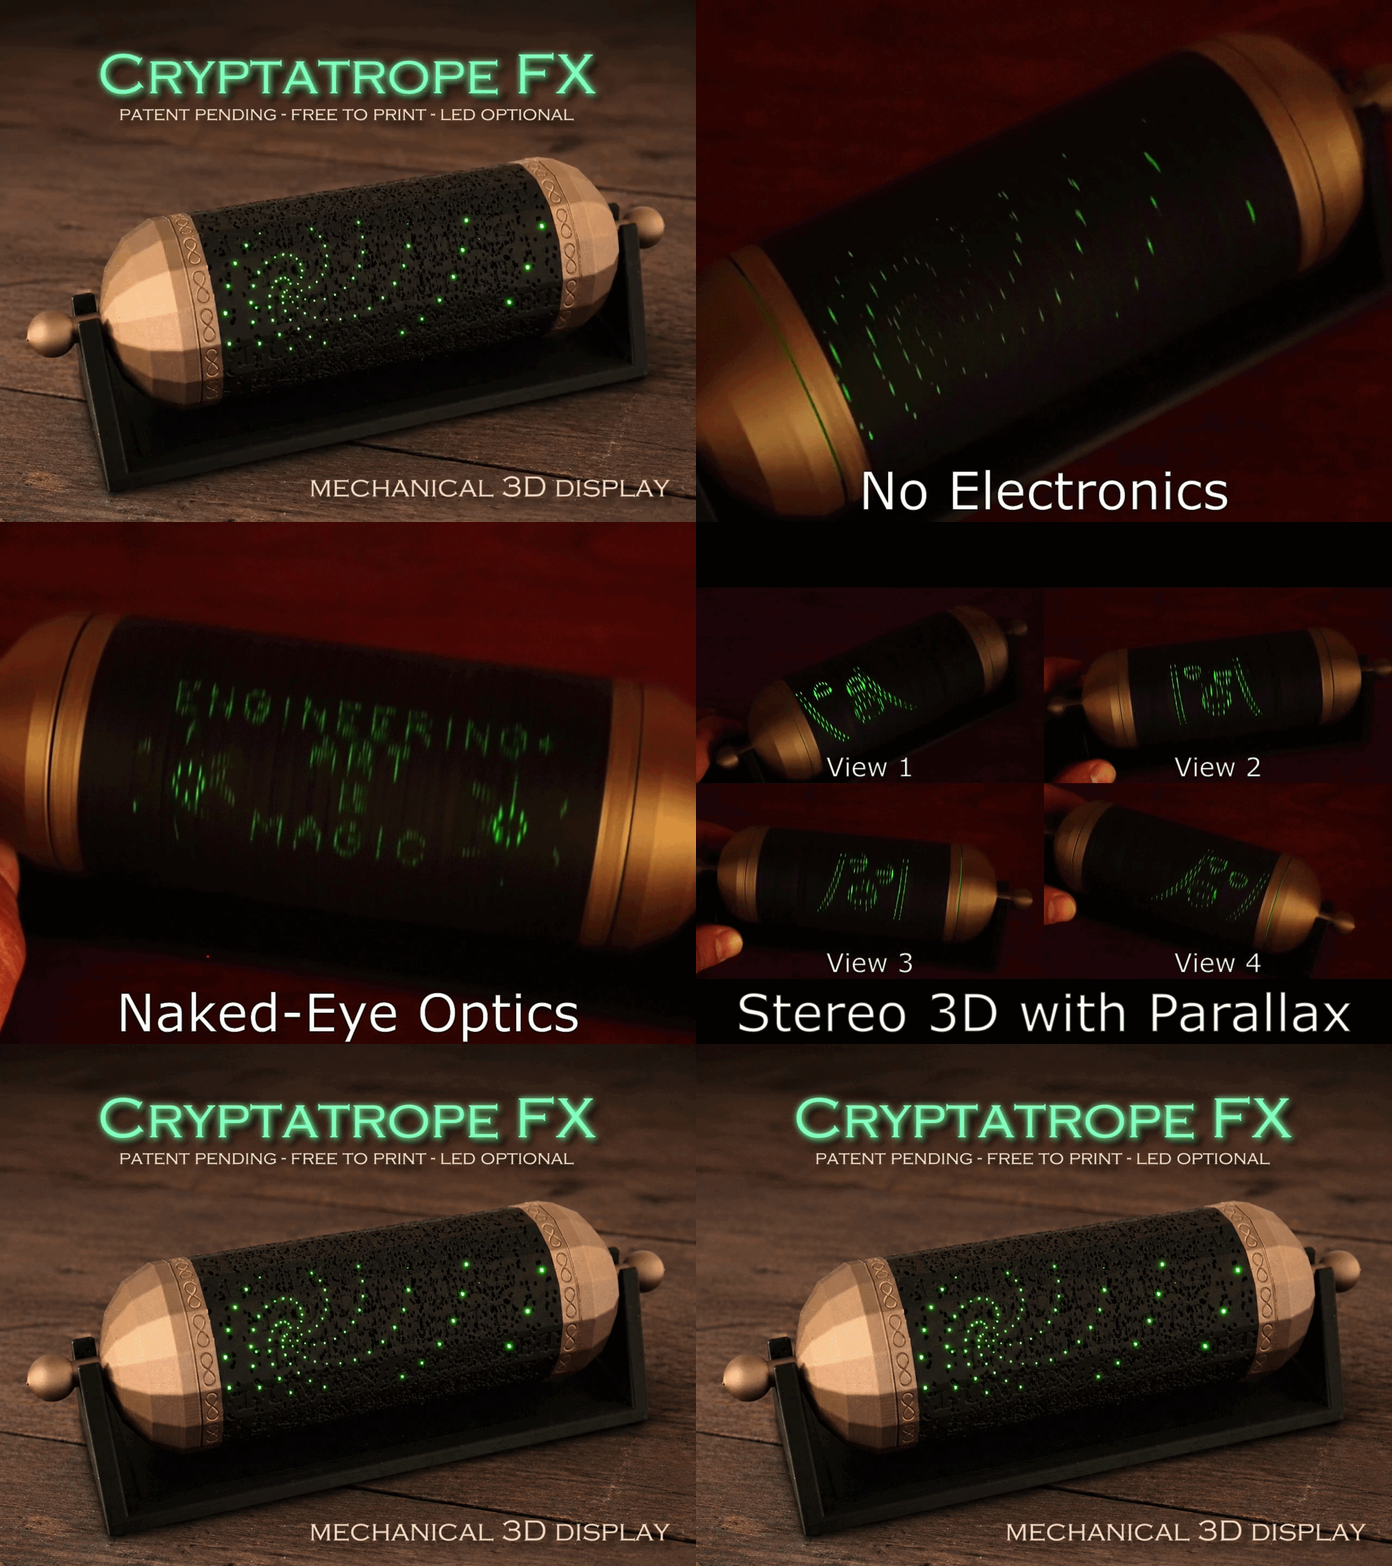
These tops reveal animations or text when spun. They require no non-printed parts (LED is optional) and the latest ones can easily be customized, although you can also print the premade designs. They involve simple assembly and include step by step video tutorials.
|
 |
Advanced Projects from My Portfolio
If you're ready for a bit more of a challenge, check out the following projects.
4. StarCaster: Animated Fidget Spinner
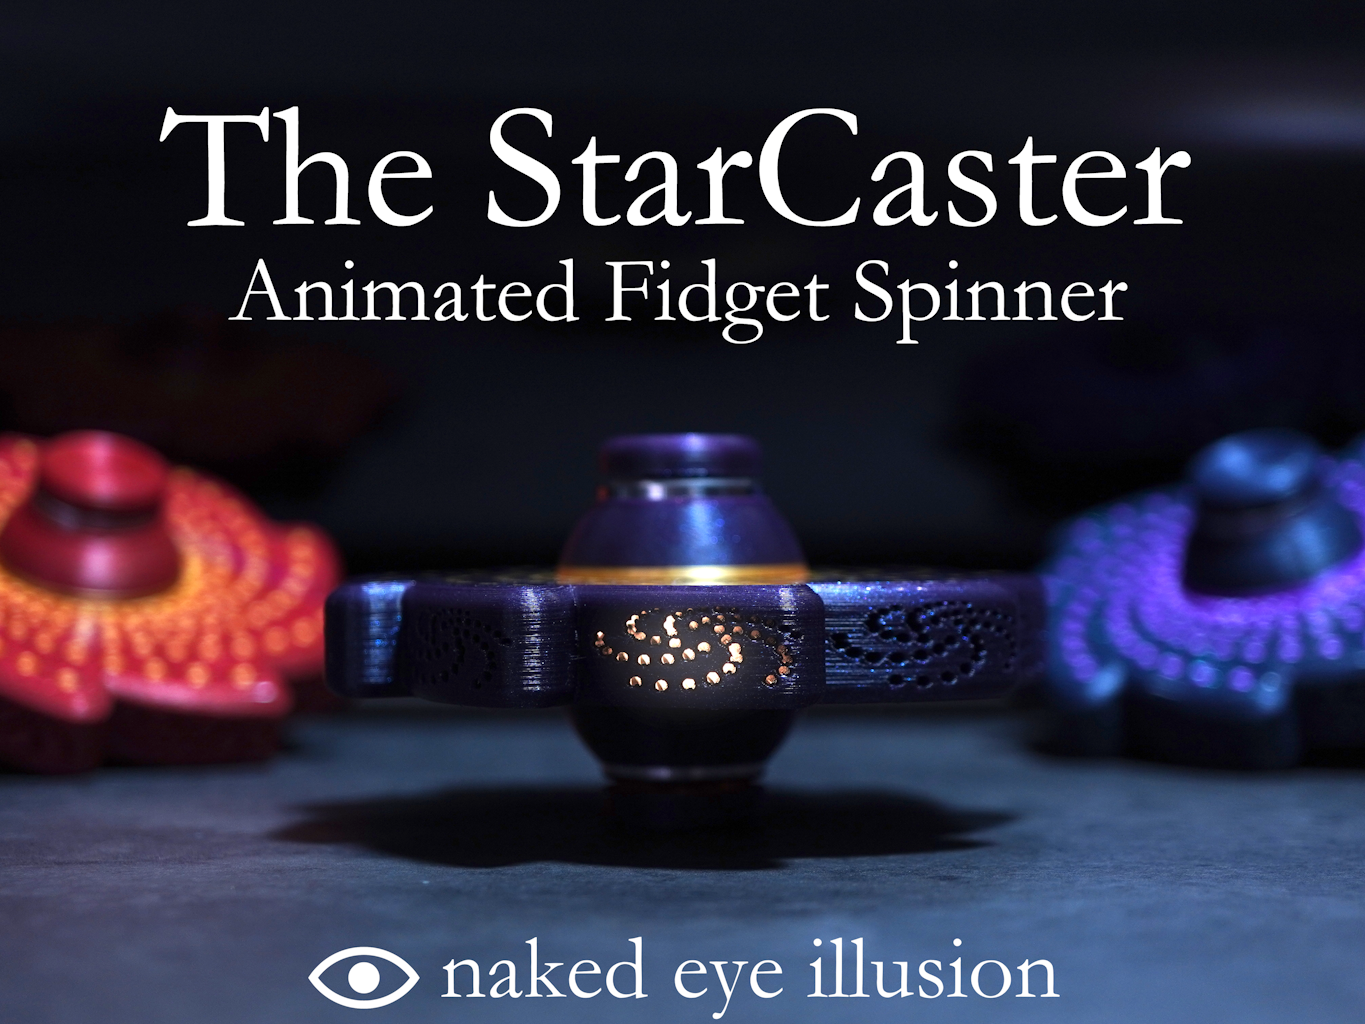
The original pinhole tunnel zoetrope. This one requires metal bearings, making it a bit more effort to assemble but very satisfying to use.
5. Magnetic Balancers
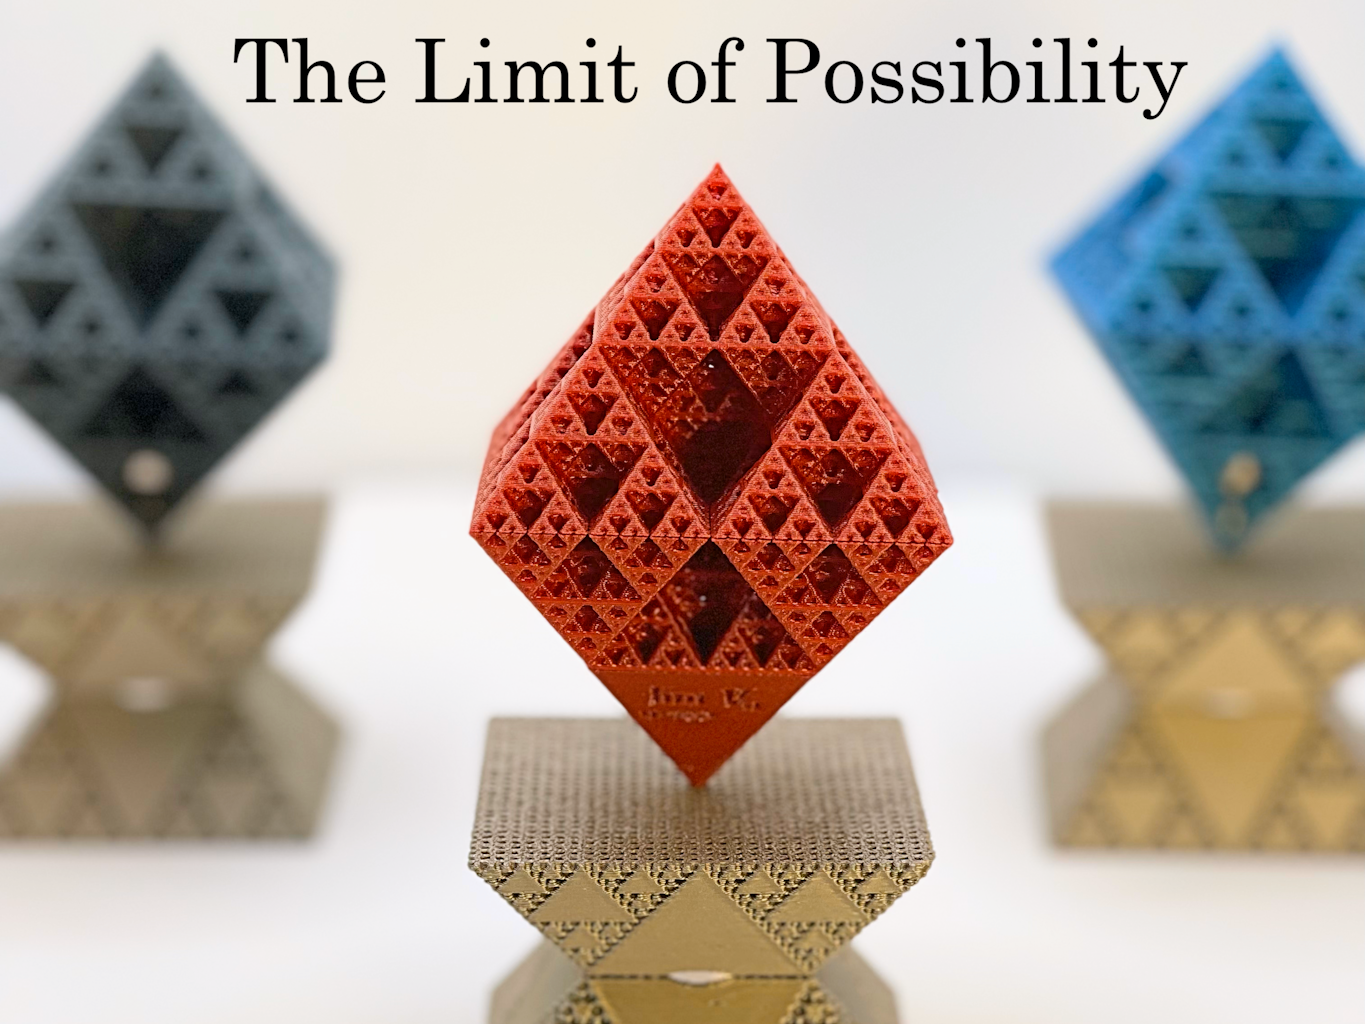 | 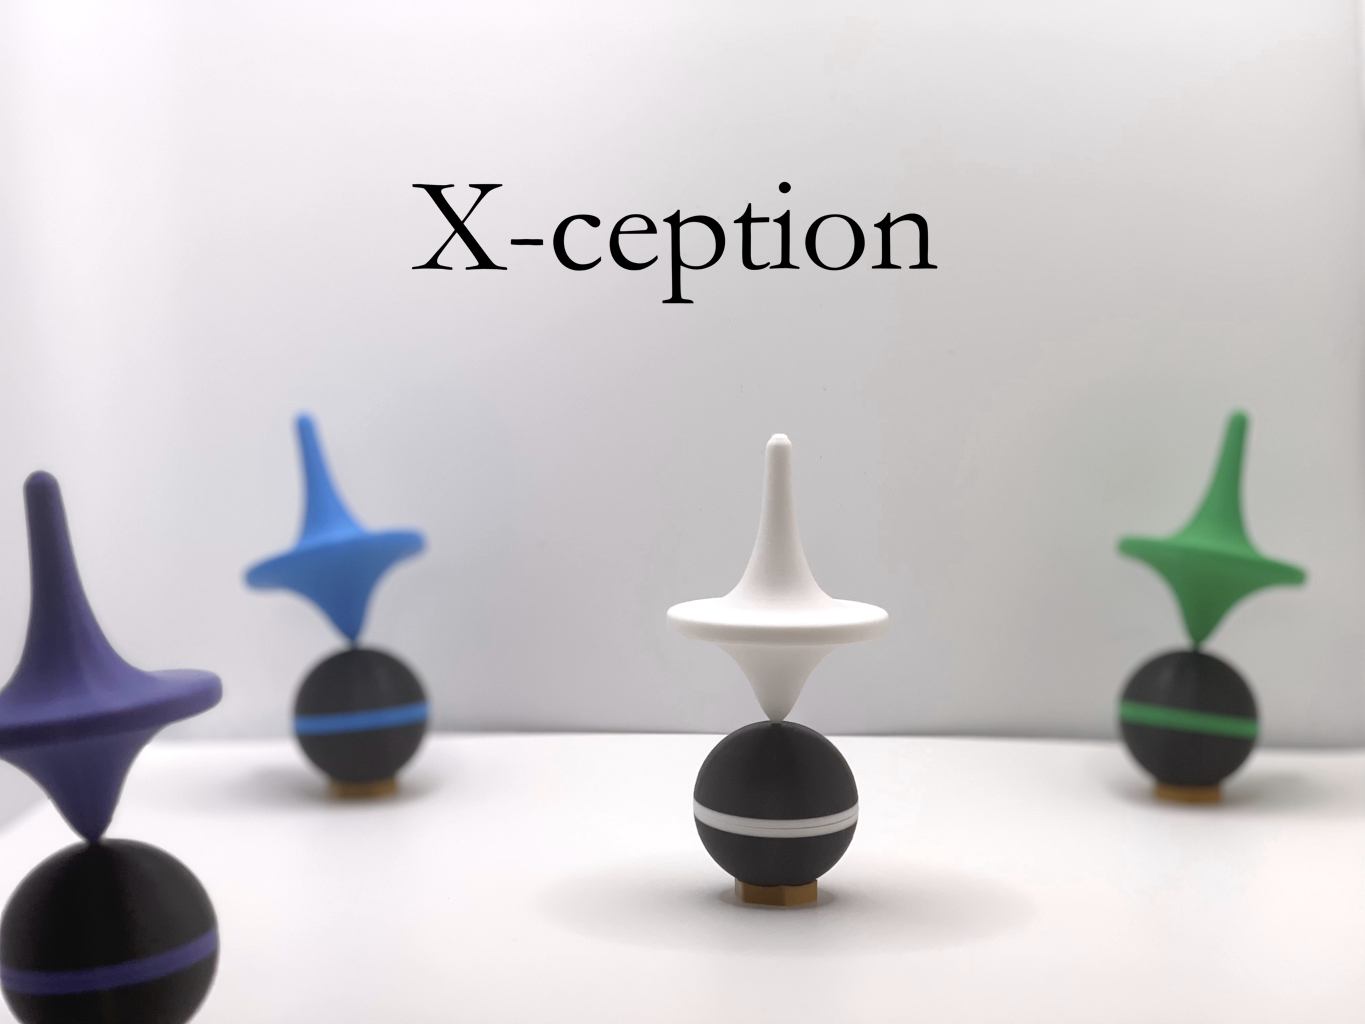 | 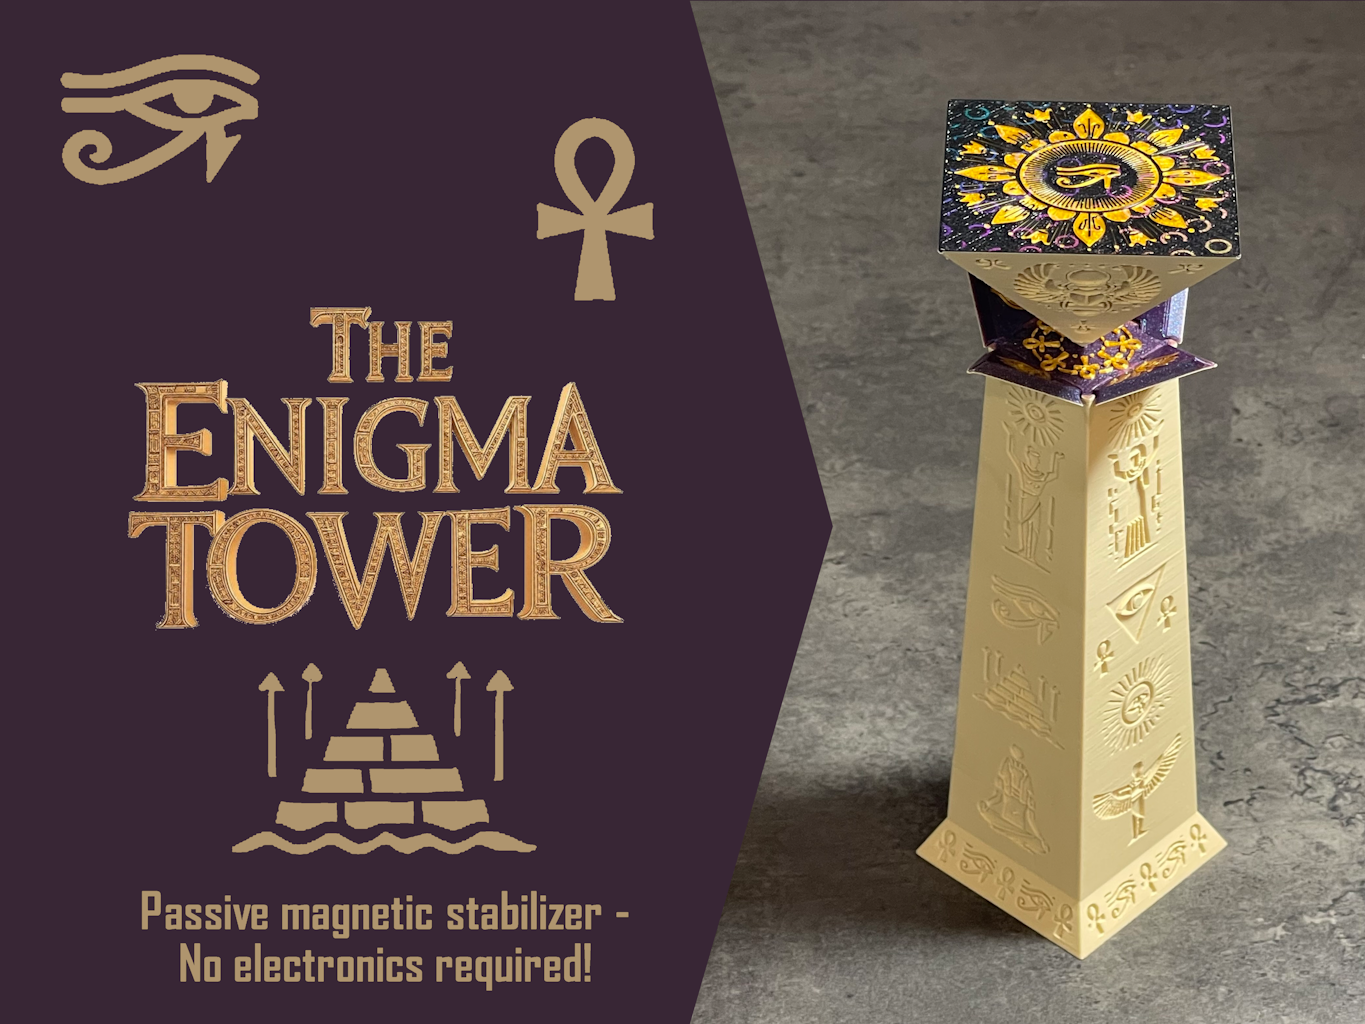 |
These pieces use passive magnetic stabilization to create seemingly impossible balance. Please be aware that they contain strong magnets and are not designed for young children to use.
6. Card Decks
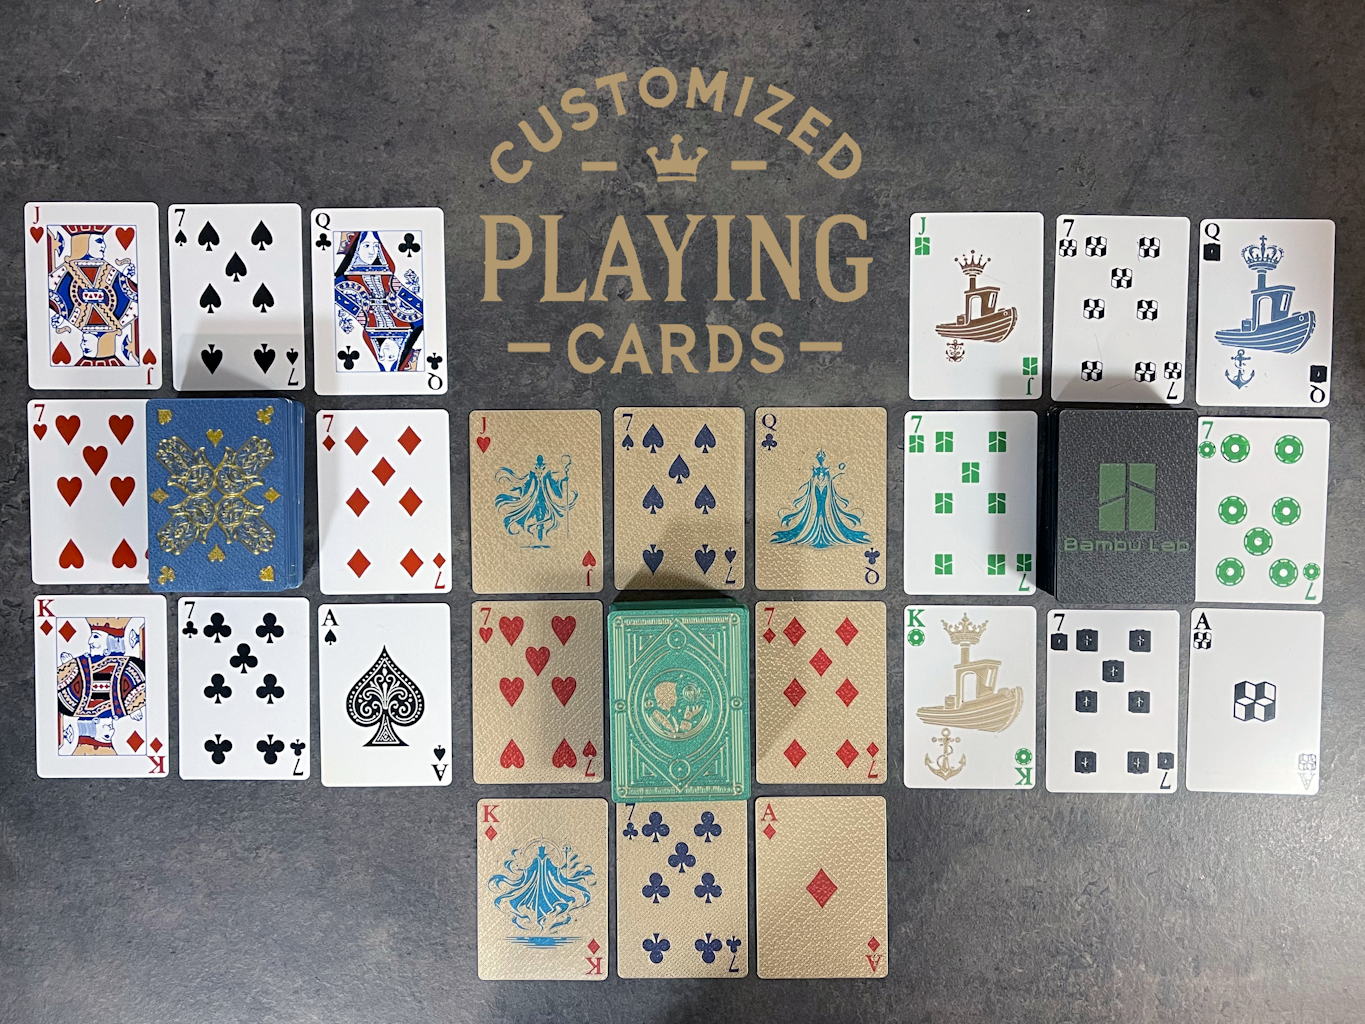 | 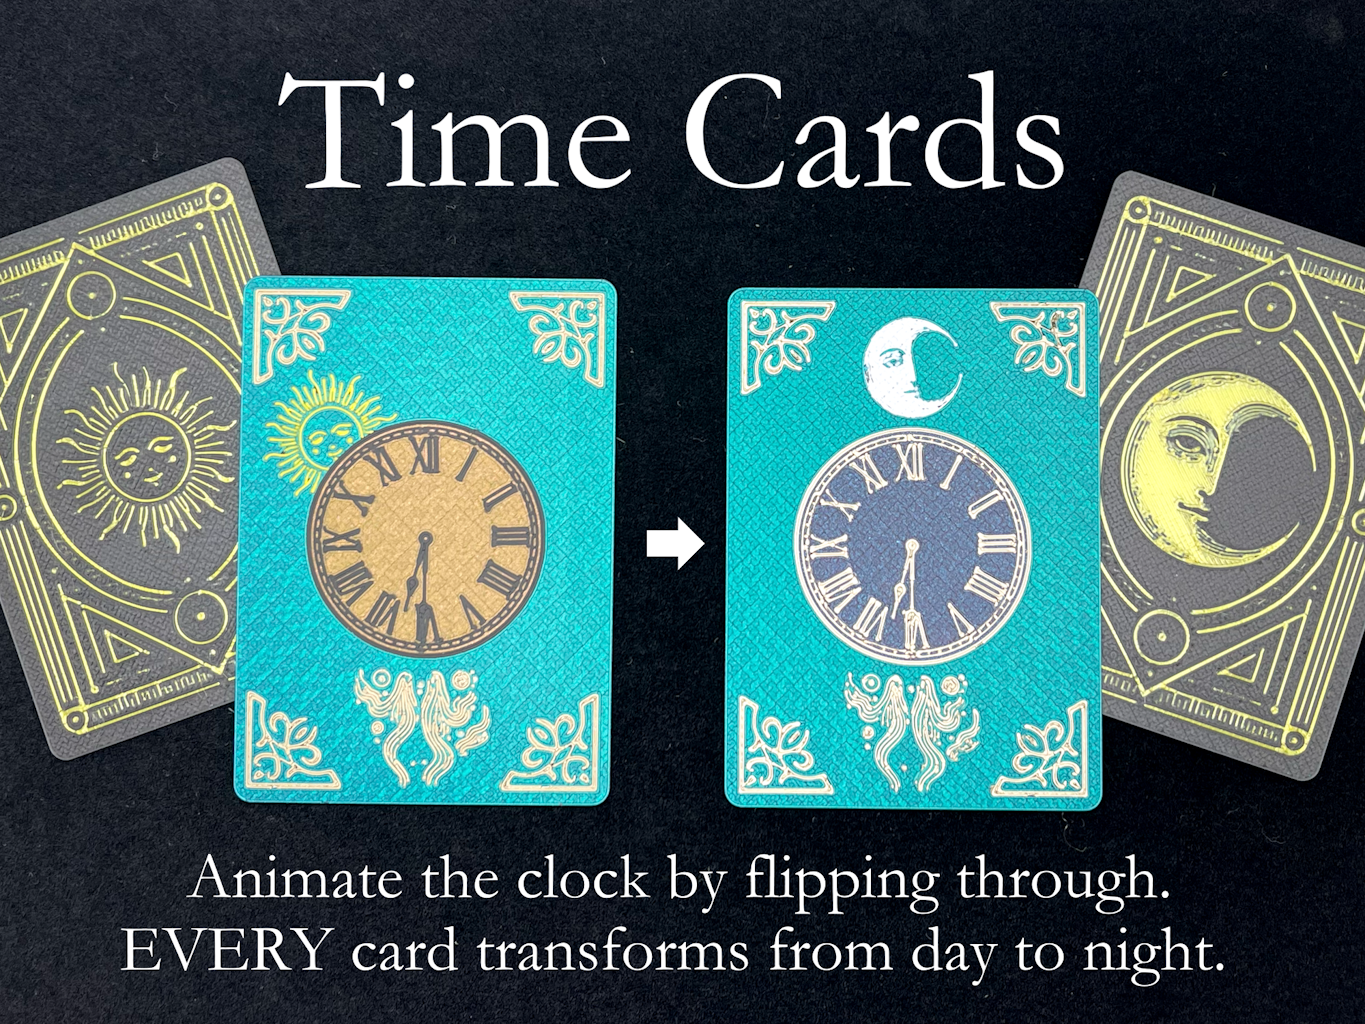 |
Perhaps not super practical to 3D print a 2D object, but with the right filaments and build plate (the surface on which you print) you can end up with a pretty cool result. The customizable card deck is published as an OpenSCAD script plus a few sample concept decks. It requires more experience to customize than my other models, but if you're motivated, you can theme the deck to your liking. This script was a stepping stone to Time Cards, a magic trick that takes practice to perform.
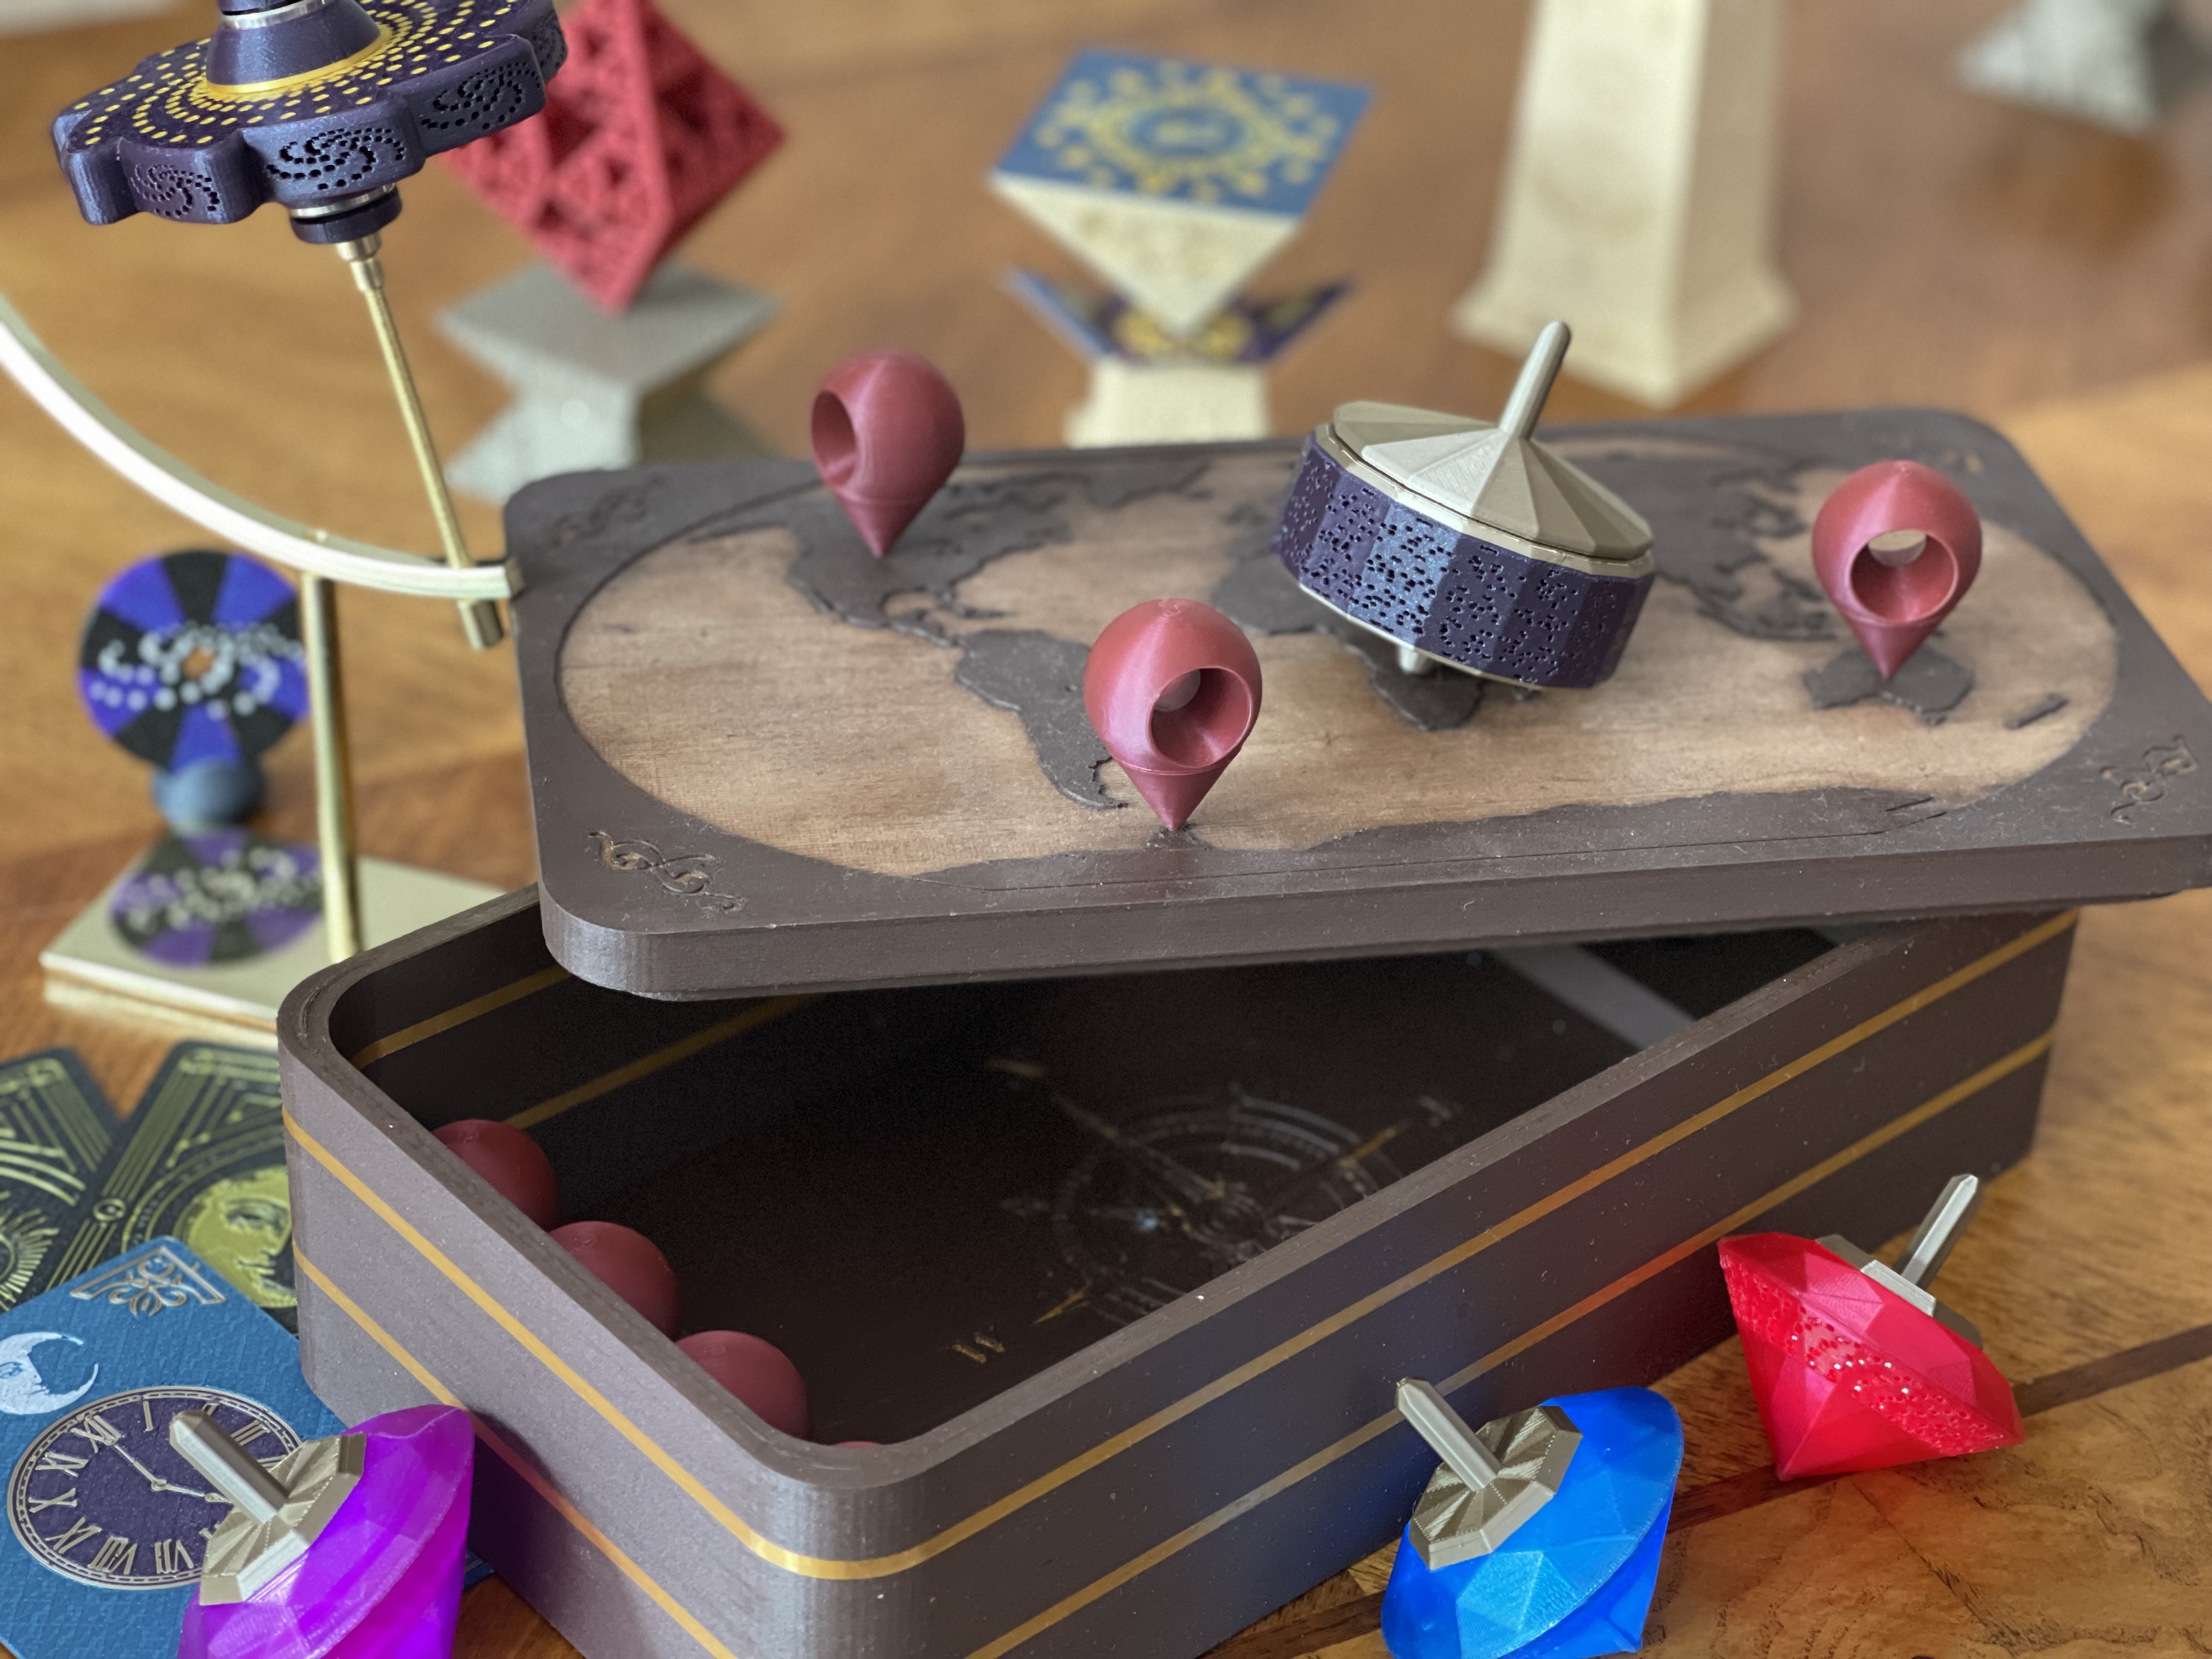
You can also explore my full portfolio.
When You Are Ready to Create Your Own Designs
As you explore different projects, you will naturally pick up the fundamentals of how shapes fit together, how parts move, and how tolerances work in the real world. Many of my designs introduce concepts beyond passive printing, so you will learn along the way even if you are simply following the instructions.
When you feel ready to try creating something of your own, choose a design tool that matches how you already think. If you enjoy programming, OpenSCAD might be a great fit. If you like the idea of digitally molding a sculpture, try Blender. If you are engineering-oriented, Fusion 360 is excellent. And if you are completely new to design, TinkerCAD is a friendly place to start. All of these are either free or have versions that are free for personal use.
You do not need to learn everything at once. Just take the next step that feels approachable and let your curiosity guide you. I certainly did not have a grand plan when I began. I just followed the parts of the hobby I loved, and before long I found my own voice as a designer.

Where to Find Me
If you try one of my designs, I would love to see what you create. You can follow or contact me on MakerWorld, YouTube or X (Twitter).
Thank you for reading. 3D printing has become an unexpected creative passion for me. I hope this guide helps you get started on your own path.