
Magic Ornament (STEM maker project)
Print Profile(9)


Bill of Materials





Description
Engineering + Art = Magic primetowerdesigns.com | ||
 Beginner's Guide | 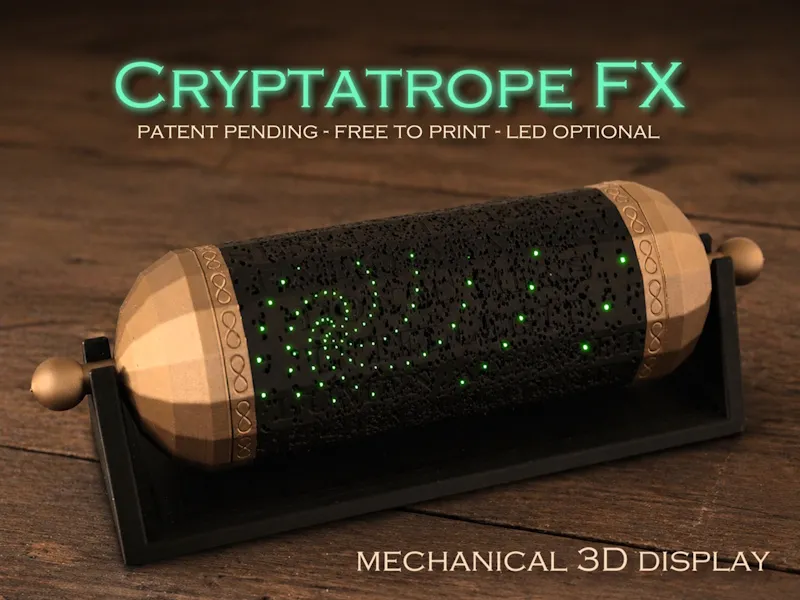 The Next Dimension | 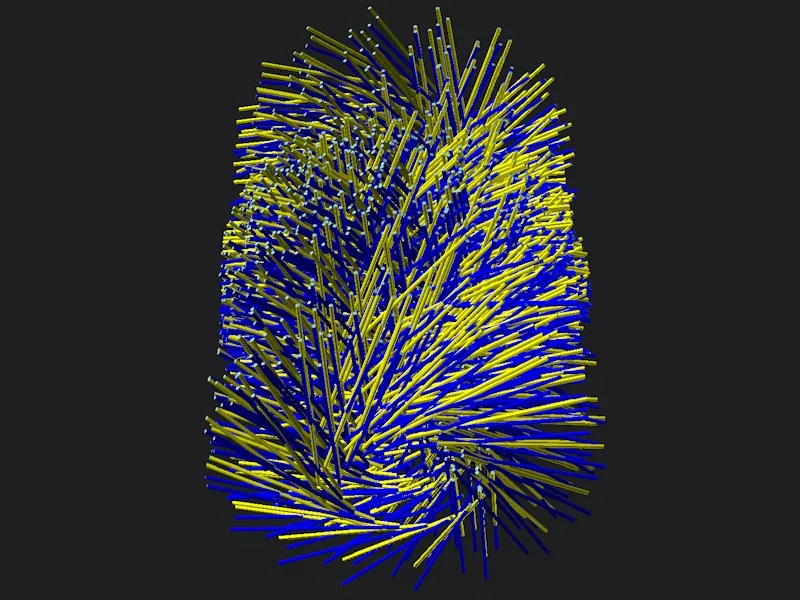 How It's Made |
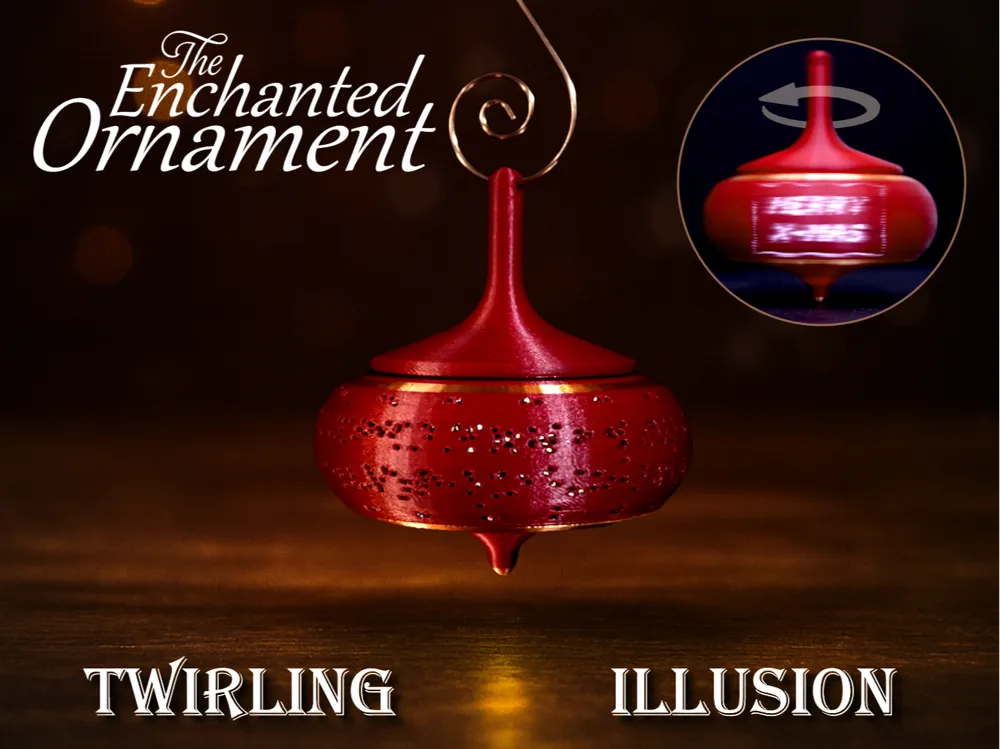
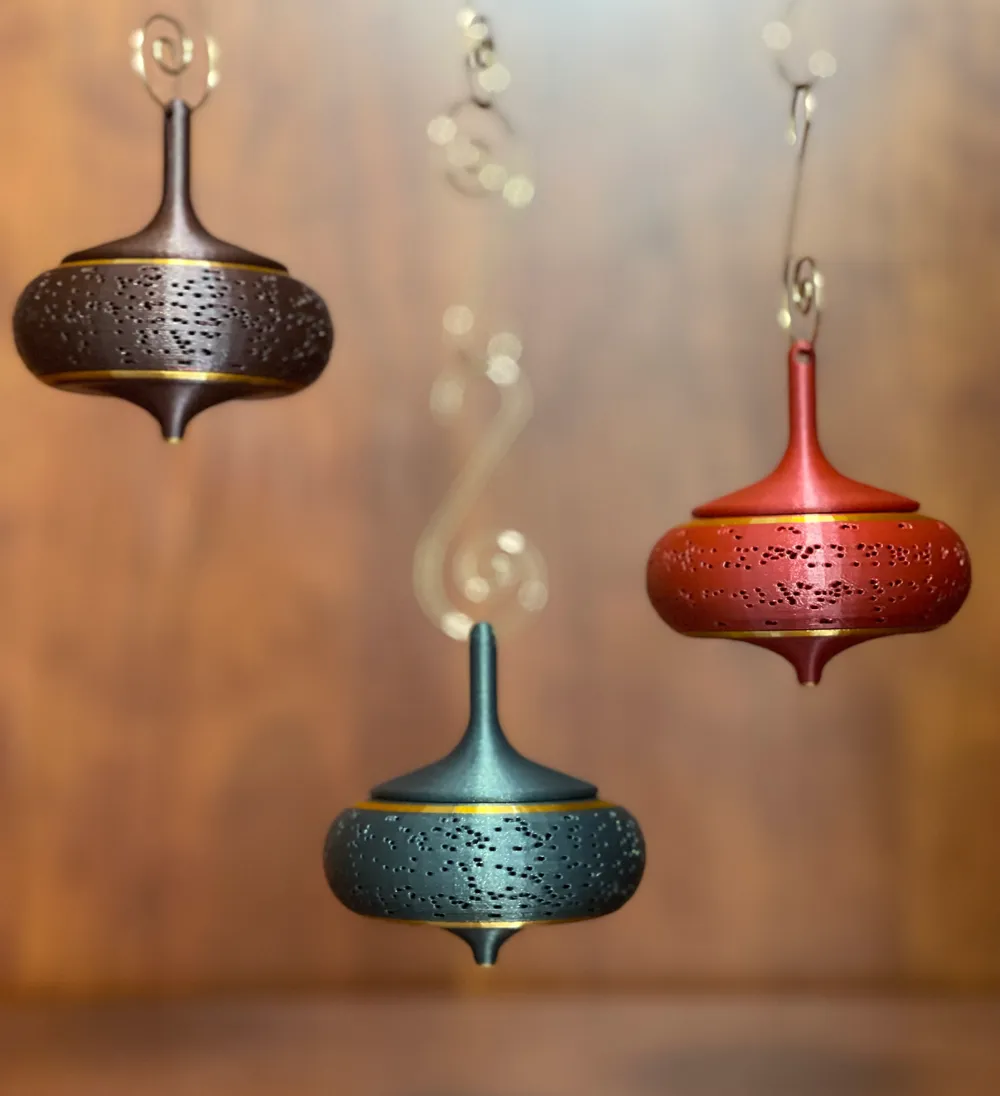
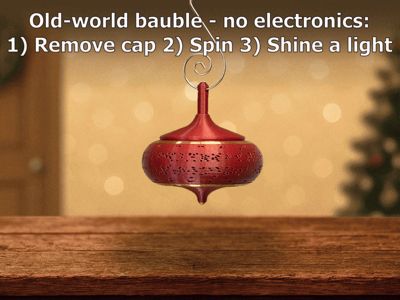

This Christmas bauble's enchanting reveal does not require non-printed parts.
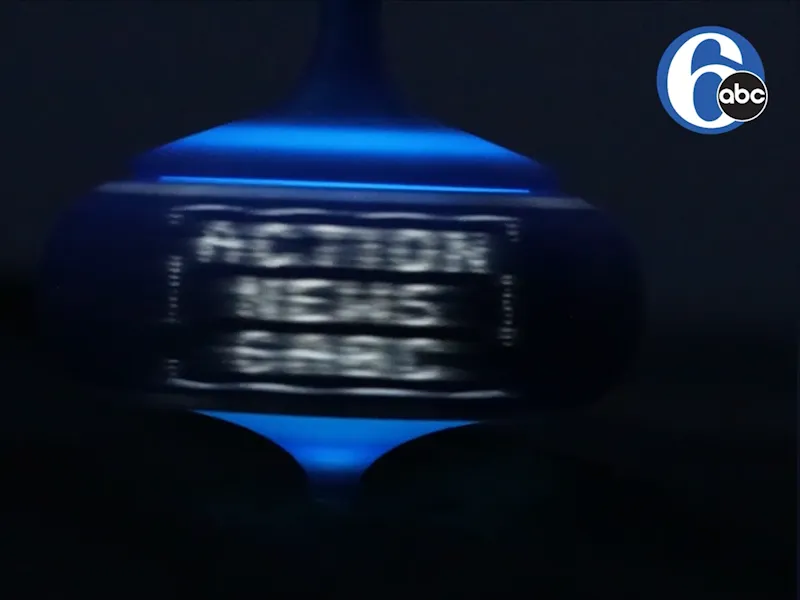


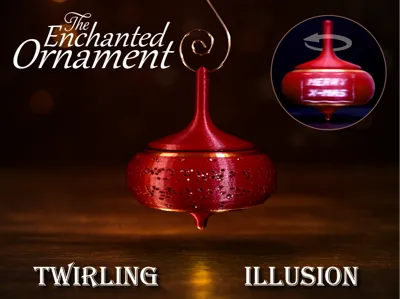
Cover and demo visuals use real photos and videos of the actual ornament.

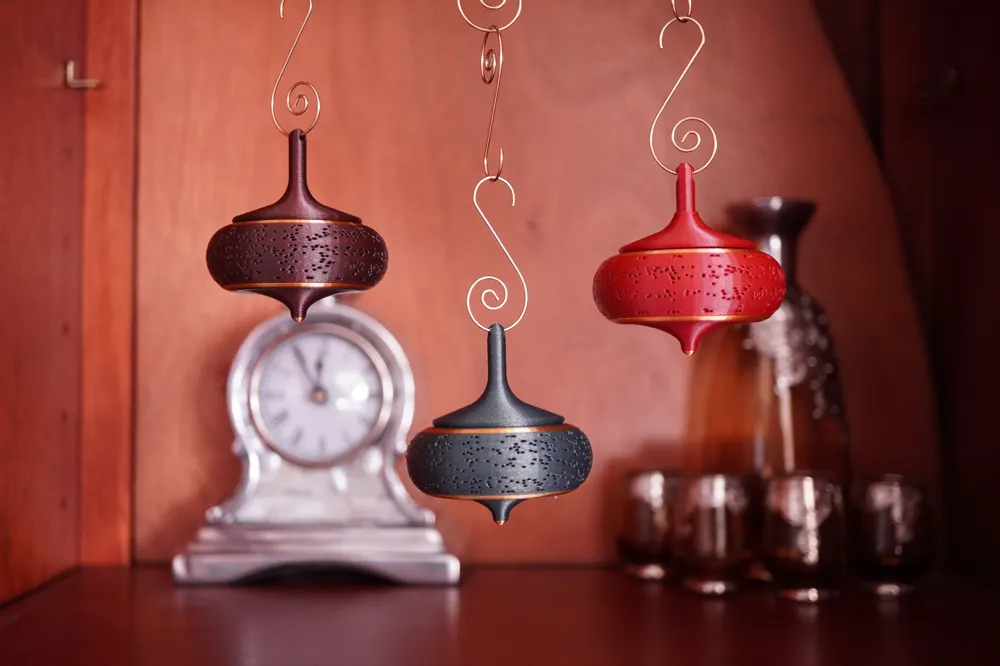
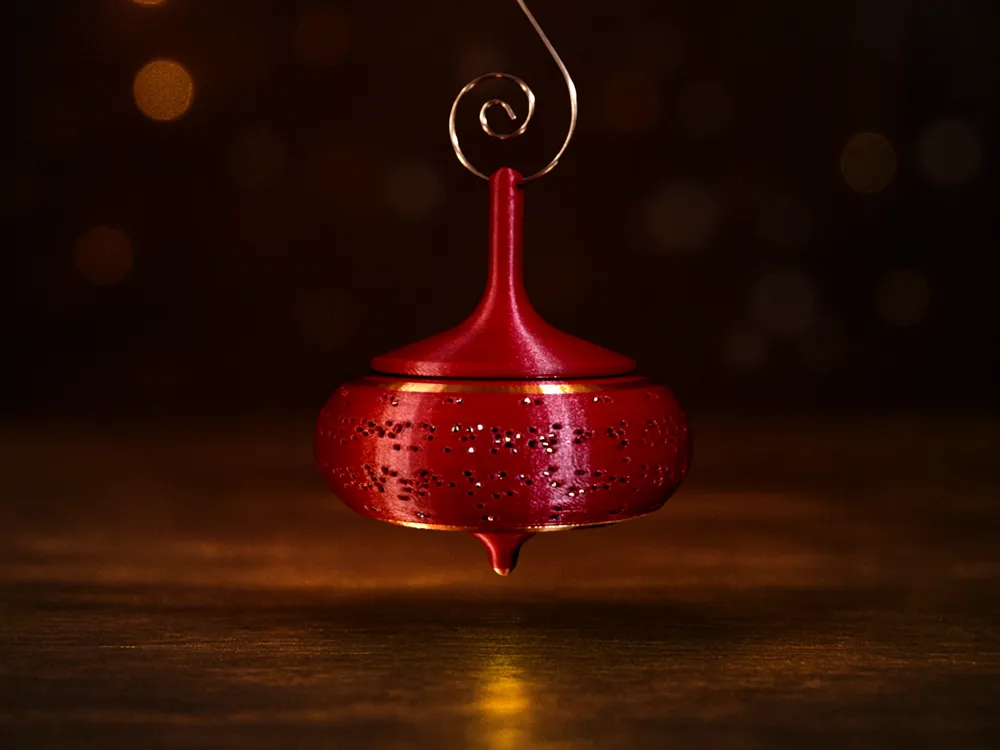
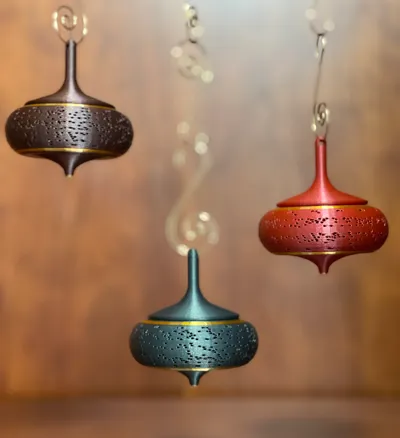
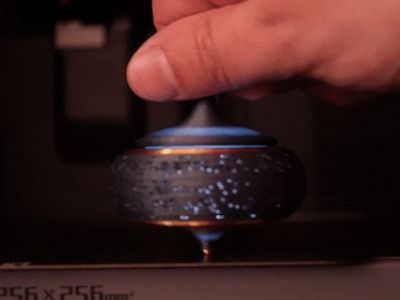
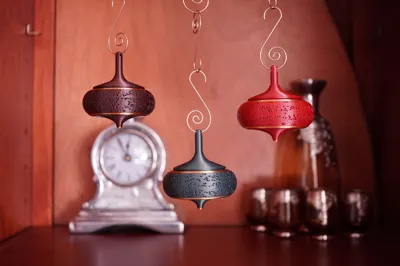
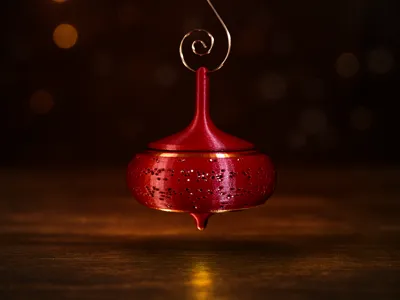

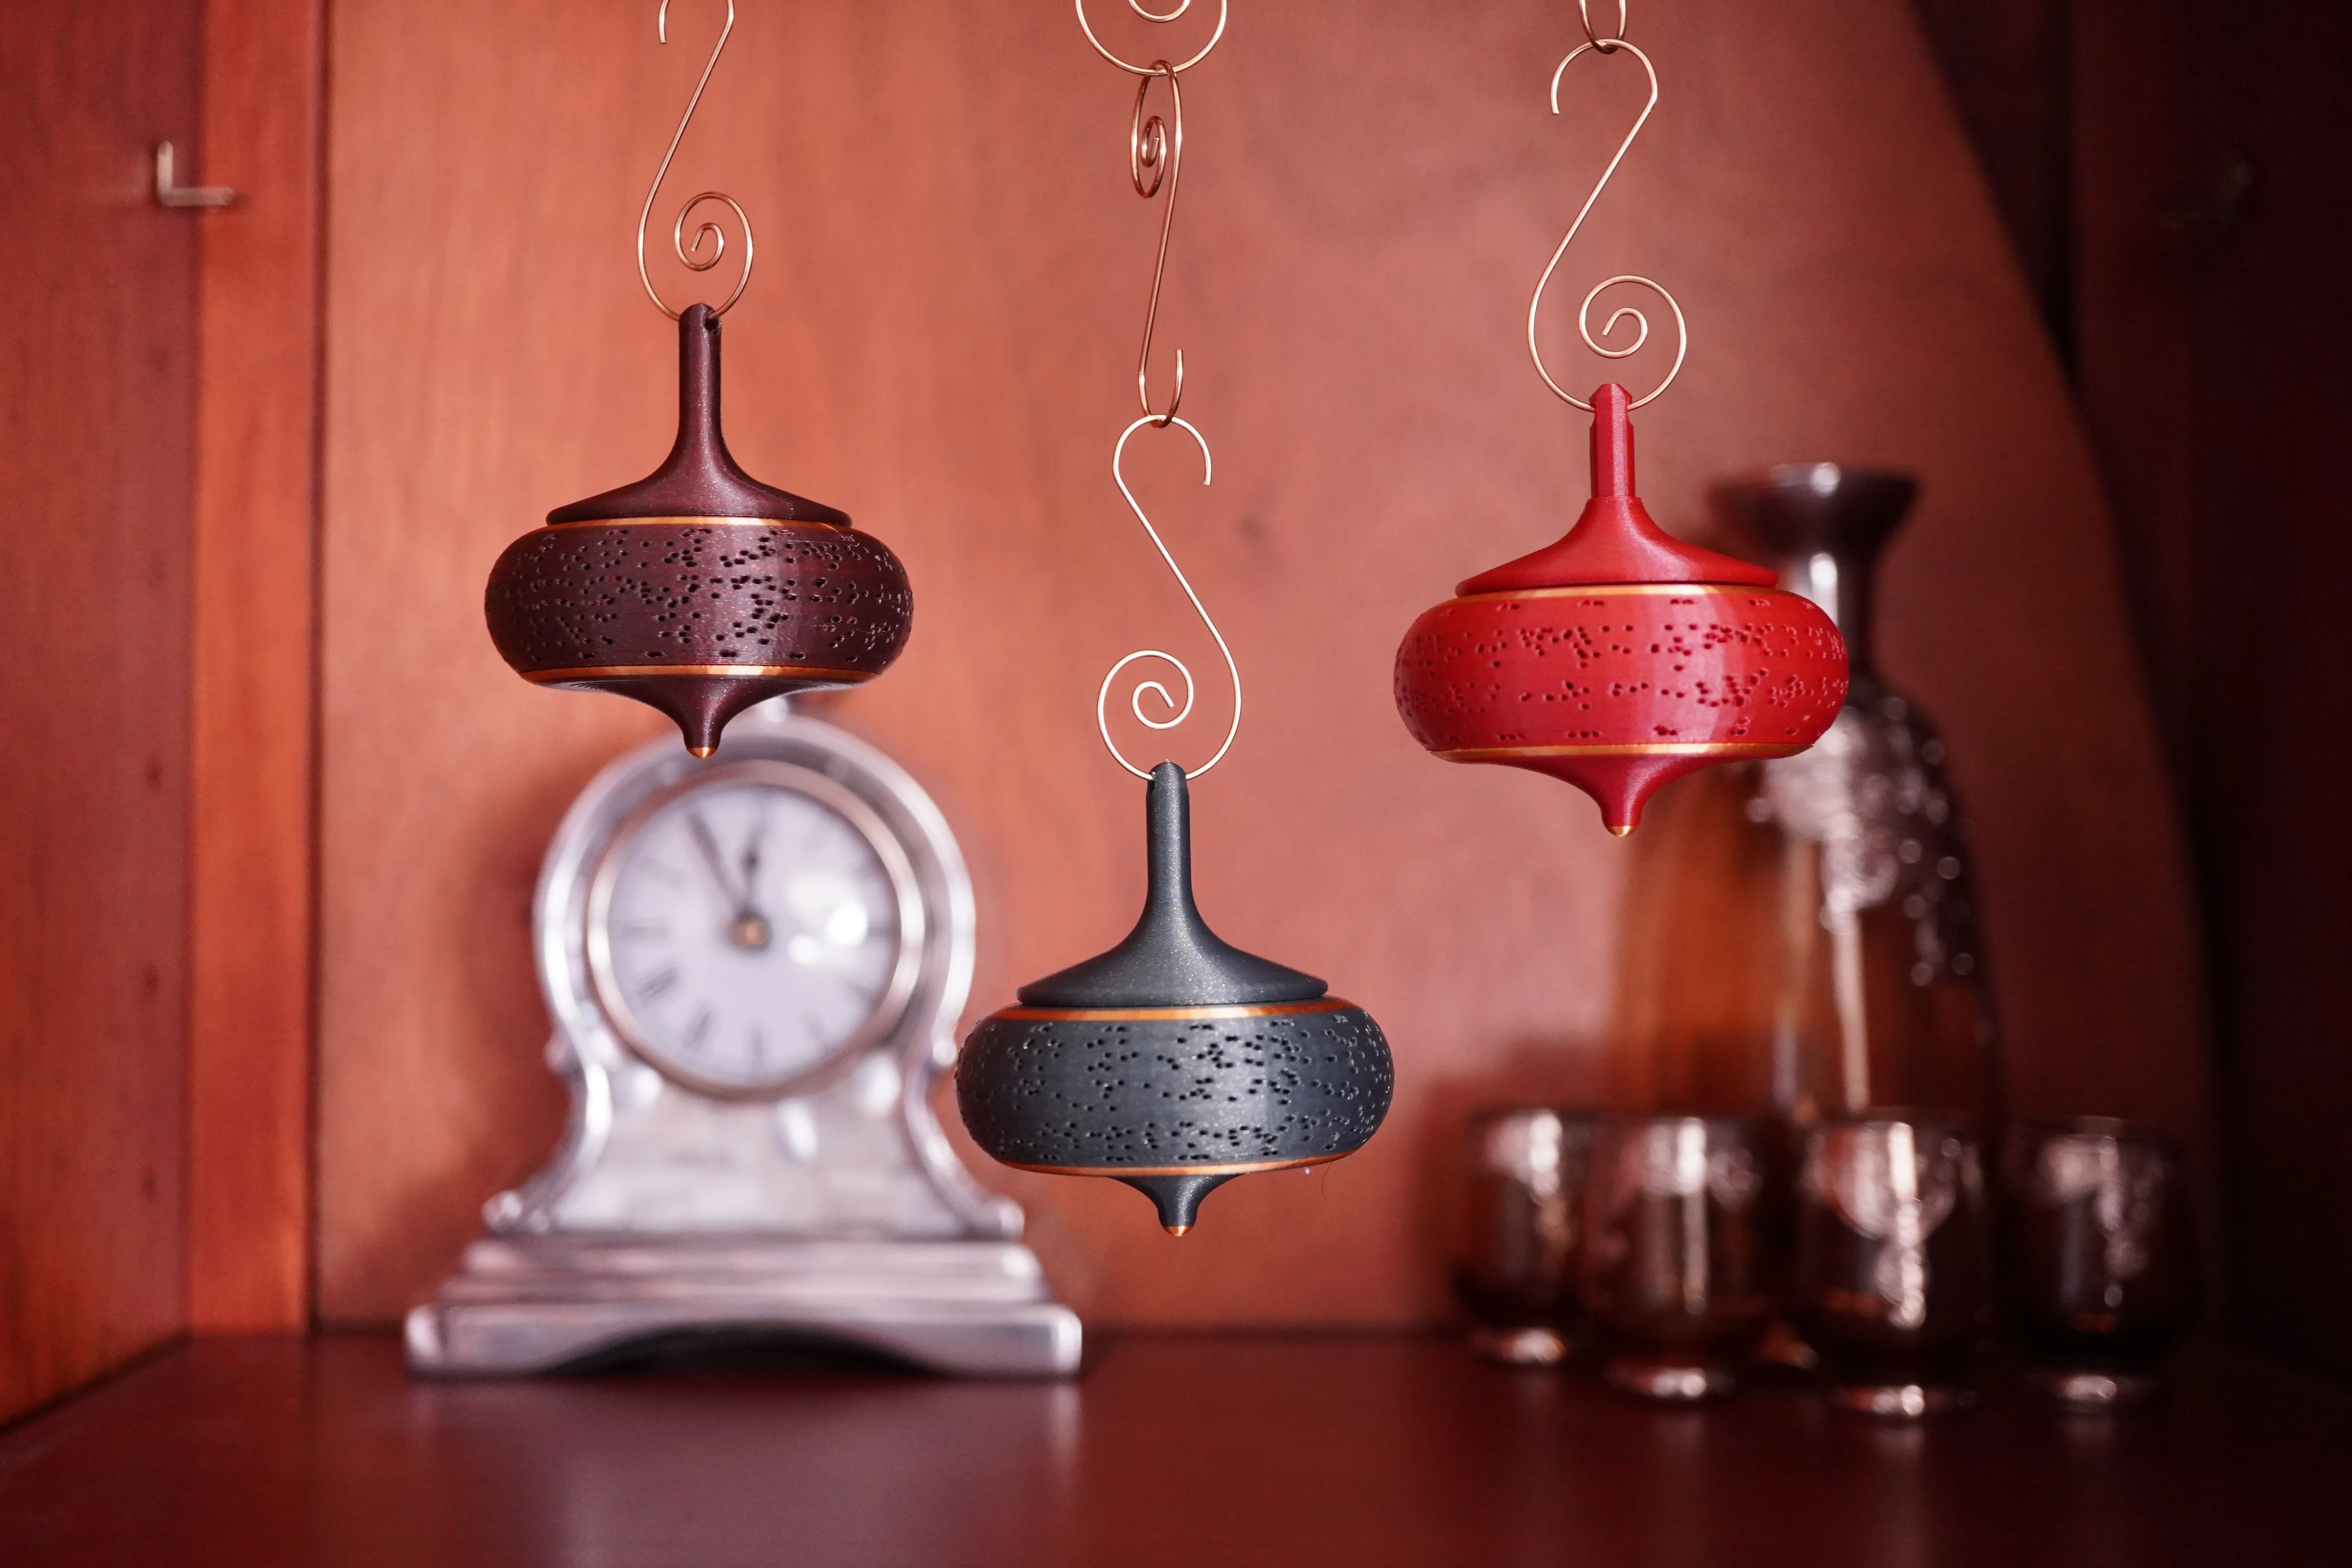
The Enchanted Ornament inspires fairytale-like wonder, whether it hangs on the tree or twirls on a table. Brought to life by my novel pinhole-tunnel zoetrope-miniaturization mechanism, this charming gift invites discovery and reveals a dazzling light-based illusion… an animated secret message.
Timeless magic, unlocked with a twirl! | ||
 |  |  |

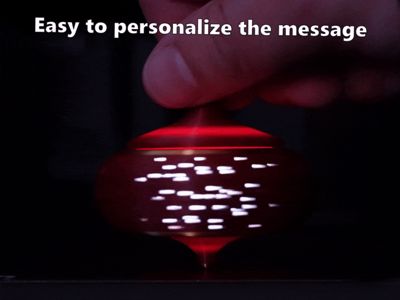
It’s easy to personalize the text for any holiday or occasion, Christmas or otherwise, as well as for milestones, events, teams and names. See “How to Customize / Personalize" for step-by-step instructions.
Setting Expectations
This is a naked-eye optical effect that relies on precision, so viewing conditions matter. If anything seems off, please reach out. I respond quickly, and most issues are resolved with simple lighting adjustments. Follow the instructions to achieve a result similar to the demo GIFs.
A Tradition in the Making
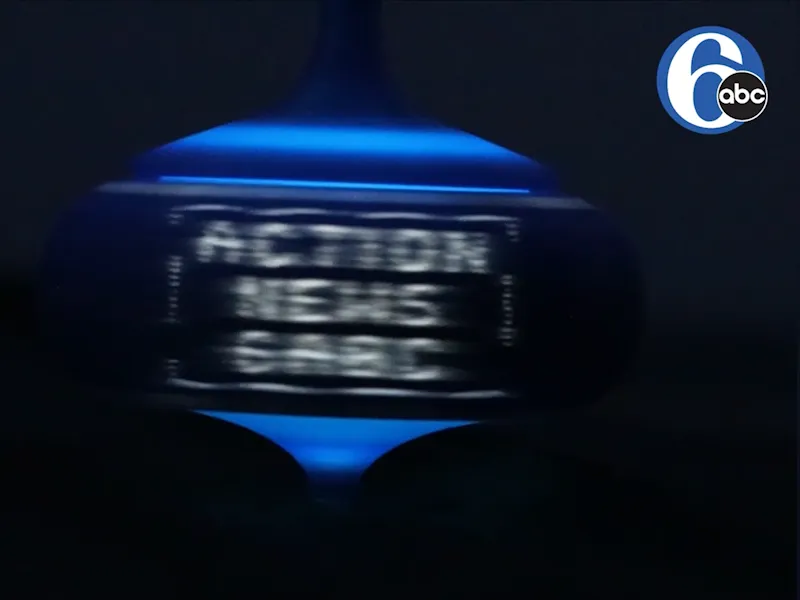
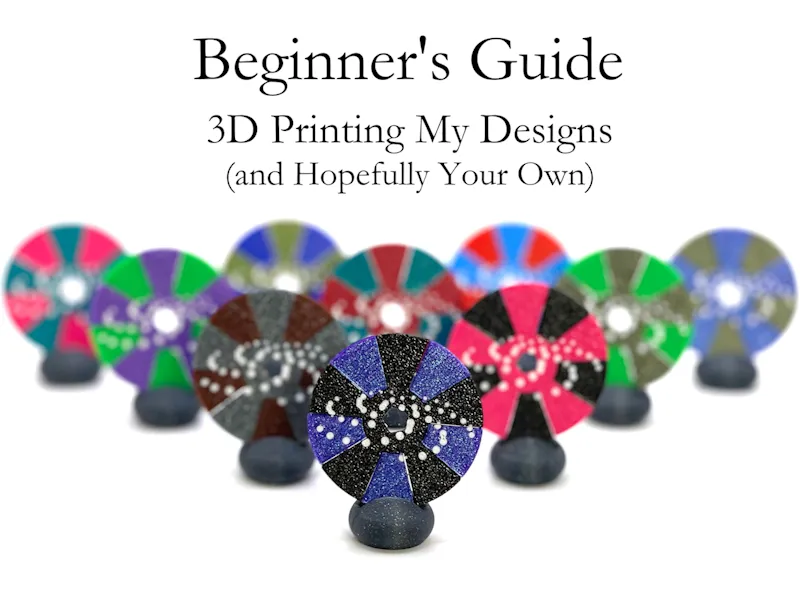
Beyond being an interactive decoration, the Enchanted Ornament makes a wonderful parent–child STEM project. The easy-to-follow personalization steps introduce aspects of 3D-print design in a fun and approachable way.
 |  |
My hope is to bring generations together to create an heirloom that captures the memory of the experience and becomes a cherished reminder of the time they shared. And although the hidden-message mechanism is patent pending, this ornament will always remain free to print for personal use or to give as a gift.
Boost Me (for free)
Boosts, follows and honest reviews all help me keep releasing free designs. THANK YOU!
What's New?

The Next Dimension: Cryptatrope FX (free version) |
 |
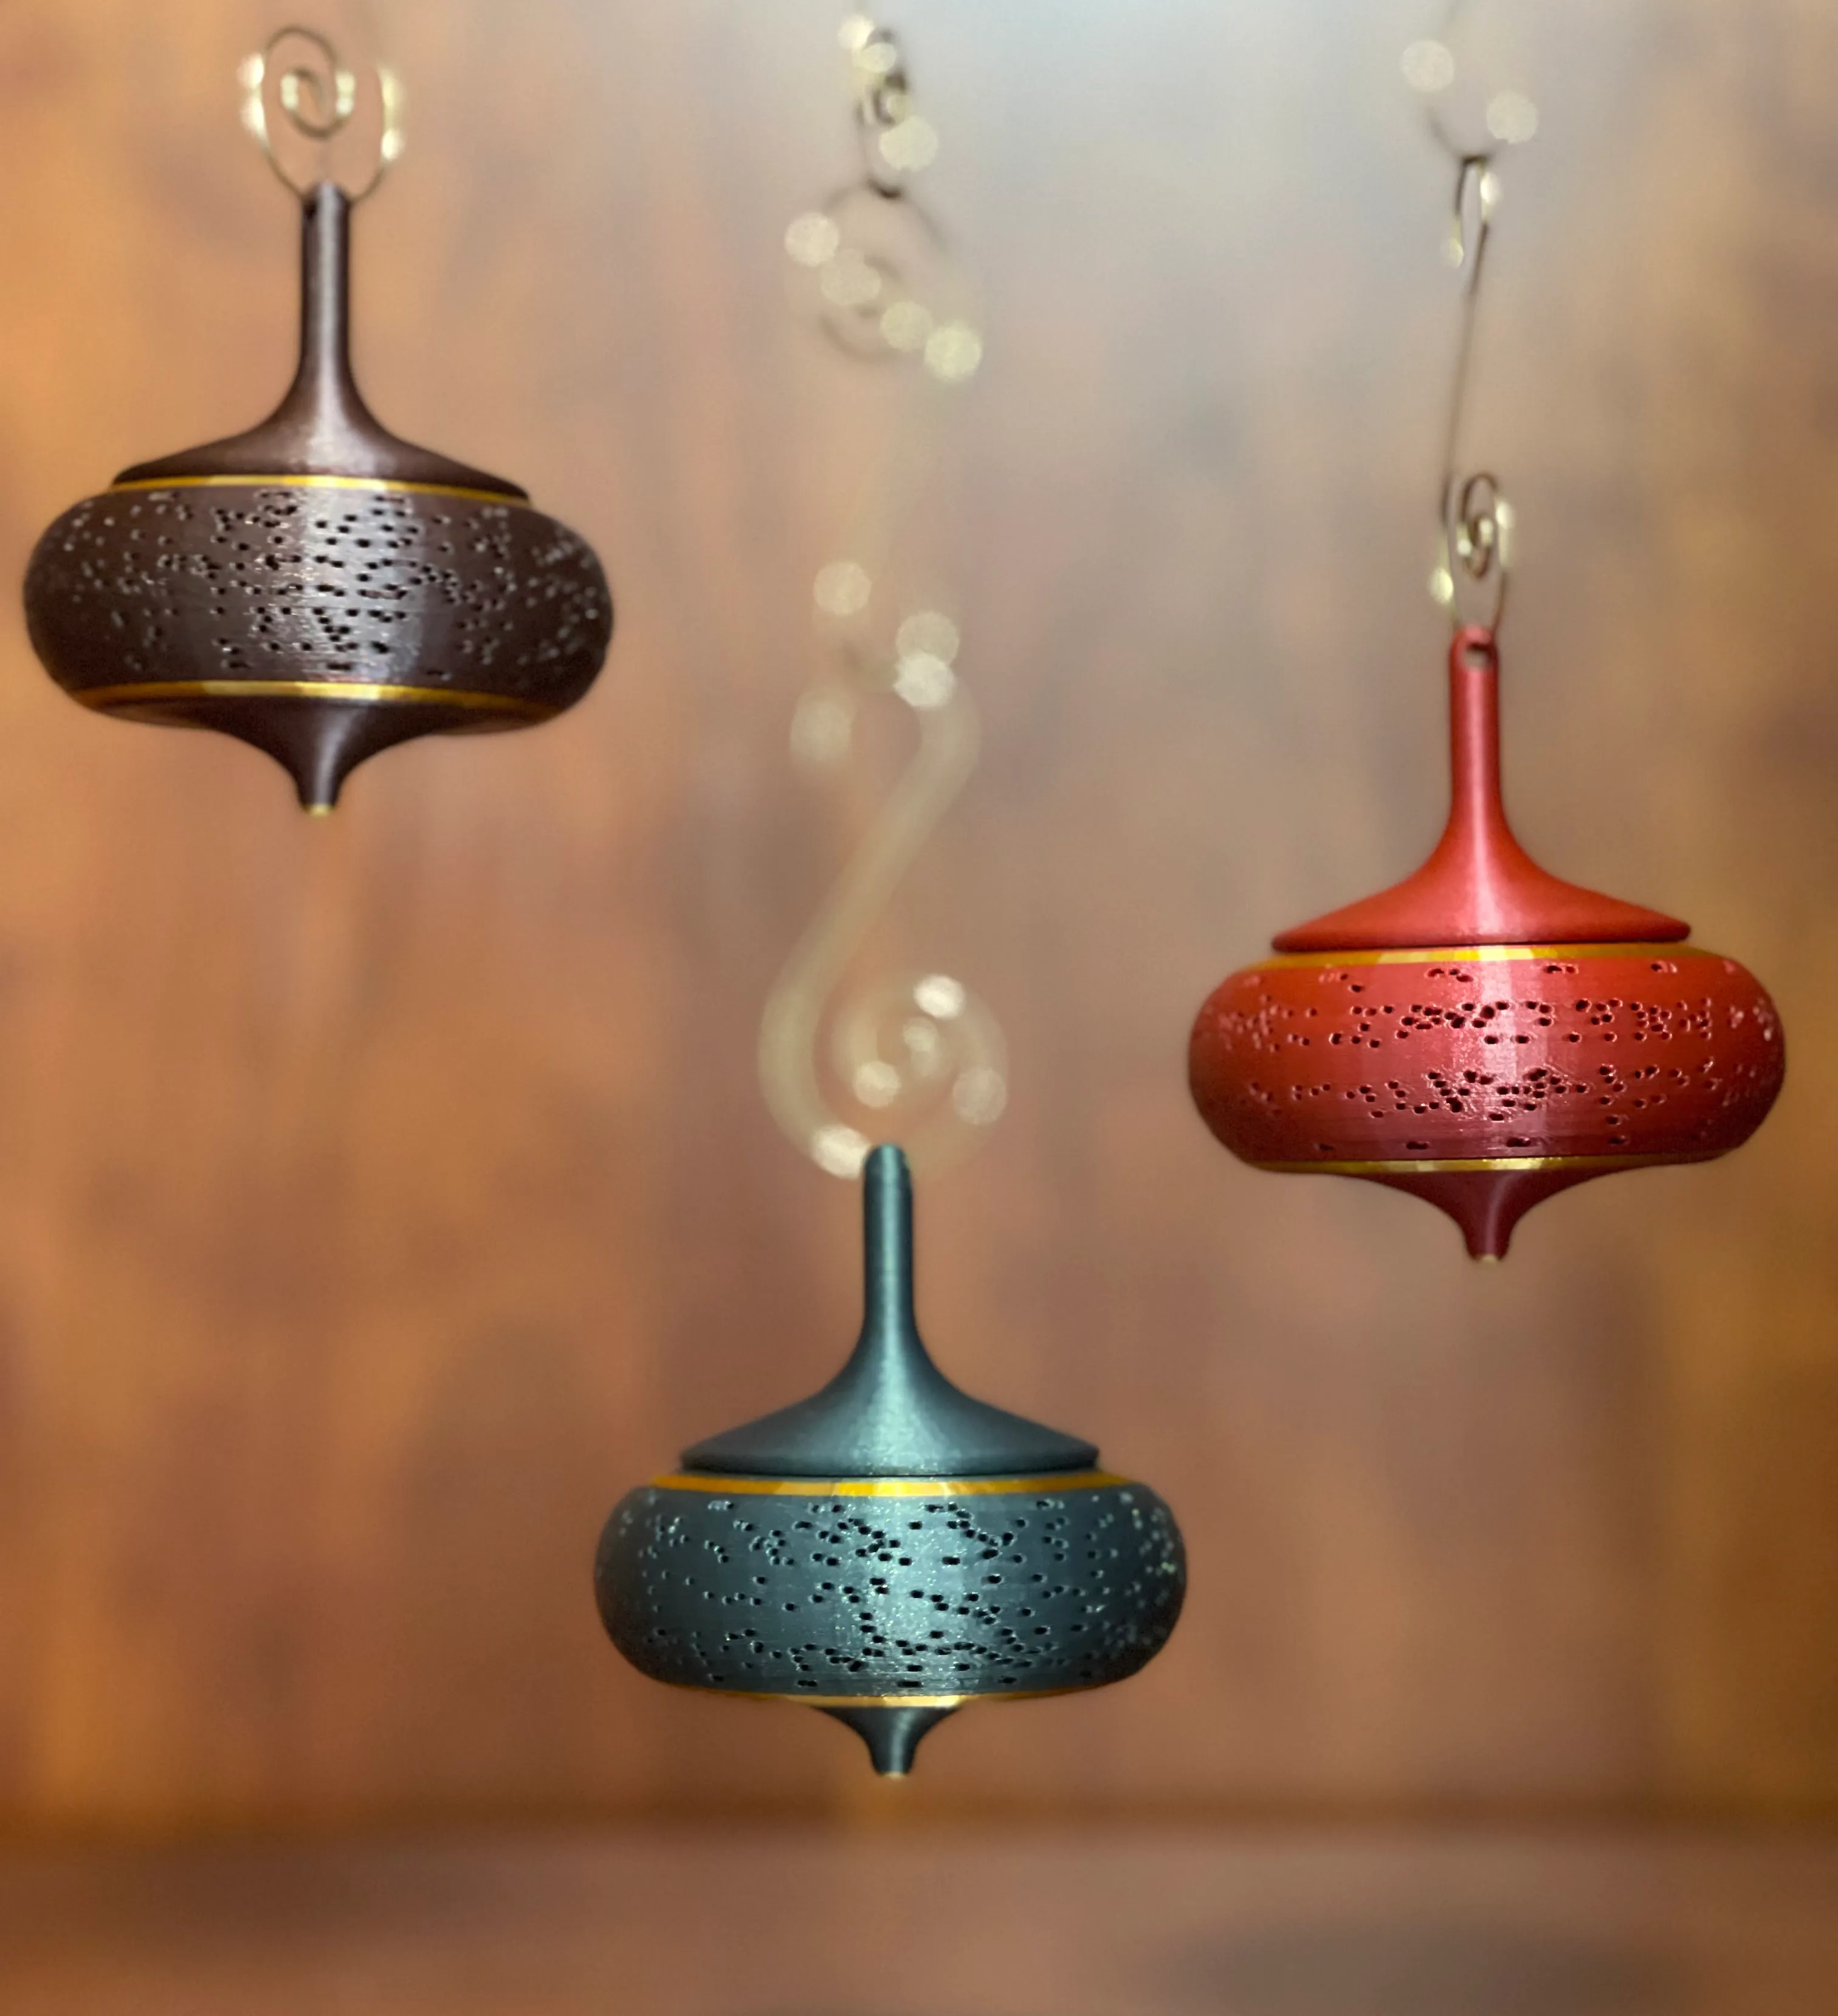
Top Secret was my initial hidden-text pinhole-tunnel zoetrope, following from my earlier animation-centric mini zoetropes, The StarCaster and The Infinite Diamond Glitch. This time, I redesigned nearly every component to exude festivity and elegance so that the model hangs gracefully as an ornament.
Beyond the form-factor overhaul, the generator now produces a slightly italicized message (by default), perfect for the holidays. I also refined the underlying script to improve clarity and consistency (updates that were polished here first and then backported to Top Secret).
How Does it Work?
You can read more about my pinhole zoetrope invention in the description of The StarCaster fidget spinner.
In short, miniaturization is achieved by combining the slits and images of a classic zoetrope into pinhole tunnels arranged in patterns. Light is only visible when these tunnels align between your eye and the light source. As the top spins, 16 animation frames appear in sequence, looping to create the illusion of motion.
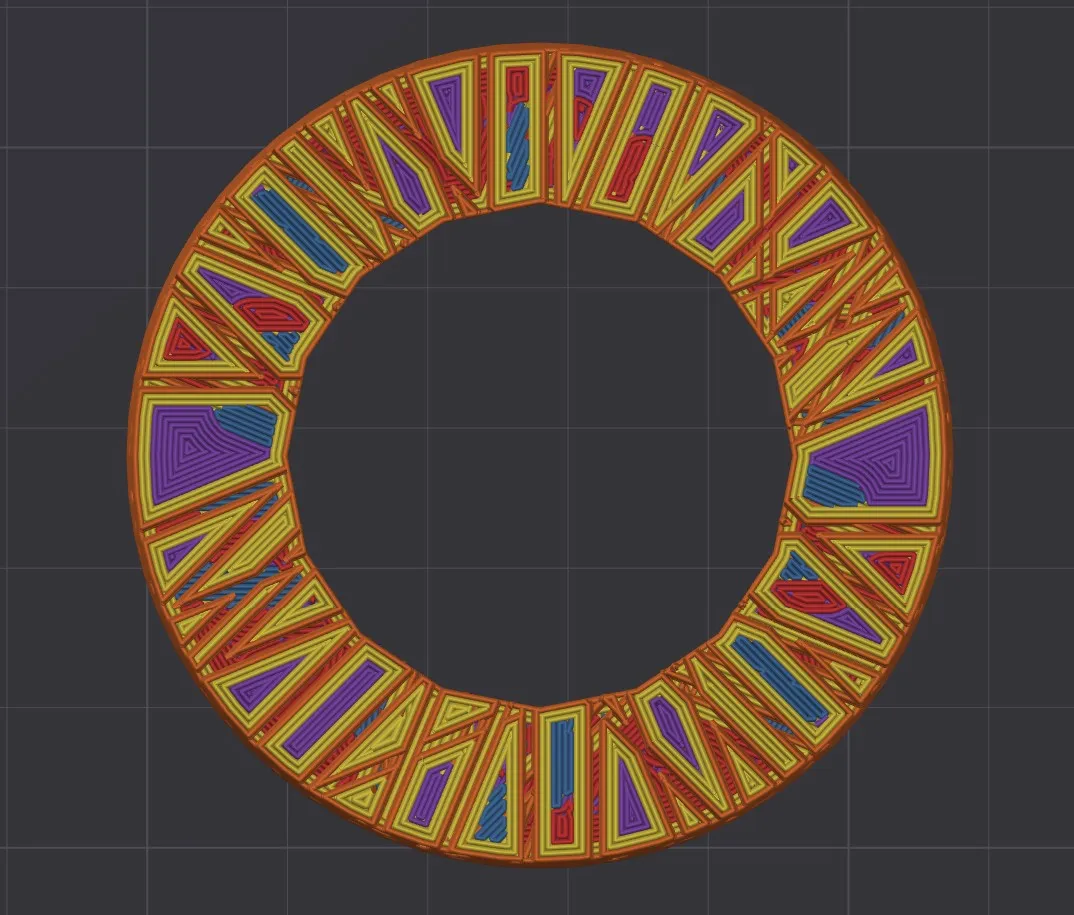 | 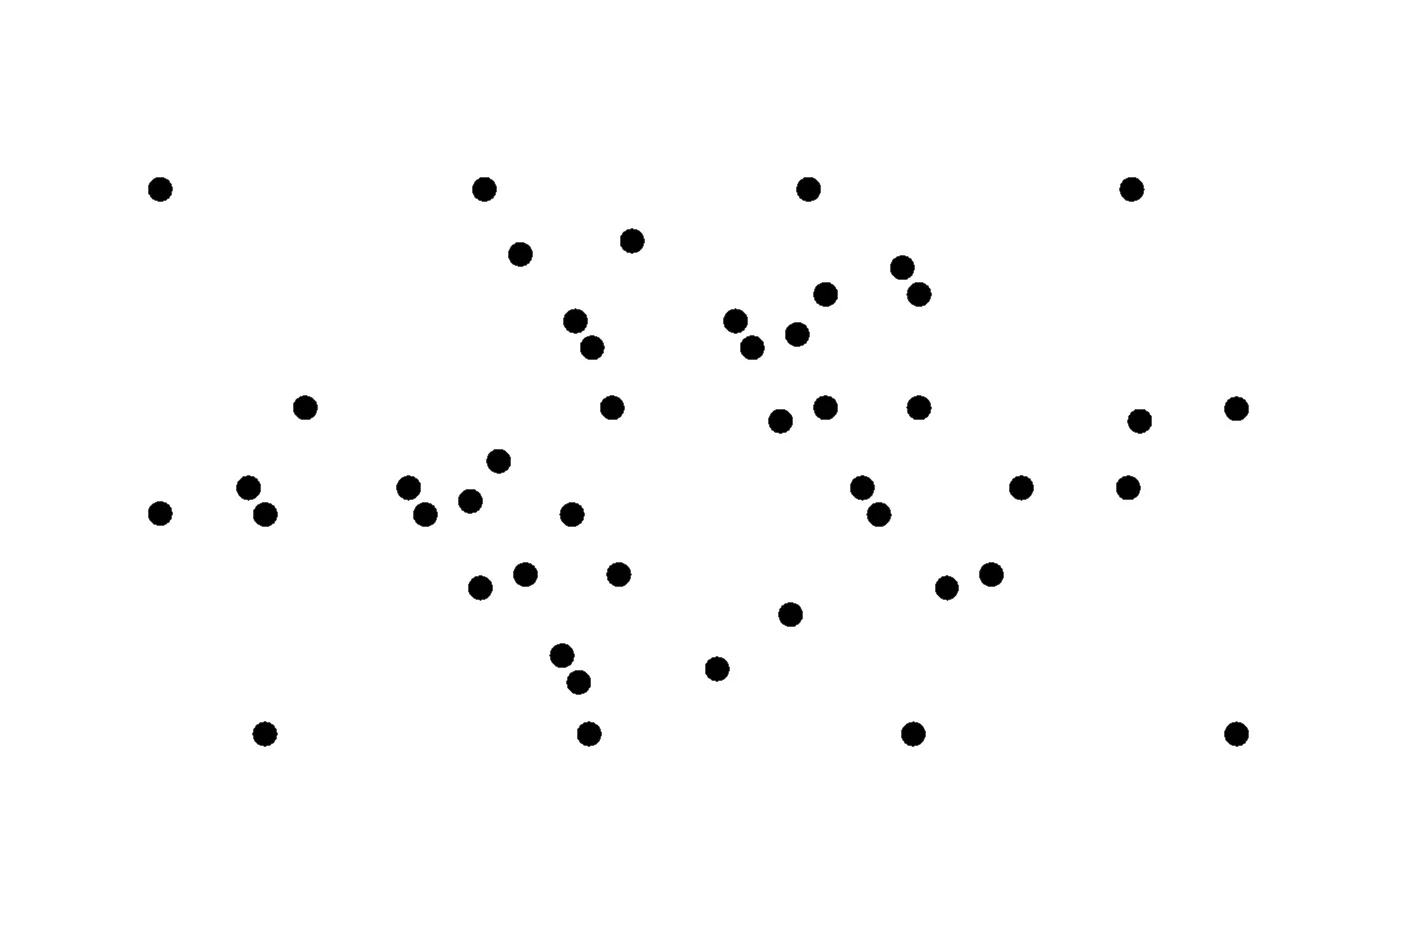 |
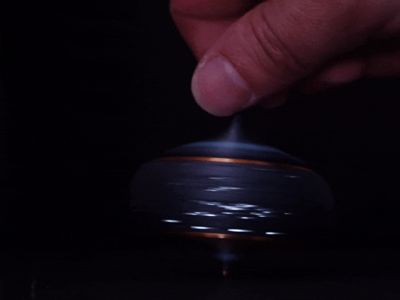
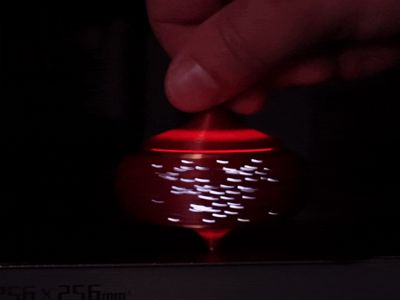
What this (and Top Secret) does differently from my earlier zoetropes is that it intentionally conceals its pattern by breaking it into fragments. Any single frame looks like just a handful of scattered dots, but when spun at full speed those fragments blend together through persistence of vision, and the hidden message springs into view.
I also wanted to preserve a sense of motion, so I added an animated border around the text. To keep it readable at the rapid speed of a spinning top, I used progression symmetry: with each rotation, every dot advances only to the next position in the sequence rather than completing the full animation all at once. This slows the effect to a comfortable pace.
Required Materials
This model is designed to work just with printed parts. For increased visibility, however, you may optionally use the following components. See the Bill of Materials section of this page for purchase links.

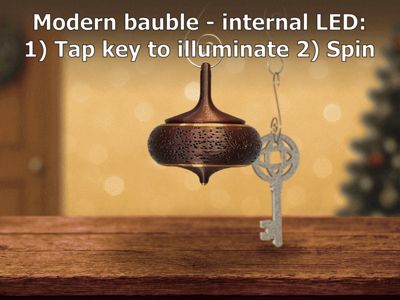
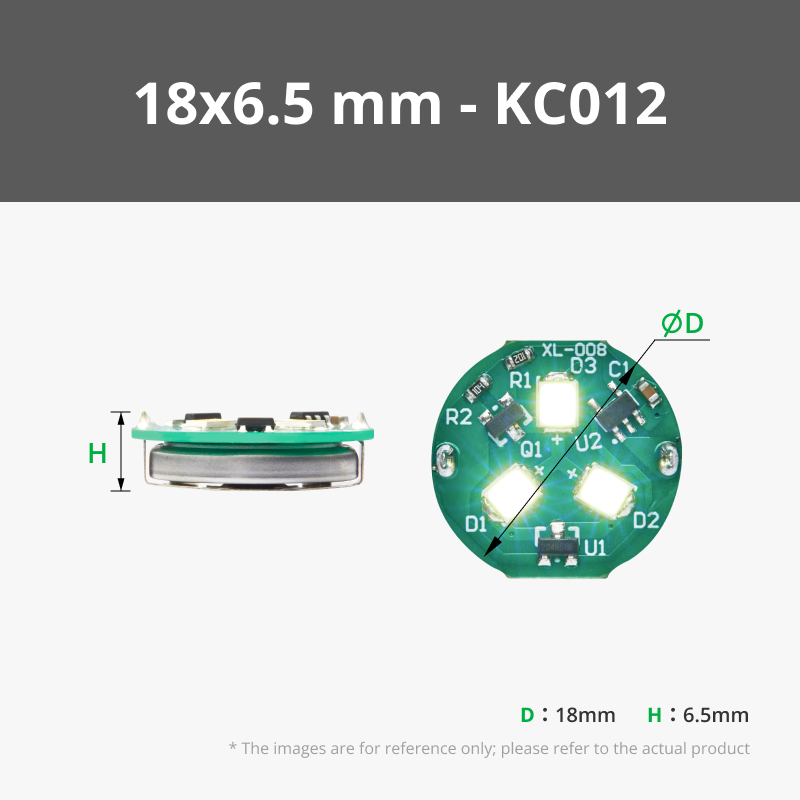
- 1 Y Shape LED Light with Magnetic Control Switch – Cool White: The top is specifically sized to fit the one from Maker’s Supply.
- 1 10x3mm round neodymium magnet: This is for the key which is used to magnetically control the LED. The key is backward-compatible with my earlier zoetropes, but for improved reliability it uses a thicker magnet than what I used in my earlier Star Key. While the LED also comes with its own magnet, that one is smaller and struggles to work at the required distance.
Additionally, you’ll need something to hang the ornament. Here’s the kind I used (affiliate link).
Finally, you’ll need a small bit of superglue, and optionally some sandpaper to scuff up the to-be-glued surfaces to help expedite the bond.
How to Customize / Personalize
Here's the whole process wrapped up in a short video. Written instructions follow below.
Boost Me (for free)
Boosts, follows and honest reviews all help me keep releasing free designs. THANK YOU!
For those who prefer written instructions, don’t be intimidated by the number of steps below. I wrote it up granularly - each step is super quick. The whole process only takes a couple minutes. If you get stuck, please let me know so I can help and improve the instructions.
Process Overview
The process I describe here generates the set of pinhole tunnels as its own object (using MakerWorld's “Customize” feature), and then combines it (as a negative part) with the blank ornament body in your slicer. While these instructions are targeted to Bambu Studio, they can easily be adapted to other slicers.
Step 0) Open the Pinhole Message Generator
Click the “Customize” button at the top of THIS page. It’s only on the MakerWorld website, NOT in Bambu Handy or Bambu Studio.
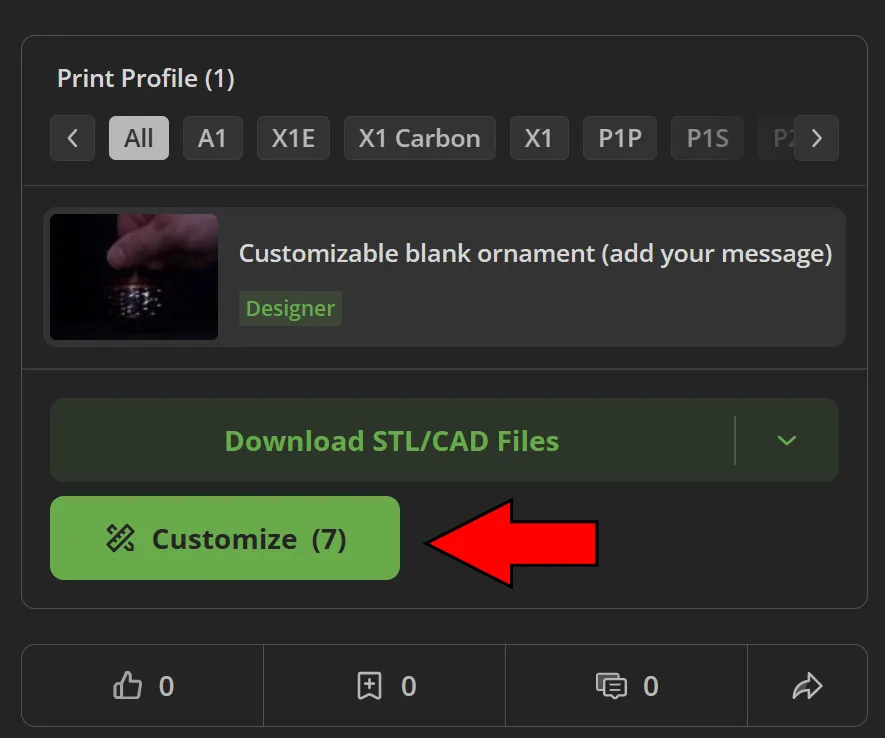
Don’t try to reuse the Pinhole Message Generator that’s part of my Top Secret model. The result will come out upside down, amongst other differences.
Step 1) Enter your message
By default the script will render in 2D so that you can tweak the text layout. As you edit options, click “Generate” to see the results.
You can have up to 3 lines of text:
- If you want just 2 lines of text, use the first & last lines. Later you can reduce line spacing (set to 0 or even negative).
- If you want just 1 line of text, use the last line. It won't be centered, but otherwise the spinning top will be top-heavy, likely making it wobbly & blurry. The slicer adds extra walls around the pinholes, and you want some of that mass to be down low for stability. If you must only have 1 line of text in the center, you can play around with infill % for the lower parts of the body, but it's easier to just use multiple lines.
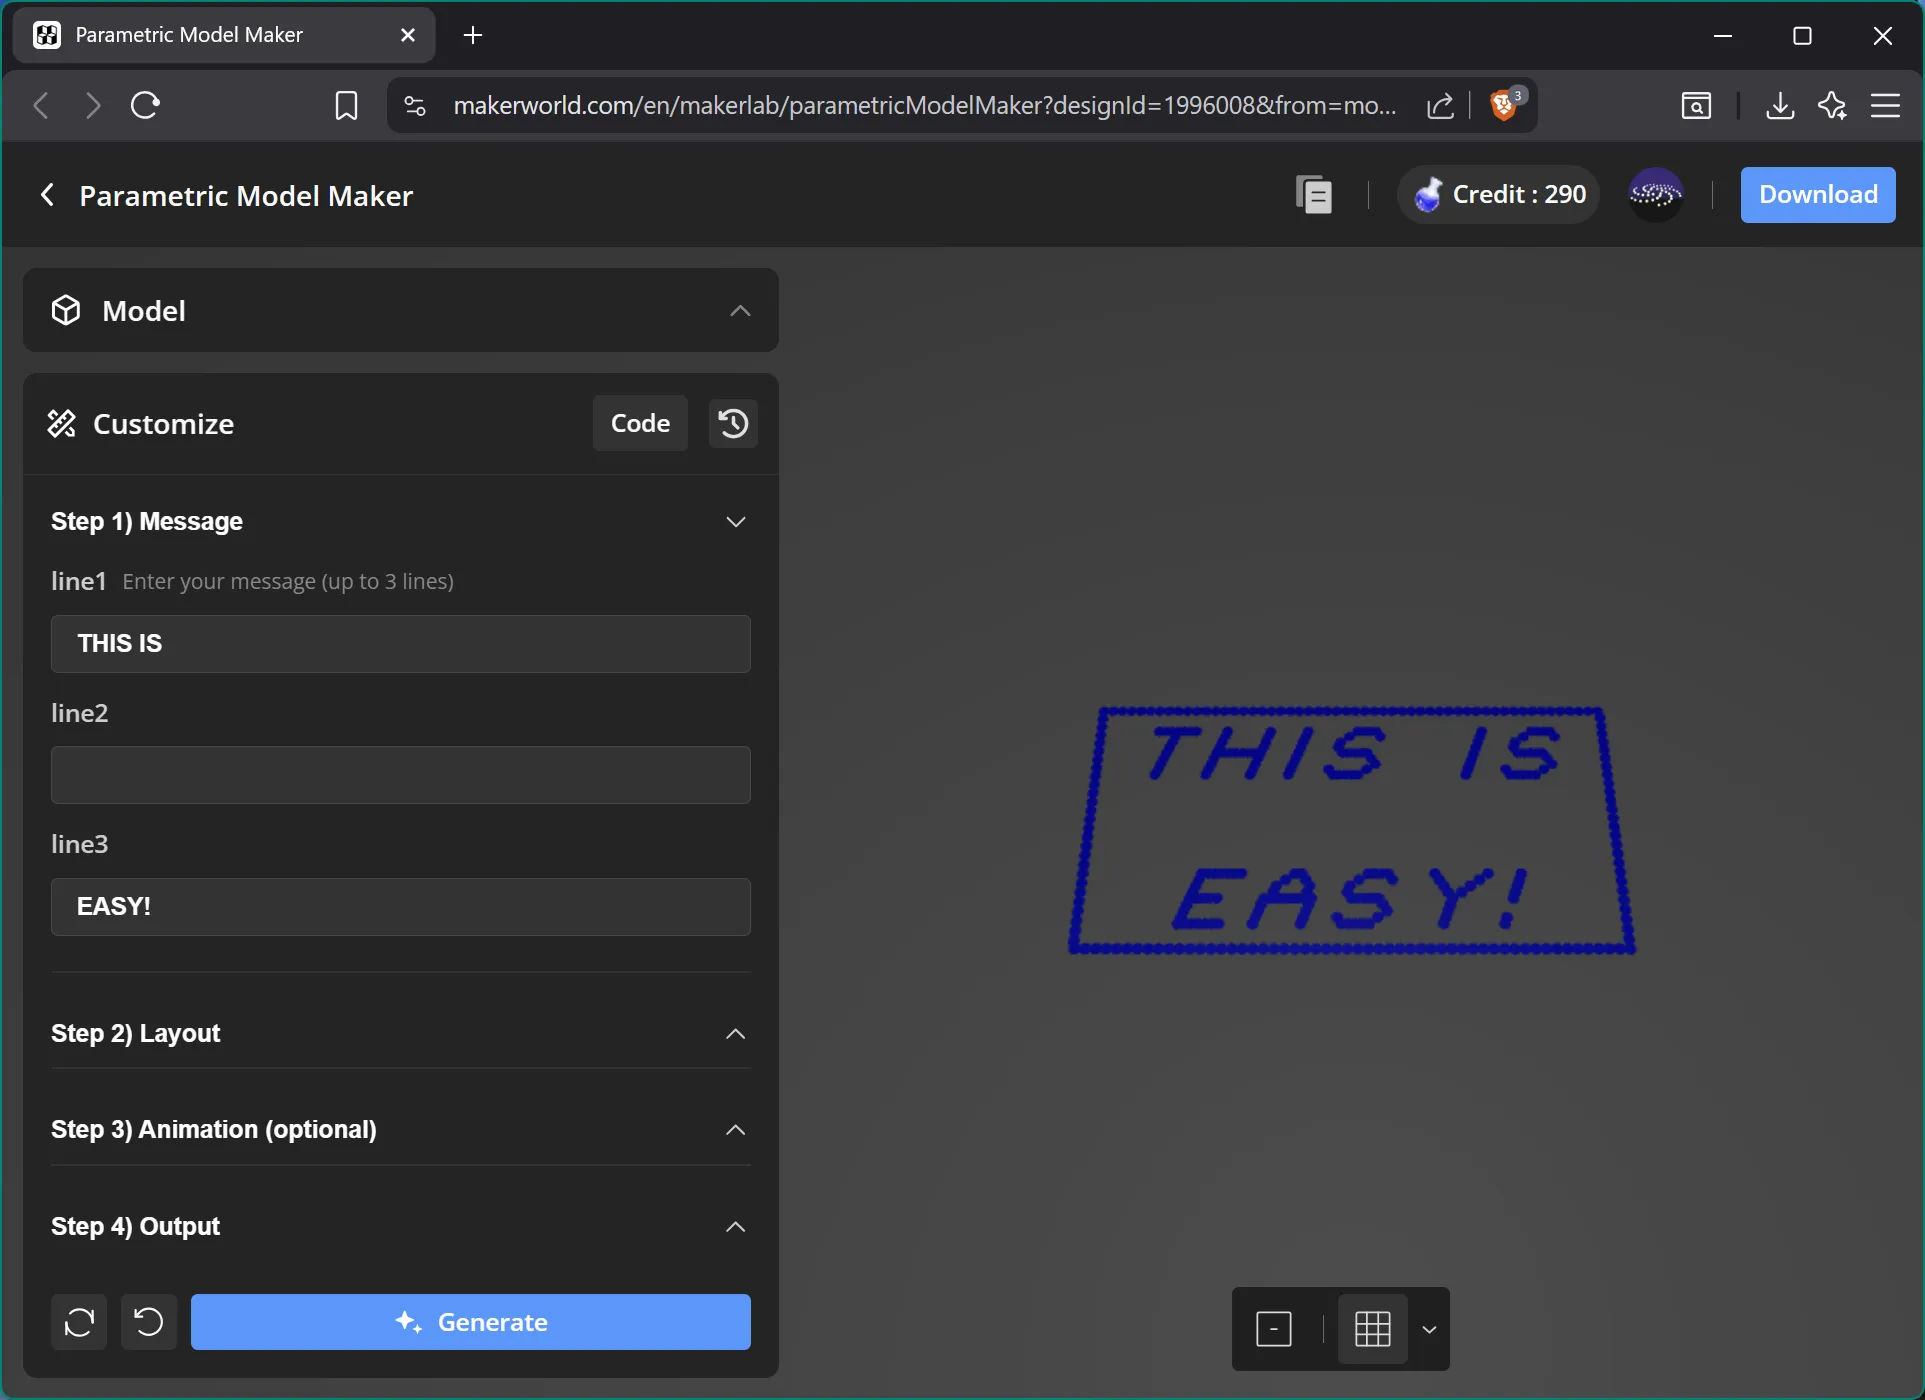
Disclaimer: I'm not a font expert. I implemented the characters as a grid of up to 9x9 overlapping dots. If you don't like how a character looks, you can edit the definition at the end of the script.
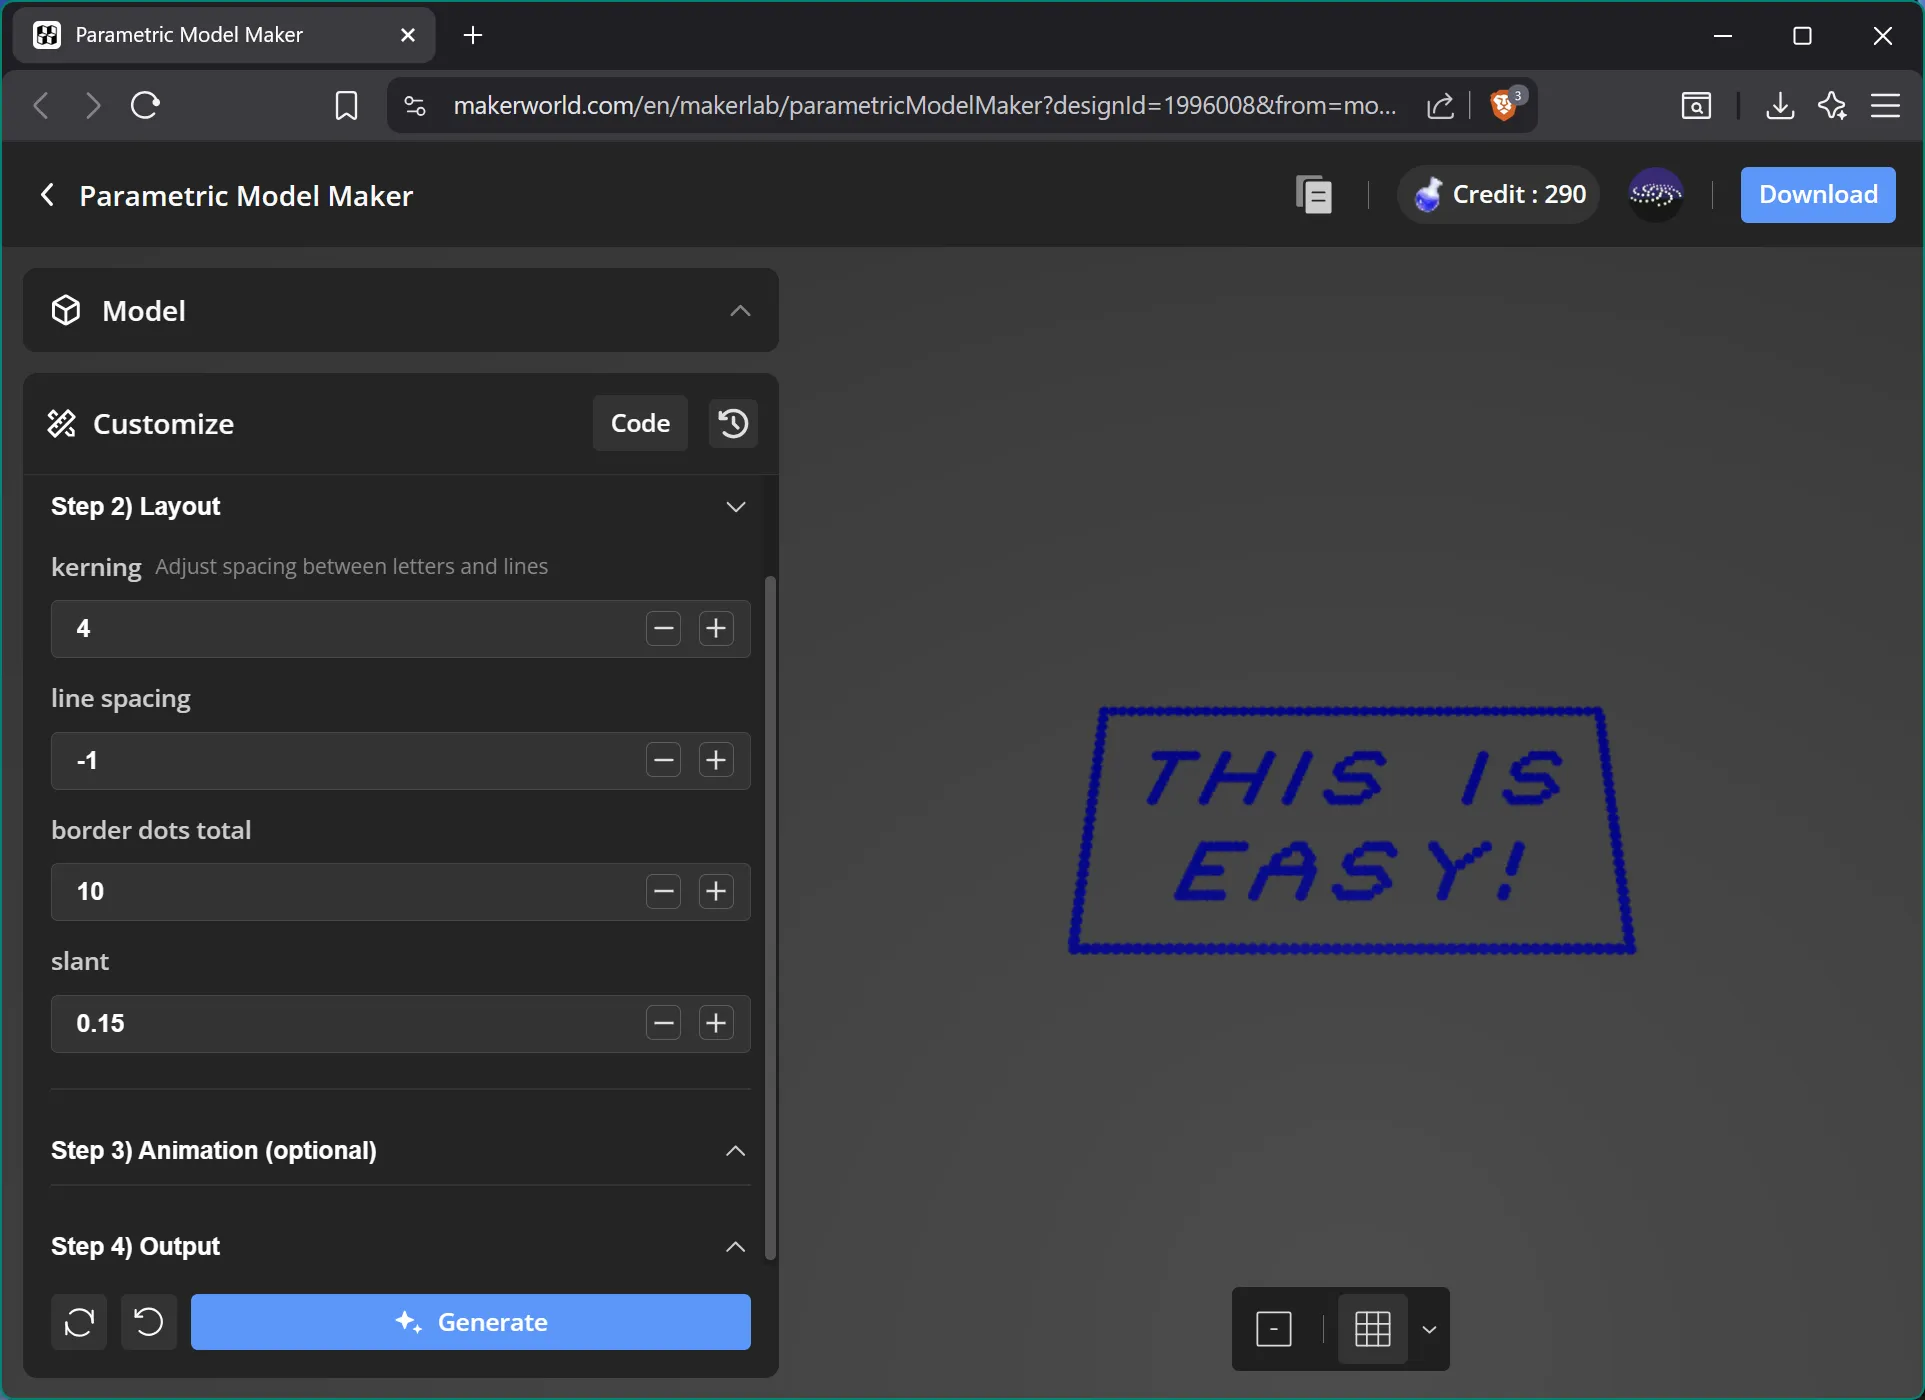
Step 2) Adjust layout options
More space between letters tends to look clearer. Slanted text looks more elegant but takes up more space.
By default the script will show all animation frames superimposed, so the number of border dots will appear higher than what you set. This will take care of itself later.
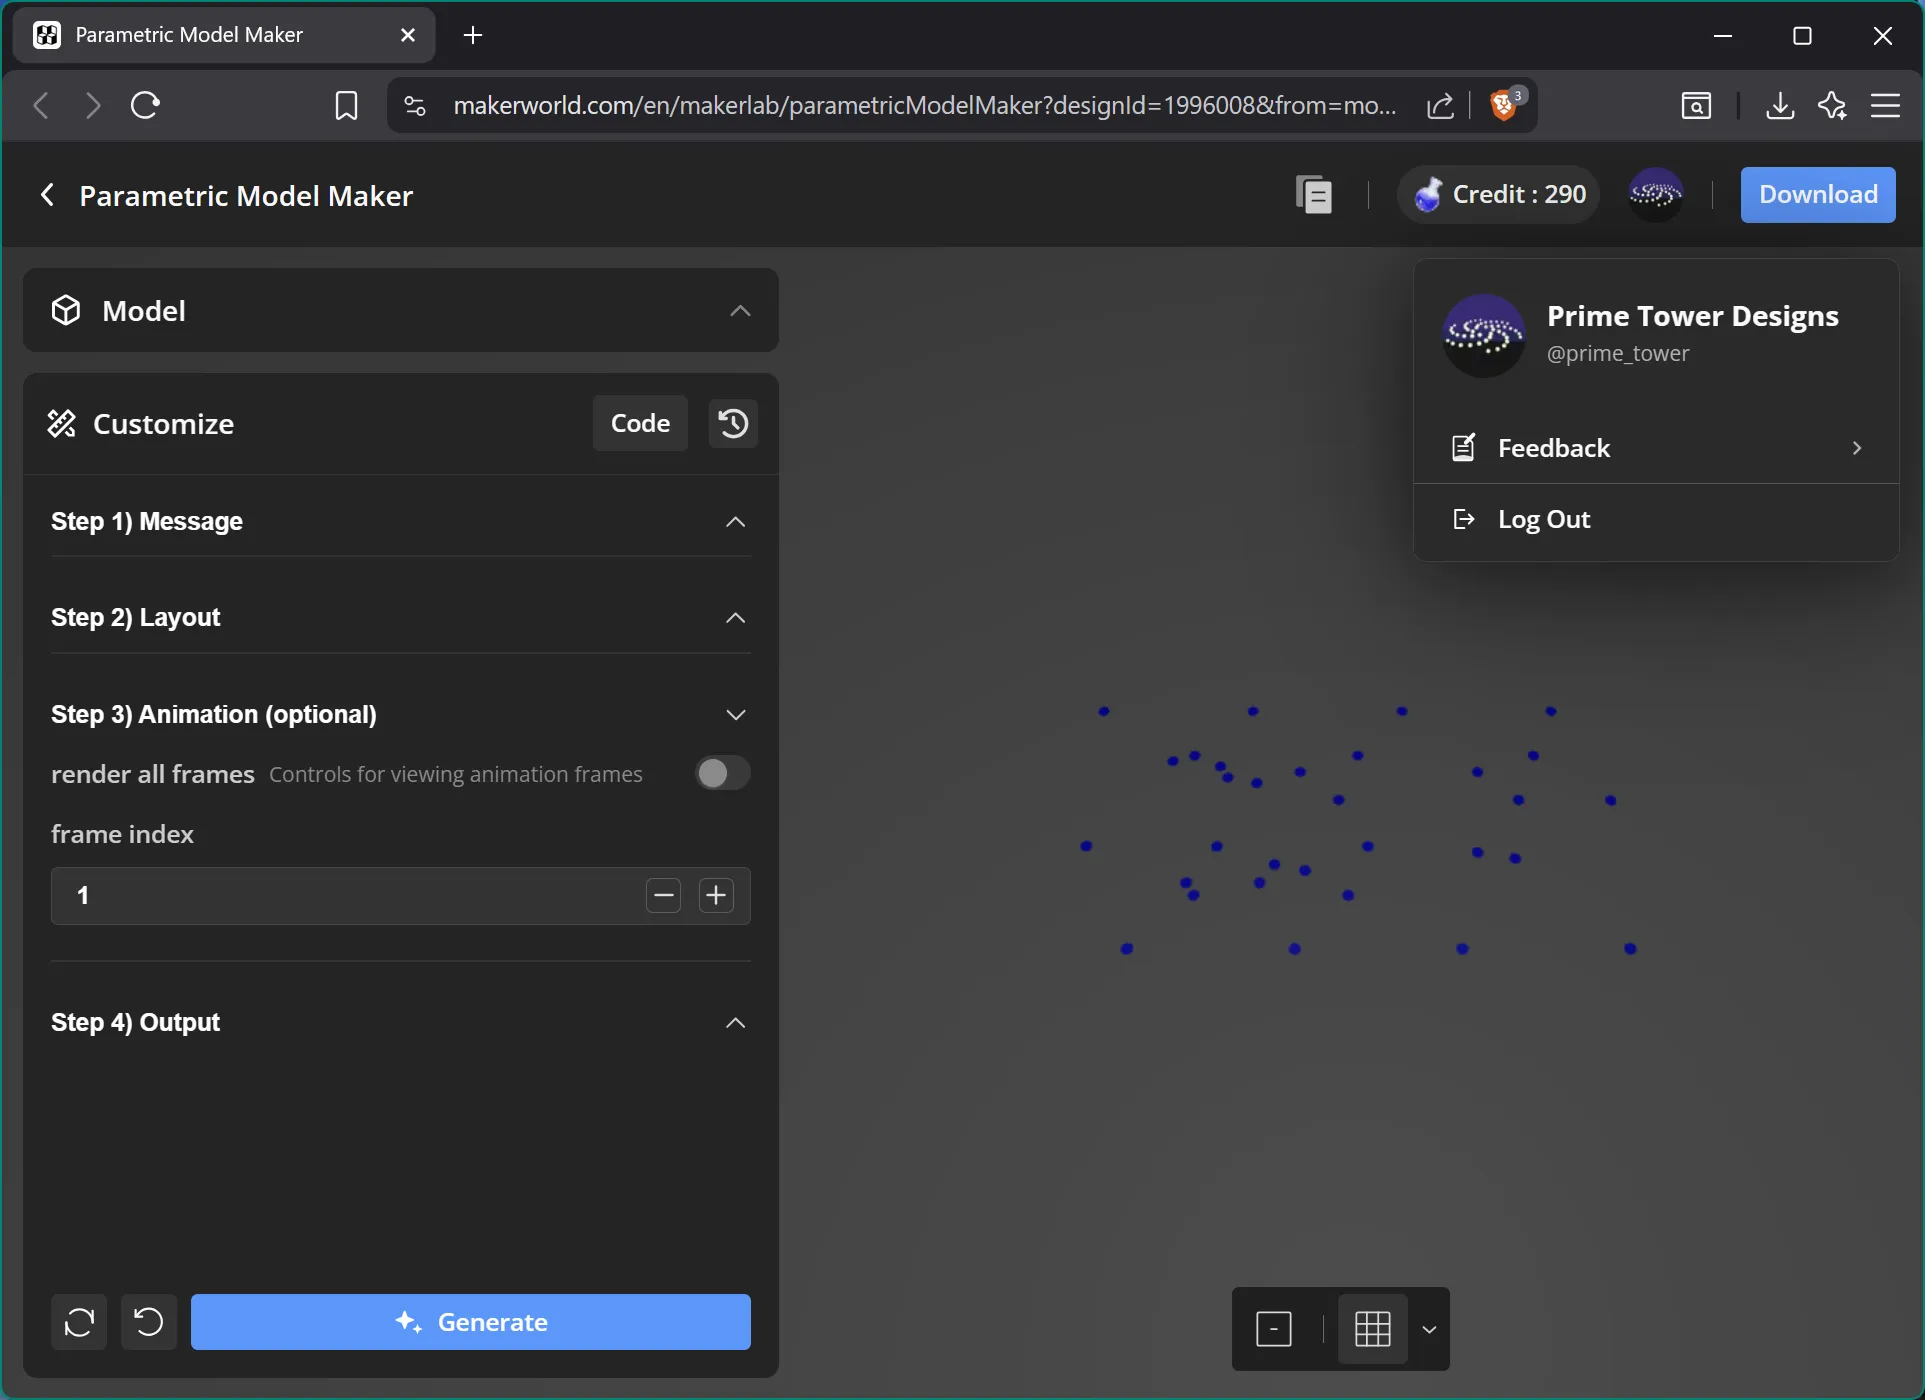
Step 3) Optionally view the individual animation frames
This lets you see what each set of holes will look like individually. It's mostly intended for advanced use cases (e.g. you're tweaking my script), since it lets you check if pinholes have sufficient space between. When done, make sure to re-enable “render all frames.”
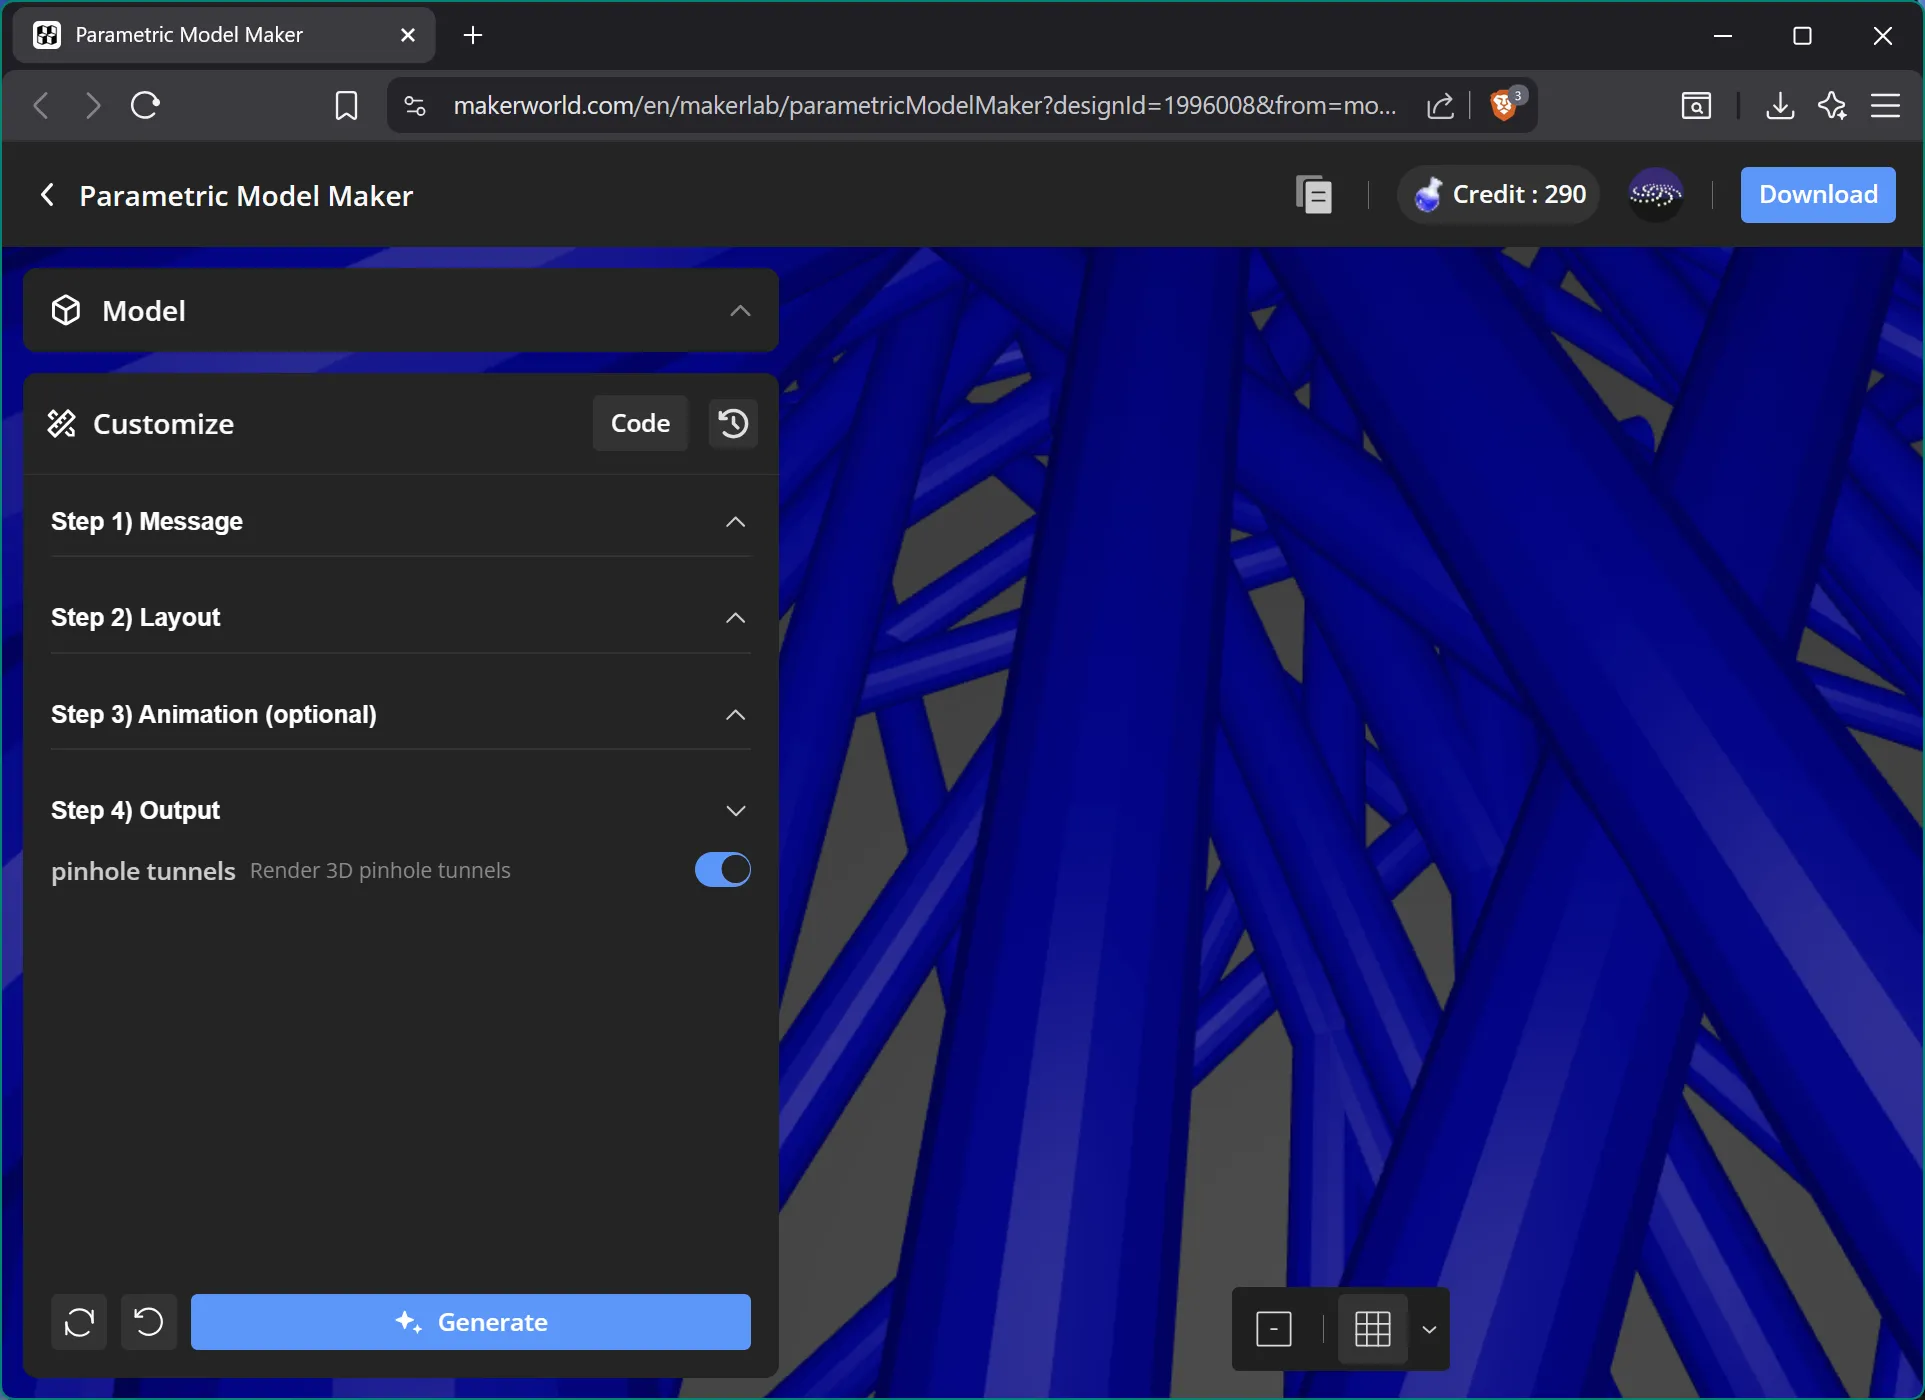
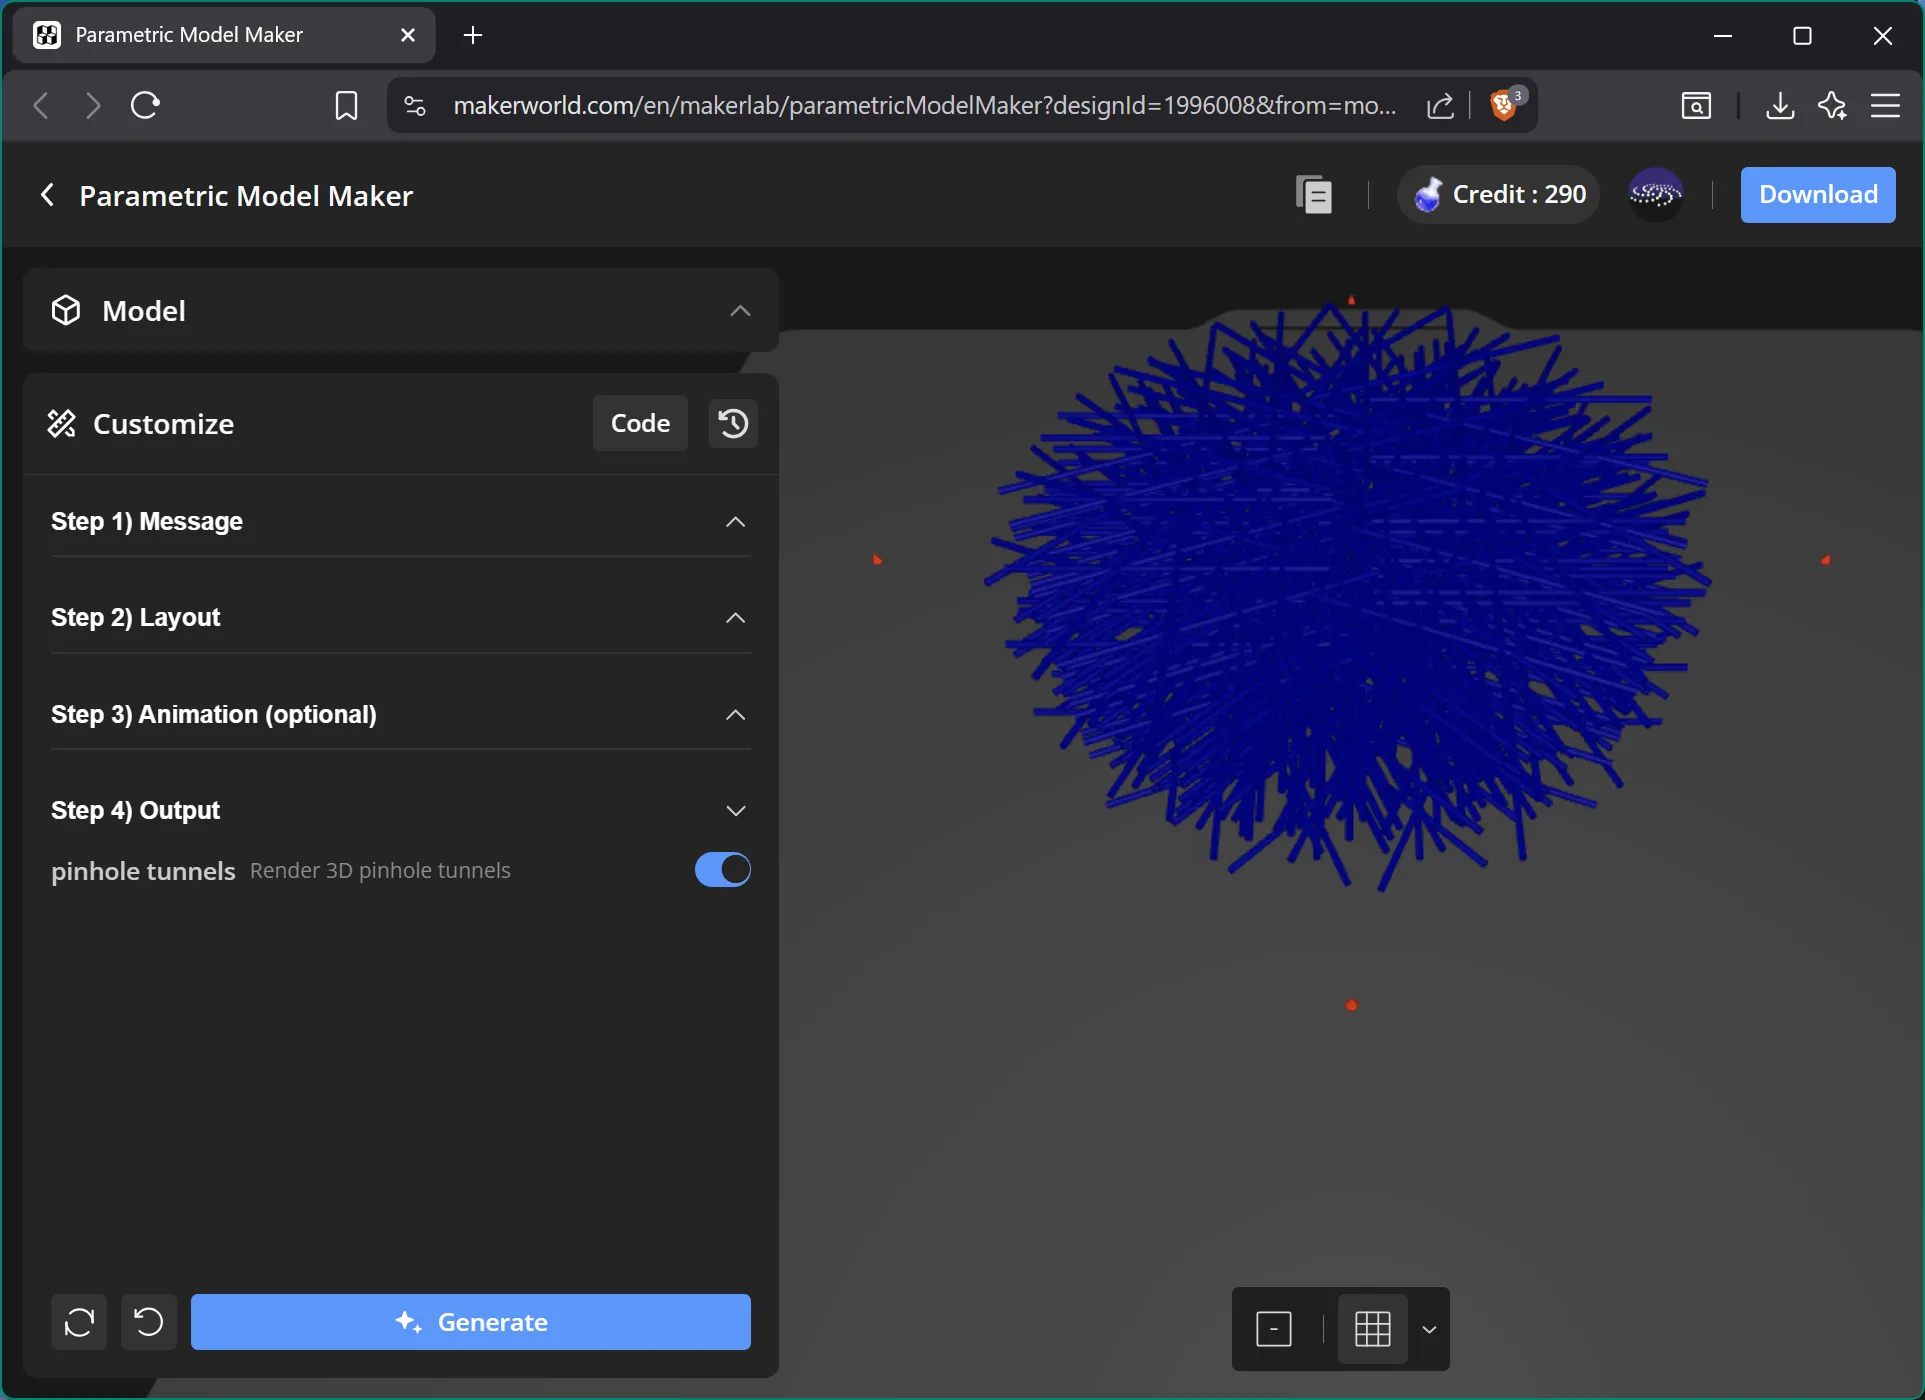
Step 4) Toggle the output to display pinhole tunnels
Remember to click Generate afterwards.
This step can fail if the server is busy, so you might have to try a few times.
 |  |
Step 5) Download pinhole_message.stl
Make sure to choose the .stl download option, not the .3mf one.
This step can also fail if the server is busy, so you might have to try a few times.
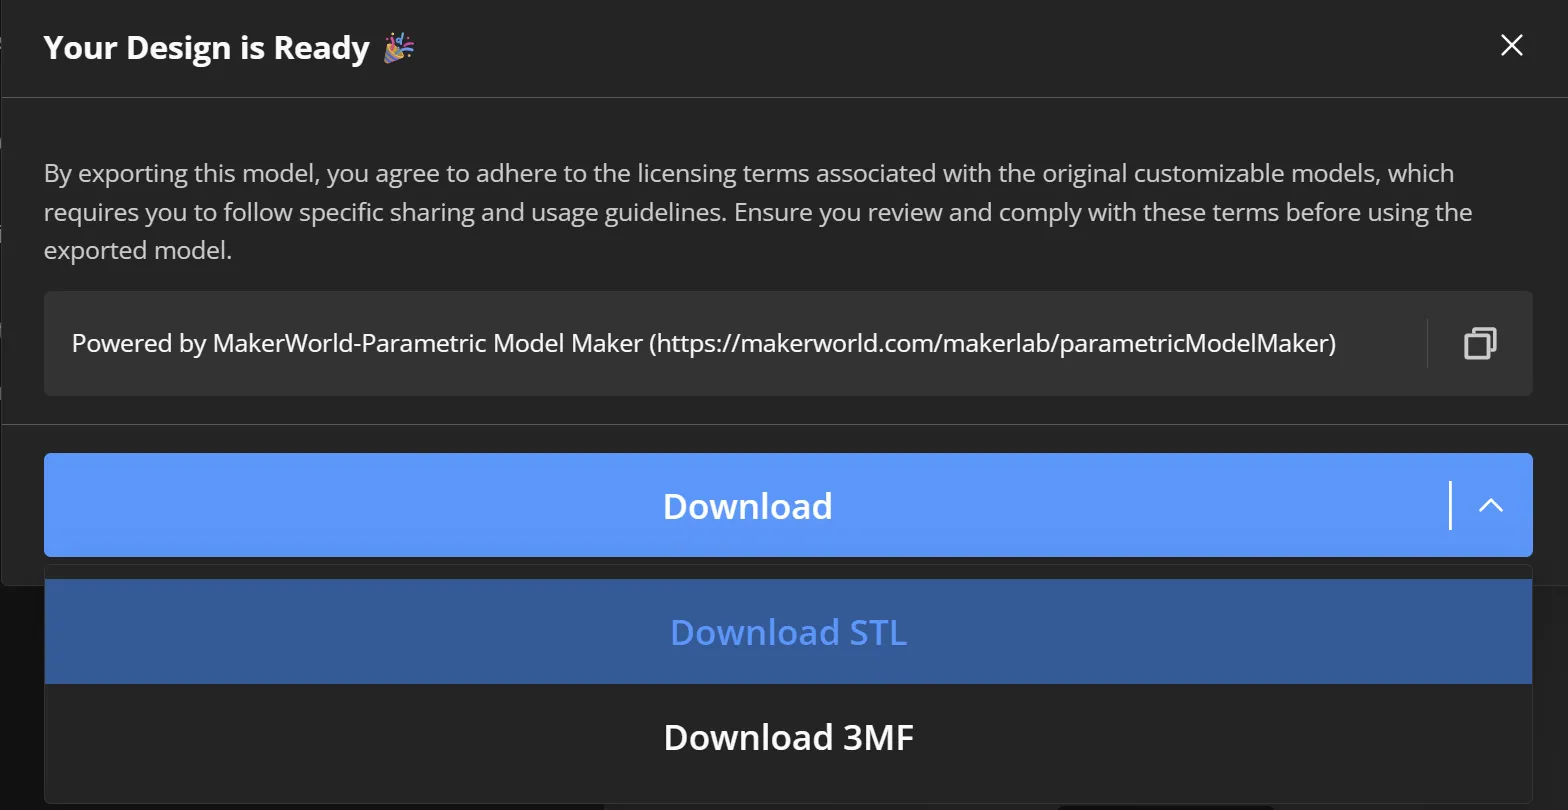
Step 6) Download + open my “Customizable blank ornament” print profile (.3mf) in your slicer
Get it here (on this model page) - not from the script window. Make sure the customizable print profile is selected before you click the Download button.
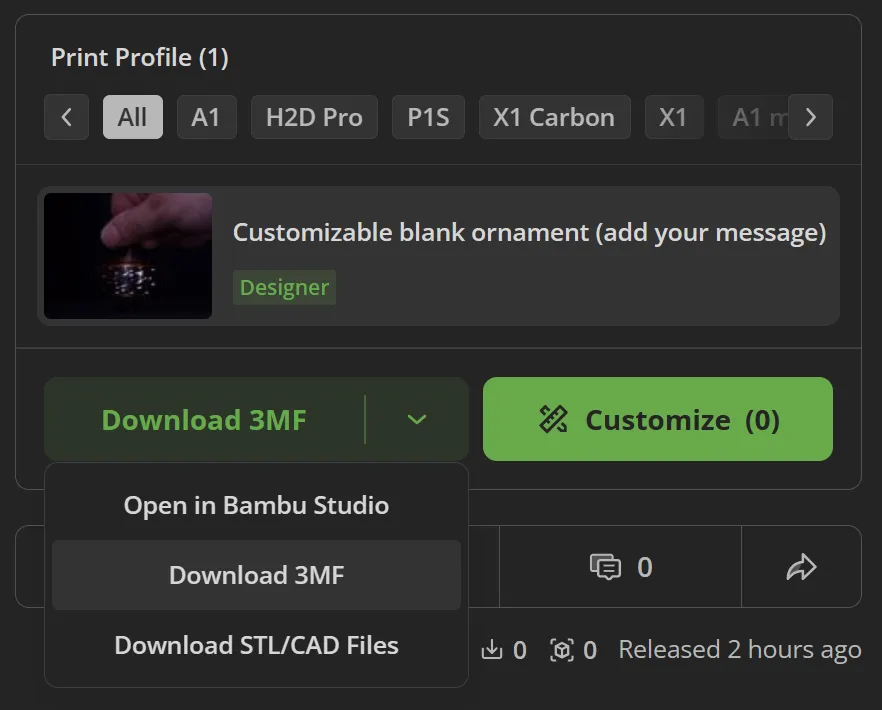
Non-Bambu users, if you can't open the .3mf, you can directly download bauble_main.stl.
Step 7) Add the pinhole tunnels to the ornament body as a negative part
Right click on the blank ornament body → Add negative part → Load…
Select pinhole_message.stl that you previously downloaded.
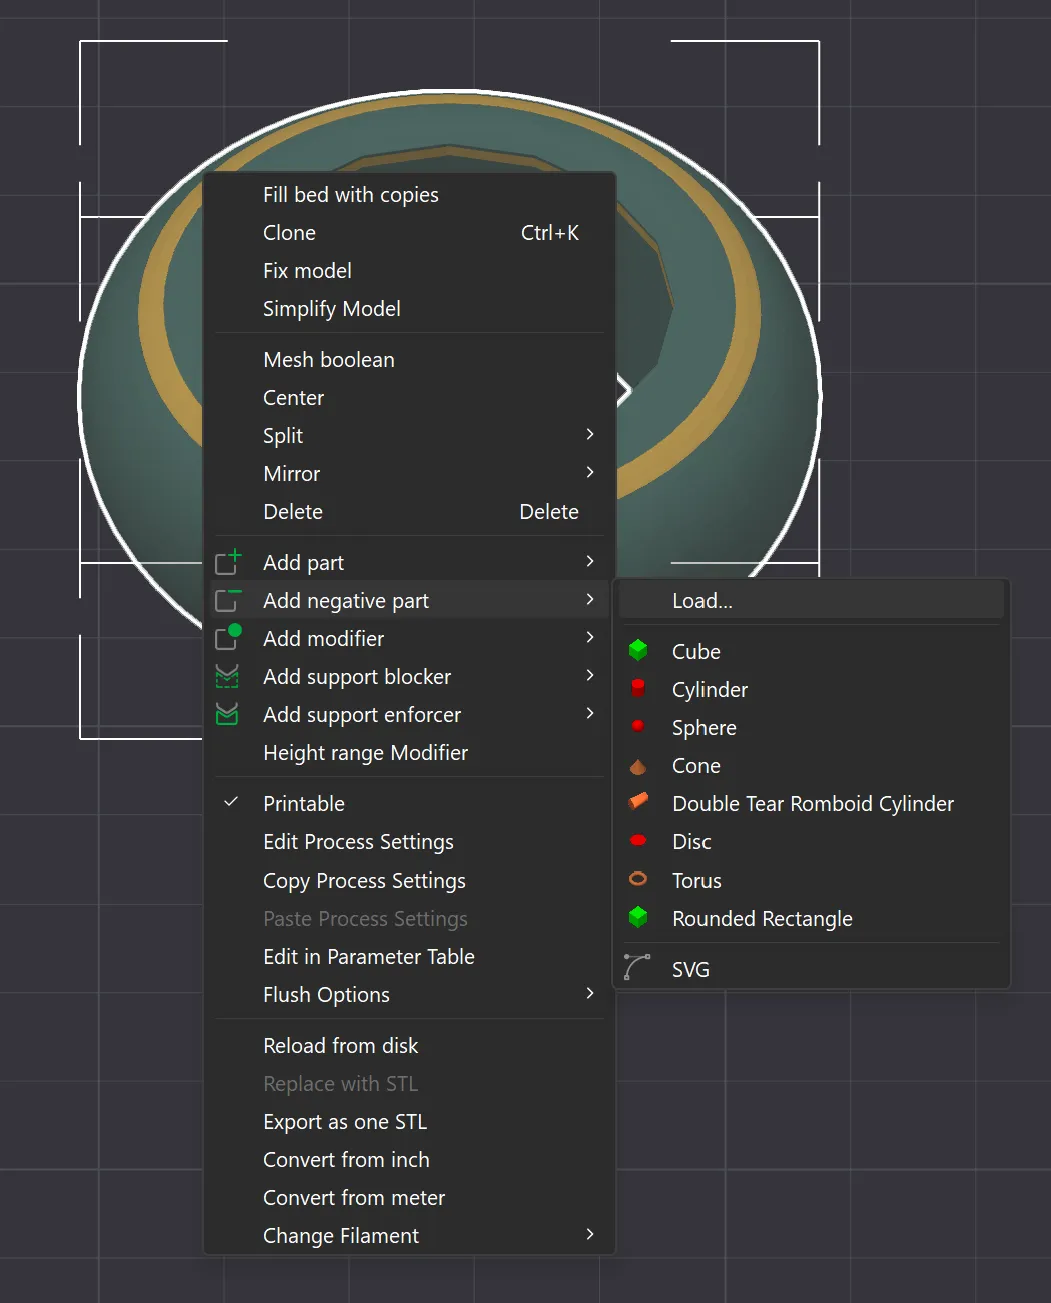
If your slicer warns that this .stl has non-manifold edges, in my experience you can safely ignore it. But if it bugs you, right-click on the part and select “Fix model” – the process takes about 30 seconds.
I know that this method works in Bambu Studio / Orca Slicer / PrusaSlicer. If, however, your slicer does not support negative parts, you can easily subtract the pinhole tunnels object from the ornament body in your CAD software of choice (e.g. Blender, Fusion, 3D Builder, etc.). In that case, just save as a single .stl file and then bring it into your slicer.
Step 8) Position the pinhole tunnels
Click the Move button and set the coordinates to be centered within the message area of the ornament body. This is typically at object coordinates [0.00, 0.00, 5.00].
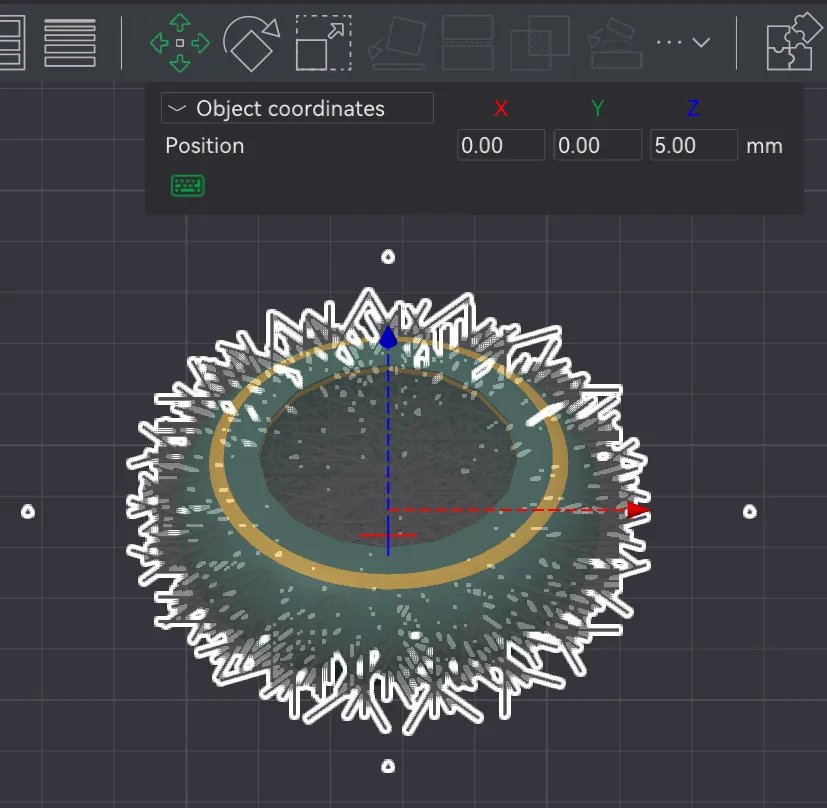
If you previously customized Top Secret, note that the message position for the ornament is a positive value. That’s because this model prints upright, unlike Top Secret. This also means that the axis anchors (tiny cones on the sides of the pinhole tunnels object) should be pointing upwards for the ornament. Other than for indicating orientation, these anchors won't affect the print.
Step 9) Save + print
See below for details.
How to Print
Download the print profile for the message you want or for the customizable version (see prior section for customization instructions). Each print profile includes all printable parts needed for the old-world (no-LED) & modern (LED) versions of the ornament, and each plate is titled so that it is clear which ones you should print.
Plate 1: Ornament Main Body
- I suggest a textured PEI plate. It imparts nooks & crannies that absorb excess glue during assembly.
- The model is configured by default to print multi-color.
- Use a dark or medium relatively-opaque PLA for the main color. I like to use a shimmery or glittery filament since it's festive and also helps hide layer lines. Don't use silk for the primary color because it's weaker and less accurate, which causes problems for the pinhole tunnels.
- For the secondary color, I suggest a shiny silk PLA.
- You can use the same filament for both colors if you don’t have multicolor capabilities.
- Alternatively, even without an AMS, you can easily print it in multiple colors. In that case, first configure the object to only use a single filament. Then, in the Preview tab just navigate to the correct layer for the swap, right-click the layer slider and select “Change Filament.” Add these manual filament swaps at layers 185 (18.6mm) and 195 (19.6mm). When the print pauses, load the new filament.
- Ignore Bambu Studio’s “floating regions” warning - no supports are required.
Plate 2: Ornament Tip
- While I originally had the tip attached to the body as one part, the steep curves made it print sloppily. To ensure perfect results, I split the tip into a separate part but made it super easy and satisfying to align the two parts when gluing. The assembly video demonstrates a foolproof way to do this.
- Afterwards, gently buff the very tip if it’s jagged. I usually just rub it against my shirt.
- To print in multiple colors without an AMS, use the same technique I described in the “Ornament Main Body” section above, but add the manual filament swaps at layers 10 (1.1mm) and 100 (10.1mm).
Plate 3: Light Diffuser
- Use a regular (not matte) white PLA for best visibility.
Plate 4: Cap & Peg (no-LED version)
- Make sure the build plate is clean before printing the peg. Otherwise it is prone to dislodging toward the end of the print, despite the brim.
- Afterwards, use a scraper to remove the peg + brim as one piece. This makes it easier to then remove the brim without creating jagged edges, for smooth insertion into the ornament.
Plate 5: Cap & Plug (LED version)
- Depending on filament opacity, the cap may show a ring of light when the LED is illuminated. This ring looks festive and is a good reminder that the LED is on, but if it bothers you, either use an opaquer filament or set the cap’s infill to 100%. I like the look of the ring and prefer having reduced weight here since it slightly improves the top’s stability.
- The assembly video shows how to easily remove the support structure.
Plate 6: Key (LED version)
- If you already have a key from my earlier zoetropes, you can use it. The old Star Key won’t be as reliable because it uses a thinner magnet, so I recommend printing this one.
- Most filaments should work well, though I'd avoid silk due to weakness.
- The print will pause at layer 20 (4.0mm) for you to insert the magnet. Carefully place it in the slot and make sure it doesn't protrude above the print surface before resuming.
Non-Bambu Users – Recommended Print Settings
If you cannot use my .3mf files that have the print settings baked in, you can alternatively download the raw .stl files (click the dropdown arrow on the Download button).
- Common settings for all parts, unless specified otherwise:
- Layer height: 0.1mm (initial layer height 0.2mm)
- Walls: 3 wall loops, Arachne generator if you have it
- Top & bottom surface patterns: Concentric
- Infill: Rectilinear, 10%
- Supports: Normal (not tree), snug, 20% threshold angle, on build plate only, top & bottom Z distance 0.2mm
- bauble_main.stl:
- Split to parts so you can colorize the band (middle part) separately – typically gold.
- If you’re not able to automatically split to parts, you can also manually cut the object into parts at heights 18.5mm & 19.5mm.
- Disable supports
- bauble_tip.stl:
- Split to parts so you can colorize the band (bottom part) and the very tip (top part) separately – typically gold.
- If you’re not able to automatically split to parts, you can also manually cut the object into parts at heights 1mm & 10mm.
- light_diffuser.stl:
- Layer height 0.2mm
- no-LED_version_peg.stl:
- Add a 10mm brim (for the peg only), set brim-object gap to 0.07mm
- LED_version_cap.stl:
- Wall loops: 6 (increase to reduce light bleed, but also very slightly reduces spin steadiness)
- Top & bottom shell layers: 5
- Top & bottom shell thickness: 0.5mm
- Sparse infill density: 0% (so you don’t see the infill pattern when the light is on)
- LED_version_key.stl:
- Layer height 0.2mm, set a pause at layer 20 (4.0mm).
- Top & bottom surface patterns: Hilbert Curve
- Sparse infill density: 100%
- Disable supports (so the internal hole has space for magnet)
How to Assemble
I'd love for you to share a photo and/or story of the result in the comments. Seeing what people do with my work motivates me to keep putting out more free designs.
How to Use
- The less ambient light, the better.

- No-LED version: Remove the cap & hanger. Shine a bright light into the top from close above as it spins. Try not to illuminate the front surface since the goal is to maximize contrast. A tightly focused flashlight is best but not absolutely required. The inexpensive yet highly effective one I use is the UltraTac K1 (affiliate link).
- LED version: Remove the hanger. Turn on by tapping the key to the cap. Remember to turn it off when finished since it won’t do so automatically. The LED has a few modes you’ll have to cycle through.

- Spin evenly and observe from the side at a perpendicular angle to see the hidden message appear. Try making a smooth deliberate motion with your hand. Text clarity depends on spin speed and angle. Practice makes perfect!
Video recording: While the effect is best viewed with the naked eye, it can be filmed using a slow shutter speed. The exact value depends on how fast the top is spinning, but I’ve achieved good results with shutter speeds in the range of 1/10–1/25 second (often labeled as 10–25 on many cameras).
Thank You
Though the optical mechanism is patent pending, The Enchanted Ornament is always free to print for personal use (includes gift-giving).
To explore commercial use beyond my standard licensing options (such as props for escape rooms, exhibits, or other interactive installations) feel free to message me.

If you’re looking for even more holiday magic, check out my design from last year, The Shelf Elf Illusion. It’s an easy print with a strong illusory effect.
Membership
You can always print this model for yourself or to gift, for free. Selling prints requires a tier 1 or higher membership. The allowed sales quantity is specified within each tier's terms.
 Enter the Next Dimension |
Boost Me (for free)
Boosts, follows and honest reviews all help me keep releasing free designs. THANK YOU!
License

You shall not share, sub-license, sell, rent, host, transfer, or distribute in any way the digital or 3D printed versions of this object, nor any other derivative work of this object in its digital or physical format (including - but not limited to - remixes of this object, and hosting on other digital platforms). The objects may not be used without permission in any way whatsoever in which you charge money, or collect fees.


Comment & Rating (63)