
Levoit Core 300 filter

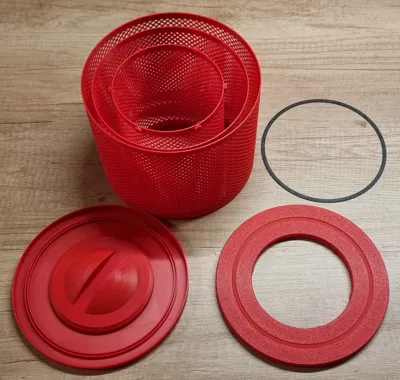
Print Profile(3)


Description
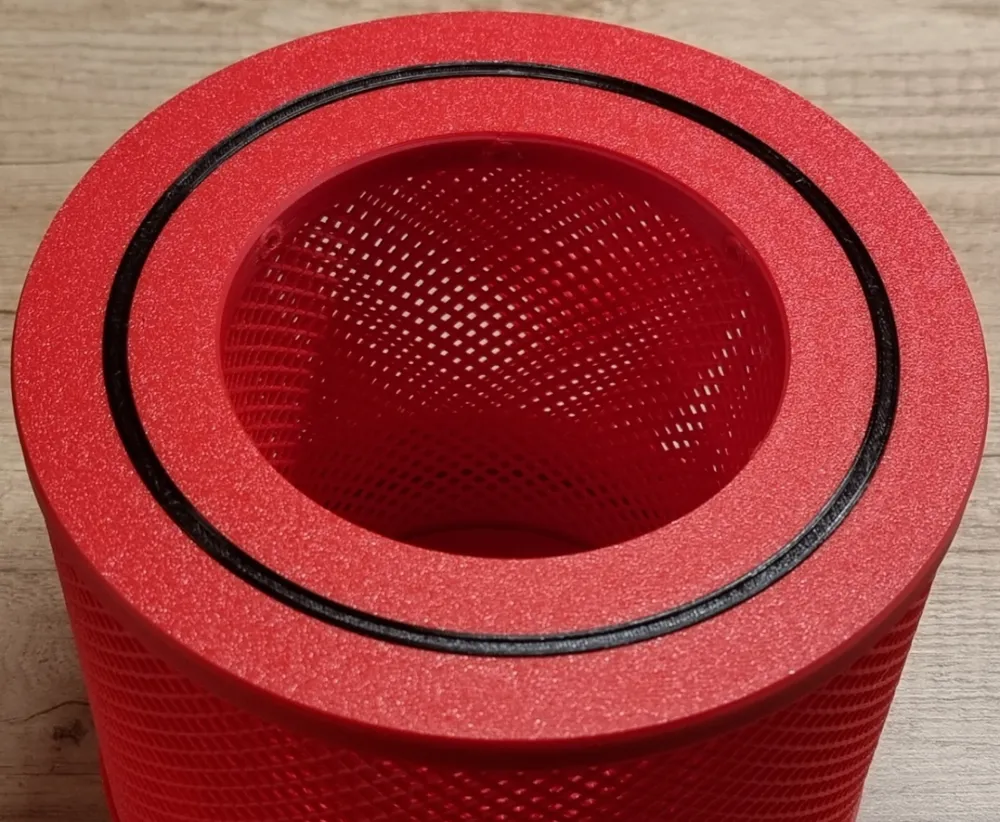
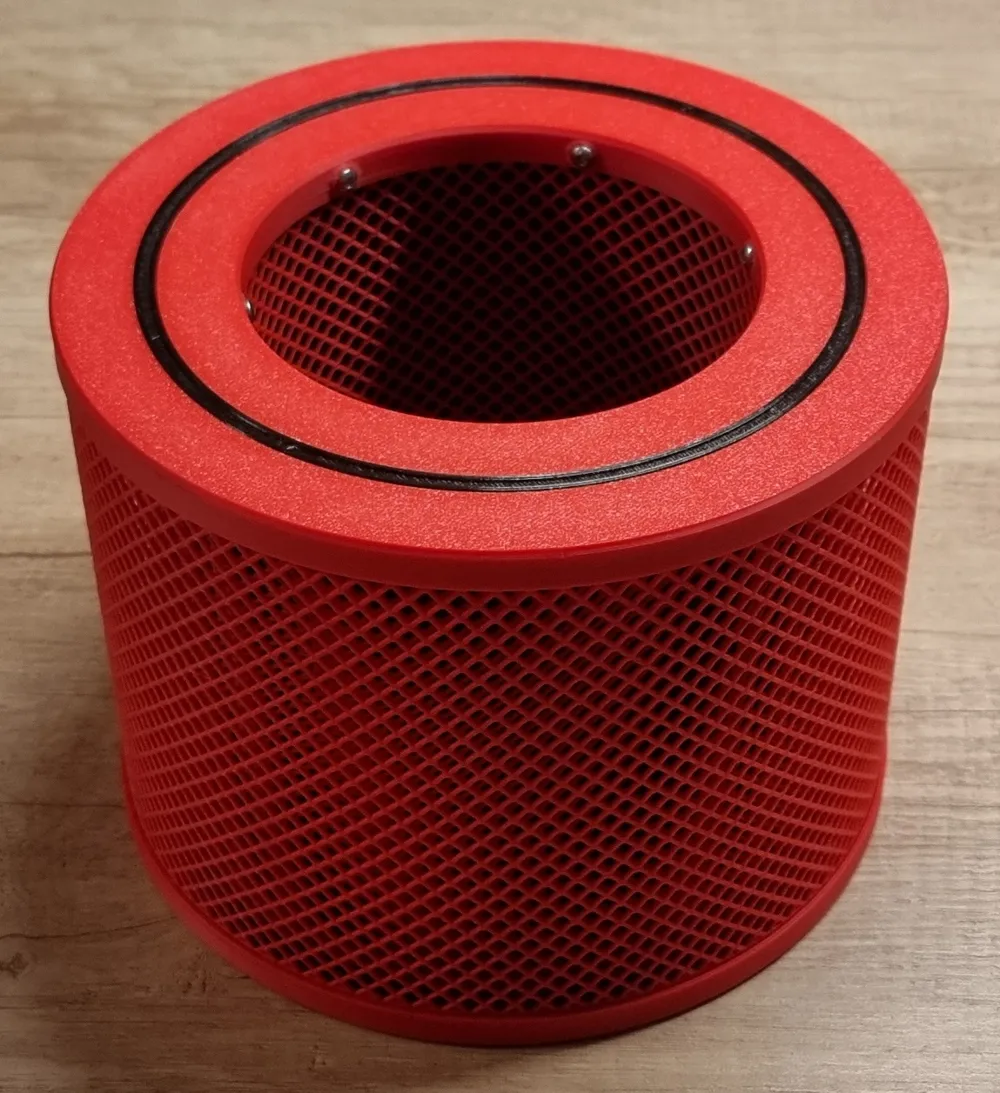
A replacement filter for the Levoit Core 300 series air purifier. Works with both 300 and 300S models.
If you want to make an activated carbon insert for the original filter, you can find it here:
https://makerworld.com/en/models/812044#profileId-753601 (300 model)
https://makerworld.com/en/models/1114477#profileId-1111650 (300 and 300s model)
Features
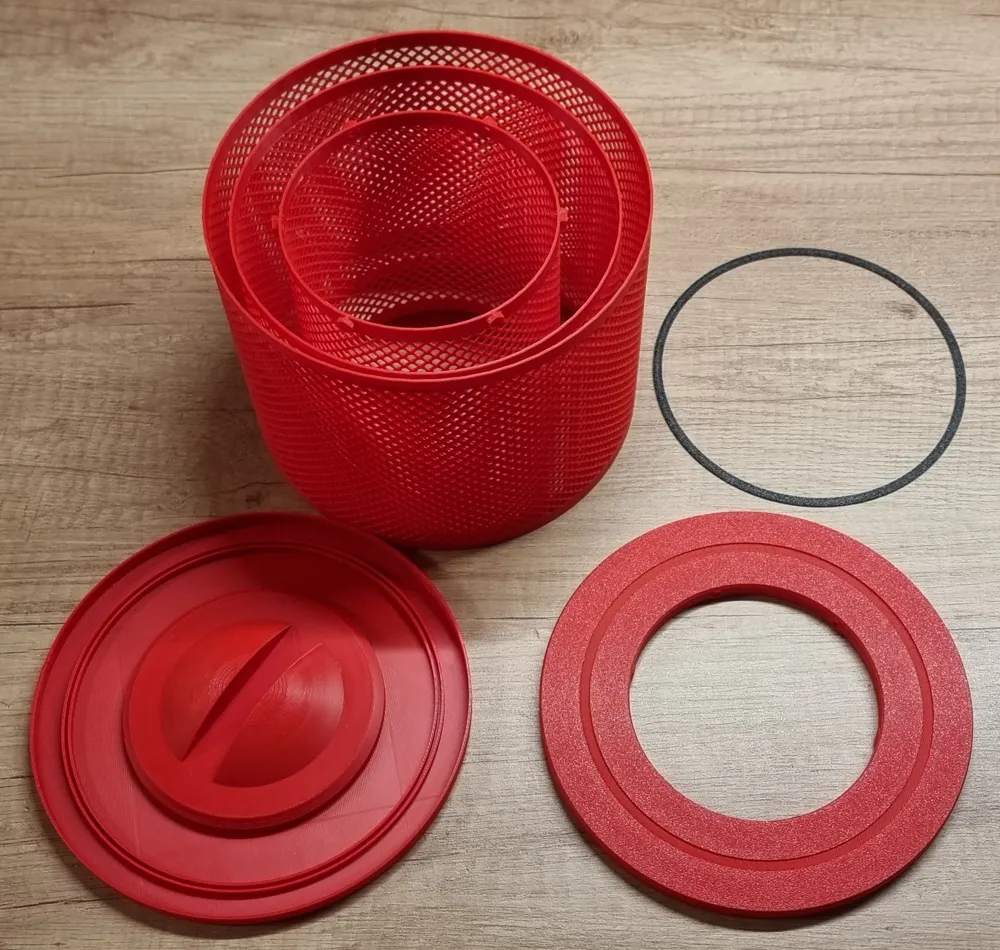
- Two versions:
- Refillable version with a screwed-on top. My preferred option.
- Glued together version.
- Alternative bottom available:
- The original filter has a dome feature on the bottom which is not required on my 300 model.
- Compatible with all materials:
- You can print it with PLA, PETG, ABS, or ASA. Just make sure your settings are dialed in for the mesh parts.
- The gasket should be printed with TPU or you can use a different method for sealing (see below).
- Increased activated charcoal volume:
- Improved VOC fume filtration which is important in 3D printing.
- Two-compartments constructions:
- Use the outside compartment for particle filter (HEPA filter) or more activated carbon volume.
- Use the inside compartment for activated carbon.
Required parts
In addition to the 3D-printed parts, you will also require:
- 6x M3 nuts (refillable option only)
- 6x M3x6 or longer screws (refillable option only)
- Particle filter material, for example: (optional)
- HEPA filter paper (preferred) or
- Nylon mesh or
- Sponge filter
- Having particle filtration will prolong the activated carbon effectiveness
- Activated carbon media
- The total filter compartment volume is about 2.4 L.
- Roughly estimated you will require about 750g of activated carbon if you wish to fill both filter compartments.
- About 290g for the outer compartment
- About 460g for the inner compartment
- Glue
- I prefer 2-part epoxy but superglue can also be used
- Foam tape sealing strip (optional):
- If you don't want to print the TPU gasket
- Make sure it is very soft foam, like a kitchen sponge for example
- Items including “rubber” or “EVA foam” in the description are likely too hard
- Search for “window foam tape”. It should look like this:
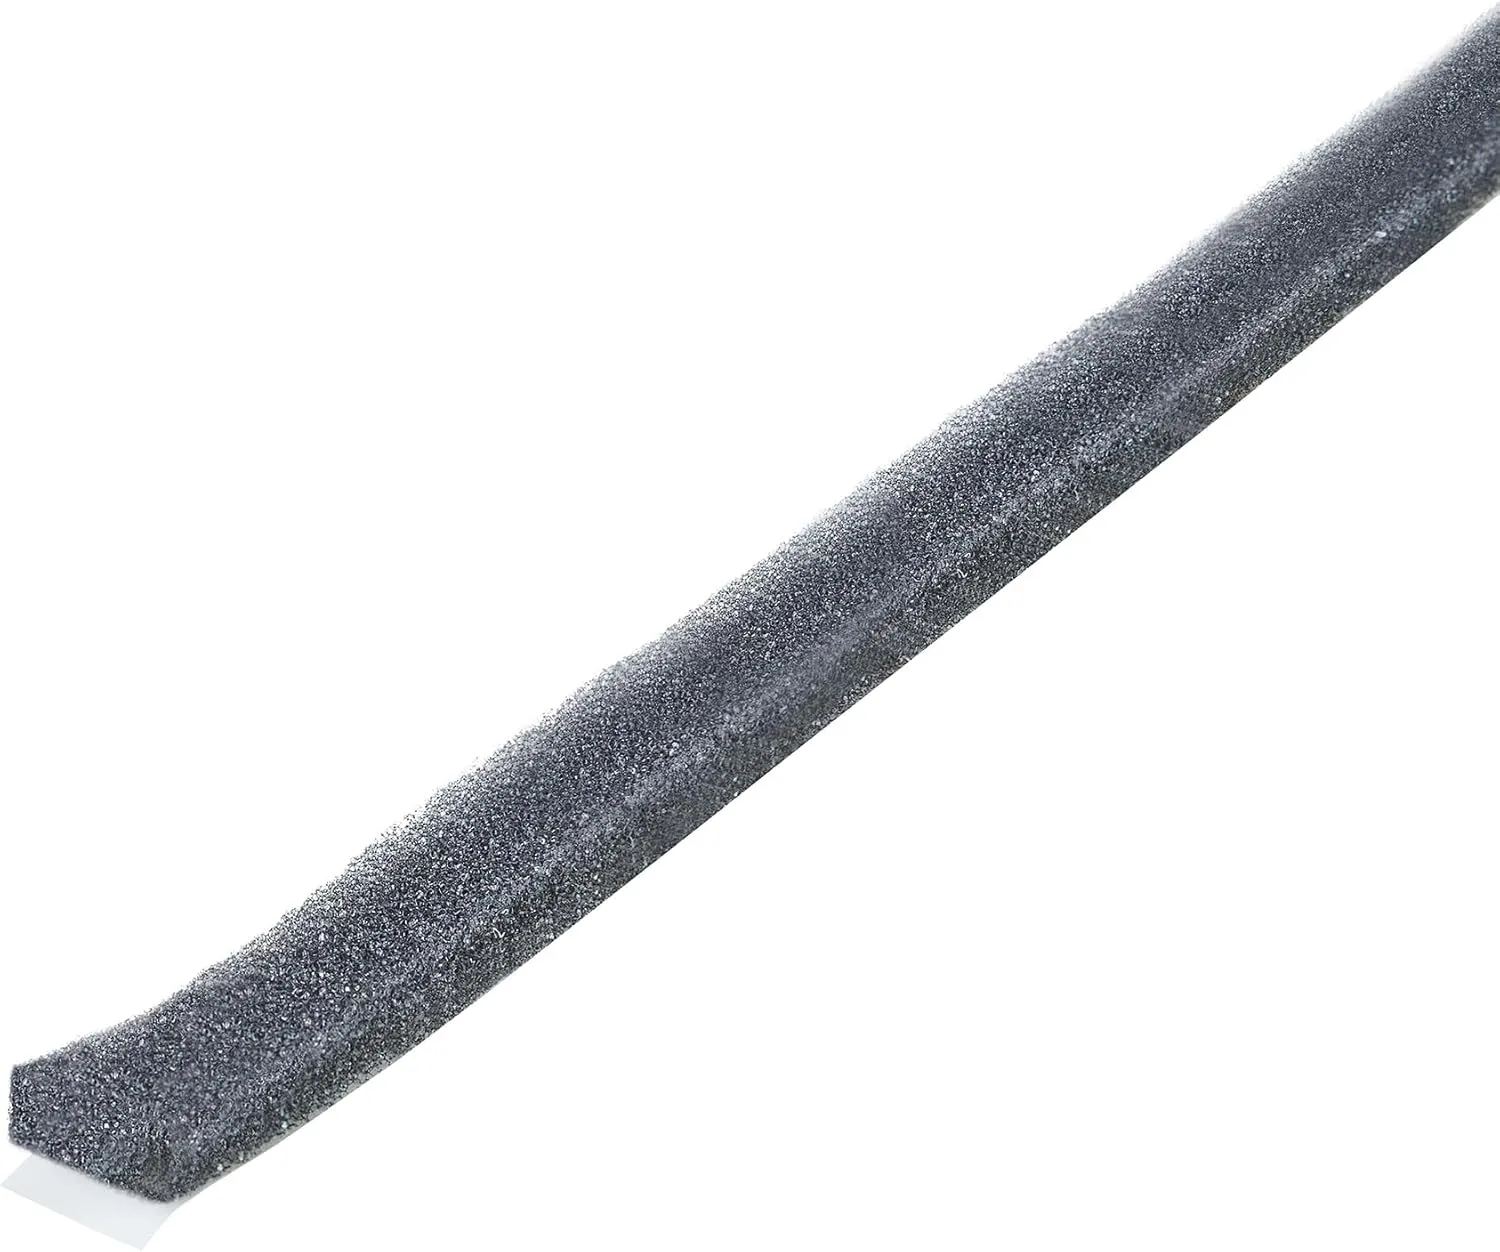
- The compressed thickness will be about 1mm. Make sure it will work and not be too stiff.
Otherwise, you can break the mesh parts which are quite delicate. - This is the method the original filter uses
Boost Me (for free)
Thank you for supporting me.
Instructions
Print all of the required parts. I prefer the refillable option with the alternative bottom but make sure the alternative bottom fits your purifier.
Print the gasket with the softest TPU you can.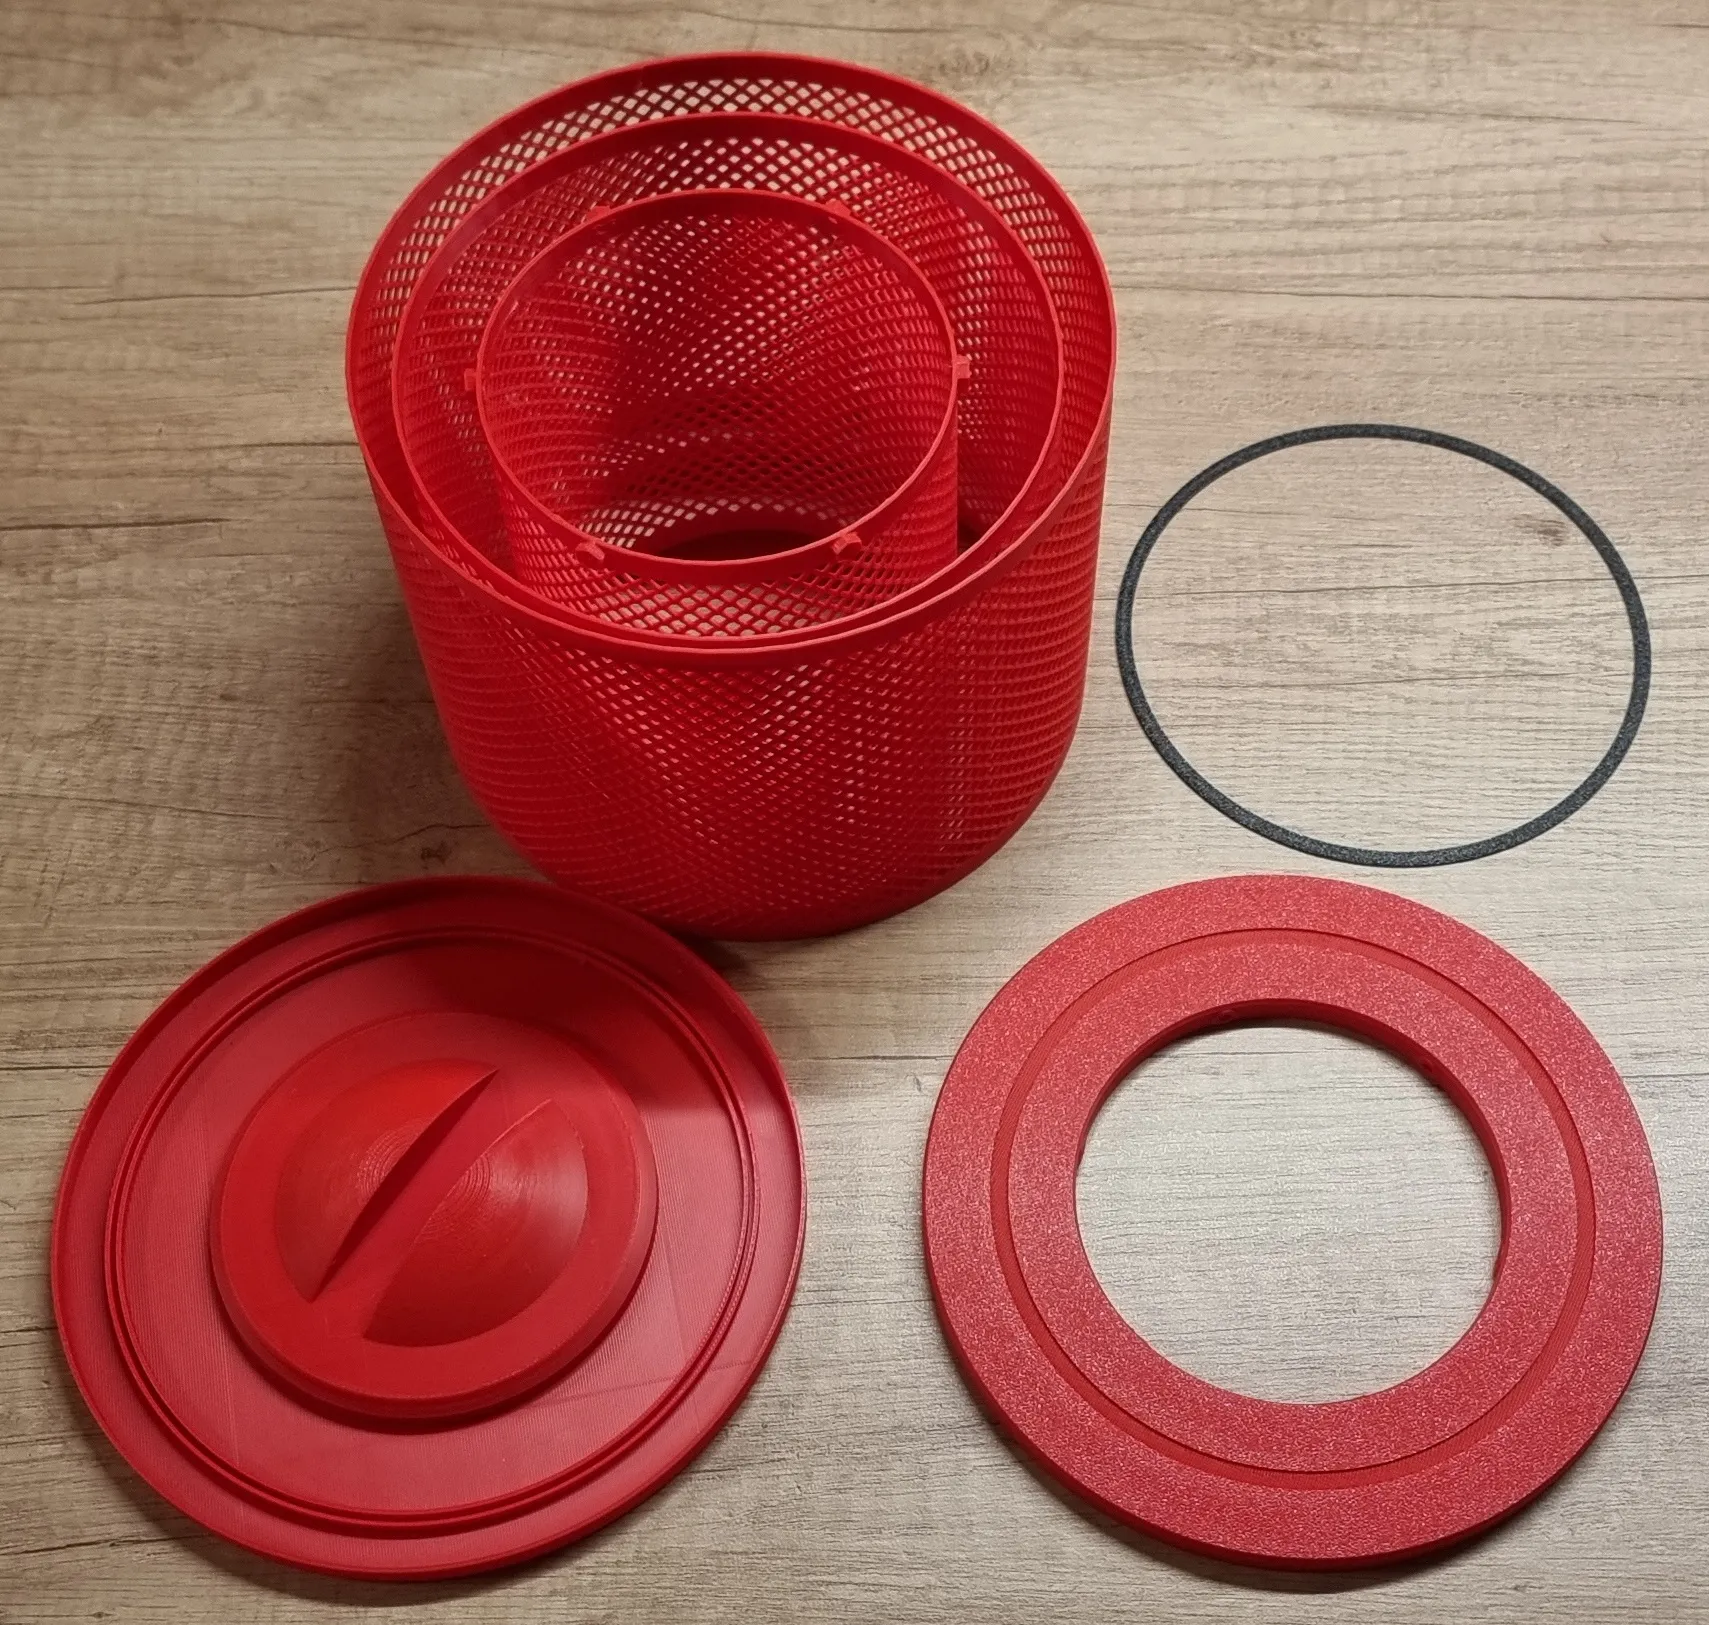
- Do a dry fit of all the parts and ensure you can assemble everything without issues. Check if it will fit in the air purifier.
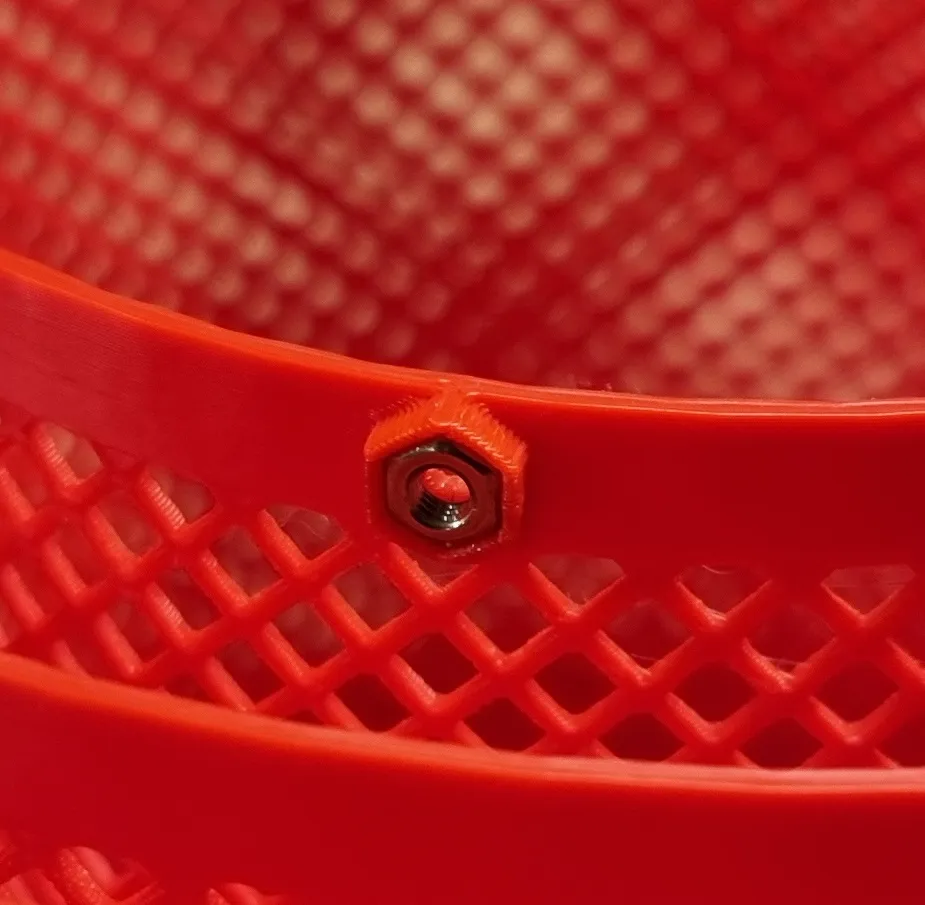
If making the refillable option, install the nuts in the inner mesh. I recommend using glue to keep them in place.
- If making the refillable option, glue the mesh parts into the bottom part.
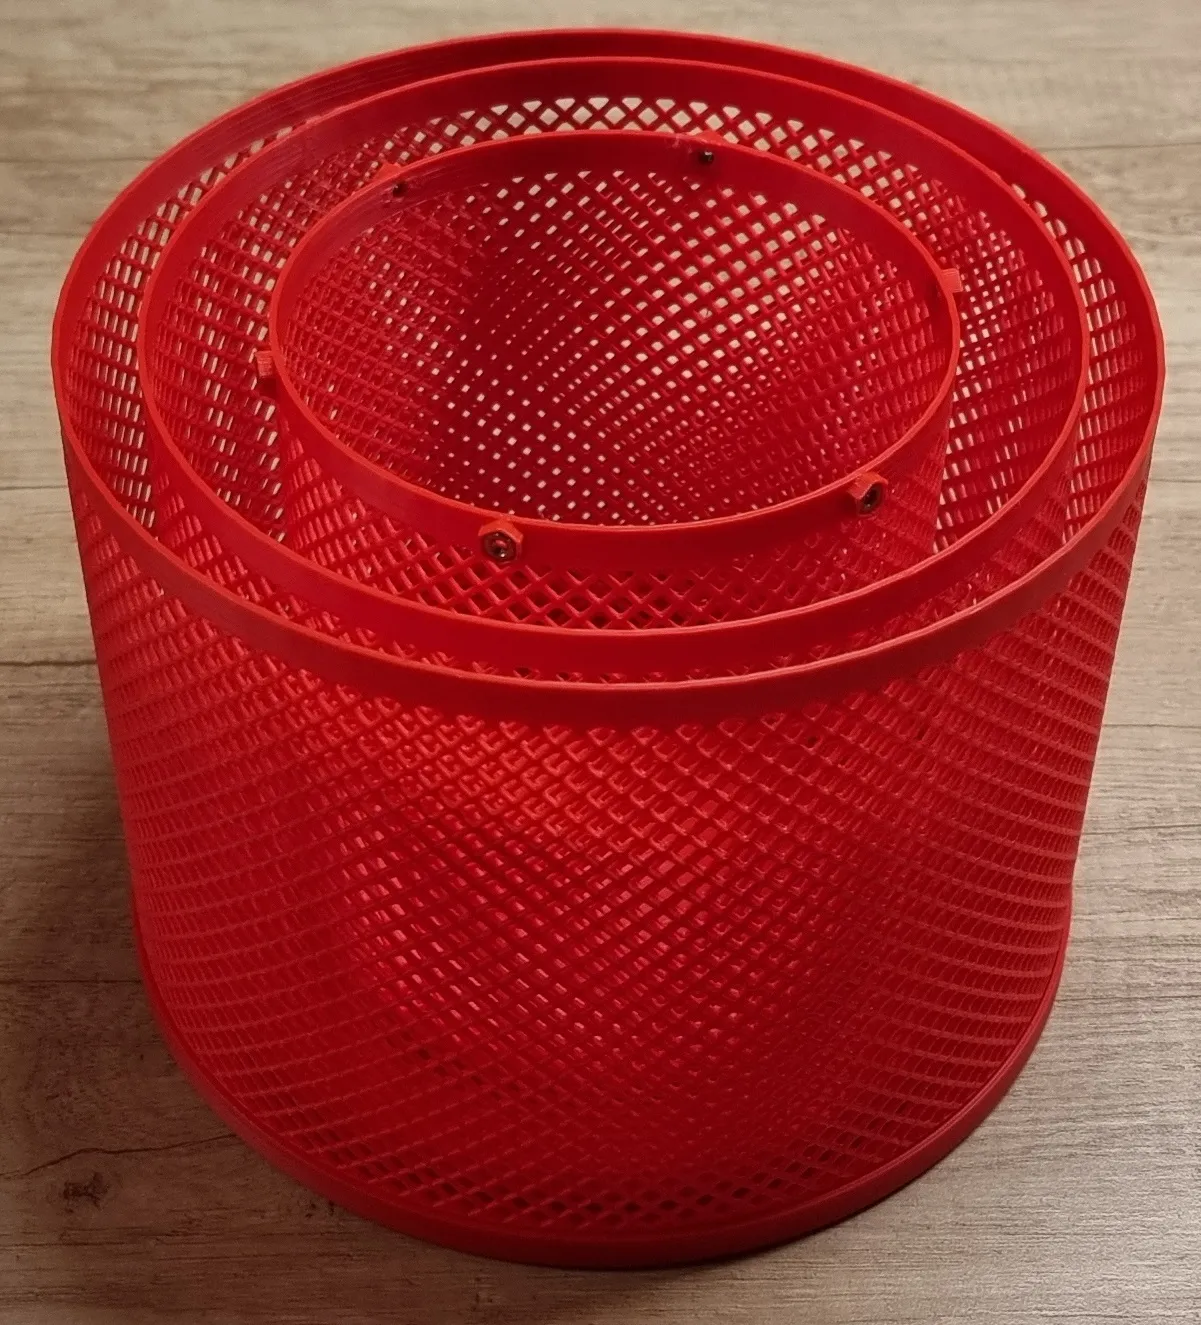
If using the particle filter, place it in the outside compartment. Make sure it is flush with the top of the mesh part.
Fill the filter with activated carbon media. Shake gently to evenly distribute it. Fill to about 4mm below the top.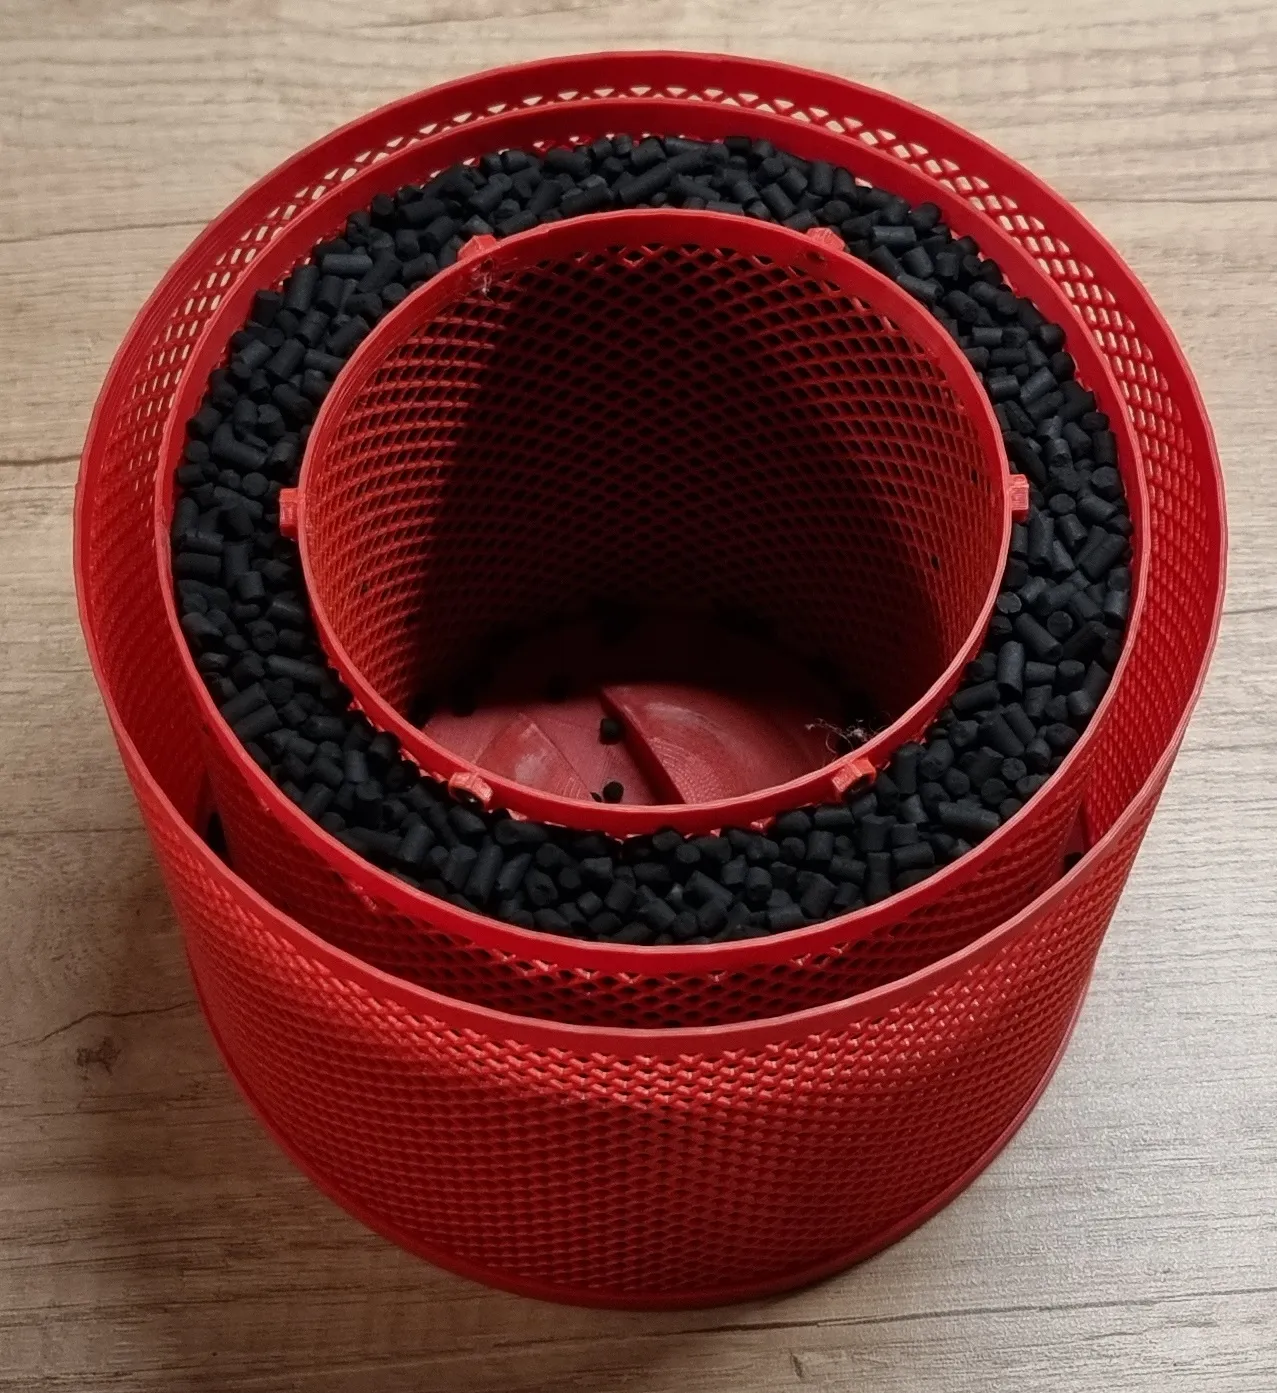
Make sure you can close the assembly. Install the cover:
- bottom part for the glued version or
- top part for the refillable version
If you can't close the assembly, you may need to redistribute/remove some activated carbon media.
Glue on the bottom part for the glued version or
Screw on the top part for the refillable version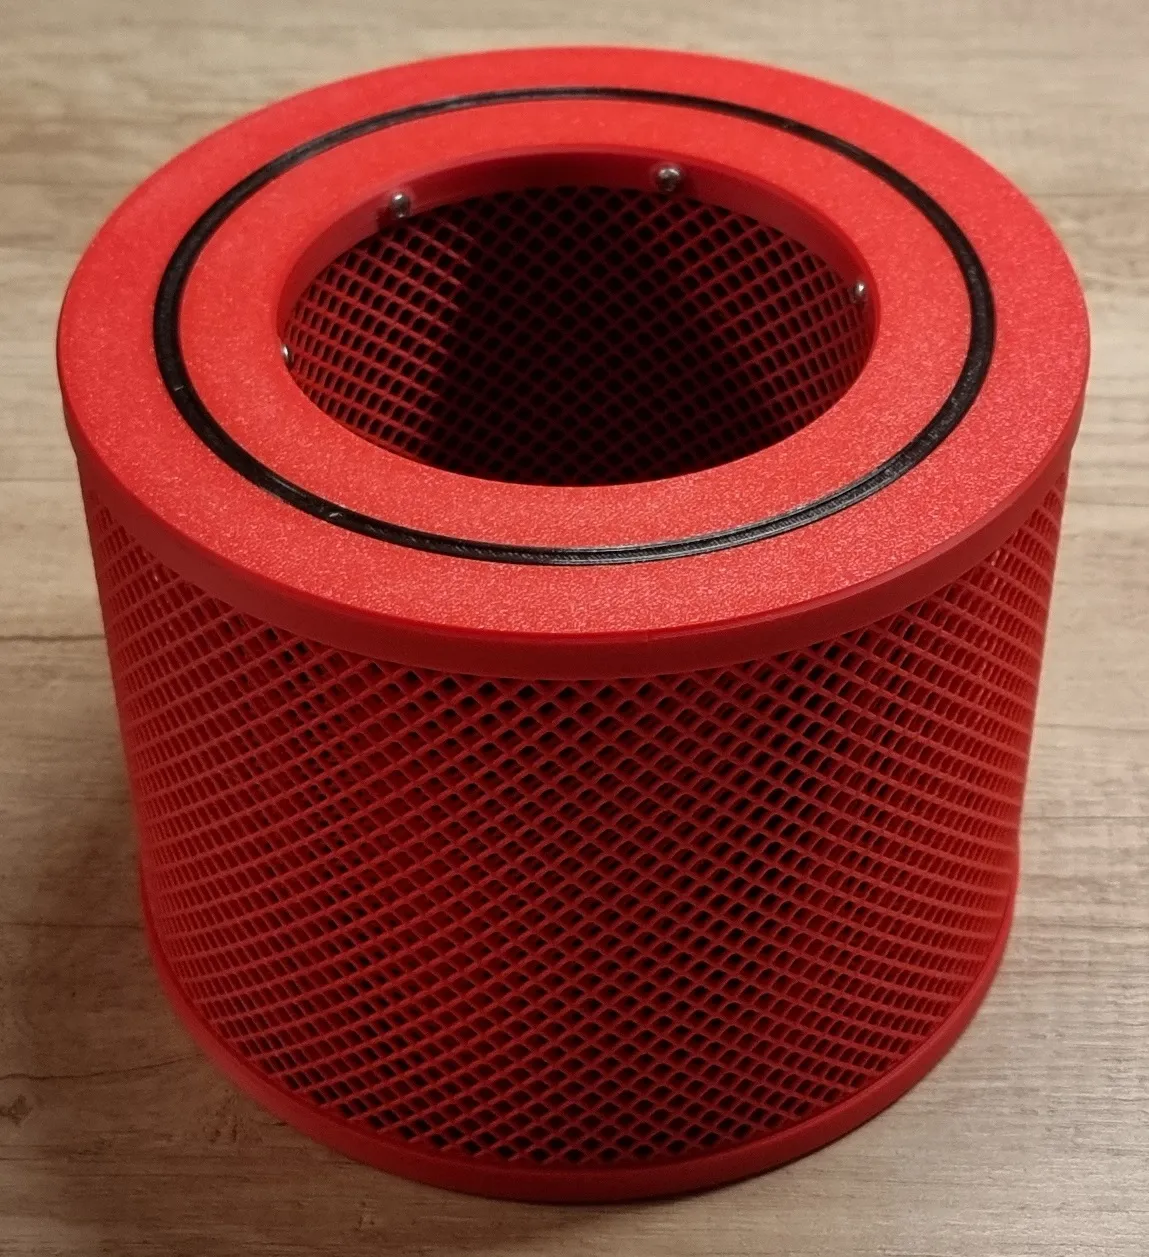
- Install the printed gasket or foam tape using the gasket indent as a centerline.
- Install your newly assembled filter in your Levoit Core air purifier and enjoy the clean air.
Notes
- Make sure your print plate is clean, especially for the mesh parts.
- The model will take some time to print. The mesh parts will be the majority of it. I printed them without brim but I included brim in the profile. If you are confident it will work, you can disable the brim.
- If you have trouble fitting parts together check that the seam isn't the issue. If it is trim/sand it down.
- The original filter has fine nylon mesh on the outside. You can get a nylon mesh bag or even use a nylon stocking. This is also a great option if you only need rough particle filtration. Put the whole filter assembly in the nylon mesh bag.
- Supports are required but my A1 had no issues with any parts. It doesn't matter if it doesn't look the best, as long as it is usable you are fine.
- I do not recommend filling the whole filter with activated carbon. It may decrease the airflow too much.
License

You shall not share, sub-license, sell, rent, host, transfer, or distribute in any way the digital or 3D printed versions of this object, nor any other derivative work of this object in its digital or physical format (including - but not limited to - remixes of this object, and hosting on other digital platforms). The objects may not be used without permission in any way whatsoever in which you charge money, or collect fees.


Comment & Rating (20)