
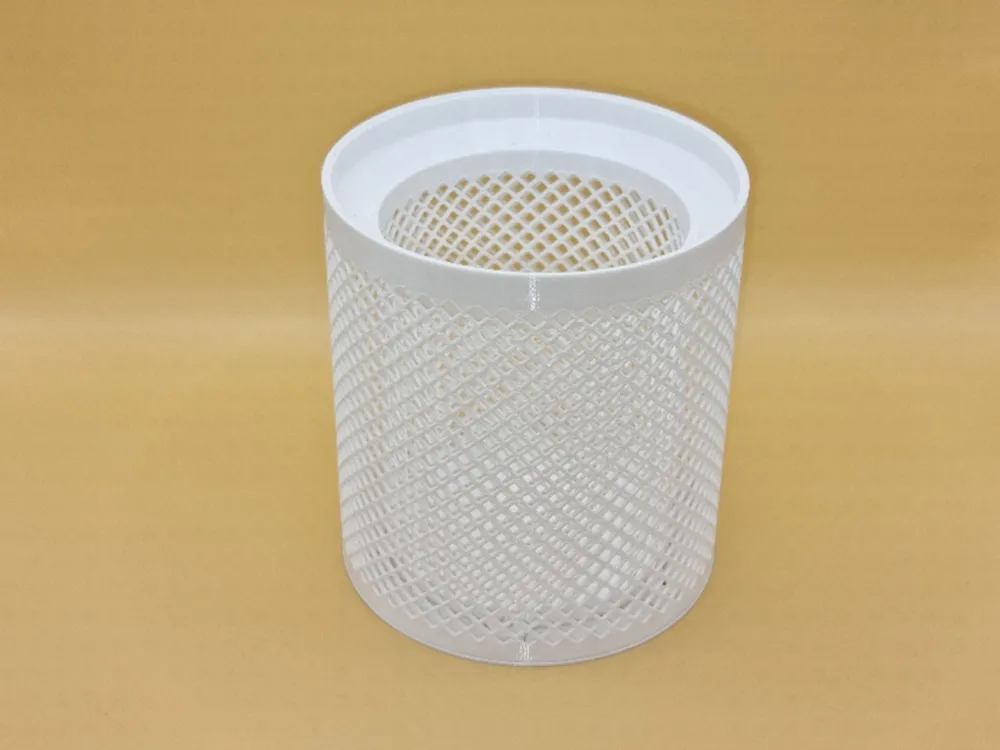
Levoit Core 300 filter insert
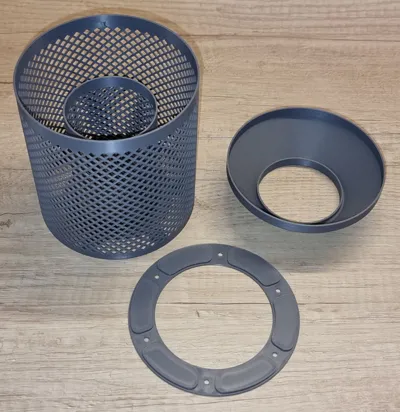
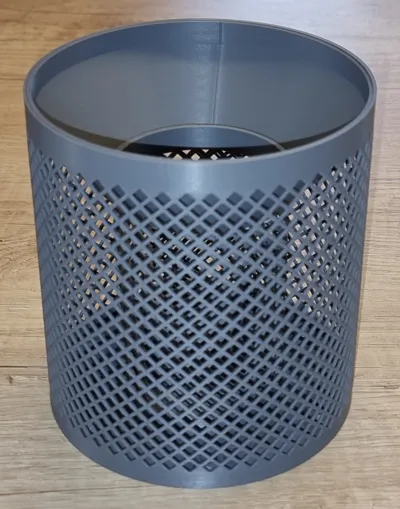
Print Profile(4)


Description
This is an updated model of my previous Levoit Core 300 filter insert: https://makerworld.com/en/models/812044#profileId-753601
It seems there are different variations of the 300 and 300s models with different internal features. This one should fit all of them.
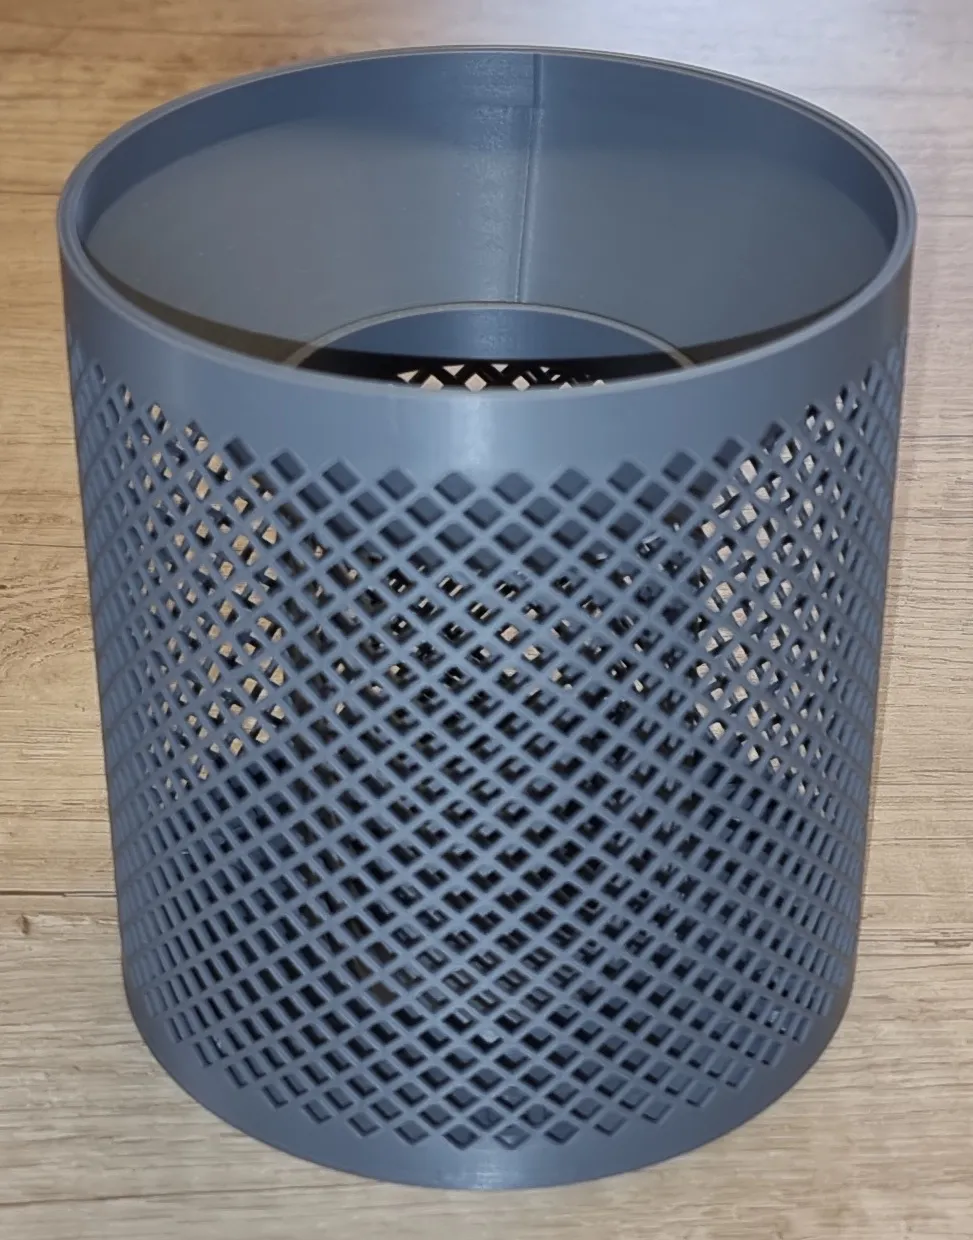
The insert holds a lot of activated carbon compared to the original one so it should last you several times longer. It is also easy and cheap to replace it. Simply discard the used up activated carbon and fill it with fresh one.
There are two options available:
- Option “_A” uses M3 heat set inserts/nuts.
- not as common
- will stay in place and won't fall into the basket during assembly
- Option “_B” uses normal M3 nuts.
- common
- could fall into the basket during assembly, requiring you to empty it and reinstall the nuts
- recommended to use glue to hold them in place
There is a “SLIM” and normal version of each option. I recommend you try the “SLIM” version first. It doesn't hold as much filter medium but it doesn't restrict the airflow as much.
If you are looking to make a complete filter, not just the insert, look here:
https://makerworld.com/en/models/942923#profileId-908925
Boost Me (for free)
Thank you for supporting me.
Required materials
- Glue (superglue or 2 part epoxy will work great)
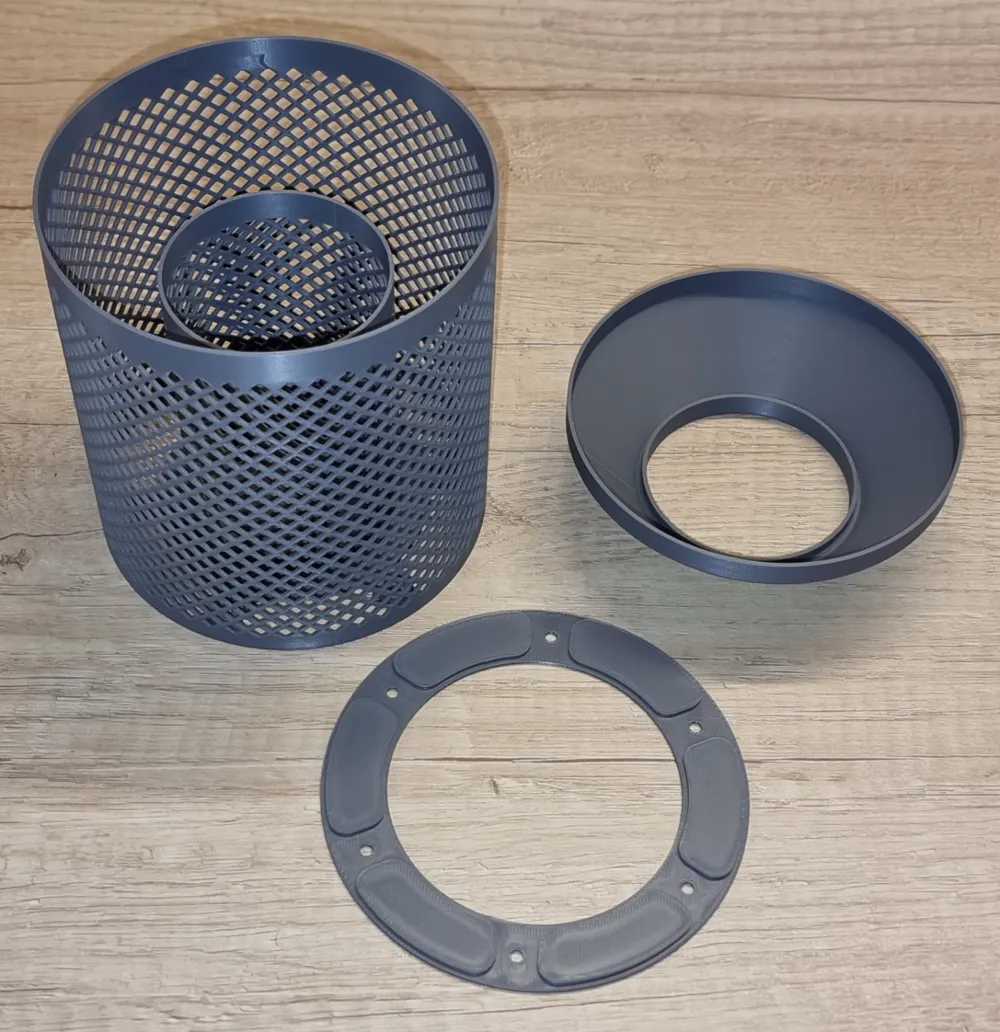
- 6x M3 heat set inserts or M3 nuts
- 6x M3x6 screw (can be longer)
- Activated carbon media for air filtration
Assembly
Print all of the parts and make sure they fit together. The fit should be snug.
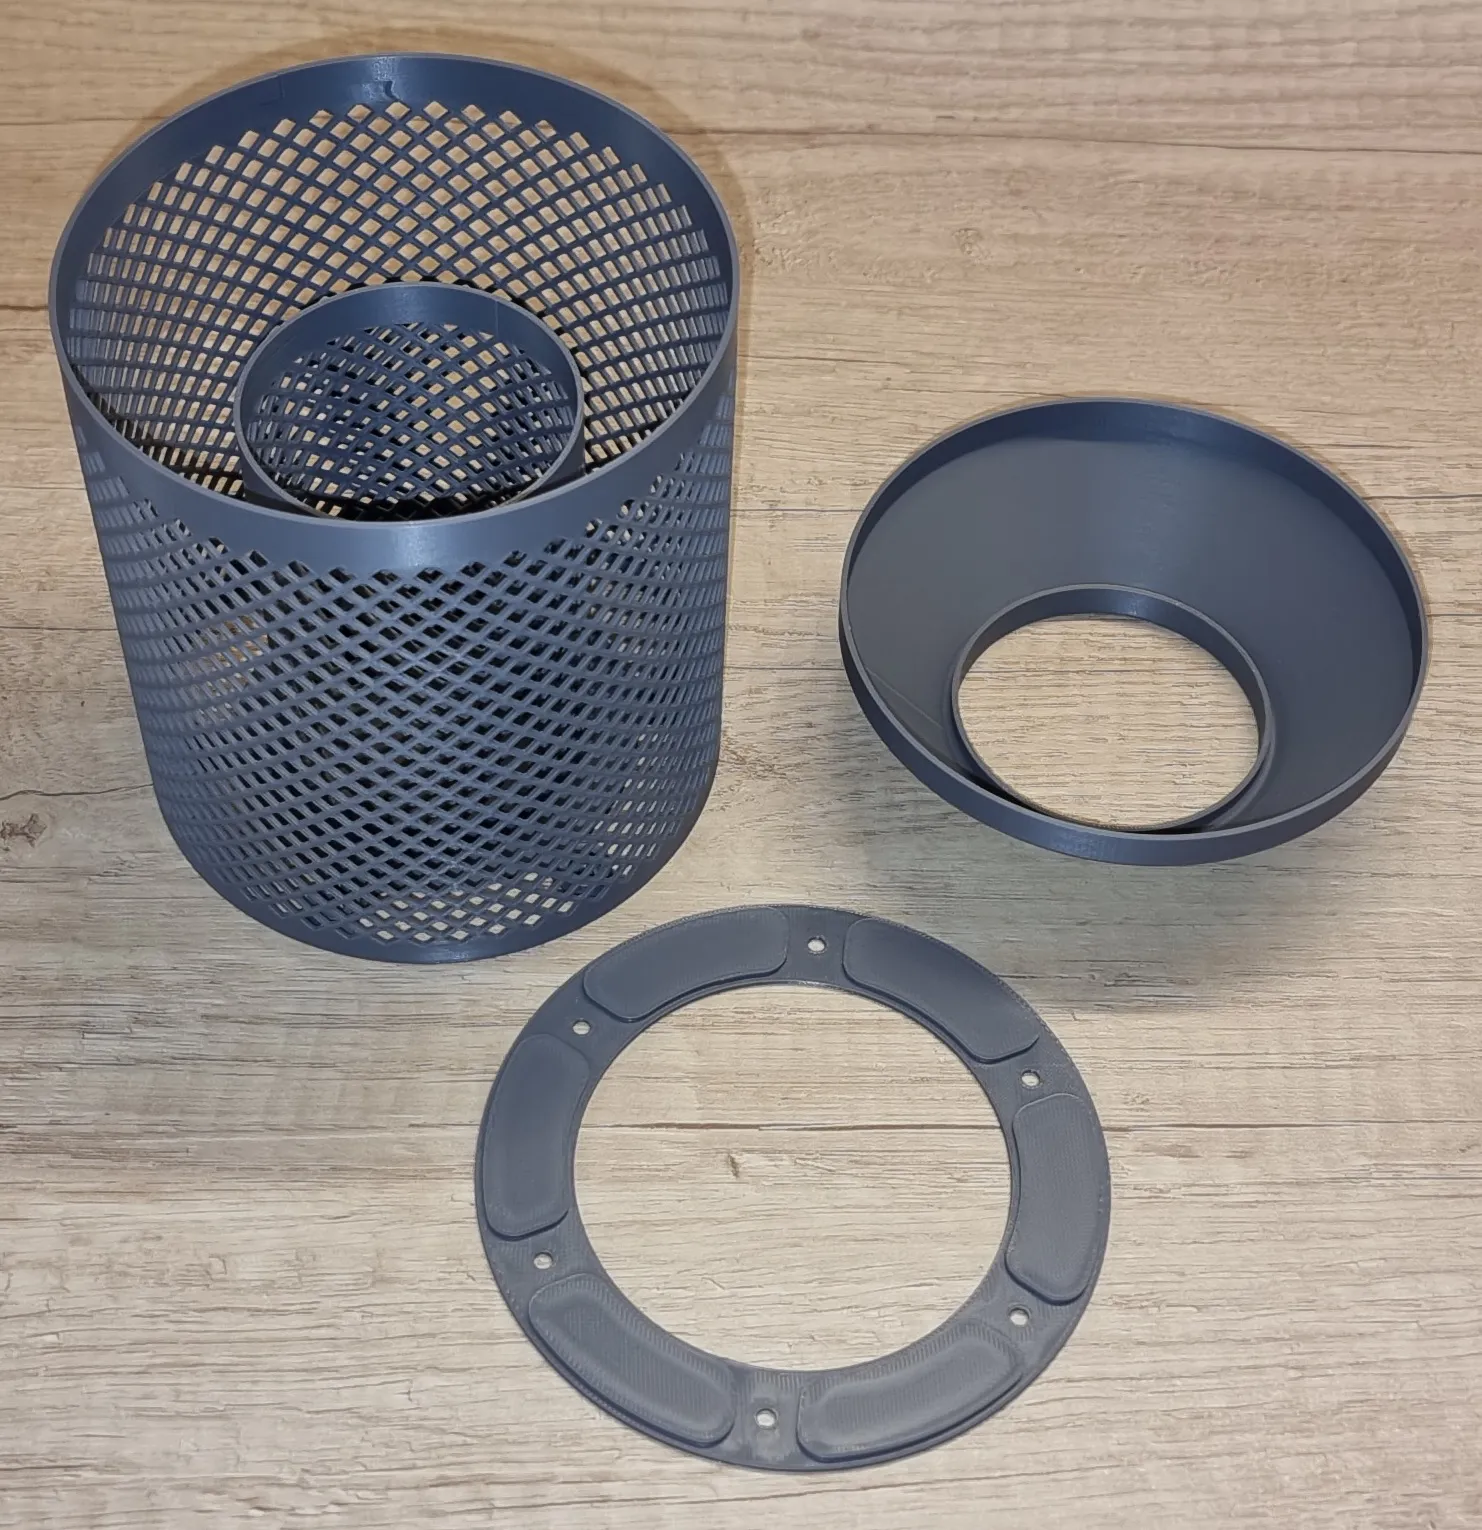
- Install the heat set inserts or M3 nuts:
- If using M3 heat set inserts, make sure they are flush with the surface or slightly below it.
- If using nuts I recommend you glue them in place so they don't fall out when trying to assemble the filter insert
- Screw on the bottom cover to provide extra stability for the next step
You need to glue the top part to the basket. Apply a thin line of glue on both parts where they make contact (see picture).
Join the parts together, making sure that the cover is flush with the basket. I find it the easiest to place the top cover upside down on a flat surface and press the basket on to it.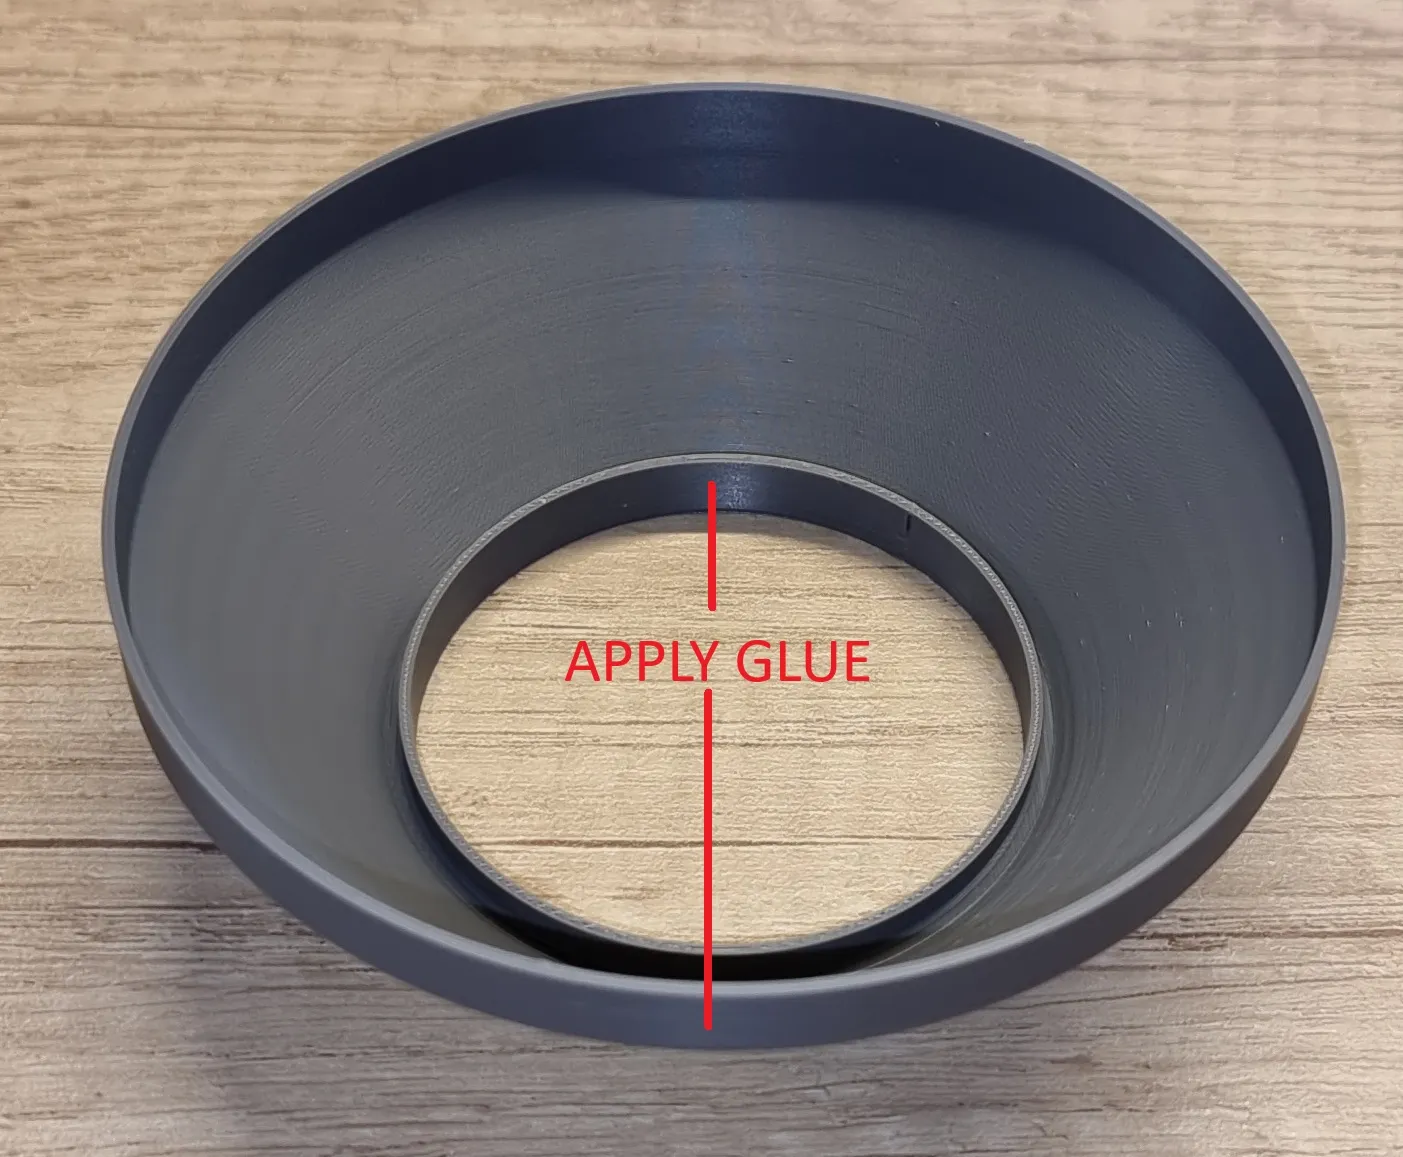
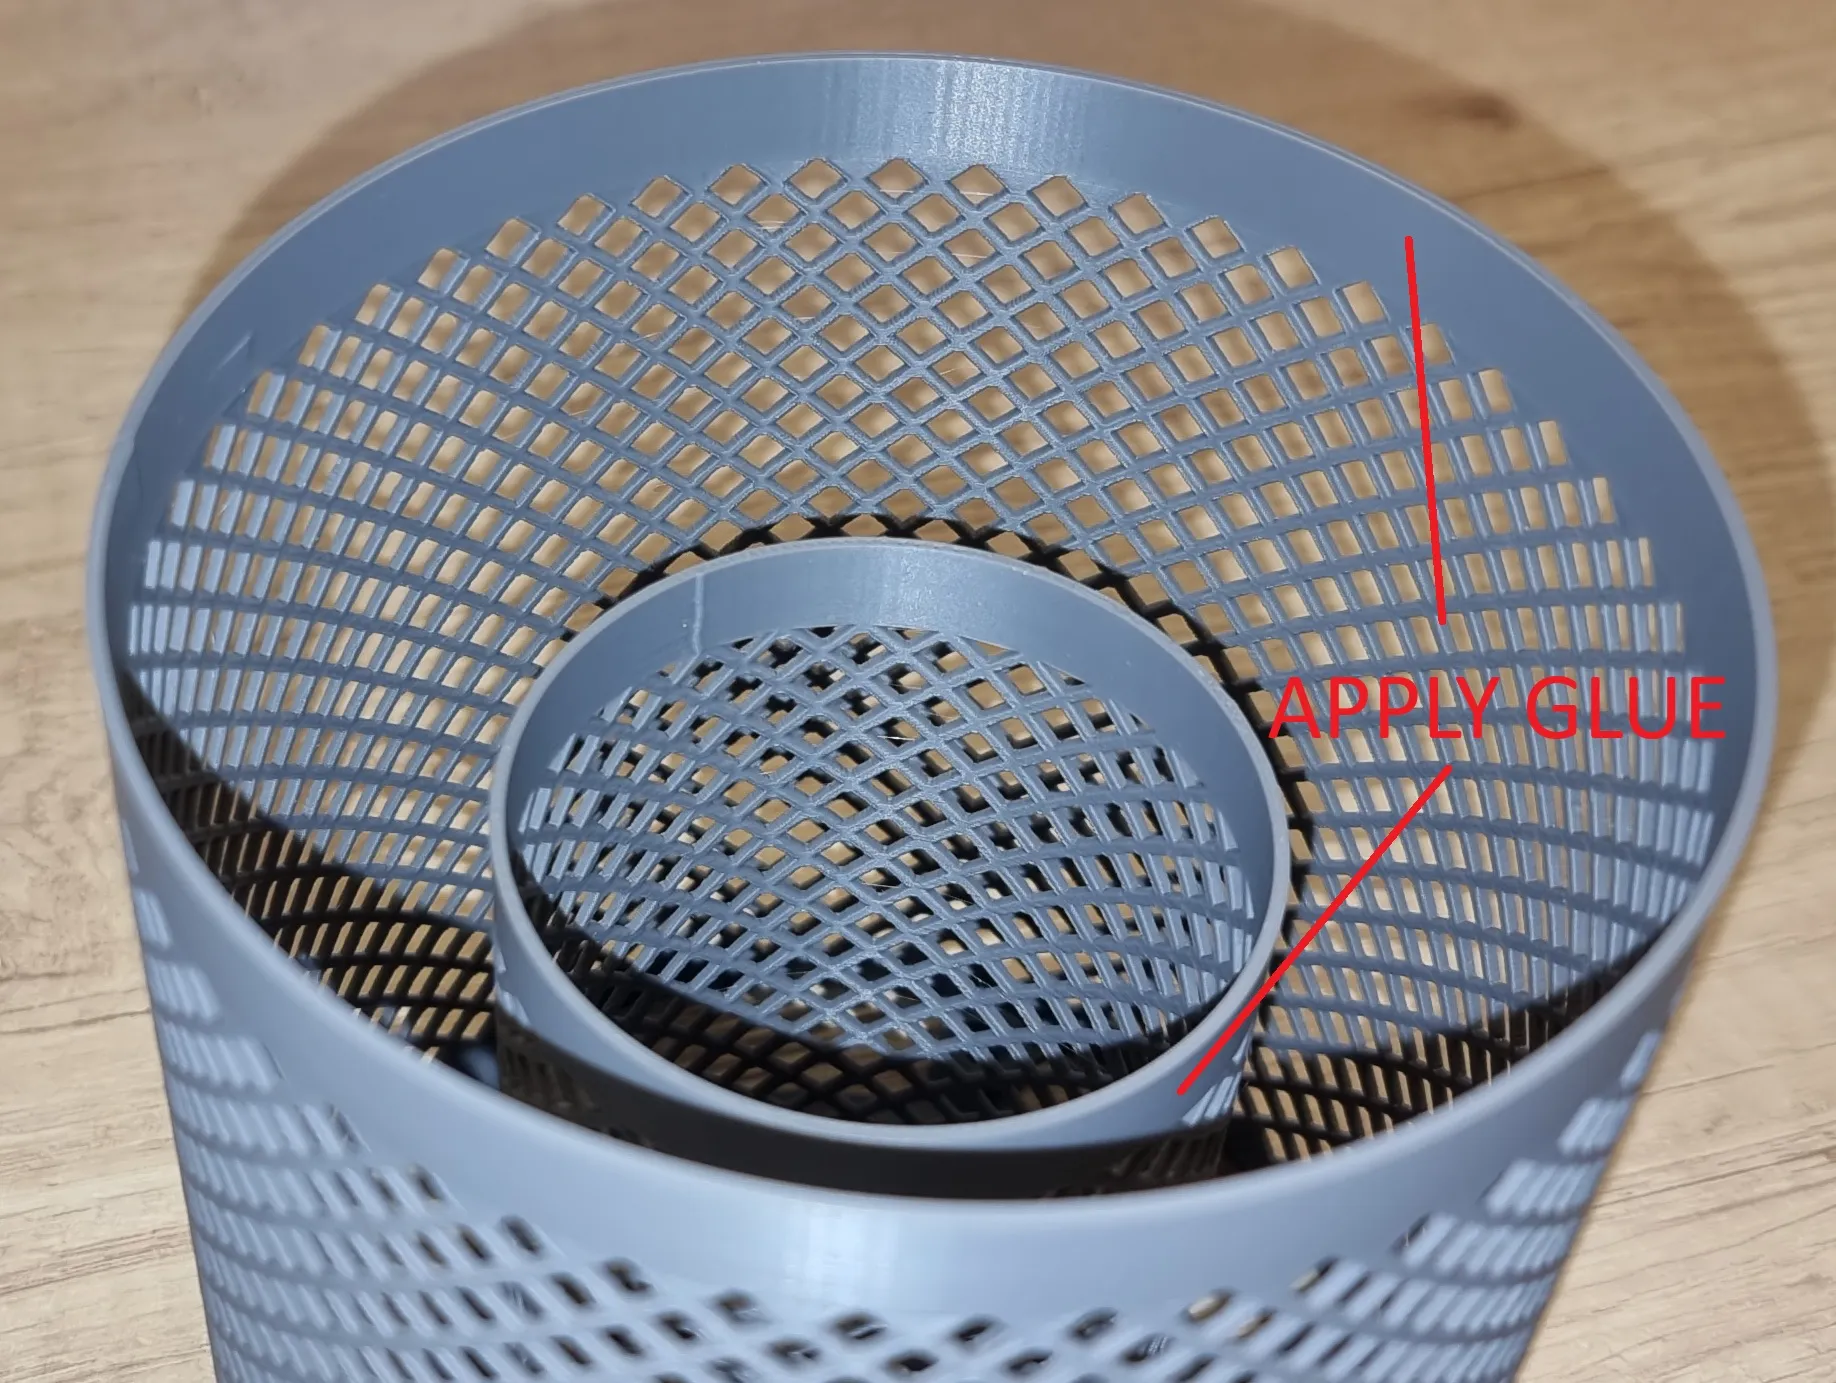
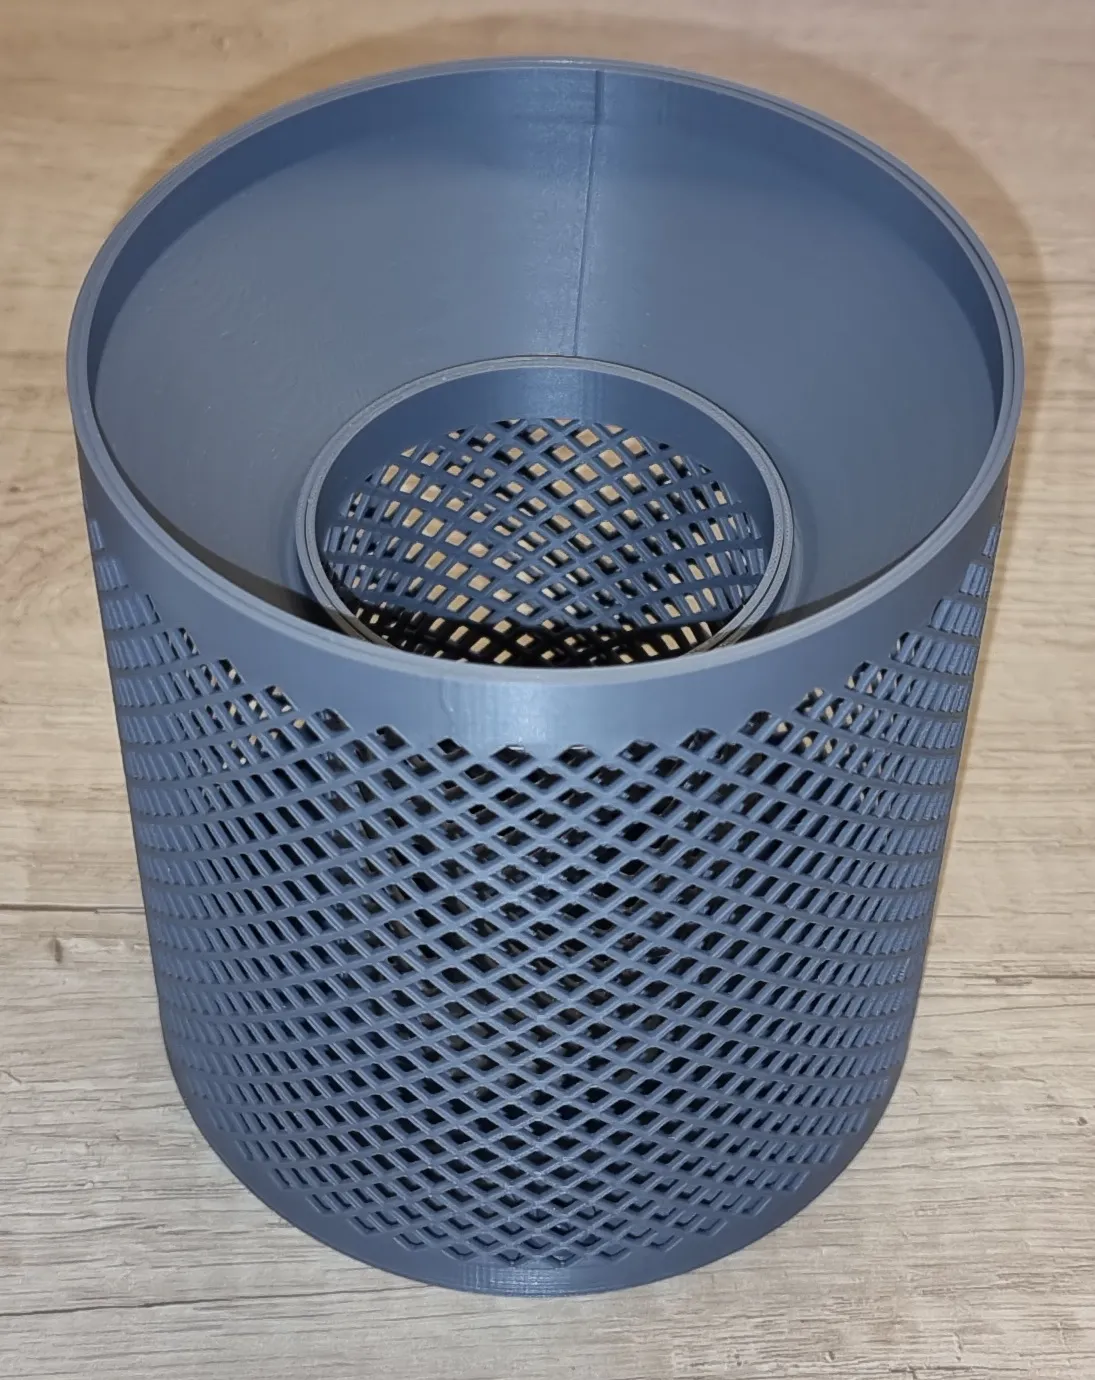
- Wait for the glue to dry. You can do another fit of the insert in the filter.
Fill the insert with activated carbon. When filling, gently shake on occasion to evenly distribute the filter medium. - Screw on the bottom cover, place the insert into the original filter and assemble the purifier.
- Enjoy the clean air. Change the activated carbon as required.
This insert has a lot of it so it should last you several times longer than the original filter.
Update 31.8.2025
I have included a new slimmer version for both M3 nuts and heat set inserts. This slimmer version has about half the thickness of the filter medium compartment so it won't restrict the airflow as much, compared to the normal version. I recommend you try out this one first.
License

You shall not share, sub-license, sell, rent, host, transfer, or distribute in any way the digital or 3D printed versions of this object, nor any other derivative work of this object in its digital or physical format (including - but not limited to - remixes of this object, and hosting on other digital platforms). The objects may not be used without permission in any way whatsoever in which you charge money, or collect fees.


Comment & Rating (61)