
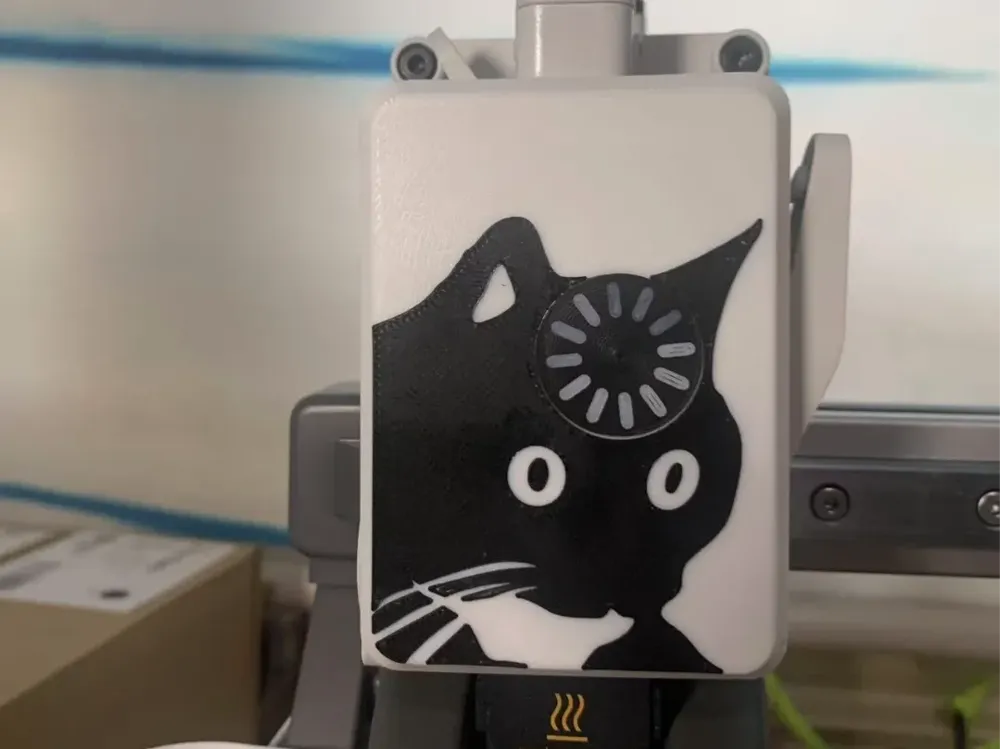
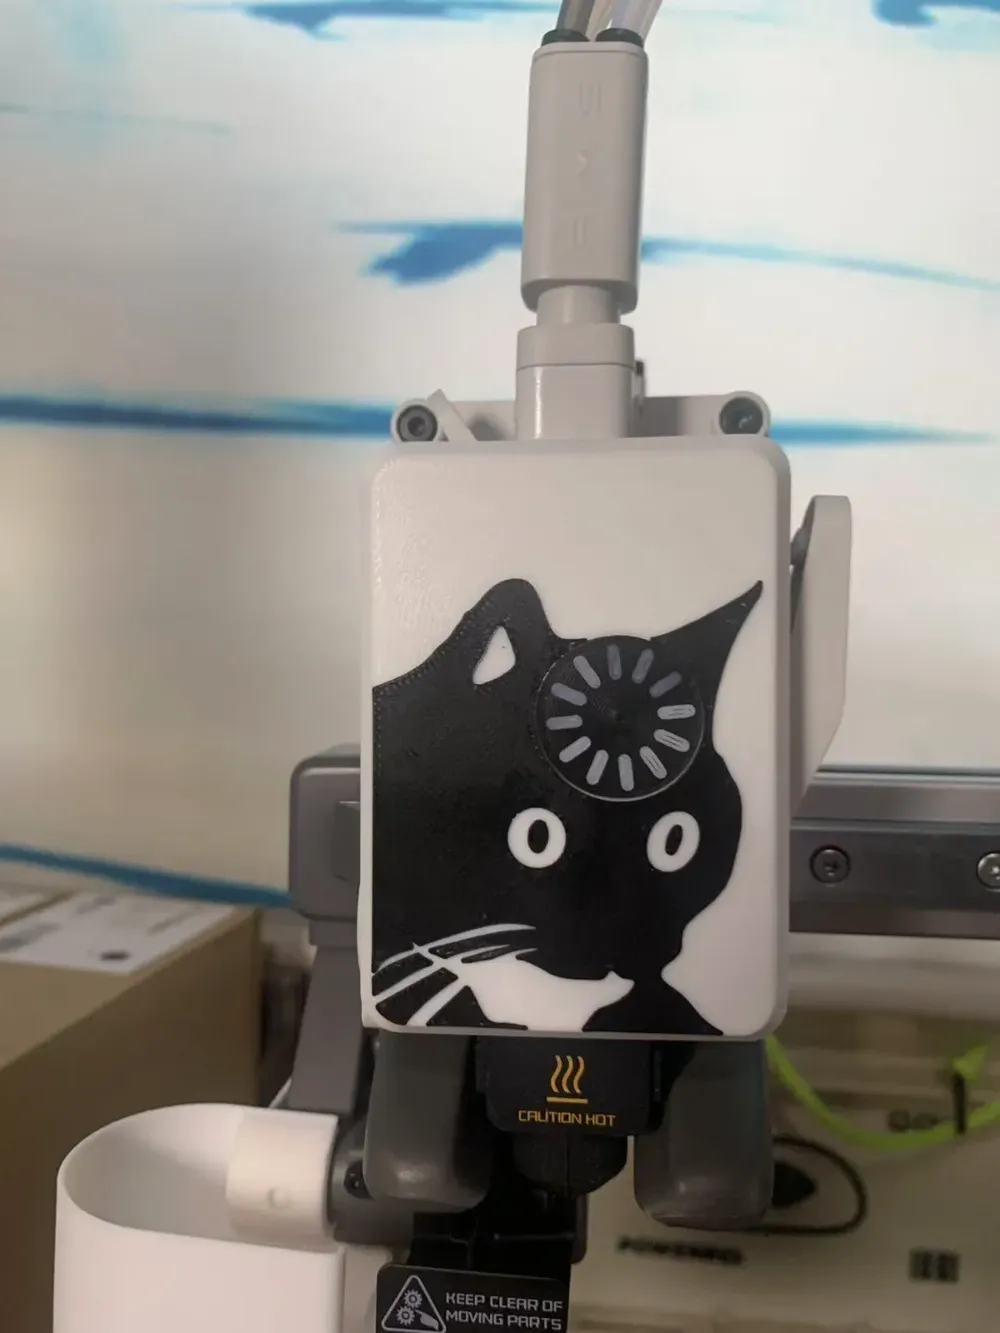
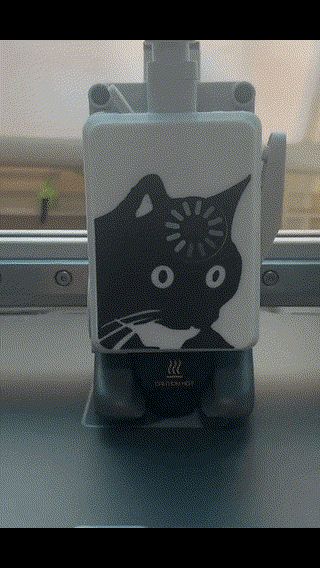
Confused cat meme cover of A1/A1mini extruder



Print Profile(5)




Description
The model includes a version for purely manual layer-by-layer multi-color printing (plates 1 and 2) and an AMS multi-color printing version for the same layer (plates 3 and 4).
Below are the model printing instructions. For instructions on disassembling and installing the protective cover, please refer to the official Bambu Lab manual: https://wiki.bambulab.com/zh/a1-mini/maintenance/toolhead
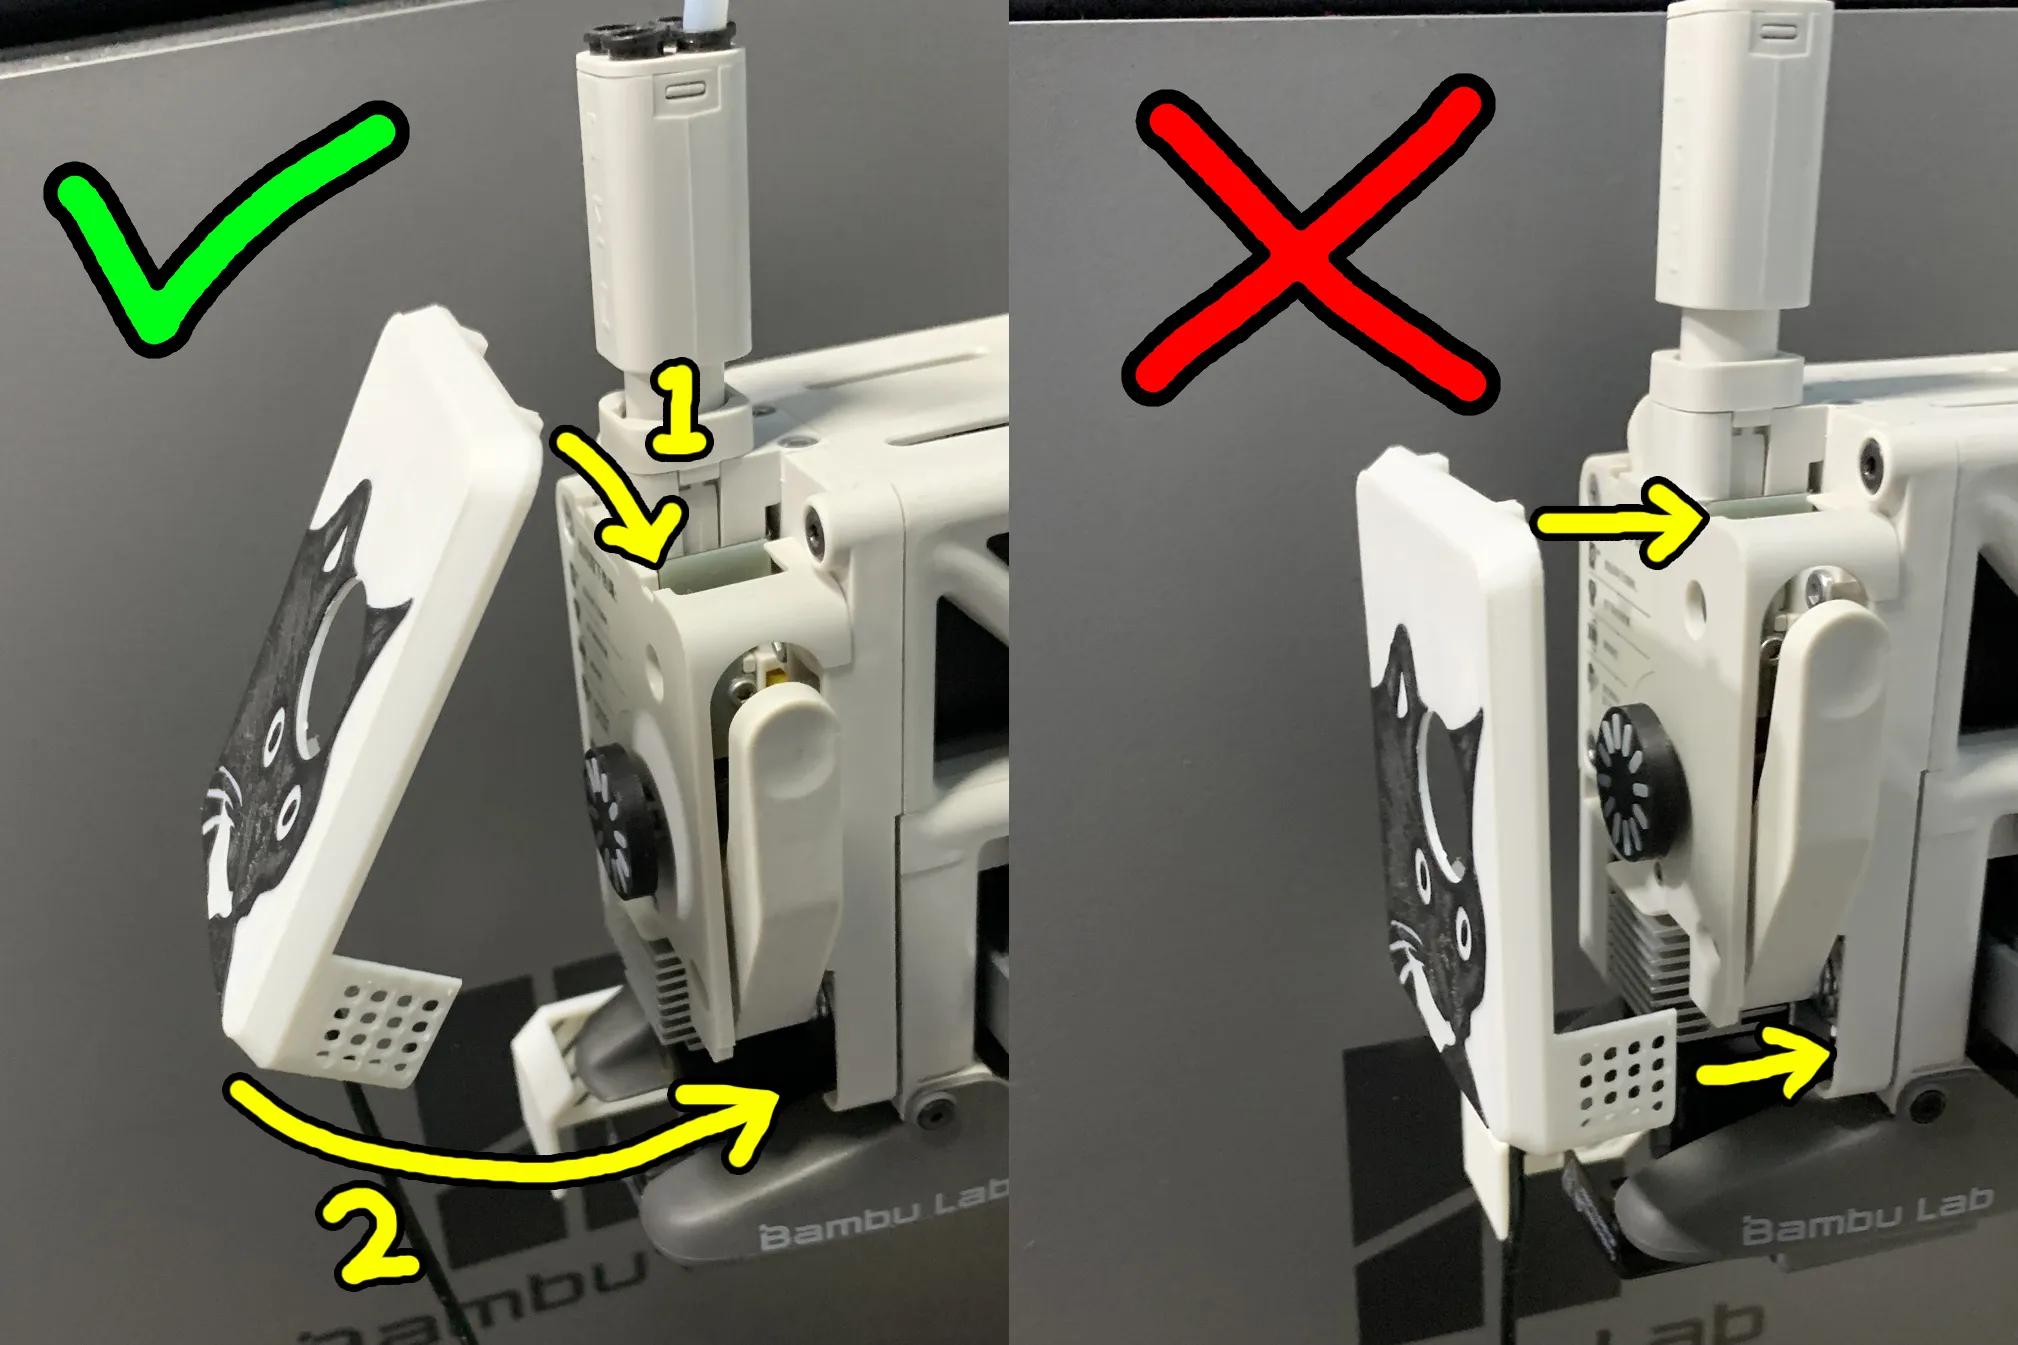
Note: Many users have reported that the two upper clips tend to break easily. The official tutorial does not explicitly state the correct installation order for the protective cover, which is to gently place the two upper clips into the grooves first, and then fasten the two lower clips. The two upper clips should theoretically not bear any force during the entire process.
I. Purely Manual Layer-by-Layer Multi-color Version:
Printing plate for the main mask:
- Simply use plain white.
Printing plate for the wheel and cat face:
- Initially, load white filament,
- after the machine automatically pauses at layer 5, change to black filament, and continue printing,
- after the machine automatically pauses at layer 42, change to white filament, and continue printing until completion
After printing the main mask and cat face, please use 502 or similar glue to adhere the two parts together, ensuring the large central holes are aligned.
II. AMS Same-Layer Multi-color Version (In my opinion, the effect is not as good as the purely manual version)
You can print directly with an AMS-equipped machine. Alternatively, you can manually change filament according to the following tutorial to achieve same-layer multi-color printing:
Printing plate for the main mask:
- Initially load white filament
- When the white cat head outline is printed on layer 1, and the print head moves to the top right corner (as shown) to prepare for printing the small white square, manually pause printing, change to black filament, and continue printing,
When the black cat head is printed on layer 1, and the print head is ready to print the small black square, manually pause printing, change to white filament, and continue printing until completion
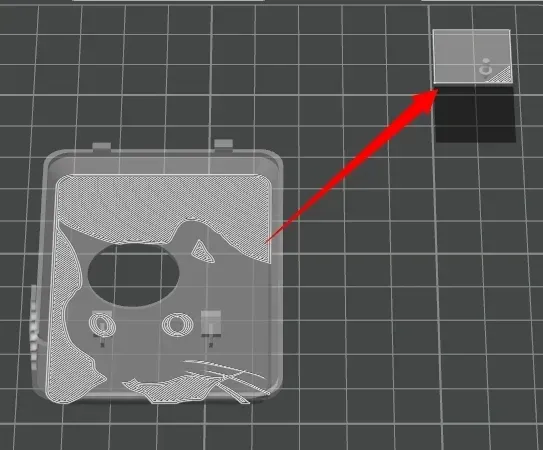
Printing plate for the wheel:
First, after slicing in Bambu Studio, drag the progress bar on the right, find the layer where the white dots first appear in the model (e.g., layer 42), right-click the plus sign on the progress bar, and add a print pause,
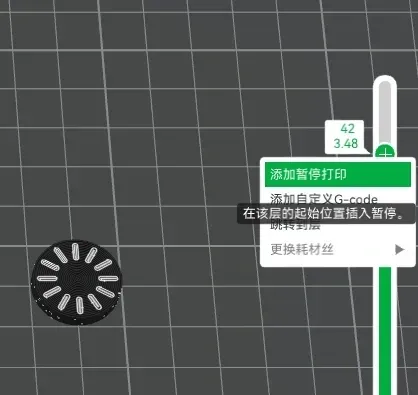
- Load black filament and start printing,
- At the layer where the machine automatically pauses (e.g., layer 42), manually change to white filament, and continue printing until completion
License

You may create derivative works based on this object, provided that all such derivative works are published exclusively on the MakerWorld platform and include proper attribution to the original creator. You may not share, upload, host, distribute, or publish this object—or any derivative work of this object—on any other digital platform, marketplace, or distribution channel. Commercial use of this object and any derivative works is strictly prohibited. This includes, but is not limited to, selling, renting, sublicensing, or using the object in any context in which you receive monetary compensation or other financial benefits.


Comment & Rating (1720)