Simple Air Purifier: 4090 Graphics Card Fan + Phicomm Wujin A1 Filter


Print Profile(1)
Description
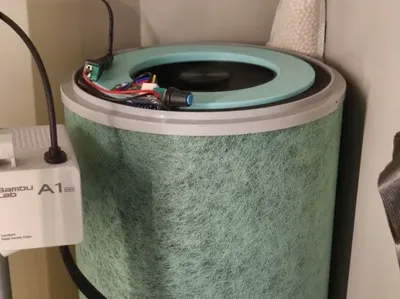
Following the acquisition of a 3D printer, and mindful of its potential respiratory health implications, I embarked on a DIY air purifier project. Existing online designs proved somewhat cumbersome, prompting the pursuit of a minimalist aesthetic—a purifier seamlessly integrating its fan within the filter, avoiding any unsightly protrusions. Thus began my DIY journey.
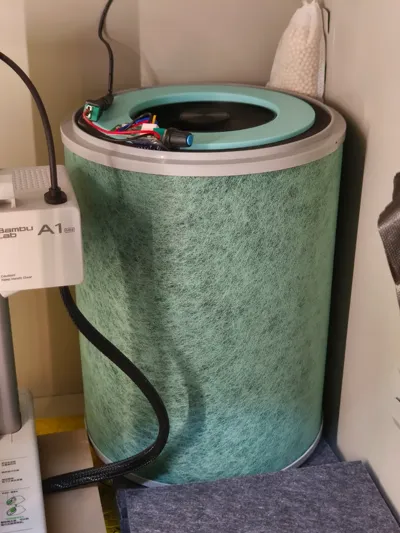
Guided by the principles of cost-effective DIY, I opted for a FiberHome Wujin A1 filter (activated carbon + HEPA, readily available online for under $40) paired with a 4090 reference card fan (positive rotation) (two for $20 including postage via secondhand marketplaces). At maximum speed, the filter's periphery effortlessly adheres to a paper napkin!!
Xiaomi filters were eschewed due to their higher cost and the questionable quality of third-party alternatives. FiberHome's legacy filters, however, remain surprisingly accessible, boasting affordability and robust quality;
The 4090 graphics card fan was selected for its exceptional dynamic balance, commendable airflow and pressure, low noise profile, Nidec 12-pole motor, suitability for the filter's central outlet, and remarkably low price point of just $10 apiece.
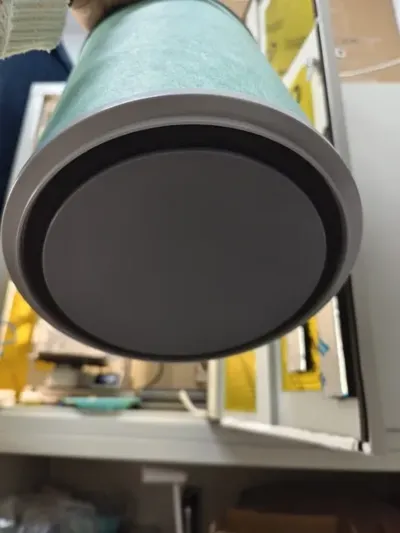
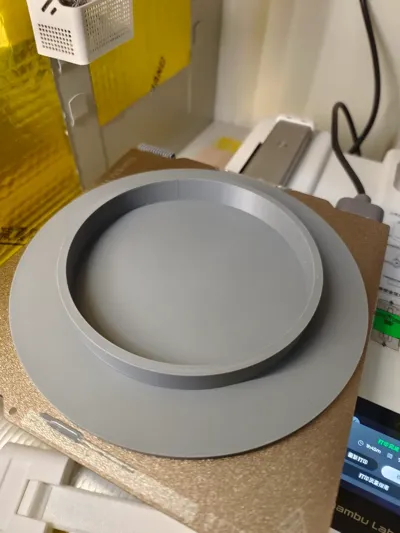
The files encompass a top cover and a bottom cover. The bottom cover seals the base intake to prevent air leakage; the top cover facilitates outflow. To minimize noise impact, the framework utilizes only two legs; however, the fan's superior dynamic balance ensures vibration remains imperceptible during operation. The top cover features a small, flat opening (for fan cable routing) and one or two screw holes (to secure the adapter board).
Required additional components:
6 x M2x5 screws;
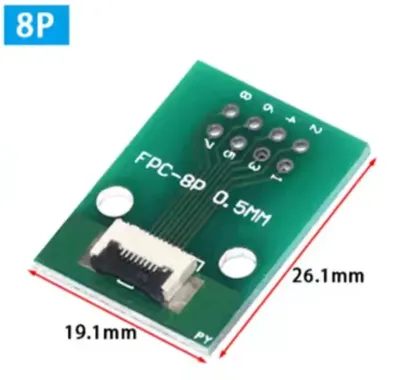
0.5mm-8pin ribbon cable adapter board;
12V PWM fan speed controller;
Assorted wires;
Soldering iron;
A 12V DC 5.5mm power adapter (a DC 5.5mm router power supply, 12V1A, is suitable);
A DC 5.5mm connector (optional, depending on your preferred power delivery method and interface);
A 4-pin fan extension cable (optional, direct soldering is also feasible)
Boost Me (for free)
If this model has been helpful, please consider boosting me!
Installation Guide:
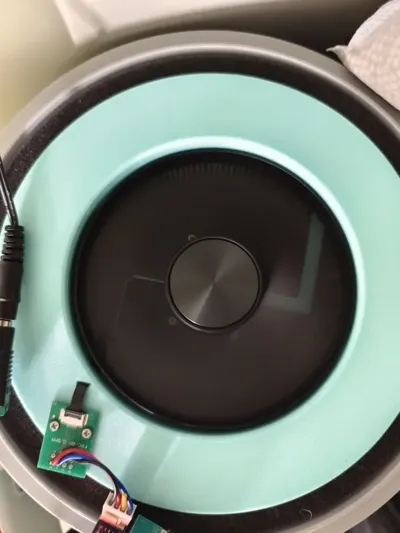
1. As illustrated, route the fan's cable through the small, flat opening and secure it using four screws. Cease tightening when slight resistance is felt to avoid cross-threading.
2. Secure the fan cable to the adapter board, then affix the adapter board to the cover using screws.
3. Connect the adapter board's pins 2 or 3 (P1/P2) to the positive terminal, pins 5 or 7 (P4/P6) to the negative terminal, pin 4 (P3) to PWM, and leave pin 6 (P5), designated FG (likely for closed-loop speed control), unconnected.
Postscript:
The fan cable is actually 6-pin, but with an 8-pin width. A readily available 6-pin ribbon cable adapter may be used by trimming the two small tabs from the cable;
Considering the varying shrinkage rates of different materials and potential minor dimensional discrepancies between filter batches, the bottom cover is designed 0.2mm smaller than the filter's central hole. A napkin folded two or three times and inserted into the bottom cover's side wall provides secure retention;
The top cover's metal framework, extended by 1-2mm due to the fan cable, provides a secure and non-restrictive fit;
Given the diverse range of PWM controllers, no holes are provided on the cover. Users may add additional components or drill holes as needed; use screws no longer than 5mm.
Boost Me (for free)
License
You shall not share, sub-license, sell, rent, host, transfer, or distribute in any way the digital or 3D printed versions of this object, nor any other derivative work of this object in its digital or physical format (including - but not limited to - remixes of this object, and hosting on other digital platforms). The objects may not be used without permission in any way whatsoever in which you charge money, or collect fees.
Comment & Rating (1)