
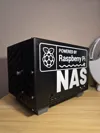
Raspberry Pi 5 NAS for 3.5 HDDs





Print Profile(5)


Bill of Materials





Description
Boost Me (for free)
Want to see more designs? feel free to give me a boost, It helps me to create more designs and improve others!
Membership
Curious about my commercial license? Join my membership to get access to all my models!
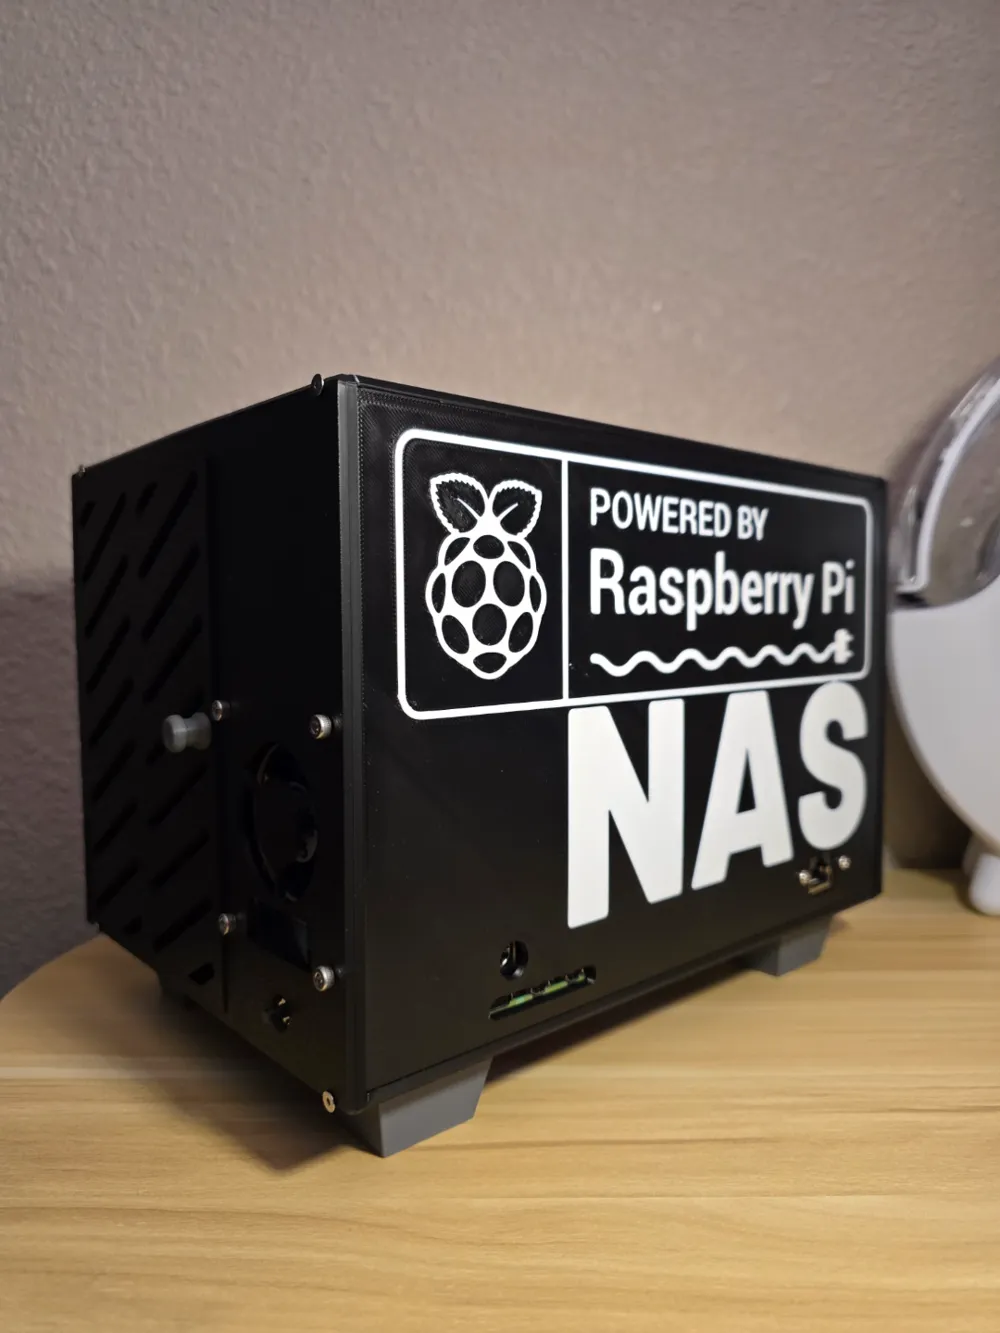
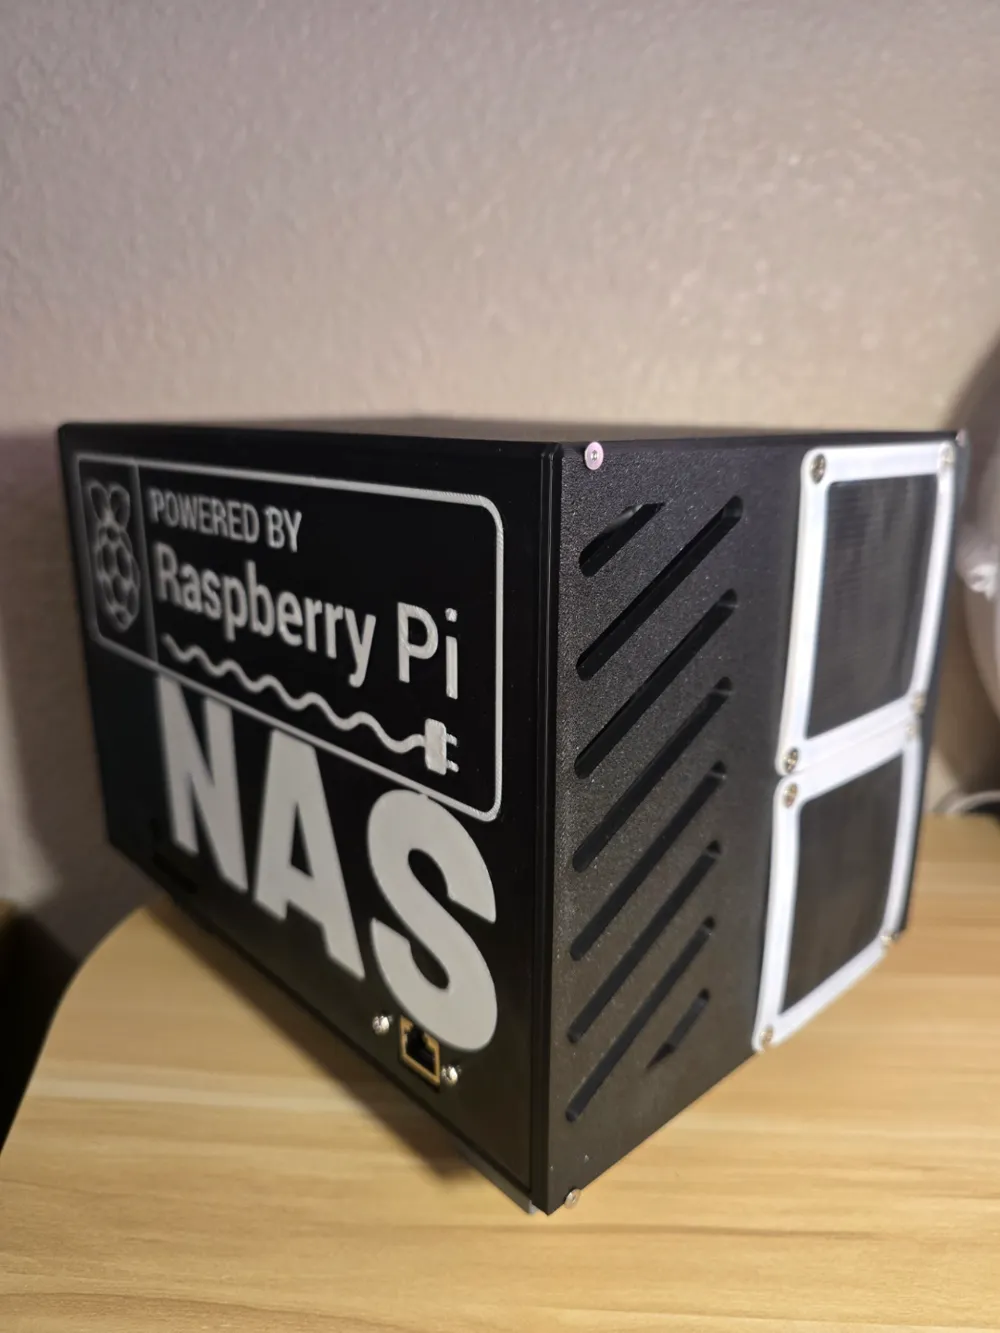
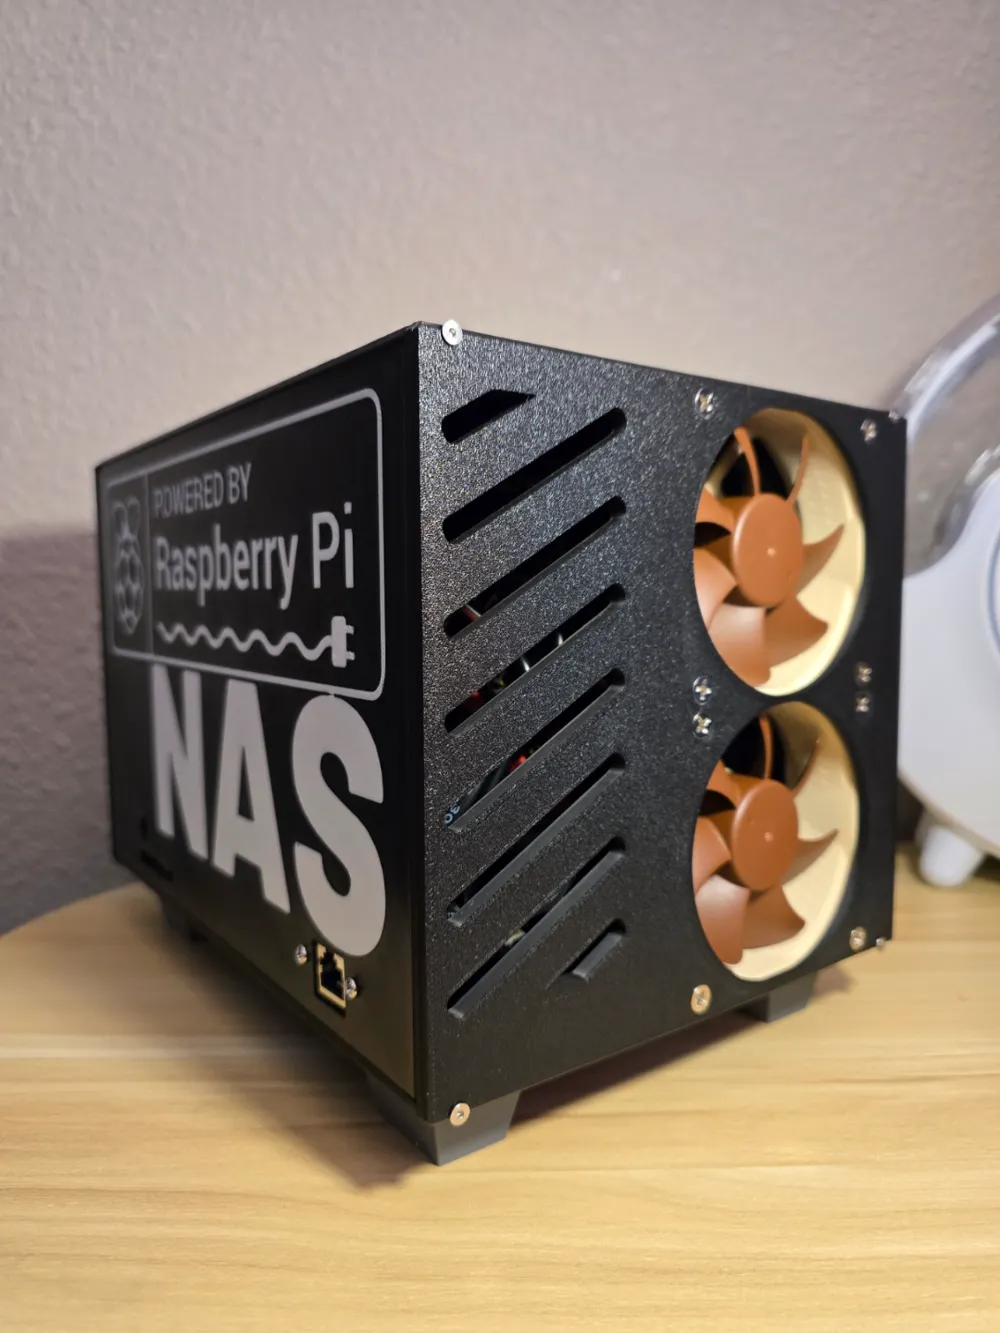
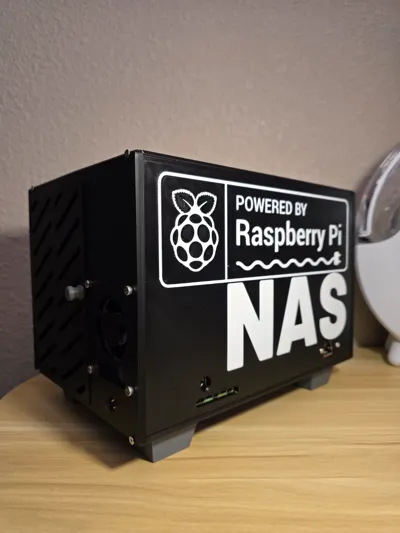
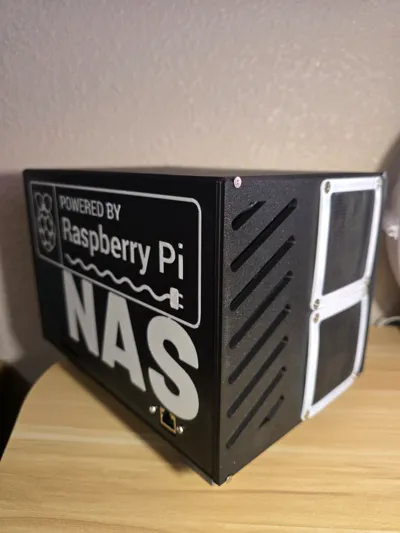
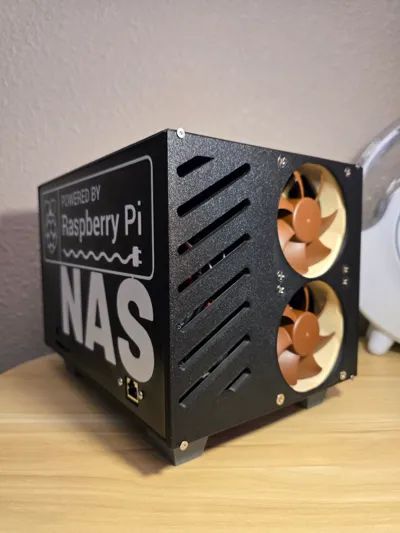
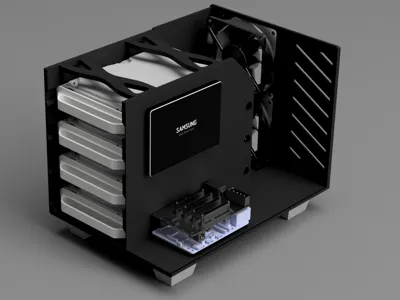
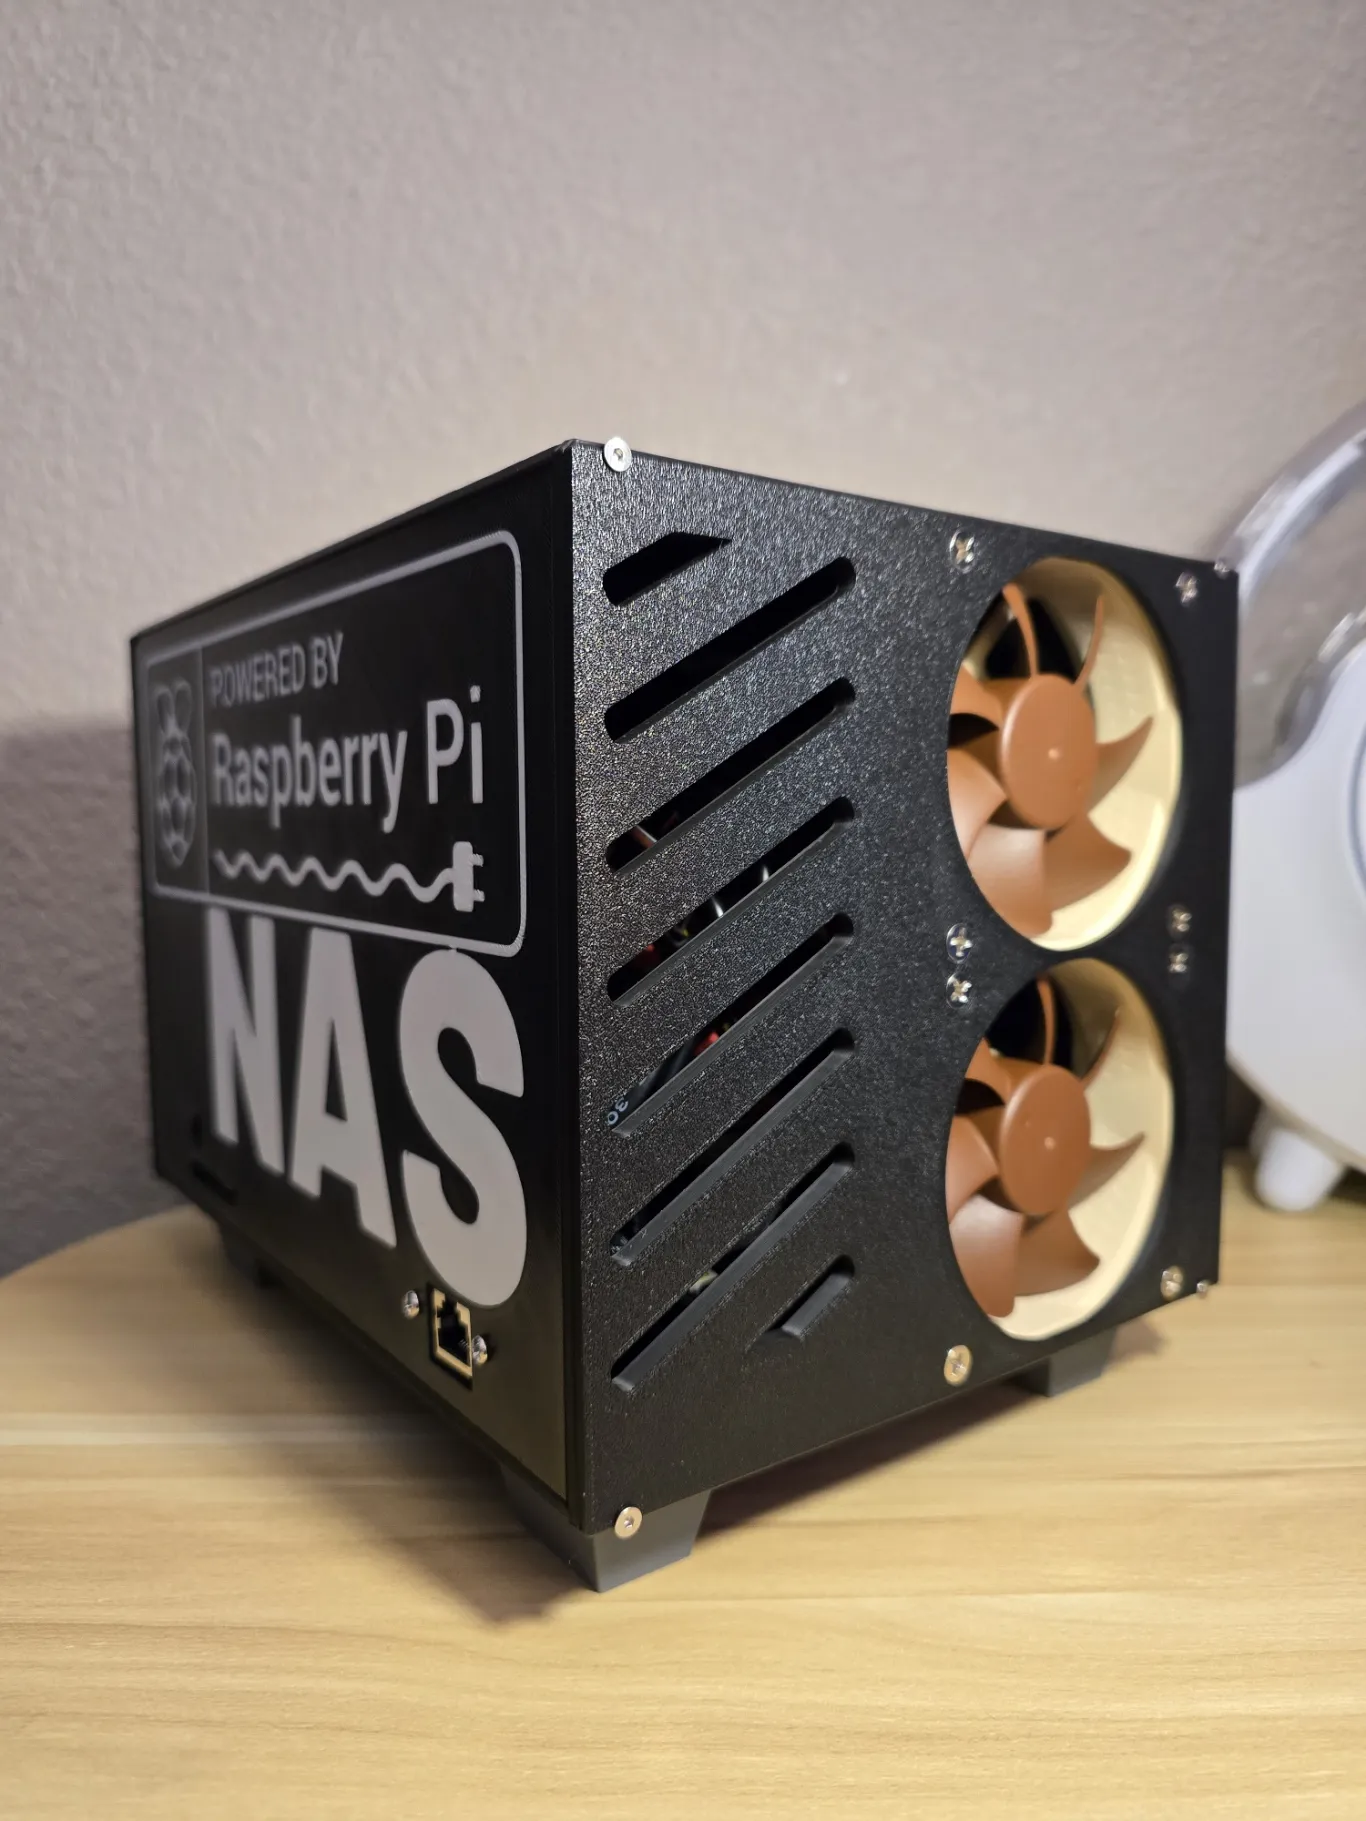
Now, bringing to MakerWorld this NAS enclosure for 3.5 hard drives using the new 8-GB version of the Raspberry Pi 5 with the Radxa Penta board and top hat with Noctua Fans!
This enclosure was designed to be used with 3.5 hard drives while keeping a low profile and having quick-swappable hard drives.
NOTE: For a 2.5-inch drive version of this NAS Pi, check out the model by WikiZell here: https://makerworld.com/en/models/507716#profileId-423445
--------------------------------------------Update! 28/12/2024--------------------------------------------
Added a fourth print profile! This fourth profile has 6 different plates for spacers on the SATA Connectors. If the connectors you bought do not reach the SATA port on the hard drives, simply print the needed spacers from this profile. Each plate has a different thickness from 0.5 mm, 1mm, 2mm, 3mm, 4mm & 5 mm. Alternatively, you can only scale the spacer on the Z-Axis to achieve the needed thickness.
--------------------------------------------Update! 18/12/2024--------------------------------------------
Added a third print profile! This third profile adds compatibility for the RPi 3 & 4 models. Everything needed is in the profile. If you have already printed the RPi 5 version, you can hand cut the opening for the HDMI and Audio jack a bit, or you can print the large side plate on this third profile! As you can see from the picture below, the opening is a bit bigger to fit the old-style connectors. The same works for RPi 4

--------------------------------------------Update! 14/12/2024--------------------------------------------
Added a second print profile! This second print profile has alternative models that will allow you to:
- Remove the front Top Board (seen in the images with a small fan and display in the front panel), this model has cutouts for airflow but removes the front panel altogether.
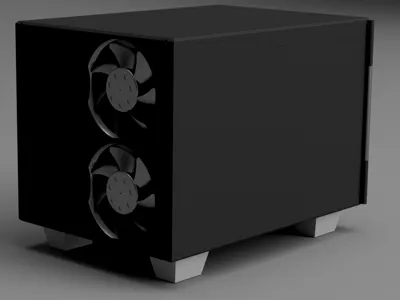
- Modify the base, top plate, and rear plate to accommodate a single 8025 5v Fan! The original uses Qty 2 - 8025 5v fans, this was done since my NAS is placed in a small room where I needed to maximize airflow to the HDDs, alternatively, if YOU only need to use a single fan, you can definitely do so!
- Check out this dust filter for the rear fans! - PC Fan Dust Filter
See the following list for the parts needed.
Instructions
| First step, is to address the design flaw on the Penta SATA Hat when using the Pi active cooler. The heatsink interferes with the 5.5 mm barrel jack on the SATA hat, you must cut the three fins on the active cooler with some flush cutters so that the Pi with active cooler can be used and mounted directly to the SATA Hat. This does not affect cooling at all and won't damage the Pi nor the active cooler. | 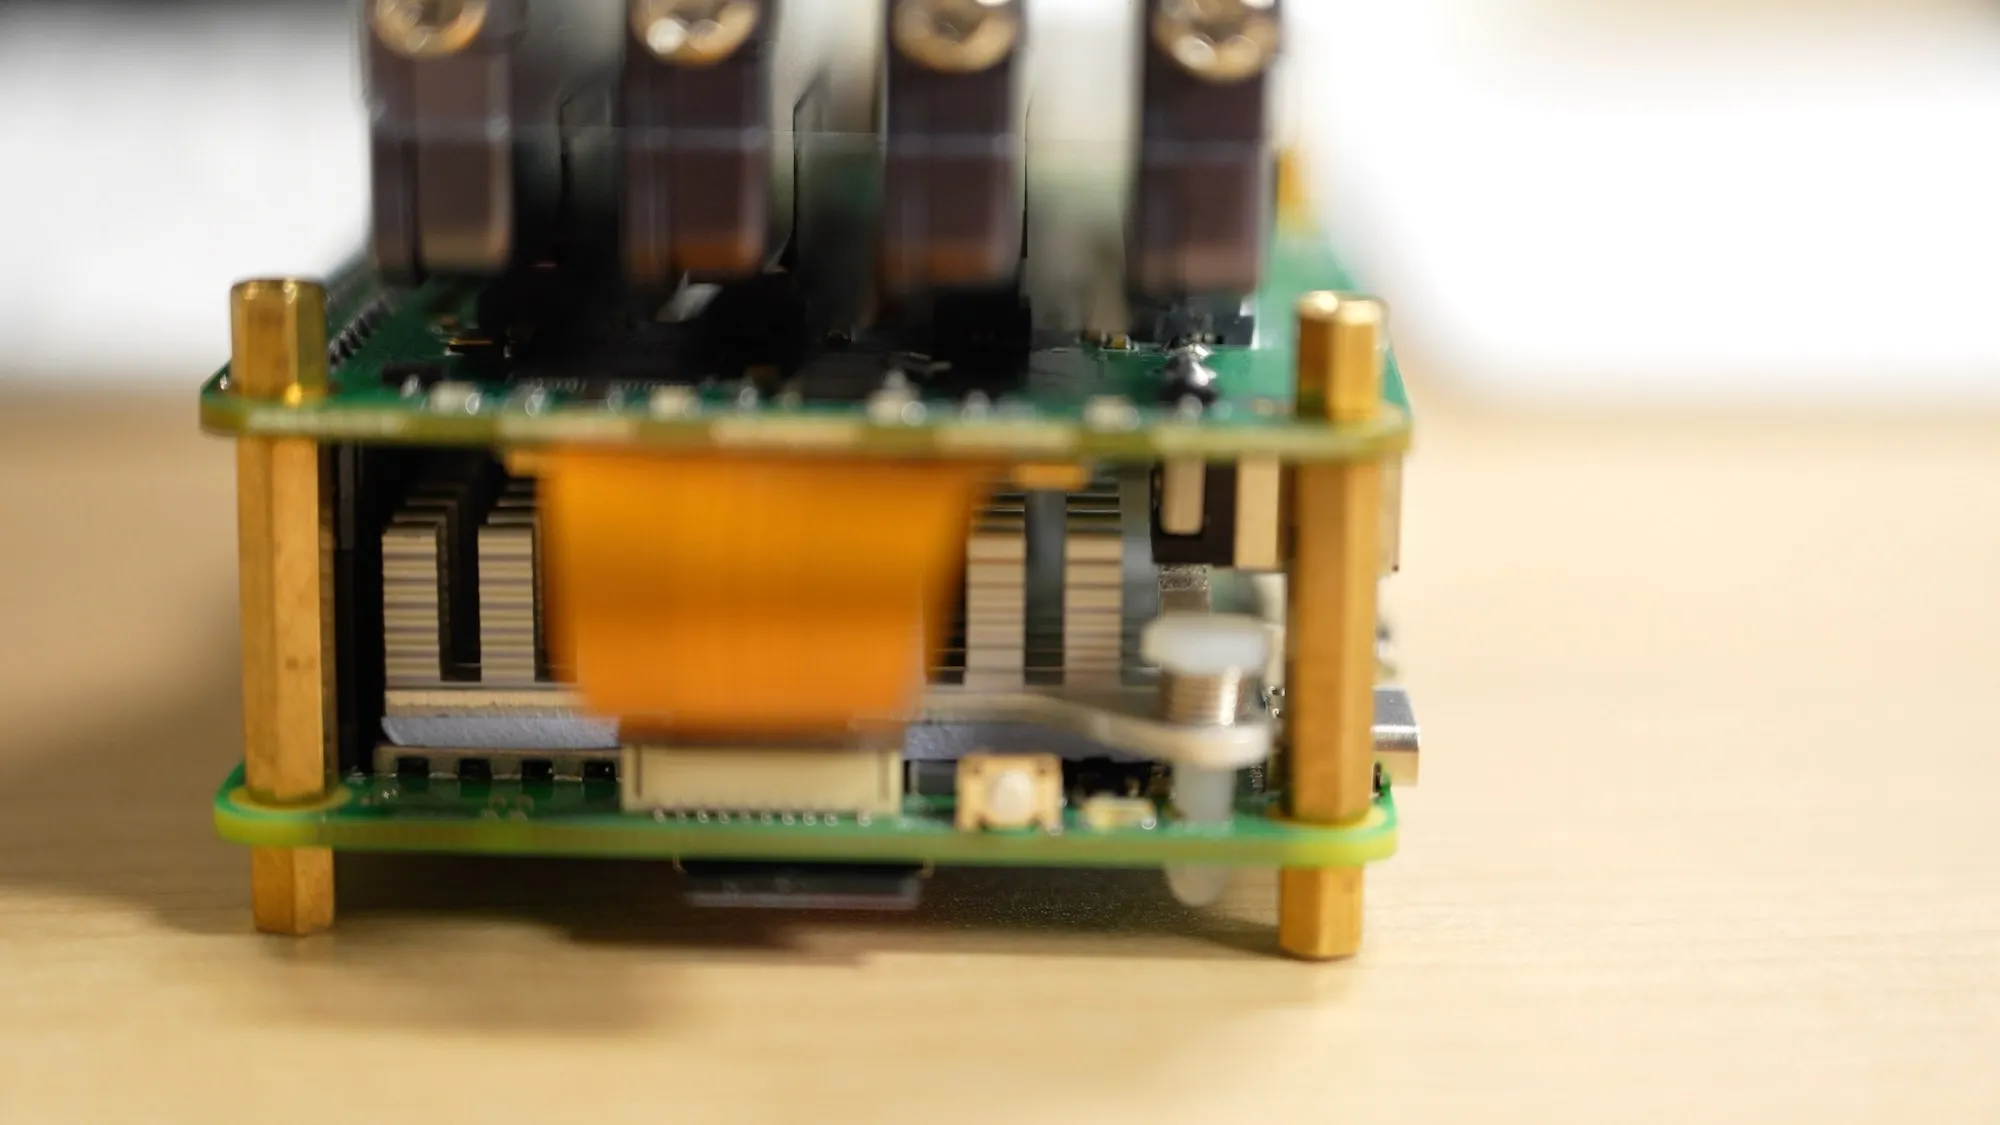 | 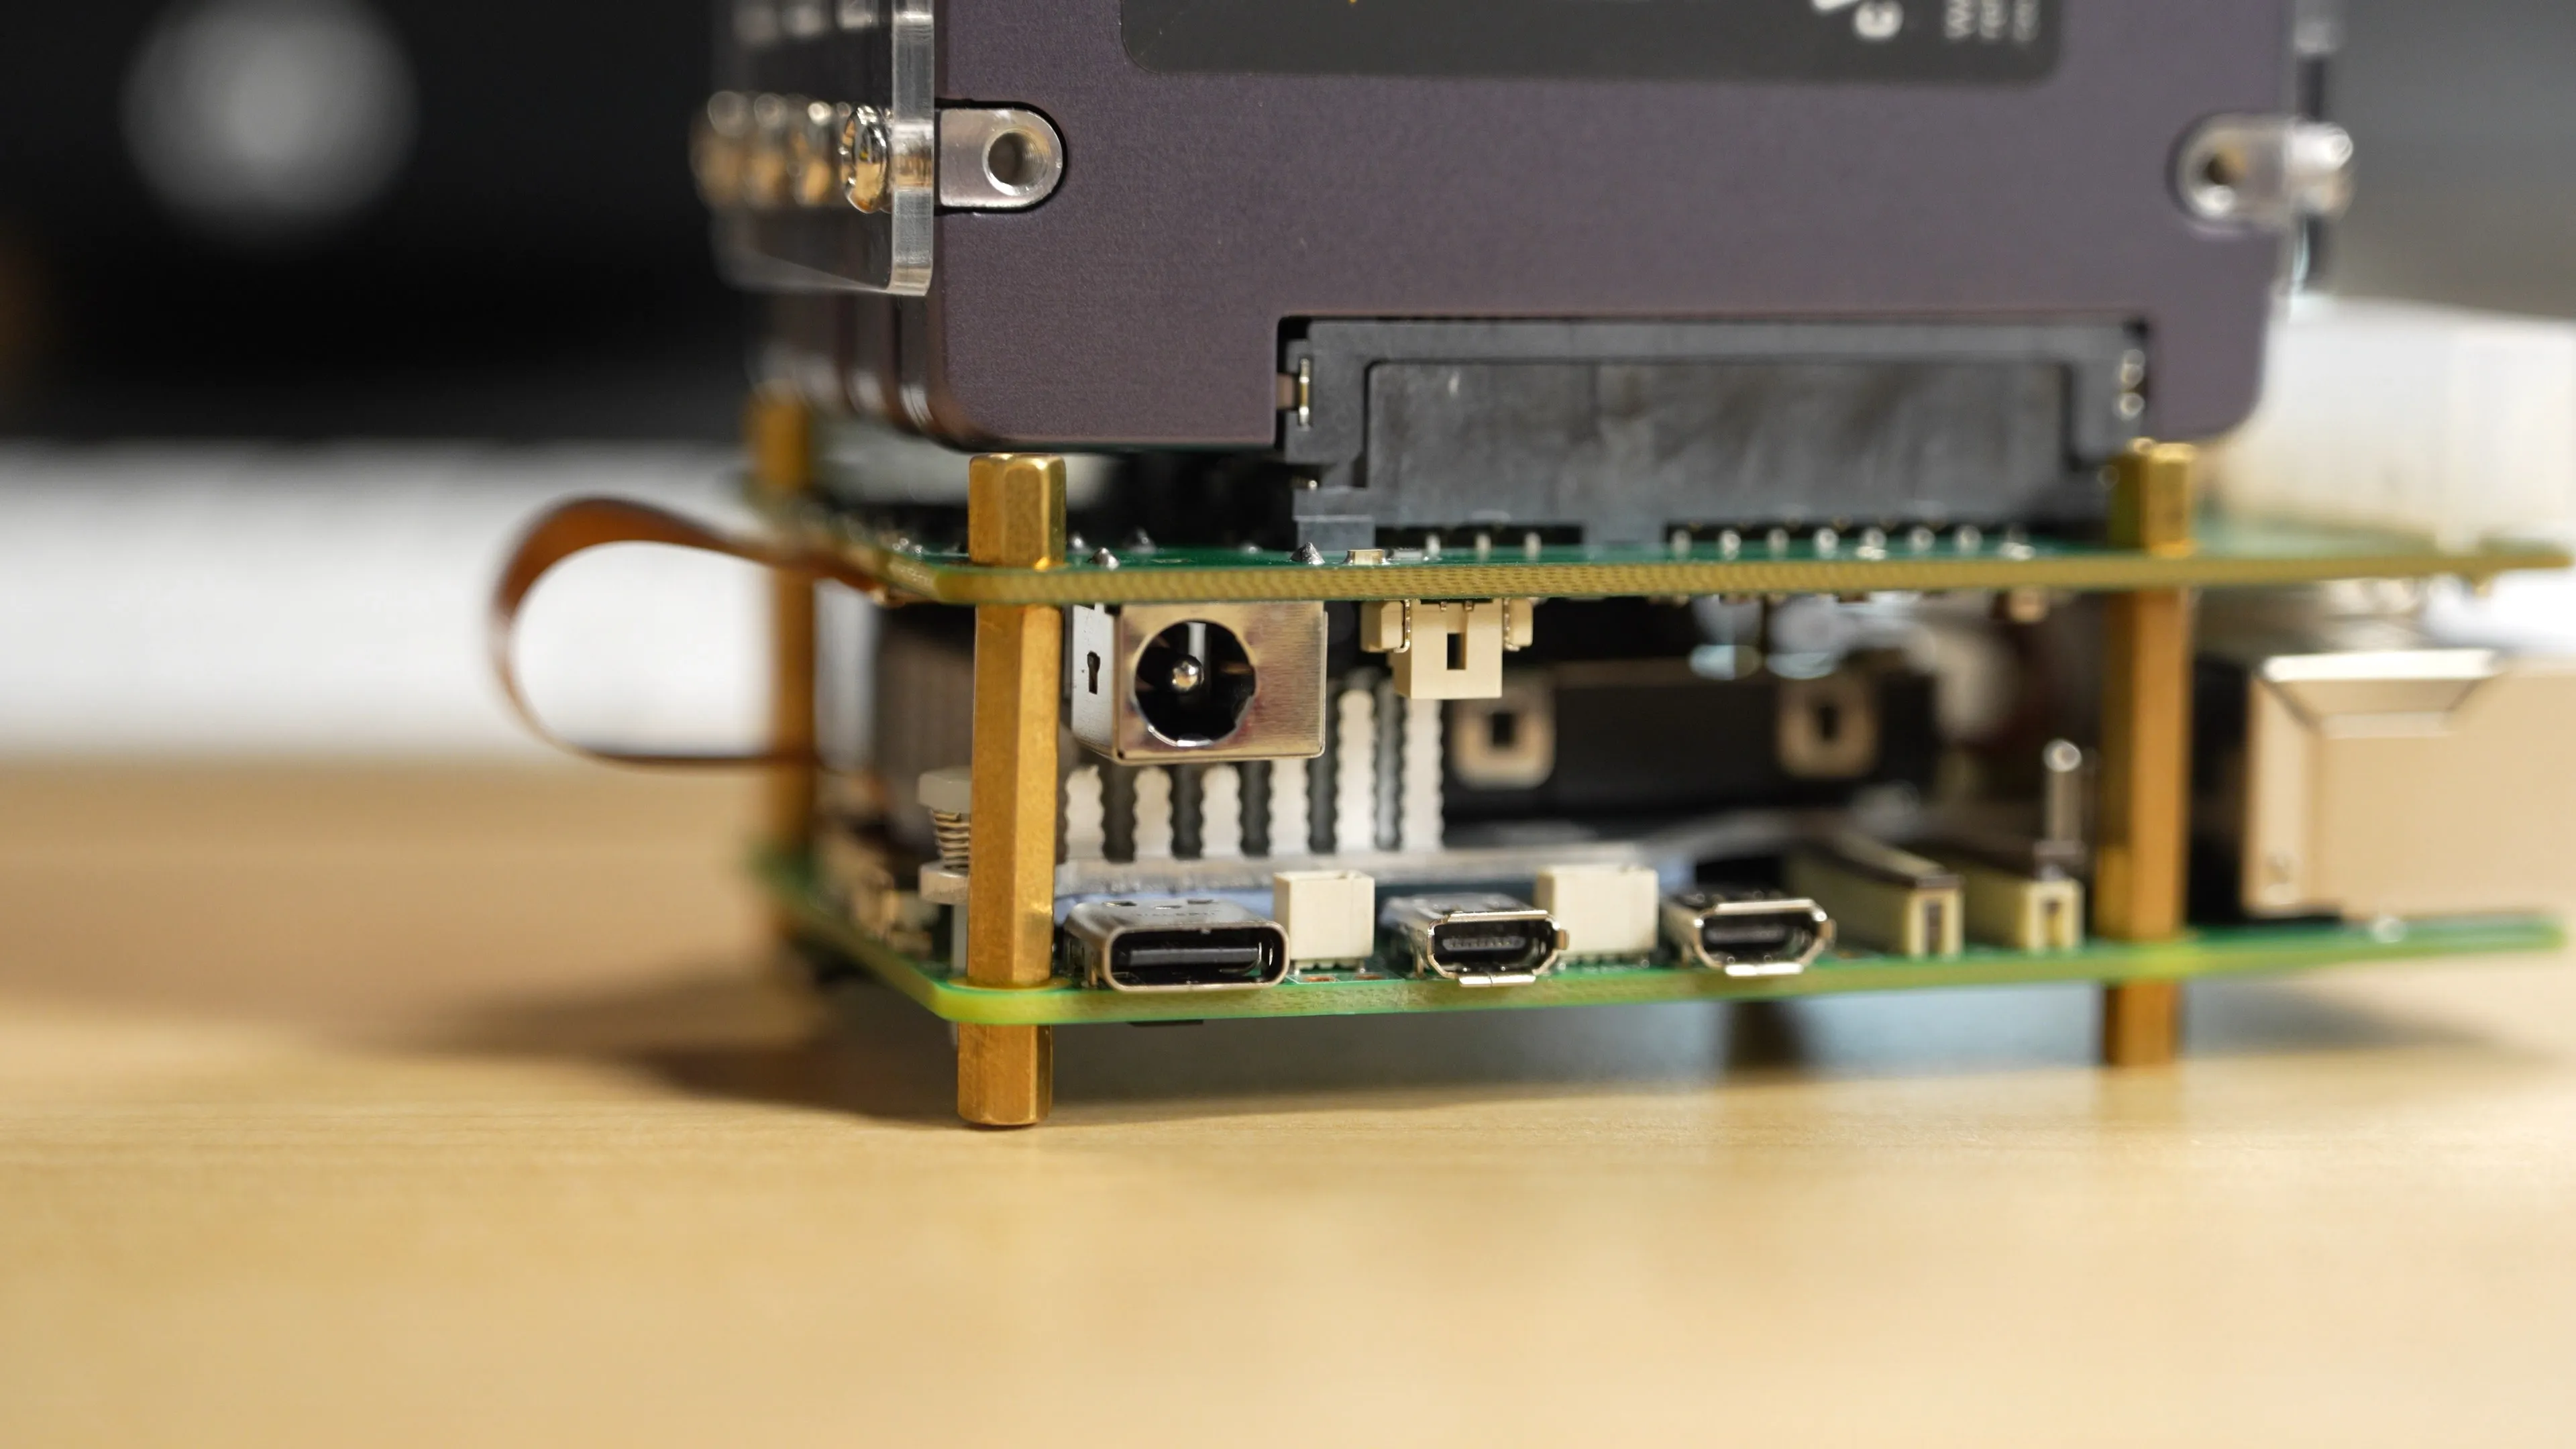 |
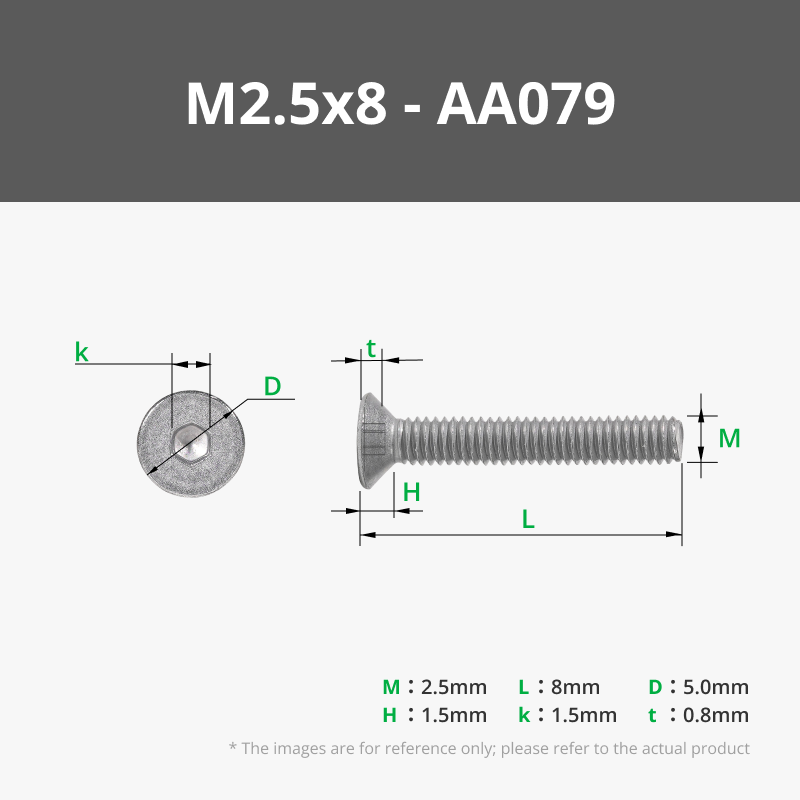
| Mount the raspberry pi with the penta SATA hat. Use M2.5 X 8mm countersunk screws (if possible) to secure it from underneath. | 
| 
|
| Insert the Qty 8 M2.5 Heat-inserts on the front and back of the base and on the top panel. |
 |
 |
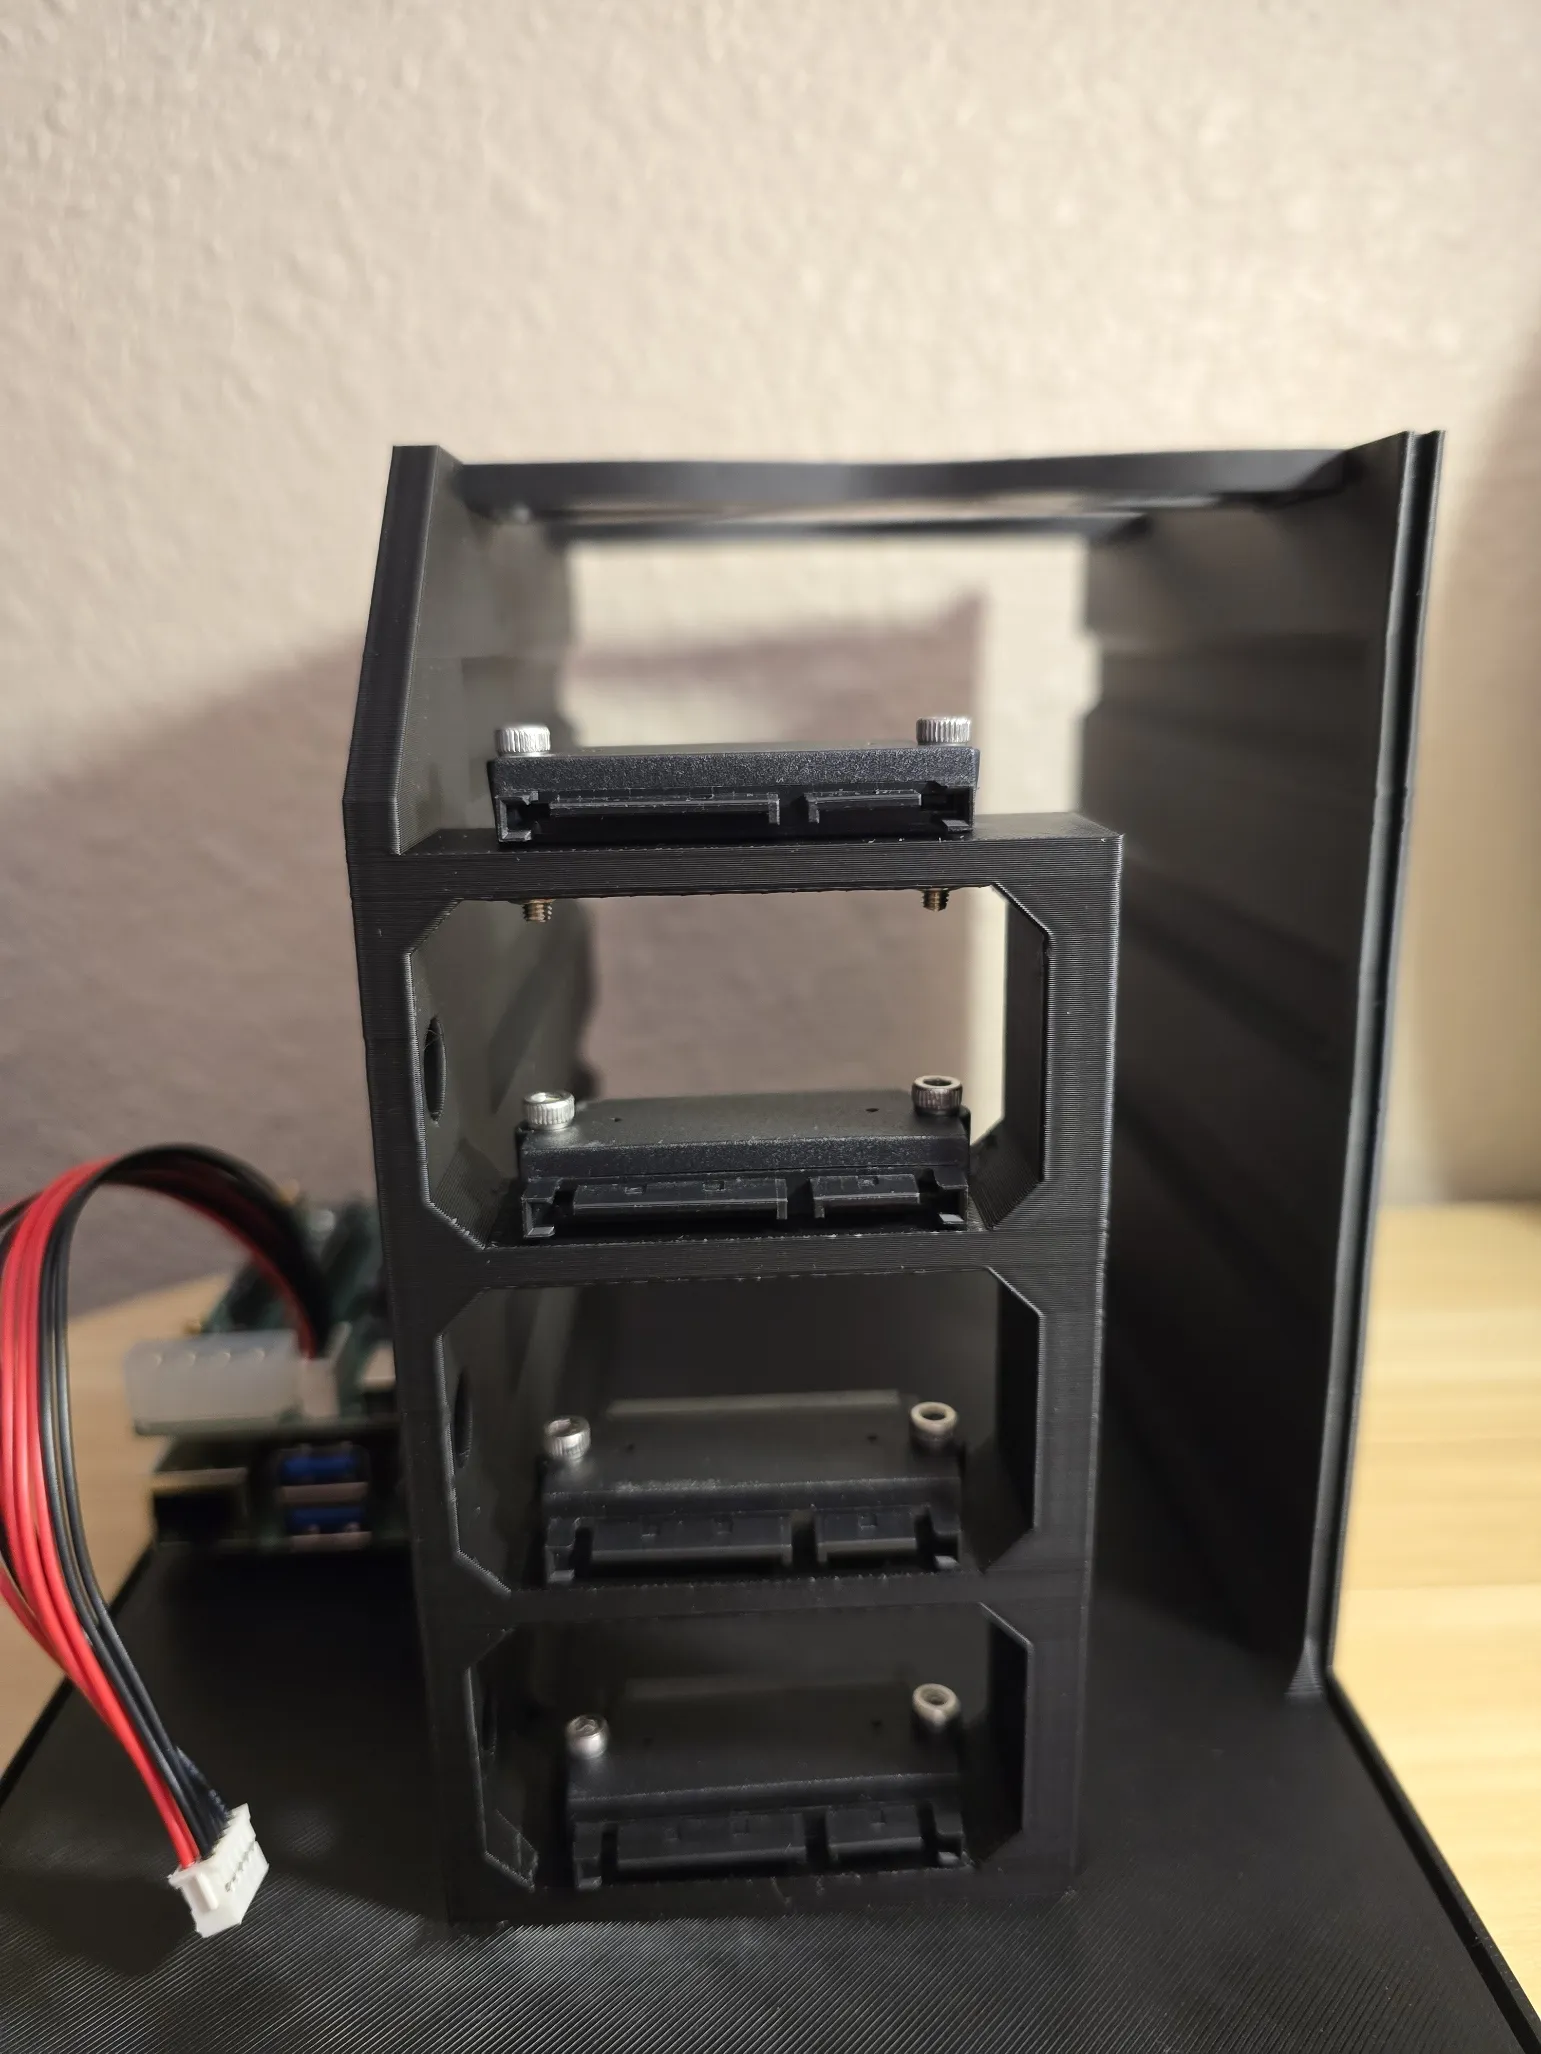
Mount the 22 pin SATA Adapaters to the back of the tower, pay attention to the orientation, use a HDD to ensure its facing the correct way. Secure the M3 bolts with a nut underneath.
For the bottom adapter, install it facing either up or from underneath (cutouts on the base for a countersunk screw, this is optional) |
 | 
|
| Mount both fans, here I'm using 5v 8025 noctua fans, these come with a USB adapter that will be used to power the fans, mounting these it's a tricky, the rubber anti-vibration edges makes the fitment tight. I recommend bolting the top and bottom first and pushing both fans down in the middle, then bolting those at the end. |
 | 
|
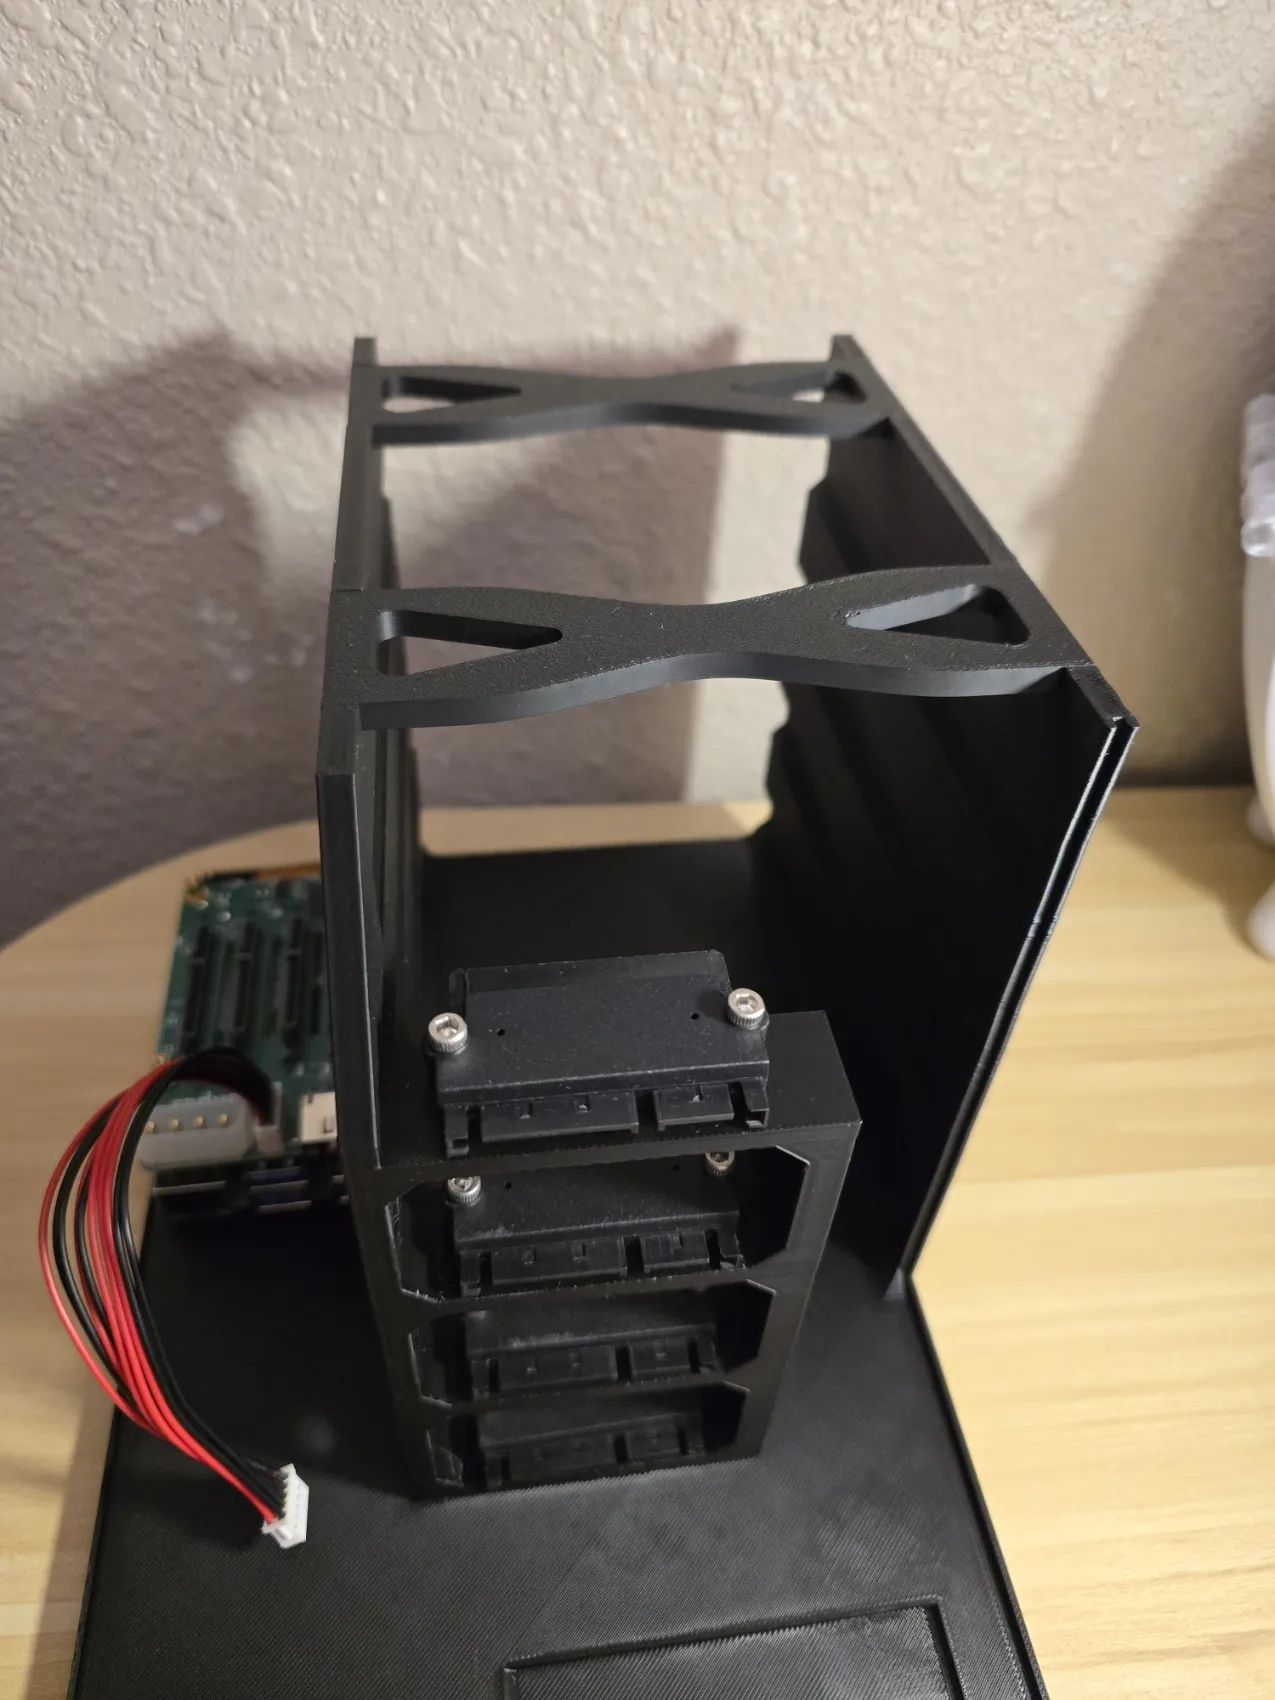
| Install both spacers, these have a “loose fit" which can be left as is. If you want you can add a bit of superglue on each side where they make contact with the cutouts, it is not needed but will make things easier if you''re flipping the case upside down during the assembly process. |
 |
 |
This step is optional
Mount the Penta SATA Hat Top Board to the front Panel. using 4 M3x10 screws with nuts on the back and connect the power connector that ties to the Penta SATA hat |
 |
 |
| Install the Ethernet extender into the main side panel that has the Raspberry Pi logo |
 | |
Install the feet underneath the case, apply a bit of glue in the cutouts and set the feet. Turn the case upside down and let it rest on a flat surface, allow a few minutes for the glue to dry.
Once dry, do the same for the TPU nonslip pieces. Add glue to the feet cutouts and set them in place. | 
|
 |
| Install HDD caddies. Use the hardware that came with the HDD, you can choose any of the three holes to mount the HDD, here i used the front and back on both sides. Ensure the handle is facing the oposite of the SATA connector and the bottom “x” is facing the underneath of the HDD. Make sure the screws are flat against the outside wall. | 
| 
|
| Install the knob to the access door. on the inside of the door, there is a countersunk screw hole. Use either a countersunk or socket M2.5x8 screw. |
 |
 |
Connect all SATA cables to the SATA Connectors.
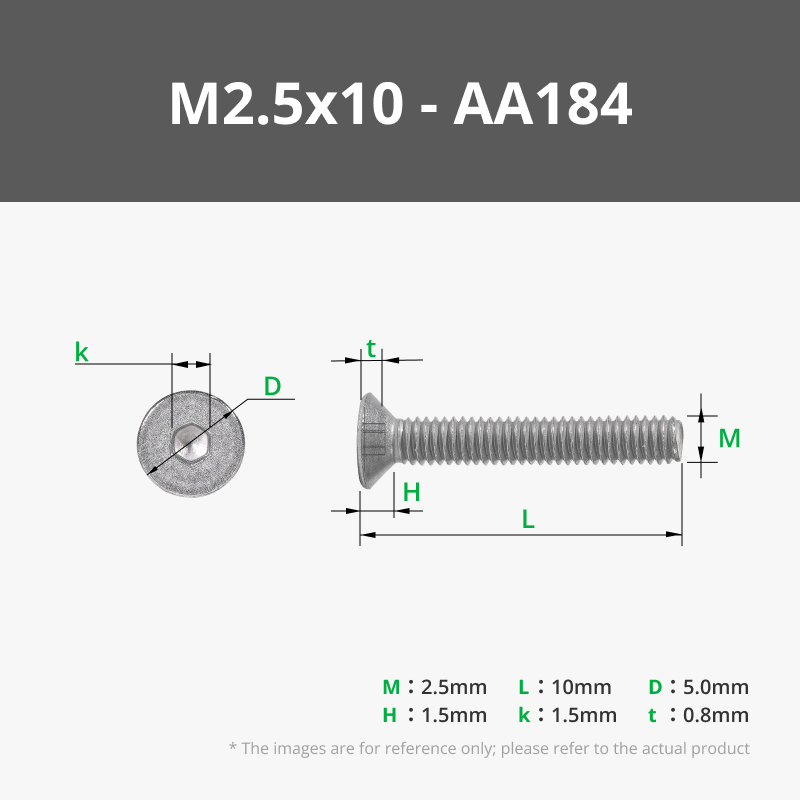
Install the front panel. Use Qty 2 M2.5x8-10 countersunk or socket screws to bolt the bottom screws
|
 | 
|
| Slide in both panels into the cutout tracks. These might be a bit tight, so work your way. These should sit flat against the bottom and |
 | 
|
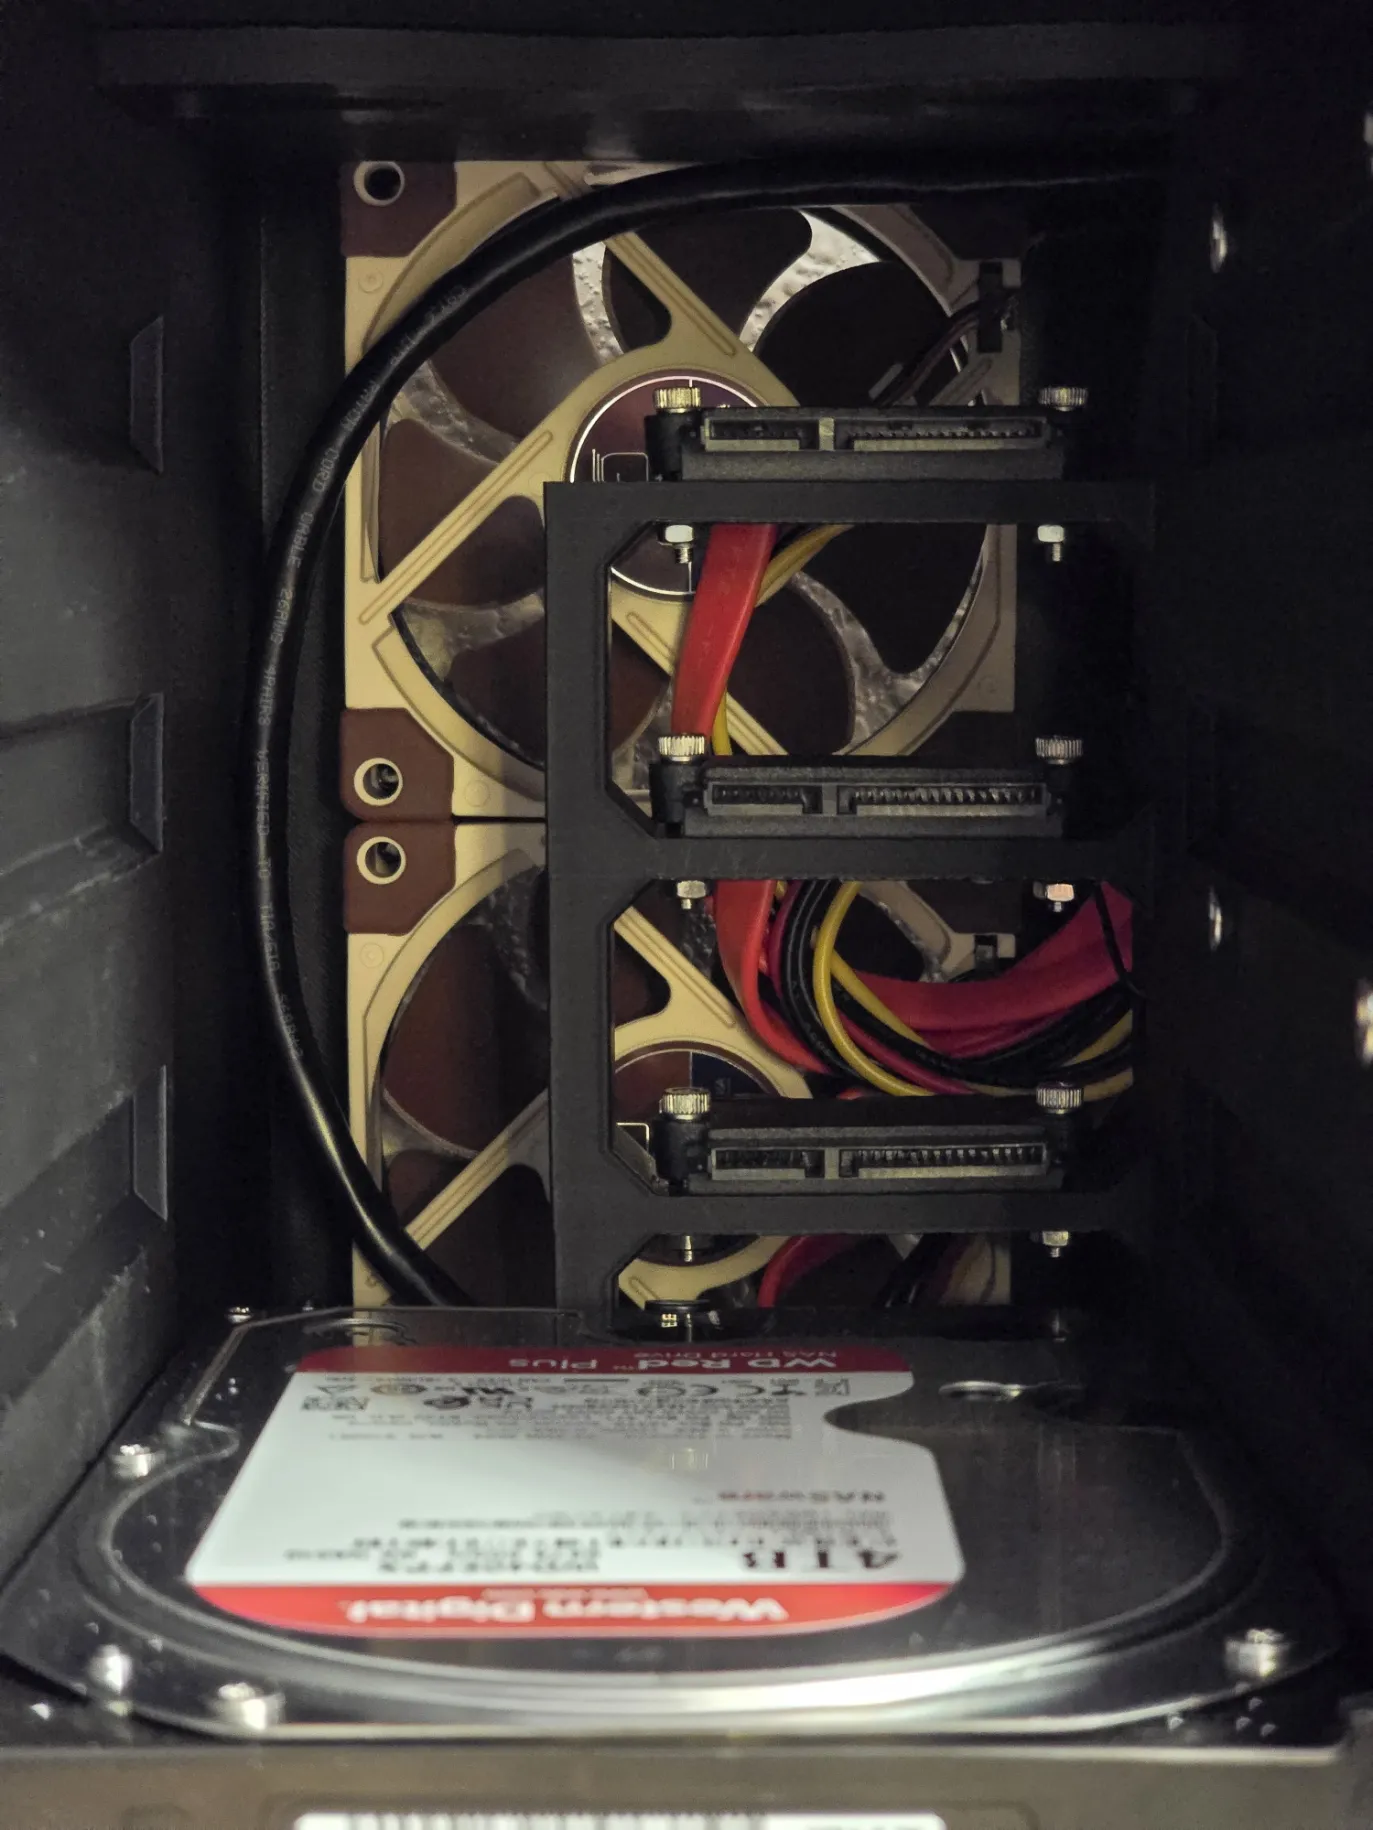
Install the rear panel. Use Qty 2 M2.5x8-10 countersunk or socket screws to bolt the bottom screws. When installing the rear panel, push in all the cables and ensure none are contacting the fan blades, manually spin the blades to ensure they can spin freely |
 | |
| Finaly, bolt in the top panel using Qty 4 M2.5x8-10 countersunk or socket screws to secure the front and back. |
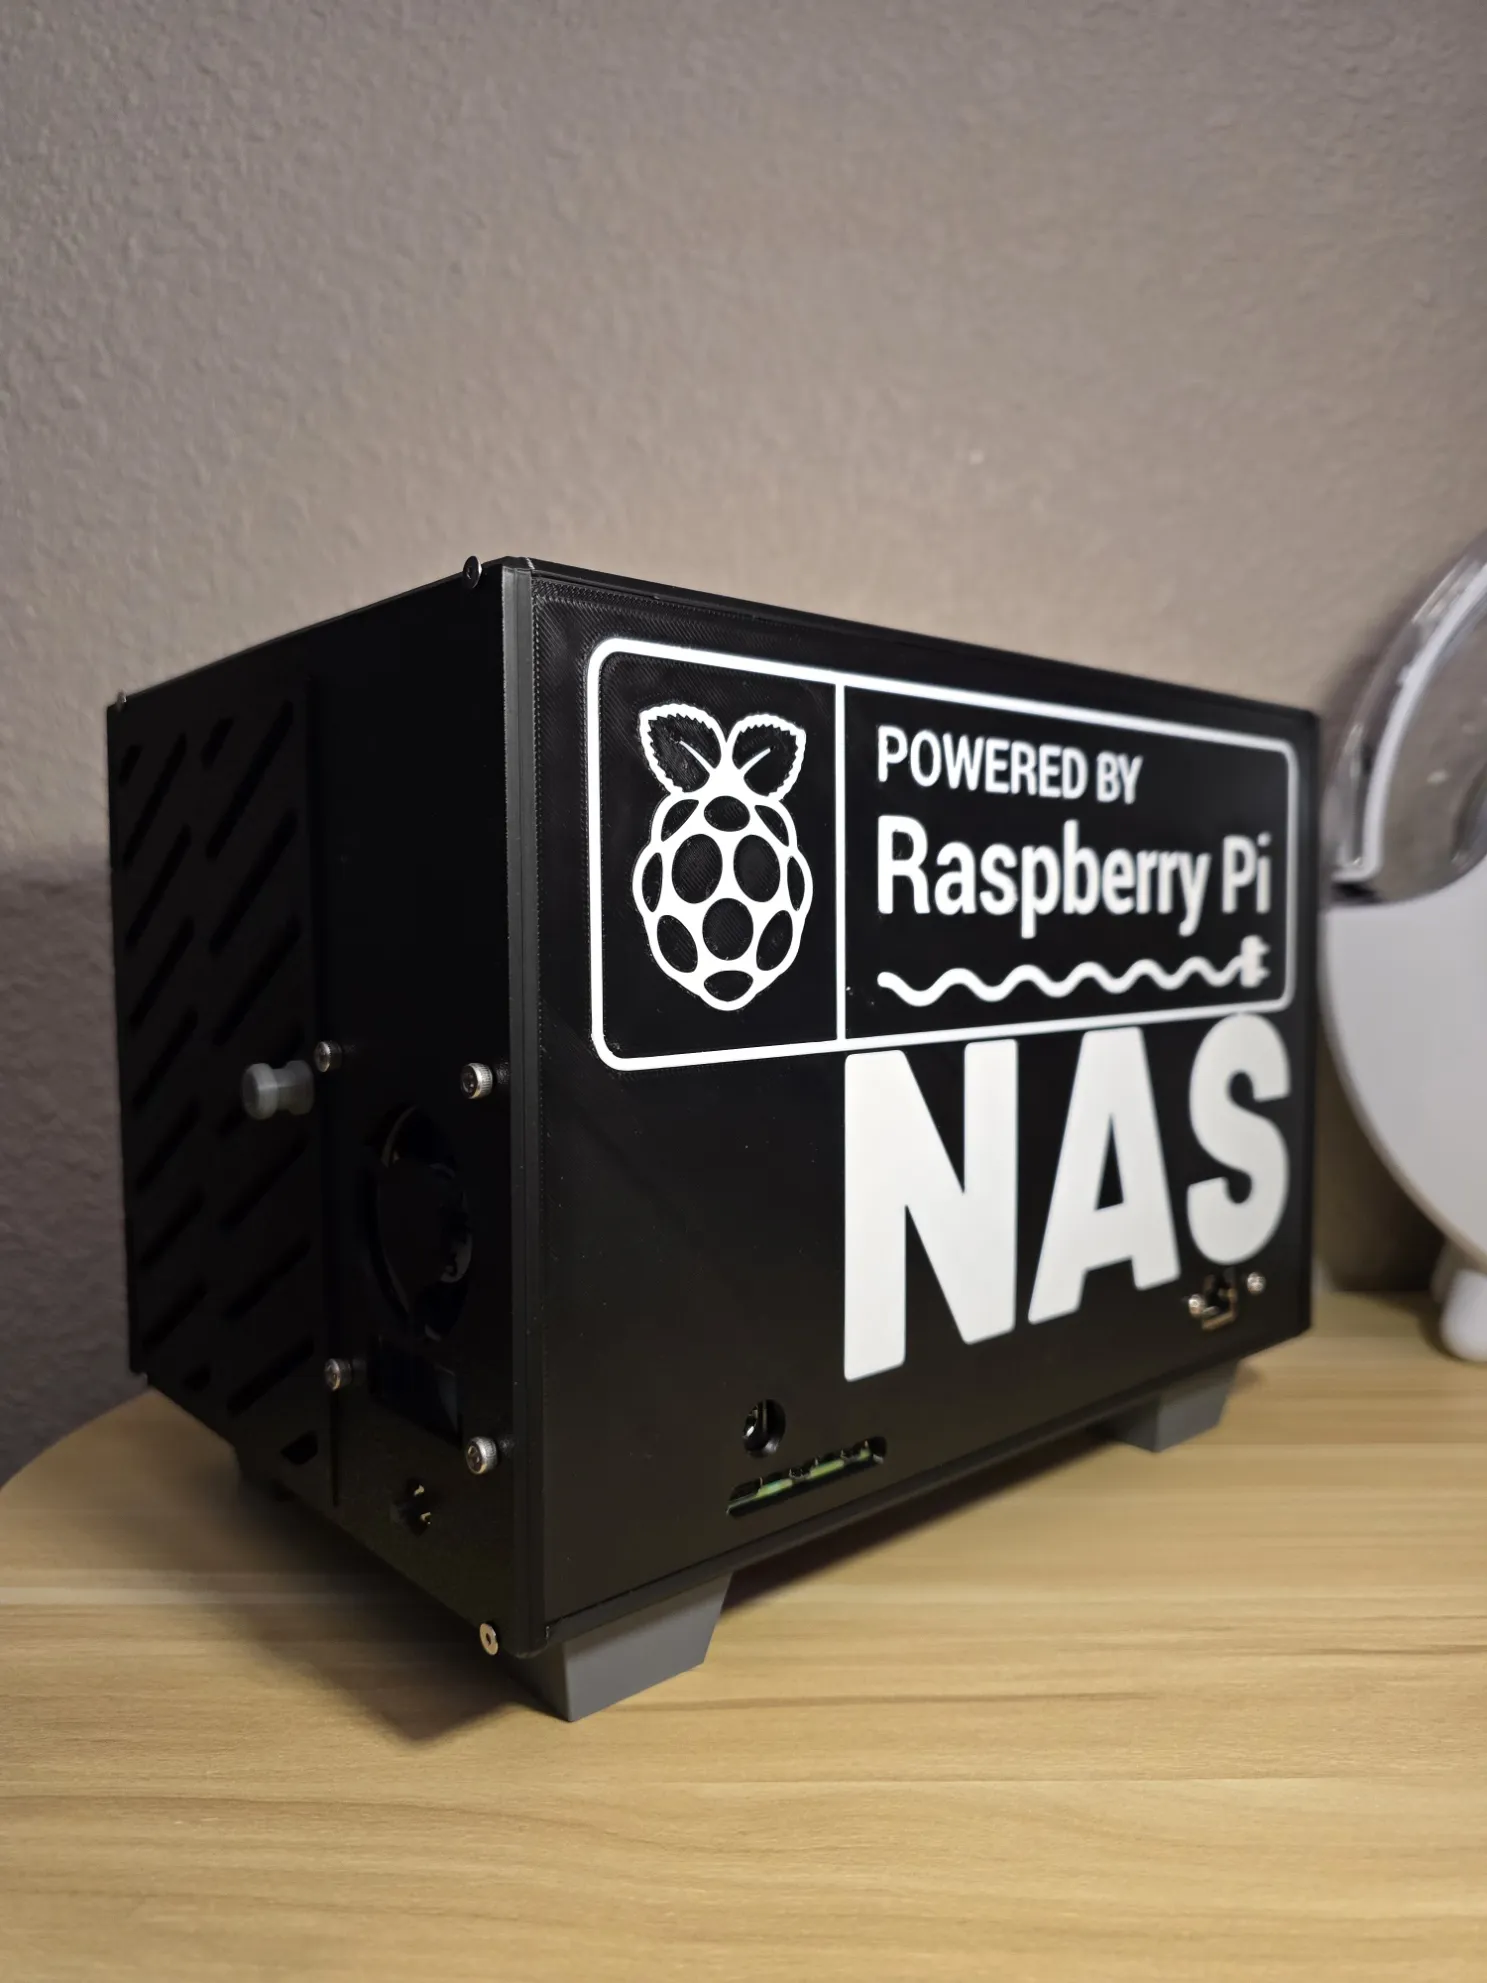 | 
|
| Install the HDD, Open the front access door and slide in the HDD until they “click” into position. Thats It! |
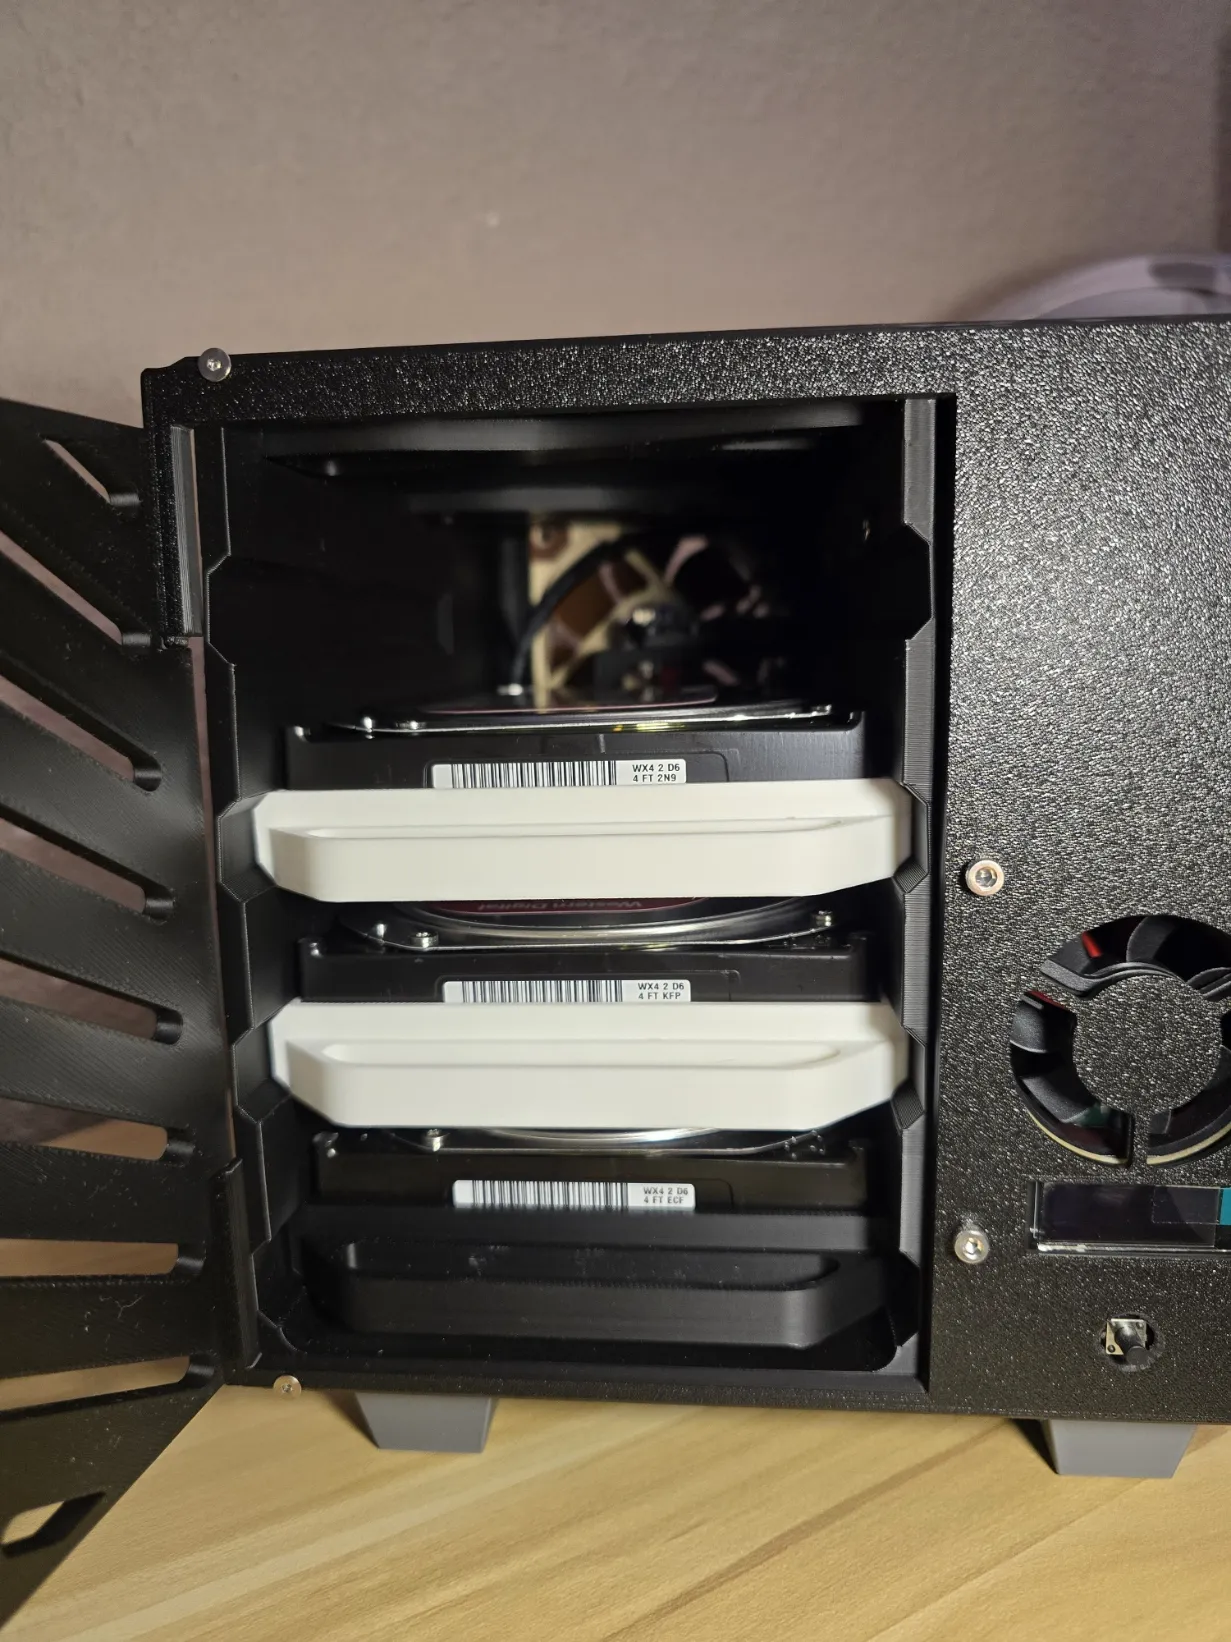 |
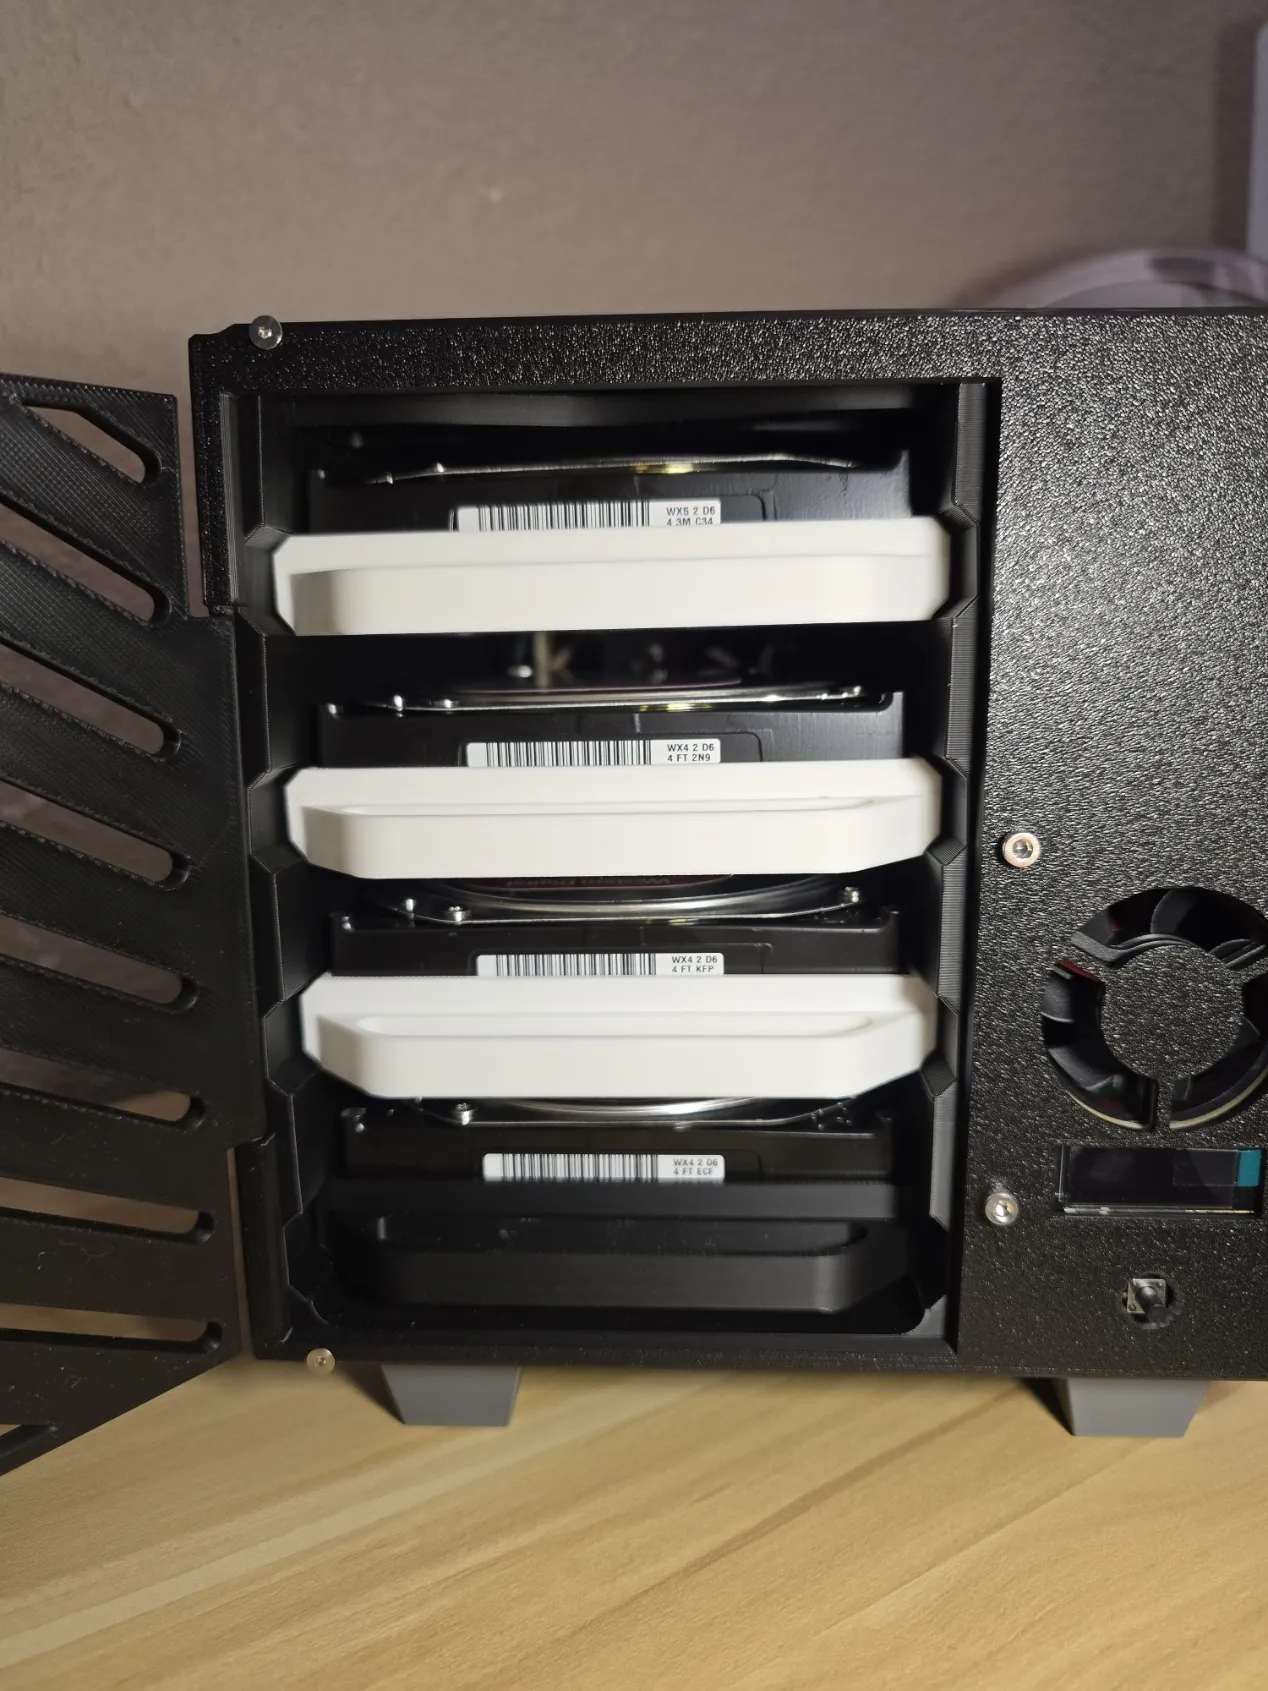 |
Resources
How to set up the Radxa Penta SATA Hat?
How to set up the Radxa Penta SATA Hat Top Board?
Documentation (1)
License

You shall not share, sub-license, sell, rent, host, transfer, or distribute in any way the digital or 3D printed versions of this object, nor any other derivative work of this object in its digital or physical format (including - but not limited to - remixes of this object, and hosting on other digital platforms). The objects may not be used without permission in any way whatsoever in which you charge money, or collect fees.


Comment & Rating (152)