
Ratrig V-Core 4 / upgrade 3.1 to 4 /Hybrid/AWD/DXF
Print Profile(0)
Description
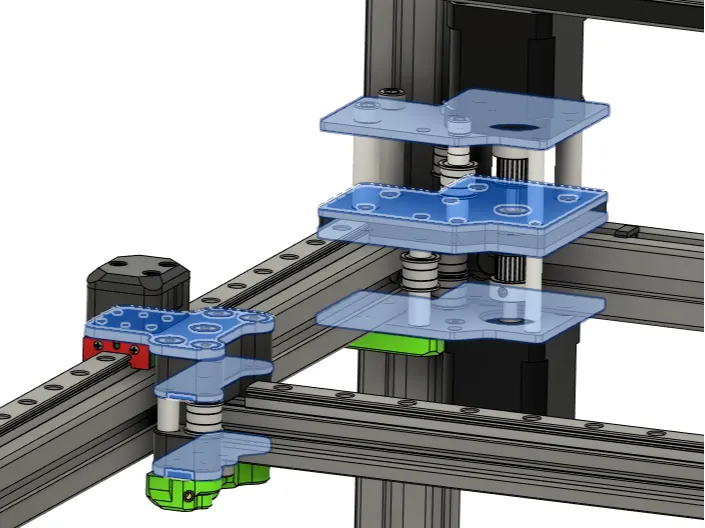
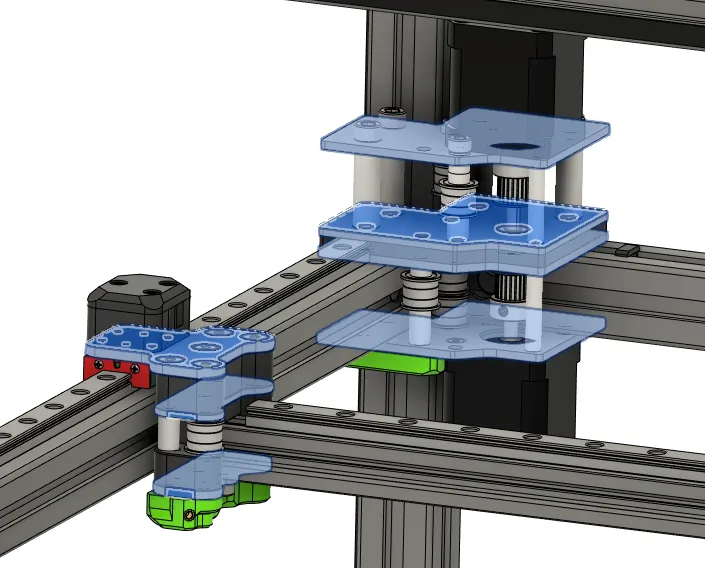
DXF files for lasercut for xy motormount, hybrid and x carriage from the new ratrig v-core 4.
Parts needed for Upgrade ratrig 3.1 to 4
if use original ratrig v-core 4 x carriage printed parts:
https://docs.ratrig.com/v-core-4-0/bom#FILESVC4
- X carriage metal parts
- x carriage right top 4mm
- x carriage right mid 2mm
- x carriage right bottom 3mm
- x carriage left top 4mm
- x carriage left mid 2mm
- x carriage left bottom 3mm
if use the modified printed parts you do not need “x carriage right mid 2mm” and “x carriage left mid 2mm”:
https://www.printables.com/model/902728-rat-rig-v-core-3-hybrid-upgrade
Parts needed for Hybrid upgrade:
- Hybrid metal parts
- hybrid right bottom 3mm
- hybrid right top 3mm
- hybrid left bottom 3mm
- hybrid left top 3mm
- XY motormount
- xy right bottom 3mm
- xy right top 3mm
- xy left bottom 3mm
- xy left top 3mm
original printed parts you find here:
https://docs.ratrig.com/v-core-4-0/hybrid
Parts needed for AWD upgrade:
https://www.printables.com/model/860767-l3ver-m3-awd-combo-vcore-3031-enclosure-20
this model includes a xy belt tensioner on the front of the machine.
Note:
On upgrade ratrig v-core 3.1 to ratrig v-core 4 the Y rails change position from under the y aluminium extrusion to on top of it.
If you also plan to use my toolchanger files you need to extend the Y aluminium extrusion for the Y rail frame on the front side of the printer and use a modified Printplate mount on the Z axis (Files work in progress) to use the full xy printarea. Without extrusion extension and modified printplate mount on Z axis your print area on a 300x300 vcore 3.1 reduces in the Y axis from 300 to 160 because of the parking area of the toolheads and the toolhead mount is now on the back of the x carriage.
License



Comment & Rating (0)