Bambu A1 Series PEI Plate Raspberry Pi Camera Mount (Time-lapse)


Print Profile(4)
Description
Boost Me (for free)
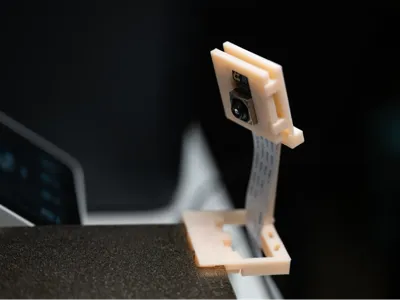
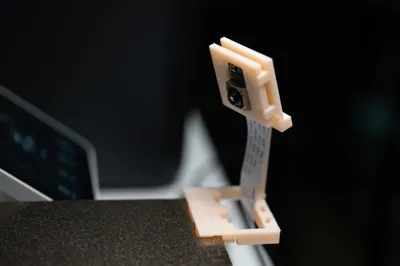
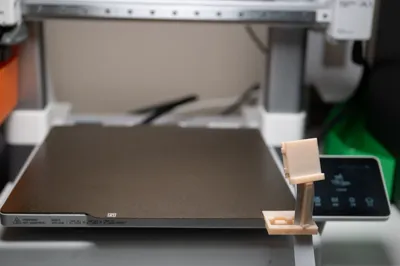
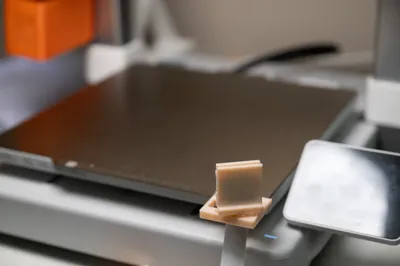
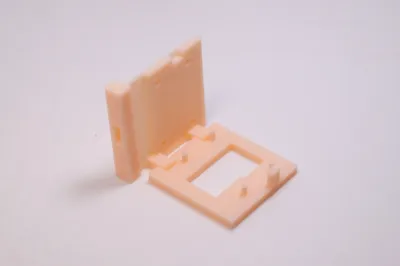
This bracket utilizes the holes in the non-printing area of the PEI plate for fixation, without intruding into the printing area. Using this bracket for time-lapse photography, the A1 series printer can also achieve uninterrupted printing and shooting (similar to the traditional mode of the P series), and the print head does not need to return to the filament feeder. The camera and the heated bed remain relatively stationary, resulting in a much better final product than when the camera is fixed outside the printer. Using the Raspberry Pi camera to shoot, the image quality is also significantly better than the printer's built-in camera.
Fast printing without supports.
This bracket is compatible with Raspberry Pi V2, V3 cameras (CSI interface). Since the heated bed will move during printing, please ensure that the CSI cable is long enough.
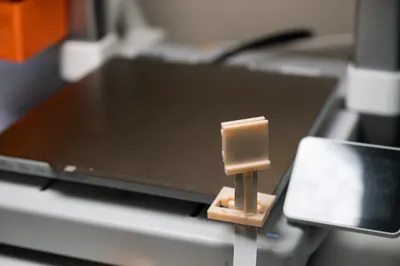
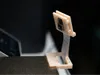
Configuration one: Complete bracket, including the overhead arm, ready to use after printing is complete.
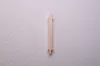
Configuration two: Long arm for flat shooting, approximately 4.3cm in length.
Configuration three: Overhead arm, approximately 4.7cm in length, the same as the arm in configuration one.
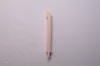
Configuration four: Short arm for flat shooting, approximately 1cm in length, with almost no height after installation.
Except for the slight possibility of the print head colliding with the camera during the process of returning to its initial position after cutting off the filament at the end of printing, the print head and the bracket and camera will not collide at any other time. Based on current tests, the camera and bracket will not be knocked down, and the movement of the print head will not be affected. If you encounter a situation where the camera is knocked down, please let me know in the comments section.
When the short flat arm is installed in the rightmost hole, it will collide with the A1 screen, so you need to fold the screen before starting to print.
Installation Steps
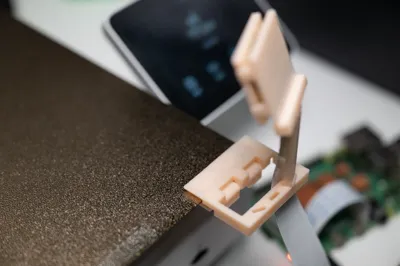
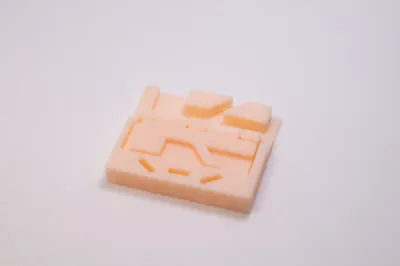
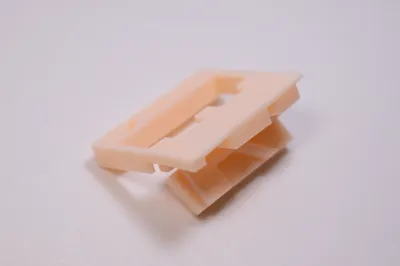
1. Fold the plate in the middle of the base.


2. Pass the camera through the hole in the middle of the base, making sure that the camera faces the PEI plate buckle.

3. Snap the camera into the limiting hole of the camera buckle.


4. Close the camera buckle.

5. Install the rod. It is usually installed in the rightmost hole, with the camera facing the center of the heated bed.

5. Snap the base into the edge holes of the PEI plate, installation complete.


Perspective of Each Rod
Overhead arm, suitable for shooting low models. When installed in reverse, it becomes an overhead shot, which can be used to shoot taller models.

Long arm for flat shooting, suitable for shooting taller models. If you need to shoot particularly tall models, you can extend the arm yourself.

Short arm for flat shooting, low-angle shooting, the camera is more stable and less prone to shaking.

License
You shall not share, sub-license, sell, rent, host, transfer, or distribute in any way the digital or 3D printed versions of this object, nor any other derivative work of this object in its digital or physical format (including - but not limited to - remixes of this object, and hosting on other digital platforms). The objects may not be used without permission in any way whatsoever in which you charge money, or collect fees.
Comment & Rating (3)