
Marbles (13.6mm, 14mm, 16mm, 18mm, 24.5mm)


Print Profile(4)



Description
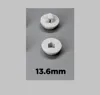
Marbles of varying sizes (13.6mm, 14mm, 16mm, 18mm, 24.5mm). Each marble is printed as two identical halves and are held together using a permanent locking pin. No adhesive or supports are needed.
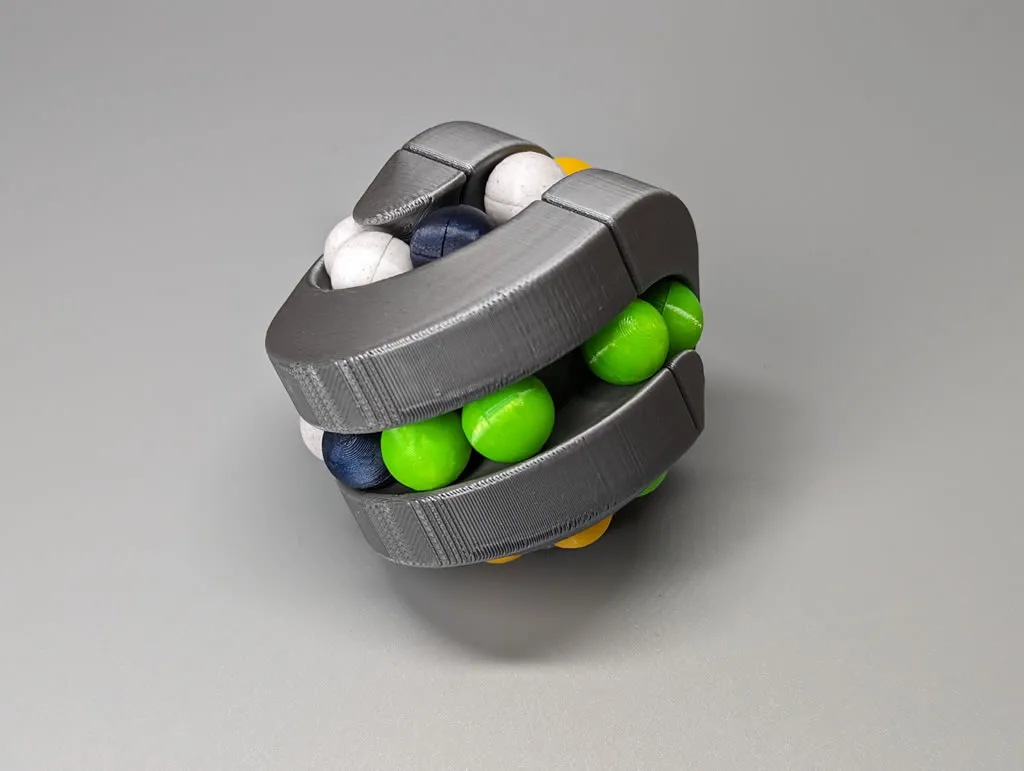
The 13.6mm and 14mm marble can be used in place of glass or acrylic marbles/beads for mazes, puzzles, and board games. The 13.6mm marbles work great in Make Anything's marble puzzles on Thangs.
The 24.5mm marbles are the same size as the ones used with the Hubelino Marble Runs.
I printed the marbles using PETG but any filament should work. No supports are necessary. I used the default settings (Bambu Studio) for the “0.16mm Optimal @BBLX1C” system preset except for the following:
Strength > Walls : 5-7
Strength > Sparse infill > Sparse infill pattern: Adaptive Cubic
Speed > Other layers speed > Outer wall: 100
Speed > Other layers speed > Inner wall: 150
Because every spool of filament can vary in composition, you may have to adjust the locking pin slot/hole size using the X-Y hole compensation setting. I suggest adjusting the setting by (+/-) .1mm increments to get the best fit and to make it easier to assemble.
Quality > Precision > X-Y hole compensation: .1mm increments
Assembly Instructions:
- Take a marble half and insert the locking pin(s) into the keyed hole. Make sure that the notch on the locking pin(s) is oriented correctly.
- Push the locking pin(s) in until you hear the latch click.
- Now take the other half of the marble and push it onto the other end of the locking pin(s), making sure the notch is correctly oriented, until you hear the latch click.
- Both halves should be flush with each other.
Updates:
11/5/2025 - Check out my customizable/parametric marble model (https://makerworld.com/en/models/1963210-marbles-customizable#profileId-2111818) where you're able to create marbles with diameters ranging from 13.6 mm to 19 mm.
License



Comment & Rating (188)