


Print Profile(1)

Description
Boost Me (for free)
Boosting me will help me make more models in the future!
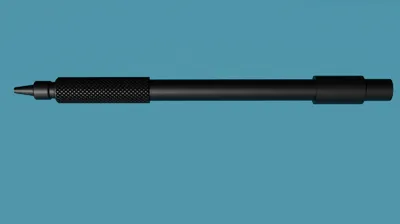
Product Description
This Mechanical Pencil features a sleek, modern design with a smooth, matte finish. Its streamlined shape and well-balanced proportions make it both functional and stylish.
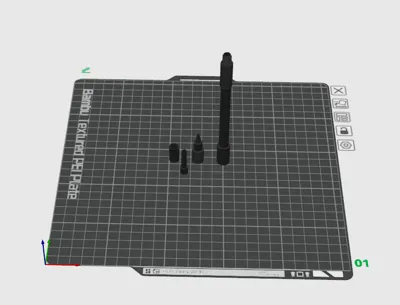
Modeling and Animation Process
I used Blender to model the pencil, carefully crafting each part to fit together perfectly. After modeling, I created a simple animation that shows the assembly process step-by-step. The result is a clear and easy-to-follow GIF that visually demonstrates how the pencil is put together.
Assembly Step-by-Step
This Mechanical Pencil is assembled as follows:
- Insert the Lead Mechanism: Place the 0.7mm lead mechanism into the main body.
- Prepare the Tip: Use a small sewing needle to push all the way through the tip, enlarging the hole just enough for the lead to pass through smoothly without being too loose.
- Attach the Tip: Screw the tip onto the main body.
- Add the Eraser Grip: Slide the eraser grip onto the bottom of the pencil.
- Insert the Eraser: Place the eraser into the eraser grip.
- Cover the Eraser: Snap on the eraser cover.
Once assembled, the pencil is ready for use, featuring a reliable mechanism from a Staples mechanical pencil.
Extra Parts Needed (IMPORTANT)
In order to use this pencil, you need to take a mechanical pencil, (fig.1) and take out the lead mechanism (fig.2).
Then you also need to use the eraser that comes with the pencil (fig.3).

Fig.1

Fig. 2

Fig. 3
License
You shall not share, sub-license, sell, rent, host, transfer, or distribute in any way the digital or 3D printed versions of this object, nor any other derivative work of this object in its digital or physical format (including - but not limited to - remixes of this object, and hosting on other digital platforms). The objects may not be used without permission in any way whatsoever in which you charge money, or collect fees.
Comment & Rating (30)