Automaton Hound\StarRail


Print Profile(1)

Description
Welcome to check out the little gadgets I made.
This is a small creature from the game Honkai: Star Rail.
They are part of a series, and I've already made two others.
Here are the links:
Automaton Beetle: https://makerworld.com/zh/models/525689#profileId-442498
Automaton Spider: https://makerworld.com/zh/models/527258#profileId-444291
With this one, the three brothers are now complete.
Although they have two elder brothers, I don't plan to make them at the moment.
When making this War Hound, I encountered many problems, which slowed down the update process considerably.
Firstly, it doesn't share any interchangeable parts with the previous two Automatons, so everything had to be designed from scratch.
Secondly, compared to the previous two, the parts of this one are more complex, with more curves and smooth surfaces.
I had been using LowPoly modeling before, with a low number of vertices on the surface.
This method works well for simple, straight planes, making the design and production not too difficult.
However, when faced with this War Hound, the low-poly model was clearly not suitable, as the insufficiently smooth surfaces were maddening.
But in the end, I managed to handle it.
If the assembly difficulty of the Beetle is one star, meaning anyone can do it,
and the Spider's difficulty is two stars, requiring some guidance,
then the difficulty of this War Hound is five stars—you might not know what to do without guidance.
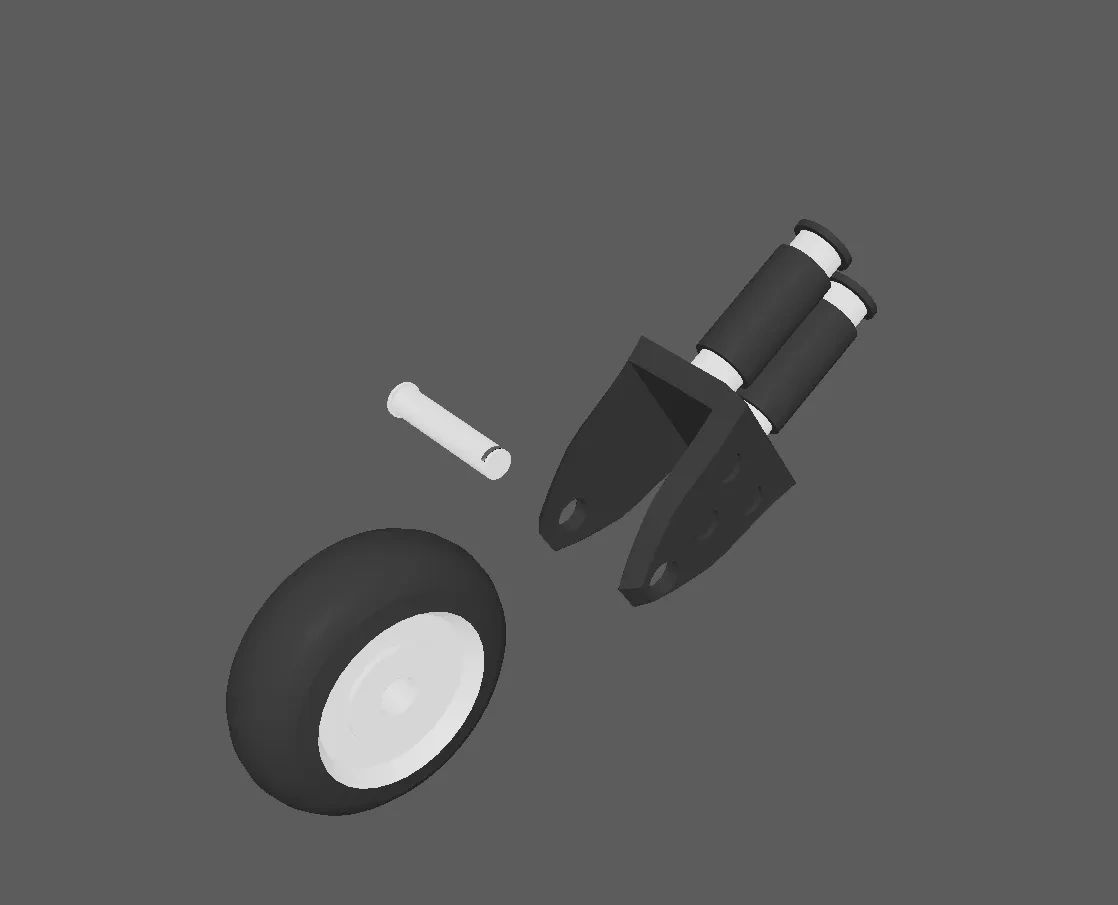
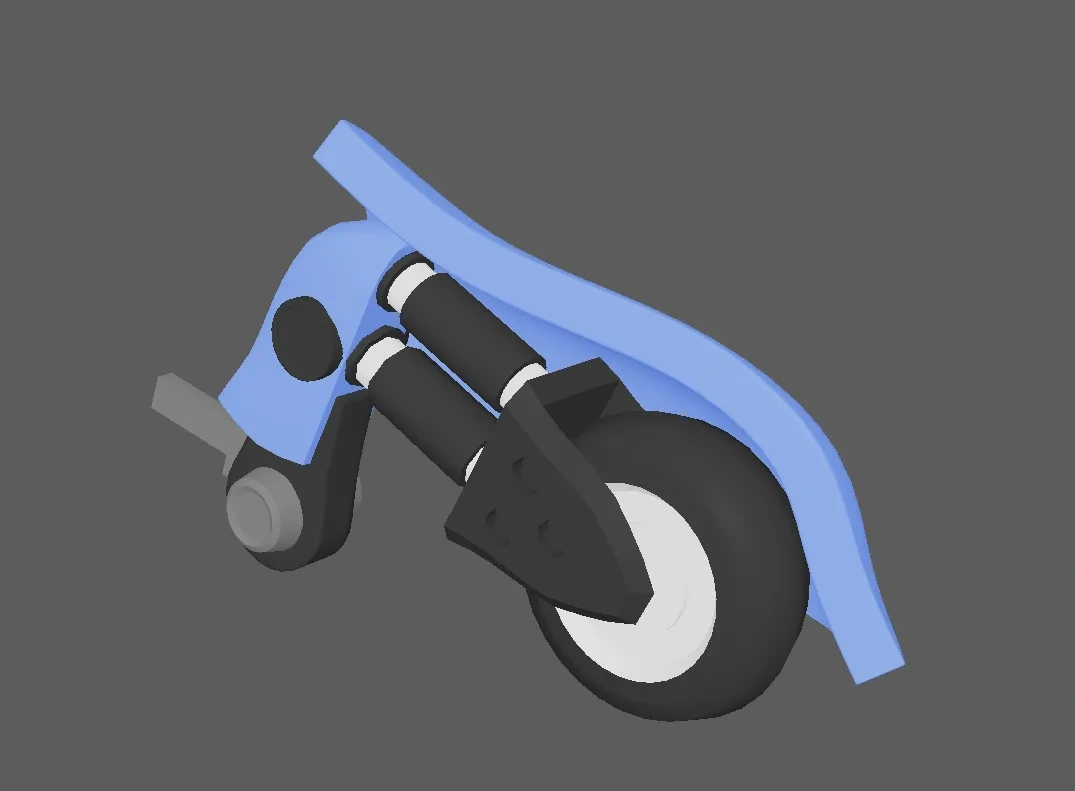
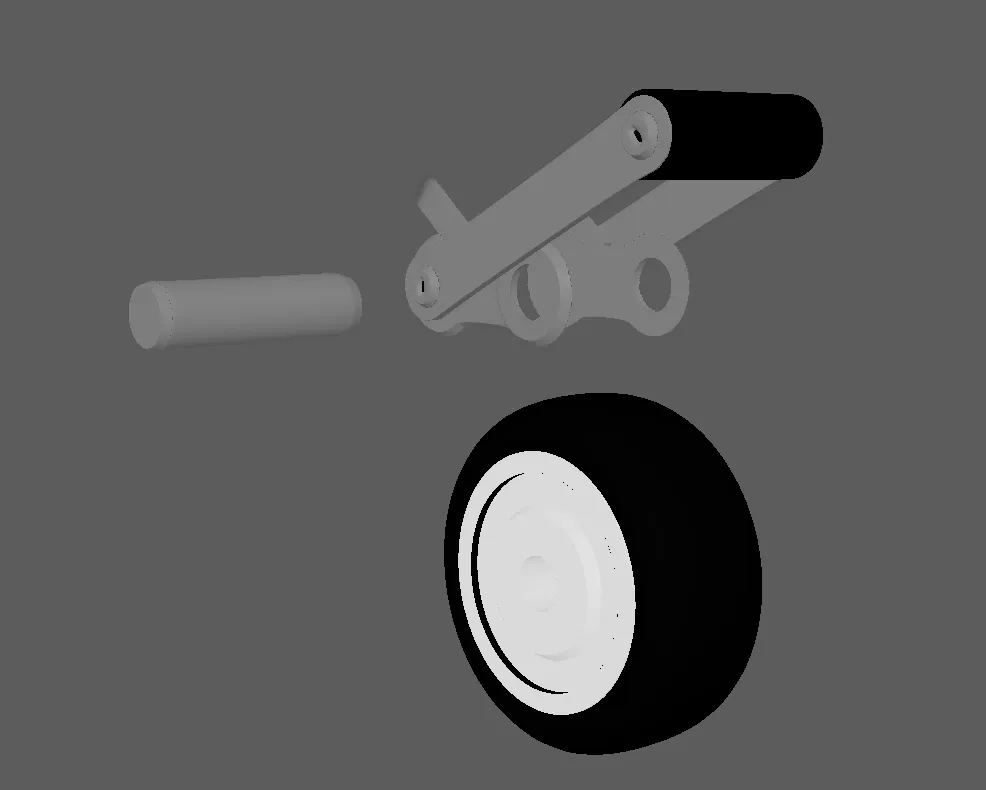
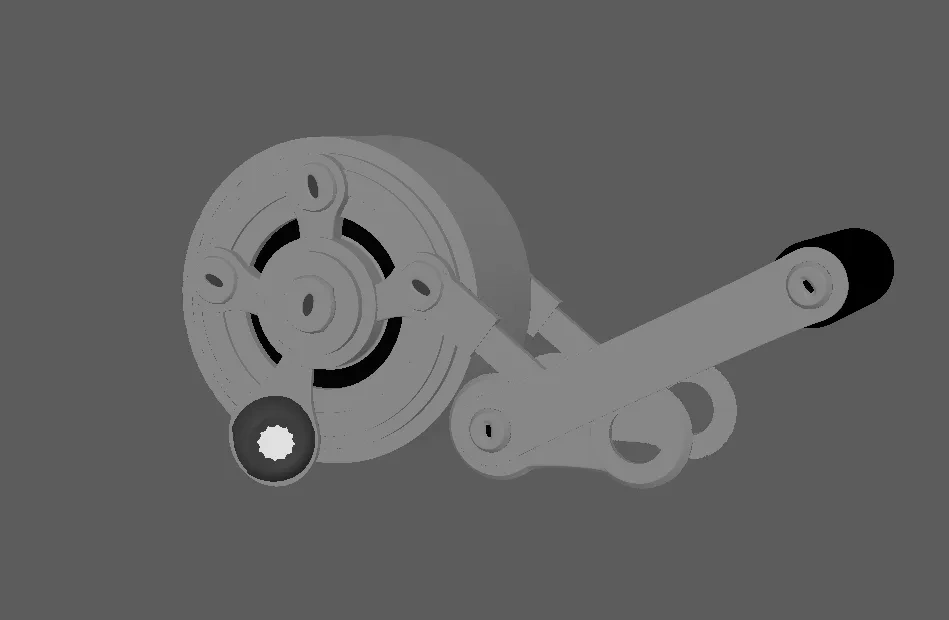
Regarding the installation of the front wheel, first, you need to find these three parts.
Next, find these two parts and combine them top and bottom.
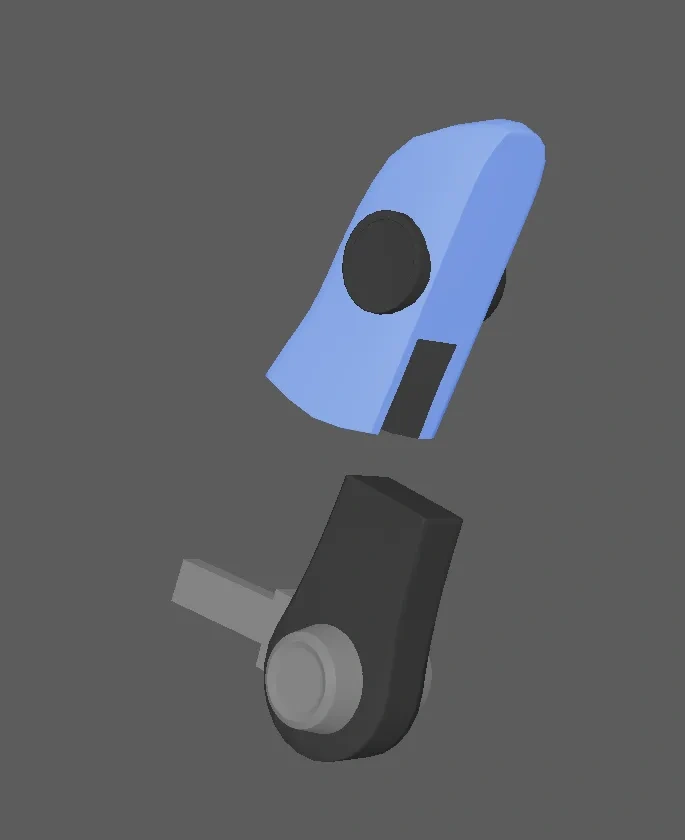
Fix the combined two parts together using glue.
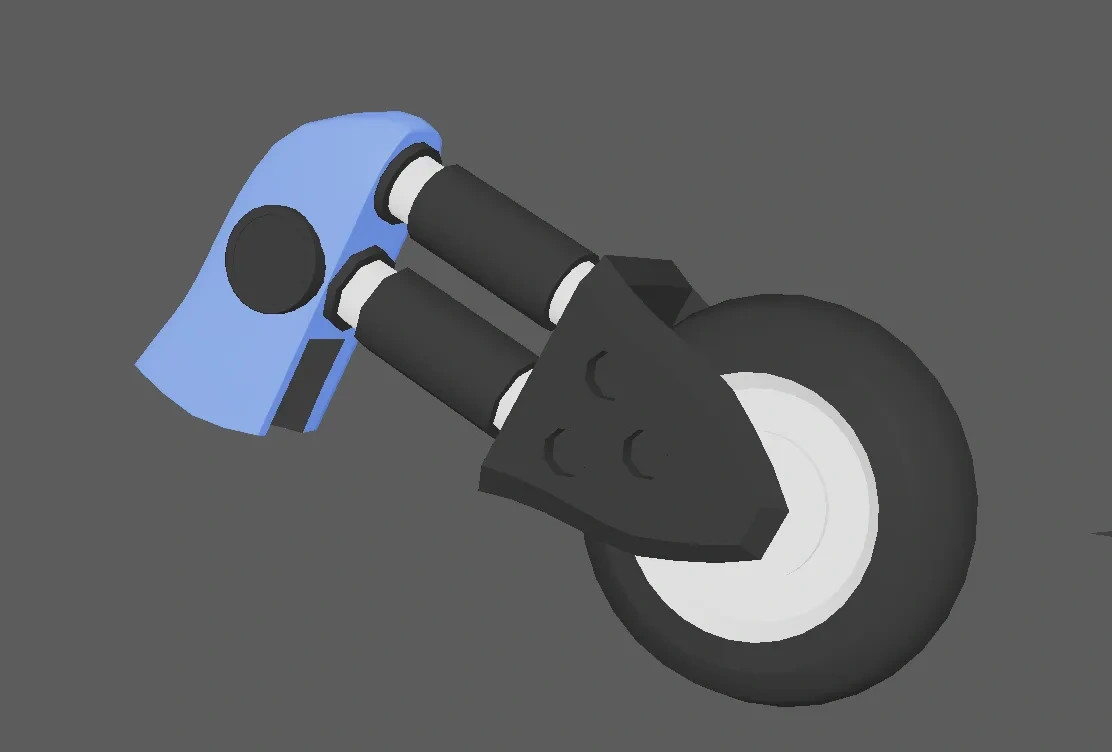
The outer shell of the front wheel can be assembled at this time or left for the final step.
The front wheel consists of two parts, one for each side. Once one side is completed, you can mirror it for the other side.
They connect to the main body like this.
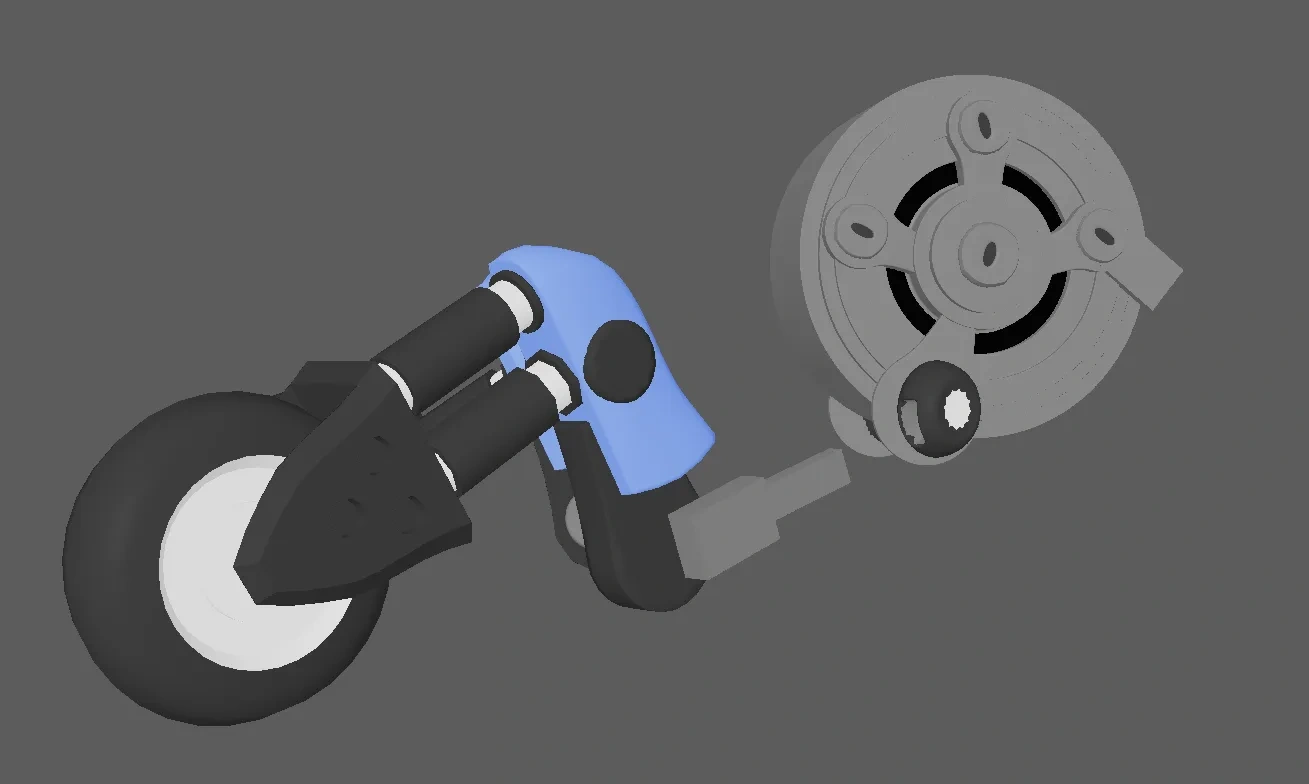
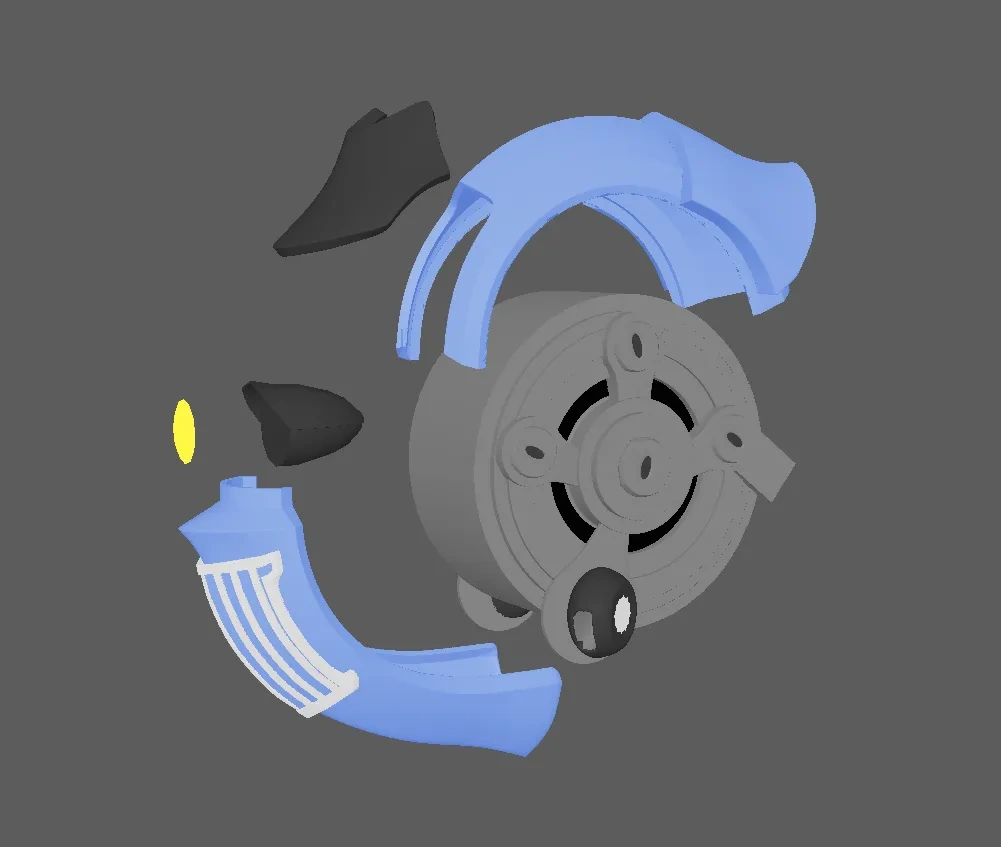
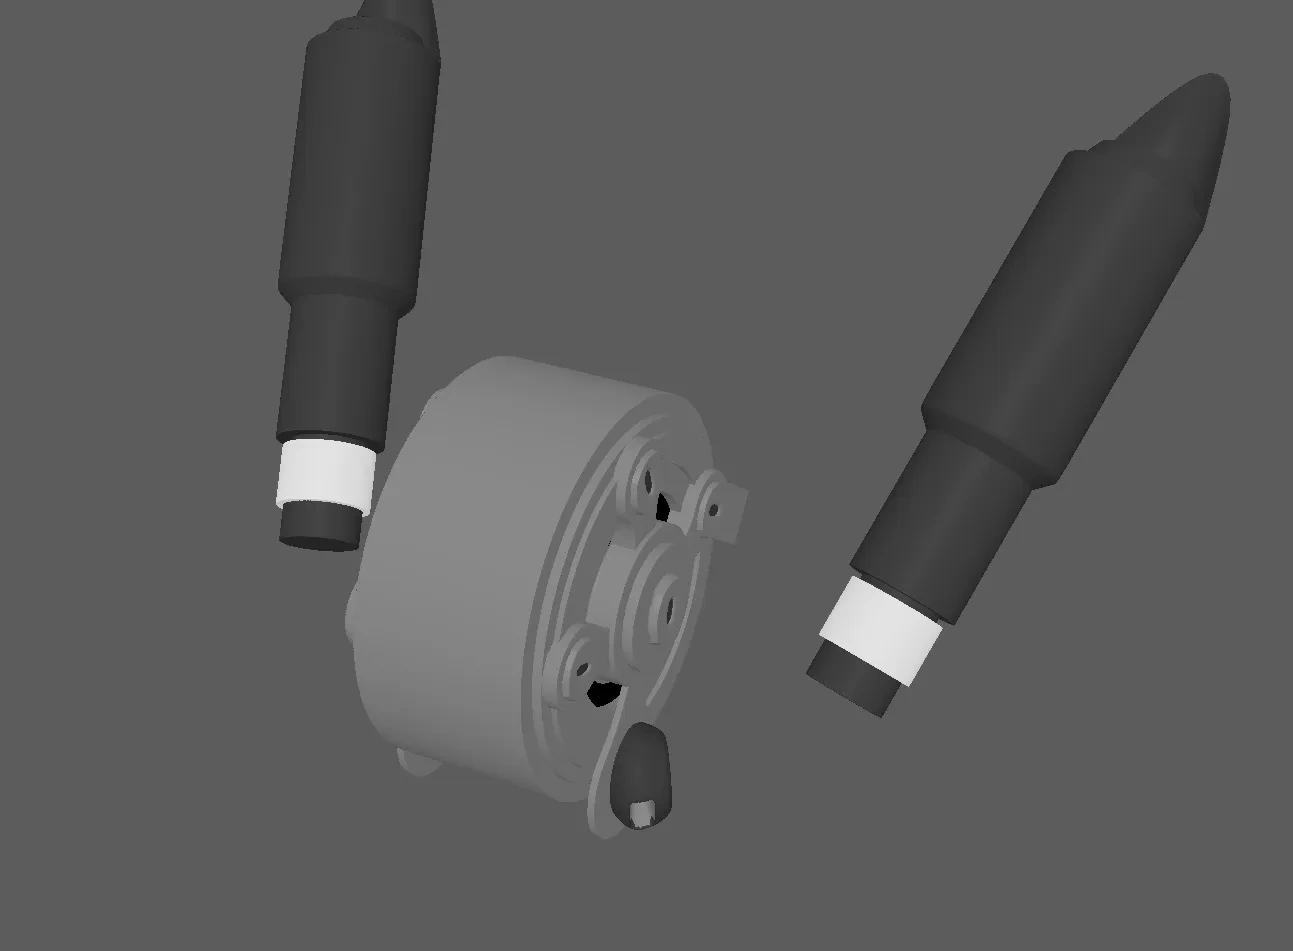
For assembling the main body itself, you'll need these parts.
The assembly of the rear wheel is similar to that of the front wheel, using pins, but the pins are larger! You shouldn't get them mixed up.
The connection between the rear wheel and the core is here. It's also recommended to use glue to secure it in place.
Finally, there are the pipes on both sides.
This way, you'll have fully assembled it.
Lastly, I hope you enjoy playing with it!
Comment & Rating (0)