
Print quality guide for A1, A1 mini, P1S, X1C
Print Profile(1)

Description
Boost Me (for free)
It took quite some time to compile all this, I would really appreciate a boost, its free!
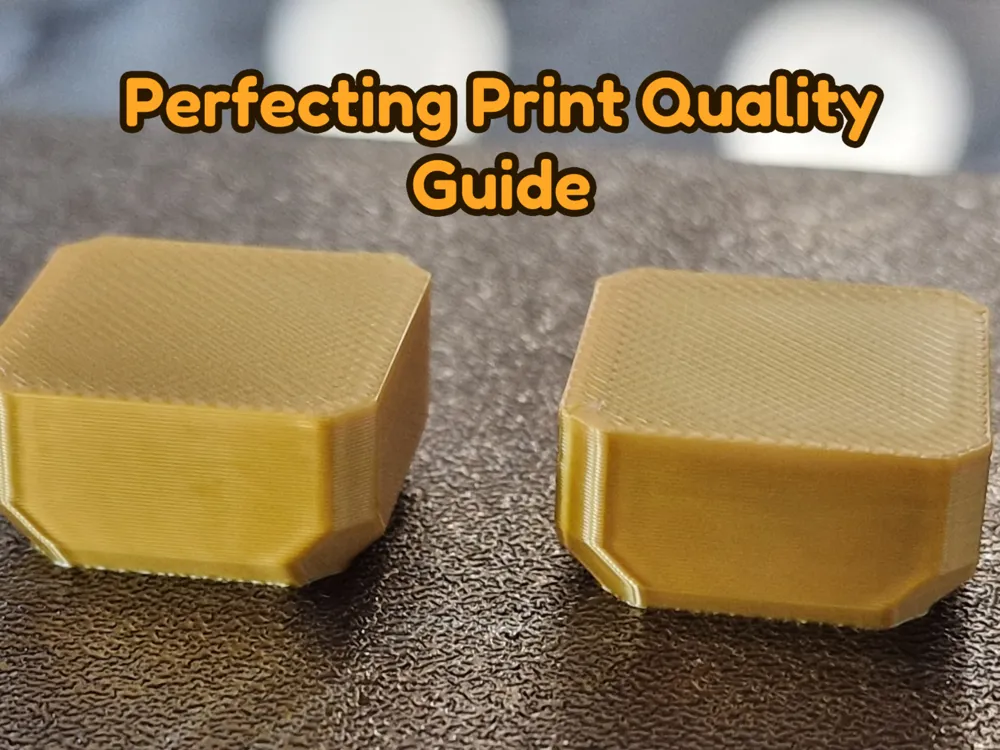
Perfecting Print Quality Guide v6
You can use my (Designer) Print profile as a template to start your prints from, it includes most of the settings described below and contains just a simple cube. I will update it with the updates to this guide.
1. Before printing - Filament calibration
I do this per filament brand / material -> Polyterra PLA / Bambu Basic PLA etc.
- Flow rate calibration
- Personally I use this test model, it works like a charm. You must slice it in ORCA SLICER!! https://makerworld.com/en/models/189543
- You can use calibration integrated in Bambu Studio, but it's not as easy to get 100% right, especially for dark filaments.
- Flow dynamics calibration (k factor / pressure advance)
- I use the pattern method from Bambu Studio. Here is a very good pic of the explanation. https://ellis3dp.com/Print-Tuning-Guide/articles/pressure_linear_advance/pattern_method.html
- Make sure you turn off Flow Dynamics Calibration in the popup when you hit Print!
Auto-calibration does override the stored value, and in my experience it's normally worse than the manually calibrated one.
- Ironing
I use ironing quite a lot, it's nice to calibrate the flow. You have to do this per color, even if the filament is the same brand / material. I have noticed that lighter colors require less flow than darker ones for ironing.- I use this test https://makerworld.com/en/models/30075, but I normally scale it in X direction to 120% just to get a bit more surface area.
I use the highest percentage that does not give any blobbing around the sides. If you use lower, you risk having gaps in ironing at bigger areas. Normally I use 15-20% for PLA.
- I use this test https://makerworld.com/en/models/30075, but I normally scale it in X direction to 120% just to get a bit more surface area.
Bottom layer quality
Sometimes the bottom layer has very visible lines, especially on Smooth or Cold plates.
- Amazing guide to help minimize visible lines on the bottom layer by increasing or decreasing the flow rate of the bottom layer. https://makerworld.com/en/models/896789
- On PLA I reduce the flow for bottom layer to 0.95.
- Turning on “Only one wall on first layer” setting may also improve the looks of the first layer. Preview the setting when slicing to see if its better.
- Experiment with different pattens for bottom layer. Sometimes concentric gives nicer results.
- Amazing guide to help minimize visible lines on the bottom layer by increasing or decreasing the flow rate of the bottom layer. https://makerworld.com/en/models/896789
- Fan speed
- Inside your filament settings, under Cooling set the cooling overhang threshold to 25%, so it cools more. This improves overhangs.
- Optional / Troubleshooting
- Temperature calibration
I never needed to do temperature calibration, the defaults in Bambu Slicer were always OK, but if you are encountering stringing, oozing or warping, you can try running the temperature tower test. Another reason to run it is to improve shininess of your silk or metallic filaments - they have different shininess based on the printing temperature.- Run the temperature tower test in Orca Slicer, here is a good guide.
https://www.obico.io/blog/temperature-tower-test-orcaslicer-comprehensive-guide/
- Run the temperature tower test in Orca Slicer, here is a good guide.
- Temperature calibration
2. Slicing - Print settings
- Improving walls
- Wall order
- Use inner - outer - inner wall order, but only if your print doesn't have any overhangs bigger than 40-45 degrees and if it has 3 or more walls. This gives me the most perfect outer wall finish.
- You can check the maximum angle for your print inside support painting tool, highlight angles 45.
- Otherwise use inner - outer (default).
- Use inner - outer - inner wall order, but only if your print doesn't have any overhangs bigger than 40-45 degrees and if it has 3 or more walls. This gives me the most perfect outer wall finish.
- Elephant foot compensation
For PLA I use 0.15mm. Makes bottom edges super nice. - Seams
Use scarf seams. If possible increase length to 20mm and steps to 20, makes it look less noticeable.
If you have overhangs, use conditional scarf seams at 115 conditional angle threshold. This prevents slight bulging that happens at steep angles. - Aracne wall generator
Try and see how it looks, you have to check the sliced model layer by layer and play around a bit. - Wall speed - sometimes (mostly silk or metallic filaments)
I usually reduce the outer wall speed to 100mm/s and inner wall speed to 200mm/s if the wall finish is not perfect. This setting is much less impactful than wall order.
You do want to slow down for Silk or Bambu Basic PLA Gold/Silver/Bronze filaments, slowing down improves the shininess of the wall finish. For silk I use 50mm/s for walls and 100mm/s for inner walls.
- Wall order
- Infill
- Gyroid or Cross hatch, percentage based on your needs.
- I started using Cross hatch quite a bit, since I can lower the density and its a bit faster. But only for models that dont require that much strength. Example: Cross hatch 12% or Gyroid 15%.
- Gyroid or Cross hatch, percentage based on your needs.
3. Troubleshooting
- Print warping or poor bed adhesion
- Good guide by Bambu Lab https://wiki.bambulab.com/en/general/high-temperature-plate-not-working-as-expected
- TLDR
- Clean your build plate with warm soap and water.
- Change to Smooth PEI sheet instead of Textured PEI sheet.
- Slow down first layer and turn off fan for first 3-5 layers in filament settings.
- Good guide by Bambu Lab https://wiki.bambulab.com/en/general/high-temperature-plate-not-working-as-expected
- Bridges droop and dont look nice
- Enable thick bridges and set flow to 0.8.
- Orca slicer has more settings for this, such as for bridging counterbore holes and independent internal bridge settings.
- Stringing, blobs
- Do a retraction test in Orca slicer, tweak settings based on results there.
- Here is a great guide: https://www.obico.io/blog/retraction-test-in-orcaslicer-a-comprehensive-guide/
- Ugly surface finish
- Does your object have <45 degree angles?
- Use inner-outer-inner wall order if u have >3 walls.
- Use outer-inner wall order if u have 2 walls.
- Slow down outer walls to 50mm/s
- Slow down inner walls to 100mm/s
- Reduce infill
- Add brim or mouse ears (maybe edges warping are causing other layers to curl up, making defects)
- Does your object have <45 degree angles?
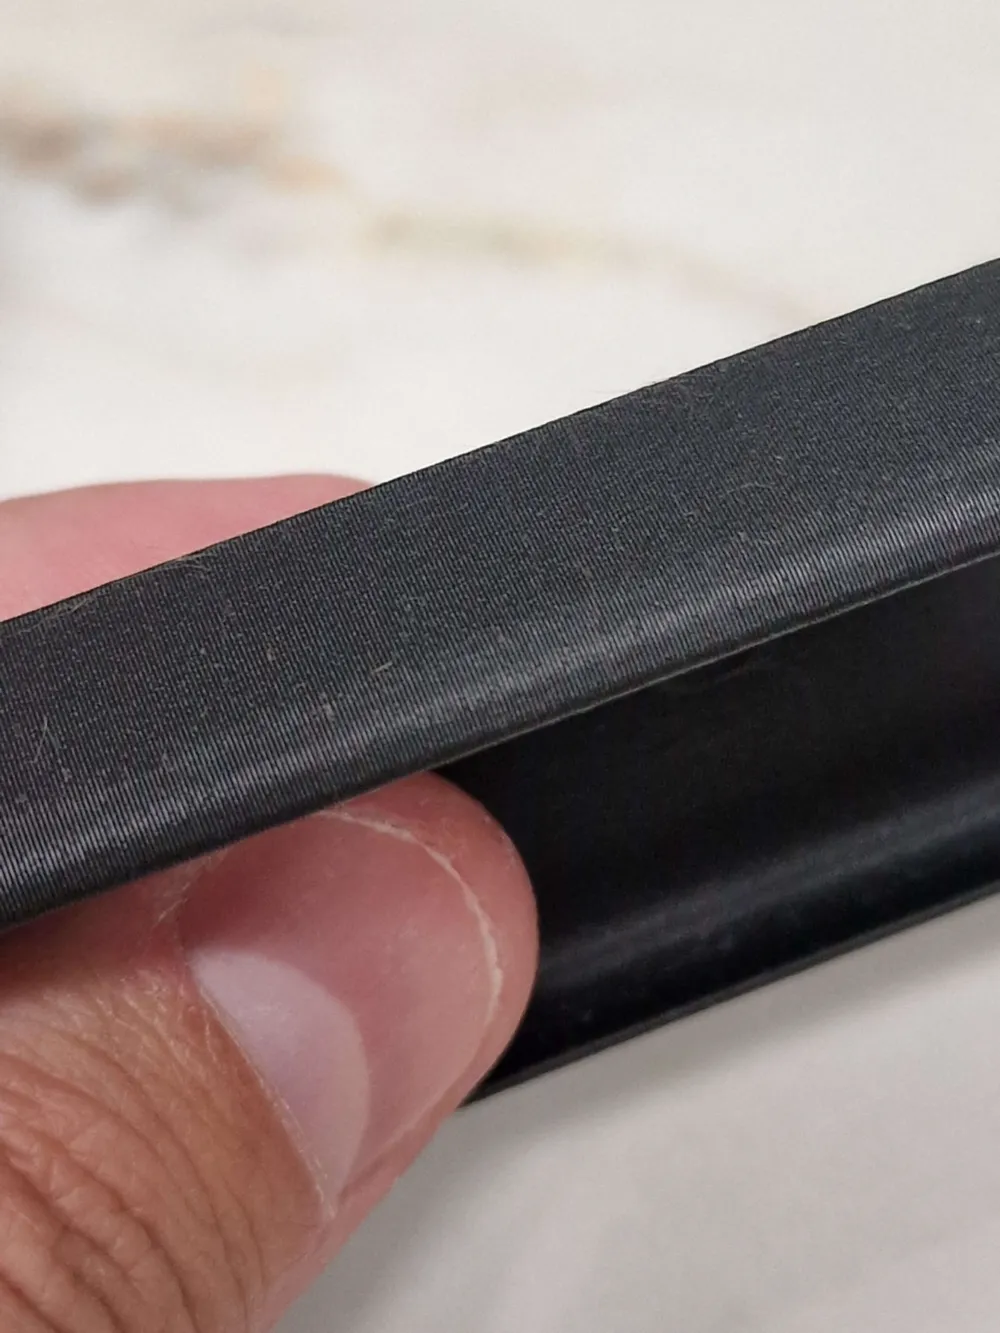
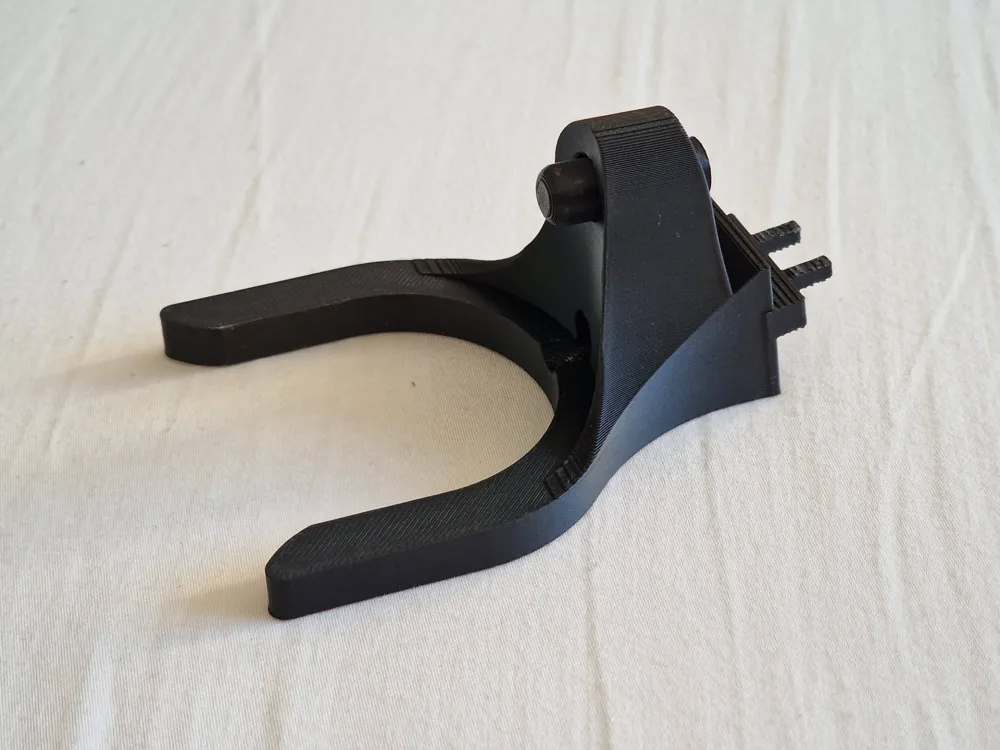
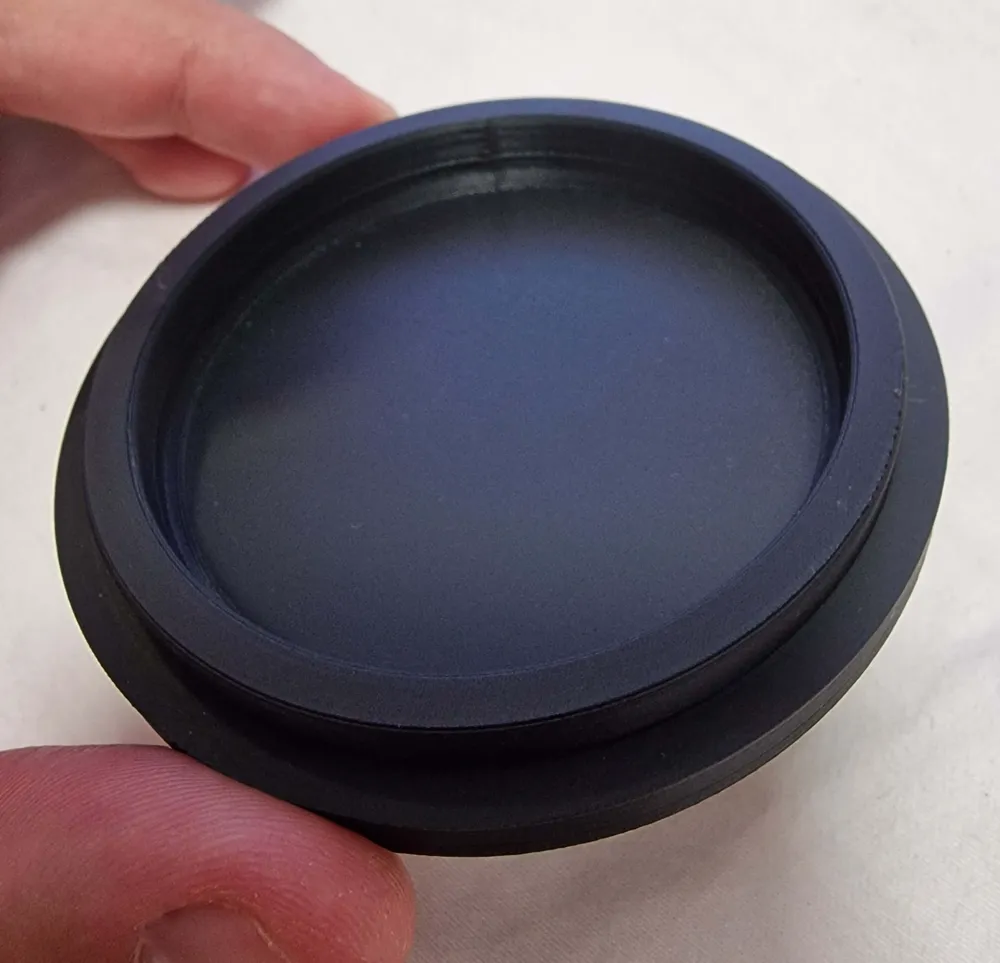
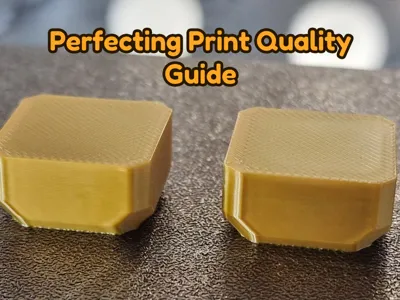
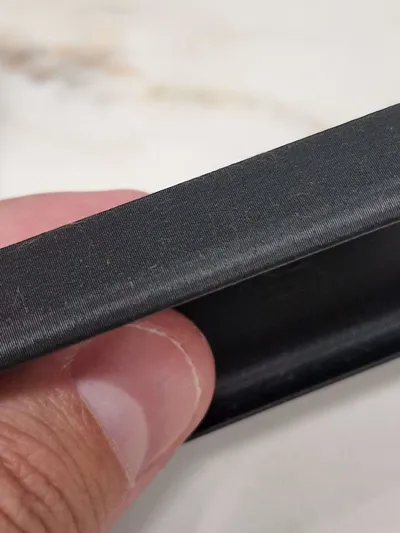
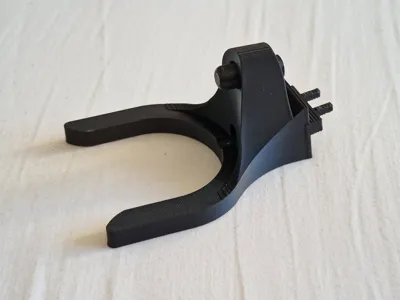
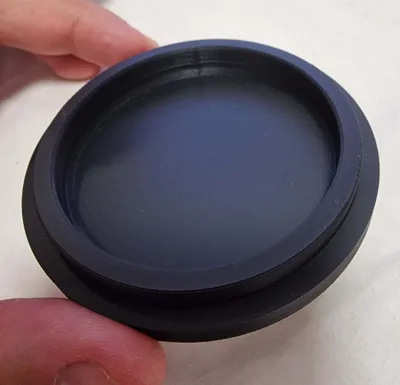
Check out the photos of prints that were done using these tweaks.
They look pretty perfect to me! Also matte PLA doesn't hurt 🙂
I will be updating this page with any suggestions, after I test them! Let me know in the comments.
v6 - added more details and values that I use throughout the guide
v5 - added bottom layer quality section, formatting
v4 - improve troubleshooting section
v3 - added troubleshooting section
v2 - better formatting, added temperature calibration
Boost Me (for free)
Your Boost would mean the world to me! Its free! Thank you :)
License

You shall not share, sub-license, sell, rent, host, transfer, or distribute in any way the digital or 3D printed versions of this object, nor any other derivative work of this object in its digital or physical format (including - but not limited to - remixes of this object, and hosting on other digital platforms). The objects may not be used without permission in any way whatsoever in which you charge money, or collect fees.


Comment & Rating (254)