
Pen Holder A1 / A1 Mini Plotter


Print Profile(2)


Bill of Materials


- D8x46 Stainless Steel Dowel Pin x 2:
- M4 hex nut x 1:
- Linear bearings for 8mm rod. OD=15mm, length = 24mm x 2:
- Ziptie x 2:
- Pull spring, 5x10mm -rubberband x 1:
Description
This is a penmount designed for the Bambu Lab A1 mini and A1. It is designed as to not collide with any other printer parts so that it can remain attached when using the printer normally. It can be used for plotting PCB:s or just plotting a picture.
Tip: Check pictures for guidence if the text isn't enough.
Too much hardware? No problem here's a new version with way less hardware: New version
BOM:
5x - M3x10 screw
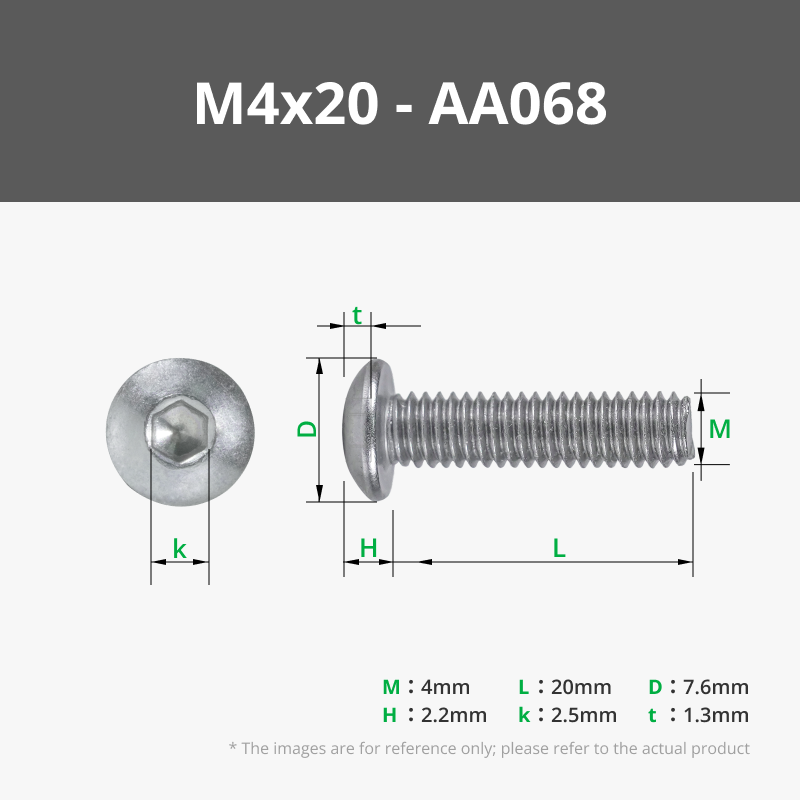
1x - M4x20 screw
5x - M3 nut
1x - M4 nut
2x - linear bearings for 8mm rod. Outer diameter = 15mm and length = 24mm
2x - steel rods, 8x46mm
2x - zipties
1x - pullspring, 5x10mm - if you can't find a spring, use a rubberband instead.
Print BOM:
1x - zipholder
4x - slidermount
1x - screwknob
1x - penholder
1x - penmount
Assembly:
- Insert all the nuts in their corresponding holes, force is needed since they are meant to be press fitted.
- Insert the bearings into the penholder, also press fitted.
- Insert the steel rods in the bearings and attach the slidermounts on the steel rods, also press fitted.
- Attach the spring to the penholder with a ziptie.
- Attach the penholder to the penmount using 4 M3 screws. Mind the orientation, slot in the middle of the penholder should be facing the m3 hole in the middle of the penmount.
- Attach the other part of the spring to the zipholder using a ziptie.
- Secure the zipholder to the penmount using the last m3 screw.
- Attach the pen to the penholder and tighten it with the m4 screw.
- Finally. Mount the entire assembly on the 3d-printer using the 3 screw holes on the machine. Mind that the existing screws on the machine are to short for this, change them to other screws with the same diameter but which are about 5mm longer.
- Good luck!
Edit: @leonllrmc created a profile which let's you create the files using the bambu slicer.
https://makerworld.com/models/498452
License

You shall not share, sub-license, sell, rent, host, transfer, or distribute in any way the digital or 3D printed versions of this object, nor any other derivative work of this object in its digital or physical format (including - but not limited to - remixes of this object, and hosting on other digital platforms). The objects may not be used without permission in any way whatsoever in which you charge money, or collect fees.


Comment & Rating (87)