
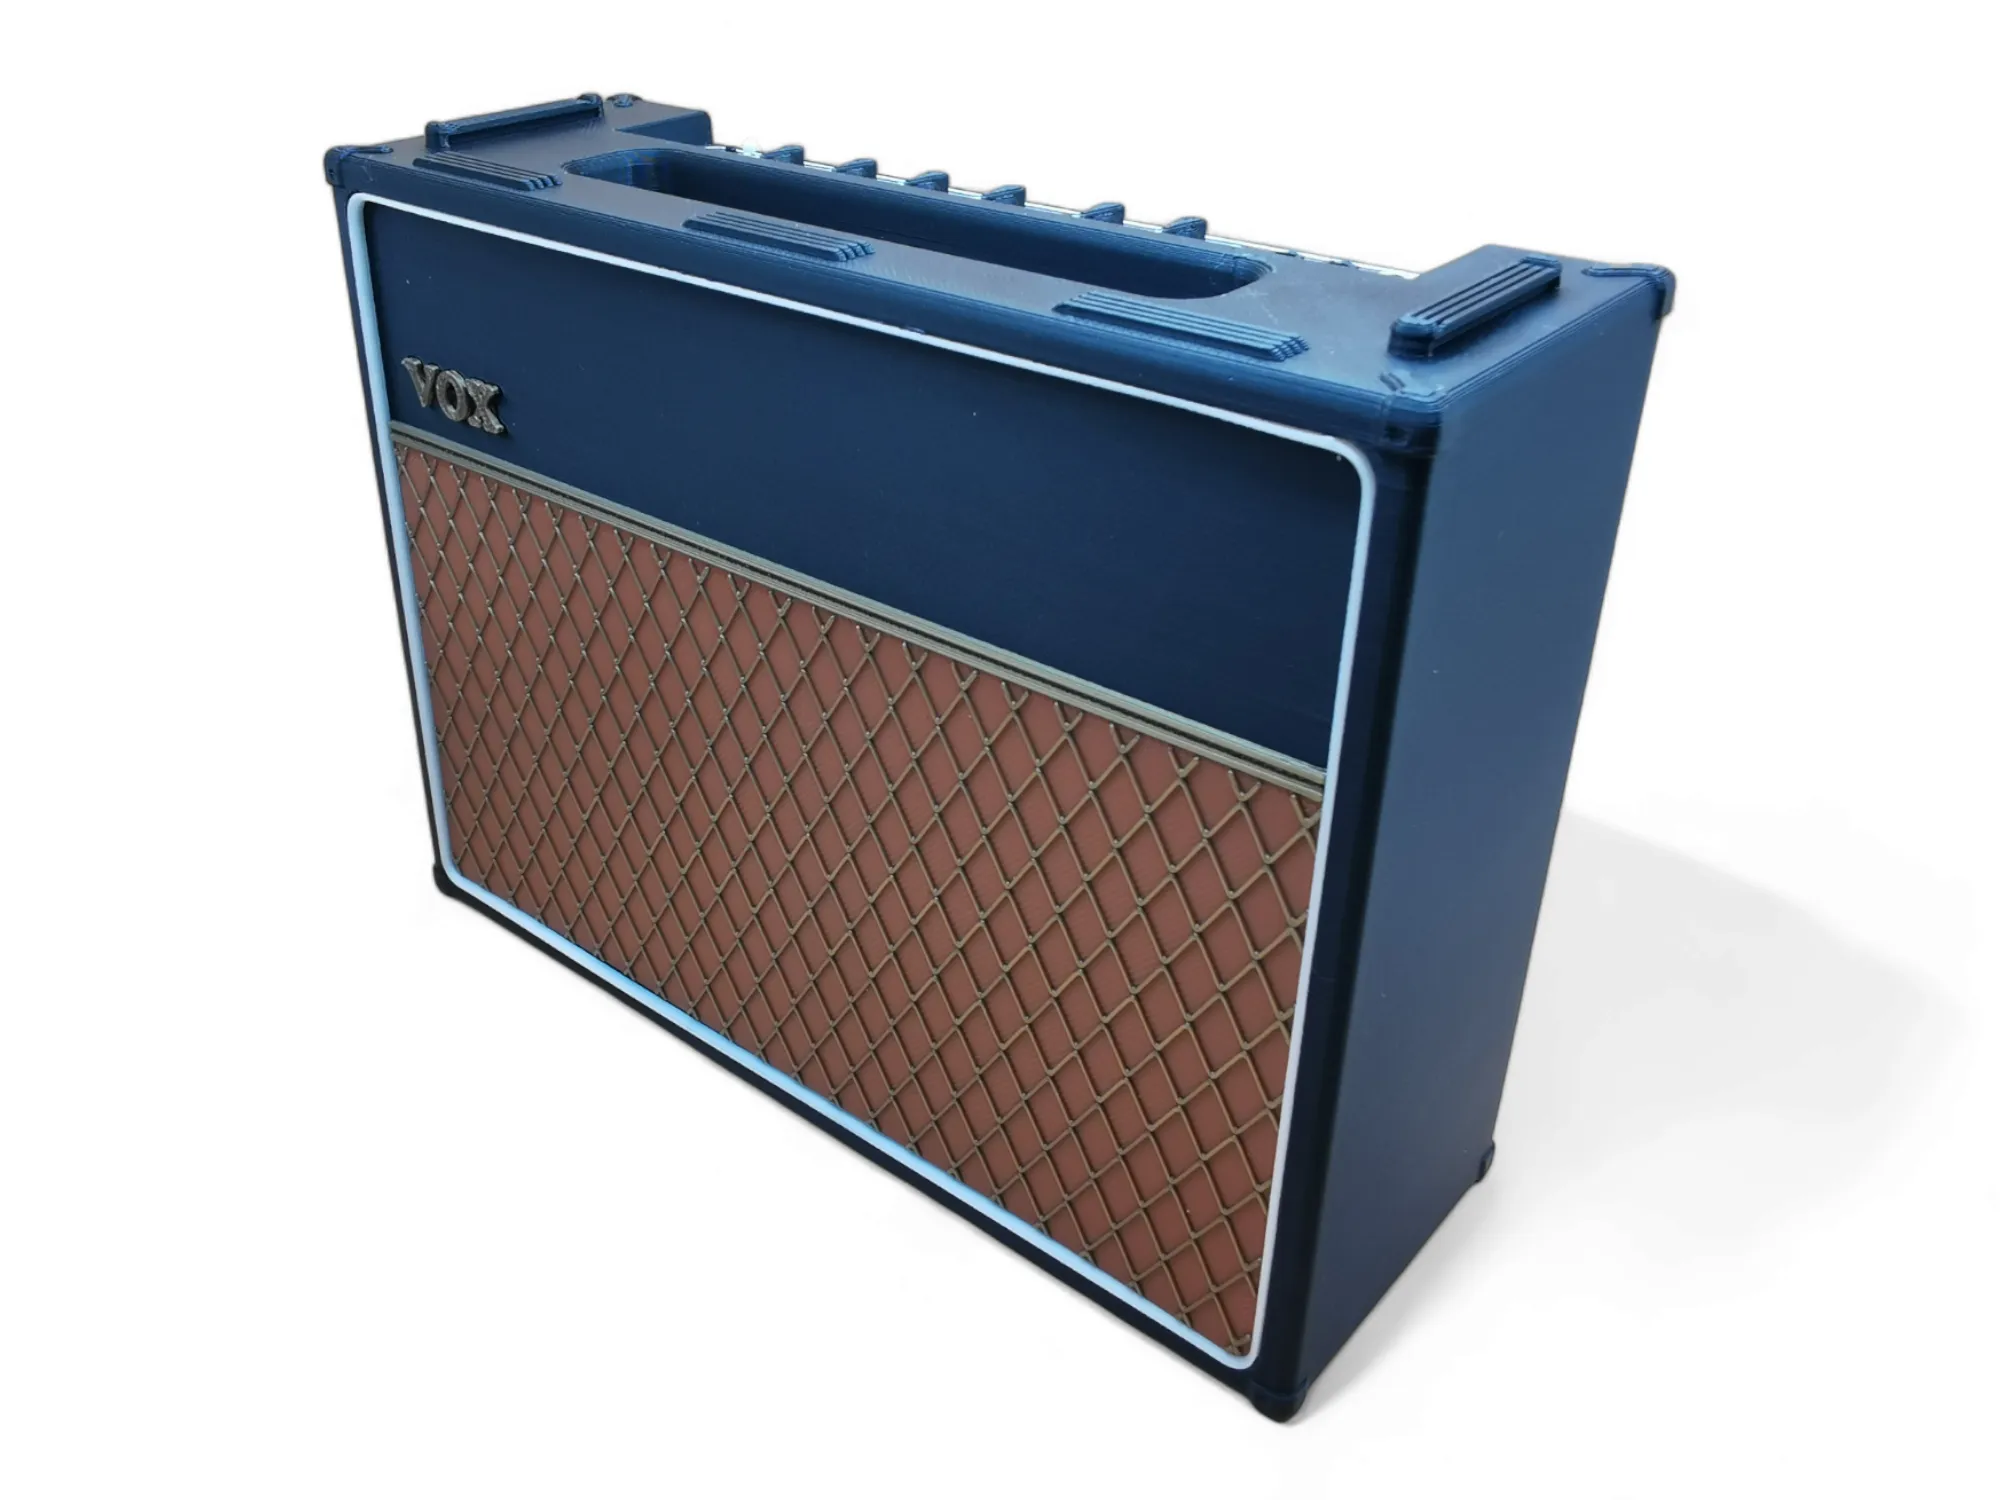
Marshall Mini Stack Smartphone Amplifier/Stand


Print Profile(3)


Description
Marshall Mini Stack Smartphone Amplifier/Stand
Features:
- A Scale Replica Of A Marshall JCM800 Head And Cab
- 80mm x 15mm Phone Slot
- Functional Speaker Grill
- Bass Expansion Chamber
- Downward Facing Ports
- Separated Into Parts For Easy Multicolour Printing
- Greatly Improved Audio Quality Over Stock Phone Speaker
- Much Better Low/Mid Frequency Response With A Noticeable Bass Boost
- Much More Directed Sound Projection
- Master Volume is set to 11 as a nod to Spinal Tap
I have separated this model into separate print profiles for easy printing. This will save you having to adjust settings within Bambu Studio when using a 0.2mm nozzle. The only thing you need to do is physically swap nozzle and change the nozzle type on the printer itself :)
Assembly:
- All parts must be glued together. It requires the smallest amount of glue to hold the parts in place, so be cautious not to use too much.
- The logos have a recessed impression in the speaker grills of the main body, for easy alignment.
Extra Info:
- The front panel and white edging strips must be printed with a 0.2mm nozzle to retain as much quality as possible. At this scale the text is barely readable, but does still give the desired effect. You can of course scale the amp up enough to retain all of the text if you want to :)
- The main body will print with no support (The example print was printed this way) BUT this does require two 80mm un-supported bridges and some clean up with a sharp craft knife post print. This is in order to get a nice fit with the edging strips.
- The feet are important to the overall sound quality. If the amp is rested directly on a flat surface then there is nowhere for the ports to project the sound. You can also change the EQ of the sound by adjusting this height (increase Z axis scale of the feet only, in Bambu studio.)
I really hope you like this one! - It's been a fair amount of work to achieve what I wanted with this design and I'm really happy with how it turned out :)
Please rate and review your printing experience
Don't forget to add a picture of your amp to the comments below :P
Thanks for looking!
Please also check out my latest mini amp here:
https://makerworld.com/en/models/513021#profileId-429098
License

You shall not share, sub-license, sell, rent, host, transfer, or distribute in any way the digital or 3D printed versions of this object, nor any other derivative work of this object in its digital or physical format (including - but not limited to - remixes of this object, and hosting on other digital platforms). The objects may not be used without permission in any way whatsoever in which you charge money, or collect fees.


Comment & Rating (413)