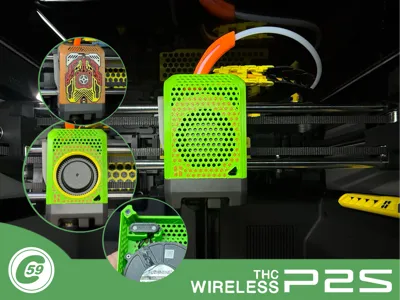
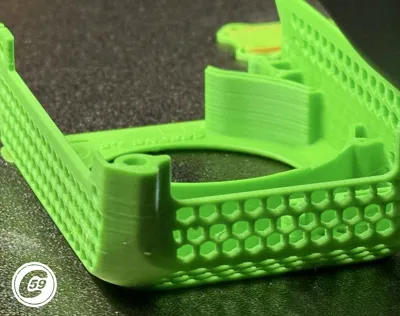
P2S Wireless Toolhead Fan Cover


Print Profile(3)

Bill of Materials

Description
P2S Toolhead Cover (CP2THC)
Change the factory look of your P2S while enjoying true wireless freedom.
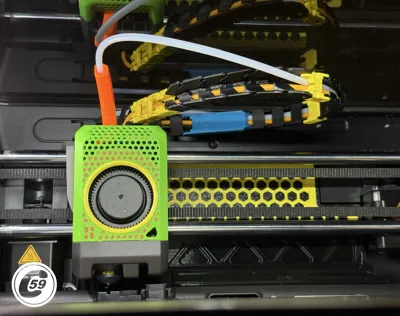
This toolhead cover transforms the P2S into a clean, modern wireless setup, ready to print and use.
Features
- Cleaner and cooler than the stock setup
- Eliminates wires, hinges, and the usual cable-related hassle
- Two release versions, if there’s enough interest, I’ll release more advanced designs.
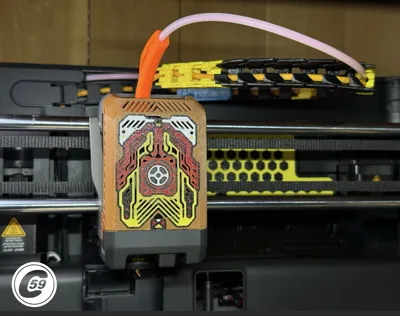
- I'm also teasing a part of the upcoming #Backplate, it is all prototype including the generic pattern,,
- Welcome to 2026!
Action HD video: Hex-It!
v1.0
- Printed several units. This design is based on the XPTG wireless cover mods and 3D scans.
- This is the initial release of the design, and it will likely evolve over time.
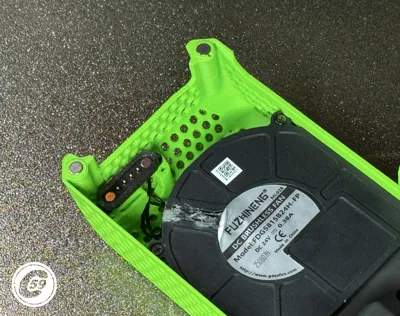
- If you try the fully enclosed version and your blower rubs against the housing, please let me know. Feedback like this will help me improve future revisions of the design.
- I haven't experienced any blower rubbing myself, but I'm sure it can happen. To test for it, install the blower in the cover without installing the lower duct. Then, spin the blower by hand through the opening. If you notice any rubbing, do not power it on, just let me know so I can improve the design.
Thank you! 🙂
Compatibility
- Compatible with the Bambu Lab P2S.
Require
- 2x Magnets as listed in BOM, original one can be re-used but just keep your cover in spare.
- For now, the XPTG 3.3 POGO Mount 1.2F is required for wireless compatibility, as the guideless mount has not yet been released. It will be available here once rolled out.
- 4-pin screw-type pogo connector (Non-Affiliated link for reference) Pogo Connector
Version
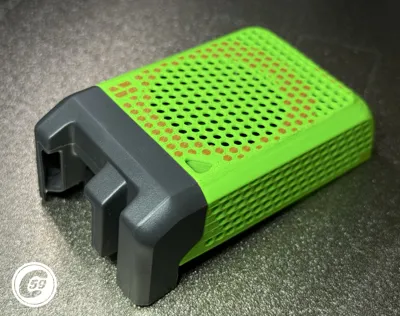
- The version with the fan hole is compatible with the following covers, including The Ring, as shown : P2S Fan Cover
Of-The-Plate
- To remove cleanly support, be gentle using Stubby Support Removal Tool or Scrapper to separate it and clean any remaining.
Installation Instructions
- Installation guide and video coming soon.
- Be sure to check magnet polarity and mark the magnet accordingly.
- You will see the “missing toolhead cover” message until the correct magnet polarity is installed. Before fully inserting or installing the magnet, place a magnet on the right-side magnet location of the toolhead and check whether the message disappears.
- Once the correct polarity is confirmed, mark the insertion side with a Sharpie. This side should enter first into the new hole.
- On the left side, also ensure the magnet polarity is correct to prevent the magnets from fighting against each other,, Sharpie again.
- And repeat insertion procession in new toolhead cover.
- While your in the TH maybe consider adding: Hotend fan duct upgrade
Fitment
- The duct and cover bottom edges should match. If they don’t, there is likely a slight offset from the initial threading of the duct screw hole. In testing, this varied slightly from no gap to a slight small one depending of the cover. If needed, you can add a small dab of glue or silicone.
Also, make sure to pre-drill the lower hole for the duct.
- I use the tapered pogo and fan screws from the original XPTG adapter bracket to pre-thread every hole before final assembly.
Enjoy this DIY 3D-printed THC upgrade for wireless freedom and badass look!
At C59, we believe small details make a big difference.
*User is responsible for print quality, filament condition, installation, final performance, alignment, magnet pole and any damage caused to the machine.
v1.0 Hex Mesh (w/ Hole) Specifications
Material: PETG recommended & tested or better at your own fitment risk.
Printer Settings:
- Profile: Standard
- Layer Height: 0.16 mm
- Mode: CERTIFIED LUDICROUS
Infill: 15% Grid
Walls: 3
- Bottom Layers: 3
- Top Layers: 5
Printing Details:
- Supports: Required
- Print Time: 1h50m
- Filament Usage: 0.58 oz
- Estimated Cost: ~$0.41 (based on a $26 PETG spool)
Boost Me (for free)
🚀 Boost Your Project! 🚀 If you love what I'm working on, hit the Boost button! Your support helps me continue to create, improve, and share even more exciting designs. Thank you for being part of this journey!
Enjoy your printing journey, and remember—keep your fingers away from the poop chute, she's angry!
"I’ll be sure to keep you updated with any future developments. If you come across any issues or need assistance, don’t hesitate to reach out—I’m here to help!"
You shall not share, sub-license, sell, rent, host, transfer, or distribute in any way the digital or 3D printed versions of this object, nor any other derivative work of this object in its digital or physical format (including - but not limited to - remixes of this object, and hosting on other digital platforms). The objects may not be used without permission in any way whatsoever in which you charge money, or collect fees.
Current ver.1.0_05/30/2026
© 2026 C59 Design Lab. All rights reserved.
License
You shall not share, sub-license, sell, rent, host, transfer, or distribute in any way the digital or 3D printed versions of this object, nor any other derivative work of this object in its digital or physical format (including - but not limited to - remixes of this object, and hosting on other digital platforms). The objects may not be used without permission in any way whatsoever in which you charge money, or collect fees.
Comment & Rating (2)