
Print Profile(1)
Bill of Materials

Description
It would be great if you follow me 💚💚💚 |
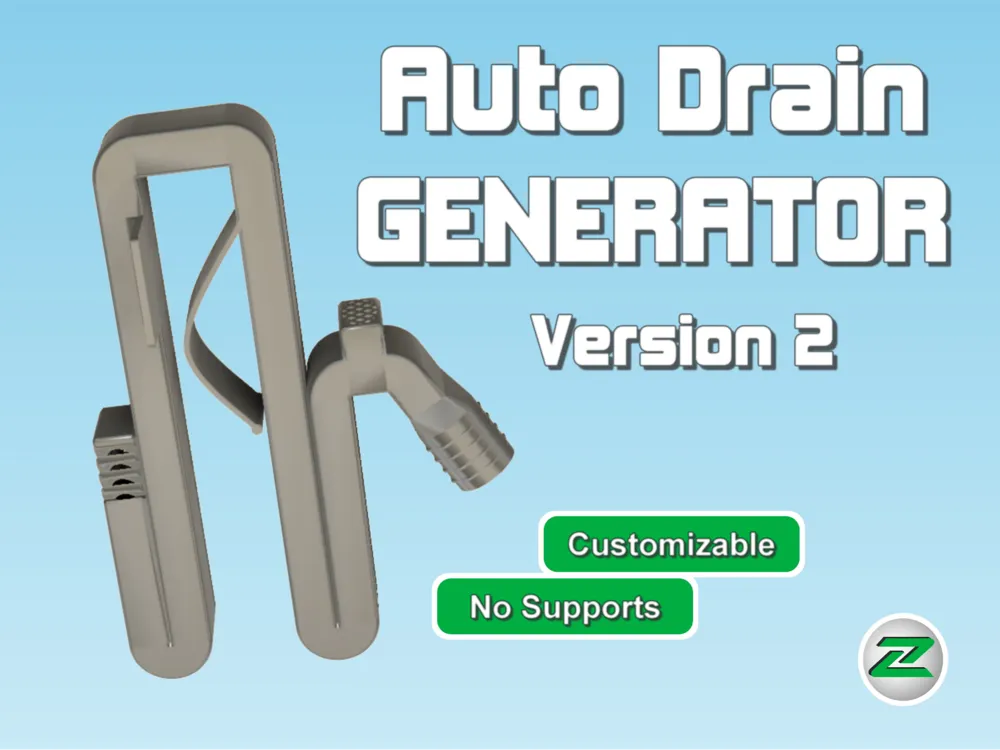
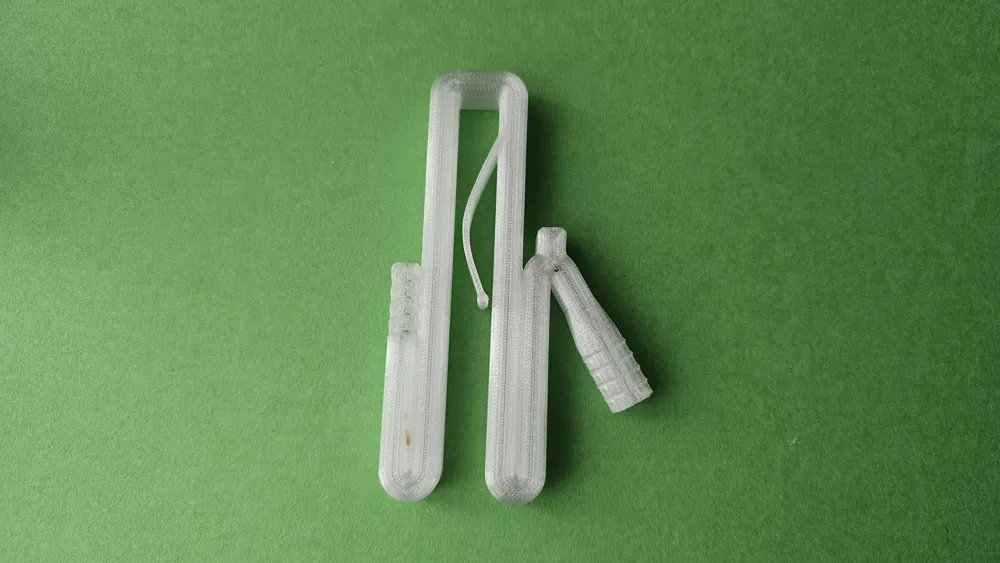
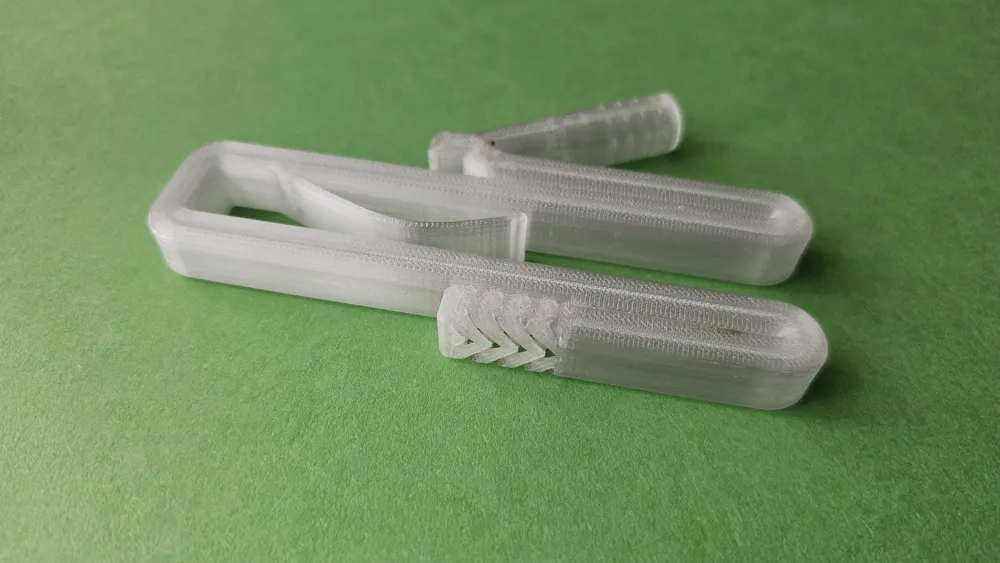
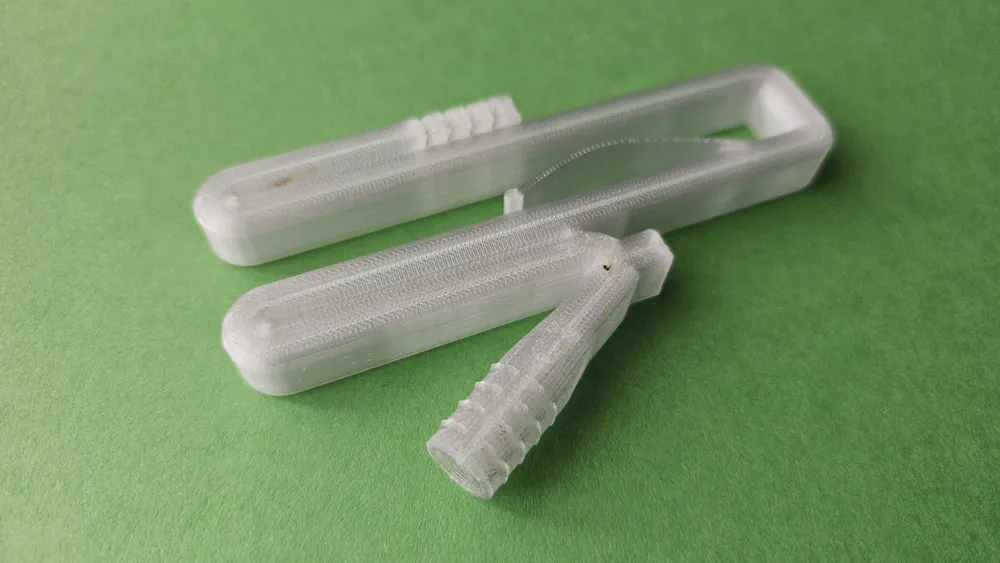
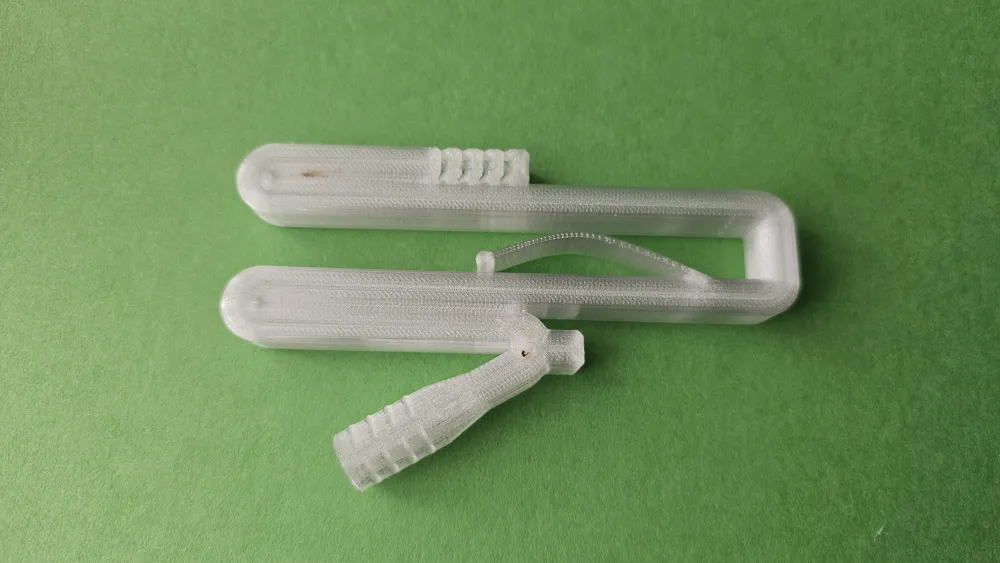
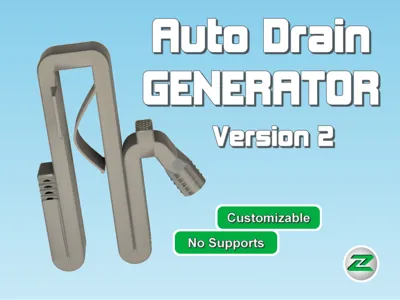
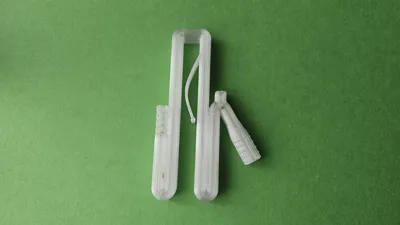
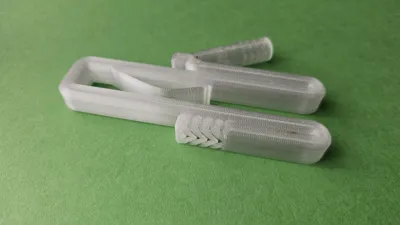
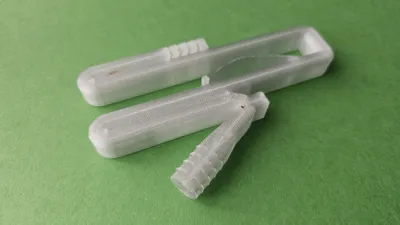
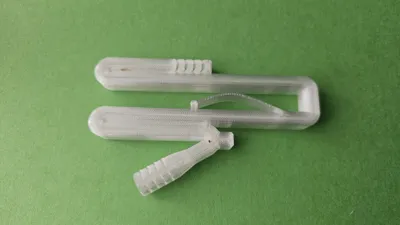
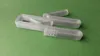
This is a highly customizable model to create your solution of your needs for an Auto Drain, Auto Siphon, Overflow Tube, Overflow Pipe or wathever you say .
Highlights:
This model offers many features that have been missing for quite some time:
| Topic | This model |
|---|---|
| Design | ✅ Great importance was placed on ensuring that the model could be printed without any support structures |
| Size | ✅ Create your tube as big as you need it or as big as your printer allows |
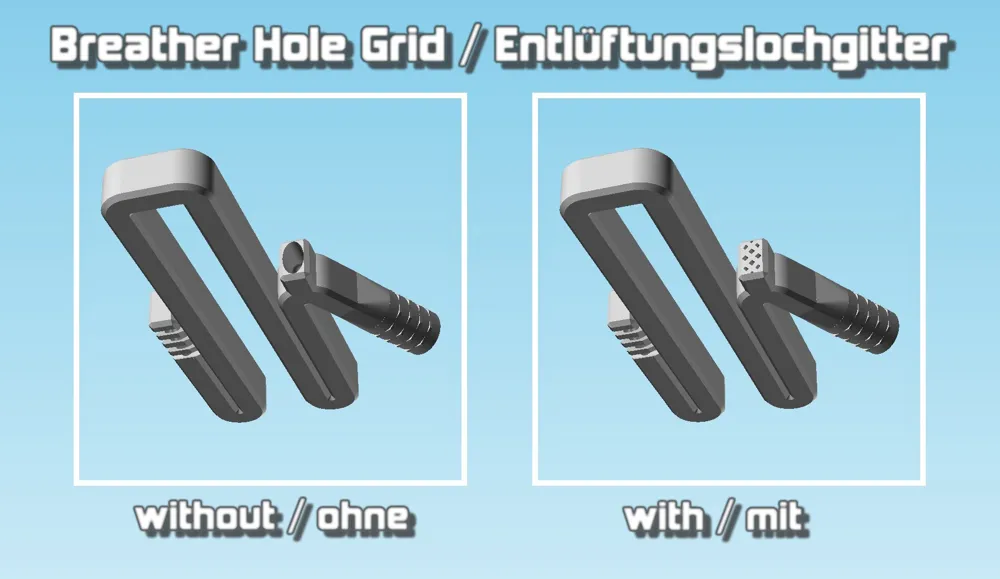
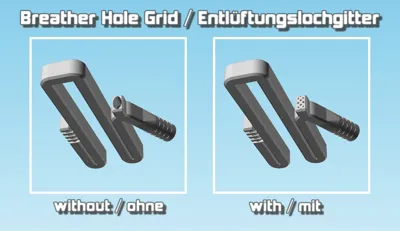
| Breather Hole | ✅ Choose if you want an open hole or a hole with a grid |
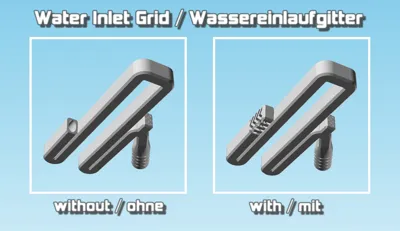
| Water Inlet (1) | ✅ It is possible to use a lower-level water inlet to prevent debris from being sucked in from the water's surface |
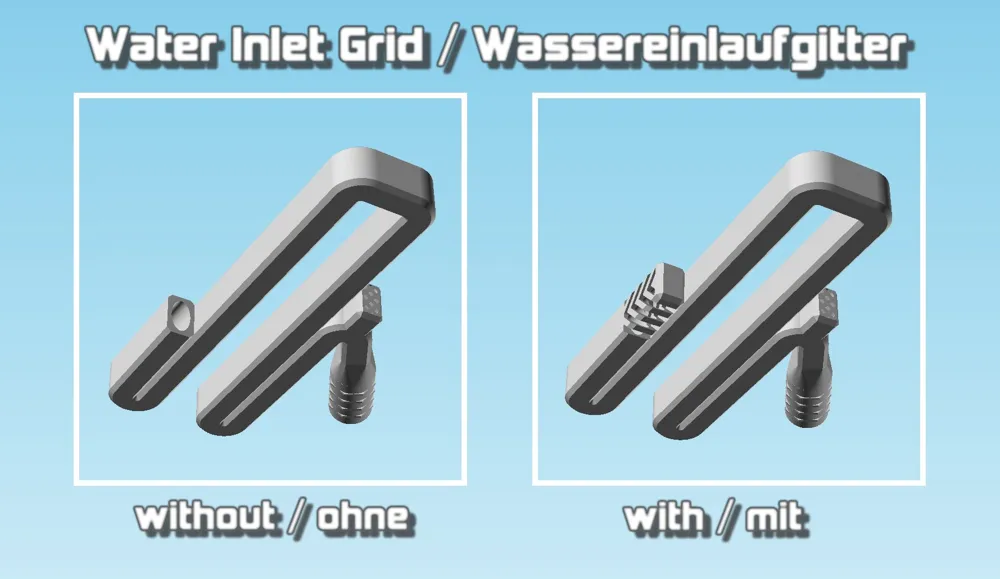
| Water Inlet (2) | ✅ If you want, you can install a protective grid over the water inlet |
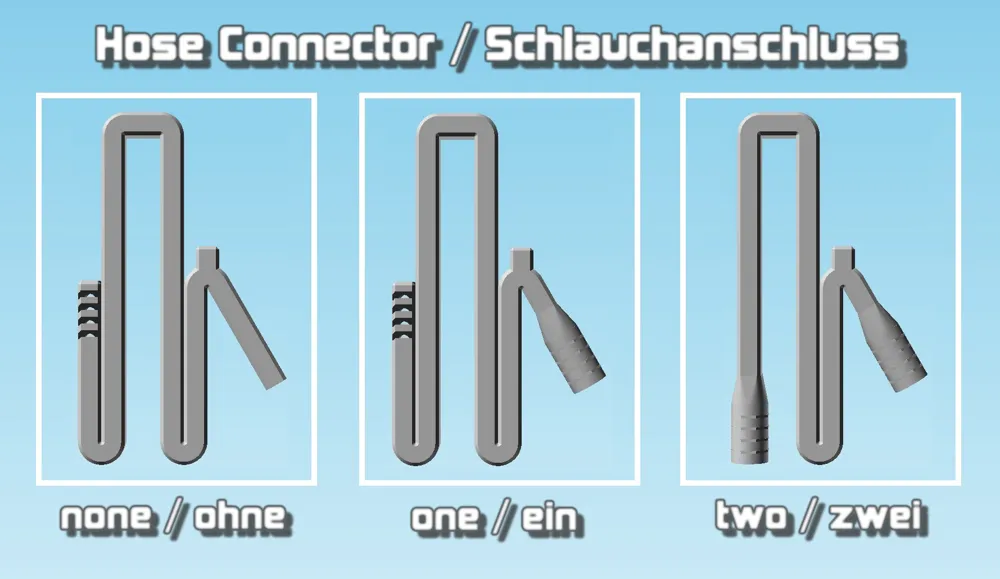
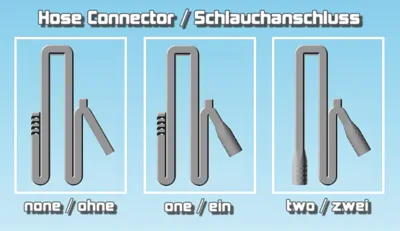
| Hose Connection | ✅ Simply select how many hose connections are needed (none, one or two) |
| Mounting (1) | ✅ Choose location and size of the mounting plate for best fit |
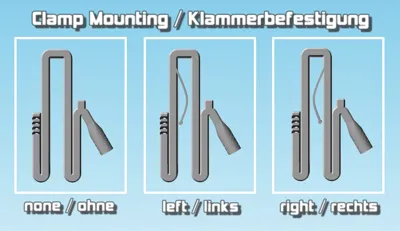
| Mounting (2) | ✅ The mounting clamp allows installations without additional materials |
Parameters to customize your needs:
The following parameters are available to customize the model:
| Parameter | Description |
|---|---|
| Tube Settings | |
| Tube_Height | Height over all of the tube |
| Tube_Width | Outer width of the tube path |
| Tube_Depth | Outer depth of the tube path |
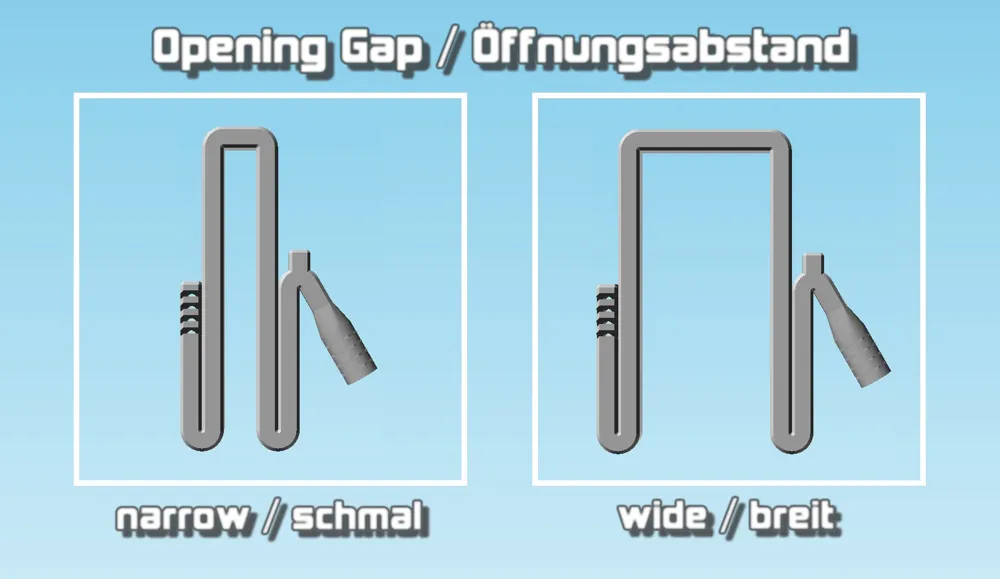
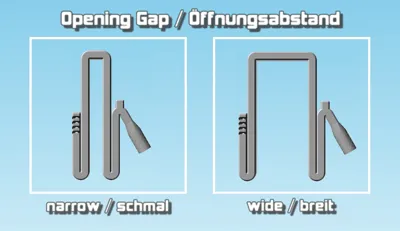
| Tube_Opening_Gap | Opening gap of the tube path |
| Tube_Wall_Thickness | Thickness of the wall |
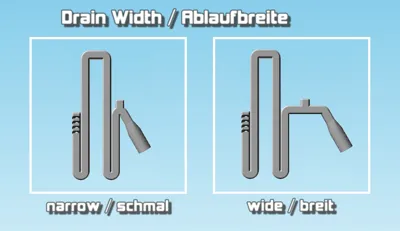
| Tube_Drain_Length | Length of the tube drain path |
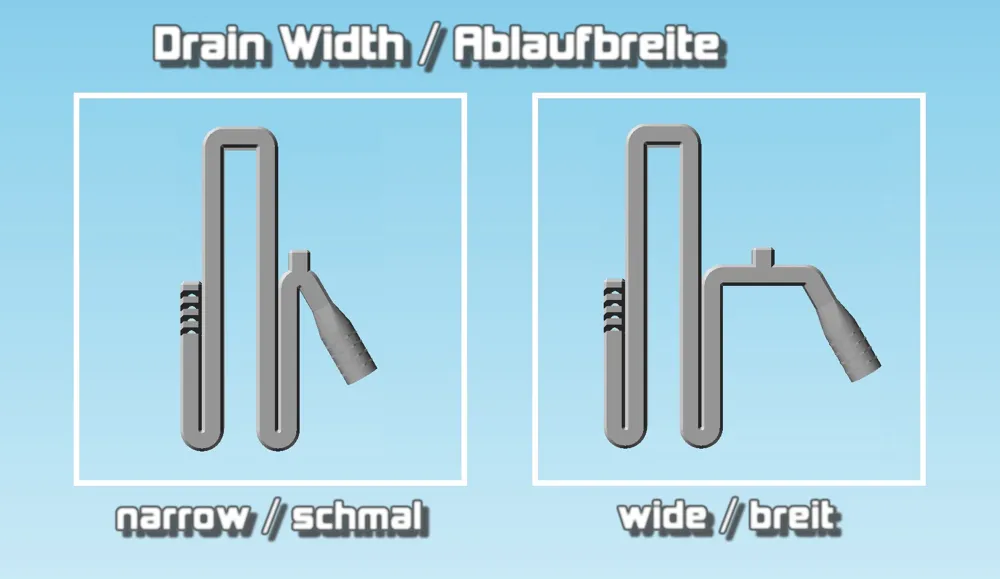
| Tube_Drain_Width | Width of the horizontal drain extension path |
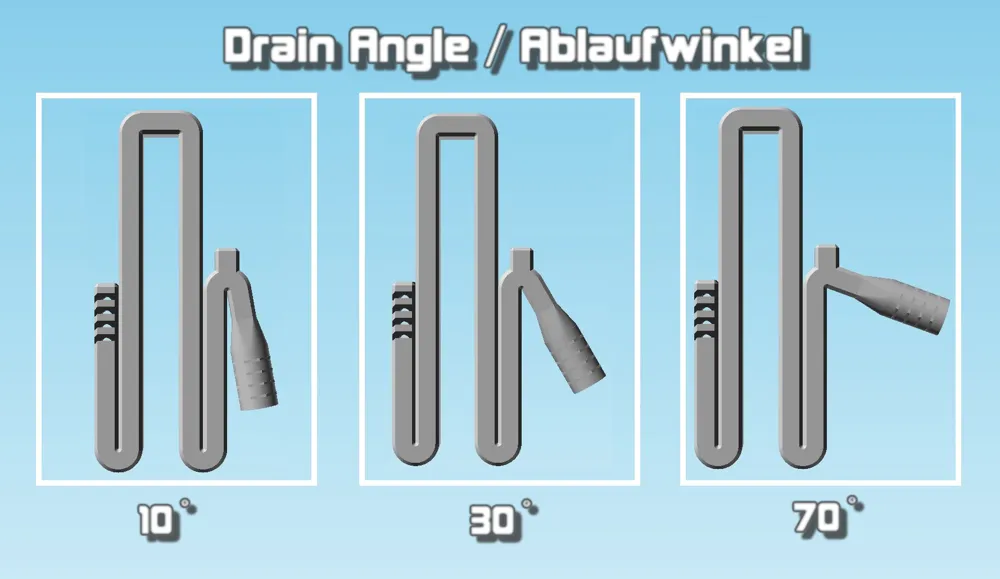
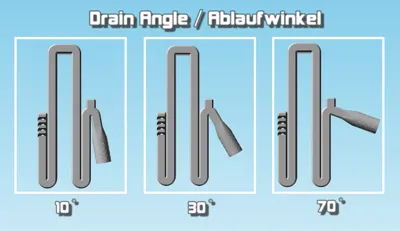
| Tube_Drain_Angle | Angle of the tube drain path |
| Water Inlet Settings | |
| Water_Inlet_Below_Surface | Should the water inlet be located below the water surface? |
| Water_Inlet_Grid | Should a water inlet grid be present? |
| Water_Inlet_Grid_Height | Height of the water inlet grid |
| Water_Inlet_Grid_Bar_Thickness | Thickness of the bars used to create the water inlet grid |
| Breather Hole Settings | |
| Breather_Hole | Select whether the breather hole with or without a grid should be present |
| Breather_Hole_Grid_Bar_Thickness | Thickness of the bars used to create the breather hole grid |
| Hose Connection Settings | |
| Hose_Connector | Select whether none, one or two hose connections should be present |
| Hose_Connector_Length | Length of the hose connection |
| Hose_Diameter | Diameter of the hose to be connected (12.7 = 1/2 inch, 19.0 = 3/4 inch) |
| Hose_Connector_Ribs | Number of hose connection ribs |
| Hose_Connector_Rib_Thickness | Thickness of the hose connection ribs |
| Mounting Clamp Settings | |
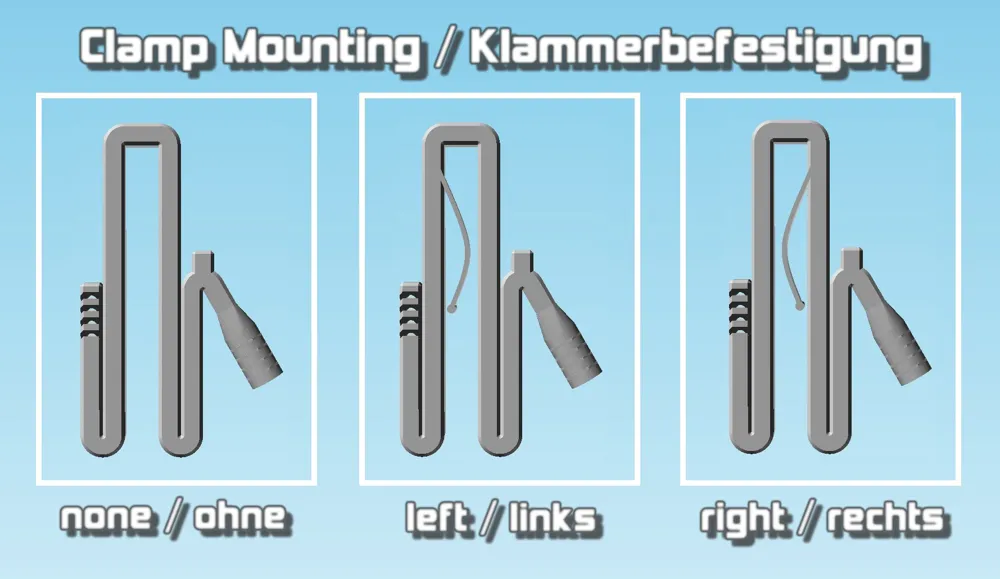
| Clamp_Mounting_Type | Select whether a mounting clamp should be included and where it should be placed |
| Clamp_Offset | Distance of the mounting clamp from the top edge of the tube path opening gap |
| Clamp_Length | Length of the mounting clamp |
| Clamp_Gap | Gap between the mounting clamp and the wall of the tube path |
| Clamp_Thickness | Thickness of the mounting clamp |
| Mounting Plate Settings | |
| Plate_Mounting_Type | Select whether a mounting clamp plate be included and where it should be placed |
| Plate_Offset | Distance of the mounting plate from the top edge of the tube path opening gap |
| Plate_Height | Height of the mounting plate |
| Plate_Width | Width of the mounting plate |
| Plate_Thickness | Thickness of the mounting plate |
Brief instructions to create the model:
The desired model can be created in 5 simple steps and printed without any support structures:
- Configure the model with the desired settings (click the “Customize” button)
- Generate the model
- Download the model
- Add the model to the downloaded Print-Profile of my demo model (3MF-File)
Print the model
Recommendations for printing:
- You will find recommended printer settings for PETG within my Demo-Model
- The design of the model allows printing without any support structures
- If you use a transparent filament, it's possible to see, if the tube is filled correctly
Usage Instruction:
- Keep the model completely submerged under the water surface
- Shake or twist it until all the air has been removed
- Remove the tube from the water while holding it upright - especially to prevent water from spilling out of the upper bend
- Attach the model to your barrel
- If you have created a model with one or two hose connectors, now connect the hose(s)
Finally:
- Please feel free to contact me if the model does not satisfy your needs. I am confident that we will find a good solution.
- It would be great if you would also check out my other customizable models.
Please support my work - all models are free of charge! Boost Me (for free) A 🚀boost🚀 for a model shows your appreciation and is like applause for an artist 🙏 Further possibilities to support my free of charge models are:
Membership You are welcome to become a member - either to be a sponsor my work or to sell prints of ZiMADE models as a commercial member. Join
|
👍 Many thanks for all of your support 👍 |
License

You shall not share, sub-license, sell, rent, host, transfer, or distribute in any way the digital or 3D printed versions of this object, nor any other derivative work of this object in its digital or physical format (including - but not limited to - remixes of this object, and hosting on other digital platforms). The objects may not be used without permission in any way whatsoever in which you charge money, or collect fees.


Comment & Rating (2)