
Proxima toolhead cover Elegoo Centauri series 5015
Print Profile(1)

Description
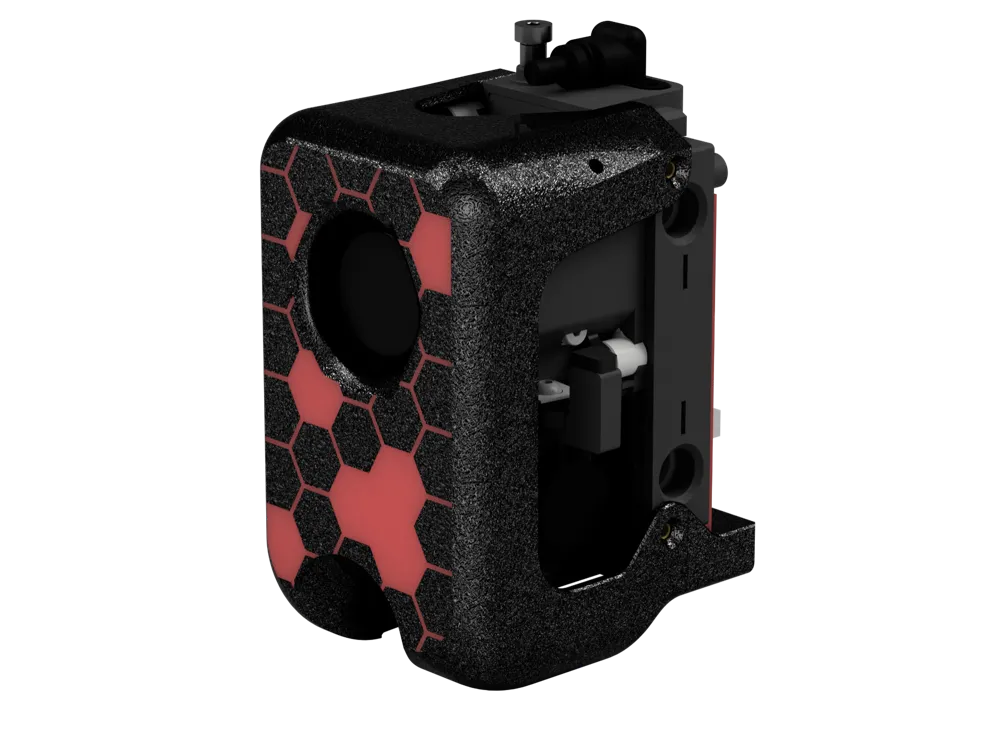
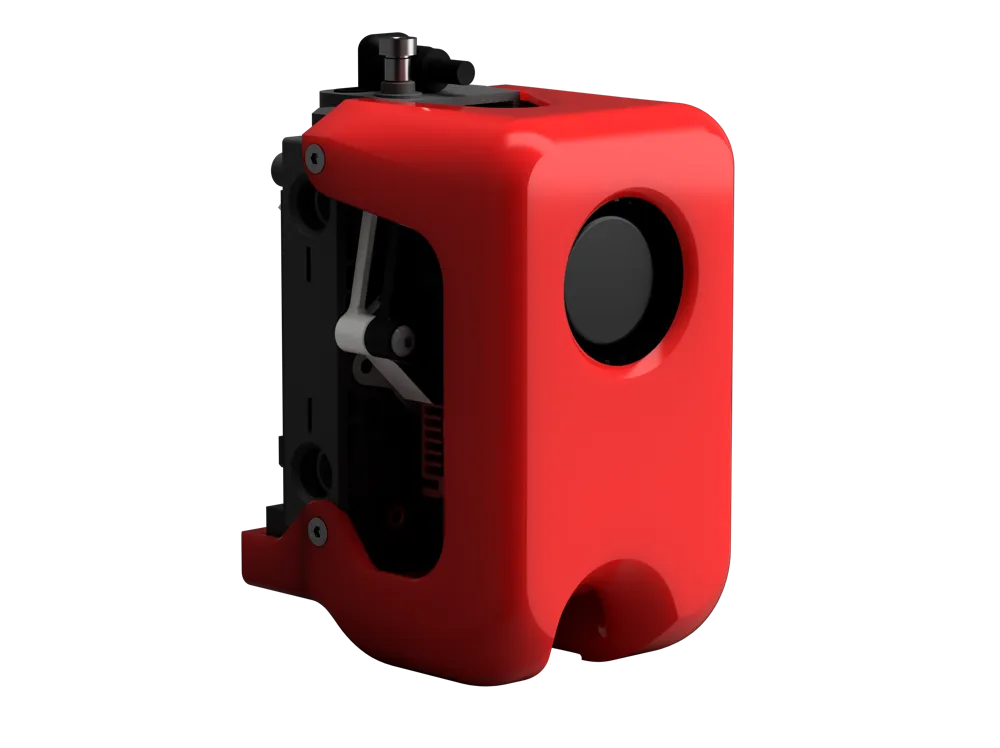
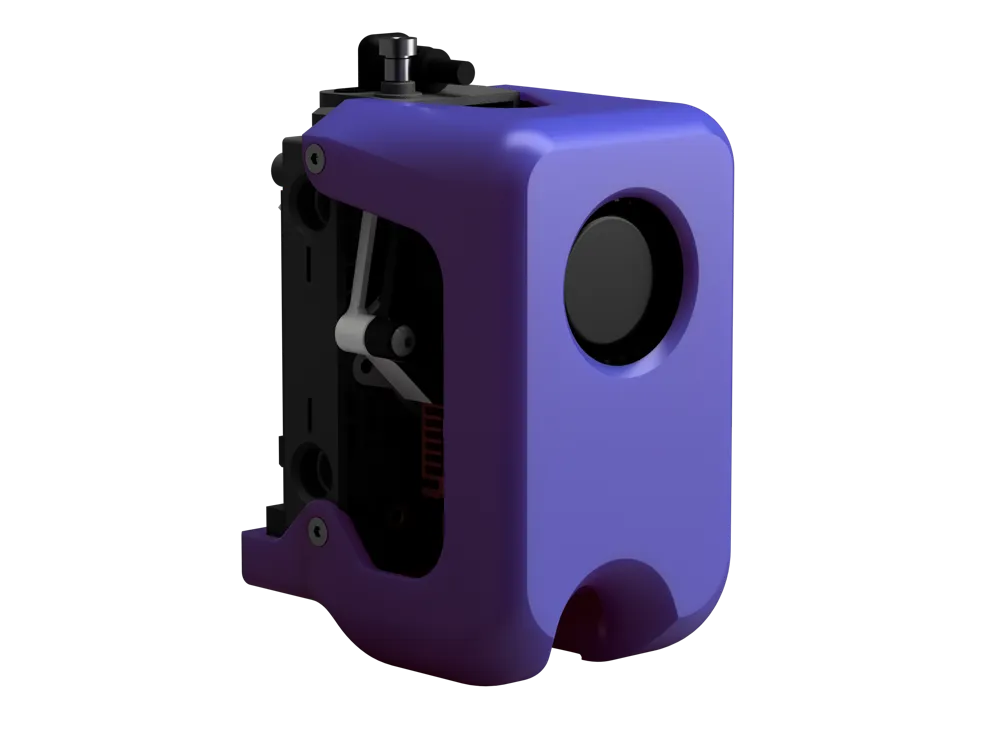
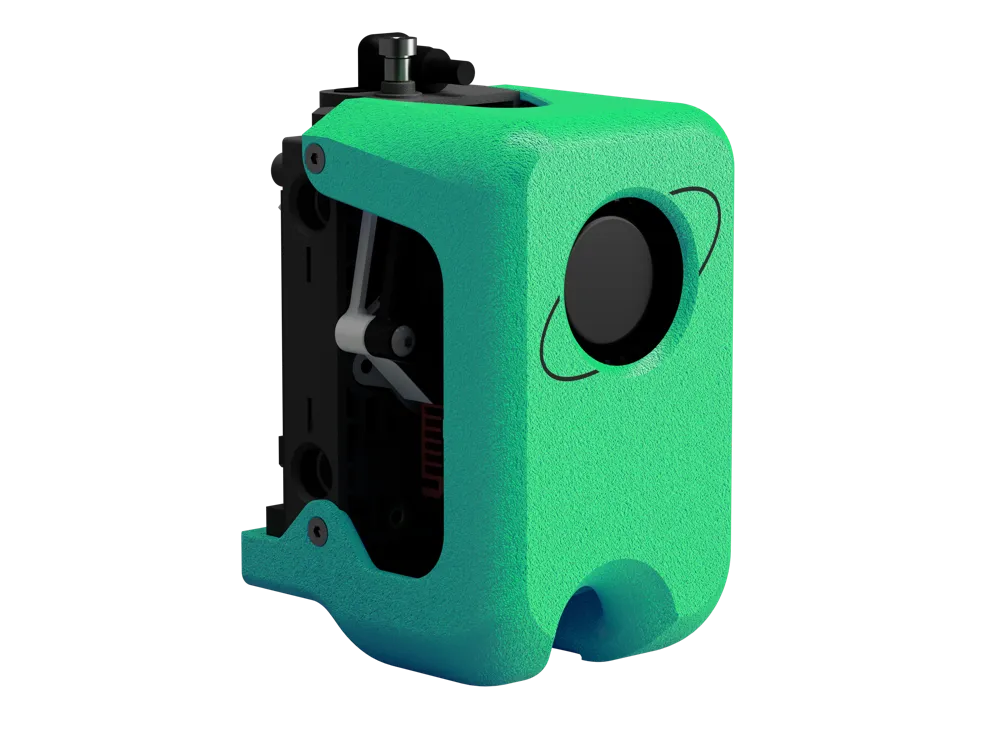
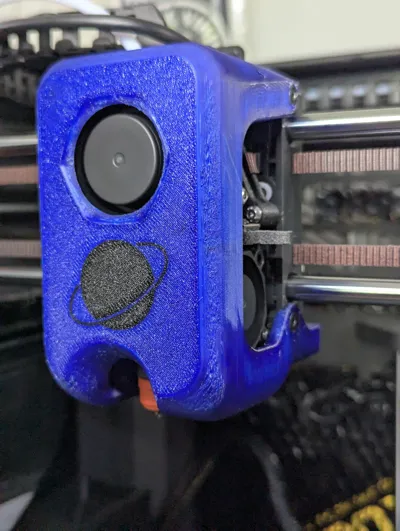
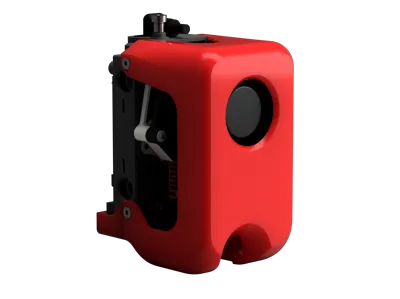
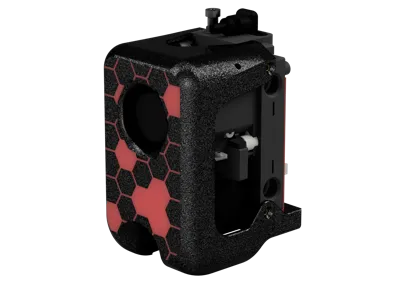
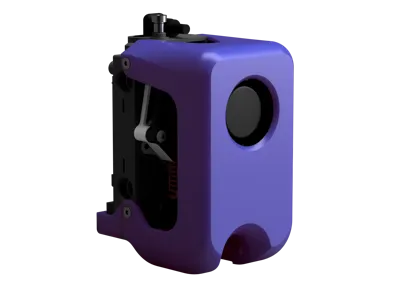
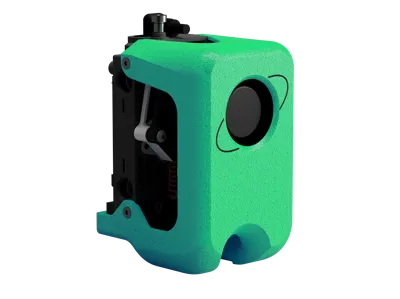
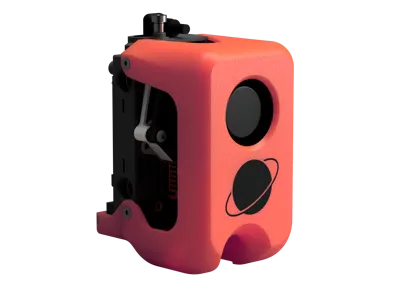
This is completely redesigned toolhead cover for the Centauri Carbon series that improves on print quality, durability and noise.
Now also supports CC1 Canvas and CC2 !
Key improvements
- Lightest toolhead cover available with good center of mass
- cheap commonly available 5015 part cooling fan
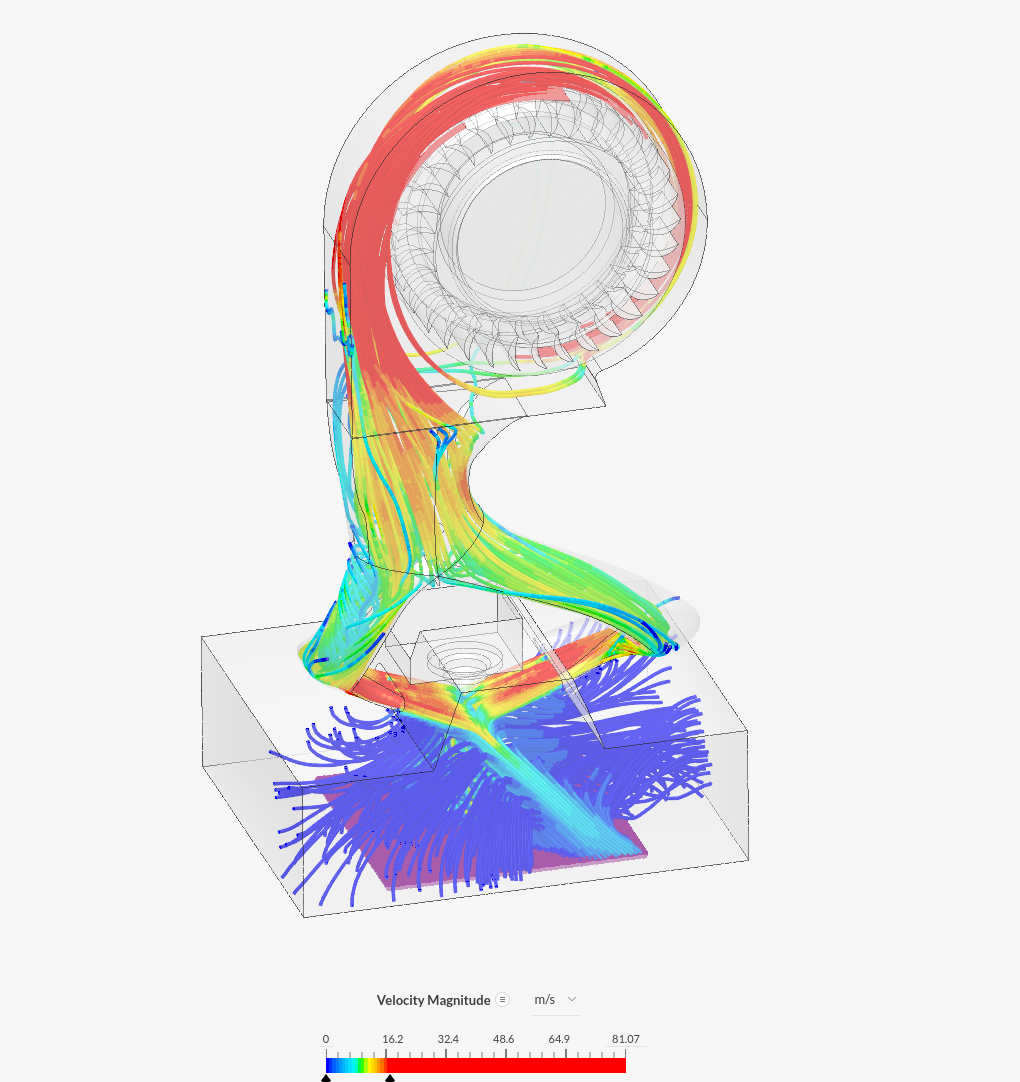
- Simulation aided duct design for efficient cooling
- Access hole for filament tension adjustment
- Access to extruder gear
- Improved stiffness
- Possibility for good lighting using a diffuser
- Better airflow for hotend fan
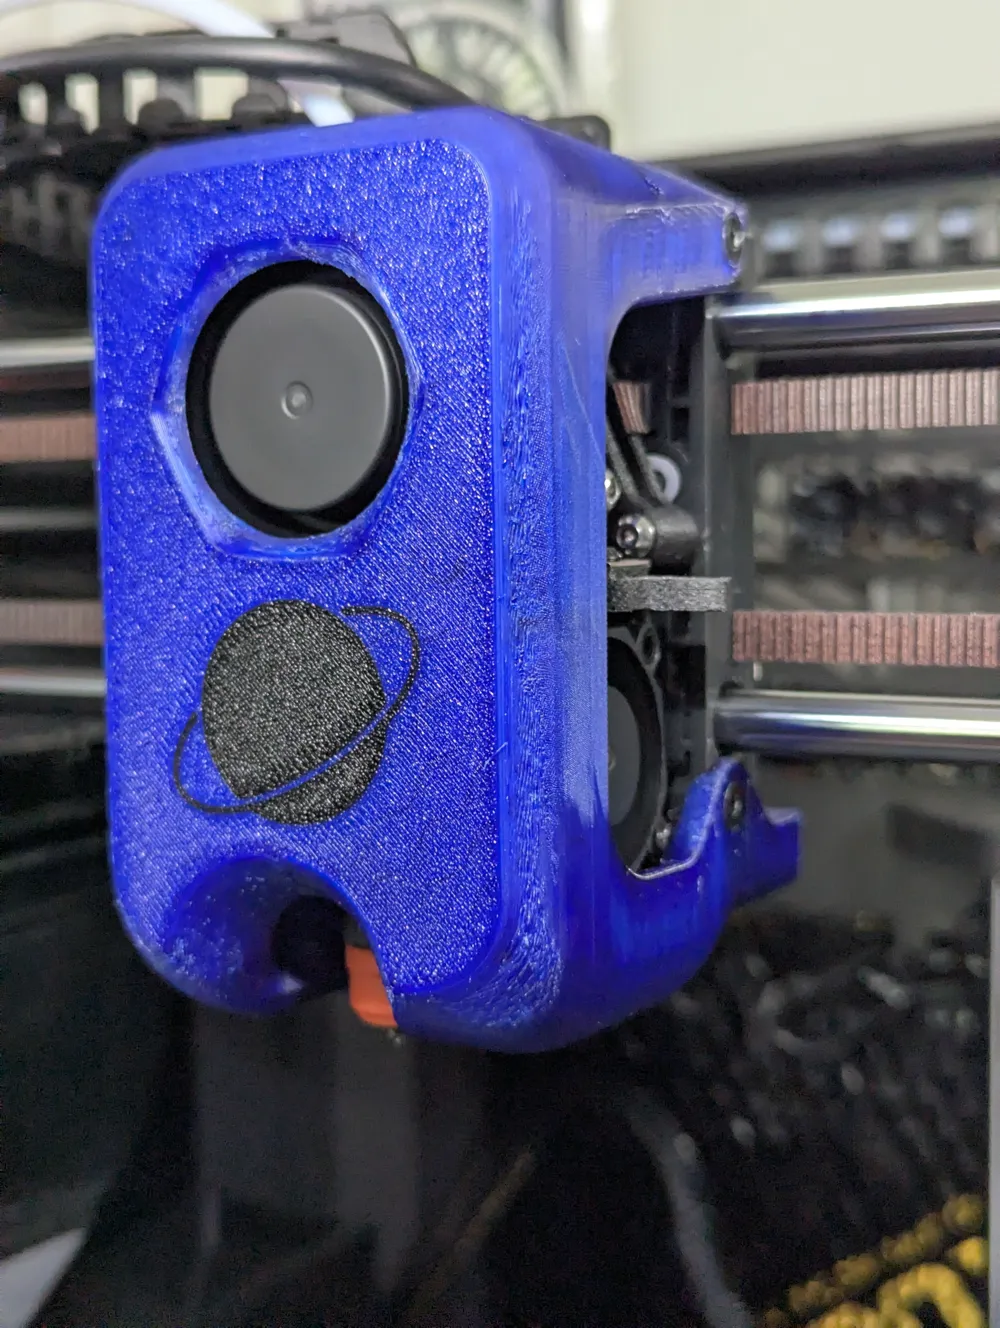
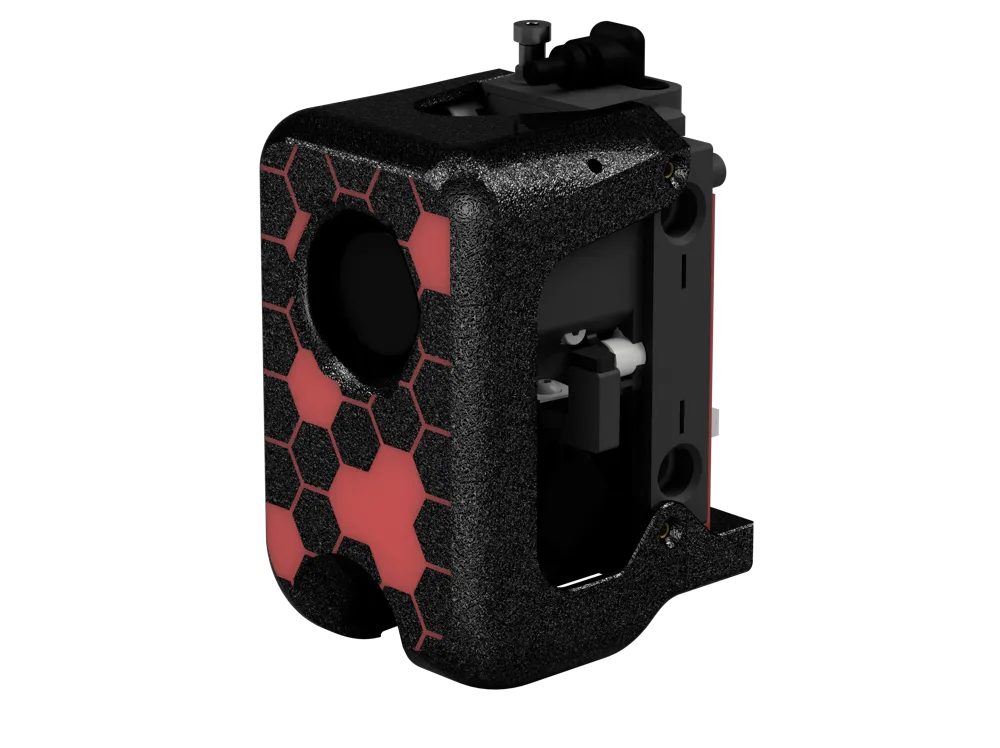
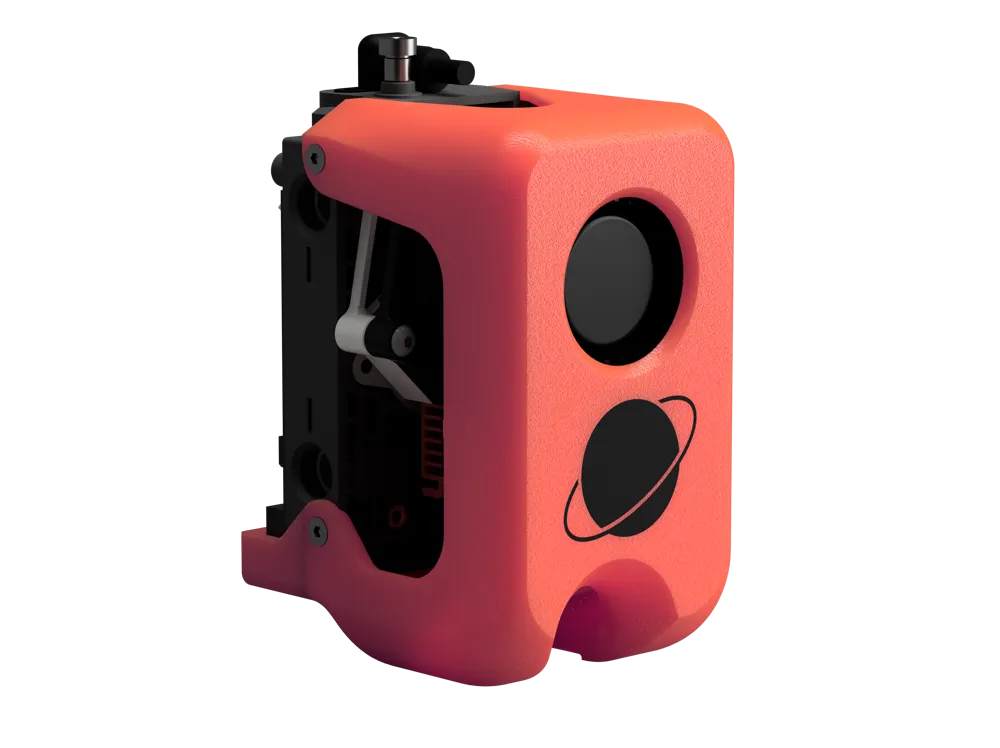
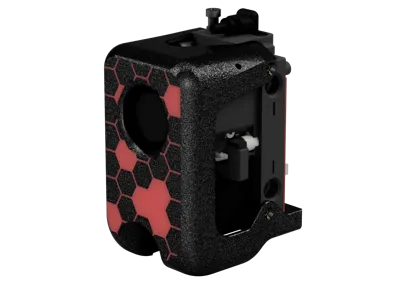
- Different front modifiers for personalization
33g in printed hardware (ASA) ~25g fan and 2g of screws bring the weight down to 60g, compared to 95g of the gamma toolhead, 99g SE3D and over 120g for the stock toolhead.
Improved cooling duct geometry with numerous iterations of cfd and physical testing
BOM
- 2 M3x14 BHCS
- 1 M3x10 FHCS (or back screw from the stock cowling)
- 4 countersunk screws from the stock cowling (M3x6mm FHCS)
- 5015 4 pin widemouth fan (like for bambulab X1)
the connector is different, but you can carefully remove the pins and reuse the stock connector - Small magnet of no specific size
Print settings
- 0.12 mm layer height
- 2 walls
- Print as oriented
- NO supports
- Print out of ASA/ABS or better
- 10% gyroid infill (or other just has to be low density)
- Orca slicer or derivatives required
How to use the modifiers

- Import front cowling.3mf and switch to the object view
- Choose which duct you want, by default it's the round duct, and delete the other ones.
- Set the duct you chose to be a negative part if it isn't already
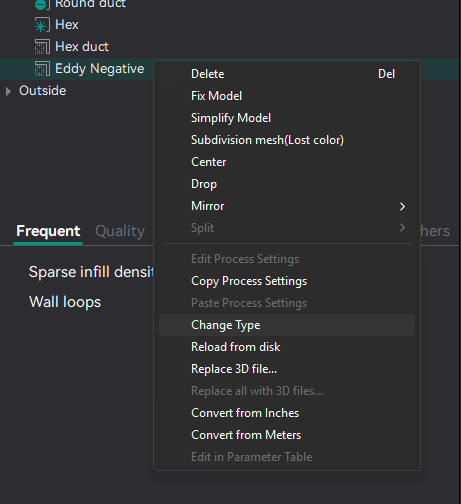
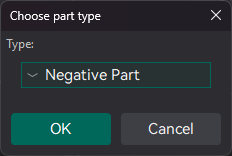
There also is a cartographer version available for the standart v4 version. Keep in mind that this needs a full boardswap and is only available for the cc1 standalone.
Installation
- Carefully replace the connector of the 5015 fan using the connector of the stock fan
- install the fan using the 14mm M3 screws
- Screw in the back bumper
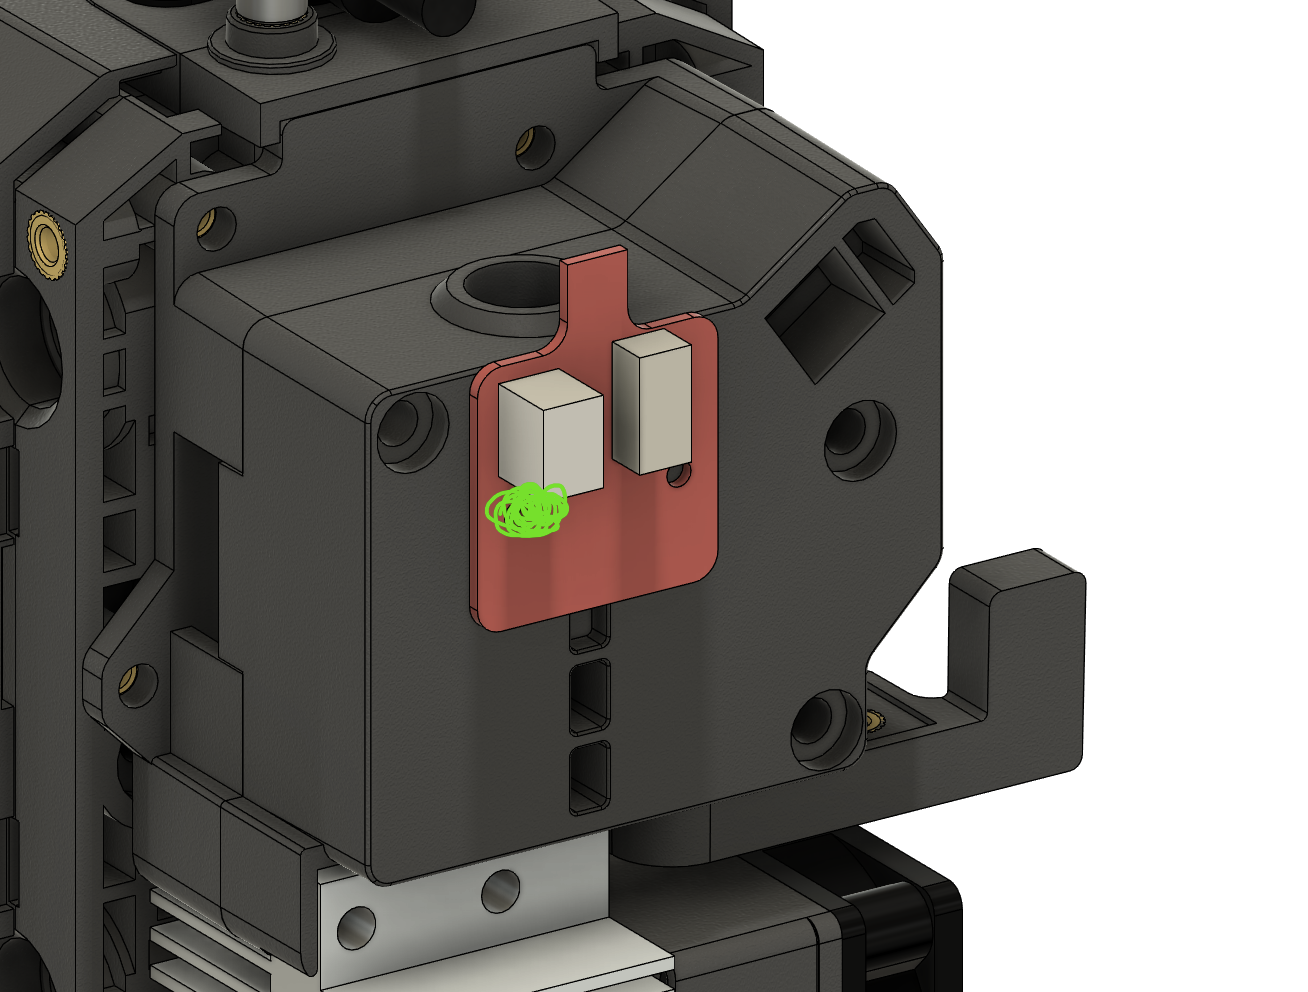
For CC1 Canvas and CC2, place the magnet onto the left screw of the filament detection board
Credits
- Atomique13 for helping me with the cfd for more accurate results
- Robert Samples for providing a more accurate model of a 5015 fan and eventual cooling comparison
- Cofinhofin on the OC discord for making the planet logo
- Harrym for doing extensive testing comparing to the stock cowling
- ErWin for the genious idea on how to spoof the cowling detection board.
- Hannibal, Aziraphaele, Laser velociraptor, Chirimorin and Anna for giving measurements and testing for the CC2 and Canvas version.
Make sure to test at what minimum duty cycle the fan starts and stops to spin, it might be different from stock and could cause issues at low commanded speeds.
Submit feature requests here!
This remix is based on

License



Comment & Rating (1)