Search models, users, collections, and posts

Parkside PAMR 500 A1 shorter bumper/skirt

IP Report

Print Profile(1)

All
P1S
H2C
X1 Carbon
H2D
P1P
H2D Pro
X1E
P2S
H2S
X1
X2D
A2L

0.2mm layer, 2 walls, 10% infill
Designer
6 h
1 plate
5.0(1)

Open in Bambu Studio
Boost
3
16
6
1
8
4
Released 

Description

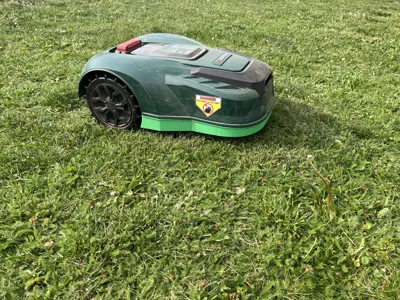
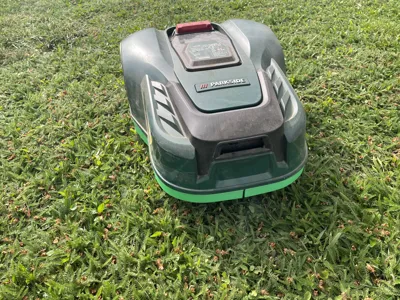
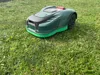
Shorter bumper/skirt for Parkside PAMR 500 A1


Since my garden is not perfect, the original bumper is too low for me, so the mower kept getting stuck or hitting clumps of grass, so it needed attention all the time.


Since I didn't want to run my robot mower without the skirt, I made a shorter version, now it goes smoothly everywhere.

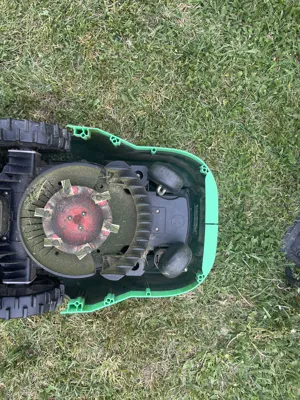
It's 10mm shorter than the original. 

You can mount it with the original screws.


What you in the pictures is the very first version of the skirt, in the model I decreased the gap on the front, and added some support to the front.


Later i want to add the last 2 mounting holes, but it works well without them.


The test version is printed from SUNLU PLA, with the generic high speed PLA profile.

I also recommend to use brim, because of the low contact surface.

While i haven't had any problem with the PLA part, I recommend to use stronger material.


Comment & Rating (6)

(0/1000)

Boosted
GREAT!!!! That's the solution!!!! Thanks! But another question...This 6-knife plate makes me curious. Where can I get it?
The designer has replied
Show original
0
Reply
I’m happy you like it. I’ve designed the 6blade disk for testing purpose, but lately I’ve made a bigger blade guard and a bigger plate, so now the cutting width is increased to ~22cm, like the 1000m2 variant. When i’m happy with the design, and you guys want it, I will upload the original 6 blade disk, the bigger 6 blade disk and the bigger blade guard.
0
Reply
Boosted
Replying to @Punk01 :
Yes please!!! I will show my appreciation ;-)
Show original
0
Reply
Replying to @geggajust :
1
Reply
Boosted
Print Profile
0.2mm layer, 2 walls, 10% infill
It doesn't quite fit my robot for some reason, but it does what it's supposed to for now. I'll take photos in a few days showing exactly why and provide an STL for it, if desired. The screw holes are in the right position, but not in height, so the lip rests on the edge and cannot slide into the groove
Show original
0
Reply
Boosted
A man a word!!!!
Show original
0
Reply
No more

License

This user content is licensed under a Standard Digital File License.

You shall not share, sub-license, sell, rent, host, transfer, or distribute in any way the digital or 3D printed versions of this object, nor any other derivative work of this object in its digital or physical format (including - but not limited to - remixes of this object, and hosting on other digital platforms). The objects may not be used without permission in any way whatsoever in which you charge money, or collect fees.