


Print Profile(2)

Bill of Materials

- TESA double-sided foam tape x 1: Others will do, but i tested it with this brand.
- Thread (optional) x 1: Roughly the length of your routing, to get perfect straight runs
Description
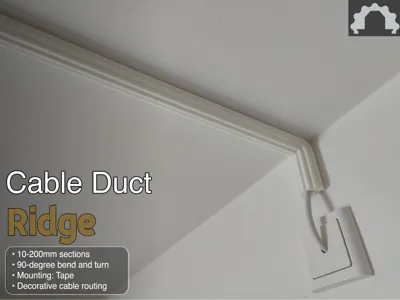
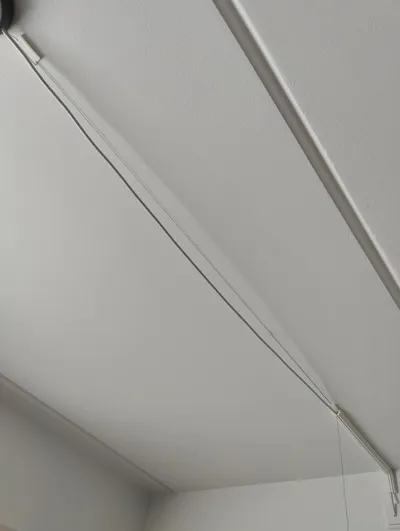
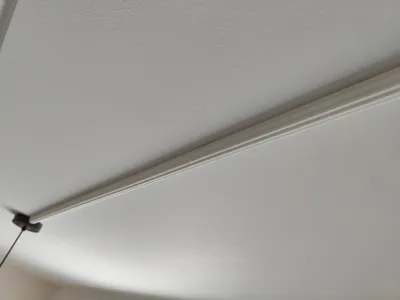
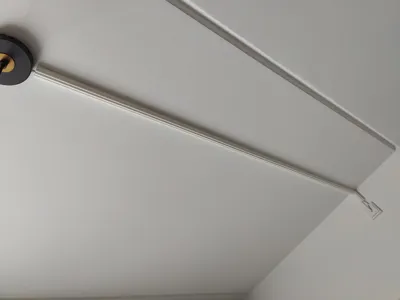
CableDuct Mini (Ridged): a decorative cable cover that turns a ceiling run into a design detail
You know the standard white plastic cable channel. Smaller than a wall-run duct, but still the same apologetic little rectangle, still the same "I'm hiding a cable, and I want you to notice I'm hiding it."
The cable was never the problem. The usual cover is.
This is the opposite idea. The ridged profile doesn't try to disappear, it reads as a designed line, the kind the eye follows because it feels like it belongs there. Shadow settles into the grooves, light runs along the crest. From below, the ceiling doesn't look installed on, it looks detailed.
Small object. Quiet effect. On purpose.
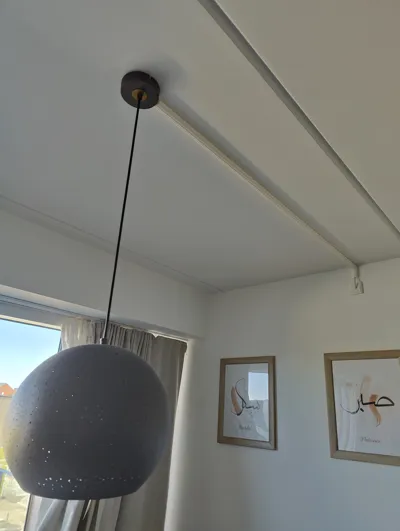
It's the same visual language as my original Ridged CableDuct, scaled down and reproportioned for a single lamp wire — so your ceiling can carry the cable without announcing it.
____
Best use cases
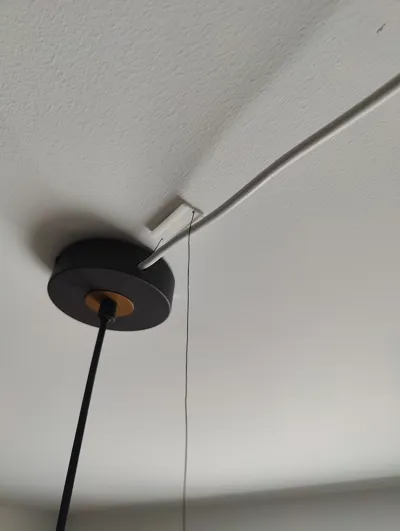
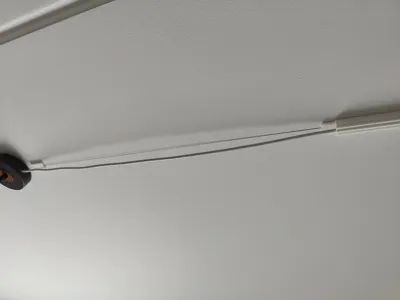
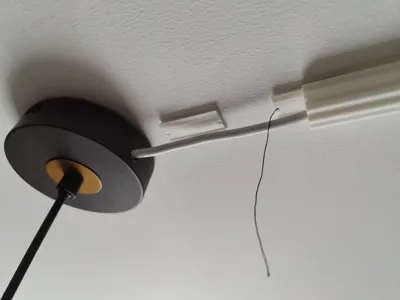
- Routing a pendant / hanging lamp wire from the ceiling rose to the wall
- Covering the "last mile" between a junction box and a lamp mount
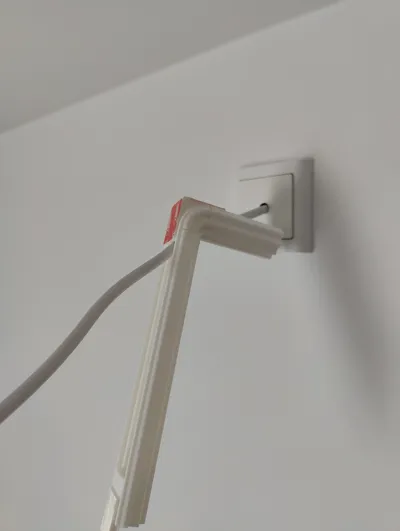
- Wall-to-ceiling transitions (use the 90° vertical bend)
- Any run along a ceiling or cornice where a standard duct would look too industrial
___
What's included in this listing
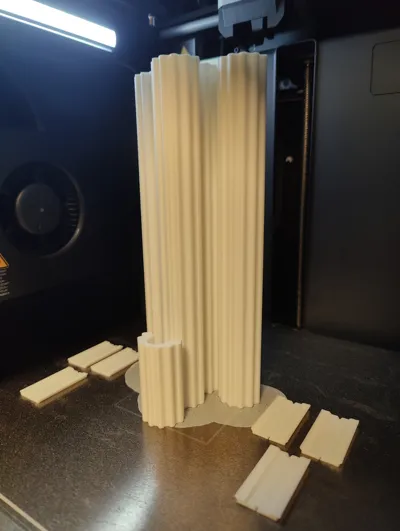
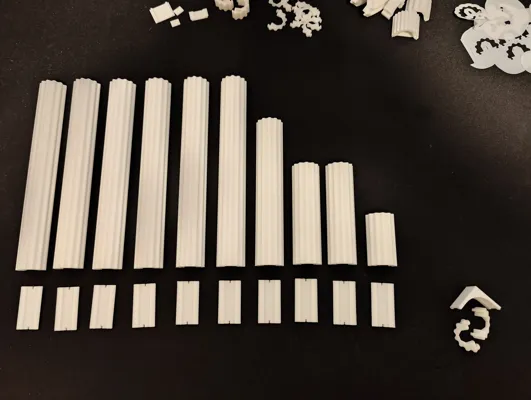
Straights: 10, 20, 50, 100, 150, 200mm Base: flat mounting strip with centerline alignment groove (matches every straight) Joining bases: slots two segments together, or placed at the end of a duct run.
The turn types (each on its own print plate)
Every ceiling run eventually has to change direction. Each turn type lives on its own print plate in this listing — print only the ones your run needs, skip the rest. You don't need all four.
| Turn | What it does | When to use it |
|---|---|---|
| Flat 90° turn | Changes direction 90° on the ceiling plane | Running along the ceiling, then making a right-angle |
| Flat 45° turn | Changes direction 45° on the ceiling plane | Angled runs, avoiding a light fitting, softer corners |
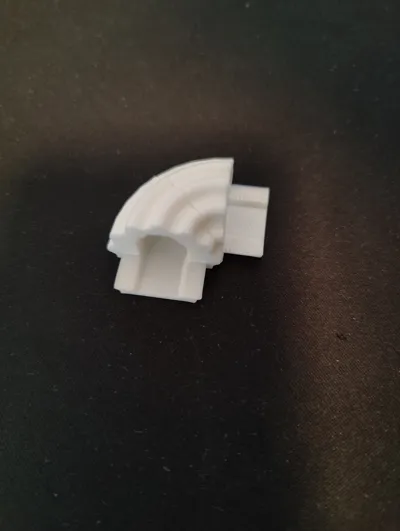
| Vertical 90° bend | Out-of-plane 90° — cable transitions from ceiling to wall | Wall ↔ ceiling handoff at the cornice |
If there's a turn type you want that isn't on this list, drop a comment — that's how I'm prioritizing the next revision.
How the turns assemble
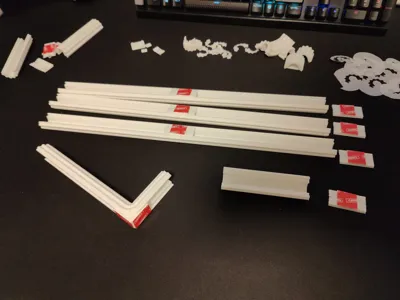
The corners are not one lumpy piece. Each turn is a single-piece base + two 45° corner blocks joined with the same pin as the straights. A 90° turn is two 45° blocks; a 45° turn is one. This is a deliberate print choice — a 45° block prints with clean layer lines and no messy overhangs, and a curve made of two of them reads as a proper radius instead of a printed compromise. The base stays one piece so the corner is still rigid and the centerline groove still runs unbroken through the turn for thread alignment.
___
Mounting
TESA double-sided foam tape on the flat base. It's the cleanest option for ceilings: no drilling, no anchors, holds the weight of a thin lamp wire easily. Cut strips to match the base length, stick to base, press to ceiling for ~30 seconds.
For textured or dusty ceilings, wipe with isopropyl alcohol first.
___
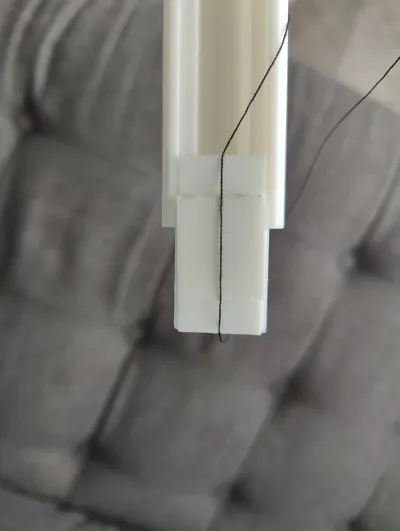
The alignment trick (long runs, perfectly straight)
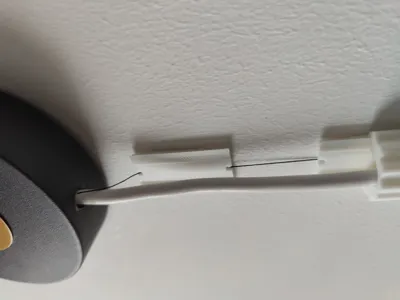
Running a duct across a ceiling, you cannot eyeball it — any bow shows. The base has a small centerline groove designed for this:
- Stick a base at each end of your intended run (foam tape, same as normal).
- Stretch a thread between the two endpoint bases, dropped into the centerline groove on each. Pull it tight, and make sure it sticks to the foam tape — that's what holds the tension.
- Drop intermediate bases onto the thread so the thread seats into each groove. The groove self-centers every base on the line — no eyeballing, no measuring.
- Press the duct segments onto the bases. Slip the thread out the end. Done.
No pencil lines, no laser level, no "that looks a bit off" after you've stuck five bases down.
___
Tips
- Post your make with a photo of the install — I'm genuinely improving variants based on what people do with it
- Comment with the wire type you're using (round, flat, gauge) if the fit is tight — I'll tune the internal channel in the next version
Boost Me (for free)
If you boost, drop a comment telling me what size or bend you'd like next — I'm actively iterating on this mini line.
License
You may create derivative works based on this object, provided that all such derivative works are published exclusively on the MakerWorld platform and include proper attribution to the original creator. You may not share, upload, host, distribute, or publish this object—or any derivative work of this object—on any other digital platform, marketplace, or distribution channel. Commercial use of this object and any derivative works is strictly prohibited. This includes, but is not limited to, selling, renting, sublicensing, or using the object in any context in which you receive monetary compensation or other financial benefits.
Comment & Rating (4)