


Print Profile(1)
Bill of Materials


Description
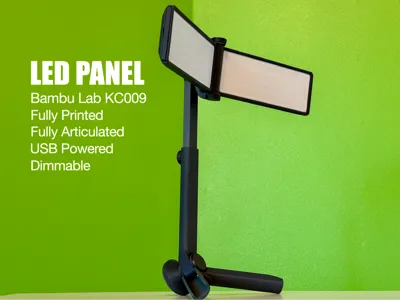
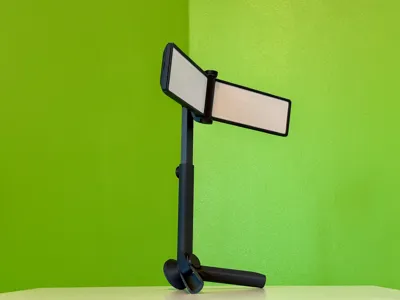
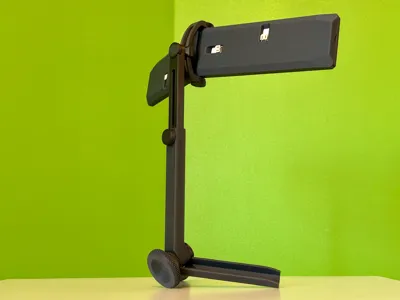
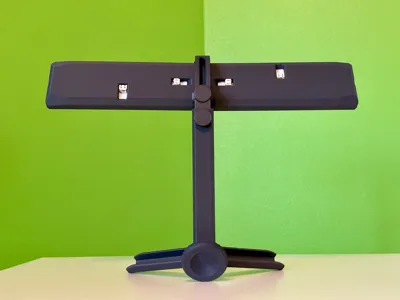
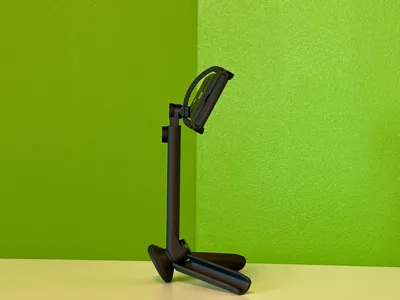
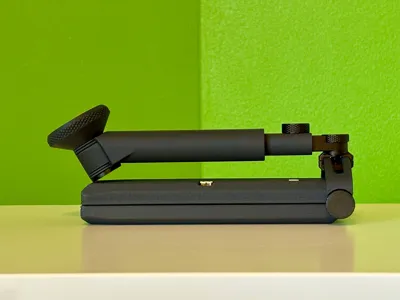
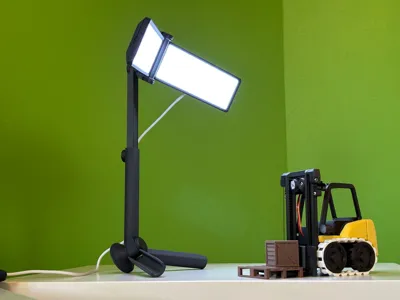
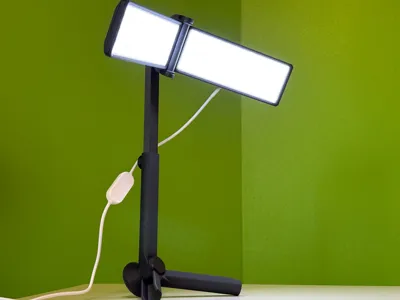
This is a fully featured LED panel light that uses the Lithophane LED Backlight Board Kit from Bambu store. The stand folds into a compact package and when opened it can be freely articulated to get the perfect lighting. Great for photography of prints or miniatures or as a work light. The USB powered light can be easily toggled and dimmed with the controller on the cable.
Features:
- Fully 3D printed, only KC009 LED Backlight board kit from Bambu store needed (listed in Bill of Materials section)
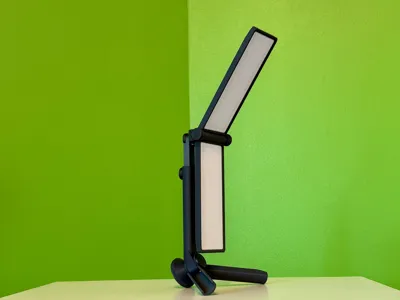
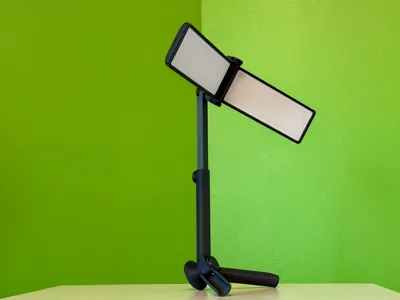
- 4-axis articulation, including height adjustment
- Dimming and power toggle with one touch switch
- Powered with 5V USB-A, such as phone charger or power brick
- Folds for compact storage
Print notes:
The model is tested to work using PLA Basic, PLA-CF and PETG-CF for the grayish parts and PLA Basic and PLA Metal for the black parts.
The two layers thick diffuser works well when printed with PLA Basic Jade White. Other light passing filaments should work too.
Note that the LED panel chassis part on plate 4 (printed twice) is prone to warping which will make assembly impossible. Ensure that the part prints without warping - use glue on the print plate if needed and prefer low-warp materials such as PLA-CF or PETG-CF. PLA Basic works but extra care is needed to achieve a warp free print.
The LED panel chassis part has five modeled-in bridge supports that need to be cut out to be able to insert the inner chassis part and diffuser. The cut can be made with a sharp knife or a metal scraper.
Profile is tested to work with A1 mini and with H2D, so printing with all printer models should be possible.
Assembly:
Prepare the parts: remove brims, supports, as well as the internal modeled-in supports on the LED panel chassis (as noted above). Check that overhangs and bridges printed cleanly and clean them up if necessary.
Follow the steps with the images below.
- Place a LED board on the chassis and slide in the internal frame partially - narrow end first.
- Slide the printed diffuser on the internal frame.
- Slide the internal frame and diffuser all the way in. Complete two LED panels.
- Place the LED panels against each other and prepare the parts shown.
- Assemble the joint as shown - as with all 3D printed threads, tighten with caution.
- Place the legs on the thick stand post. Slide in the leg bolt - note that only one orientation works. Screw on the leg tightening knob.
- Prepare the height adjustment parts.
- Assemble as shown. Install the height adjustment screw.
- Prepare the upper joint parts.
- Assemble the joint as shown. Note that the C-shaped panel holder can be slid and tightened to multiple positions.
- Twist the board-to-board cable tightly around a hex driver or similar to coil it. Connect the boards with the cable.
- Connect the USB power cable - assembly is complete.

Final notes:
Note! Never over-tighten the knobs - only use a tightness that is just enough to maintain the desired position. It is not recommended to print the threaded parts with PLA Matte or PLA Silk. If a bolt breaks, you can re-print it stronger by printing it individually. Layer bonding will be better as the previous layers have less time to cool. You can also try increasing nozzle temperature by 5-10'C.
I hope you enjoy model and leave a comment about your thoughts. Feedback is always welcome and helps improve this and future models! Thank you!
Boost Me (for free)
If you like this design, please consider leaving a Boost. Each one is greatly appreciated. Thank you!, cheers
License
You shall not share, sub-license, sell, rent, host, transfer, or distribute in any way the digital or 3D printed versions of this object, nor any other derivative work of this object in its digital or physical format (including - but not limited to - remixes of this object, and hosting on other digital platforms). The objects may not be used without permission in any way whatsoever in which you charge money, or collect fees.
Comment & Rating (10)