
Print Profile(5)
Description
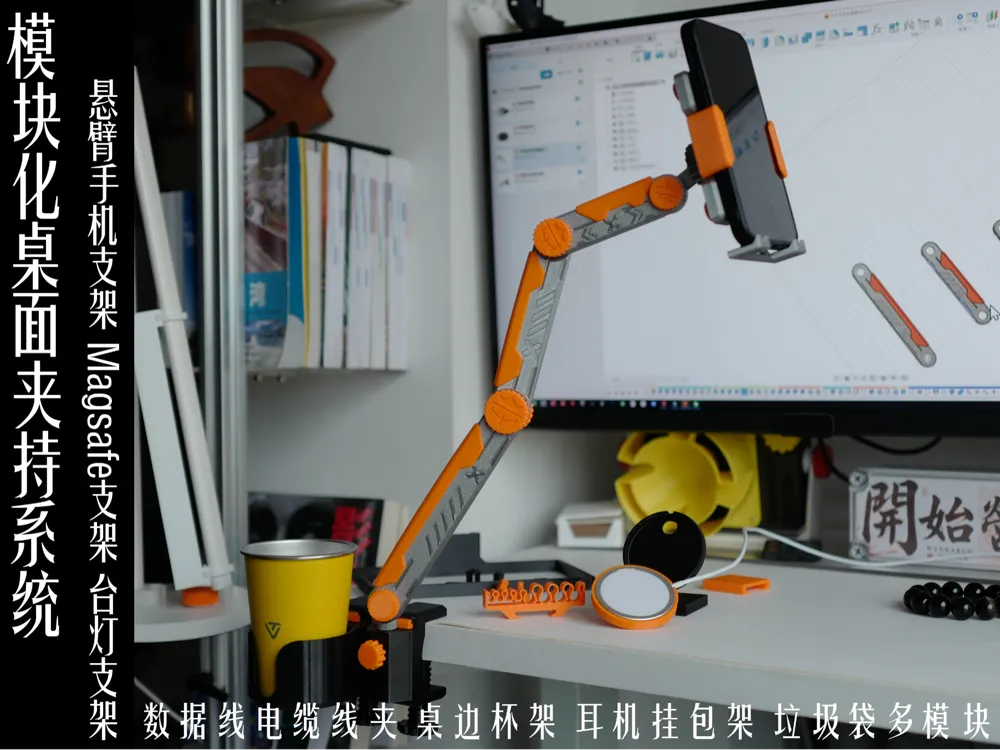
I've always wanted to create a fully 3D printed (no metal assembly parts) modular desktop clamping tool system,
I previously made a phone holder with a single desk clamp, and now I've upgraded the desk clamp system. It's now a multi-module, quick-assemble, quick-release desk clamp system.
The desk clamp can hold desktops up to 40mm thick. It's ergonomically designed with multiple adjustable angles.
I started conceptualizing, designing, and printing this before going to TCT on the 17th. It took nearly a week of continuous testing for tolerances and print strength until I returned from TCT,
All modules have been tested, and their orientation is optimized for best stress resistance in FDM printing.
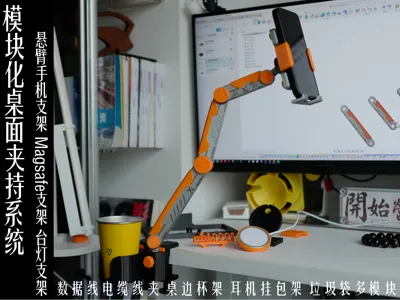
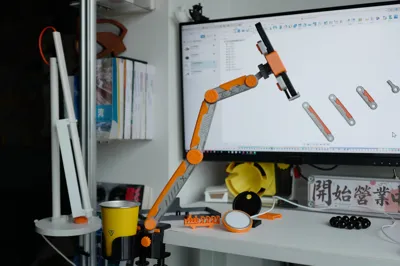
Currently, the desk clamp integrates various modules (all uploaded to MakerWorld), including:
- Desktop Cable Organizer/Cable Manager (for cables up to 7mm diameter): It can neatly organize messy desktop cables and data lines. If needed, I can add other diameter sizes.
- Desk Edge Cup Holder: You often need to hydrate during work, and with tools on the desk, it's easy to knock over cups. Also, the cup body part and the backplate buckle part of the cup holder are separate pieces. If you find the inner diameter of the cup too small, you can separate it into objects, then scale the size of the cup's ring part and align it with the buckle piece for printing to get an enlarged version.
- Desk Edge Headphone/Backpack Hanger: It can be used to hang commonly used backpacks or headphone devices for music during work, etc.
- Desk Edge Trash Bag Holder: It can promptly clean up trash generated on the desktop during work.
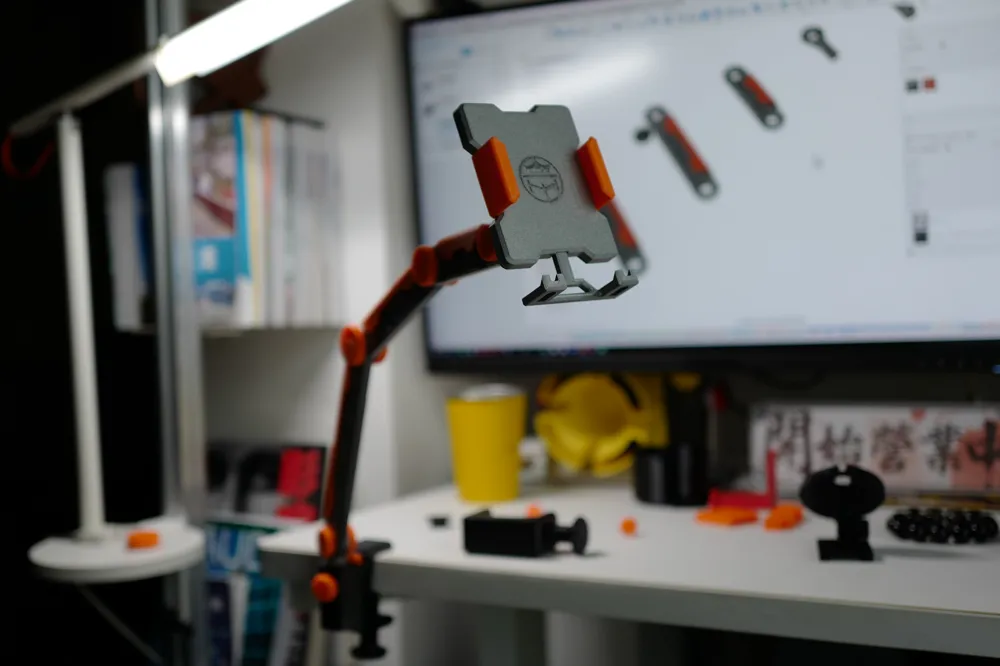
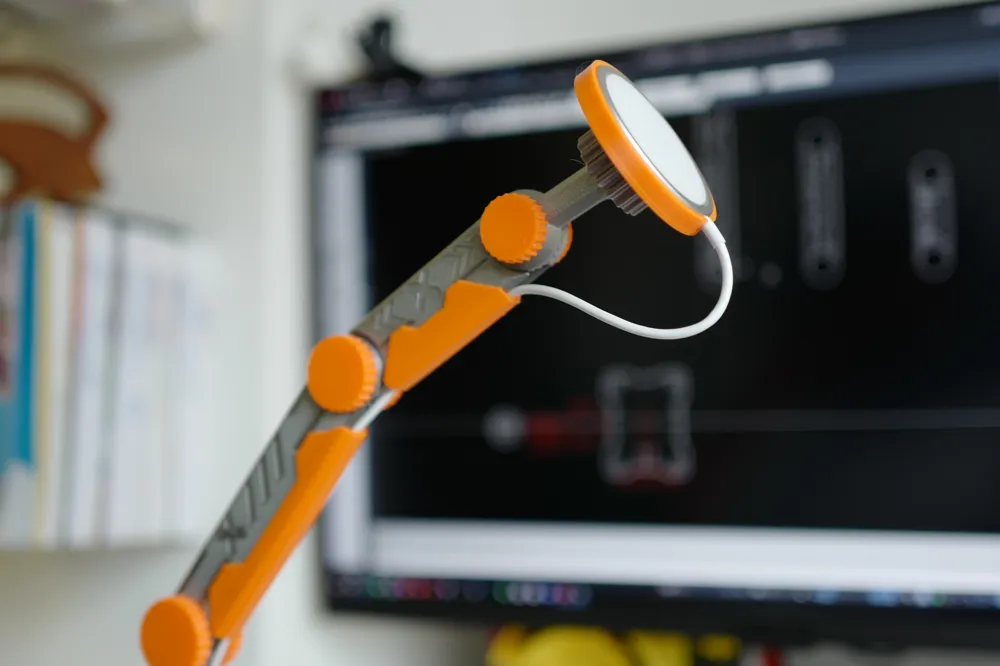
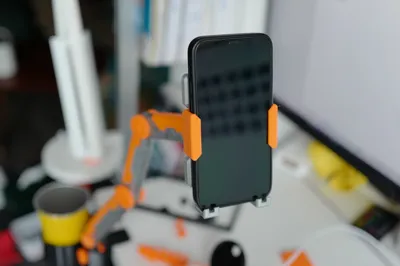
- Desktop Clamp Magsafe Phone Holder: It allows for angle adjustment up and down, suitable for friends who don't need a mechanical arm holder. A circular hole is reserved on the back for easy removal of the Magsafe. It has already been uploaded to the homepage.
- Desktop Clamp Desk Lamp Holder: It can be used as a light panel holder for desktop work lighting. If needed, it can be matched with other sizes for different models. You can download the light panel accessories from my MW homepage.
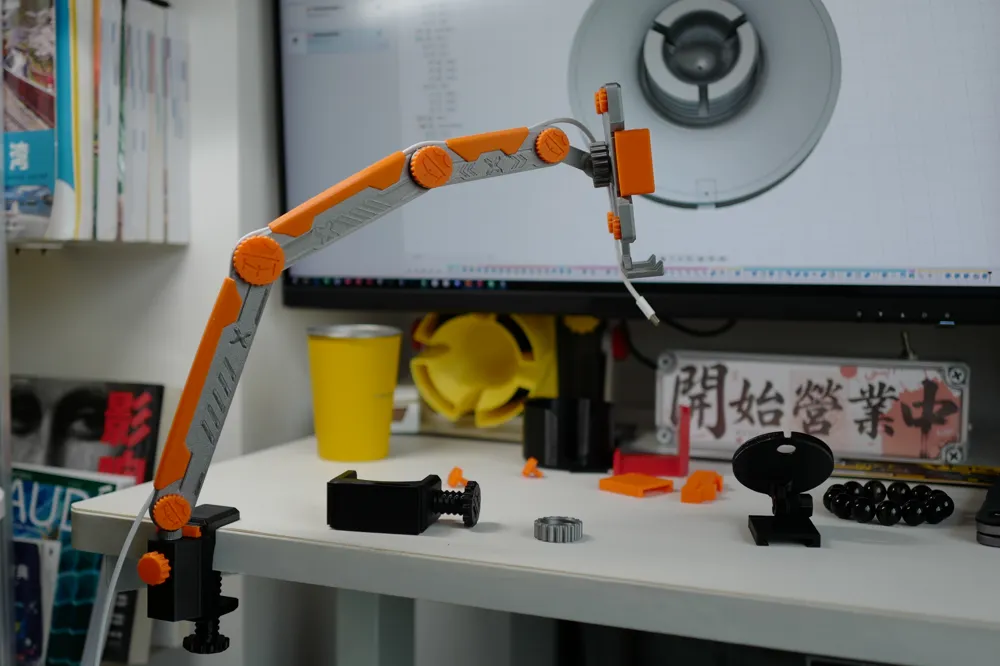
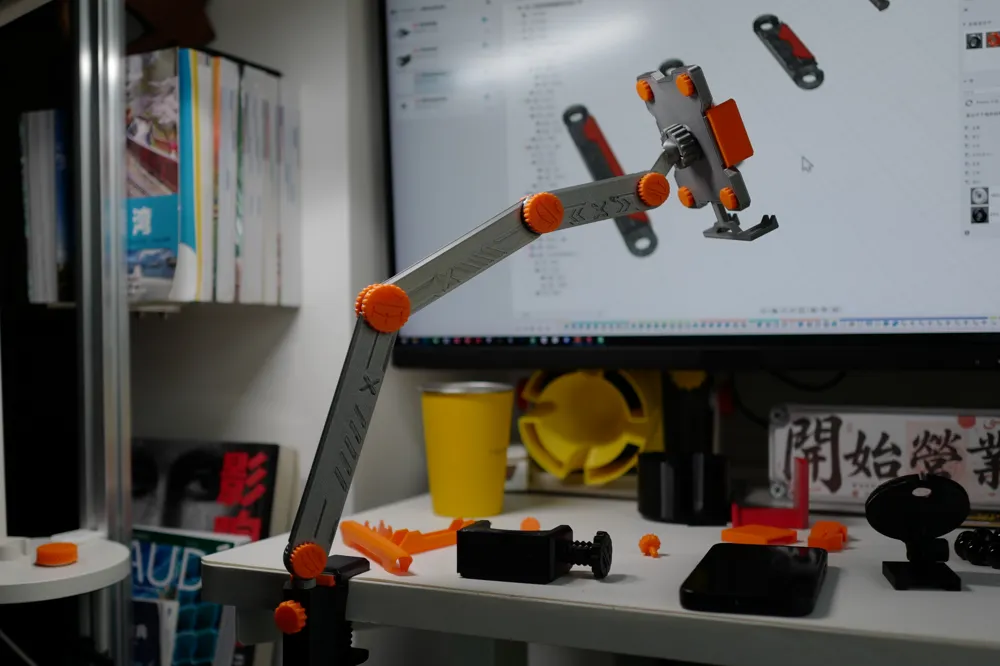
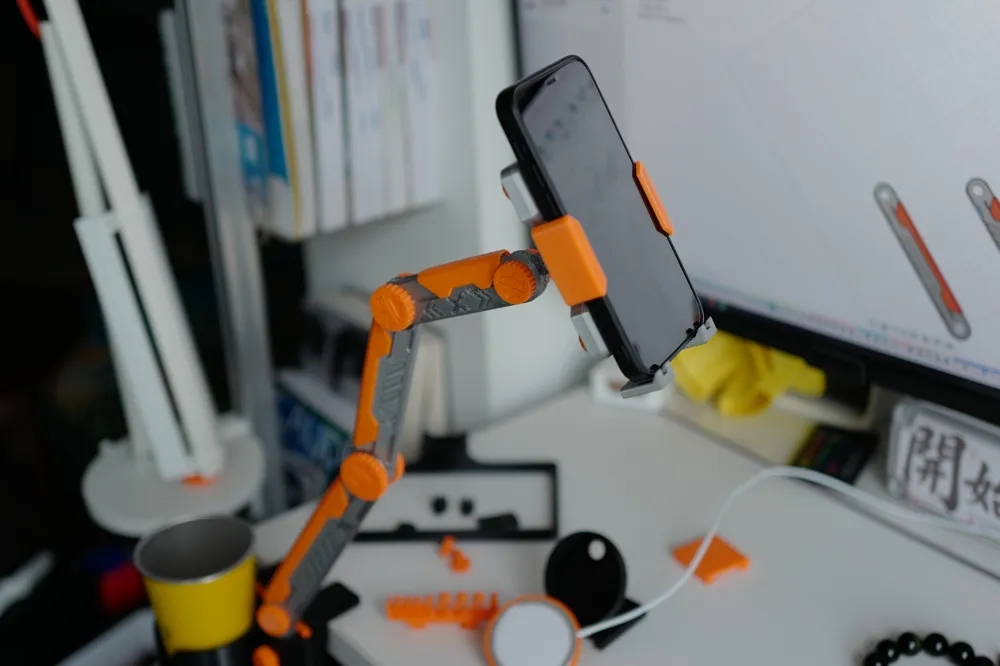
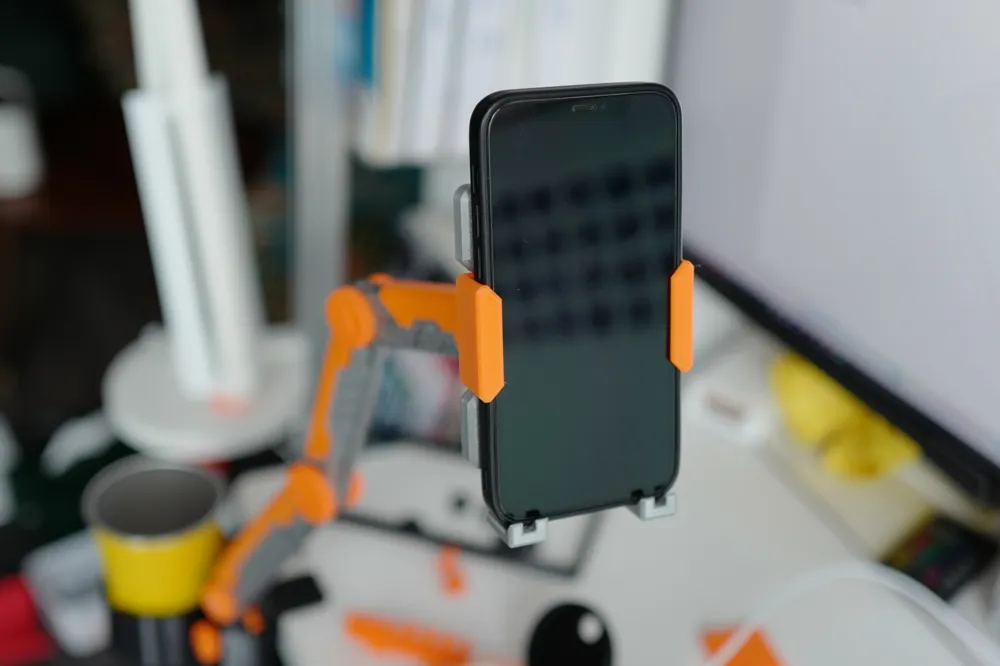
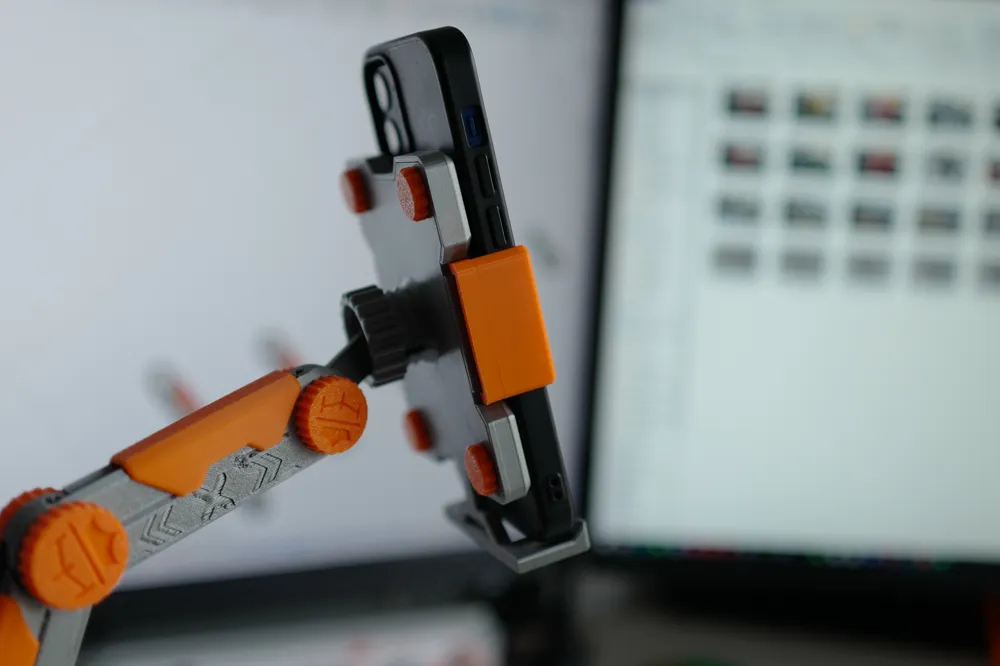
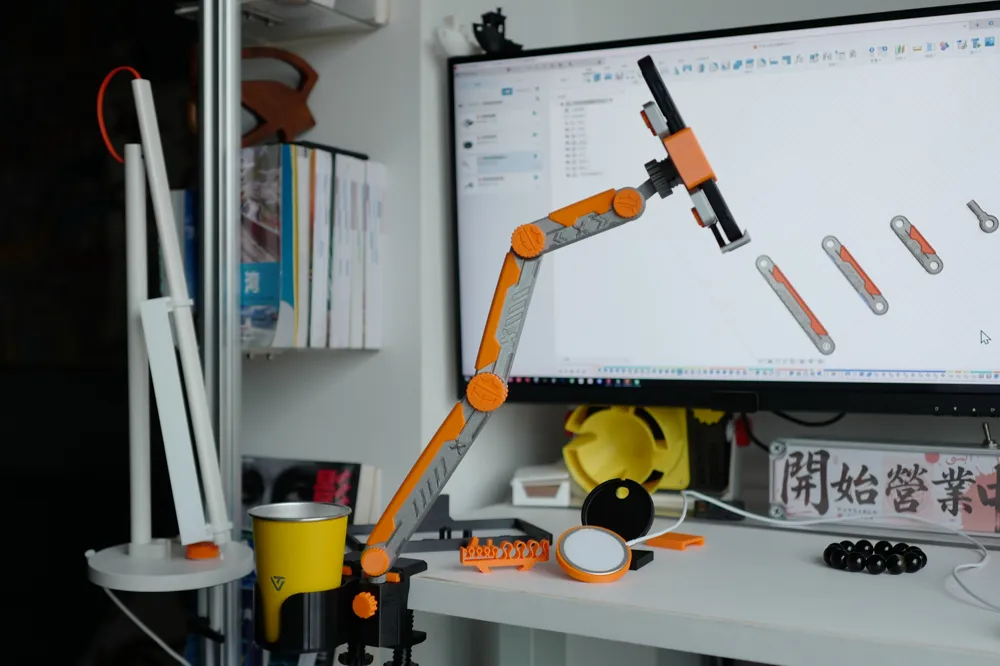
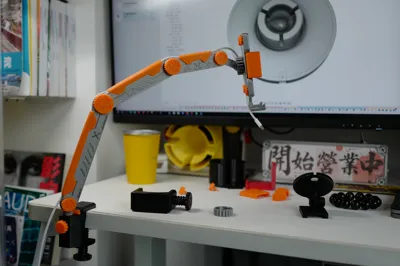
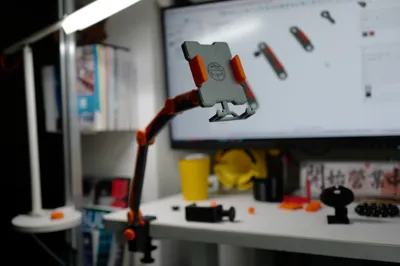
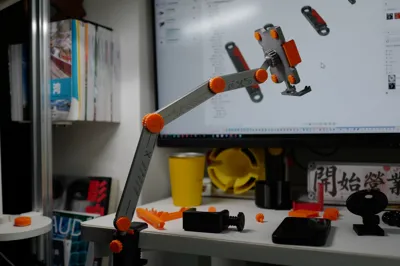
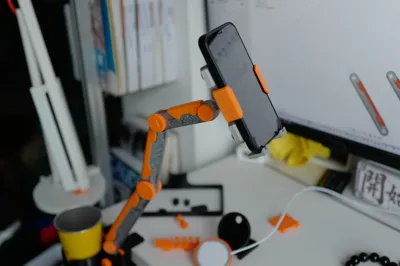
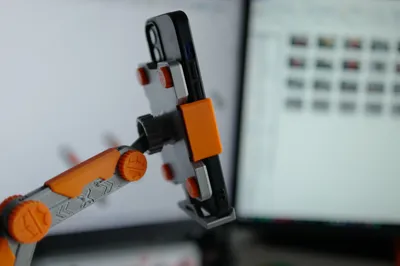
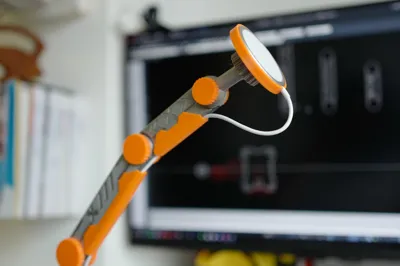
- Desktop Clamp Robotic Arm Phone Holder: It can be used as a robotic arm phone holder for desktop shooting or video watching. Compatible with most phone sizes. and a Magsafe module has been added. The robotic arm has reserved cable channels for easy routing of phone charging cables. It is recommended to assemble with no more than 3 cantilever sections, as due to the flexibility characteristics of 3D printed parts, the longer the connection, the greater the shaking.
IKEA Skadis Pegboard Fixing Bracket: Further enhancing the quick-release template pegboard hanging system clamped by a pair of desk clamps, printing 2 or more desk clamps allows you to clamp an IKEA Skadis pegboard, this way it can be compatible with all accessories related to IKEA Skadis pegboards designed by all creators. If there are many pegboard connections, it is recommended to add more desktop clamping pieces based on the expanded size.
I have reserved a blank board for this quick-release panel, allowing you to DIY the hole sizes to fit your screw dimensions.Based on the hole size and spacing of IKEA Skadis pegboards, I have designed three pegboard sizes: 160mm, 200mm, and 240mm, with three styles for each size, totaling nine designs, including pegboard connectors, all of which have been uploaded. You can find them on my upload homepage.
The pegboard can be used with my designed printed screw parts, or you can purchase and use metal screws. The four corner holes have a diameter of 4mm.
Other modules will gradually be added based on download volume, or you can leave comments with other good suggestions and opinions.
It is recommended to use PETG or higher strength filament for printing. If you need to increase strength, you can change the number of perimeter walls and increase infill density.
Currently uploaded is the multi-angle adjustable cantilever phone holder (self-locking) and Magsafe charging module.
Boost Me (for free)
If you like it, please give it a boost, thank you
Here are the assembly stepsFirst, the desk clamp module
The desk clamp module consists of four parts: the desk clamp, fixing screw, limiter, and base leveling head 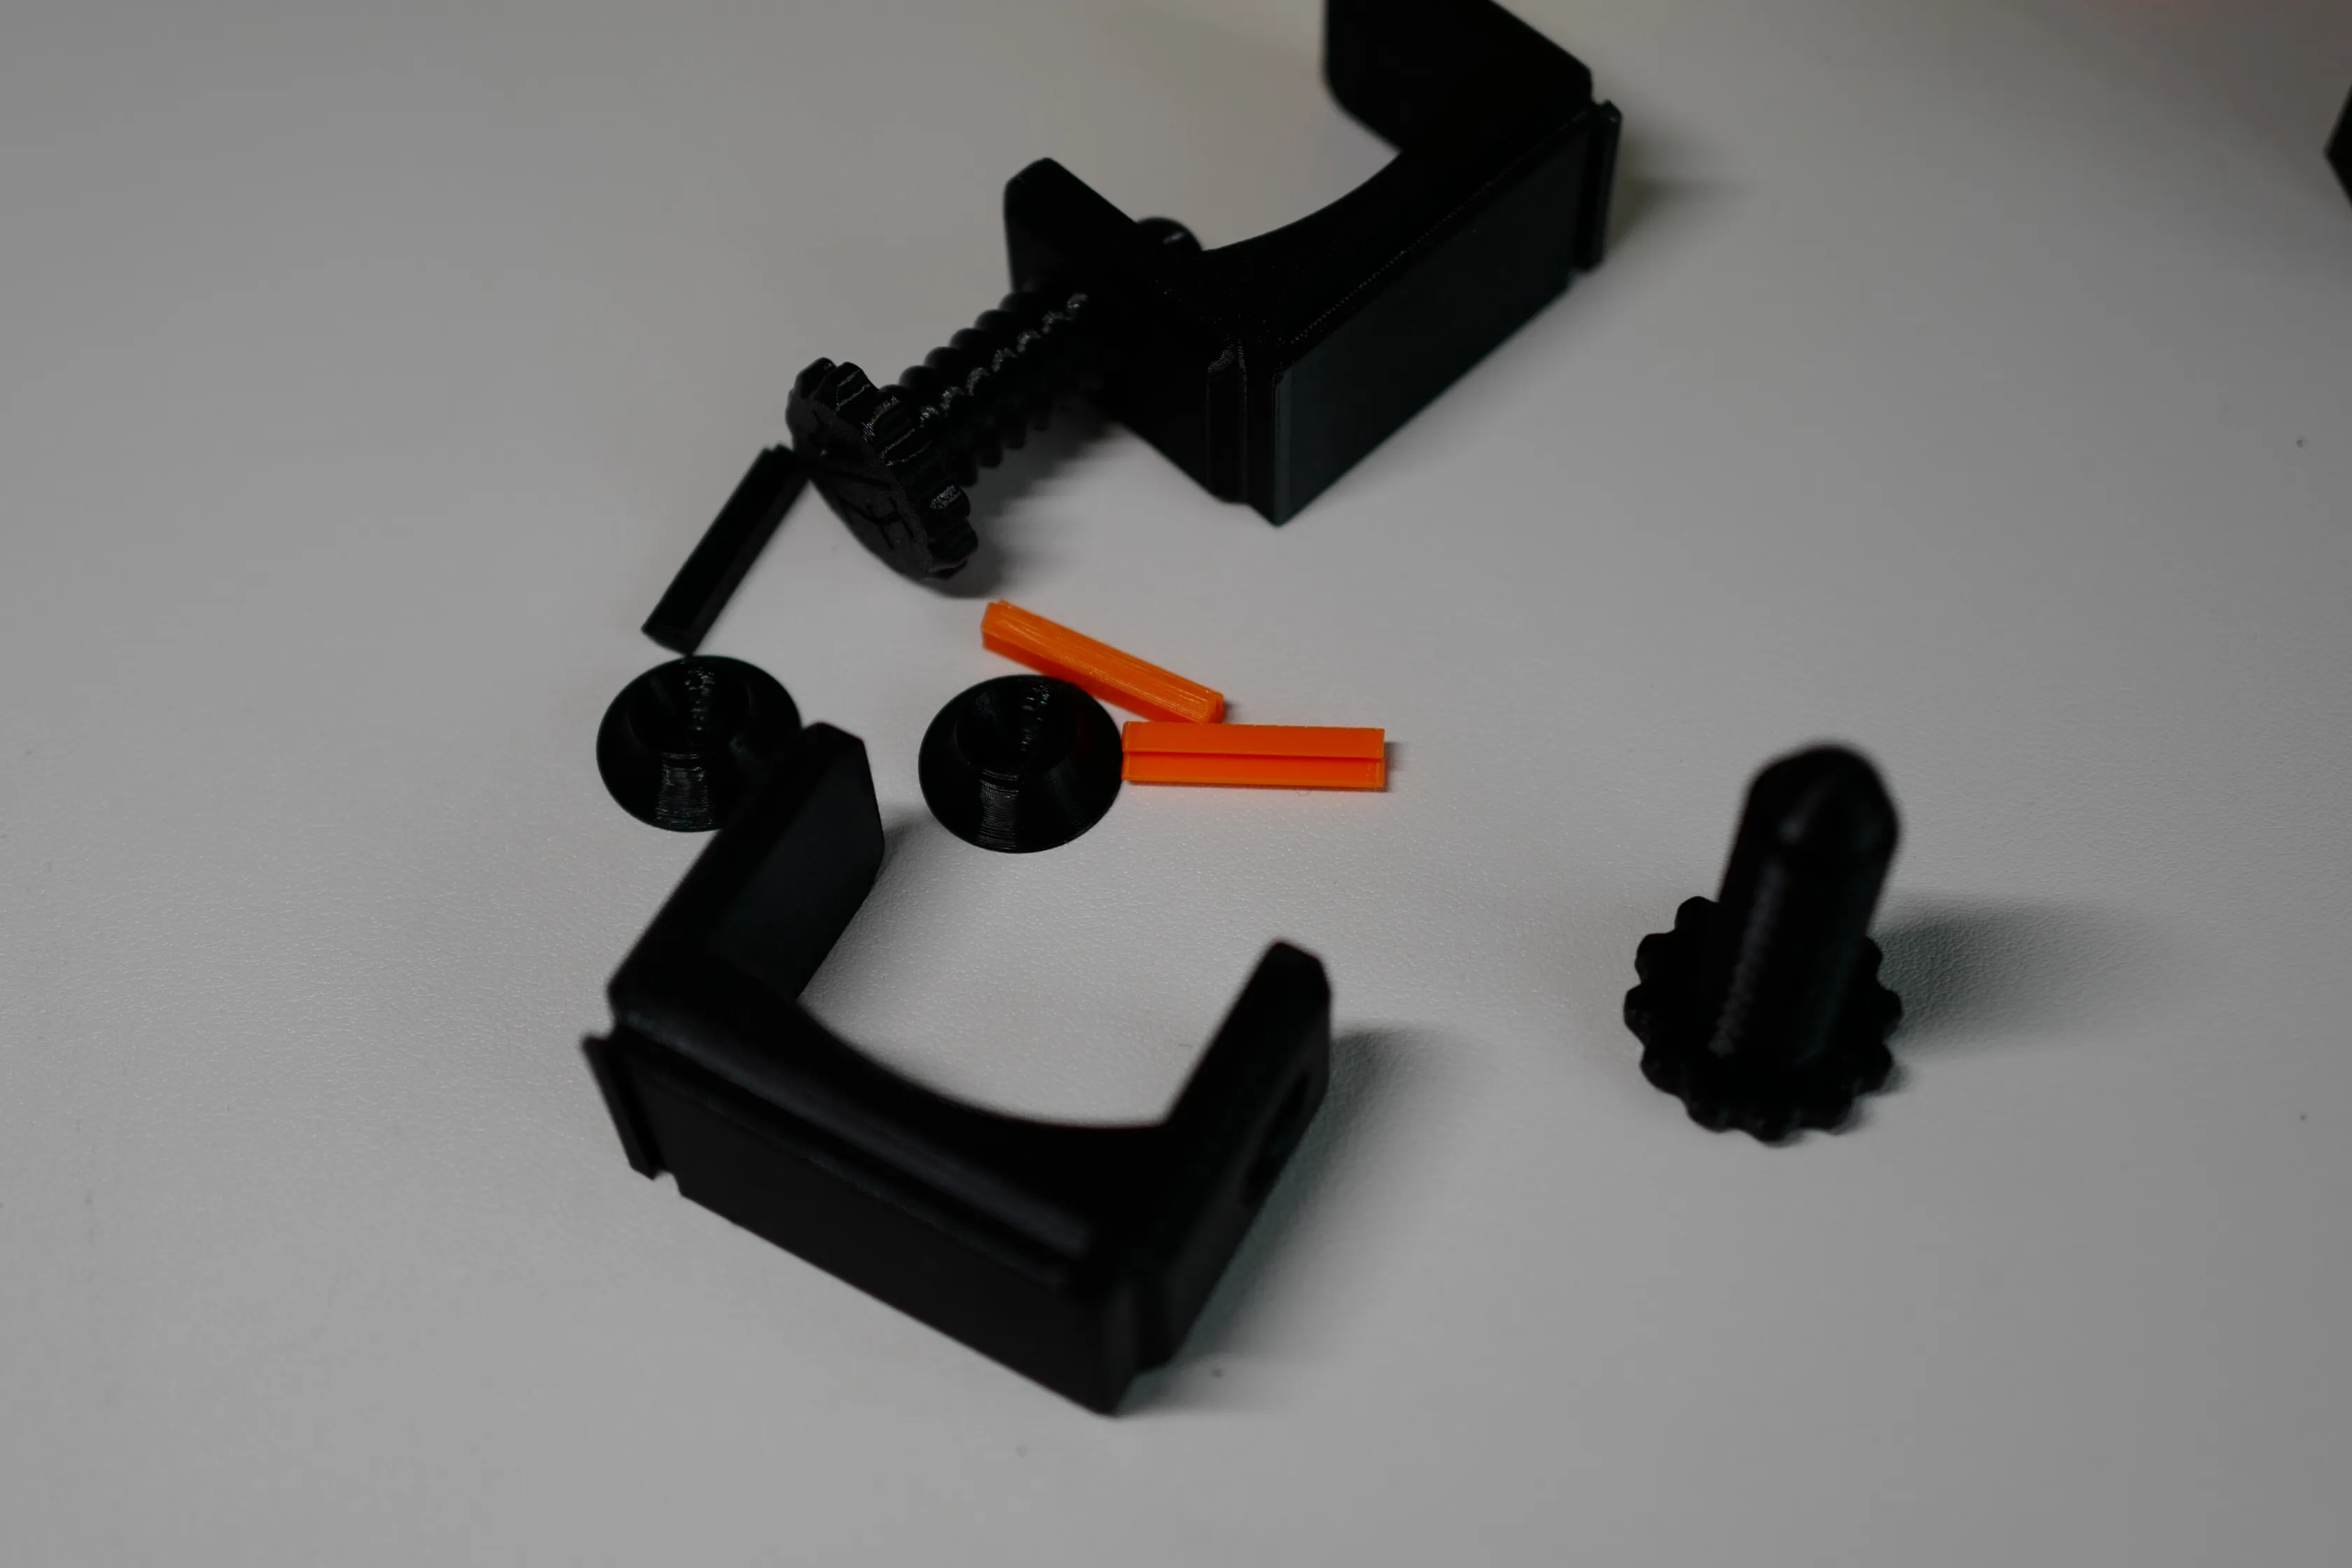
It can be fixed to the desk with a screw and nut. The horizontal groove limiter can be used with other accessories. 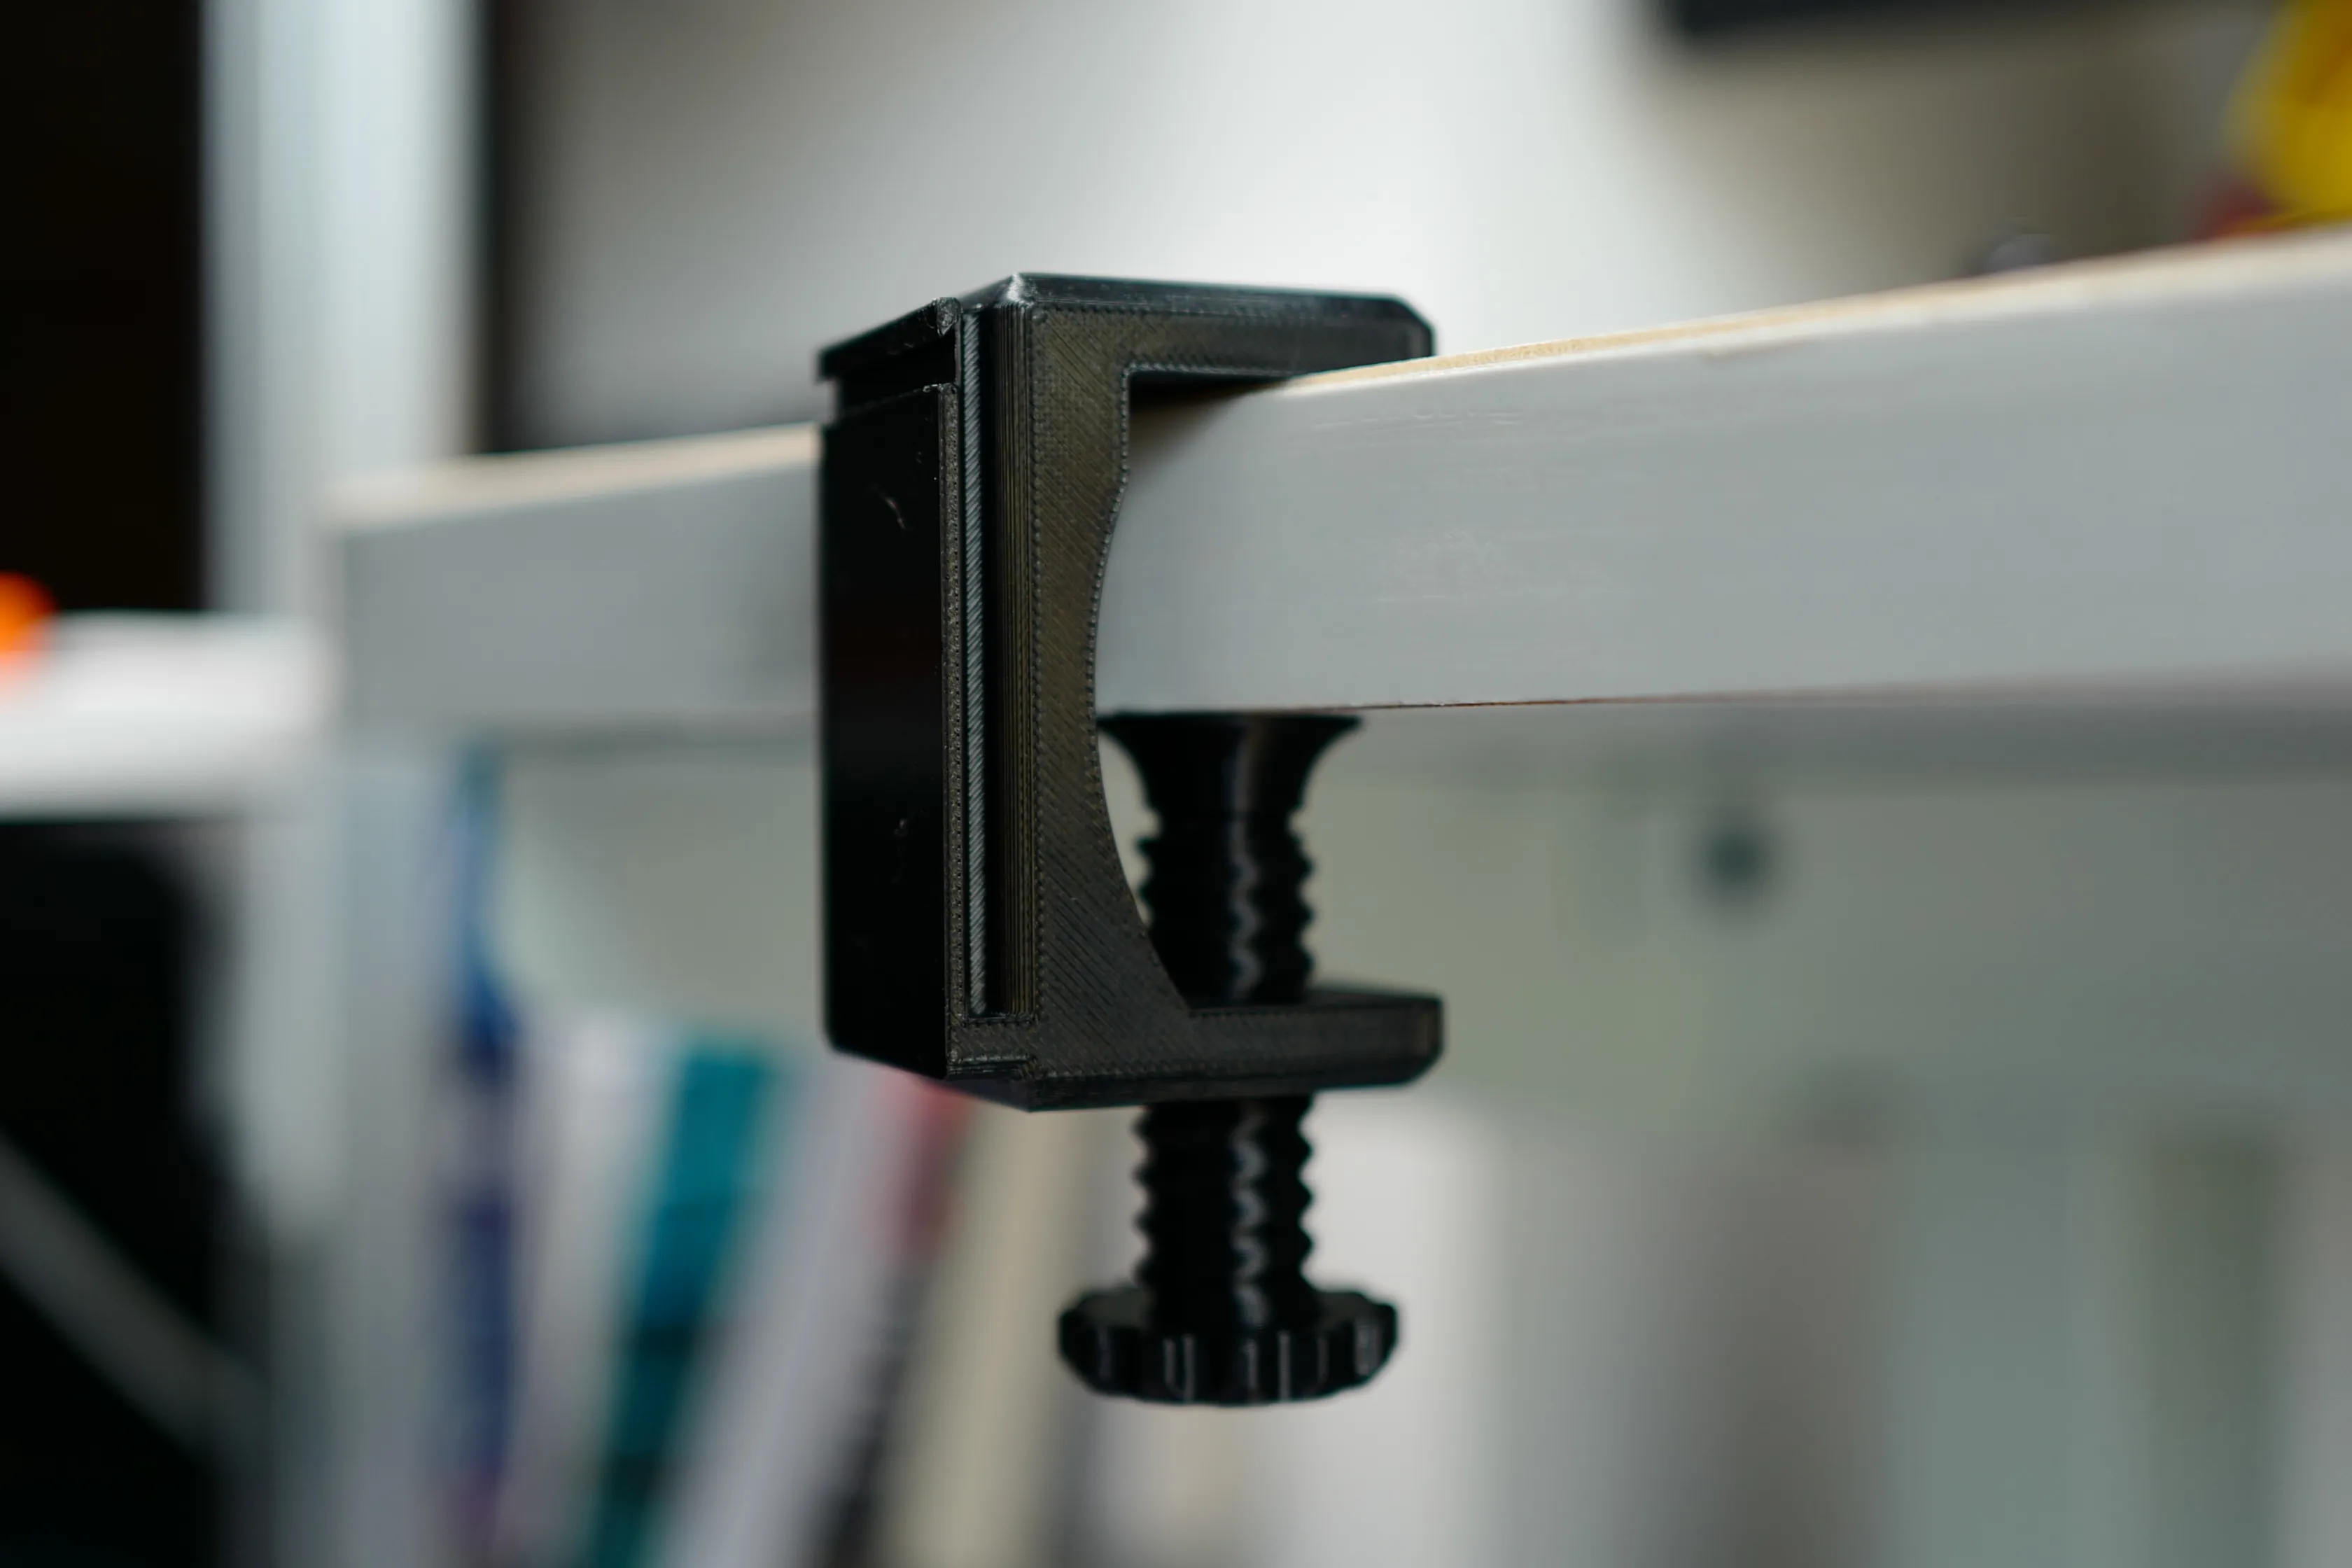
The assembly steps for the trash bag hanger cantilever connector and phone clamp are slightly more complex, but generally, you can assemble them by looking at the pictures.
| First, install the phone clamping module | 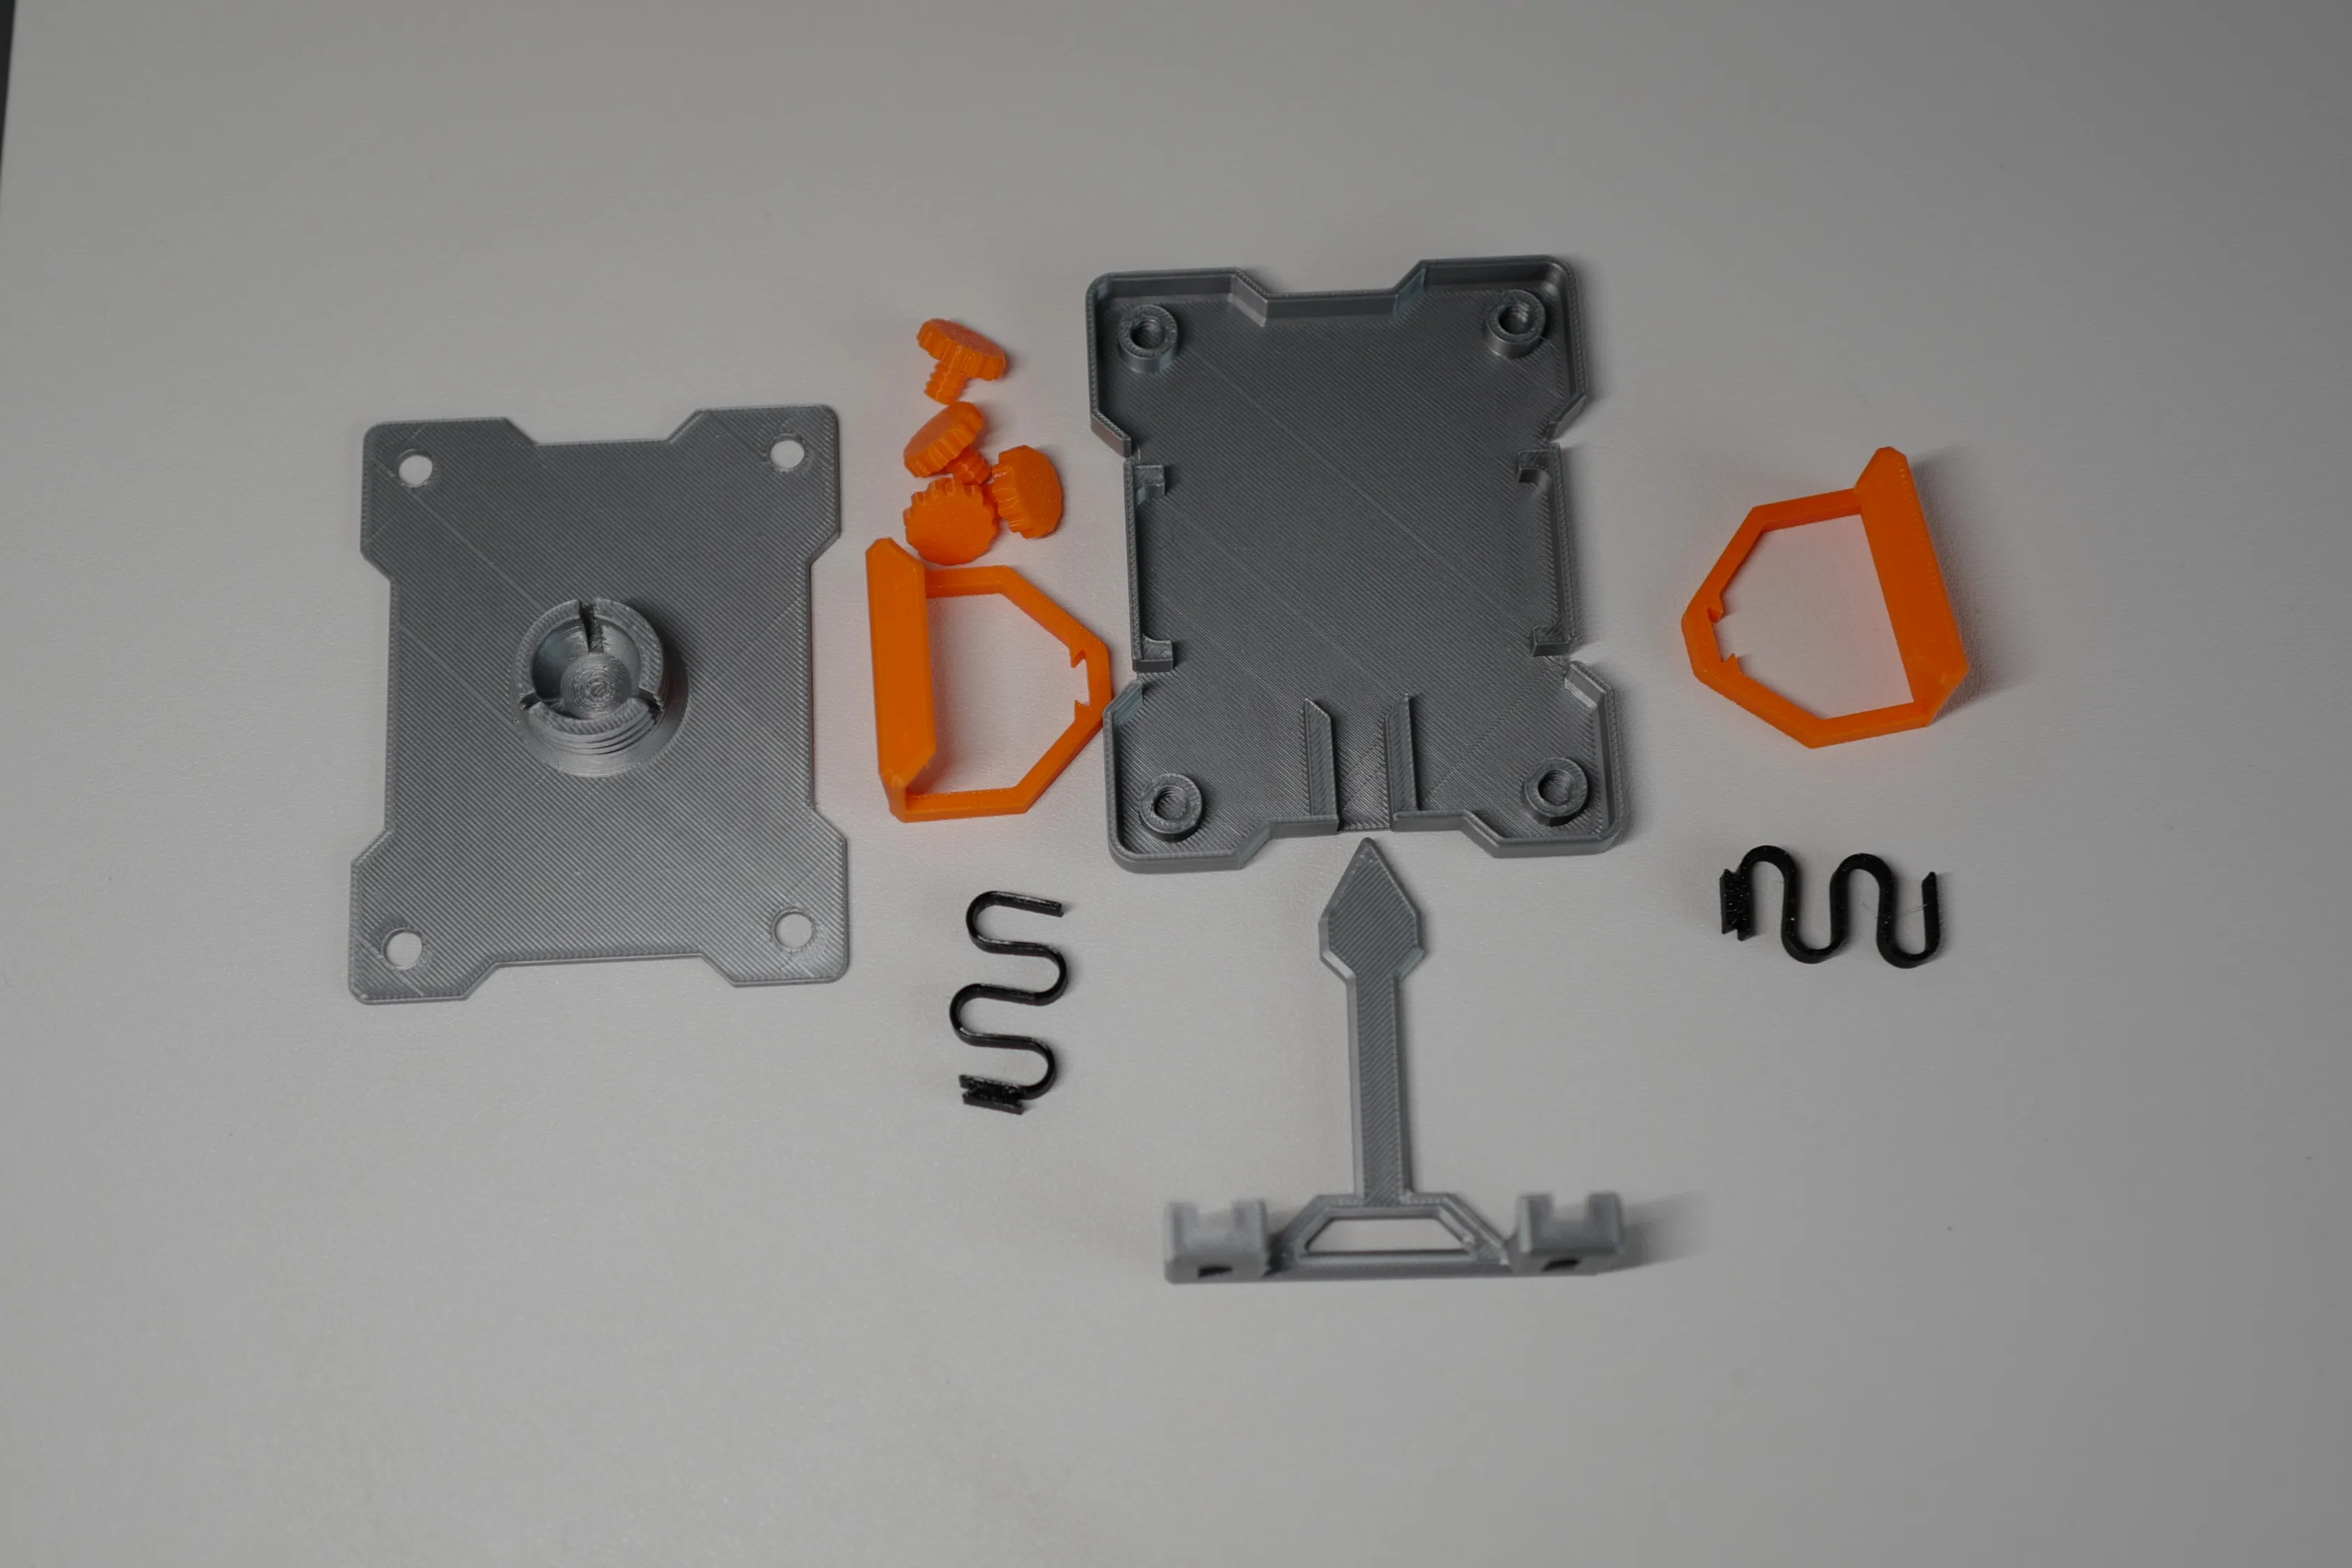 |
| First, use the back plate to elevate the front panel with the LOGO, then insert the left and right clamping pieces into the slots as shown, paying attention to the direction, with the clamp facing the logo. | 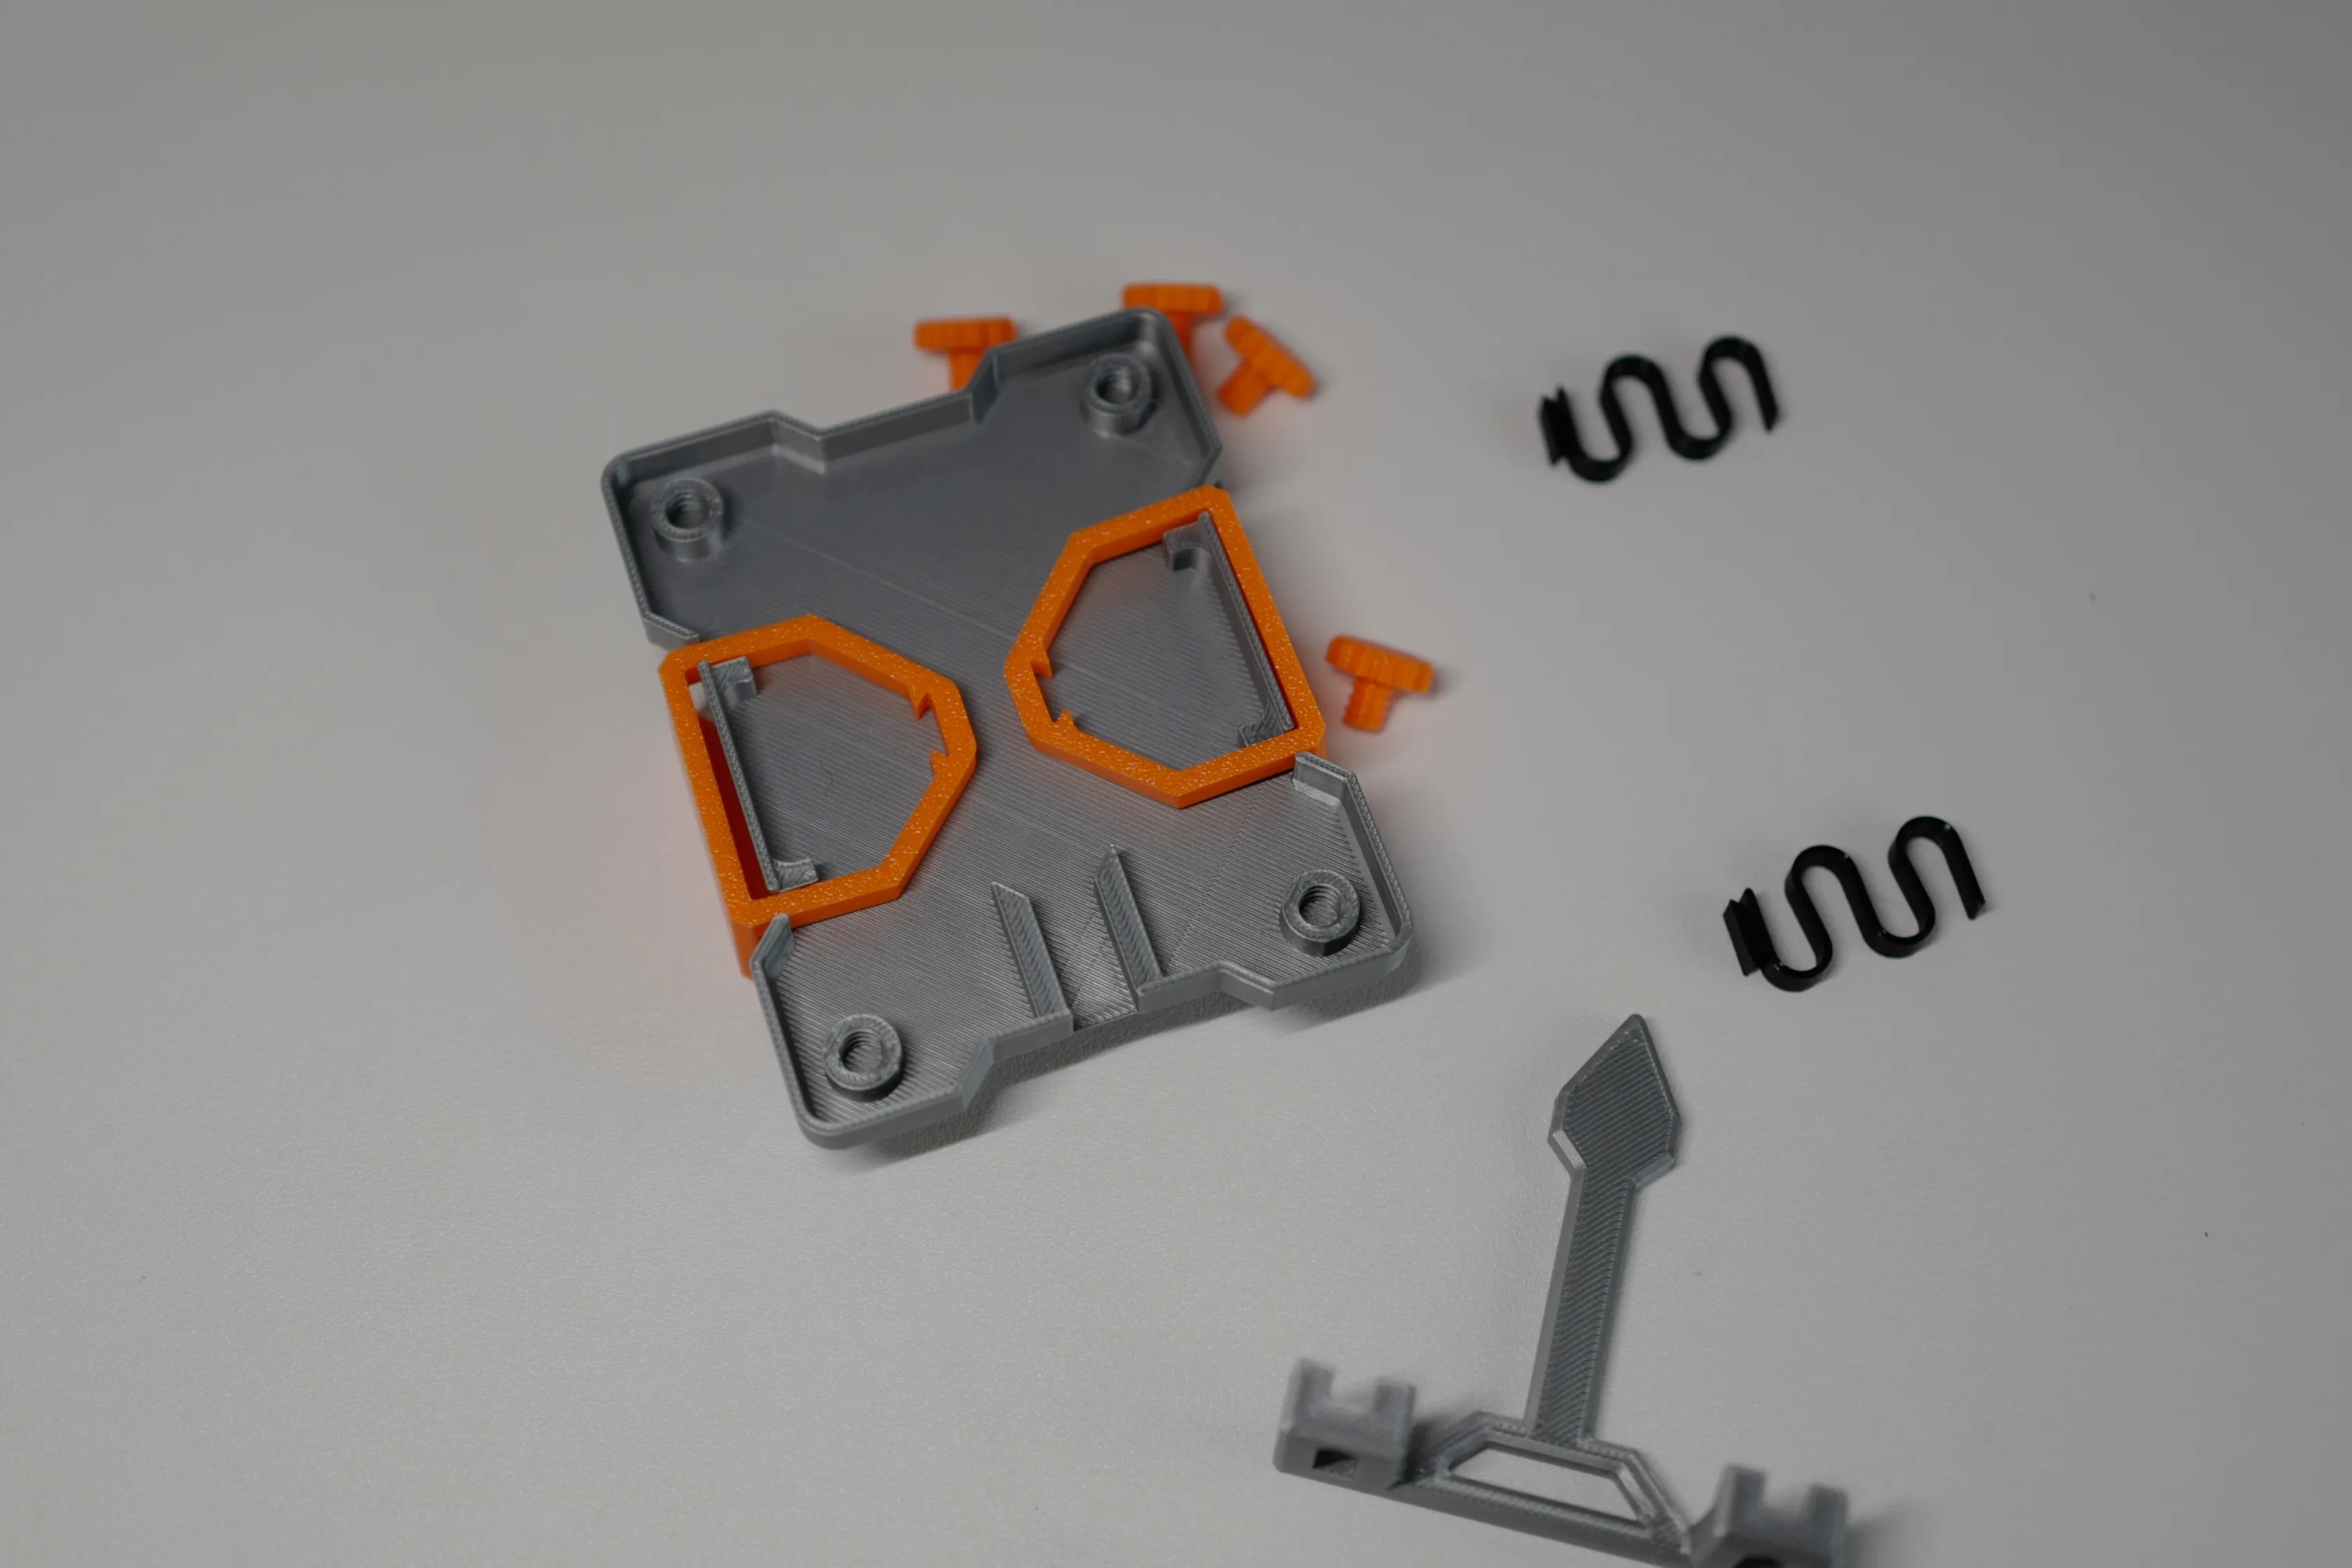 |
| Then install the spring, paying attention to its direction, and then insert the bottom support, also paying attention to its direction. | 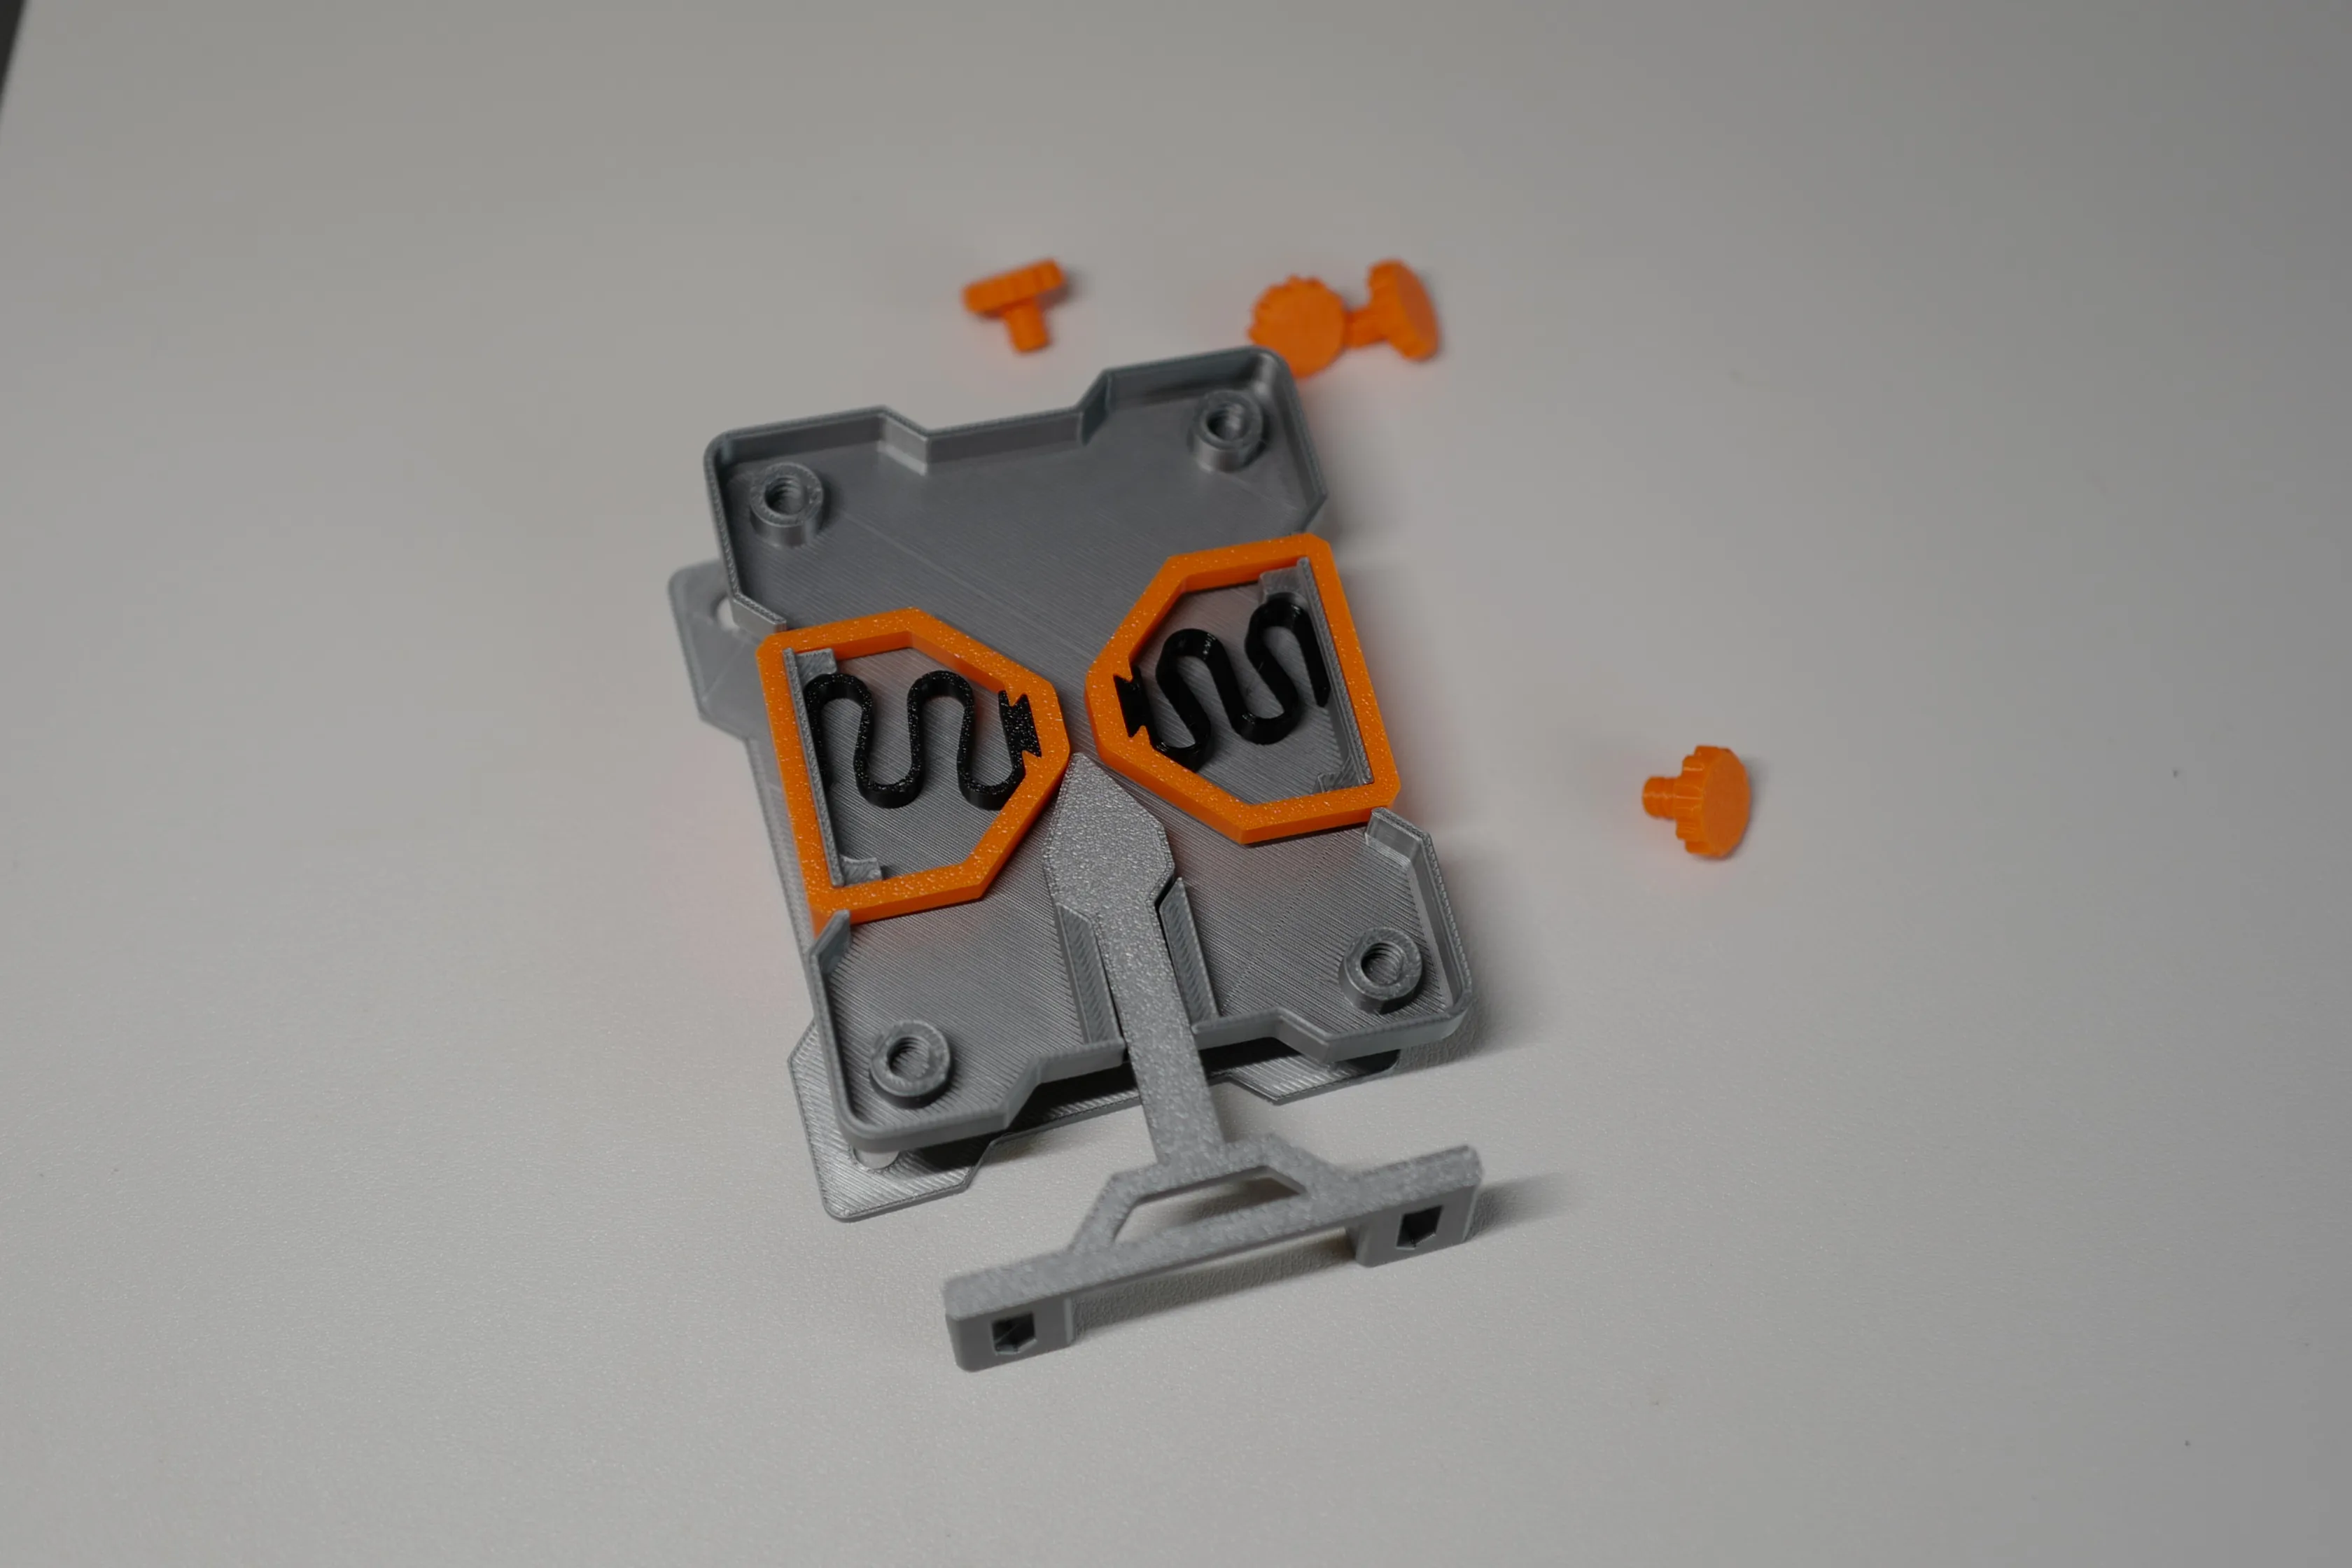 |
| Then put in the back plate and tighten the four screws. Pressing the bottom will cause the two clamping pieces to separate in an inverted 'V' shape, making it easy to insert the phone, which will then automatically clamp. | 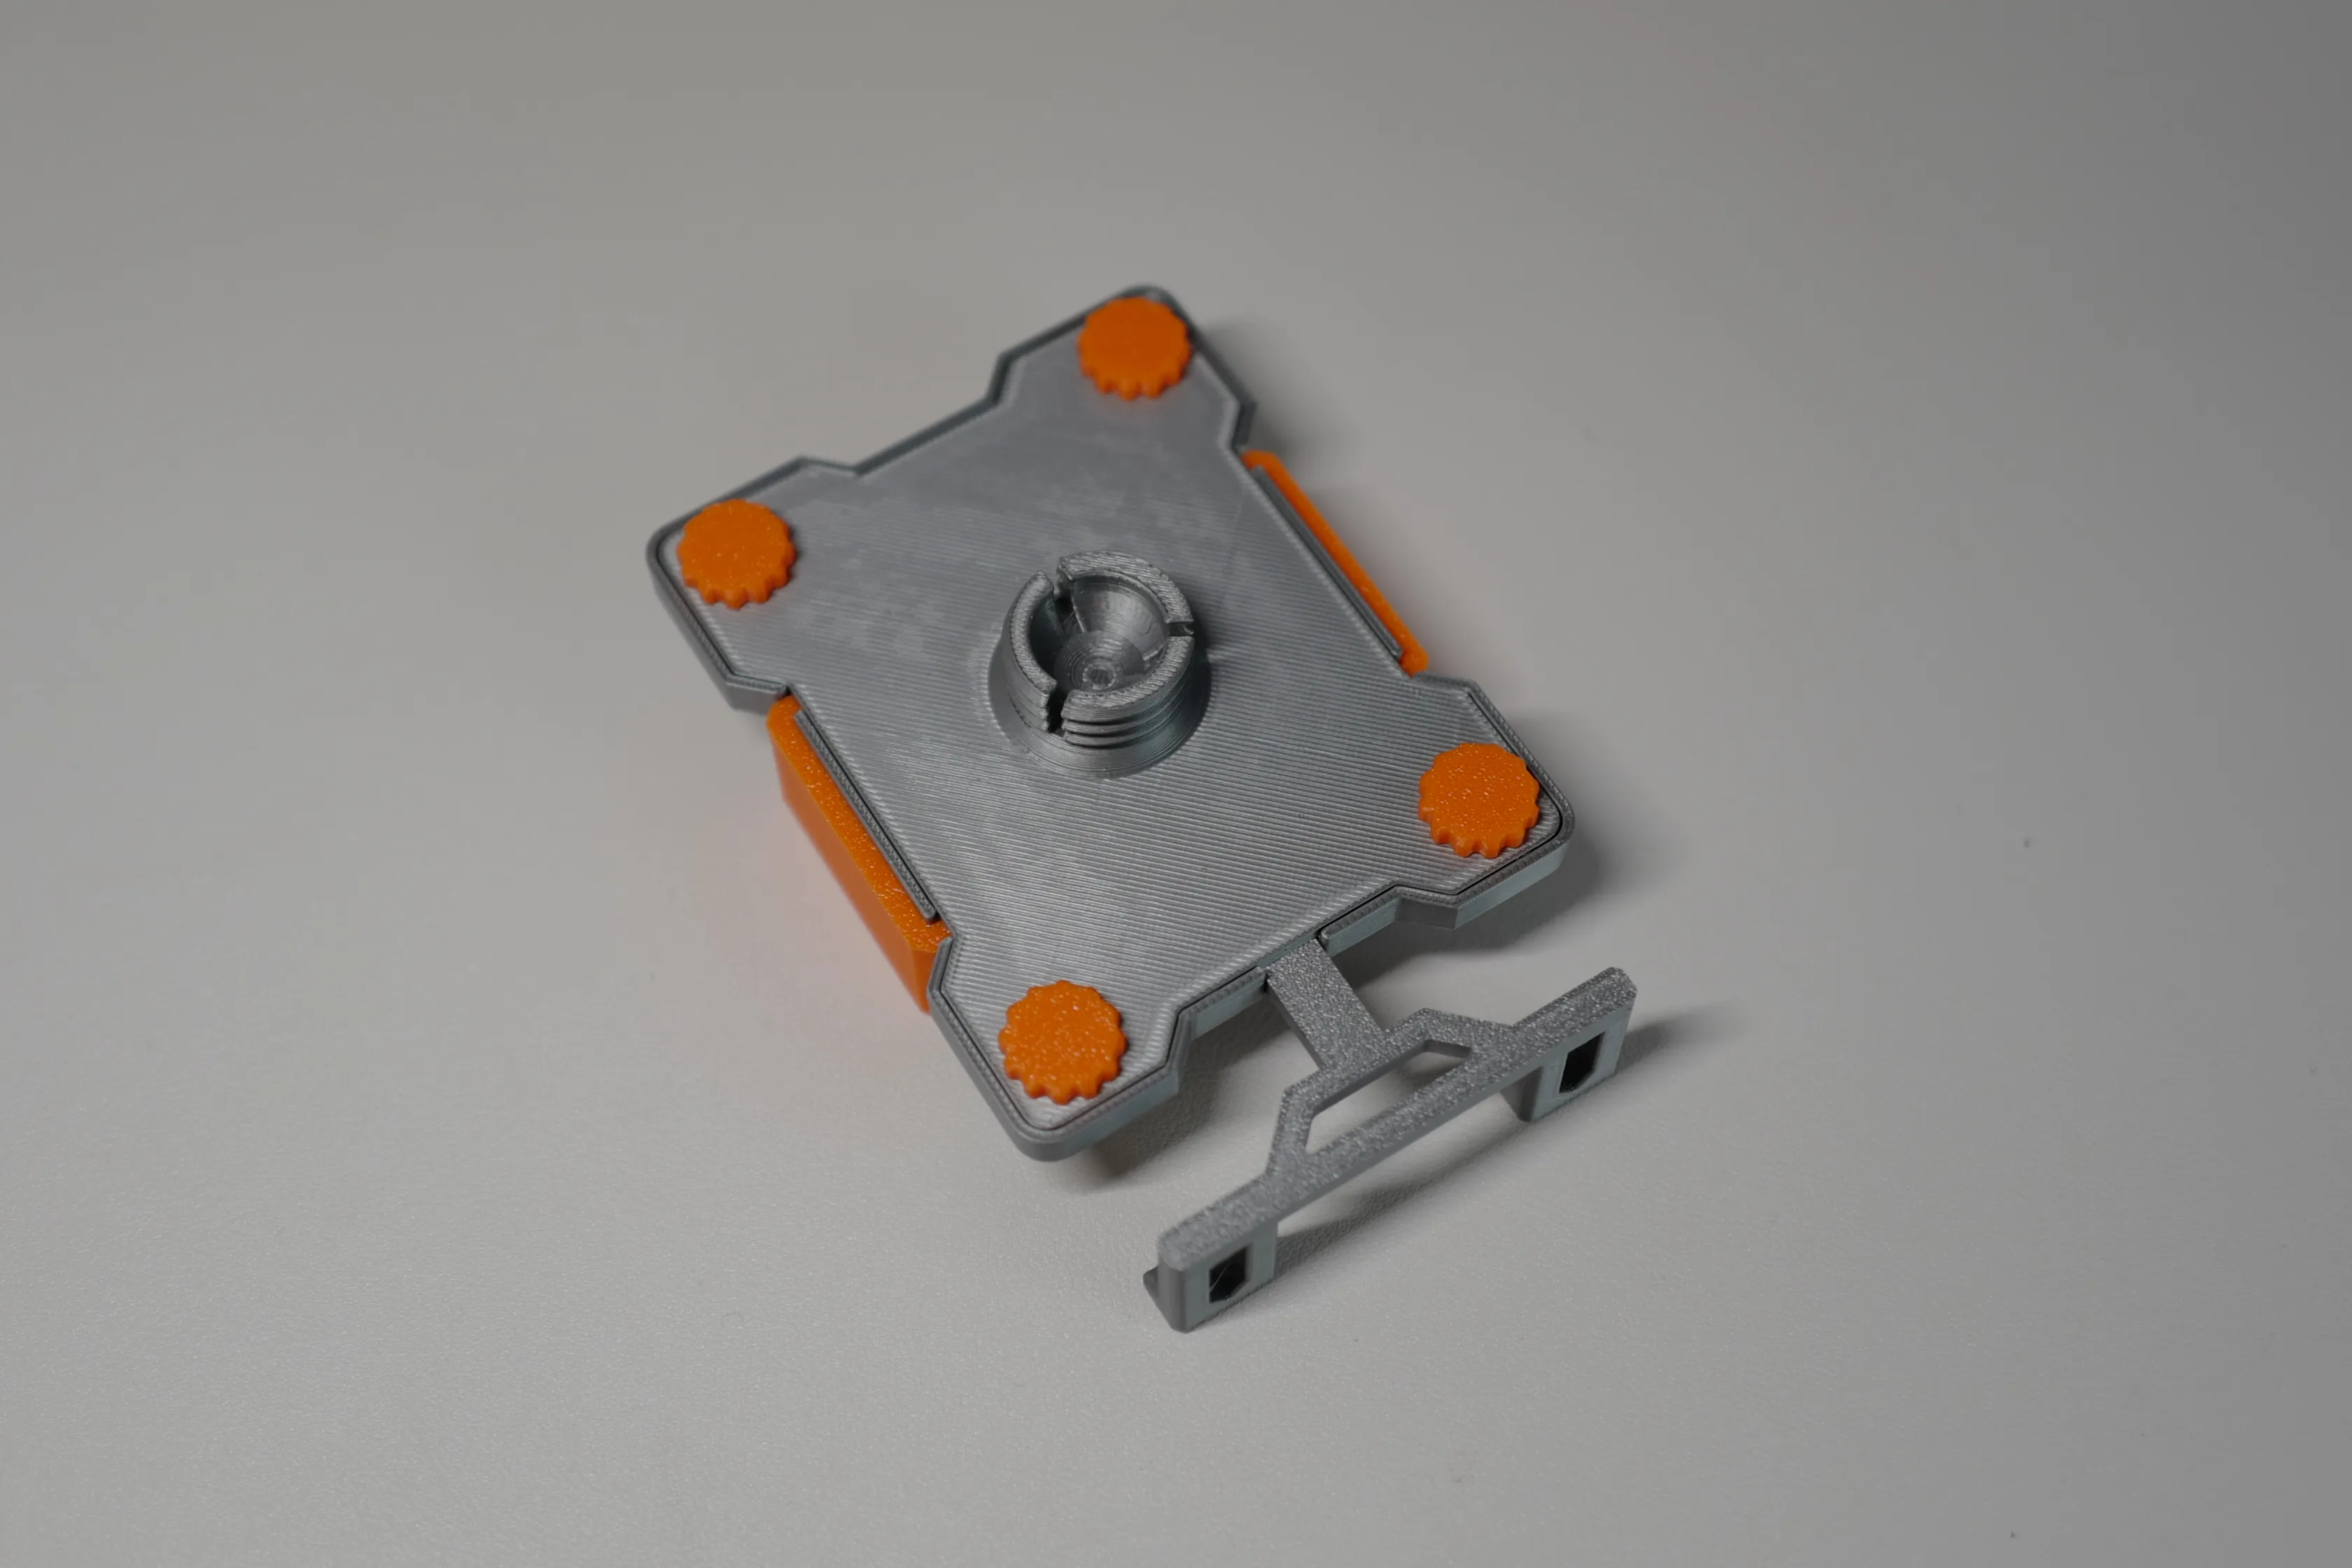 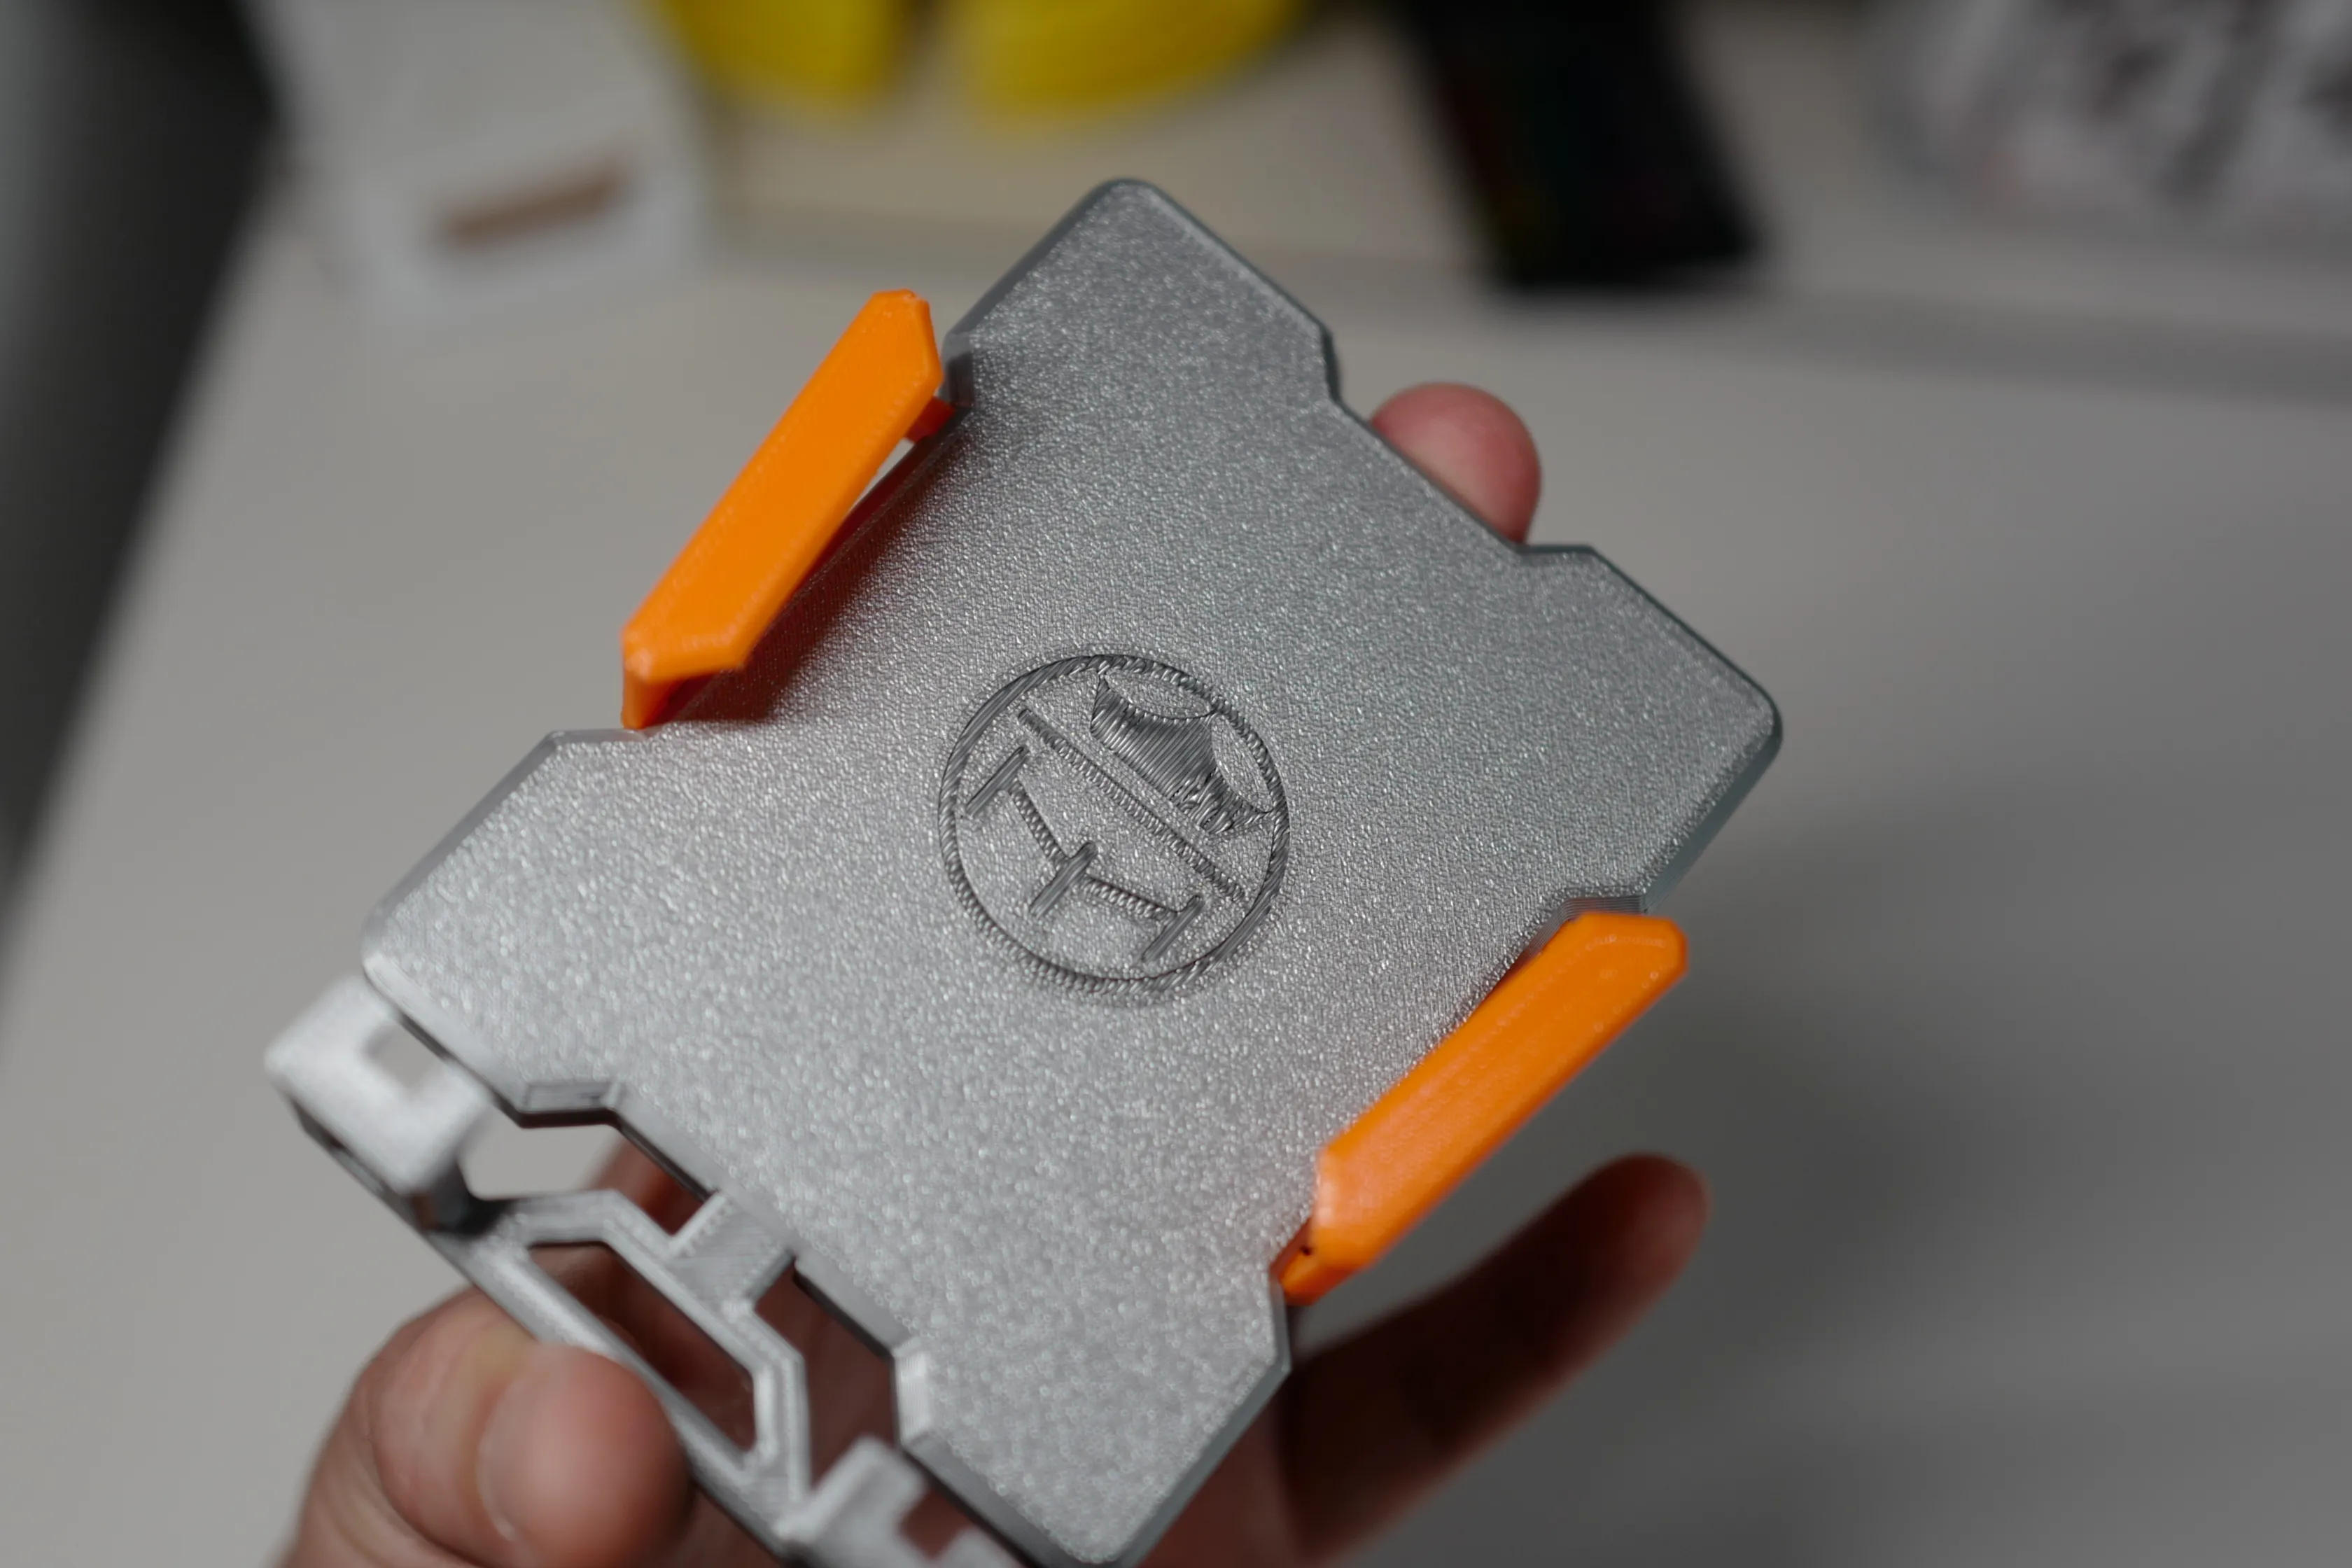 |
| Next, install the cantilever part | 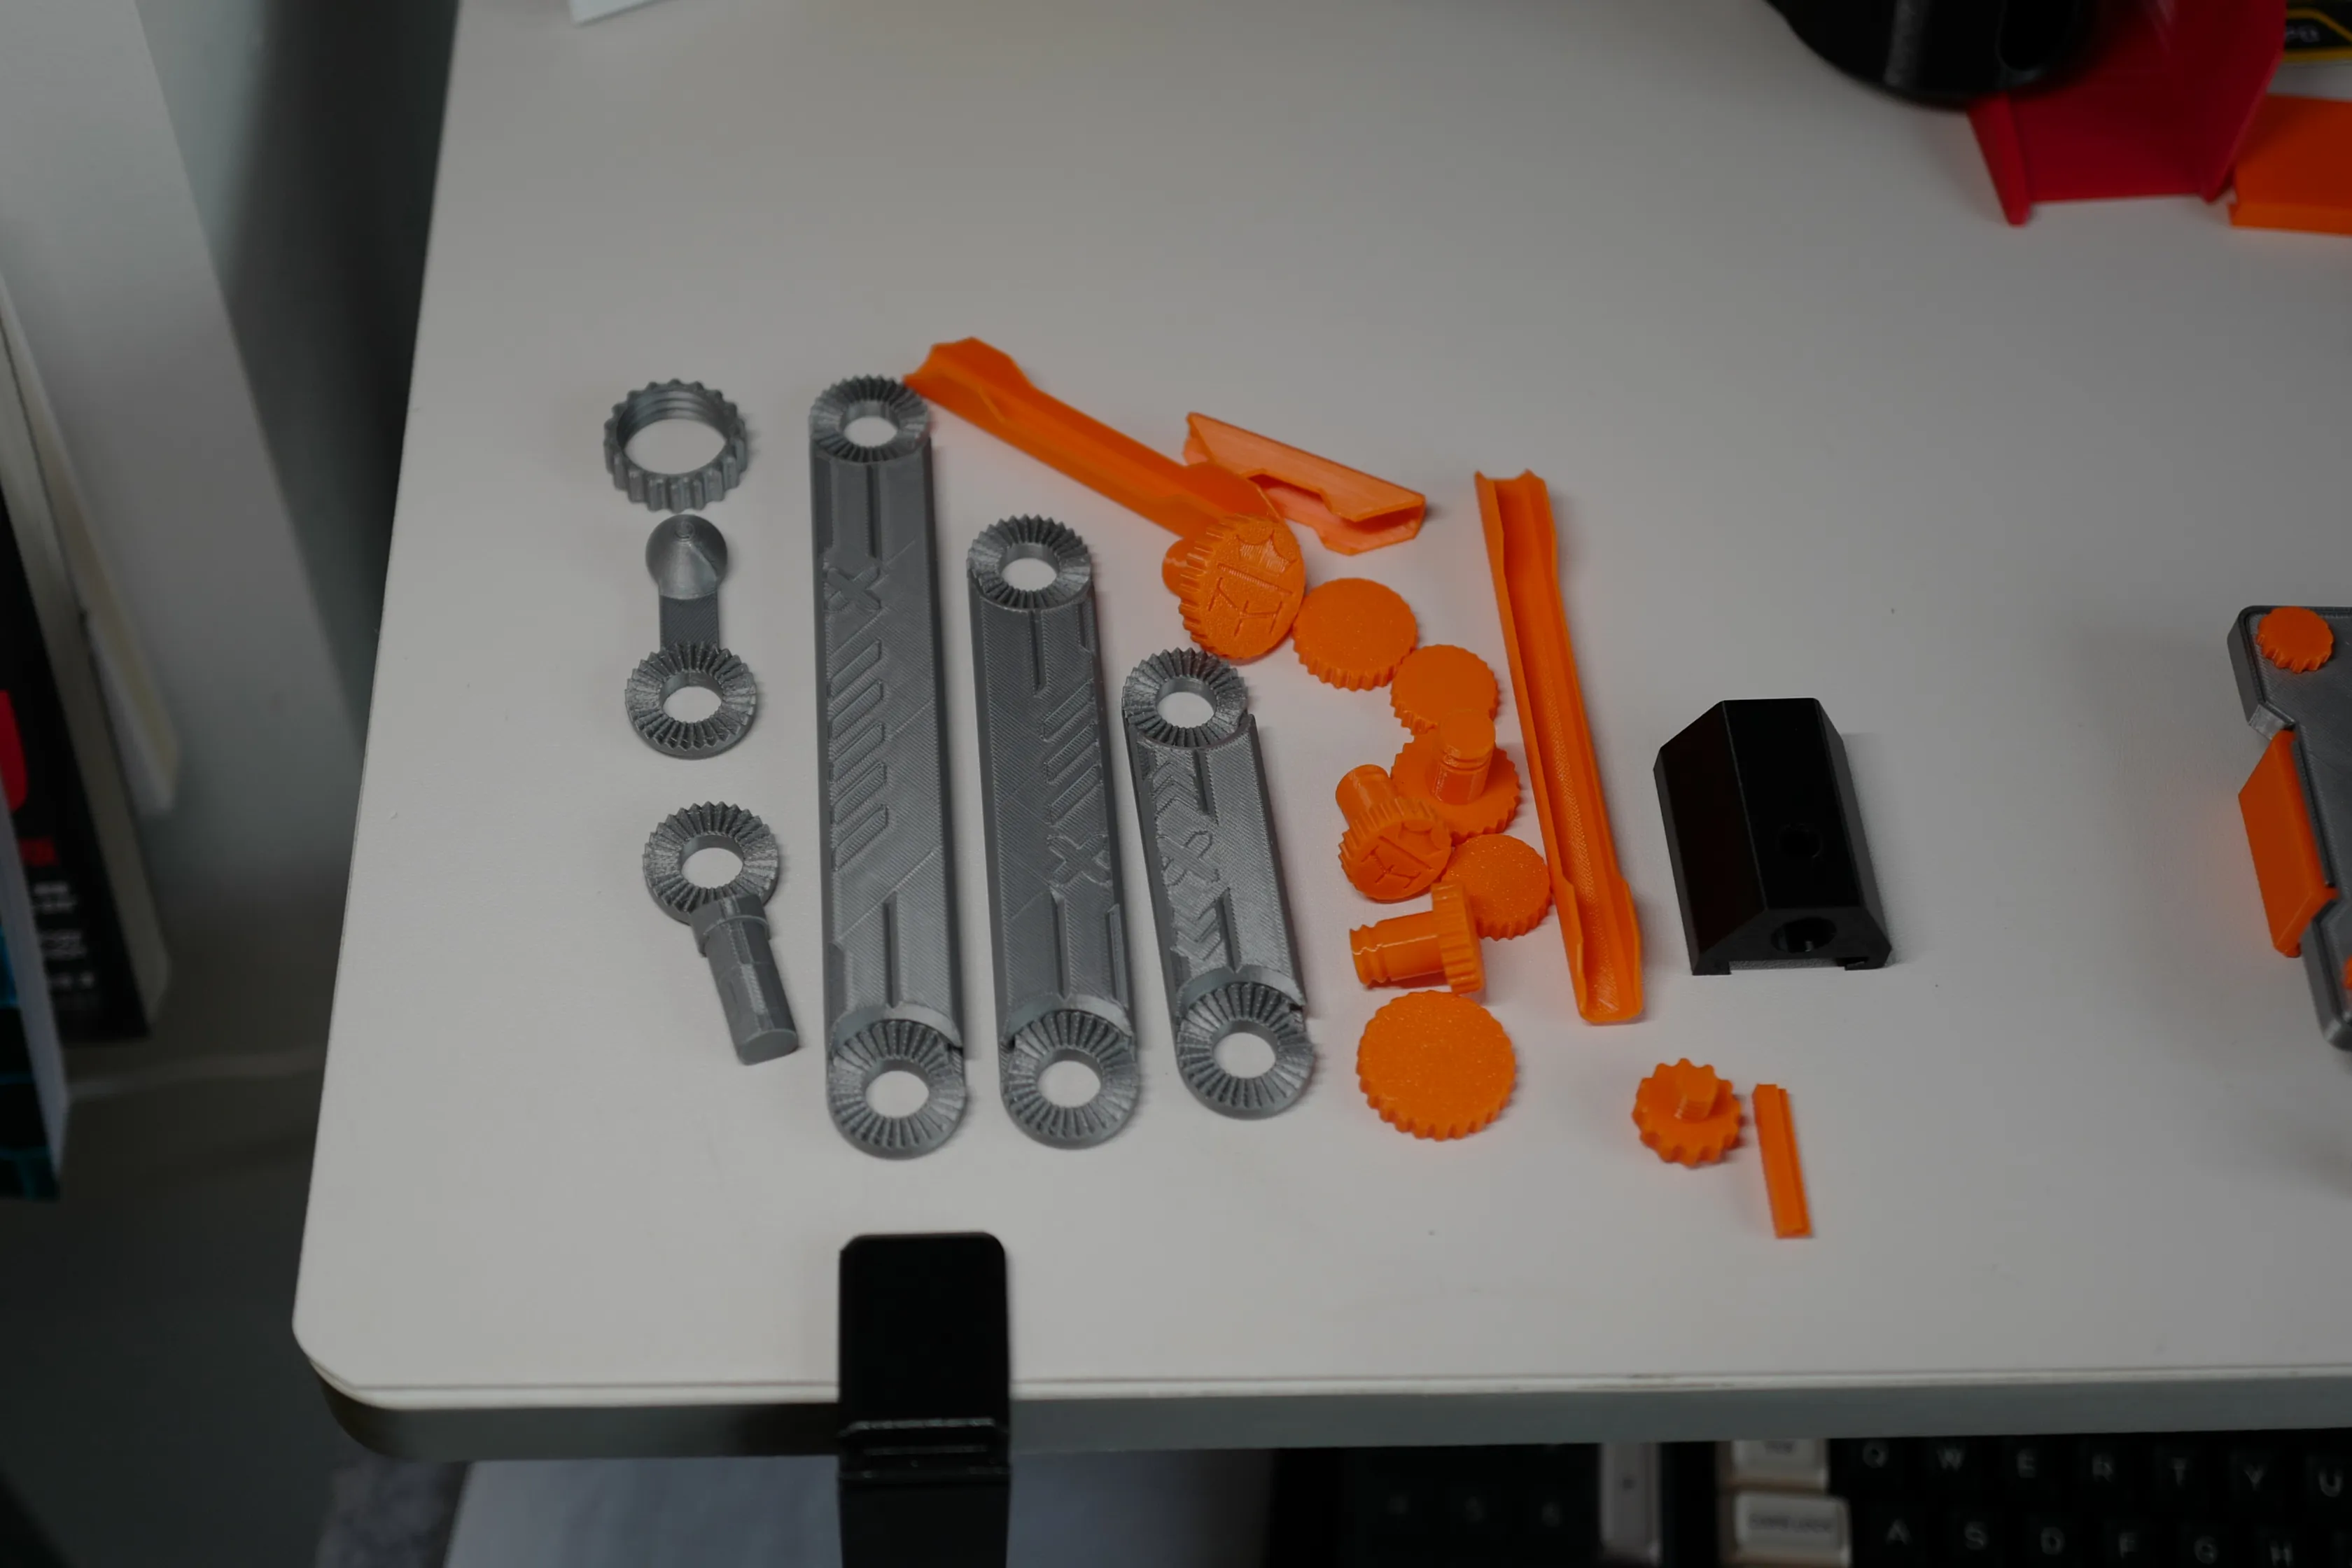 |
| Remember to orient the cantilever slot in one direction for easier data cable routing later. | 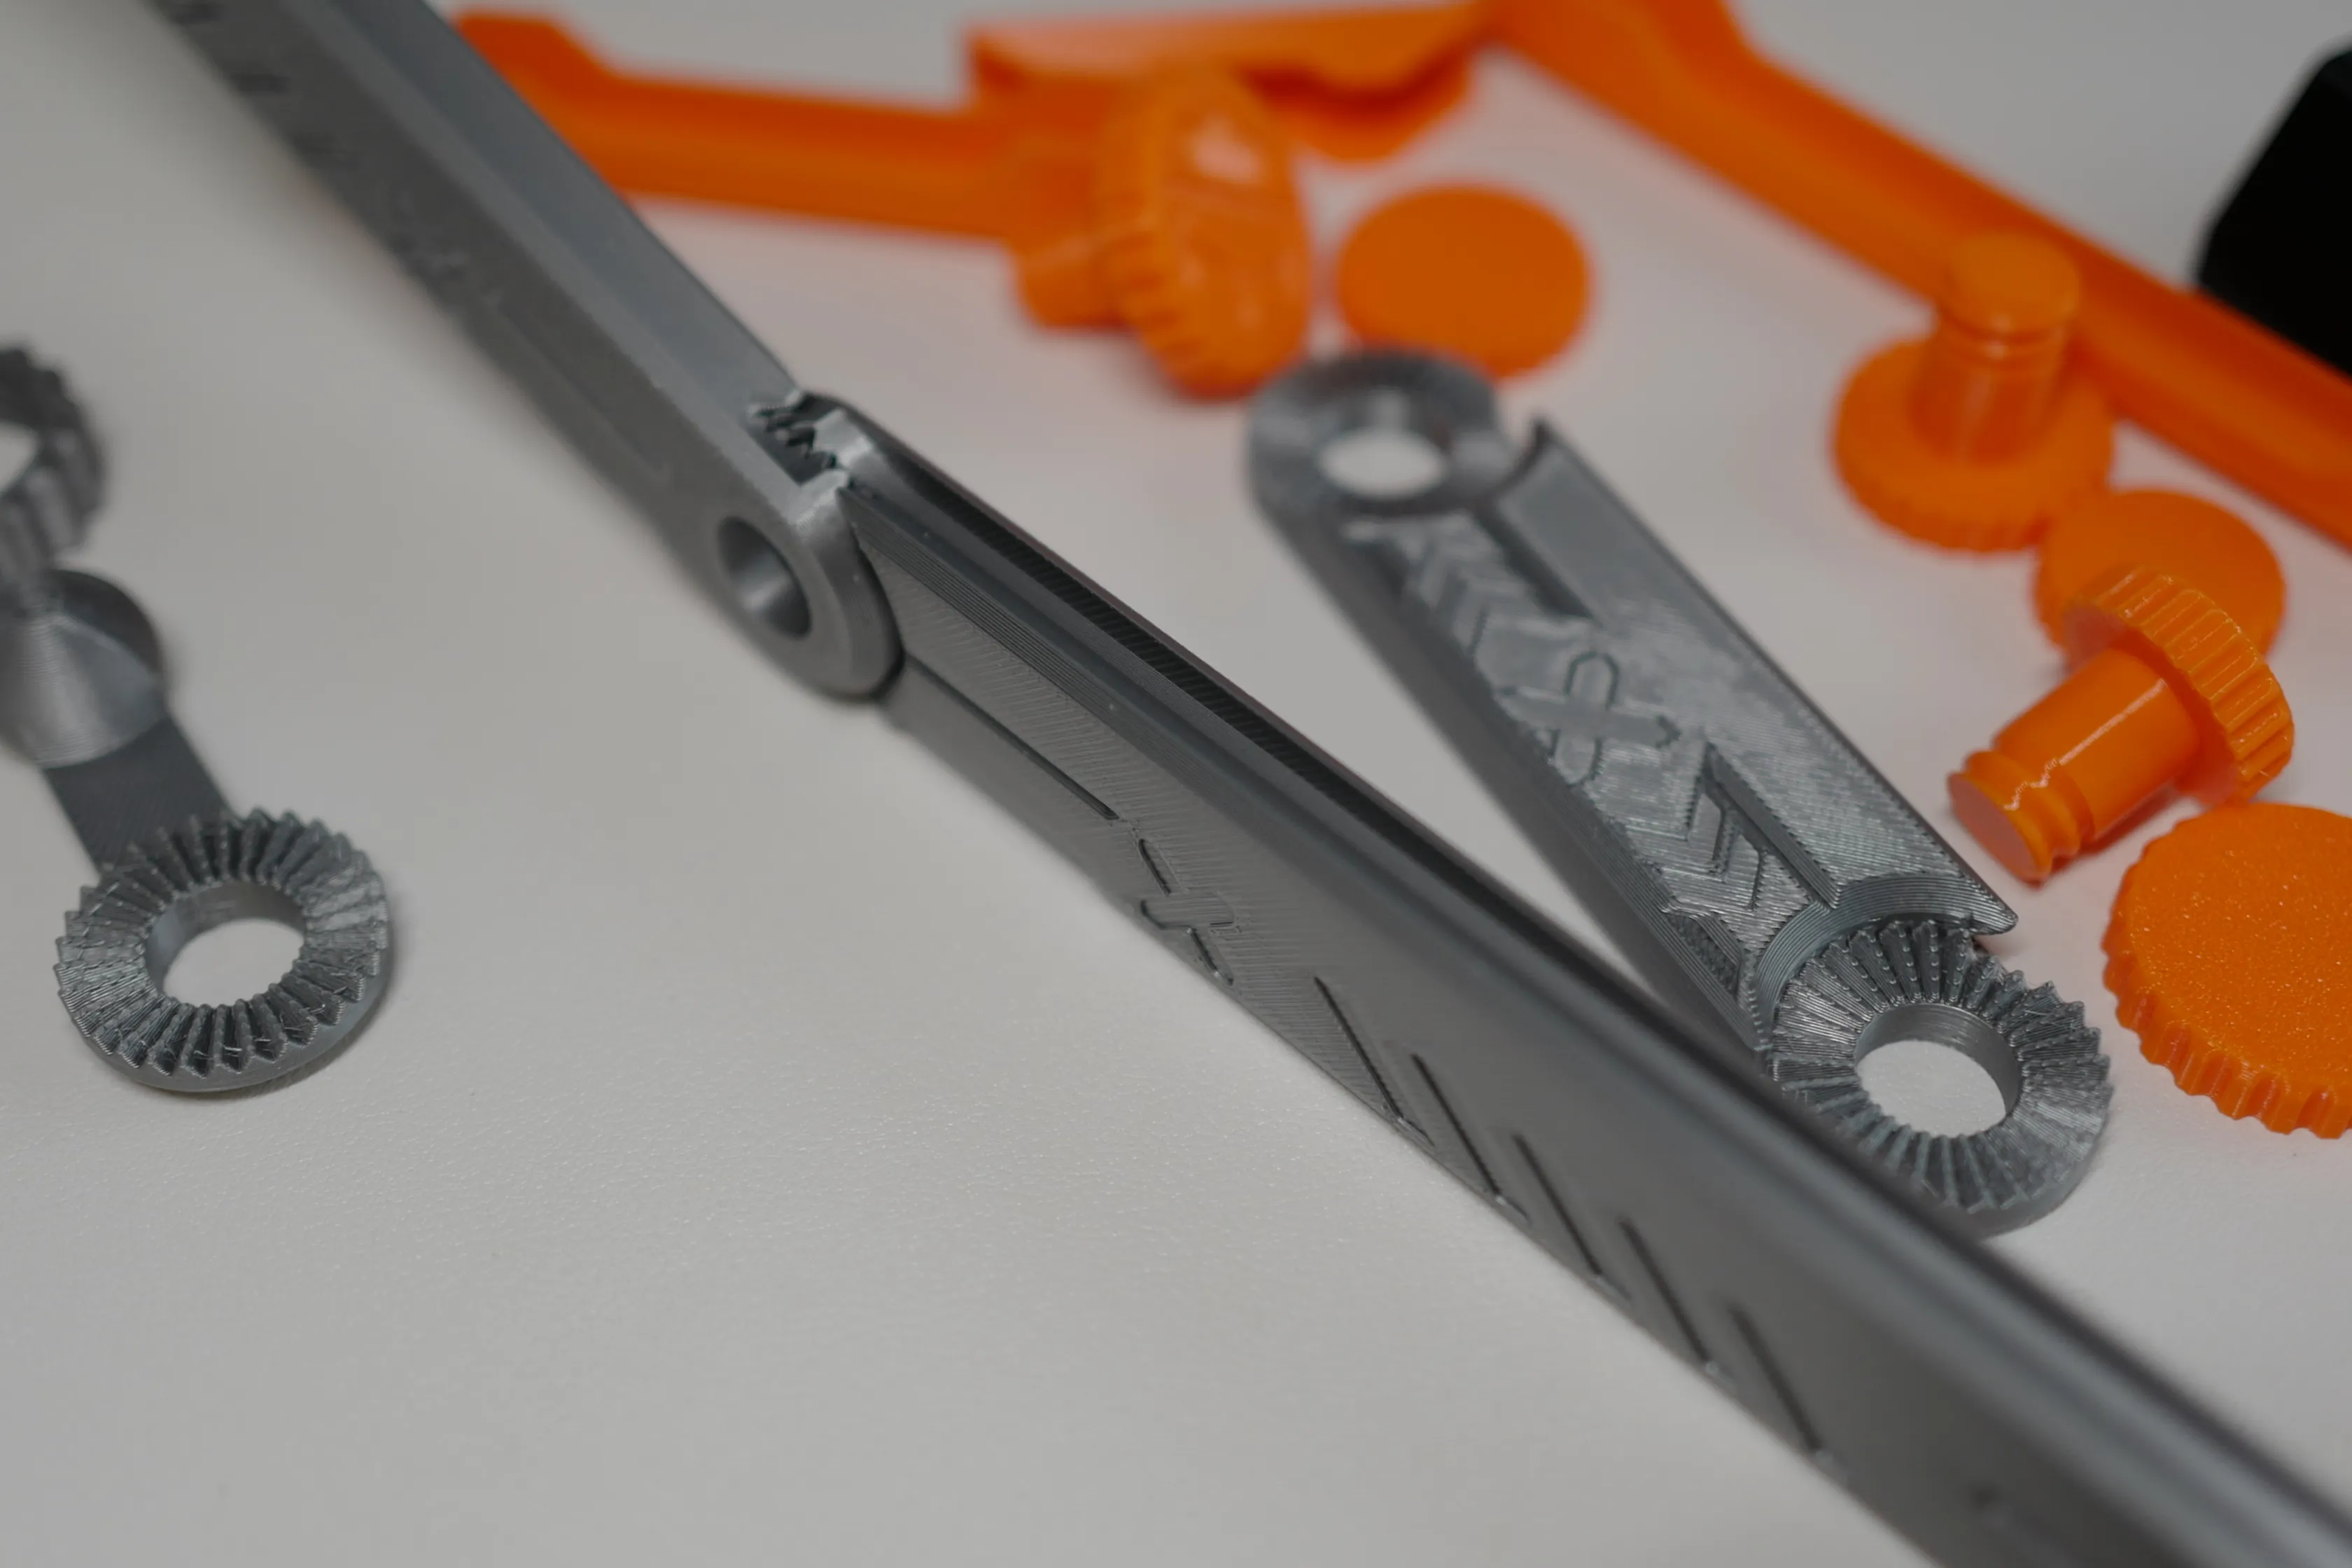 |
| Choose the screw and nut sizes for assembly according to your needs (three screw sizes are designed for you to choose from). The bottommost screw should be the smallest, 22mm in diameter, to avoid jamming the rotating part of the desk clamp (cylindrical, not spherical). The ball joint part connects to the phone clamp. | 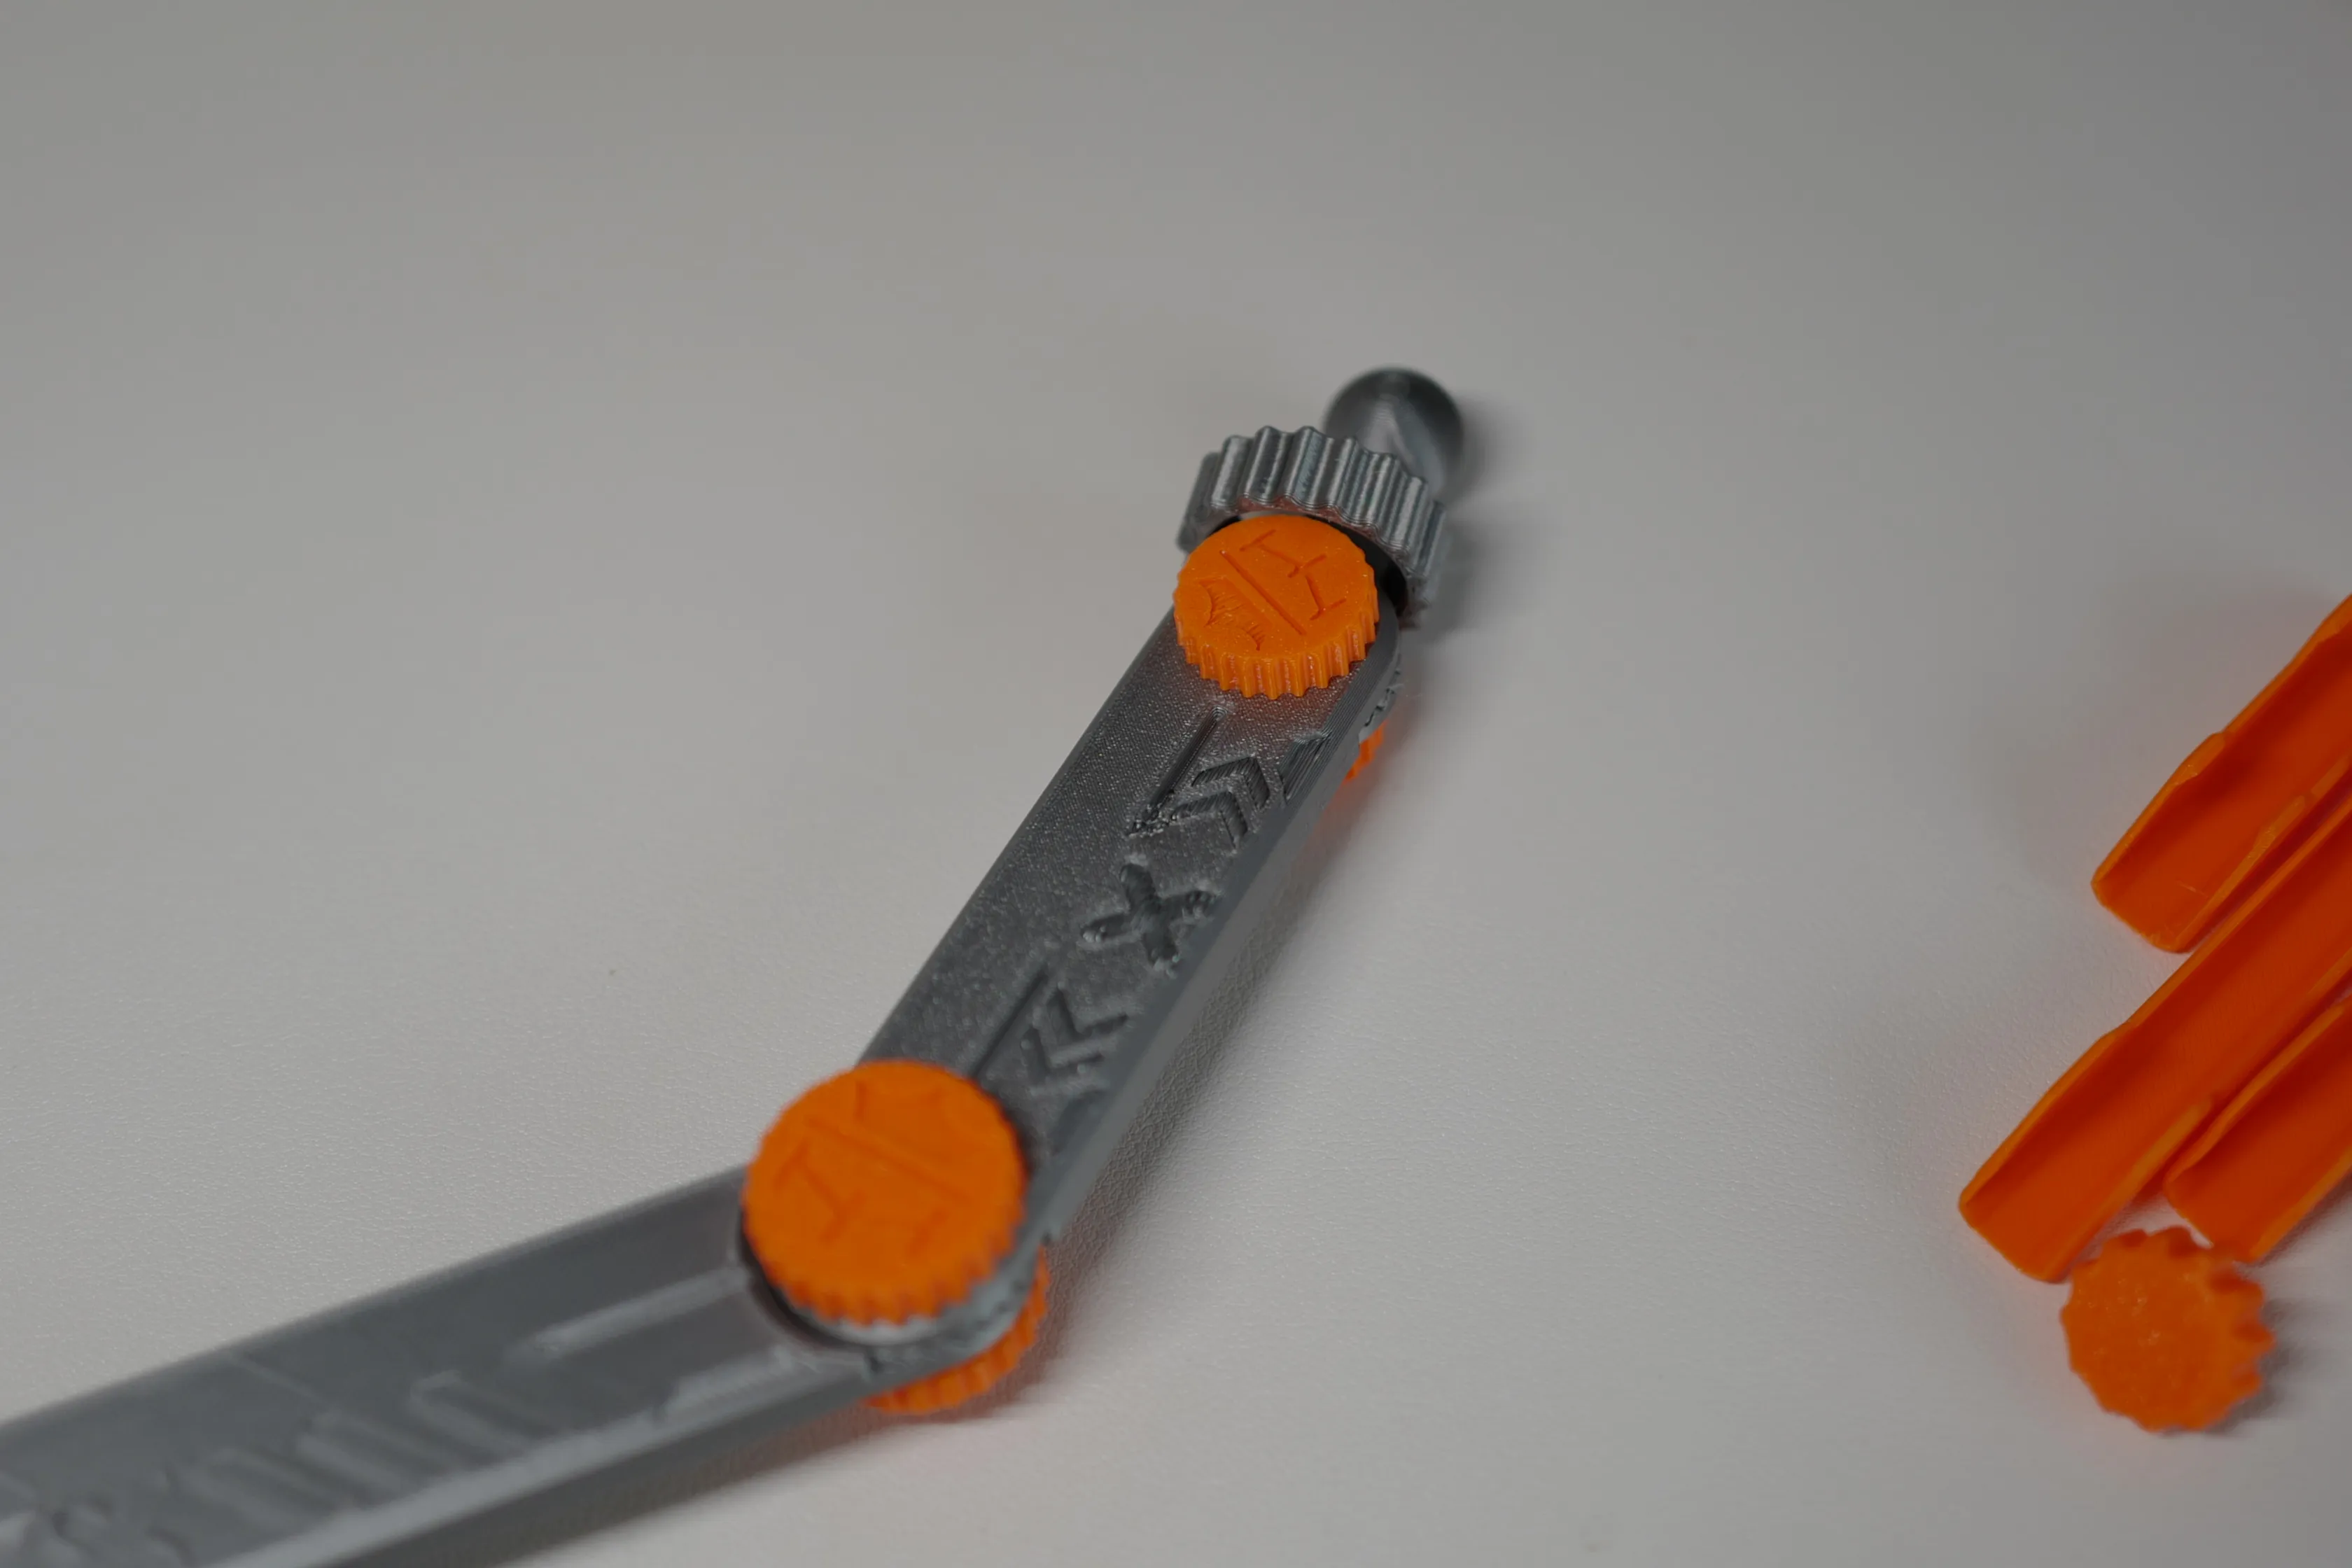 |
| The desktop quick-release clamping plate is installed in the same way as other modules, fixed by a limiter to prevent it from being pulled out. | 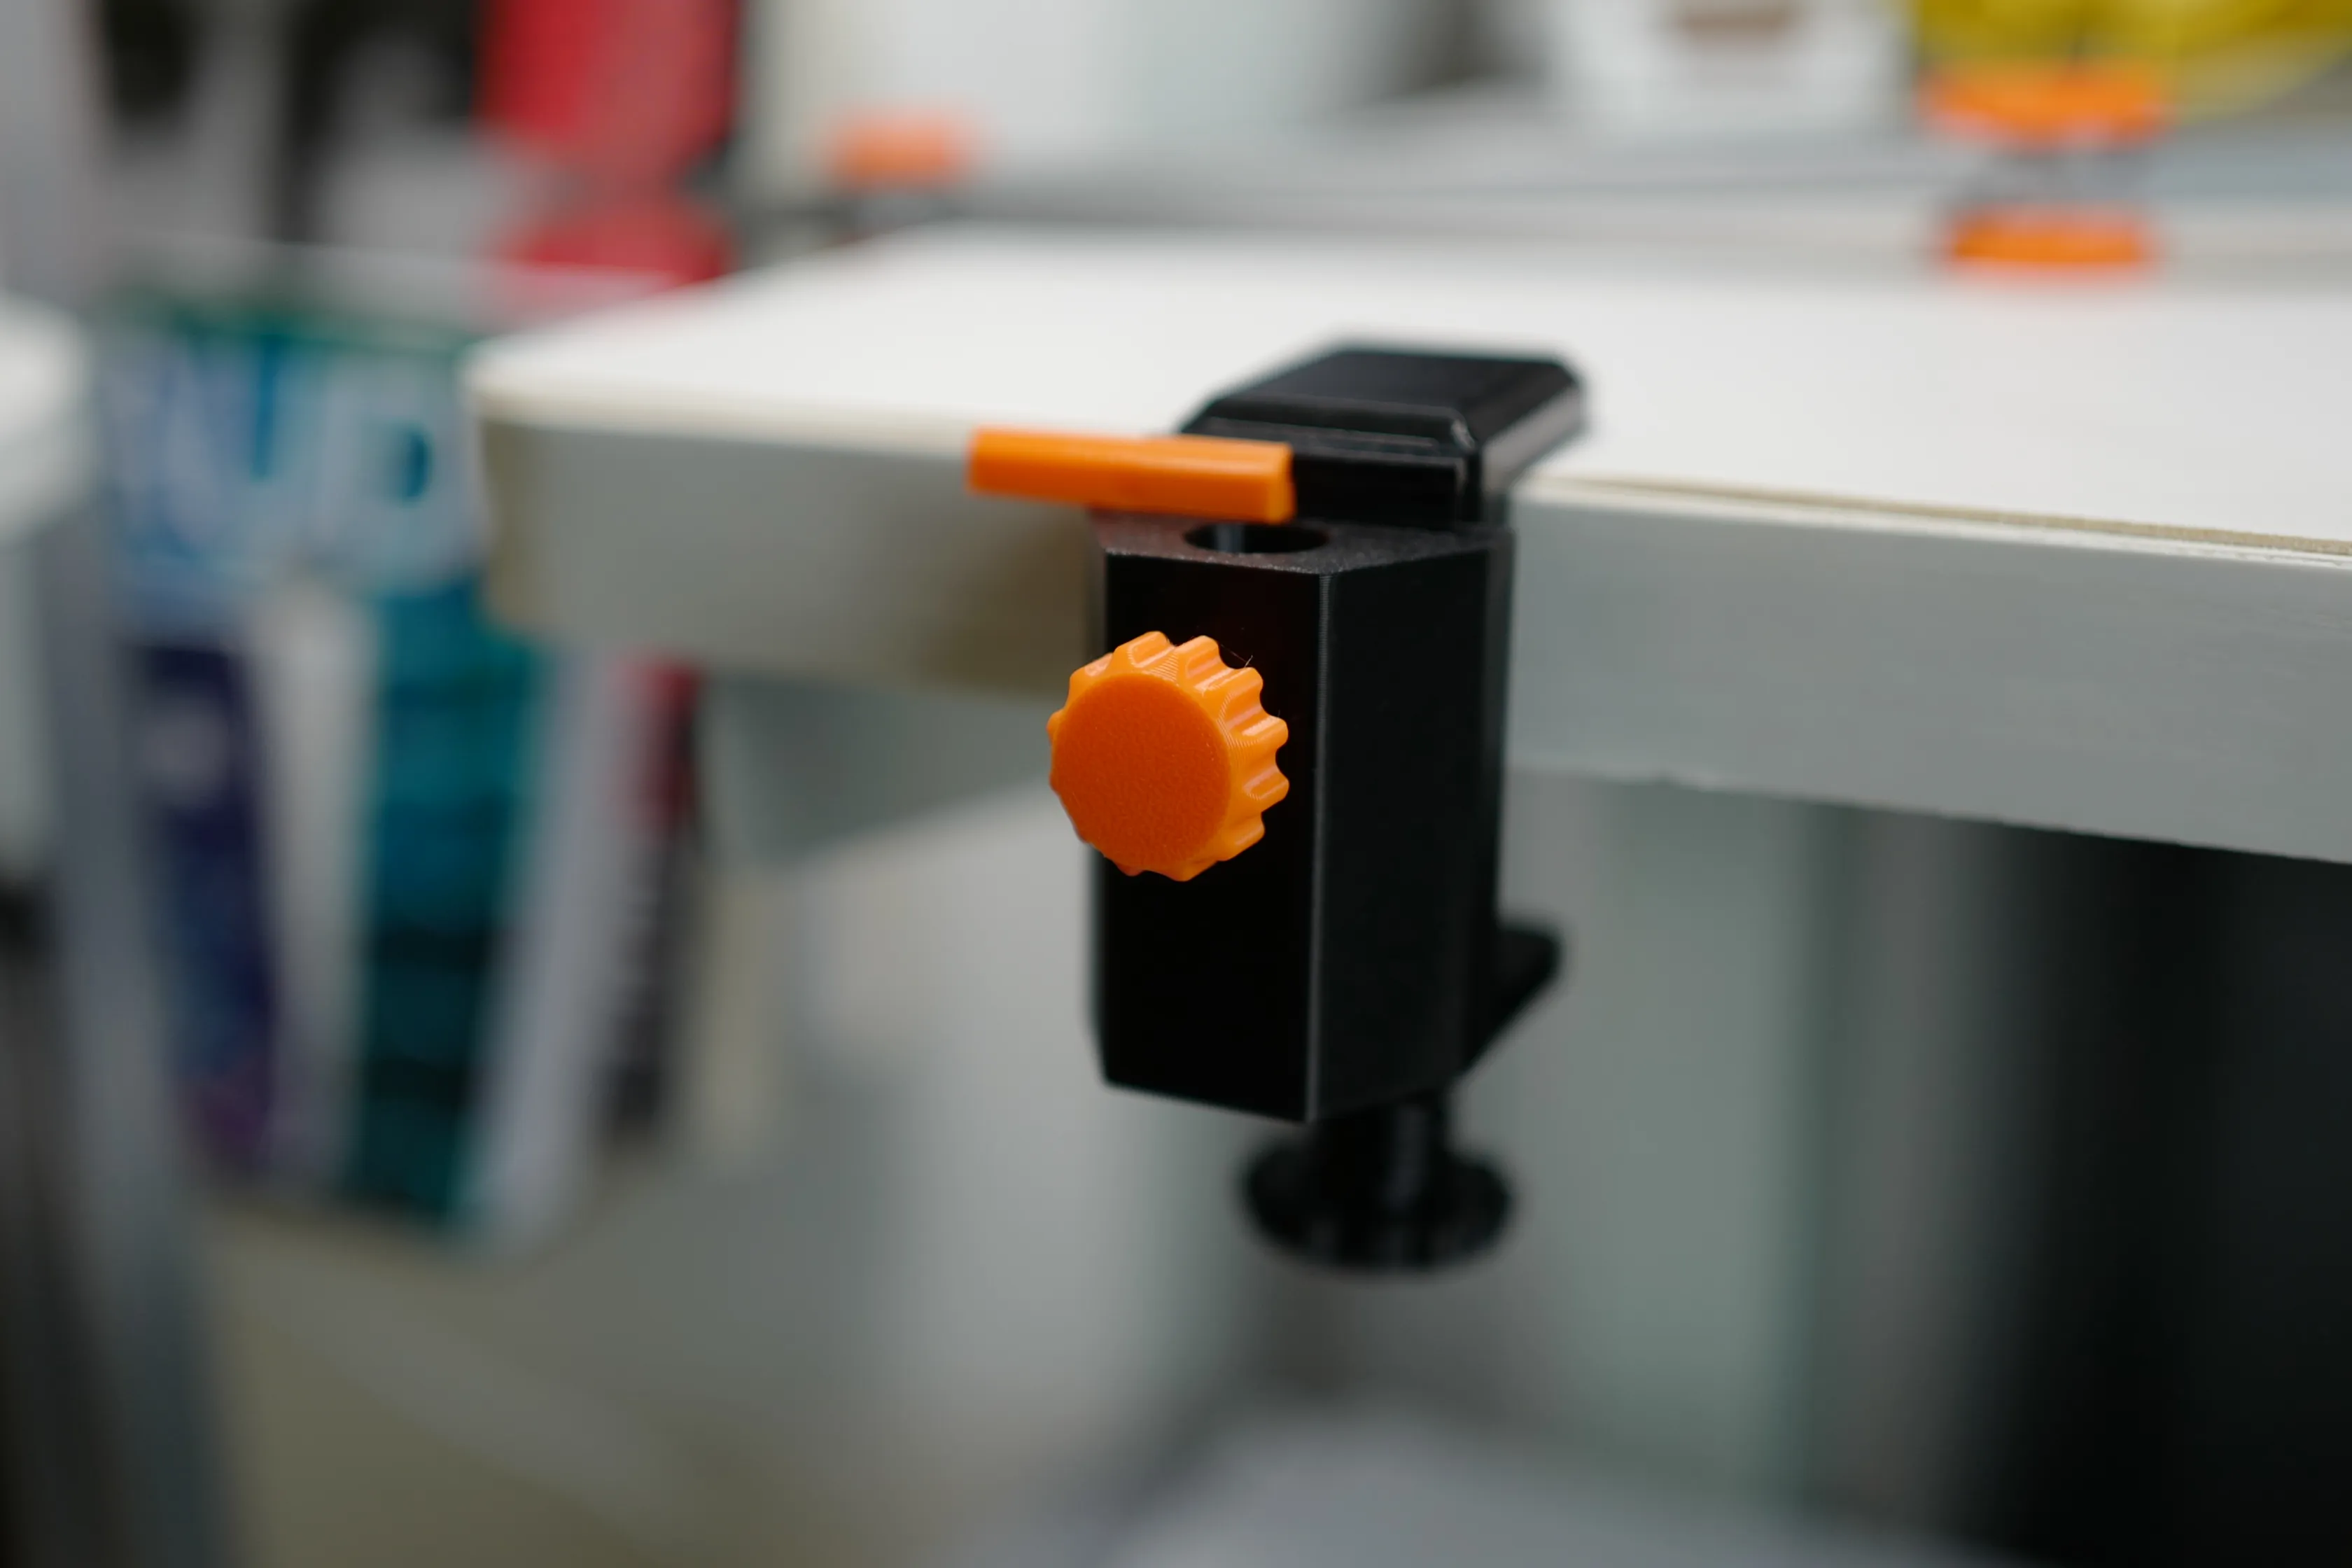 |
| After inserting the connector, tighten the screws of the quick-release plate to prevent the cantilever from rotating. | 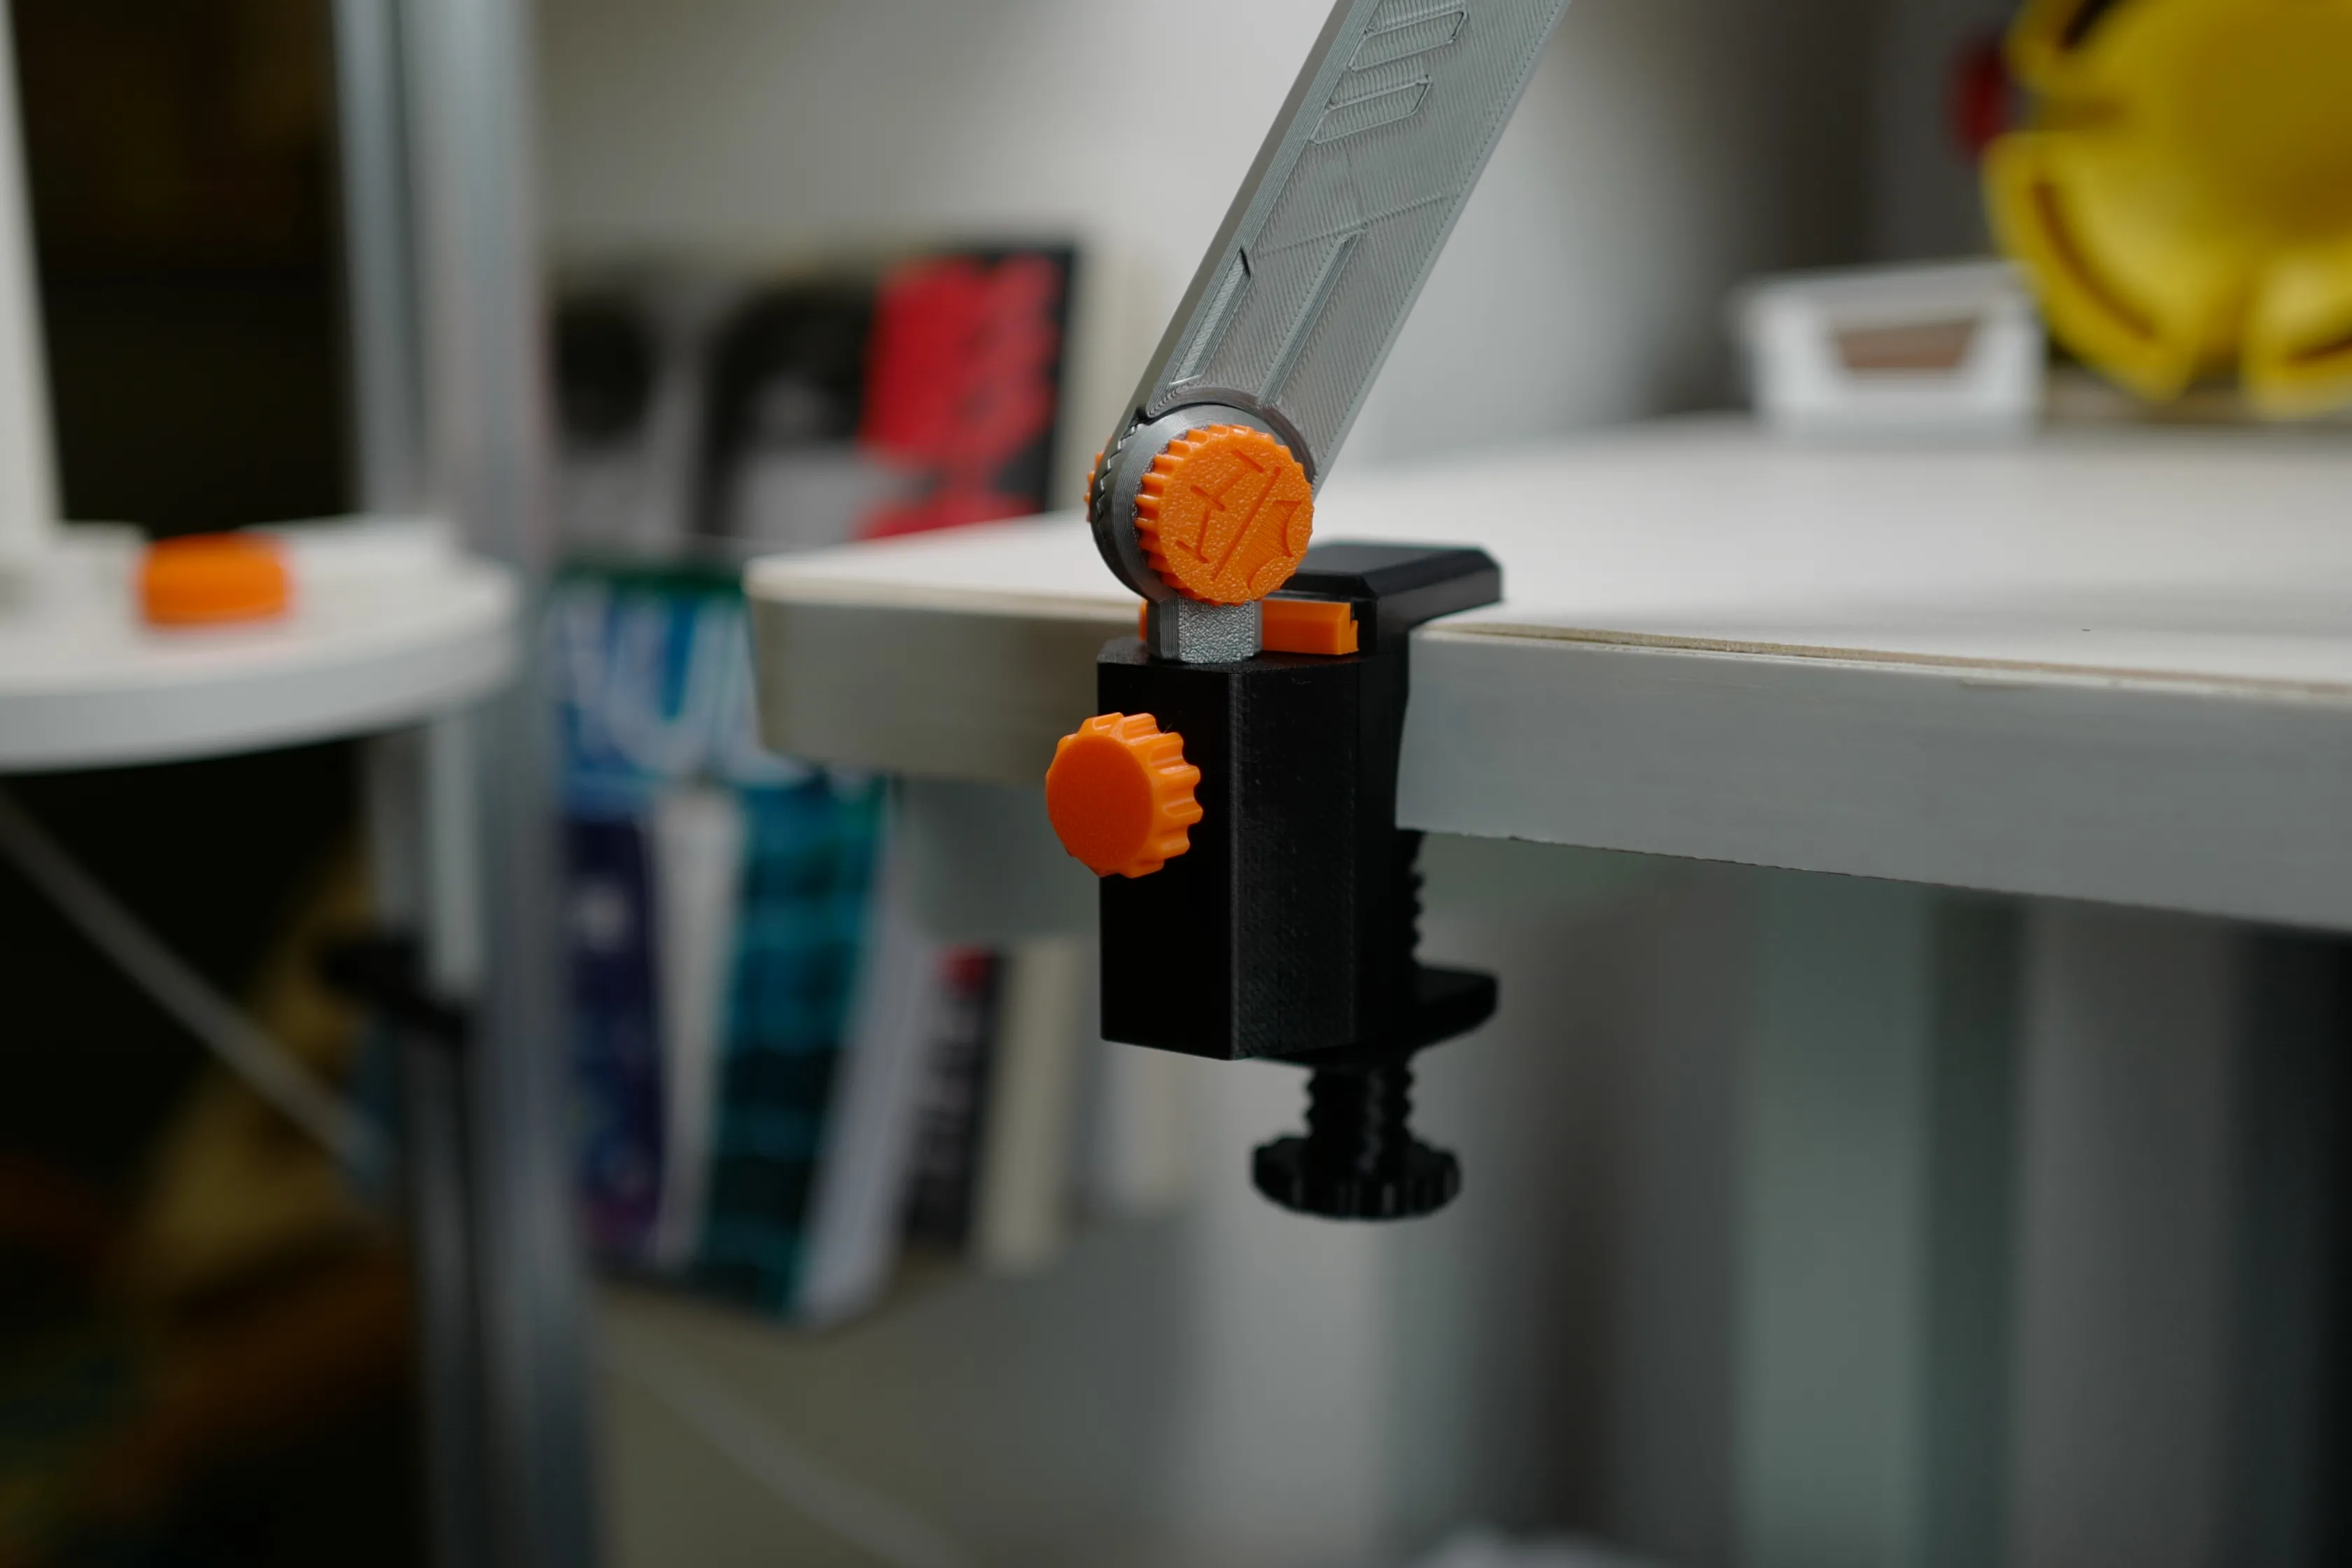 |
| First, put the nut onto the ball head, then press the ball head into the hole on the back of the phone clamp, and then tighten the nut. Different filaments have different elasticity (two nut sizes are provided, choose the one that fits your desired tightness). | 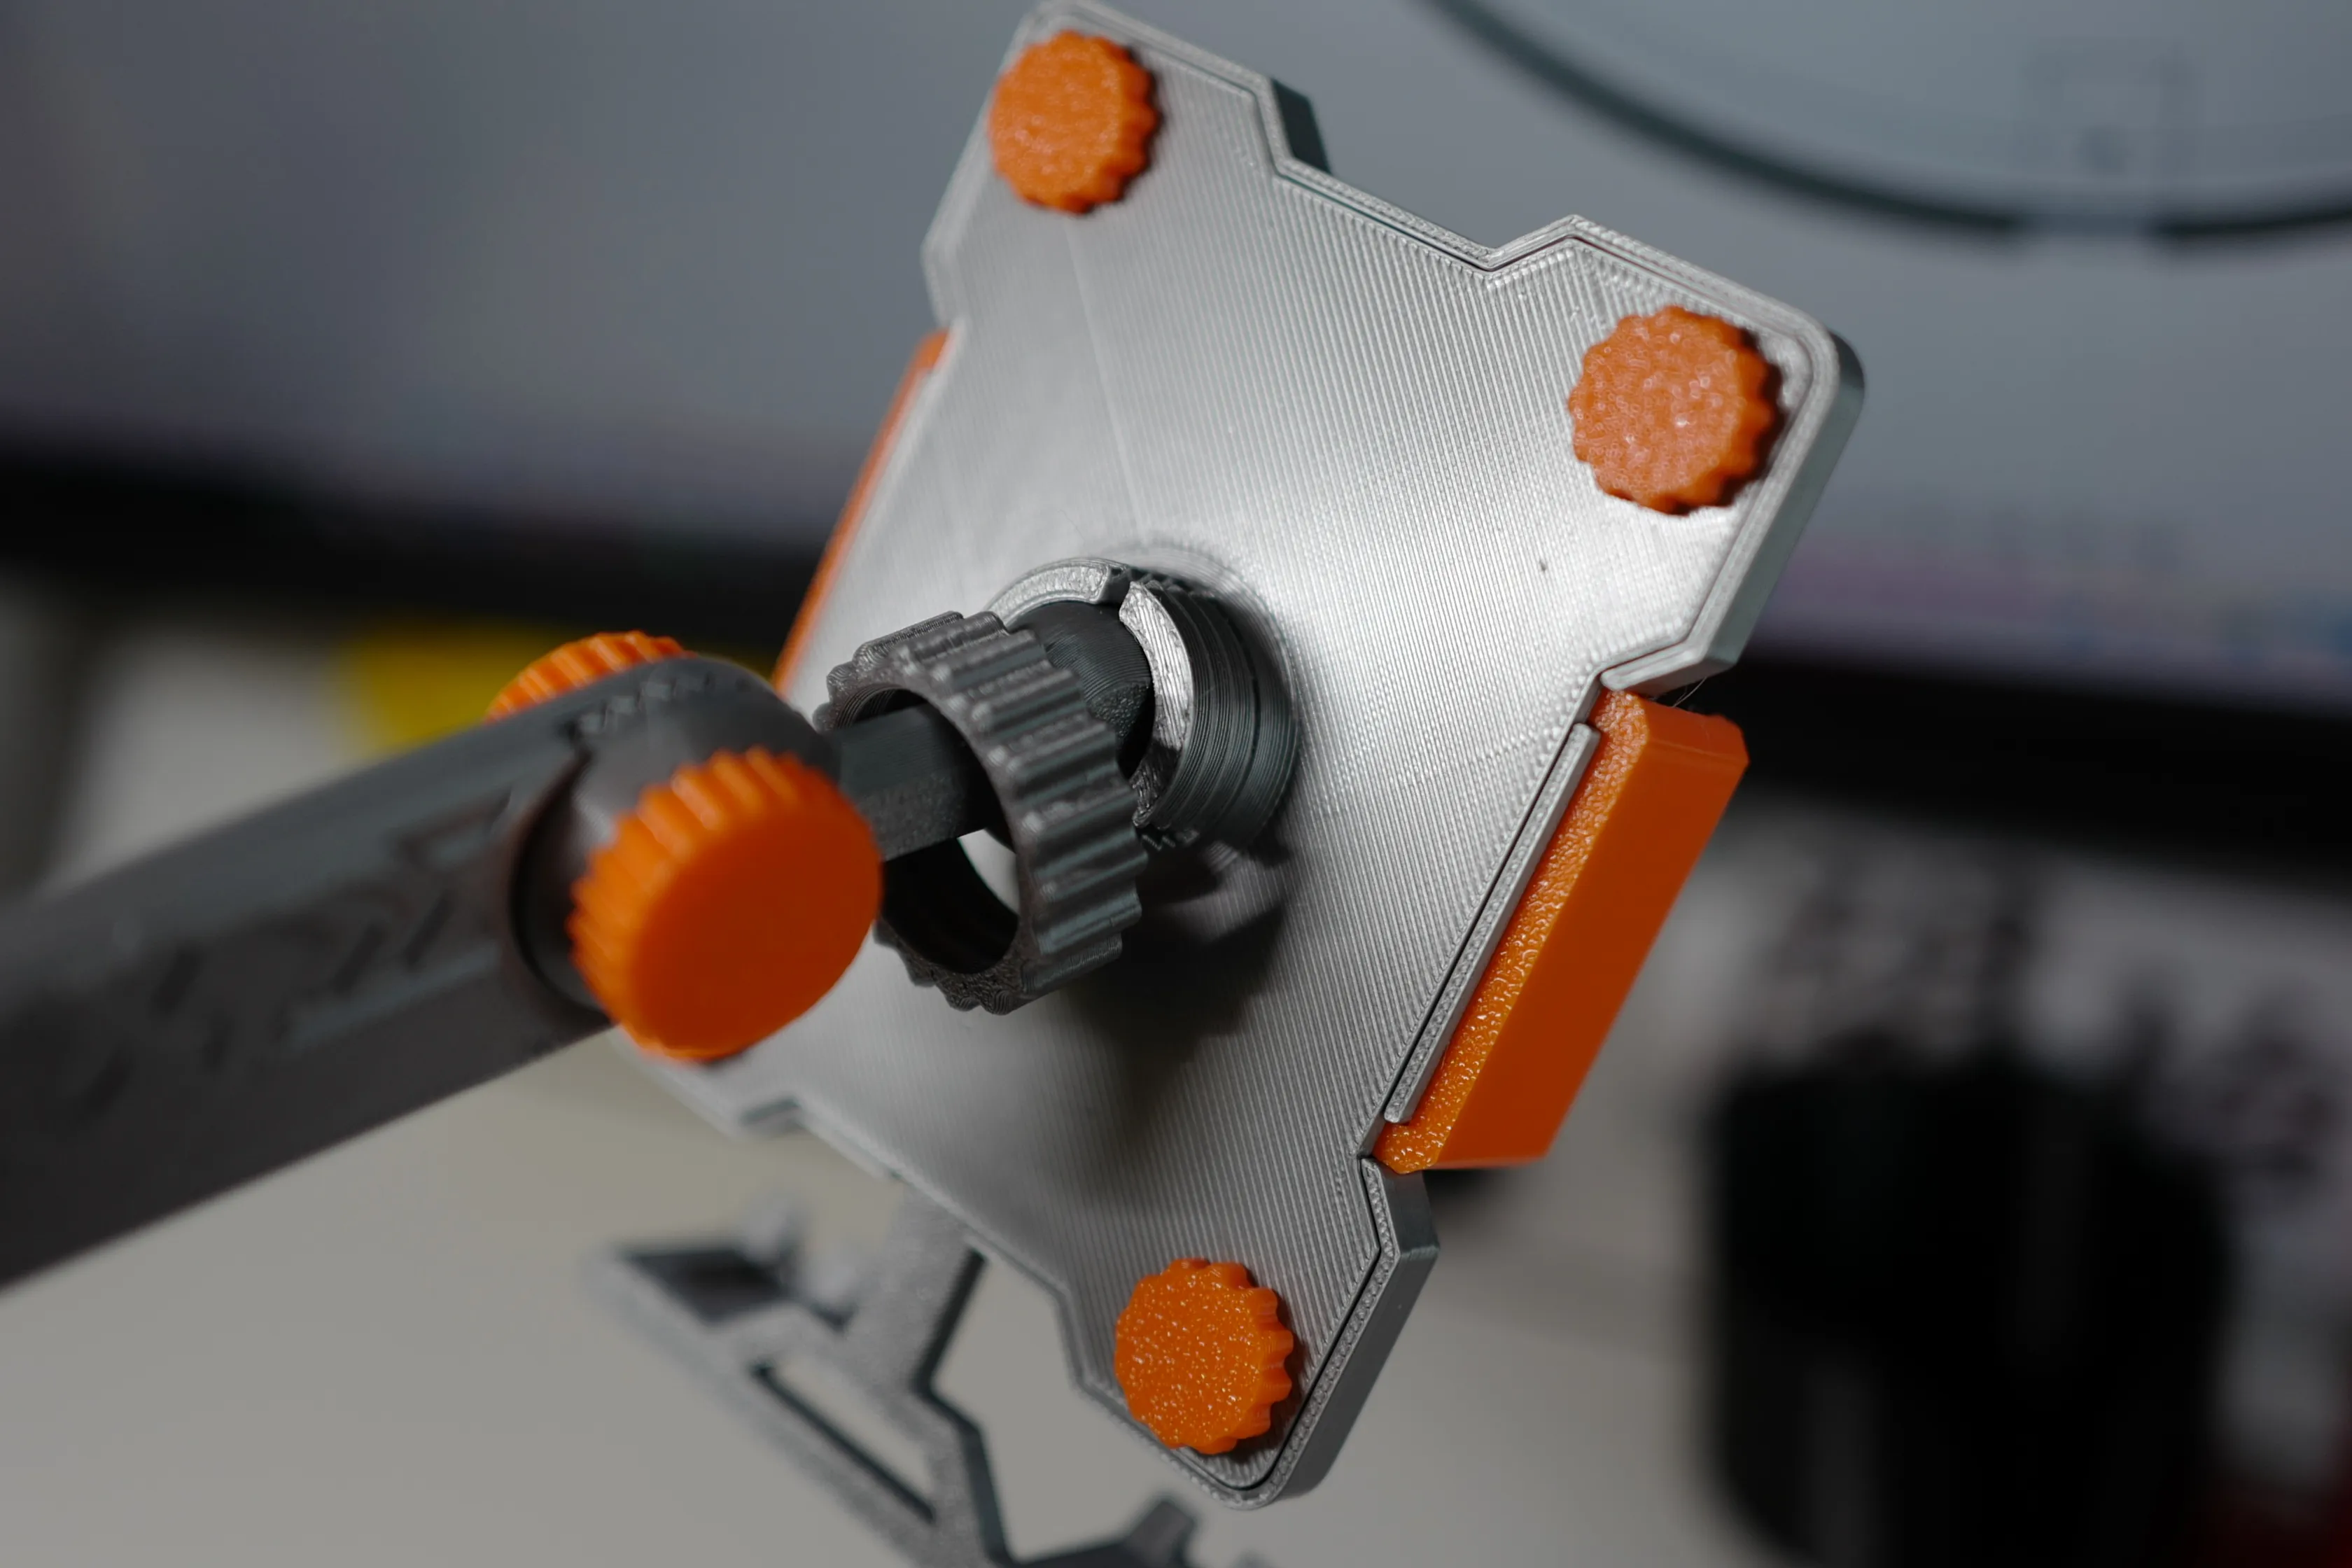 |
| The Magsafe support can be detached by simply inserting it from the hole direction; installation is the same as the phone clamp. | 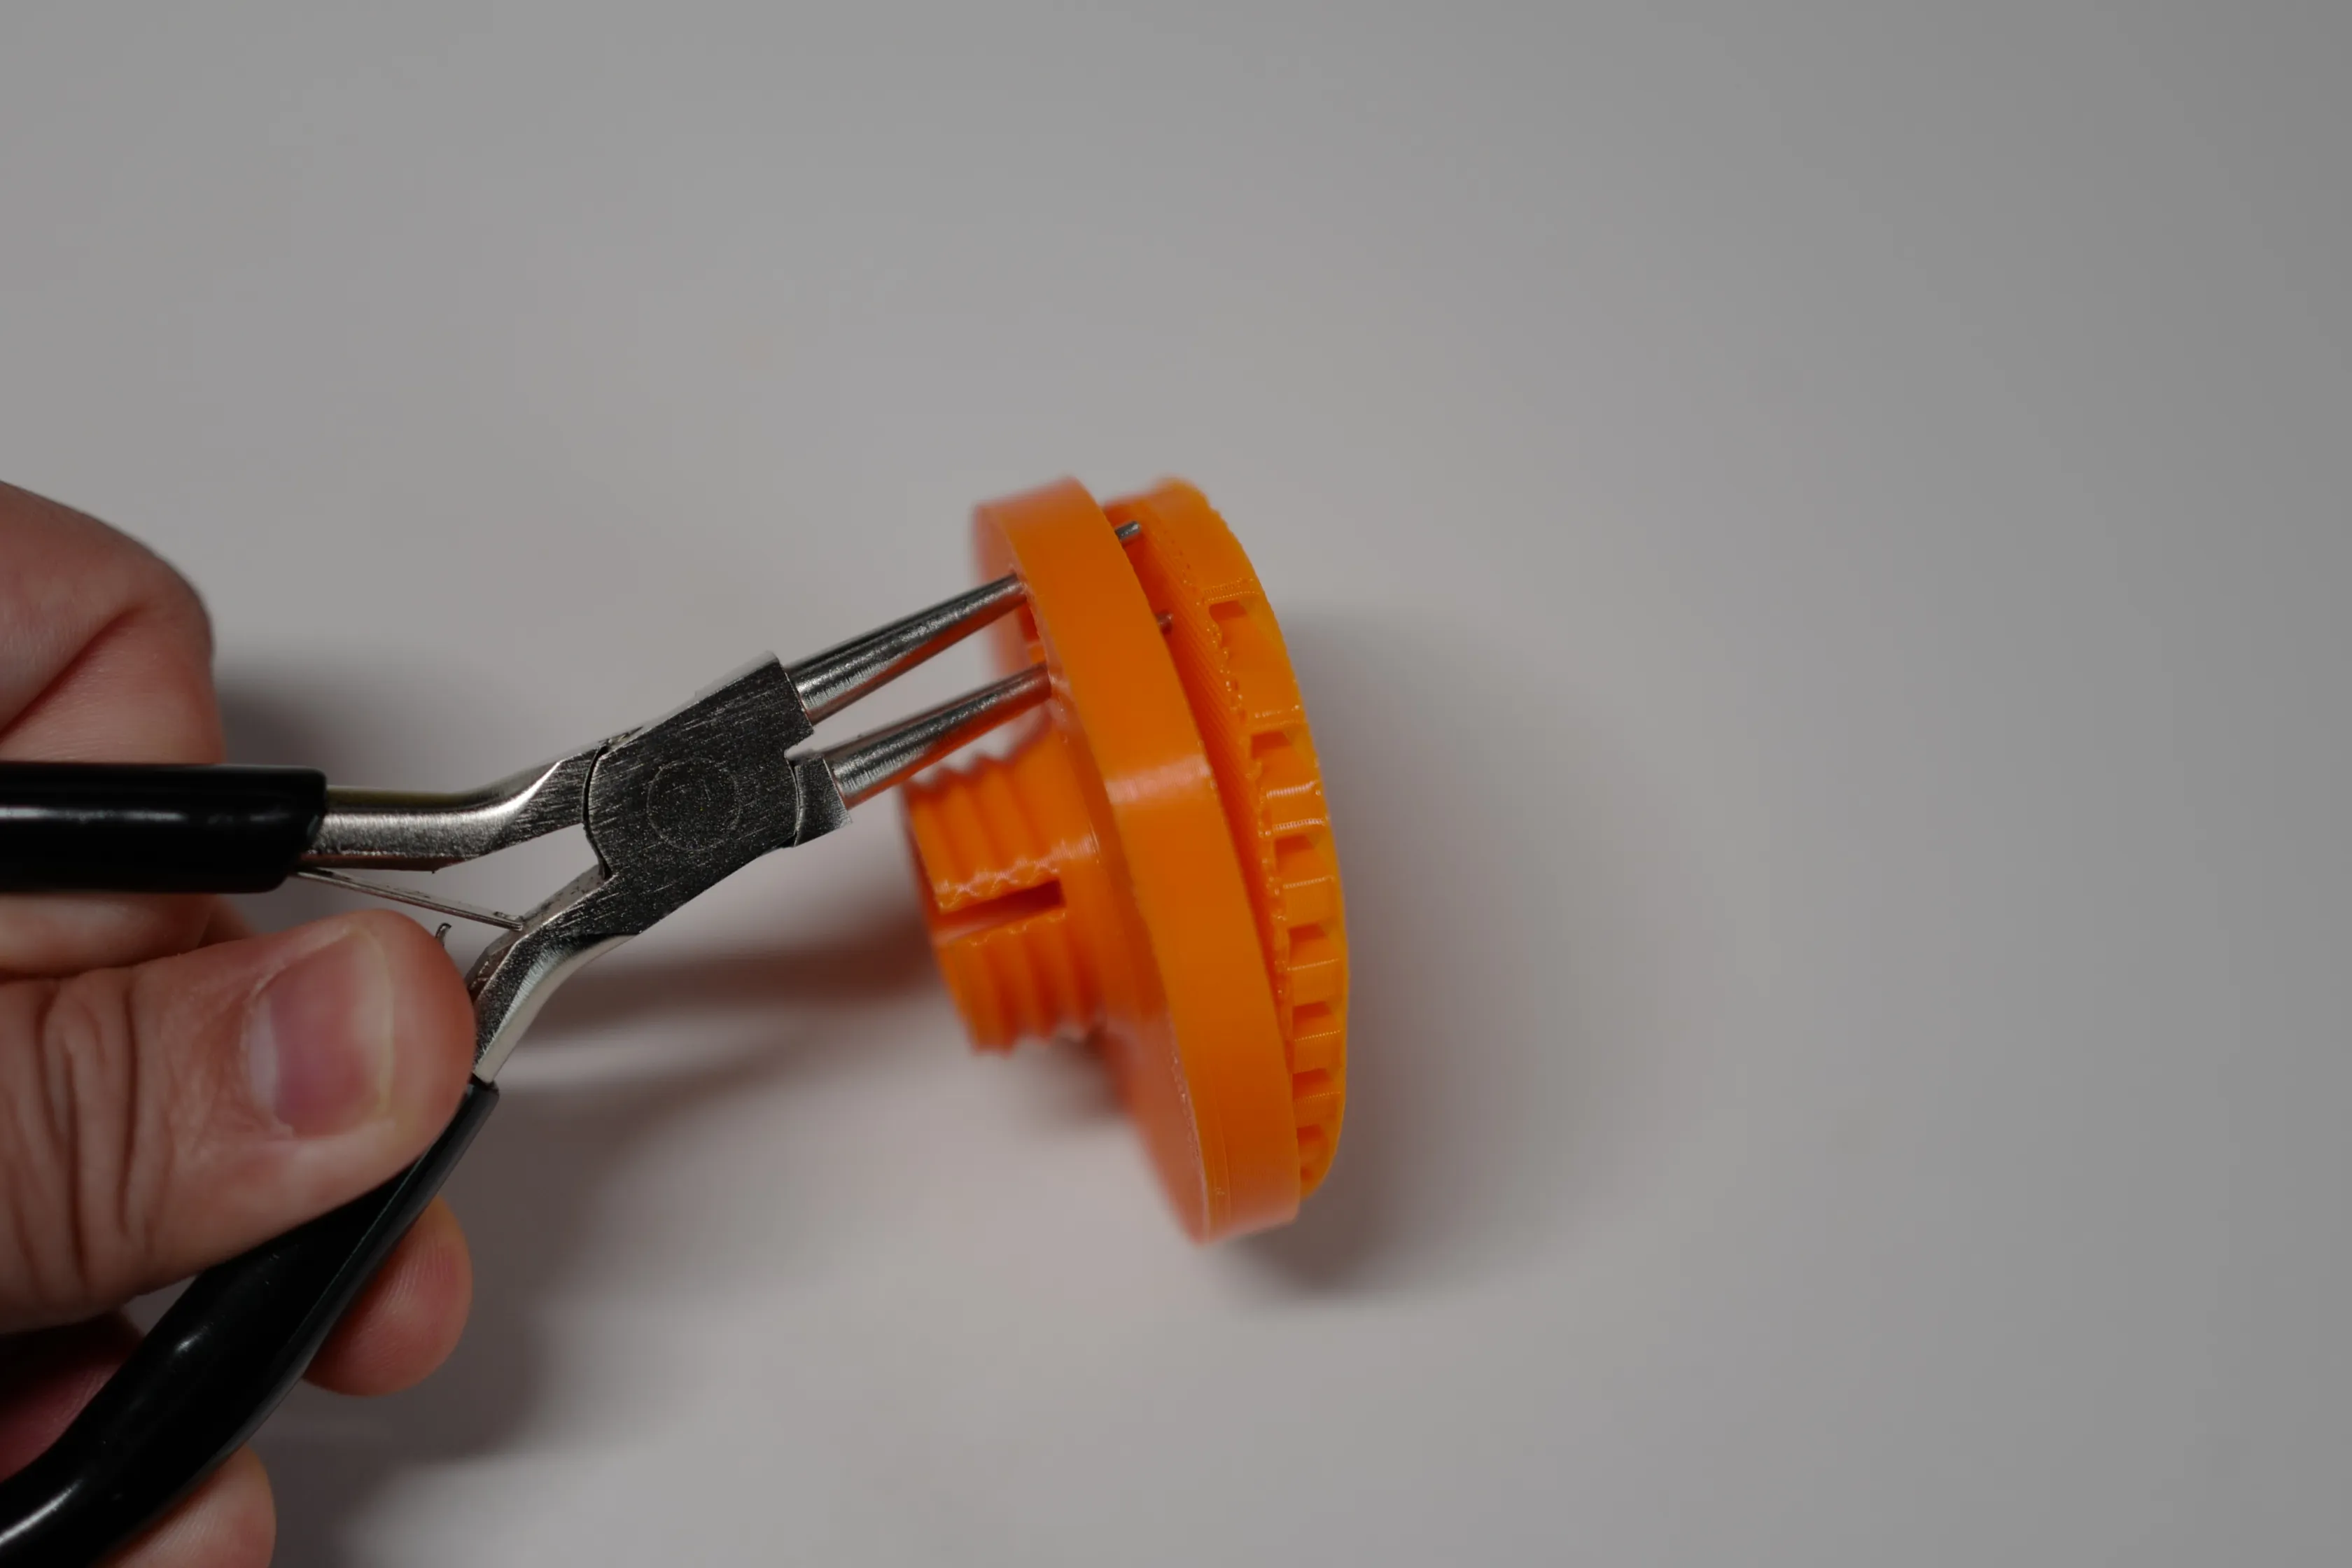 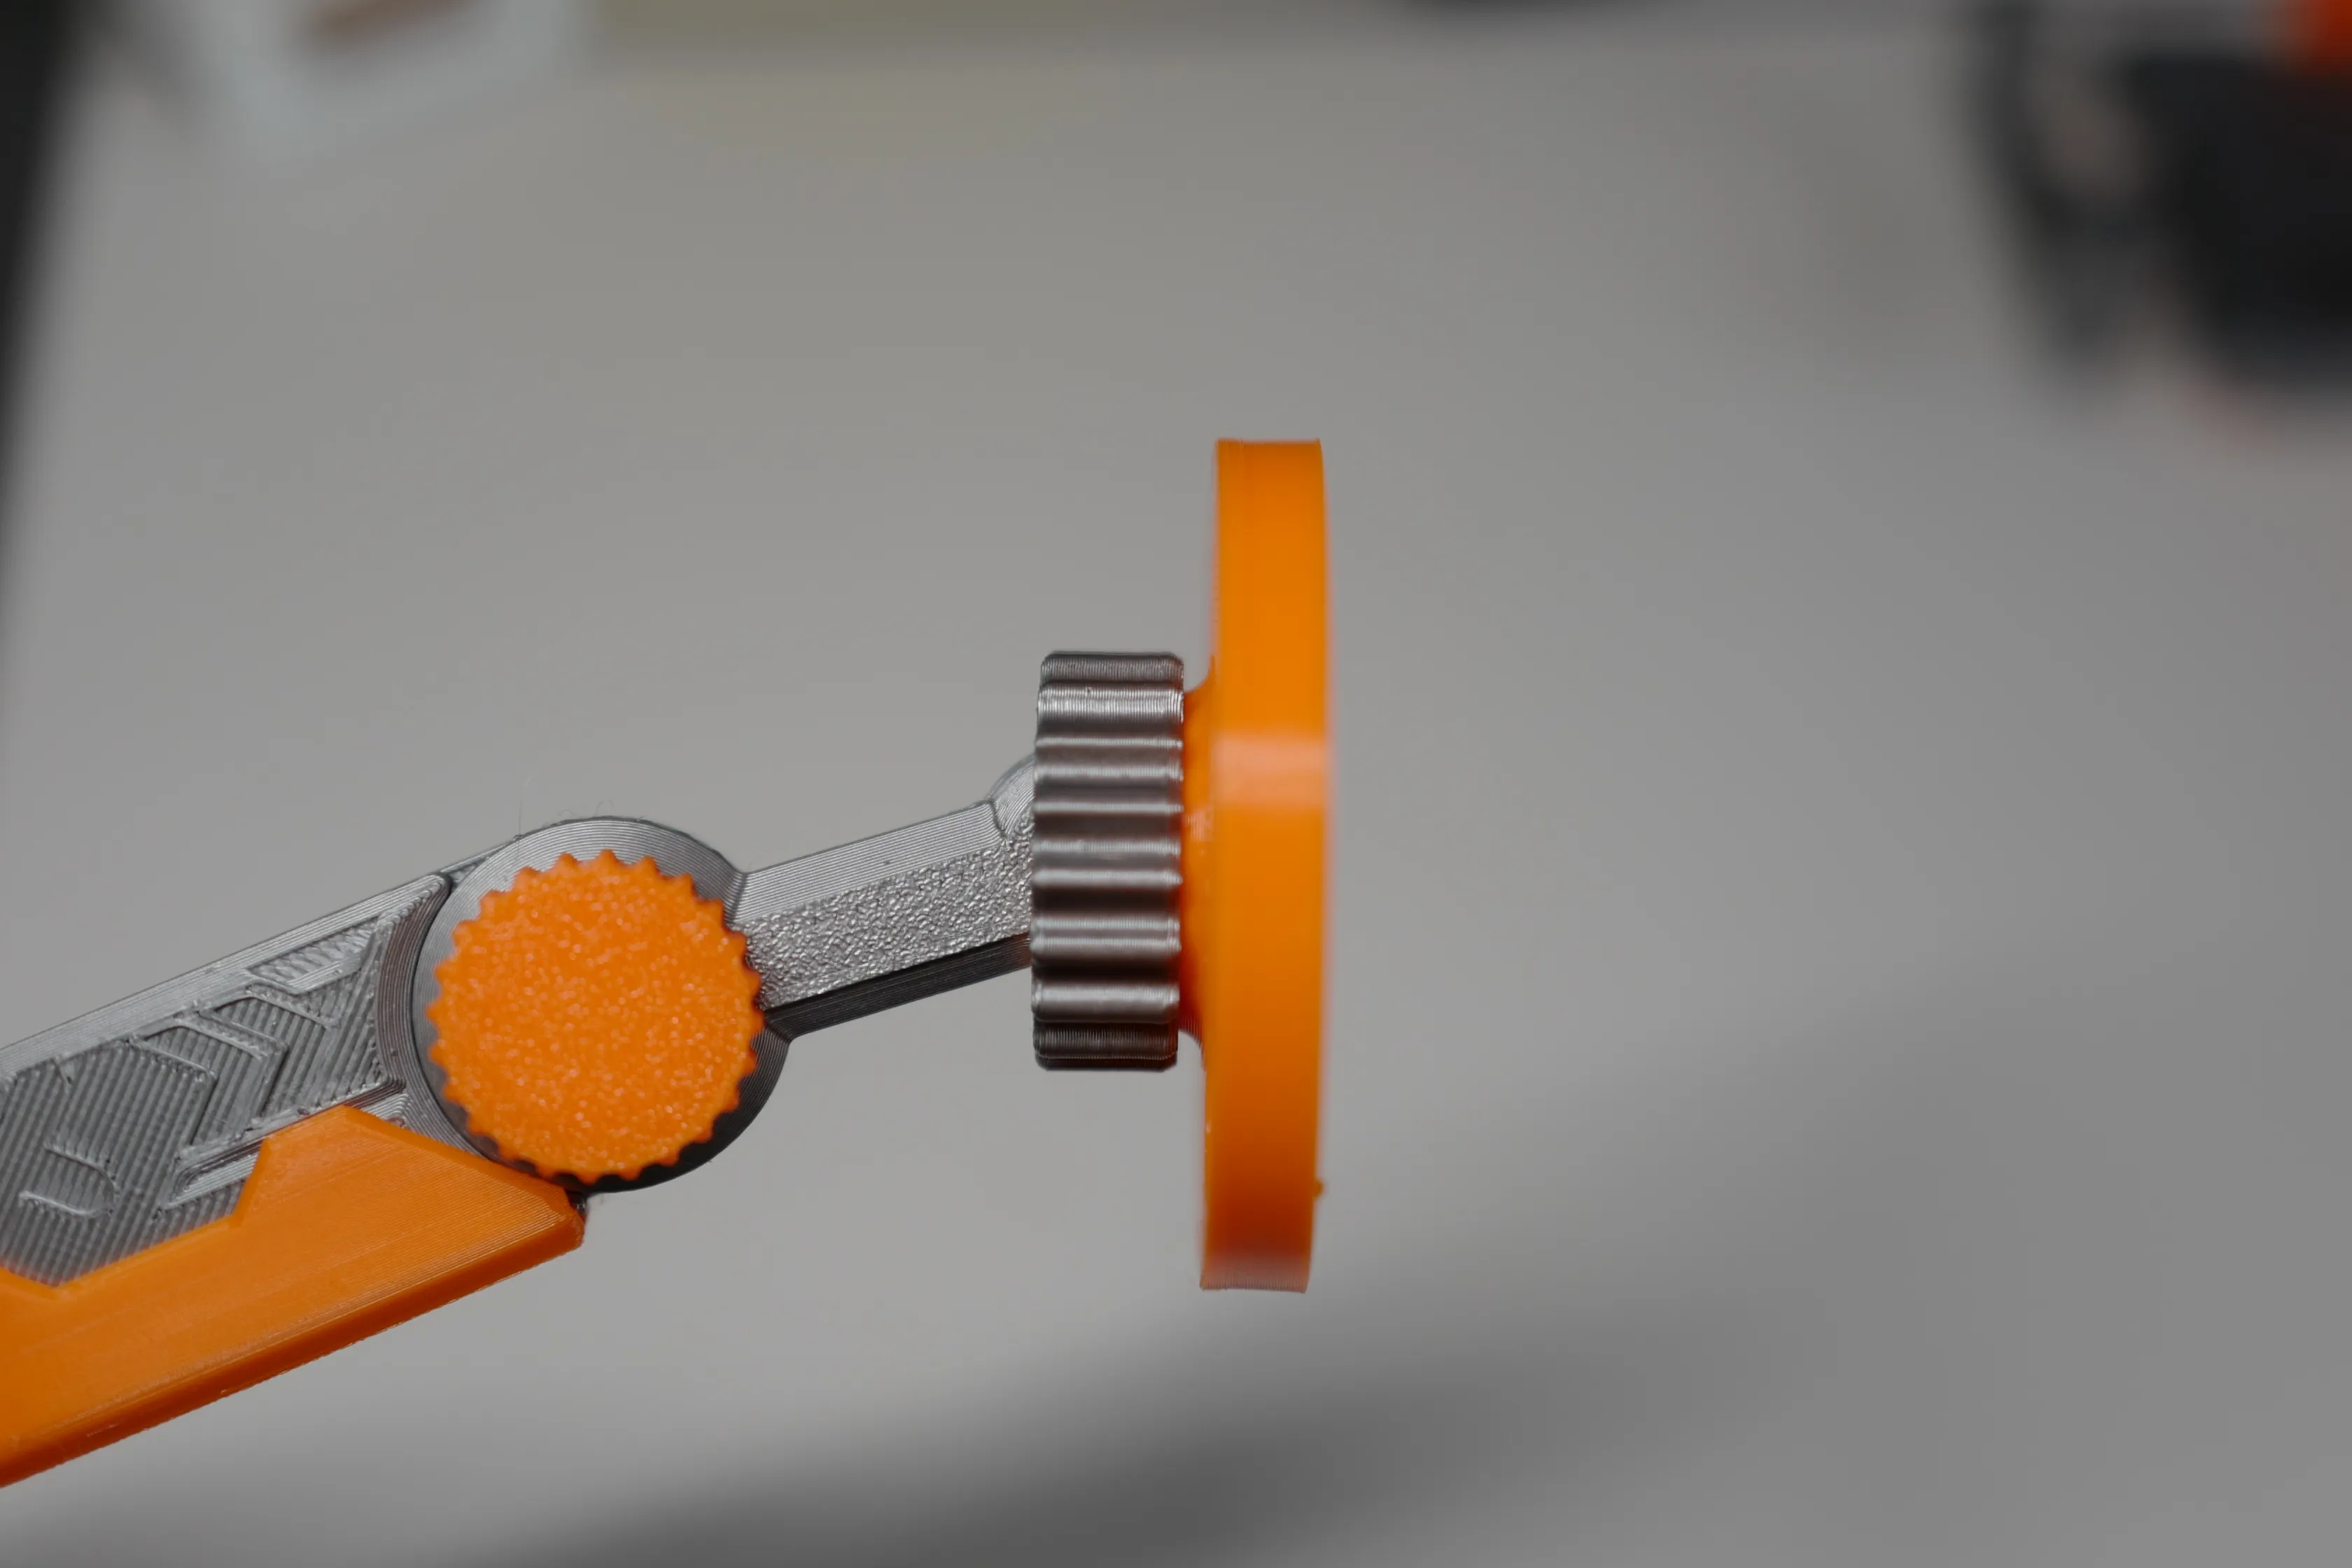 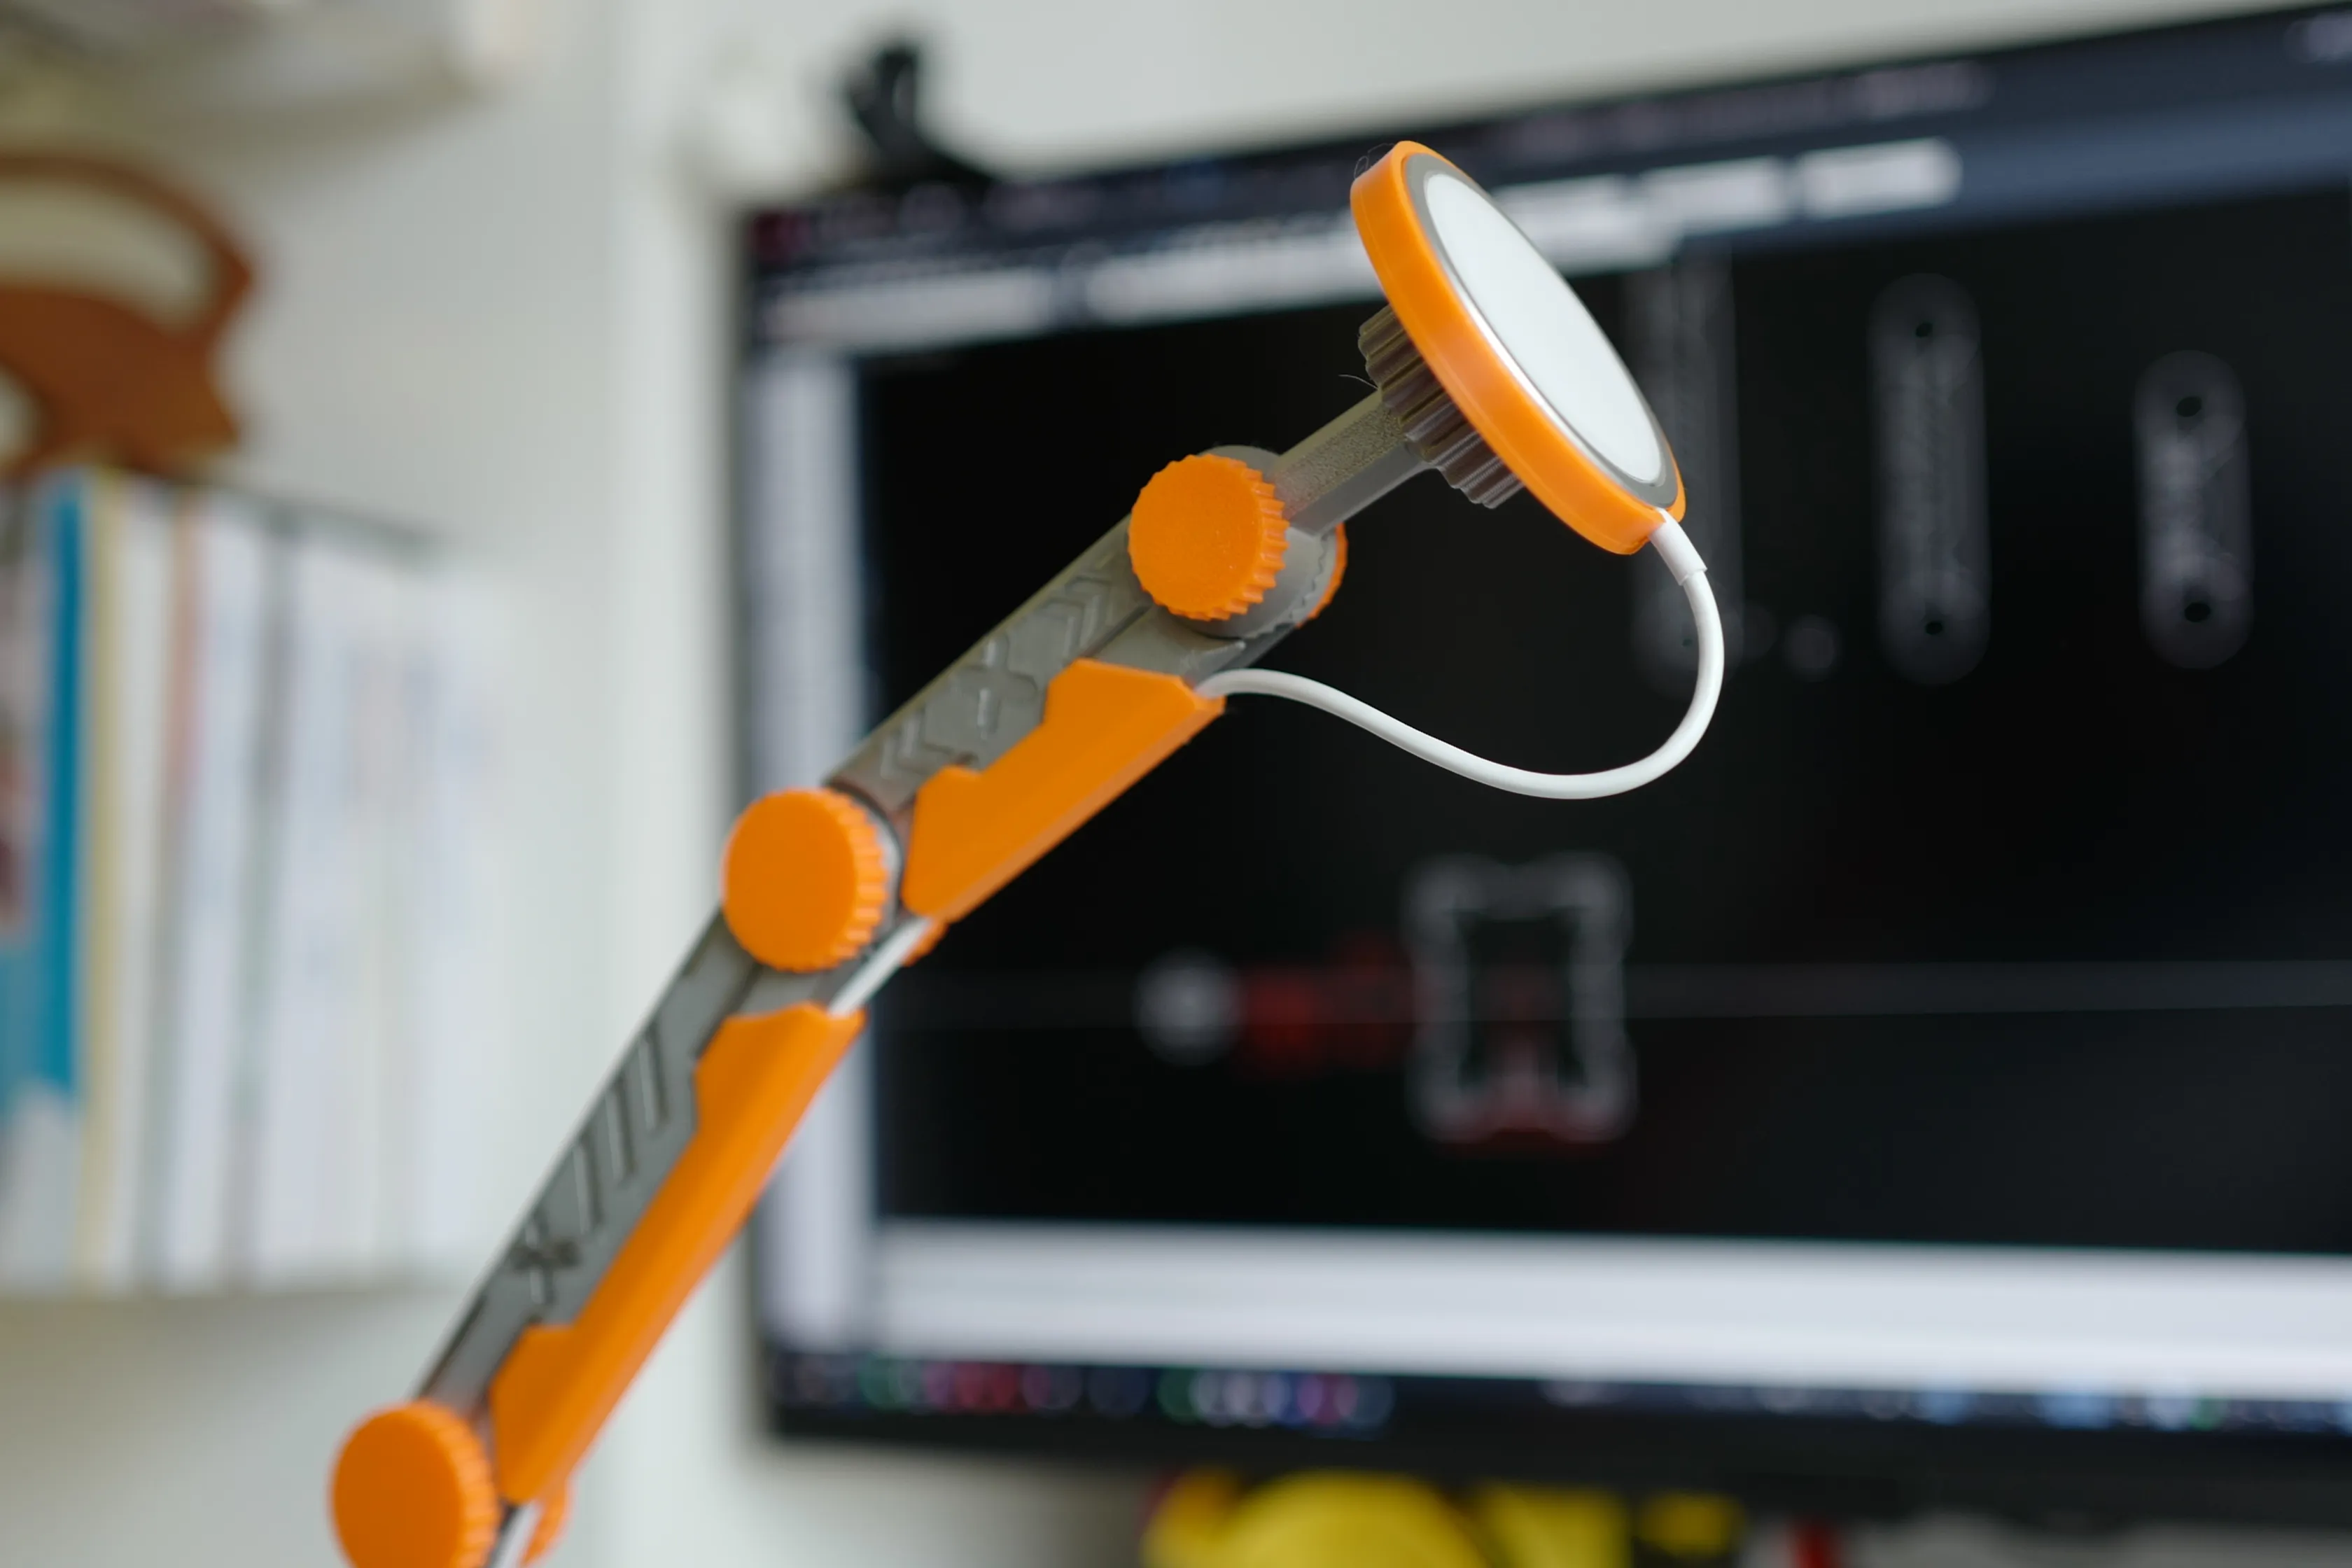
|
| Finally, install the cantilever cover plate. The cover plate is installed in the direction of the groove; you can decide the orientation based on your cable routing direction. | 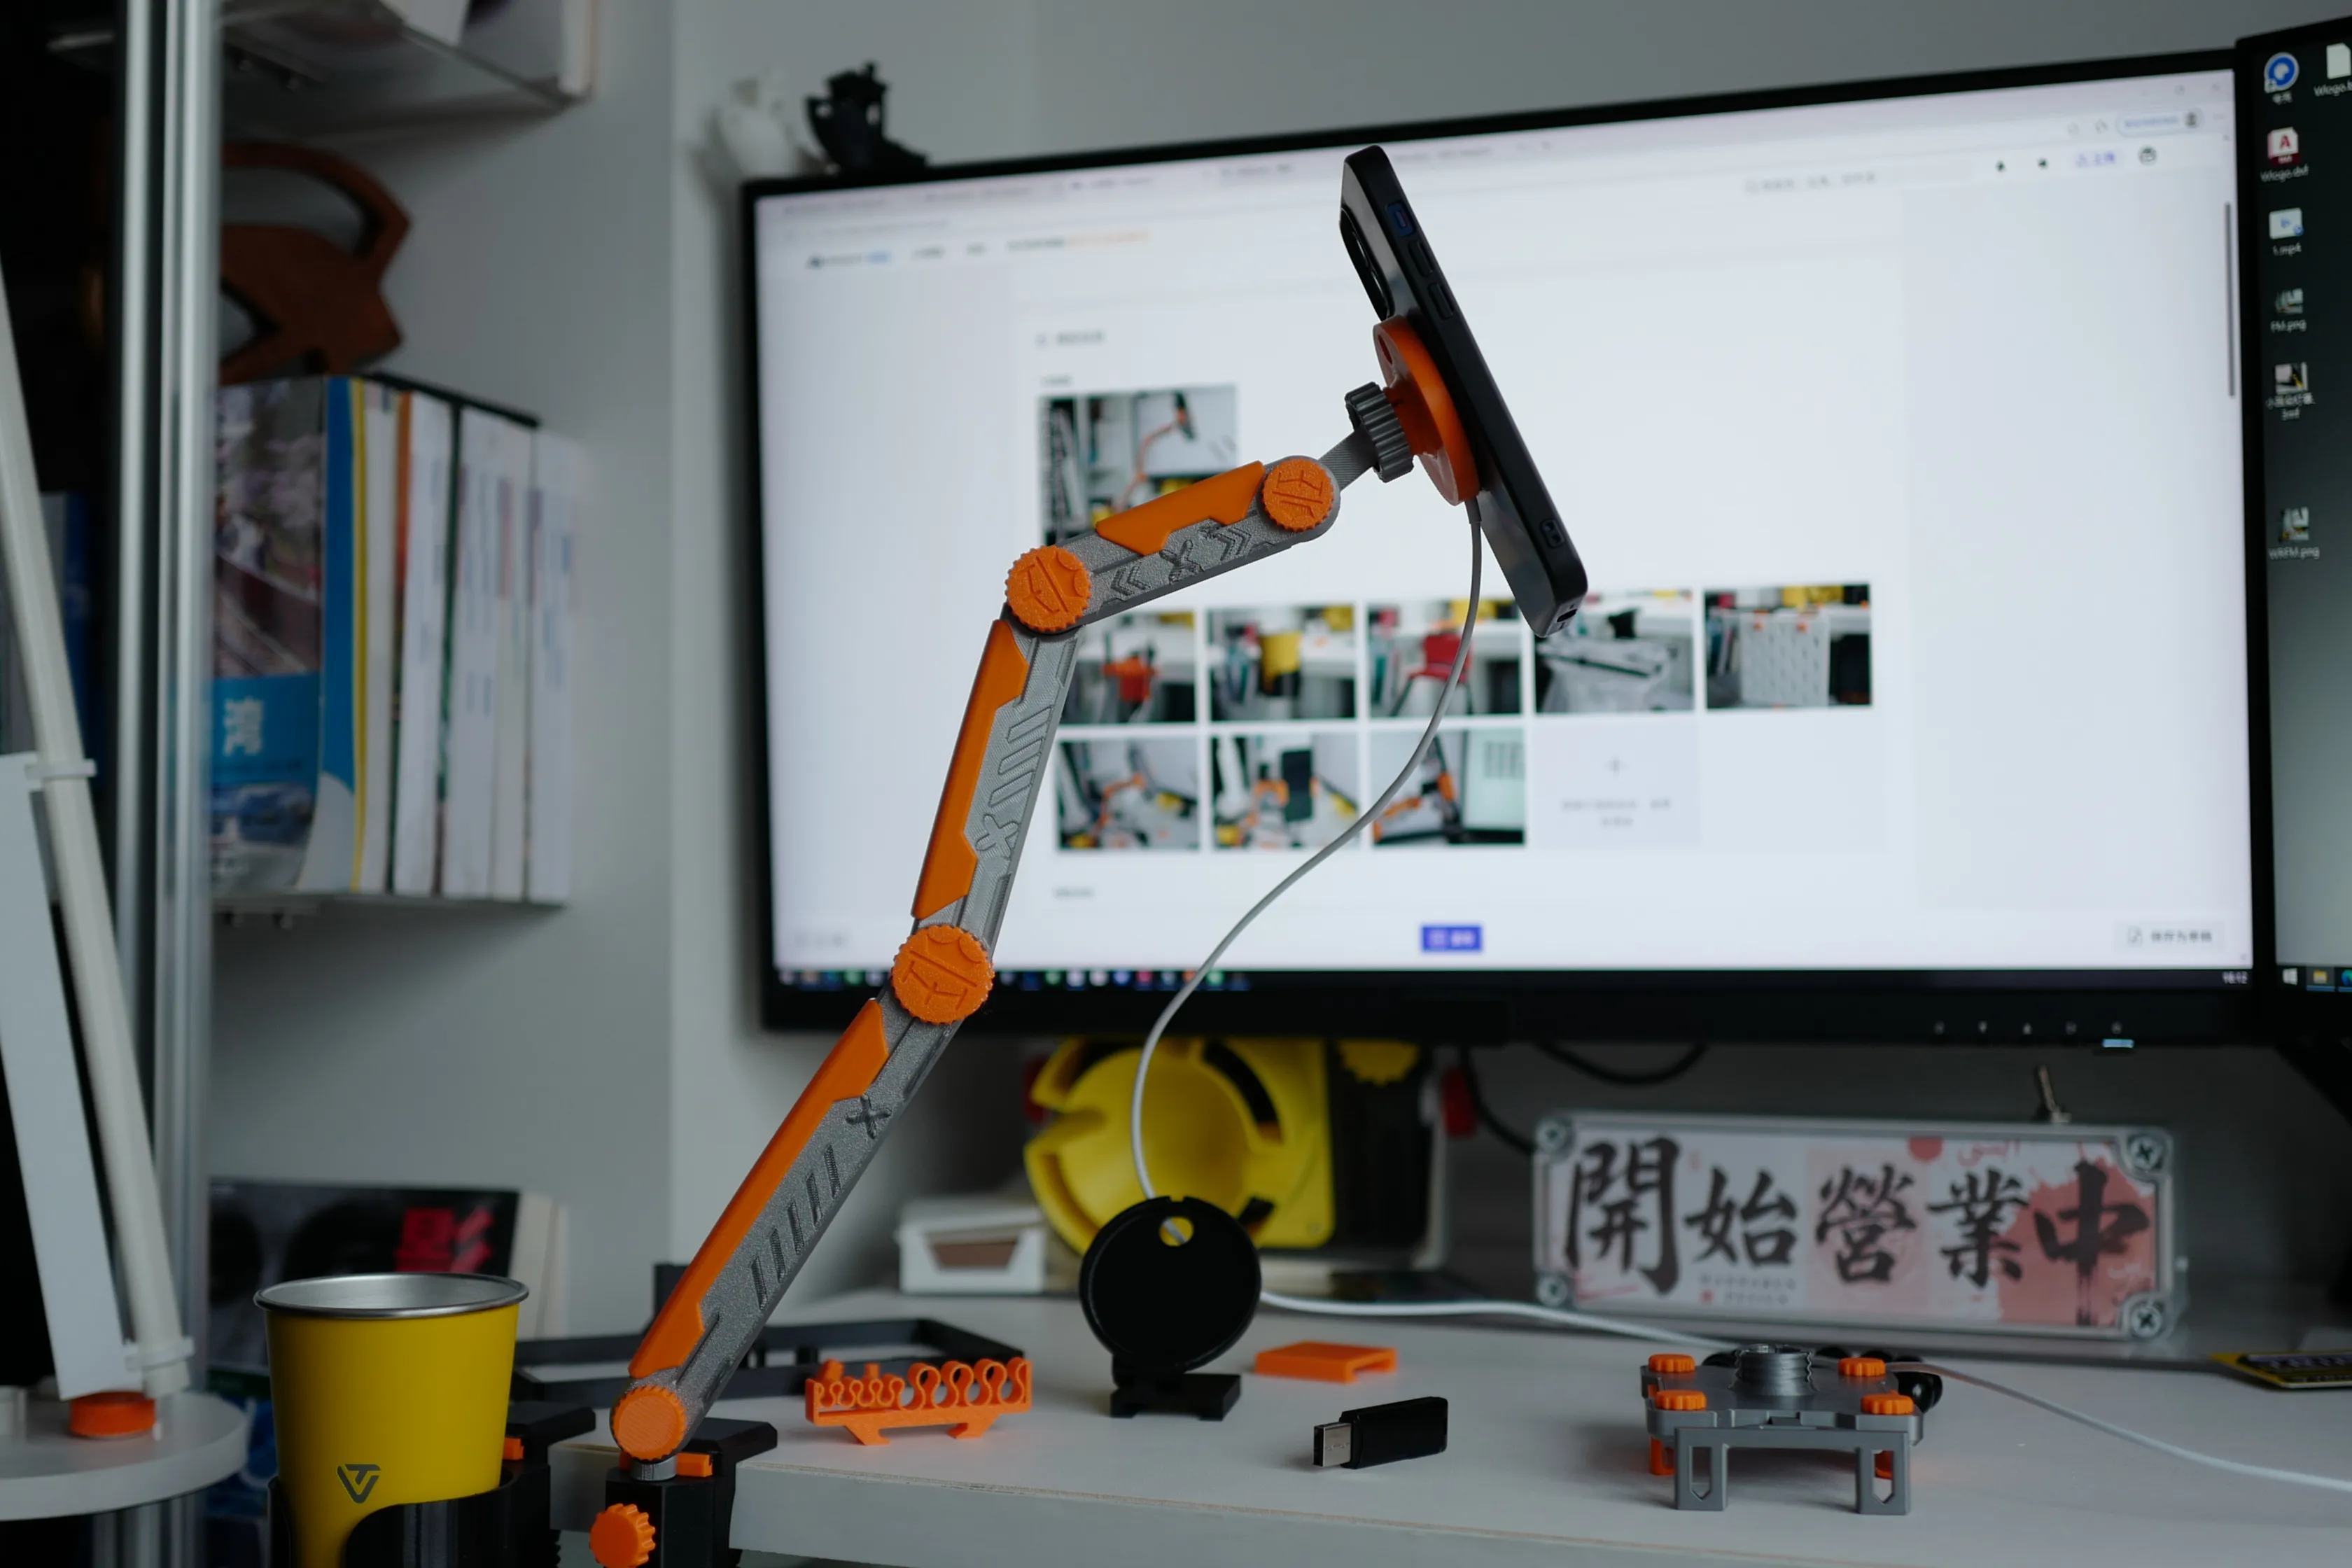 |
Other modules have already been uploaded to the MakerWorld homepage. Those who need them can click on the homepage to download.
Boost Me (for free)
If you like it, please give it a boost, thank you
License

You shall not share, sub-license, sell, rent, host, transfer, or distribute in any way the digital or 3D printed versions of this object, nor any other derivative work of this object in its digital or physical format (including - but not limited to - remixes of this object, and hosting on other digital platforms). The objects may not be used without permission in any way whatsoever in which you charge money, or collect fees.


Comment & Rating (21)