
Ravioli Mold – Optimized for Pasta Maker
Print Profile(1)
Description
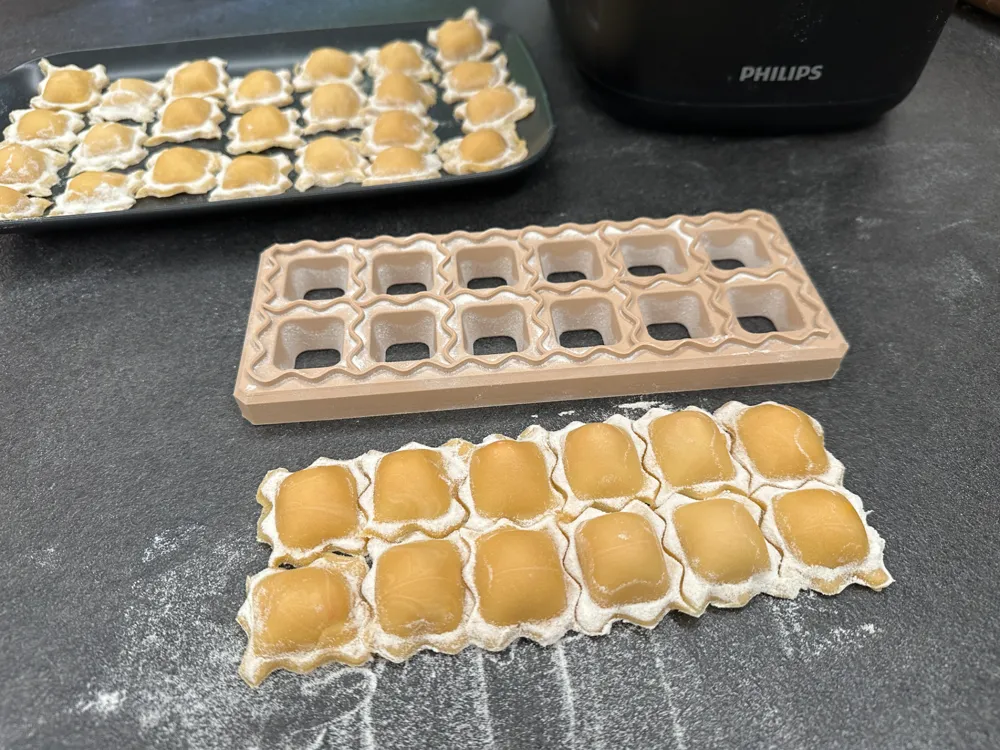
Ravioli Mold – Optimized for Philips Pasta Maker
Designed to minimize dough waste and make perfectly shaped ravioli
This ravioli mold started as a simple kitchen conversation.
One afternoon while making fresh pasta with the Philips Pasta Maker, my wife looked at the pasta sheet coming out of the lasagna attachment and said:
"It’s a shame we always cut away so much dough when making ravioli."
That small comment turned into a design challenge.
The idea was simple:
- Use the full width of the pasta sheet
- Reduce dough waste as much as possible
- Make ravioli preparation fast, easy, and consistent
After several prototypes and many kitchen tests, this mold was created.
Optimized for the Philips Pasta Maker
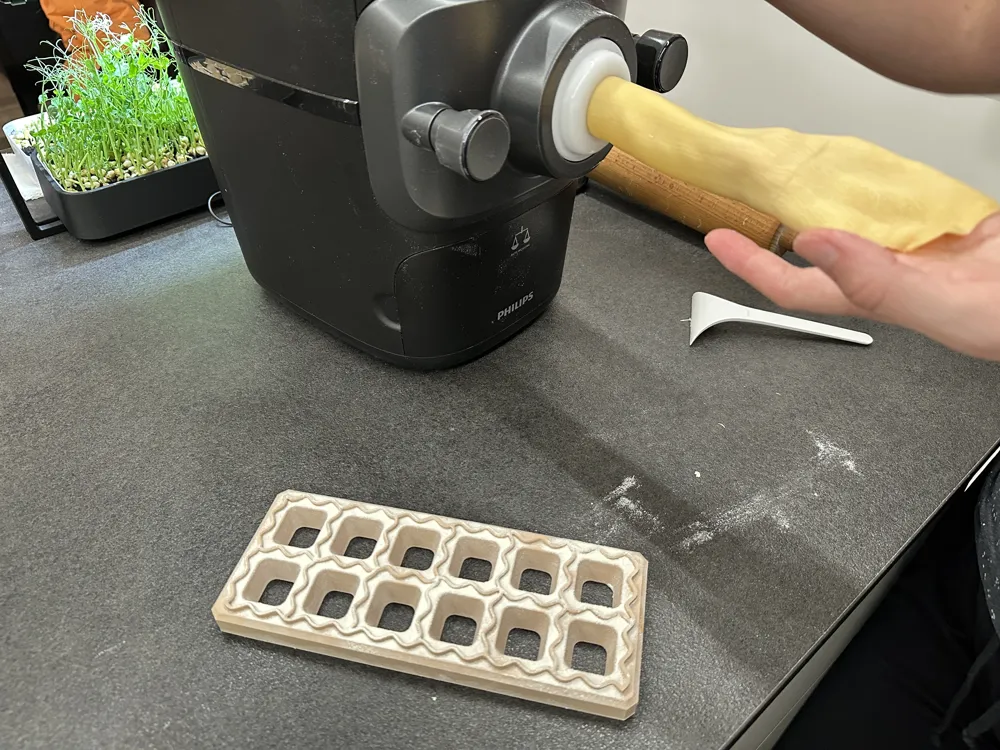
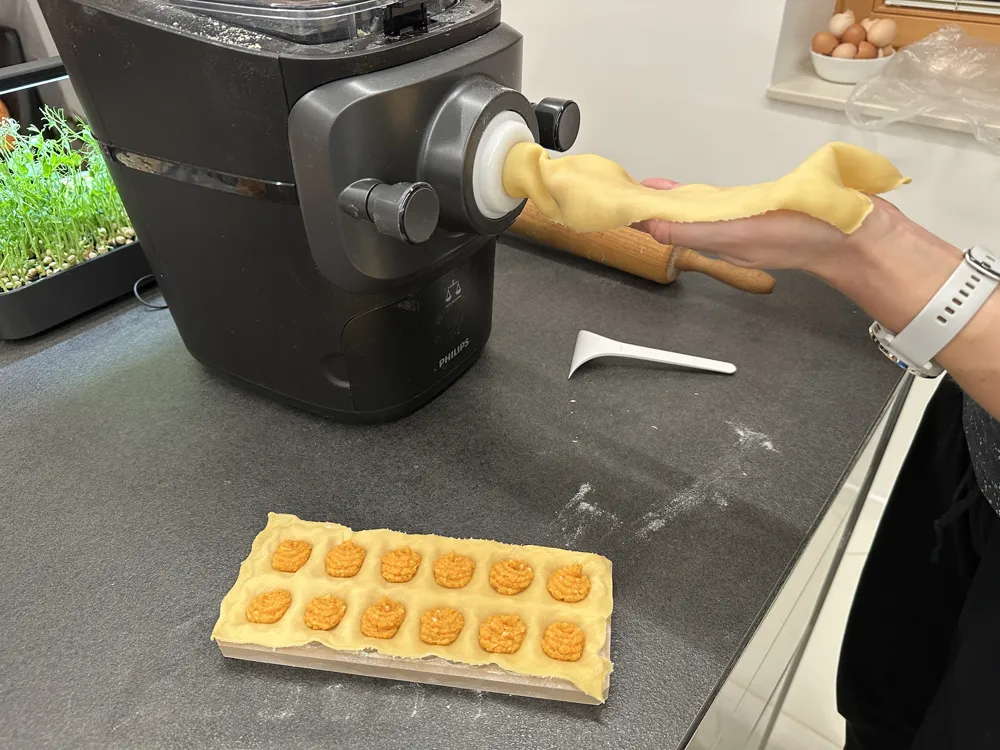
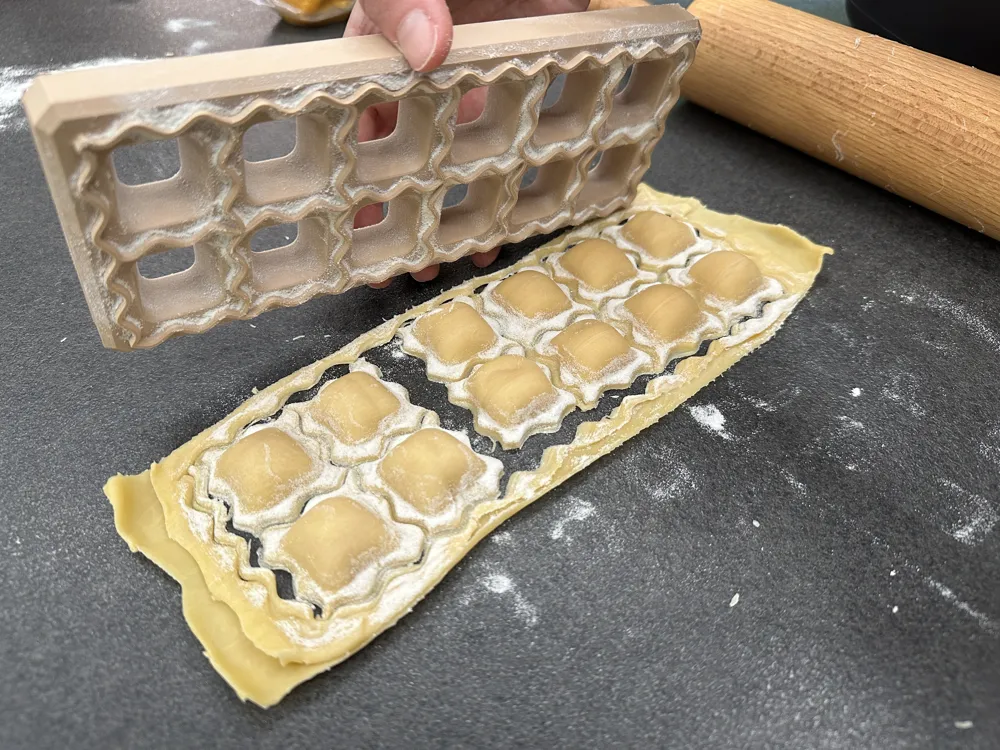
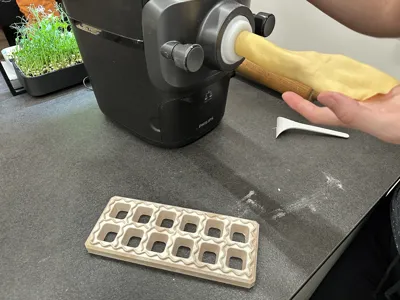
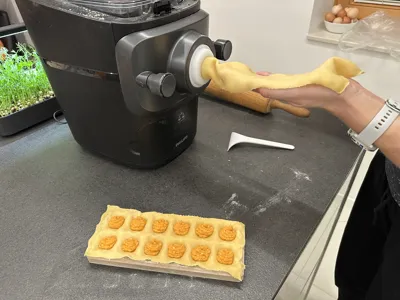
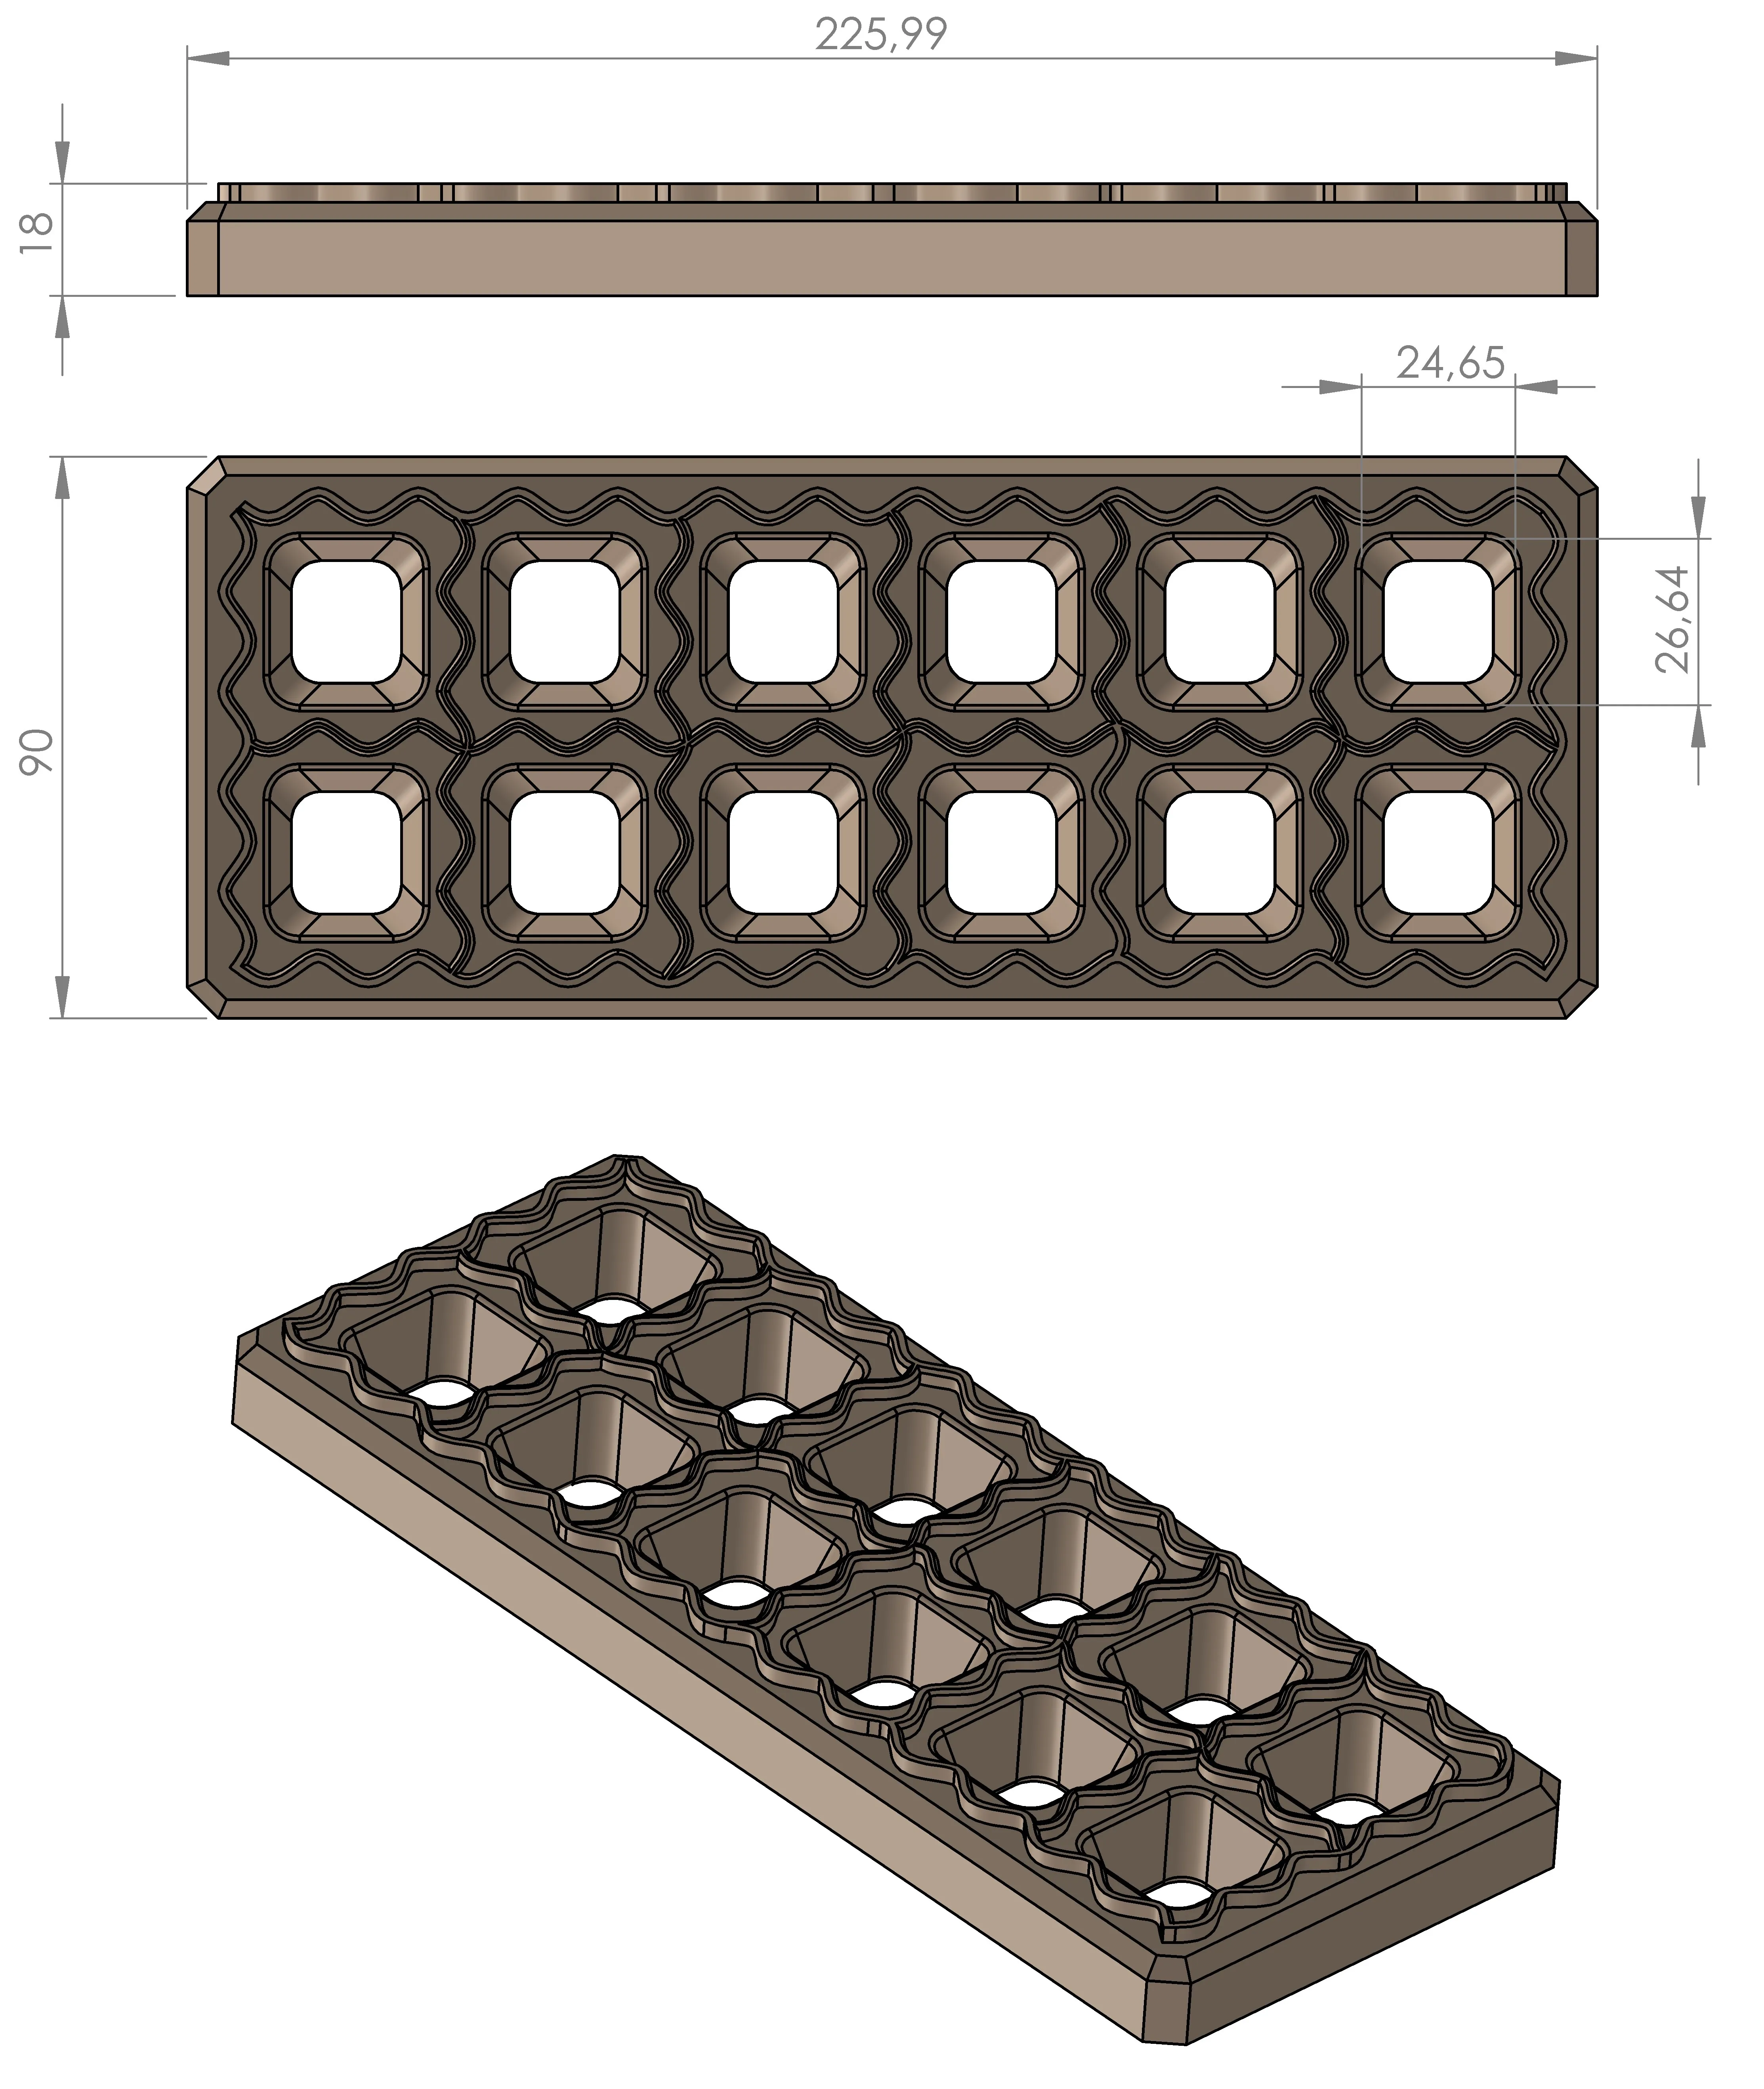
This mold is designed so that the width perfectly matches the lasagna sheet produced by the Philips Pasta Maker.
That means the pasta sheet fits almost exactly across the mold, which helps minimize trimming and reduce dough waste.
If you own a Philips Pasta Maker, the workflow becomes extremely simple and efficient.
Can Also Be Used Without the Machine
Even though the mold is optimized for the Philips Pasta Maker, it can absolutely be used without the machine as well.
You can simply:
- prepare pasta dough by hand
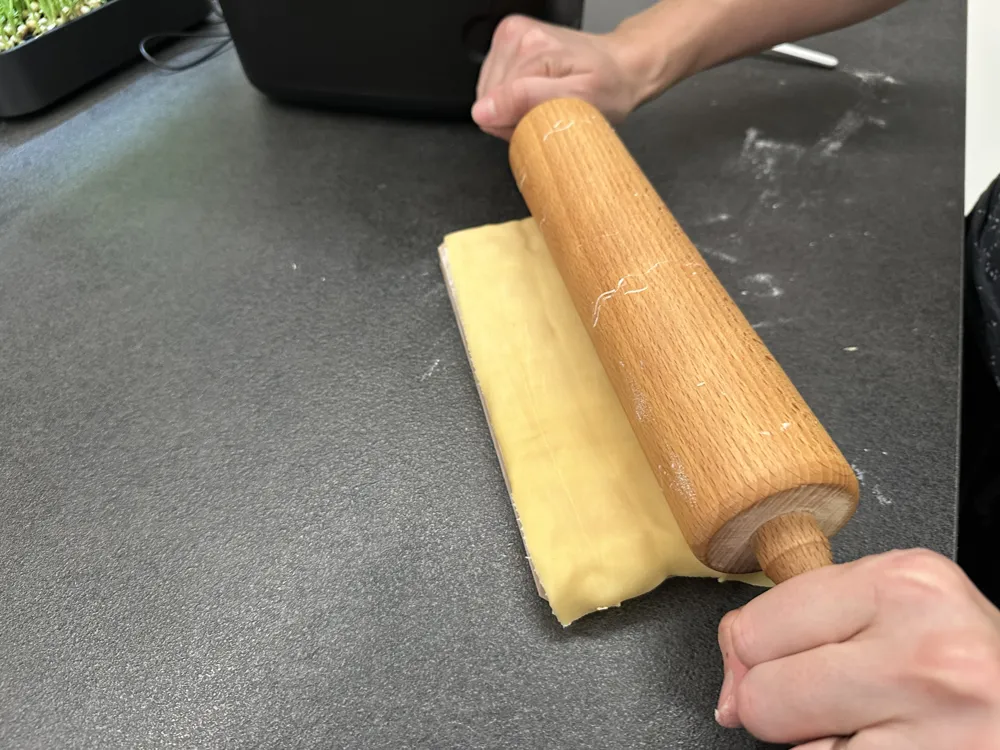
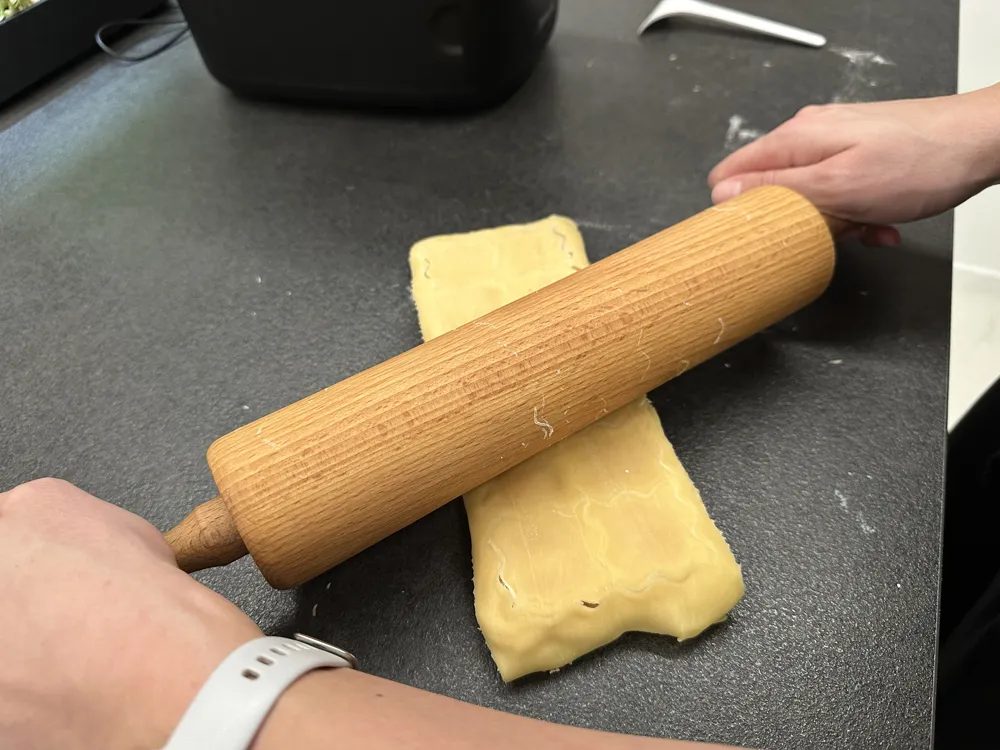
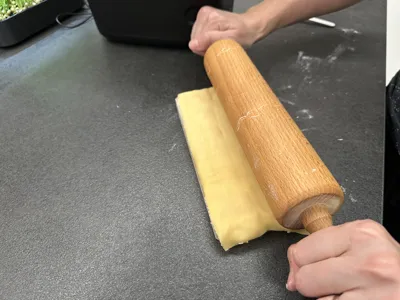
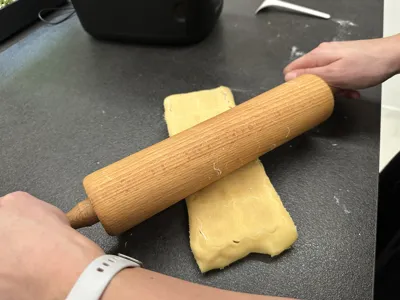
- roll the dough manually with a rolling pin
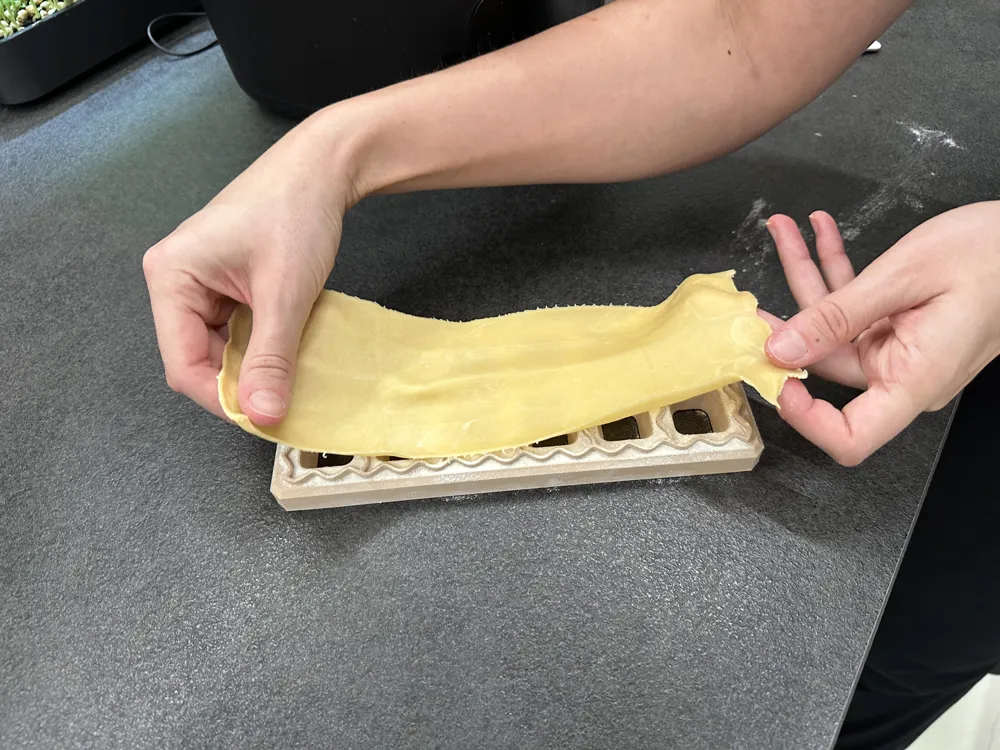
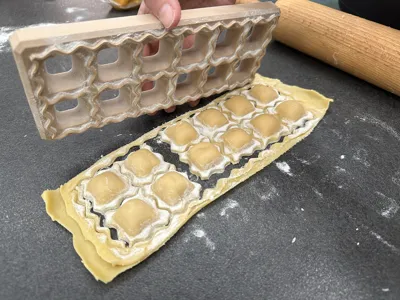
- place the sheet over the mold and continue the same process
The machine simply makes the process faster and more convenient, because the sheet width already matches the mold.
How to Use the Mold
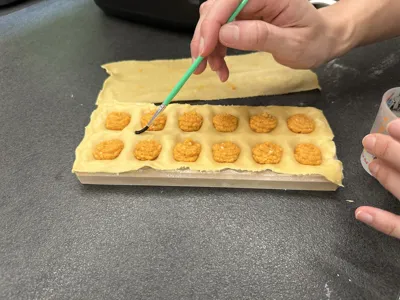
- Prepare pasta dough (by hand or with the Philips Pasta Maker).
- Roll or extrude a pasta sheet.
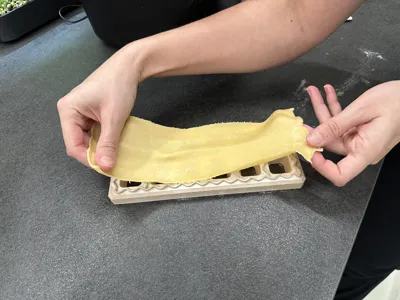
- Lightly dust the mold with flour.
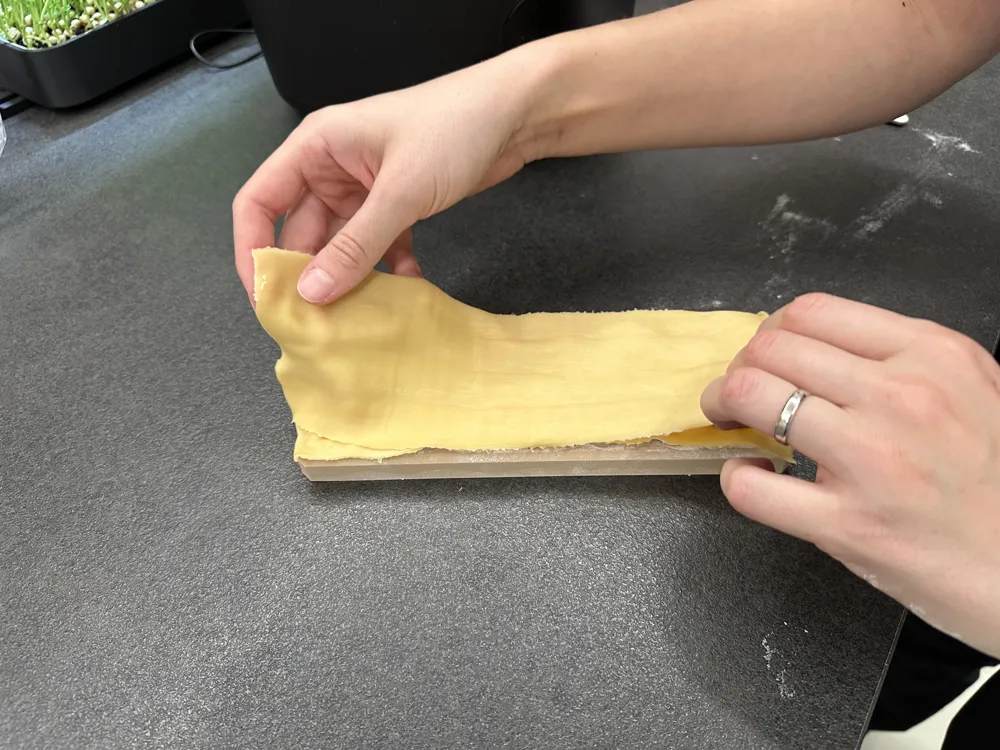
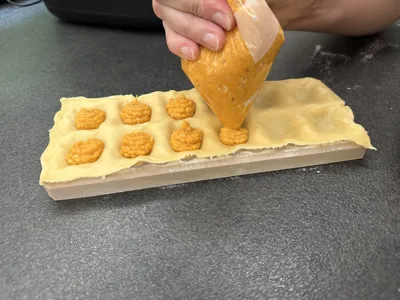
- Place the first sheet of pasta over the mold.
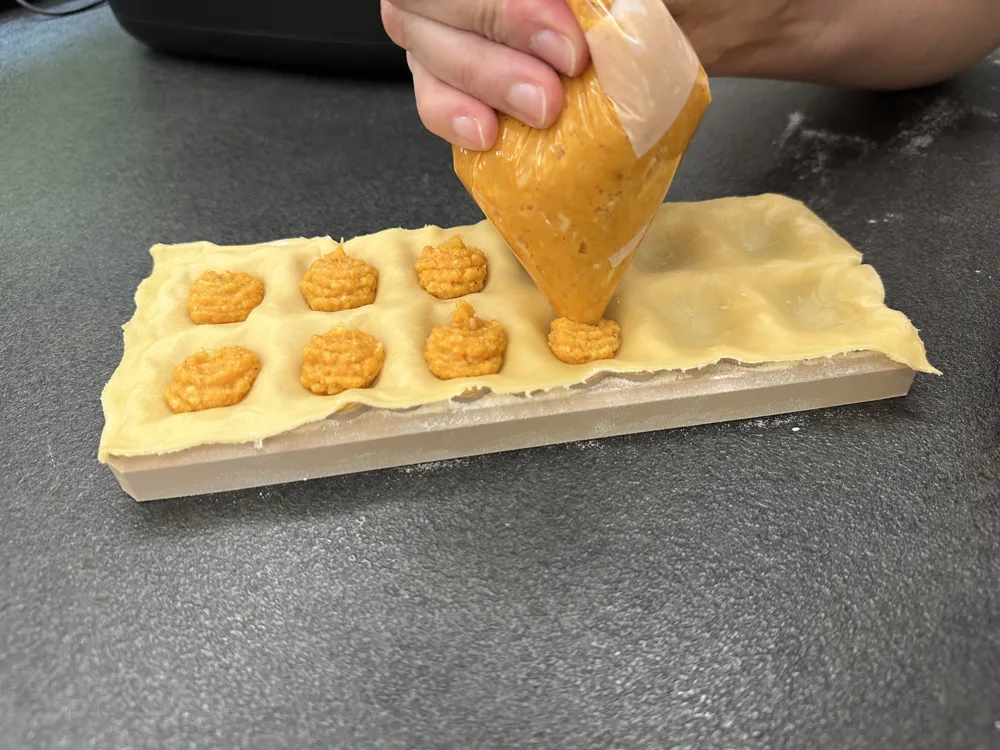
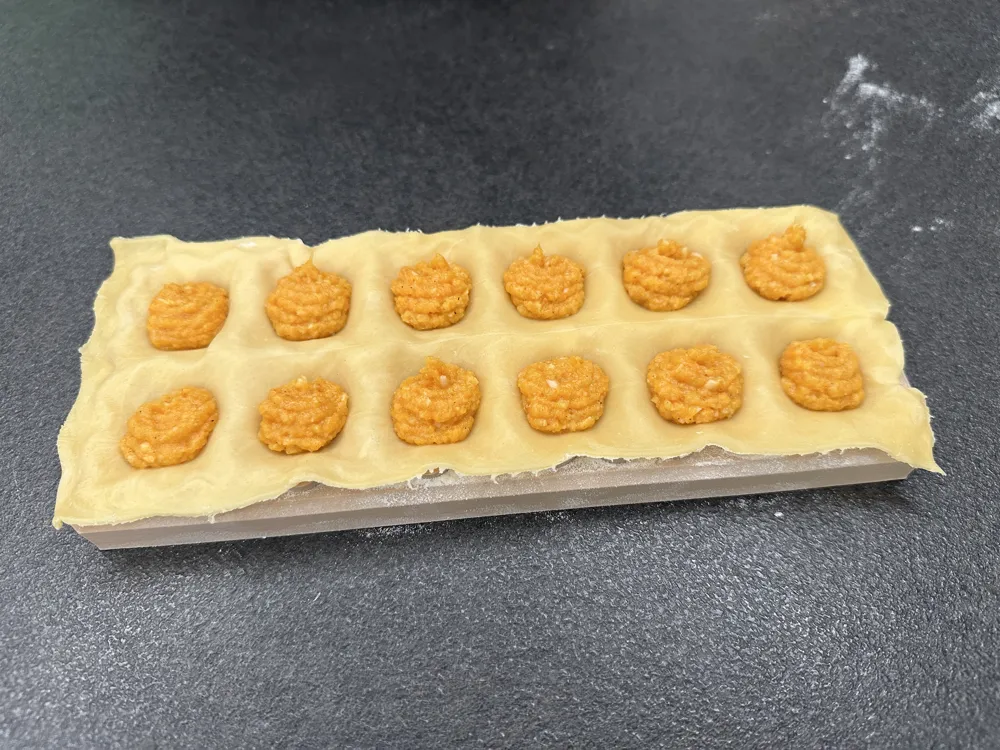
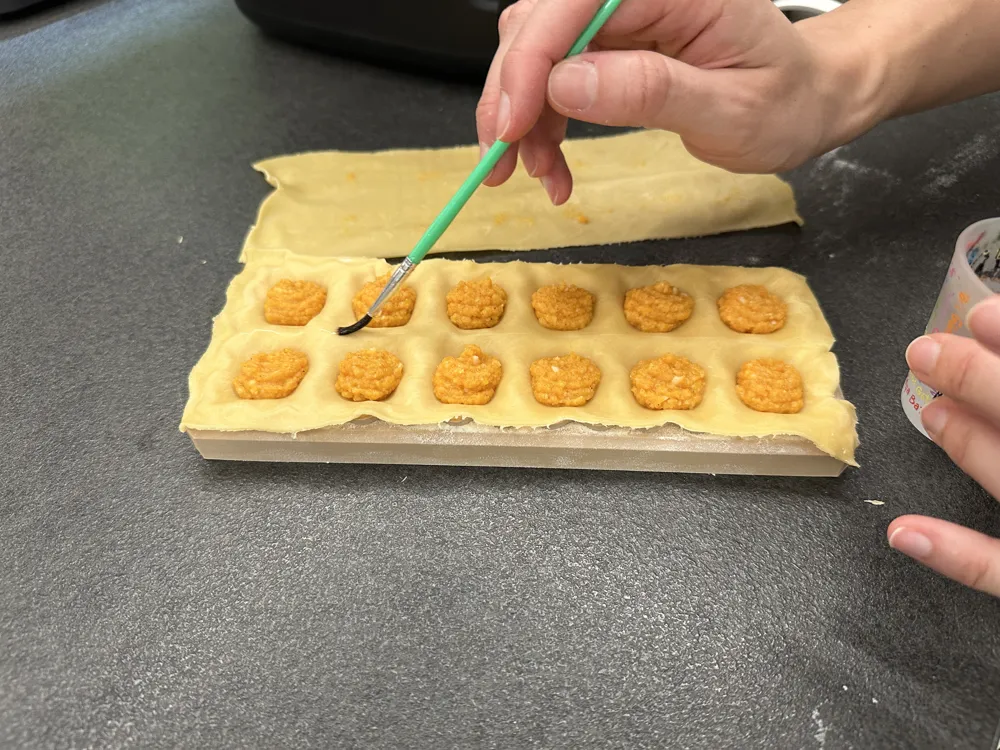
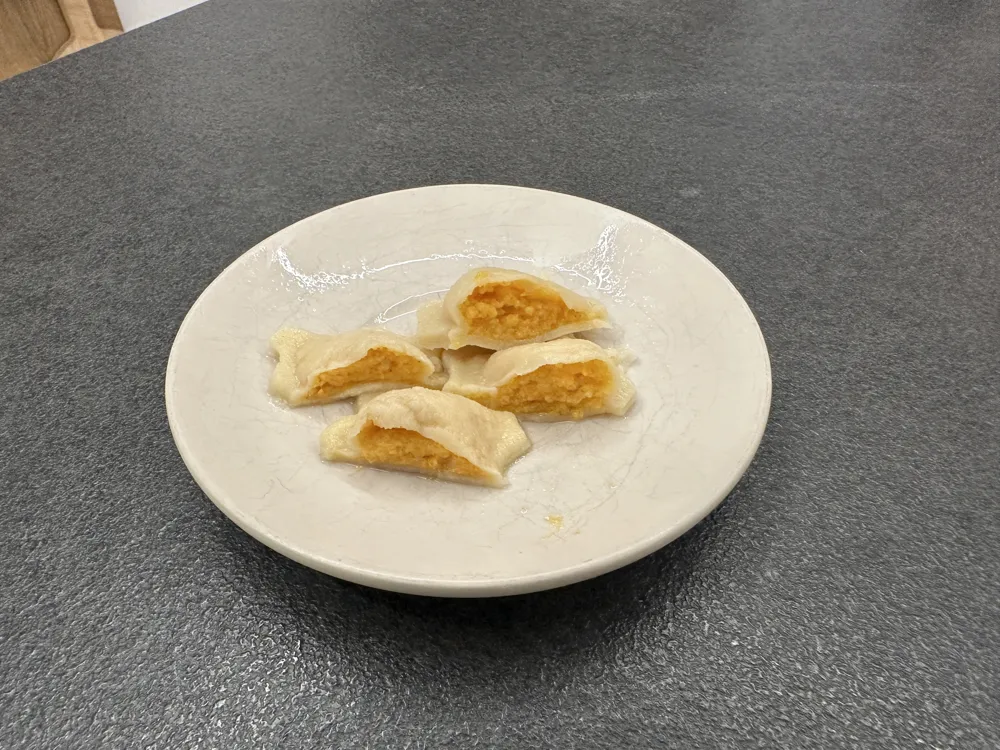
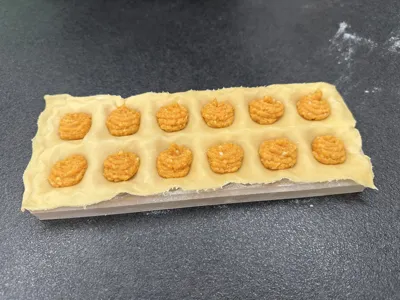
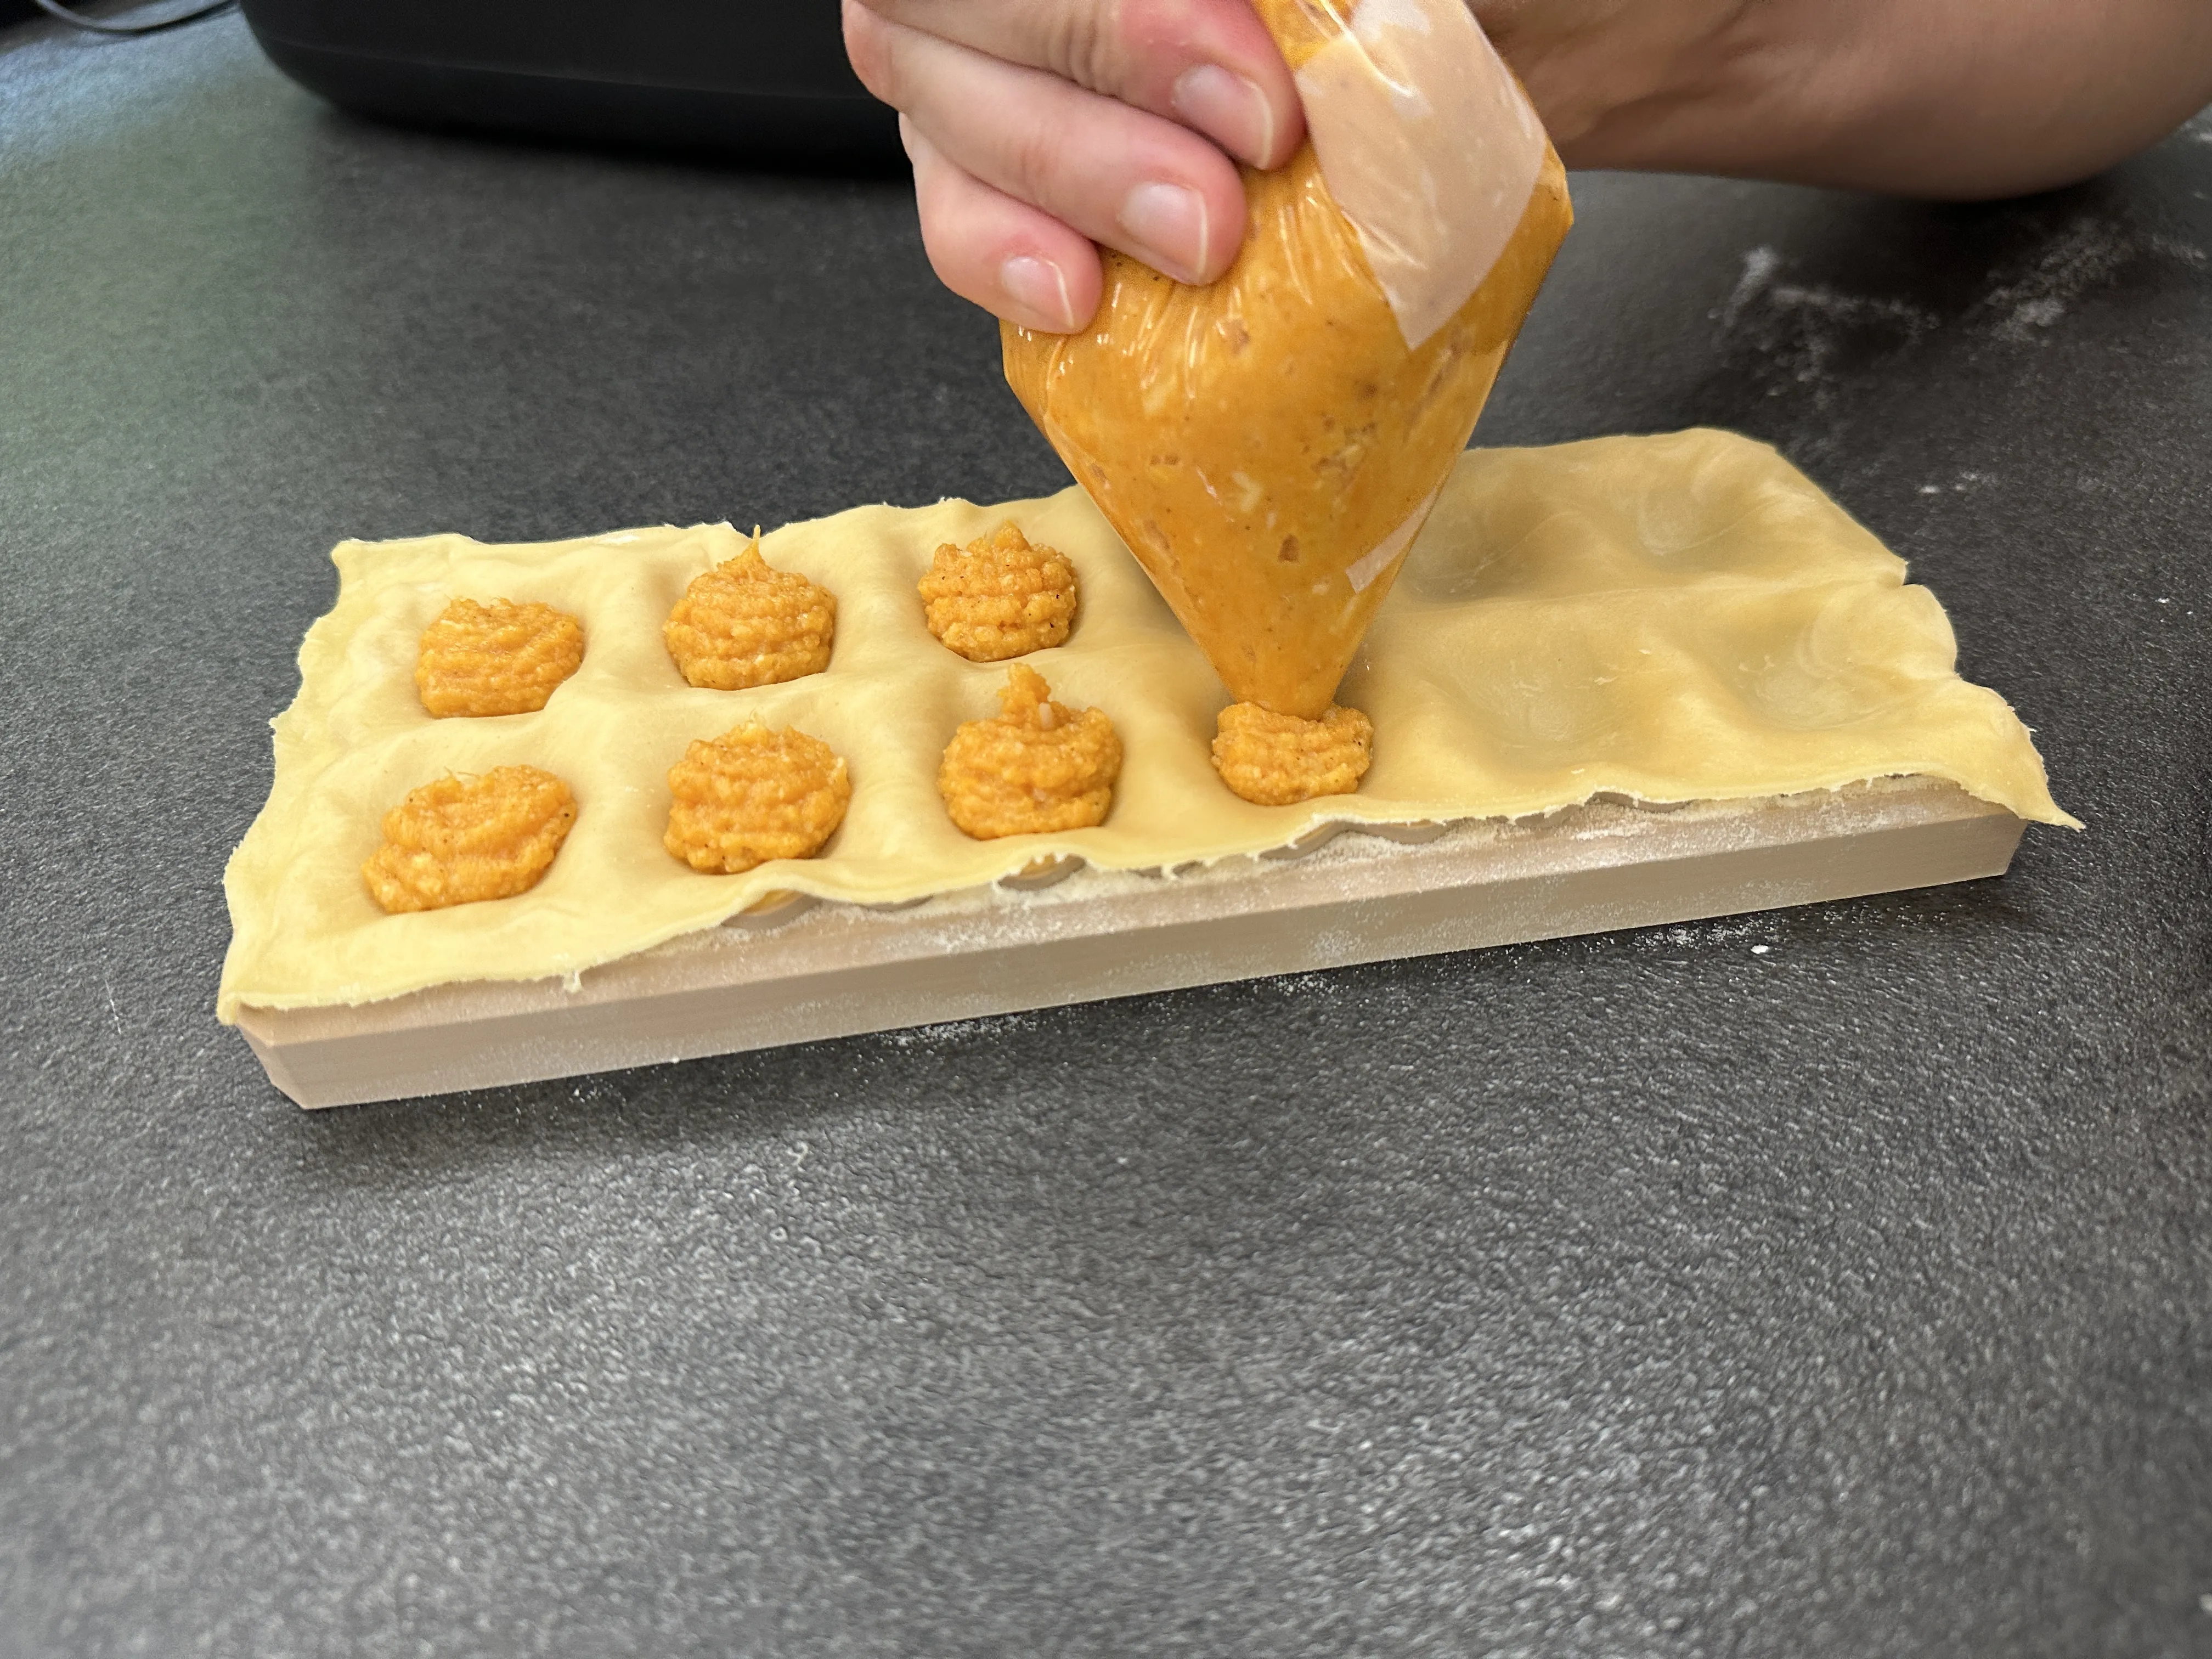
- Add filling into each pocket.
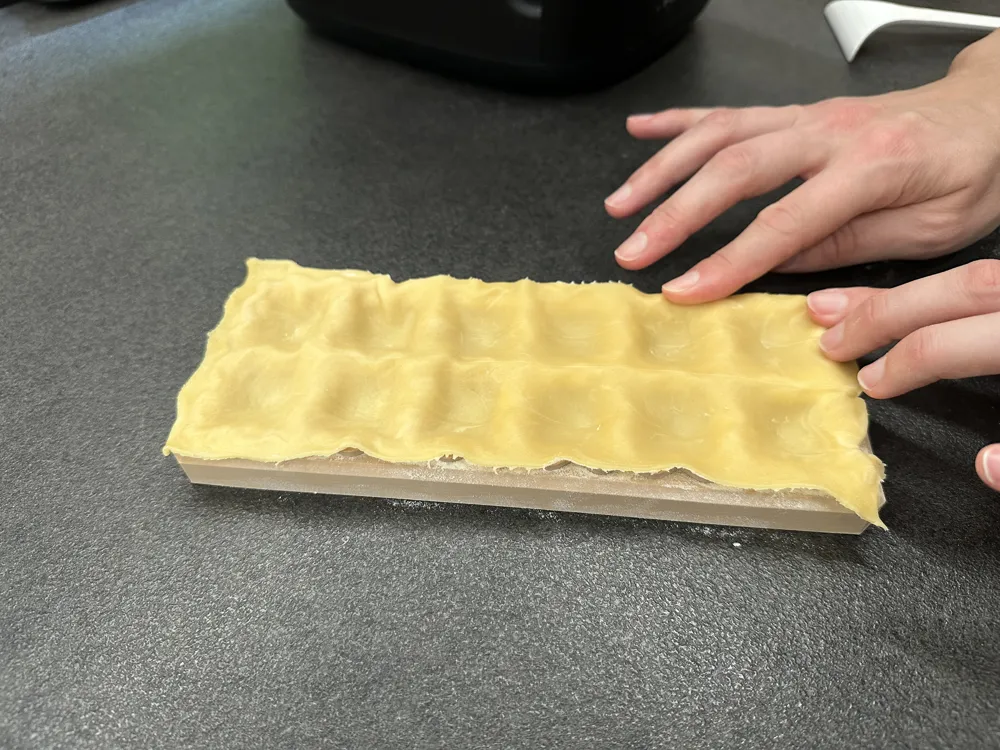
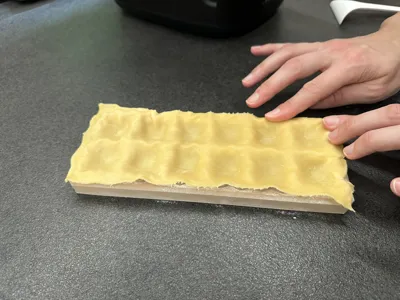
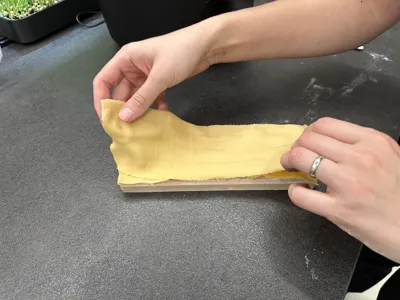
- Cover with another sheet of pasta.
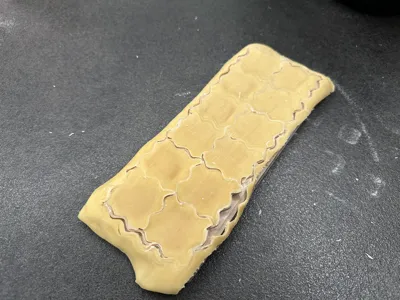
- Press gently to seal the ravioli.
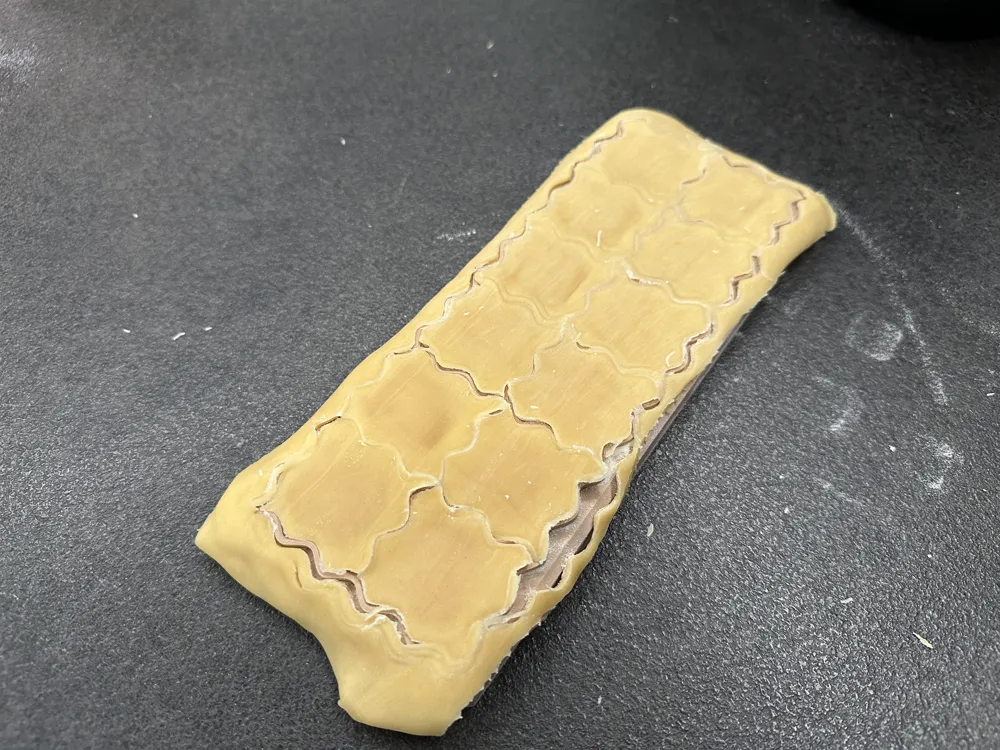
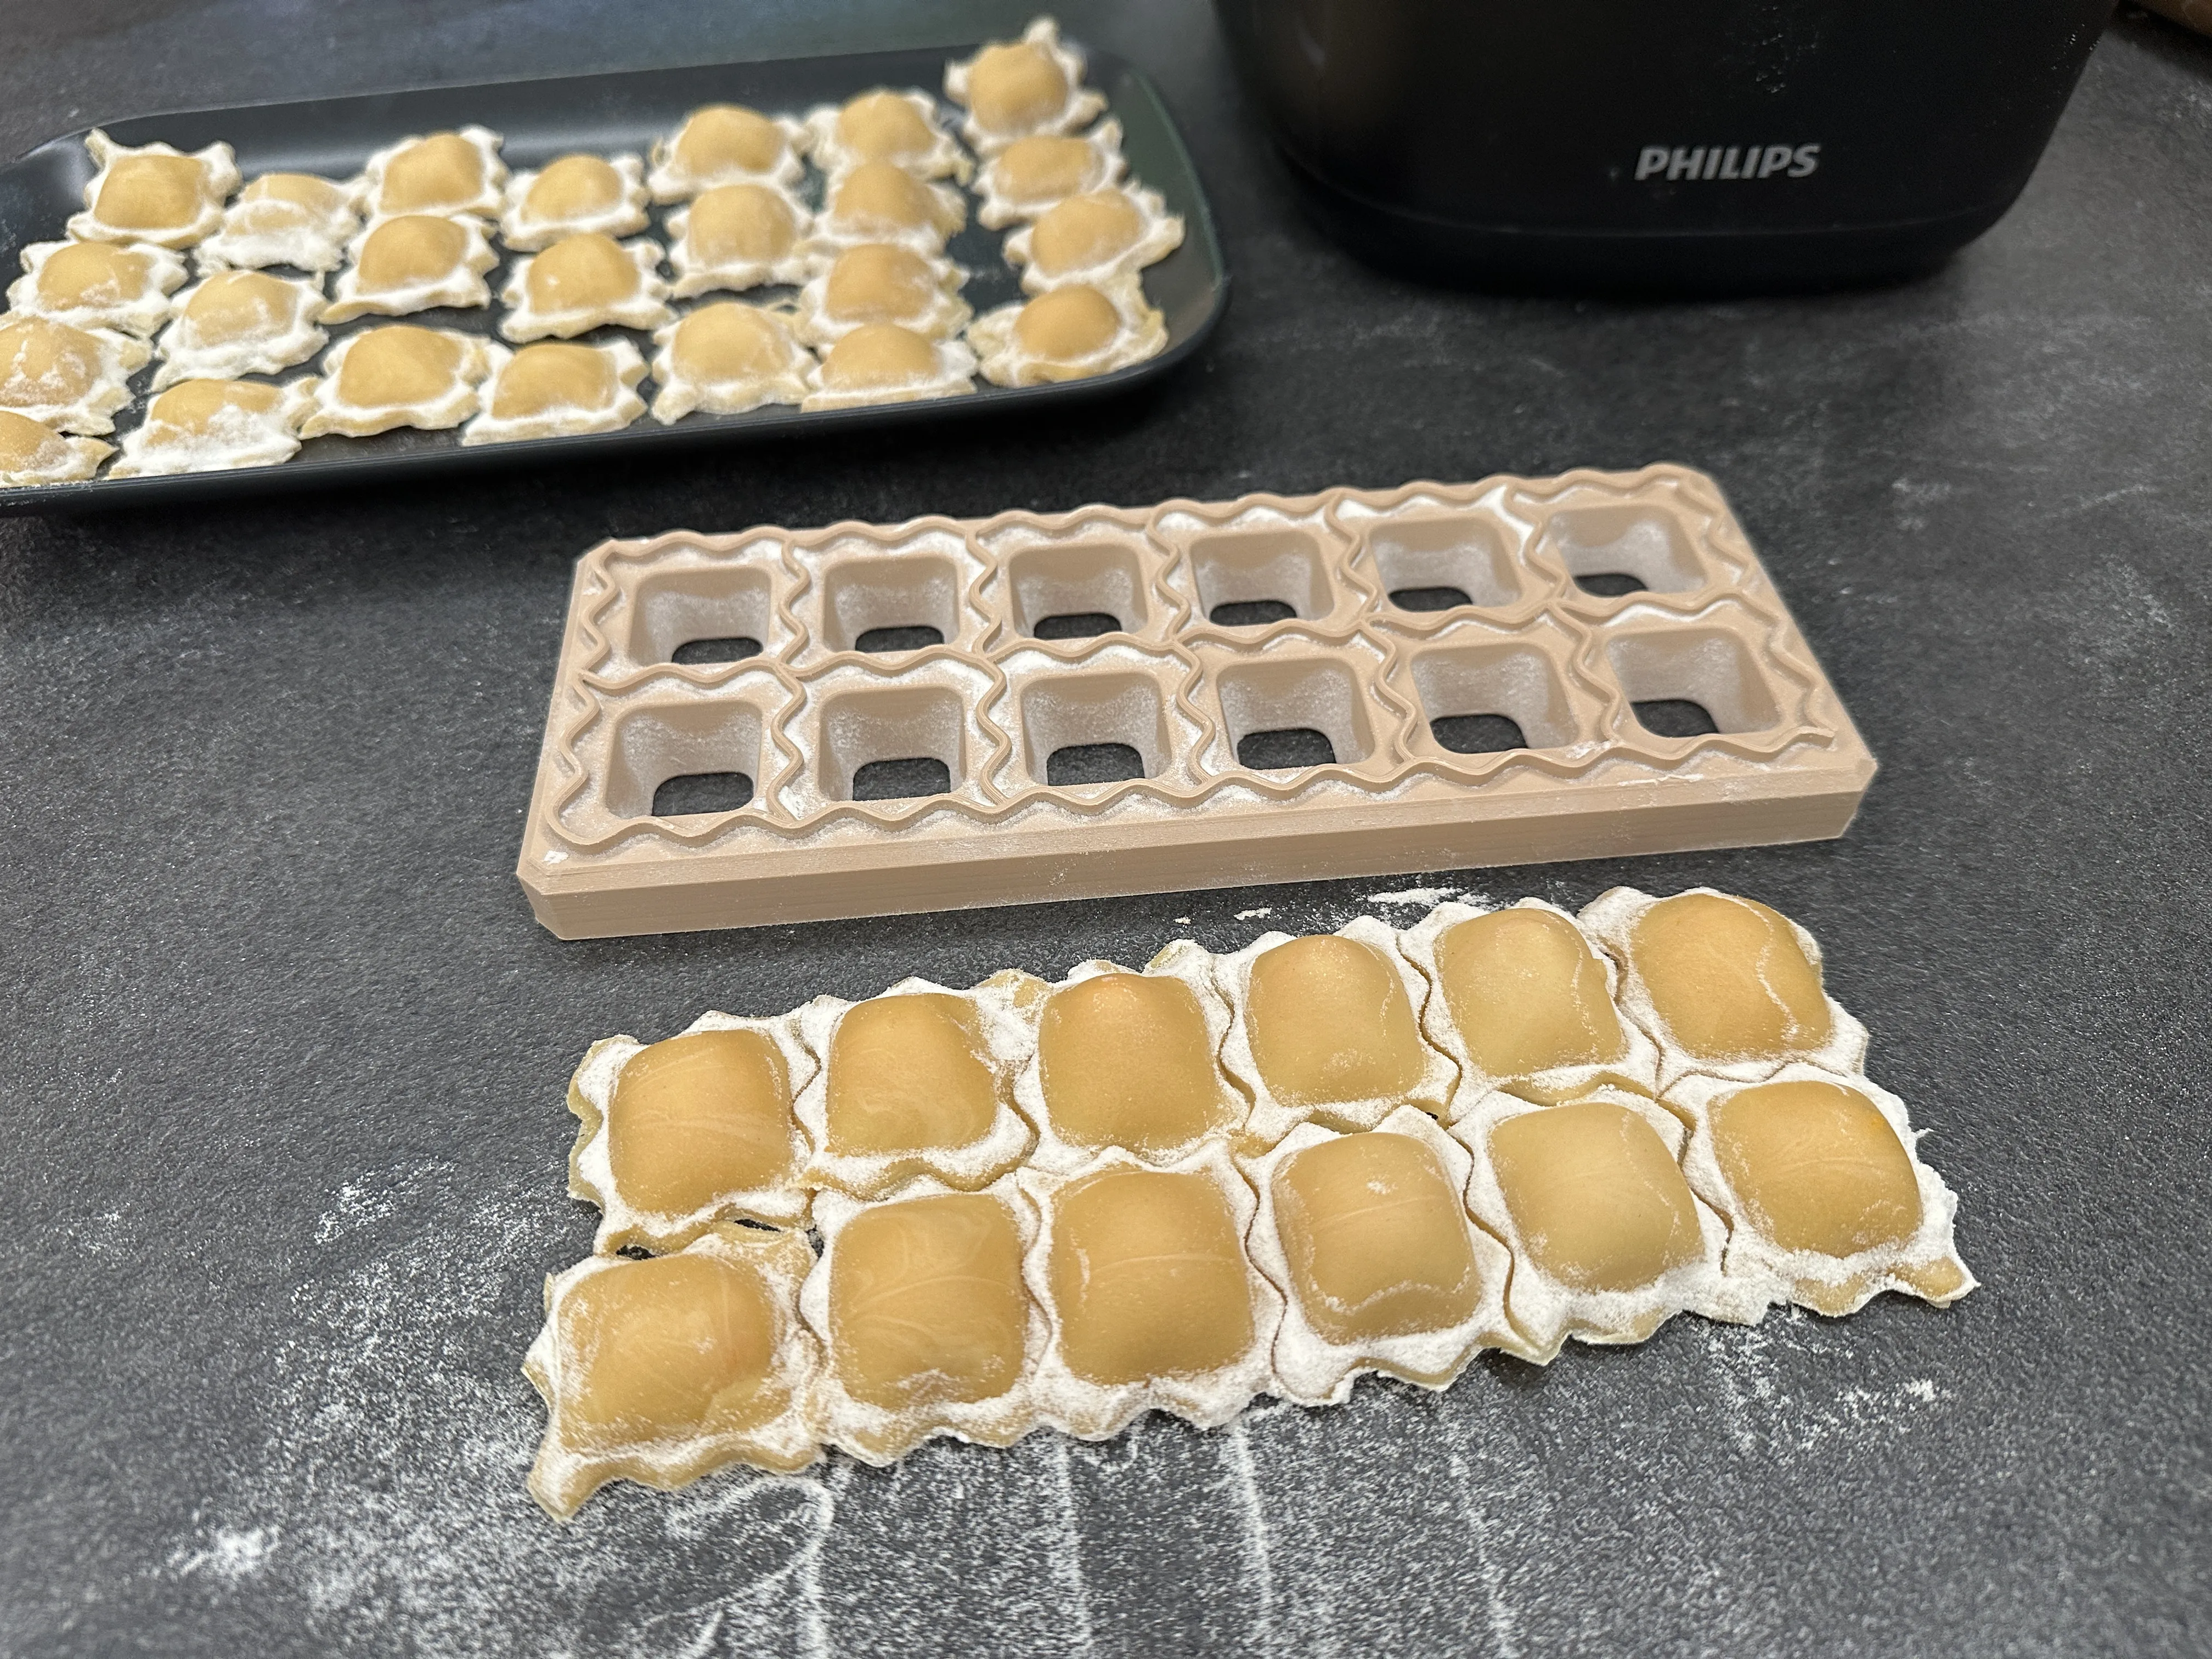
- Lift the sheet and separate the ravioli.
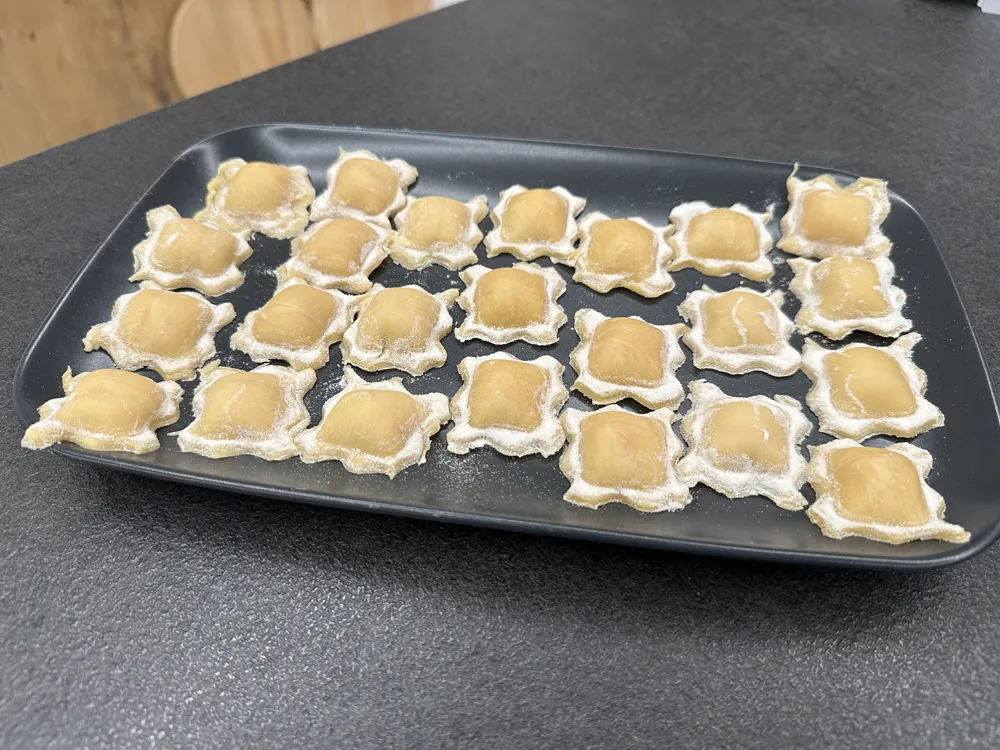
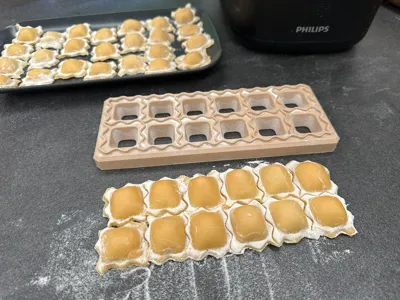
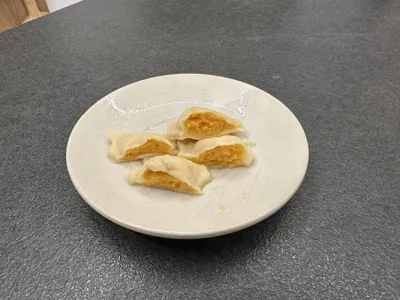
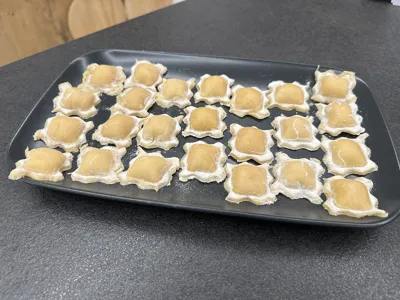
The mold allows you to make multiple ravioli at once, all with consistent size and shape.
Design Features
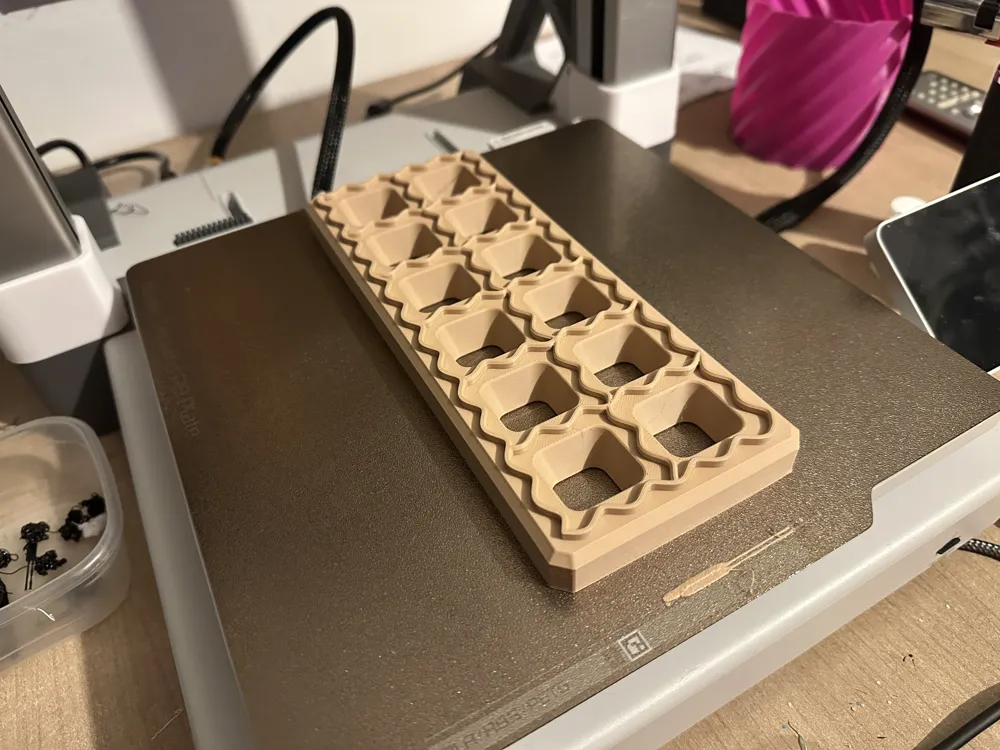
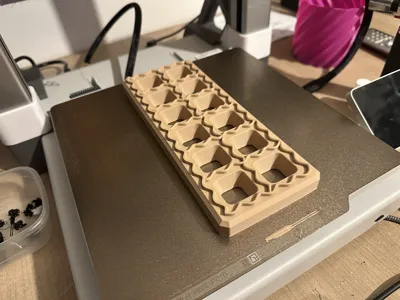
The mold pockets have a rounded square shape with a decorative sealing edge that:
- helps seal the ravioli properly
- gives them a beautiful handmade look
- keeps the size consistent
- makes separating the ravioli easier
The depth is designed to hold a generous filling, while still allowing the pasta sheets to seal well.
Developed Through Real Kitchen Testing
This was not a one-print design.
Several versions were printed and tested during real pasta-making sessions.
The spacing, depth, and edge shape were refined until the mold worked smoothly and efficiently.
The final version balances ease of use, clean separation, and minimal dough waste.
Perfect For
✔ Homemade ravioli
✔ Batch preparation
✔ Philips Pasta Maker users
✔ Handmade pasta lovers
✔ Reducing dough waste
✔ Consistent ravioli shapes
Tips for Best Results
- Lightly dust the mold with flour before placing the dough.
- Do not overfill the pockets.
- Use pasta sheets that are not too wet.
- Press firmly around the edges to seal the ravioli.
Boost Me (for free)
If you like my wifes design plese Boost Me
License

You shall not share, sub-license, sell, rent, host, transfer, or distribute in any way the digital or 3D printed versions of this object, nor any other derivative work of this object in its digital or physical format (including - but not limited to - remixes of this object, and hosting on other digital platforms). The objects may not be used without permission in any way whatsoever in which you charge money, or collect fees.


Comment & Rating (7)