
Print Profile(0)
Description
This design is one of the tests from our new 3D resin printing course
- Course info here https://control3d.net/curso-de-impresion-3d-con-resina/
- Subscribe here https://control3d.net/registrate/
Here is the complete guide for 3D resin printing:
Control3D Resin Exposure and Tolerance Test
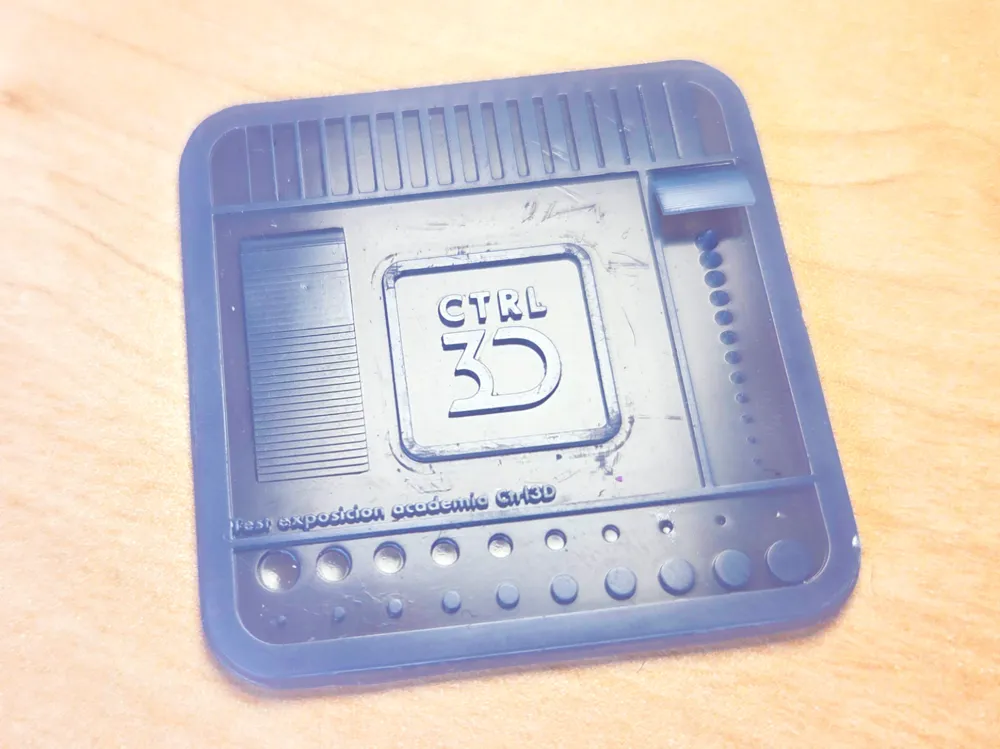
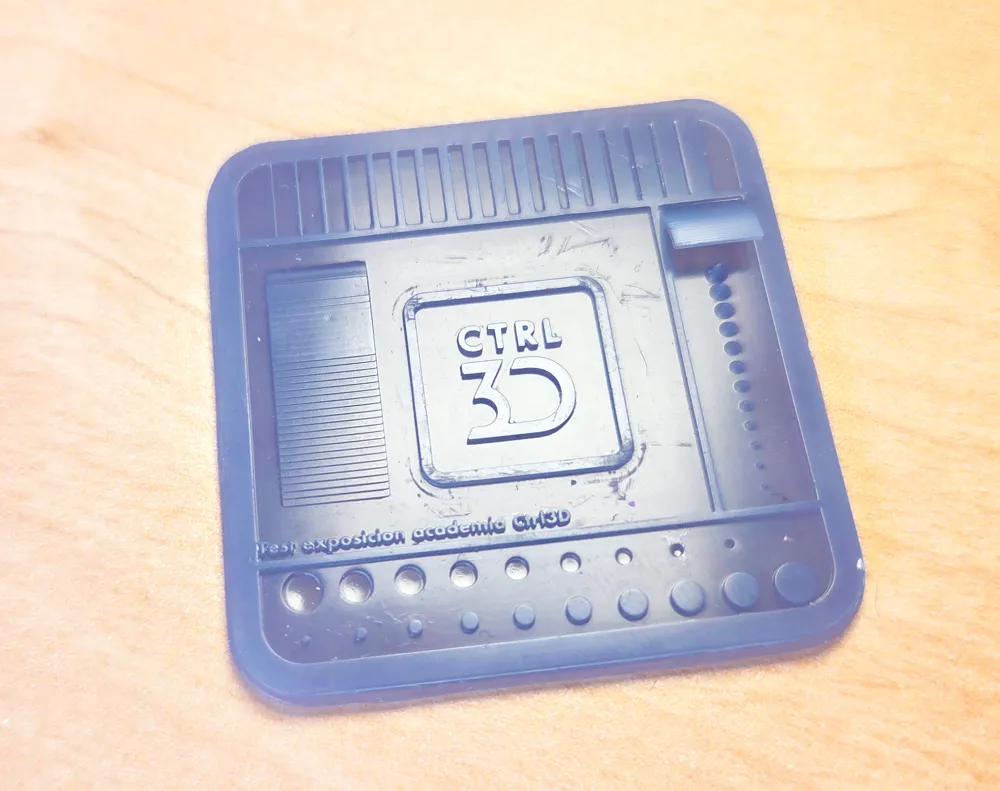
This test consists of two parts: the "exposure test," which is a card containing various elements to calibrate the ideal exposure time for resin printing:
- Scratch pattern with different spacings
- Cone pattern with different diameters and heights
- Cylinder and hole pattern at different diameters
- Text
- Logo
- Elevation ramp to observe layers
- Micro overhang test
It is a print that takes just 20 minutes and will save you headaches. The other part is a tolerance test, which is the negative of the central logo.
1. Print the exposure test until the text, all slots, the overhang, cones, and cylinders are well defined, and all holes are marked (holes may come out "blind" due to first layer compression).
2. Once the correct exposure time is found, slice the "tolerance test" part using the print settings obtained from the exposure test. Perform several prints, starting with the tolerance value at 0. If it does not fit, increase by 0.05 with each print until the tolerance part fits with the Control3D logo from the exposure test that was deemed correct
Documentation (1)
License

You shall not share, sub-license, sell, rent, host, transfer, or distribute in any way the digital or 3D printed versions of this object, nor any other derivative work of this object in its digital or physical format (including - but not limited to - remixes of this object, and hosting on other digital platforms). The objects may not be used without permission in any way whatsoever in which you charge money, or collect fees.


Comment & Rating (0)