Sliding Wallet V3. 6 cards and money clip


Print Profile(1)

Description
💳 Tactical Sliding Card Holder (6 Cards) + Money Clip | Reinforced Closure
Organize your EDC (Everyday Carry) with this minimalist high-security card holder!
This design is an evolution of traditional sliding card holders. It has been specifically redesigned to solve the most common problem: accidental opening. Thanks to its improved and reinforced closure system, your cards will remain securely in place, no matter how much you move.
✨ Main Features
- 🛡️ Enhanced Security Closure: The mechanism features tight tolerances and structural reinforcement that prevents the compartment from opening on its own or loosening over time.
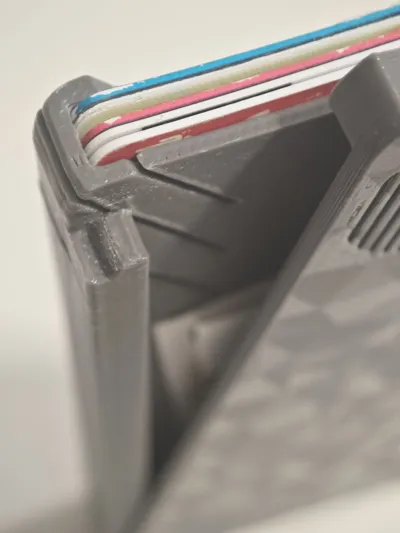
- 💳 Real Capacity for 6 Cards: Designed to comfortably accommodate up to 6 standard cards (ID, credit cards, passes) without forcing the mechanism.
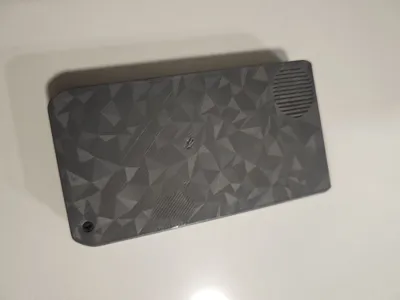
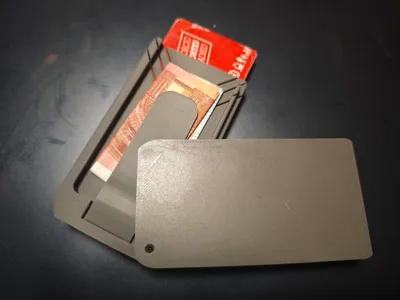
- 💵 Integrated Money Clip: The back includes a functional clip for carrying folded banknotes or an extra quick-access card.
- ⚙️ Smooth Deployment: The textured slide button allows for stepped deployment of cards for quick and easy selection.
- 💪 Robust Design: The upper notches (chevron type) add just the right tension to hold the cards without hindering their extraction.
🖨️ Recommended Print Settings
To ensure the functionality of the mechanism and the durability of the clip, I recommend the following settings:
- Material: PLA+ (recommended for rigidity), PETG (if you're looking for more flexibility in the clip) or ABS/ASA.
- Layer Height: 0.16mm or 0.20mm (for smoother sliding).
- Infill: 15%
- Walls (Perimeters): 2
- Supports: Yes, in the provided profile, but it can be printed without supports, although post-processing will be necessary for the parts to fit correctly.
🛠️ Assembly and Use
- Print all parts.
- If the mechanism is a bit stiff at first, slide it several times to "break in" the print layers.
- Insert an M2.5 Screw to hold the back cover.
- Insert your 6 cards and enjoy the security of the new closure.
This remix is based on
License
You may create derivative works based on this object, provided that all such derivative works are published exclusively on the MakerWorld platform and include proper attribution to the original creator. You may not share, upload, host, distribute, or publish this object—or any derivative work of this object—on any other digital platform, marketplace, or distribution channel. Commercial use of this object and any derivative works is strictly prohibited. This includes, but is not limited to, selling, renting, sublicensing, or using the object in any context in which you receive monetary compensation or other financial benefits.
Comment & Rating (10)