


Print Profile(1)

Description
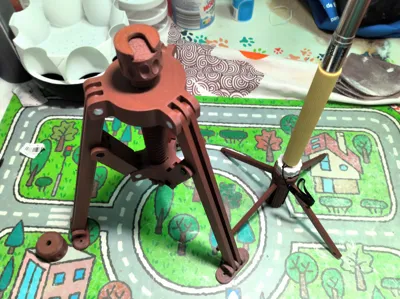
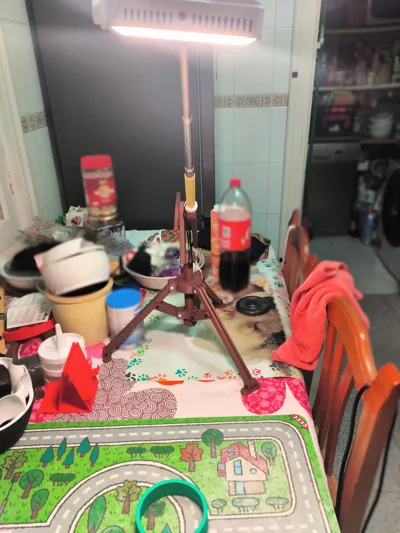
Side Arm Tripod - Adjustable and Large V2
I present to you the large, adjustable, adaptable, universal, and sturdy Side Arm Tripod you will find.
This design was developed and conceived for all possible uses. Intended for semi-professional projects that require professional features for lights, microphones, speakers, and more.
Features:
- Compatible with 1/4 Inch Screw Tripod Adapter to Hot Shoe Mount.
- Compatible with 1/4 Inch Screw.
- Sturdy, reliable, and compact design.
- Compatible with Lights, Microphones, background lights, Cameras, Smartphone.
- Large and reliable size.
- Capable of supporting more than 2 Kg of weight.
- Features various interchangeable heads for use.
- Adjustable height, Adjustable angle, Adjustable leg spread.
- Easy to assemble.
- Low filament consumption, 100% printed (optional 2x 30mm M3 screws).
Printing characteristics:
- Recommended Filament: PETG or PLA.
- The model presented is printed in PLA, except for the pins which are printed in PETG.
- Walls: 3
- Infill 10%.
- Supports: Yes (Tree and only in contact with the surface / Critical areas).
- Model size 220mmx220mm.
Boost Me (for free)
Thank you for choosing my model, your support helps me continue bringing more complex models,
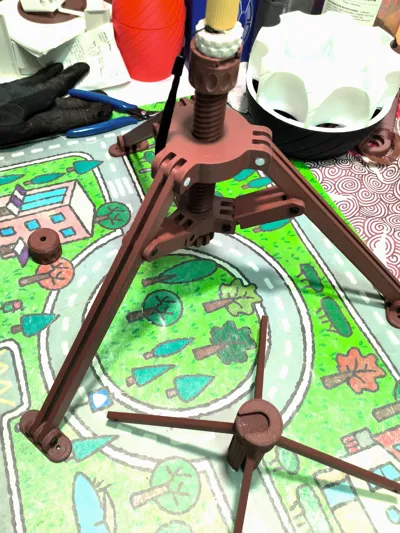
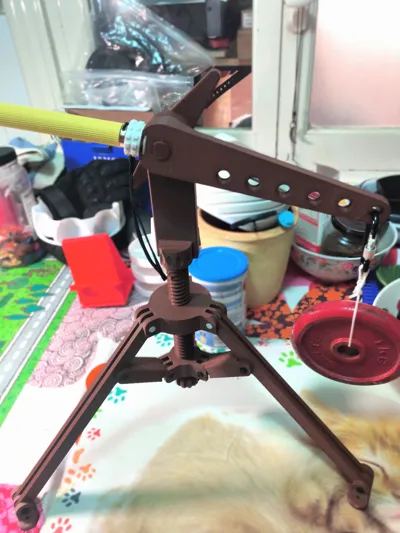
ASSEMBLY
For assembly, it is important to have all the main body components at hand; the other 3 parts of the side arm are last and are easy to assemble.

1) First, clean the holes for overhangs, loose filaments, or threads inside the holes where the pins that will hold everything in place will go.

2) Second, take into account the type of filament you are using, certain filaments tend to have greater horizontal expansion than others.
Note: I decided to change the initial PLA pins for PETG ones for greater convenience. If you don't have PETG, there's no problem.


3) Third, place the tripod legs on the main body with the side holes facing inwards.
It is important to center the internal holes with the external ones on the body for easier assembly.

4) Fourth, insert the pins into the main body.
Both the pins and the holes have a specific shape in which they must be placed with the flat side facing upwards.

5) Fifth, now repeat the first step in the lower body's holes.
IMPORTANT: release the rotation of the lower body; it has a tolerance of 0.2, with a small twisting movement it can be detached and rotated freely.

6) Sixth, similar to the main body, the lower tripod arms must be aligned.
Leaving the flat part inwards. And finally, insert the pins.

7) Seventh, with both parts assembled, you are closer to the end than you think.

8) Eighth, now for the feet, the points where the tripod will rest all its weight.
clean the hole in the same way and insert the pins.

9) Ninth, now it's time to join the top and bottom parts. This is achieved by first carefully screwing the bolt into the hole by hand, once sufficiently threaded, we will try to center the leg holes with the lower arm holes.
Once centered, insert the pins into the holes.

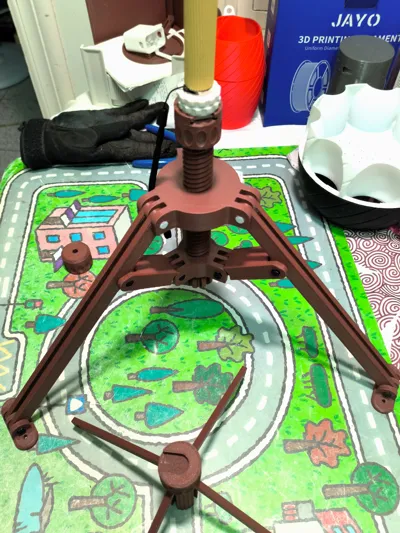
10) Tenth and last, we will place the knob in the lower hole, fitting its shape and holes. Using 30mm M3 screws is optional but increases resistance to rotation; you can also glue it with silicone or cyanoacrylate.

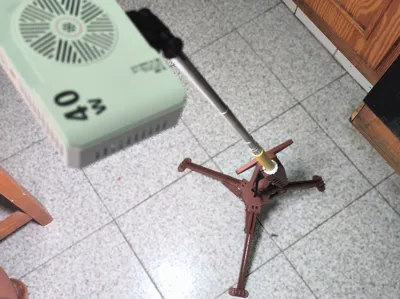
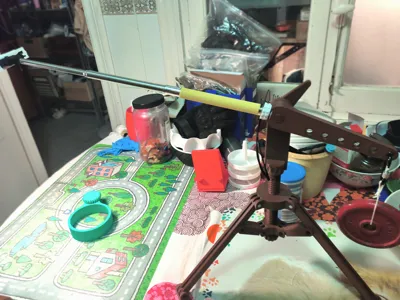
SIDE ARM ASSEMBLY
For this, the oscillating side arm must be placed horizontally and centered on the circular protrusion of the arm.
And finally, place the screw that adjusts the body and the oscillating arm from behind.

IMPORTANT: The weight of the counterweight is important; a minimum of 1kg is required for approximately 1m extendable rods with a 200gr object at their furthest end.

License
You shall not share, sub-license, sell, rent, host, transfer, or distribute in any way the digital or 3D printed versions of this object, nor any other derivative work of this object in its digital or physical format (including - but not limited to - remixes of this object, and hosting on other digital platforms). The objects may not be used without permission in any way whatsoever in which you charge money, or collect fees.
Comment & Rating (2)