
YT Capra Core 1 - 4 Series
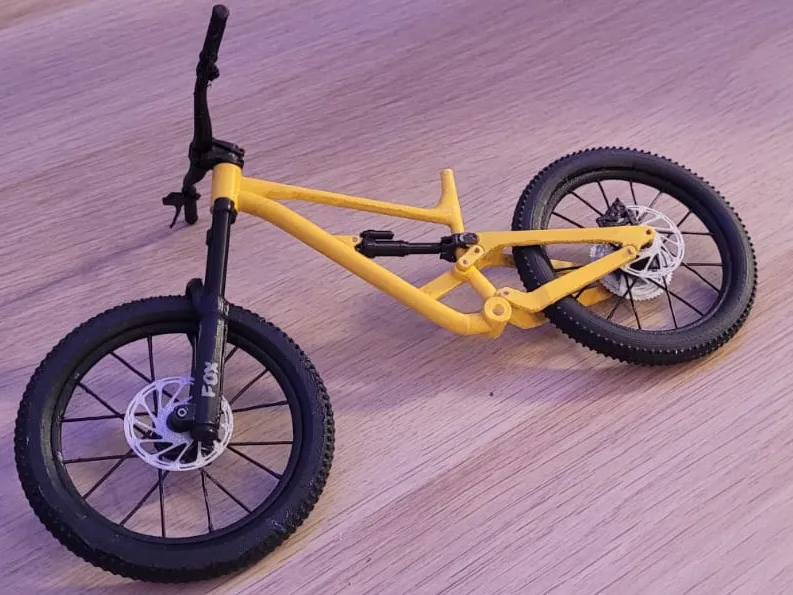
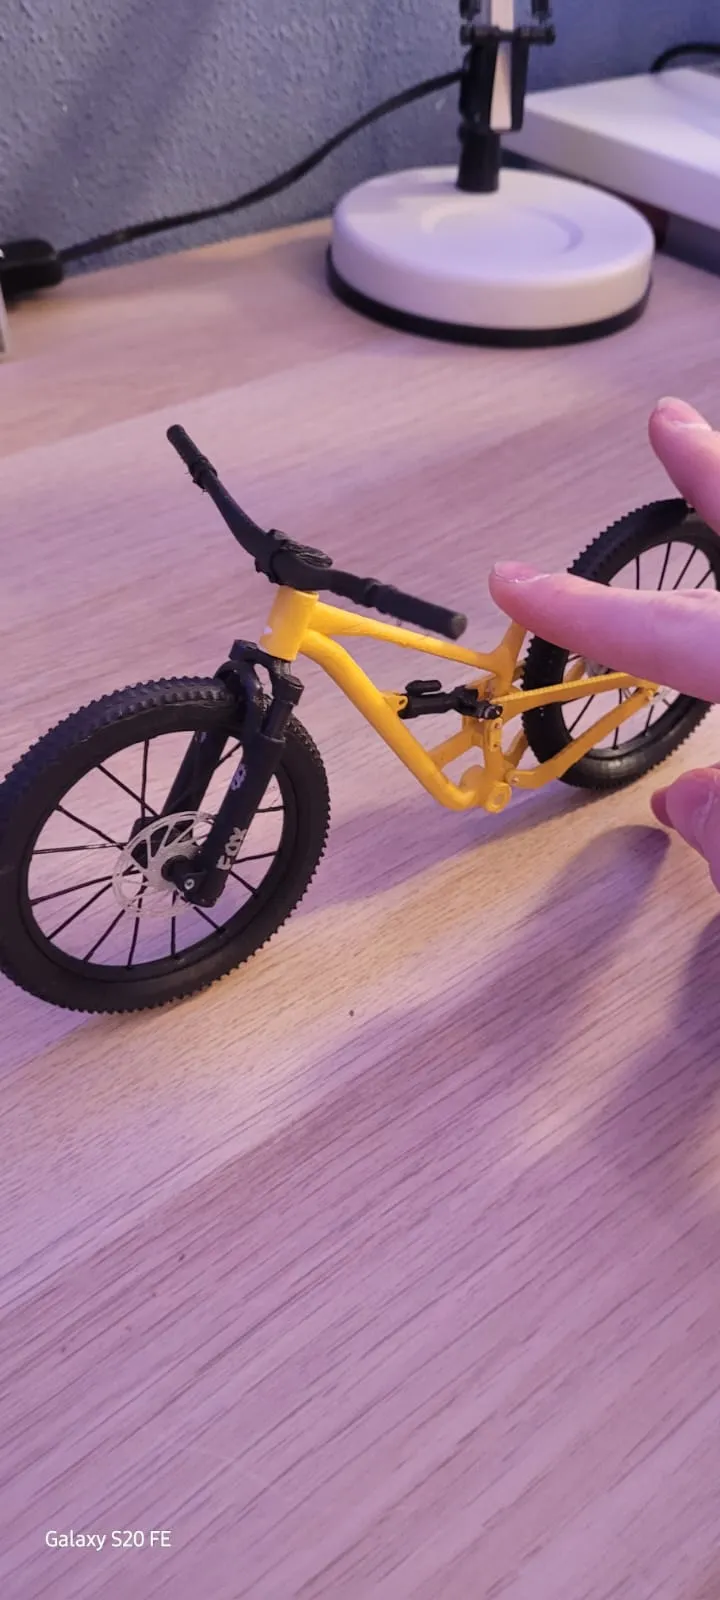
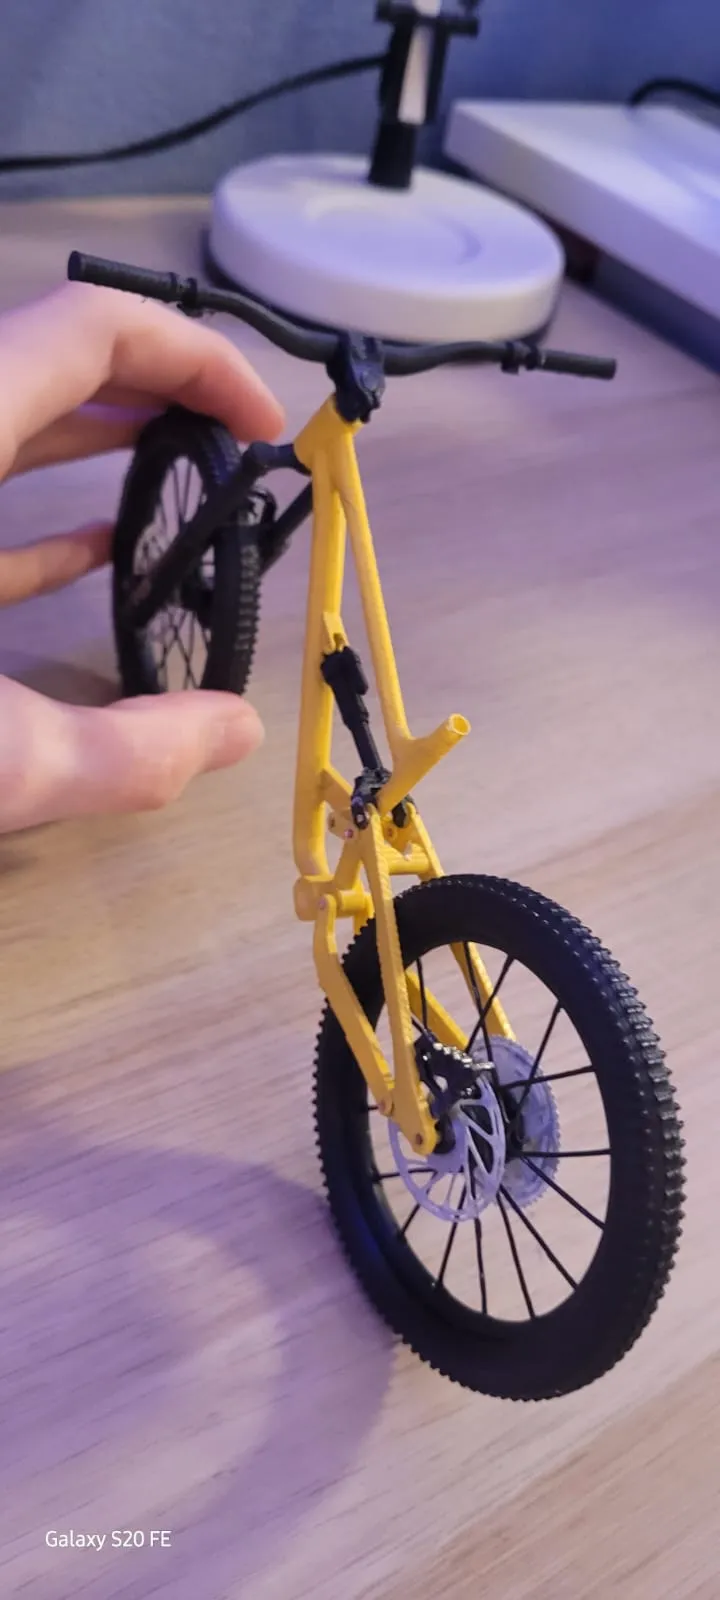
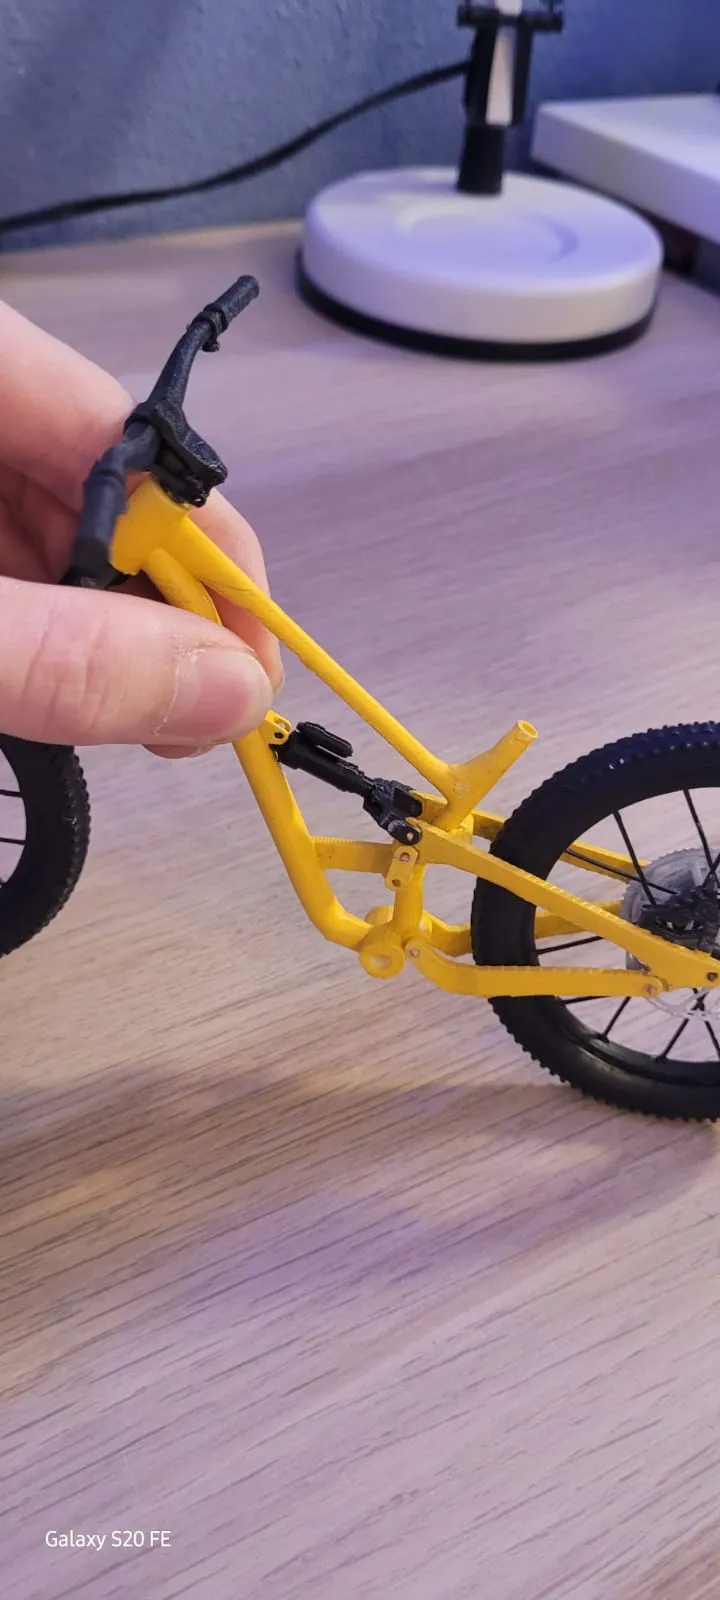
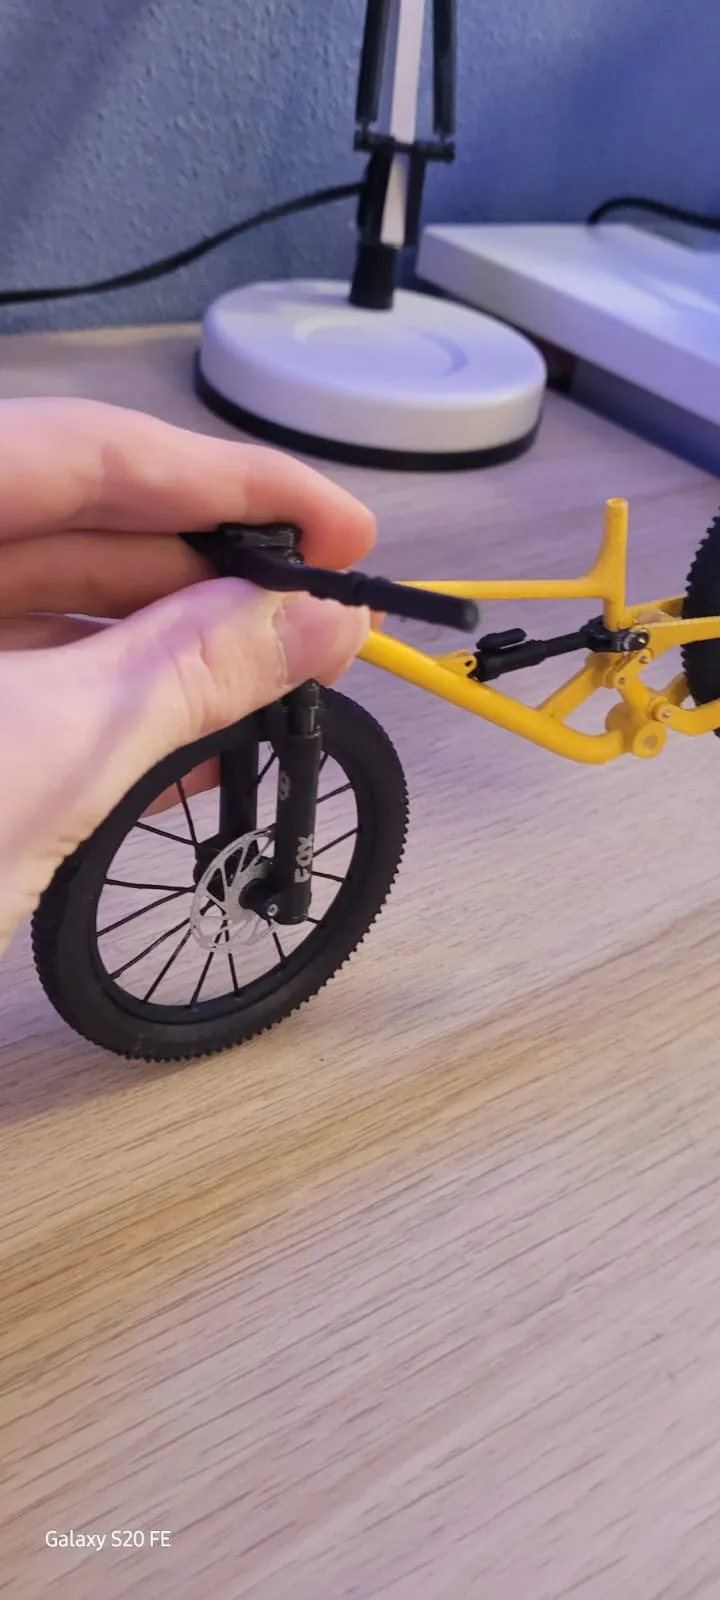
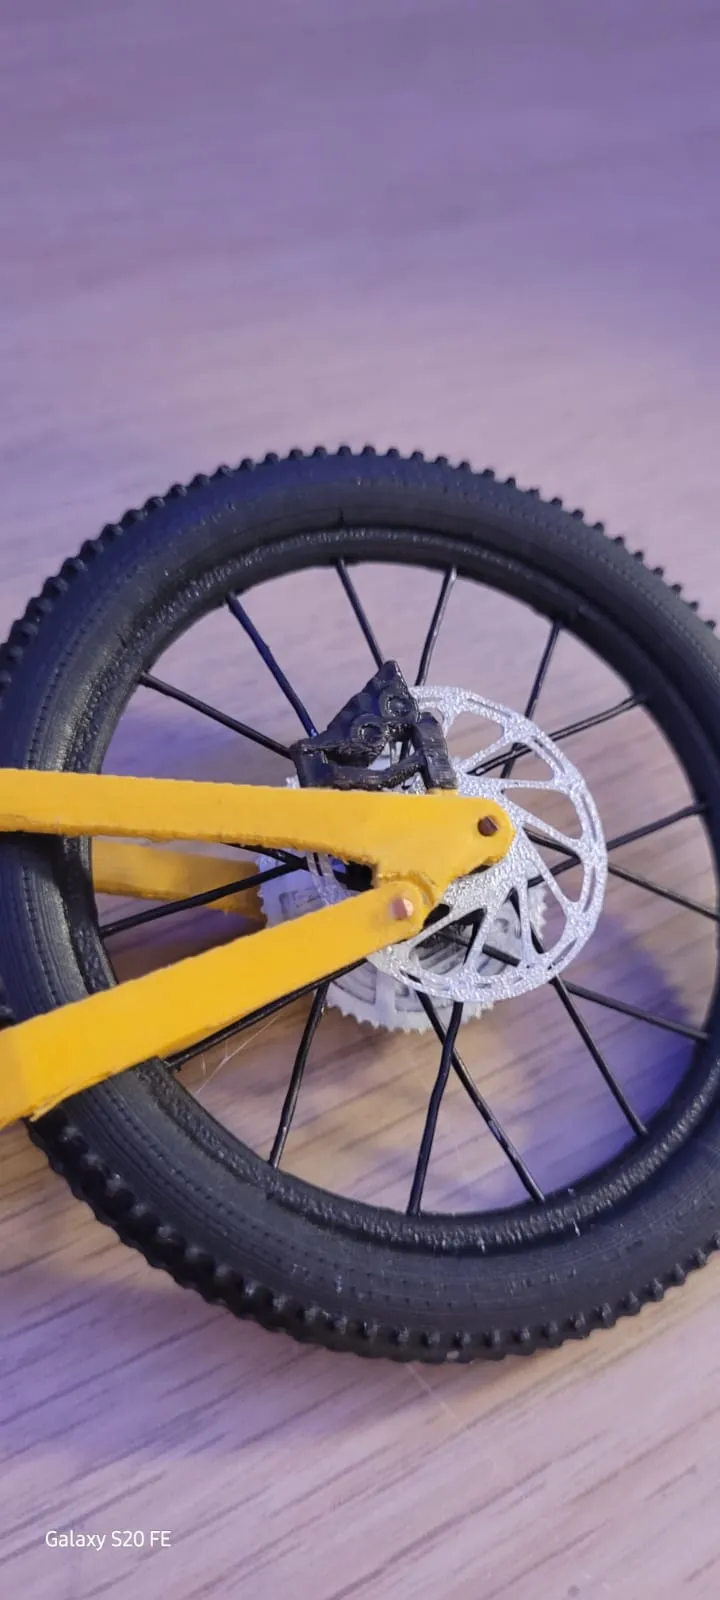
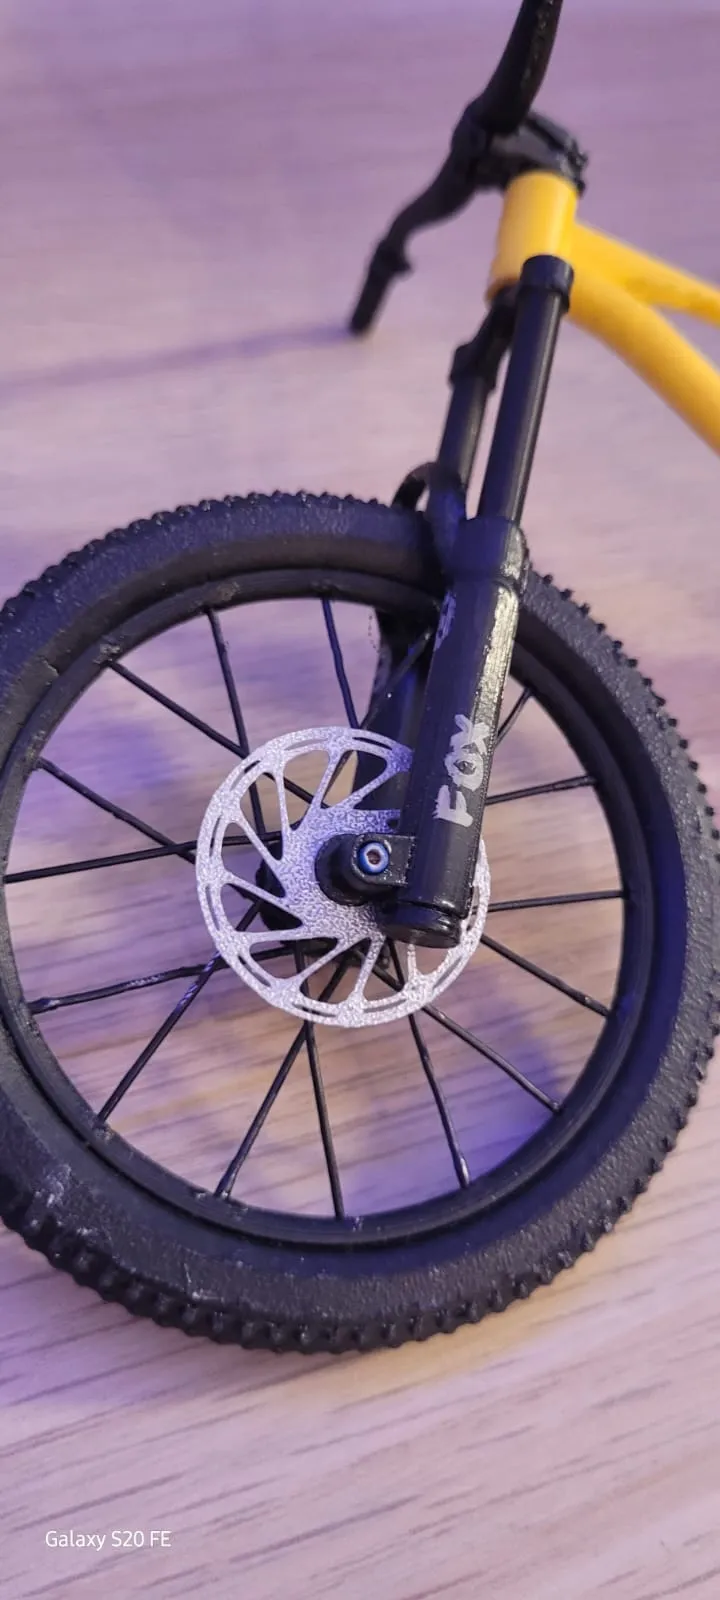
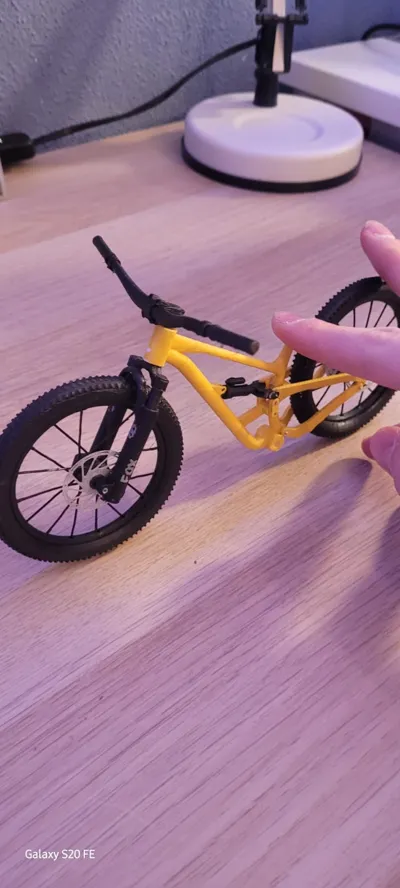
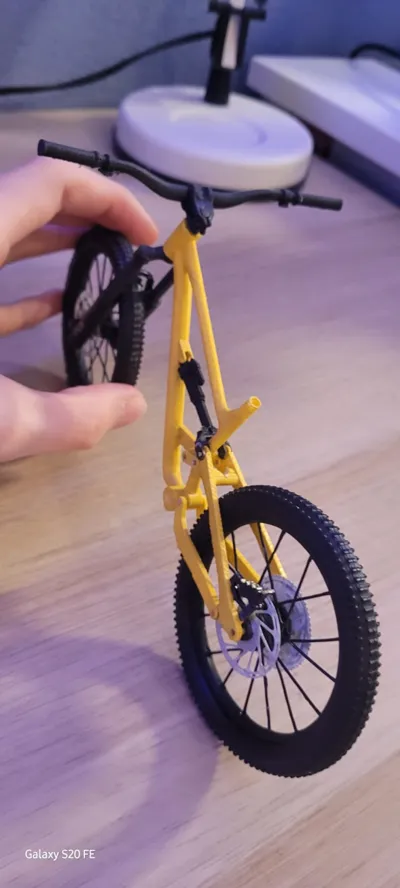
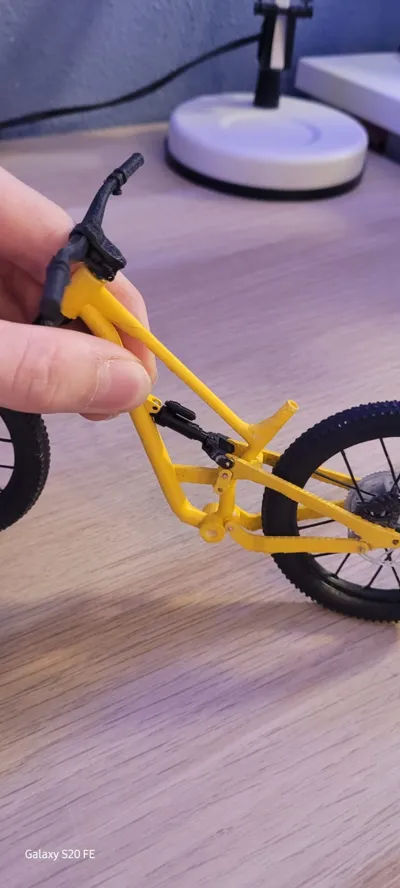
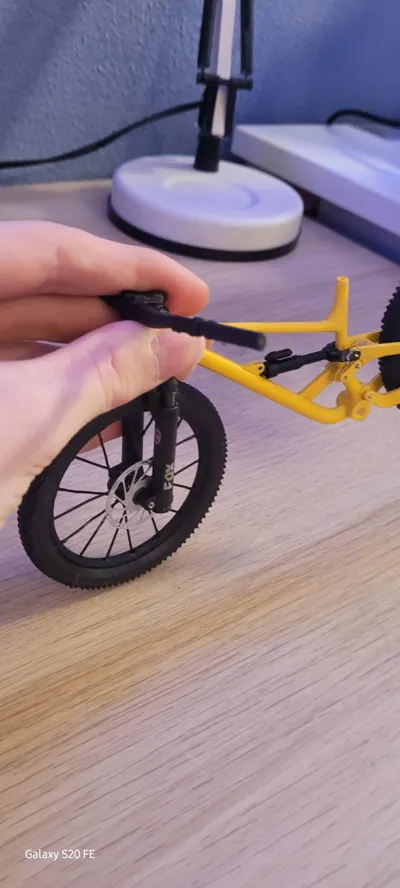
Print Profile(1)

Description
Aha. So you want to build one of my miniature mountain bikes. Okay. Then DEFINITELY READ THE
DESCRIPTION!!! I'll start now. This is a ( Bike Name
( Model etc. ) ) from ( Model Year ). You will need the following items:
https://www.hornbach.de/p/mantelleitung-nym-j-5x1-5-mm-50-m-grau/846297/
IMPORTANT: IF YOU ONLY WANT TO BUILD ONE OF THESE BIKES, DO NOT DIRECTLY BUY
THE 30-PACK OF BALLPOINT PENS, AND ONLY GET THE PAINTS AND GLUE AND
BRUSHES AND OTHER ACCESSORIES YOU NEED FOR ONE BIKE. OTHERWISE IT IS
ABSOLUTE WASTE. REGARDING THE BALLPOINT PENS,
I ONLY LINK WHAT I HAVE LINKED BECAUSE I KNOW IT WORKS WITH THEM. You are welcome to buy similar-looking ballpoint pens, but I do not guarantee
that it will work 100% with them.
Also important:
Tolerances:
If the tolerances still do not fit perfectly, I recommend CAREFULLY increasing the tolerances
with sandpaper, a Swiss Army knife, a scalpel, or other model-making
knives. If the tolerances are too large, I would be
happy if you could leave a comment with a photo on MakerWorld on the respective
model, showing the exact part and the precise spot where the tolerance does not
fit (of course on the picture and the comment would then simply say: revise tolerance), so that I can revise it. BUT PLEASE CHECK FIRST, IS THERE PERHAPS
ALREADY A COMMENT SHOWING THE SPOT I WOULD HAVE REPORTED MYSELF!!!
Otherwise it will be utter chaos ;)
Wheels:
I have attached a PDF that explains how to assemble the rims. Everything is explained in detail
there. You will also need my “SPOKING MODULES” for this. These can also be found on my
MakerWorld account. These must be fitted with the linked wire (not stripped) in the
middle. This may still need to be secured with hot/super glue.
Suspension:
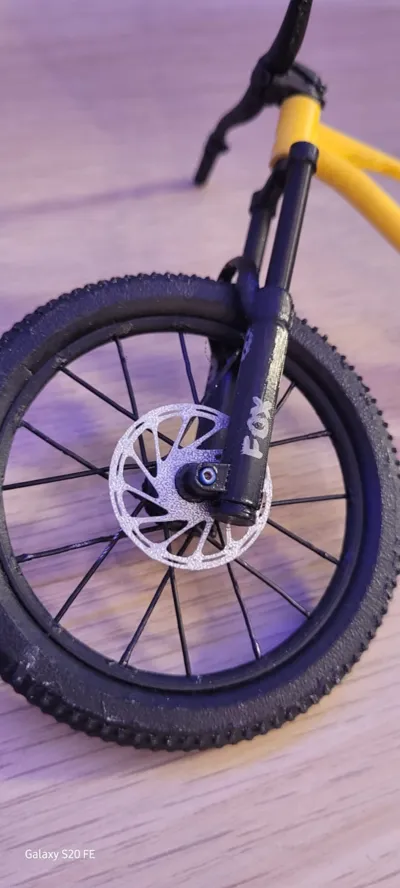
You must insert the springs from the linked ballpoint pens into the fork and the shock absorber.
For the fork, there are end stoppers at the bottom. You must insert the long
tubes (with a thickening at the bottom) FROM BELOW into the so-called casting (the lower unit
of the suspension fork). The groove at the bottom ensures that the tube cannot escape upwards. When both tubes are in the casting, insert a spring into ONLY ONE side (you cannot get the springs out of the ballpoint pens without destroying the
ballpoint pens (hence the fuss at the beginning about waste)), then
glue the stoppers onto both sides. Then simply push the fork crown onto the
stanchions until, on the spring side, the fork crown is approximately 2 mm above the casting when fully compressed. Then continue pushing in the “non-spring side”
until both sides protrude equally above the fork crown. Then just cut off the rest
(maybe in the future I'll make the tubes long enough so you don't have to cut anything off), and done (for downhill bikes, just do the same, but insert the 2
fork crowns directly into the frame, and then do the same as with normal bikes.
(the LOWER fork crown must be 2mm above the casting))
The principle is similar for air shocks.
For coil shocks, I will add a chapter to the PDF.
Frame:
You must strip the insulation from the linked wire (the one that is linked) and cut it into
2mm pieces to fit into the small holes. Then glue these into the spots marked in the instructions
(superglue (actually only on the rear triangle (you need 6 pieces, for the rest simply strip the
wire completely, glue it, and then cut it off))). I also think that
any normal person could assemble the bike almost without instructions by thinking a little.
Handlebar:
If the handlebar's tolerance to the steerer tube doesn't fit, simply apply a bit of Scotch tape or
other adhesive tape to the steerer tube and then secure it with superglue.
Also IMPORTANT:
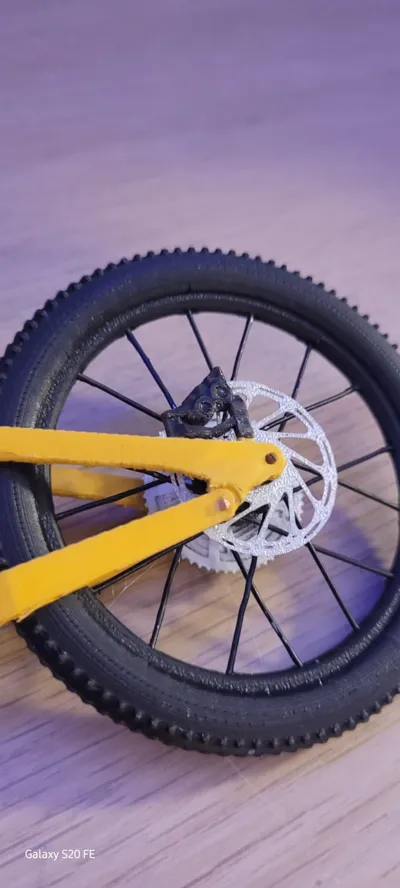
If you carefully bend the spokes (1 mm at the 90-degree angle (shorter end)), you will have
less trouble with fit, as the cassette should then rest precisely on the wheel hub. For the derailleur, you must use superglue to attach it to the spot marked in the
PDF. It is possible that you may need to modify the lower unit of the suspension fork (differently with each print (without changes to
the model files)). I
simply printed one of the fork tubes (those that disappear into the casting when compressed)
separately and covered it with sandpaper. This can then be pushed into the casting
to work on the tolerance. If it is a “SERIES” bike model, you will have to
do a bit more than with other bikes. You merely need to look up the bike
series online, go through the different models, and then decide on one
that you want to build. Then you need to check which components are
installed on the real bike, how the real one is painted, etc., and accordingly design the bike
you want to build. For SERIES bike models,
I will always create all versions of model files, so you only have to select the
appropriate shock absorber / suspension fork / etc. that you want to install. I generally recommend printing all shock models, suspension fork castings, etc., and then deciding under a
magnifying glass which shock should represent which real shock (same principle for the rest), and then installing the selected components and keeping the rest
if you want to build another bike. I am also happy to design new models that
you suggest to me via MakerWorld, meaning you can write to me privately via
MakerWorld about which bike I should make next, and if I agree,
it will soon be online on MakerWorld. I MAKE
EXCLUSIVELY MOUNTAIN BIKES AND NOTHING ELSE. NO ROAD BIKES/
GRAVEL BIKES, AND NO MOUNTAIN BIKES WITH COMPLICATED REAR SUSPENSION SYSTEMS!!!
But whether I do it or not, you will find out then.
Additionally, you must insert the linked wire into the saddle tube, stripped beforehand of course!
ABSOLUTELY EXTREMELY IMPORTANT:
YOU MUST USE A 0.2 MM NOZZLE, OTHERWISE NOTHING WILL WORK.
I HAVE ALREADY TRIED IT. SO: USE A 0.2 MM NOZZLE.
IF YOU CLEAN YOUR PRINT BED BEFORE AND AFTER PRINTING, YOU WILL GET
SIGNIFICANTLY BETTER RESULTS. THE USE OF 3DLAC IS HIGHLY
RECOMMENDED. IT SIMPLY WORKS MUCH BETTER WITH IT.
DO NOT PRINT FASTER THAN 100% UNDER ANY CIRCUMSTANCES. LEAVE THE
SPEED AS IT IS, AND YOU WILL GET GOOD RESULTS.
HOWEVER, I DO NOT RECOMMEND USING THE 50% MODE DIRECTLY, AS I HAVE
DONE IT MYSELF ONCE AND IT DID NOT REALLY YIELD A BETTER RESULT.
IF YOU NOTICE THE PRINT HAS FAILED, THEN TRY IT
WITH THE PRINTER'S 50% MODE.
YOU ALSO NEED A LOT OF PATIENCE AND ATTENTION TO DETAIL. IF YOU
RUSH TO ASSEMBLE THE FRAME, IT WILL VERY VERY
LIKELY BE AN XXL FAIL!!! BETTER TO BE A BIT SLOWER AND THOUGHTFUL, THAN
RUSHED. YOU WILL NEED MORE THAN A DAY TO COMPLETELY BUILD THE BIKE ANYWAY,
SO YOU DON'T HAVE TO STRESS. HOWEVER, IF YOU MANAGE
TO BUILD ONE OF MY BIKES IN ONE DAY, AND IT IS ABSOLUTELY COMPLETE, AS SOON AS
ANY PART IS MISSING, OR ANY SPOT IS NOT PAINTED AS
IN THE ORIGINAL (MINIMAL DEVIATIONS ARE FINE, BUT IT MUST BE VERY SIMILAR TO THE ORIGINAL), IT DOES NOT COUNT. SO, IF YOU MANAGE TO ASSEMBLE IT
COMPLETELY IN 24H, THEN COMMENT ON IT, WITH A PICTURE, THAT
YOU DID IT IN 24H, AND I WILL PIN YOUR COMMENT (IF POSSIBLE).
YOU CAN ALSO, AS SOON AS I HAVE UPLOADED IT TO MAKERWORLD,
PRINT A DISPLAY STAND. THE DISPLAY STAND IS FOR PLACING THE MINIBIKE
ON A SHELF.
I ALSO RECOMMEND SPRAYING THE FINISHED WHEEL, AFTER SPOKING (YOU
MUST ALSO GLUE THE SPOKES), WITH BLACK SPRAY PAINT,
AS THE SPOKES WILL THEN ALSO BE BLACK.
NOW, I WISH YOU EXTREME SUCCESS AND MUCH PATIENCE,
YOUR Milo3dDruck
Documentation (1)
License

You shall not share, sub-license, sell, rent, host, transfer, or distribute in any way the digital or 3D printed versions of this object, nor any other derivative work of this object in its digital or physical format (including - but not limited to - remixes of this object, and hosting on other digital platforms). The objects may not be used without permission in any way whatsoever in which you charge money, or collect fees.


Comment & Rating (5)