
CYBERPUNK Storage Stacker
Print Profile(4)







Description


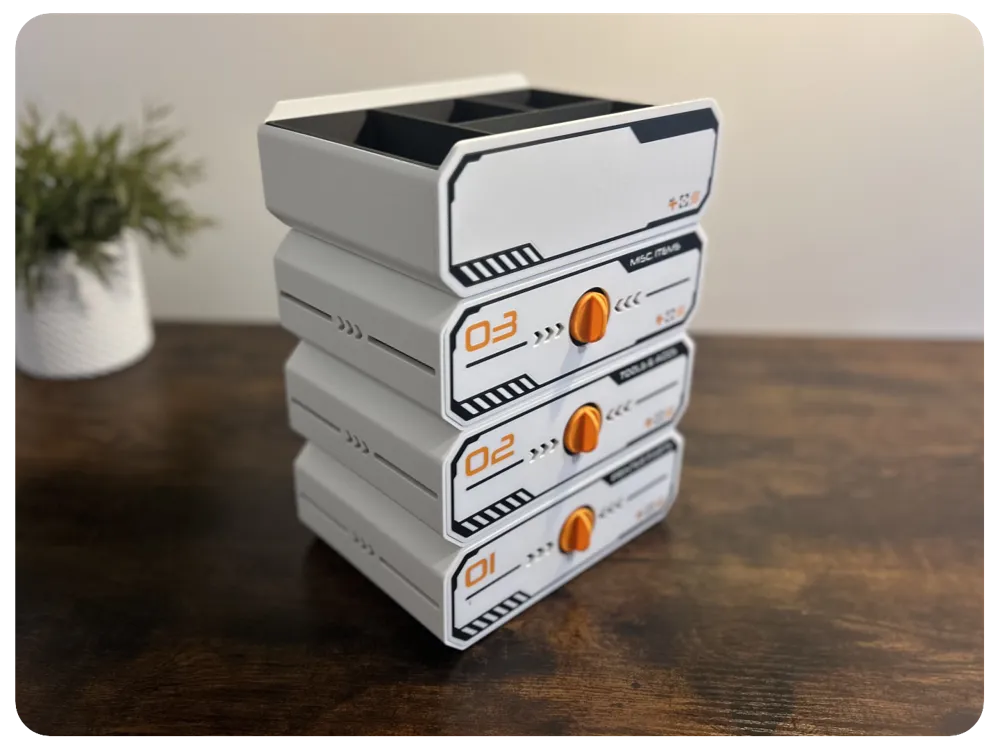
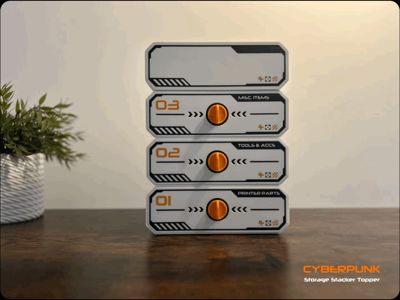
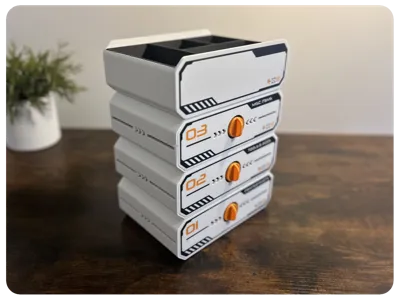
UPDATE 09/11/2025: NEW ‘Topper’ added. Complete your CYBERPUNK Storage Stacker with this handy open storage tray.
Introduction

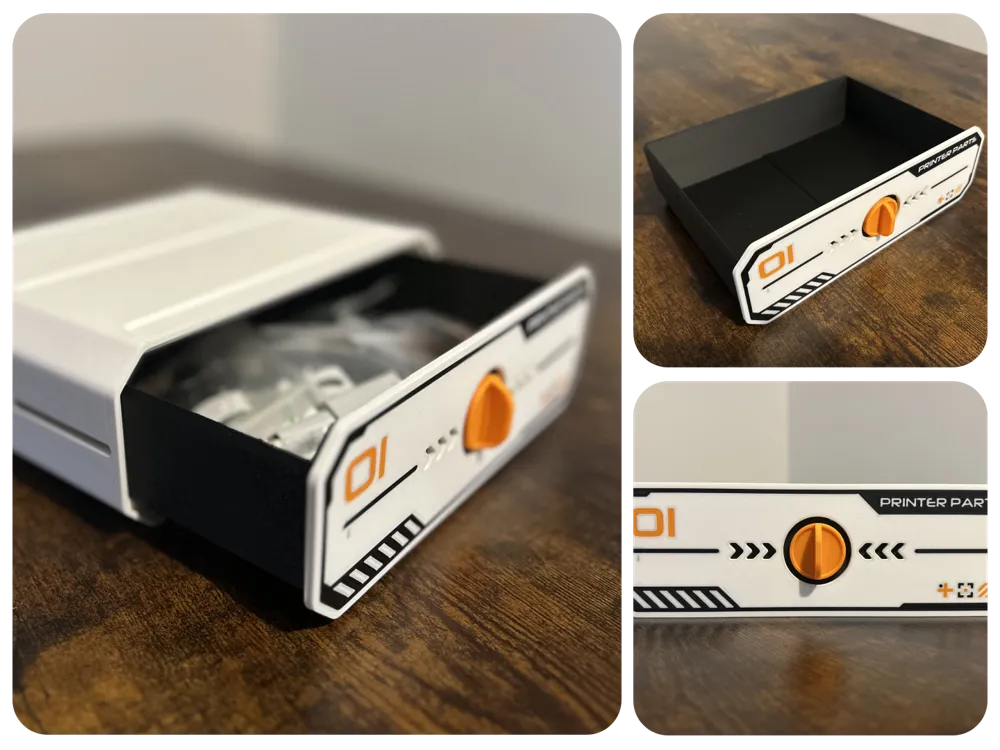
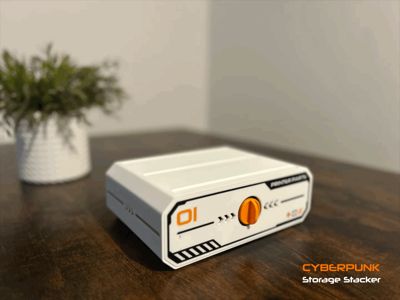
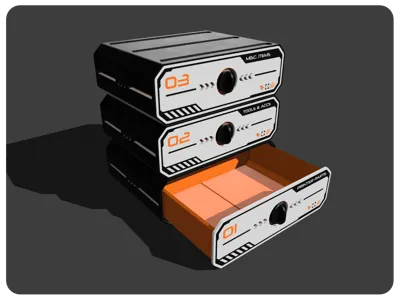
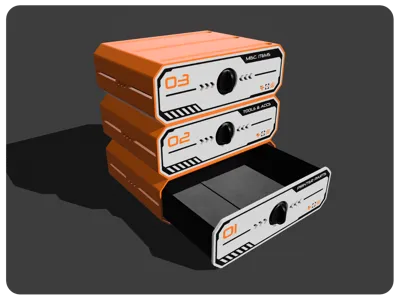
Cyberpunk Storage Stacker – Step into the neon glow of tomorrow with the Cyberpunk Storage Stacker, a modular storage system that looks like it was ripped straight from a futuristic hacker’s workstation. Whether you’re storing tech trinkets, maker tools, or classified data chips (we won’t ask), this stackable storage solution brings bold Y2K-inspired style and practical organisation to your setup.
Each unit is a fusion of retro-futuristic flair and functional design, featuring layered panels, angular accents, and that unmistakable cyberpunk energy — think neon streets, chrome edges, and holographic vibes. Stack them, mix them, and build your own desktop megacity of organisation.
Features & Highlights
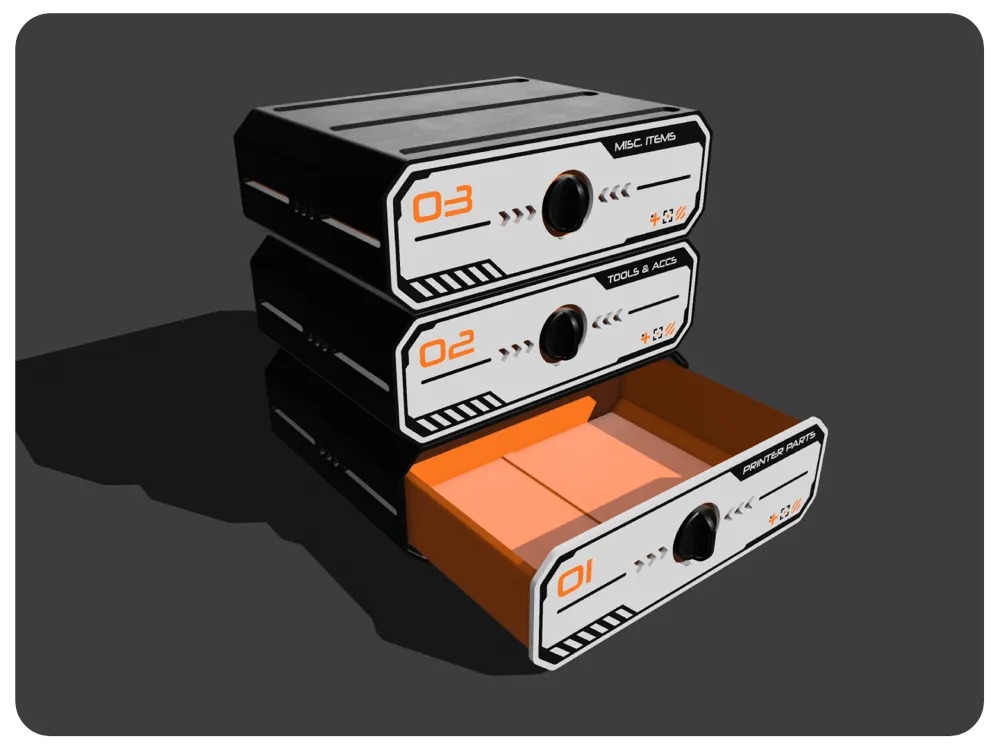
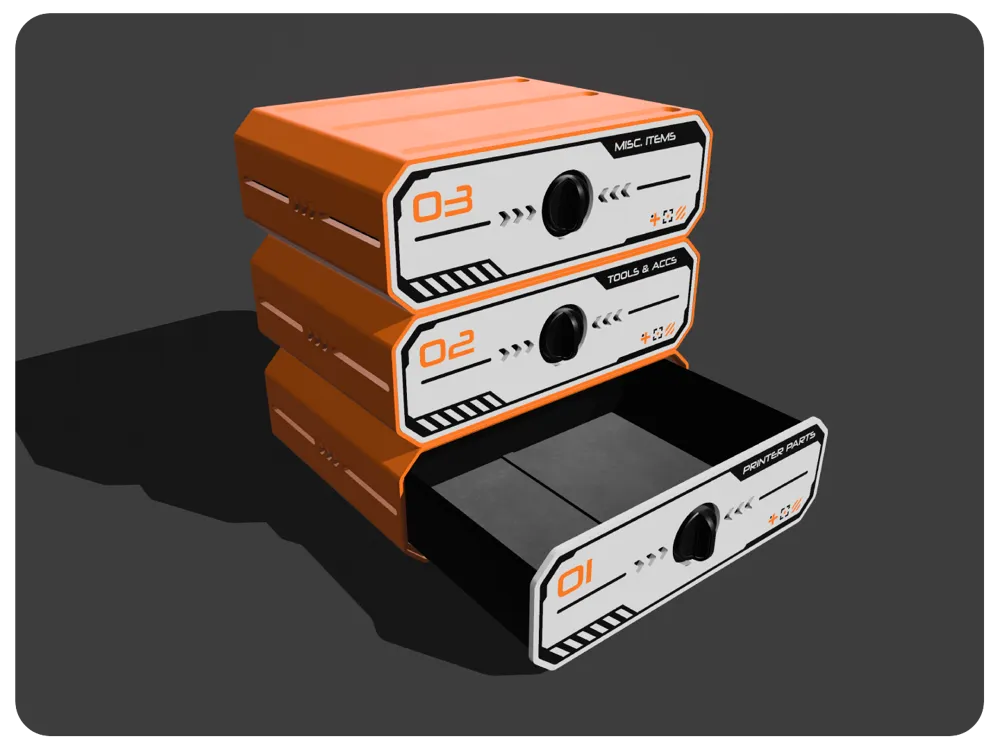
- Modular Stackable Design: Interlocking units stack together seamlessly — build your tower of organisation as high (or as chaotic) as your cyber-heart desires.
- Retro-Tech Aesthetic: Inspired by Y2K computer graphics, neon signage, and old-school tech interfaces — it’s the perfect blend of nostalgia and the future.
- Customisable Text: Using your slicer software, edit the ‘Number’ and the ‘Label’ to suit your needs.
- Durable & Functional: Designed for daily use — sturdy enough to handle your workspace gear while looking like it belongs in Night City.
- Endless Configuration: Stack vertically, spread horizontally, or combine in patterns that suit your desk, workshop, or synth-lab aesthetic.
Whether you’re a maker, gamer, or collector of mysterious glowing objects, the Cyberpunk Storage Stacker keeps your essentials organised and your desk looking like a scene from a high-tech dreamscape - Because the future isn’t just functional!
Model Details
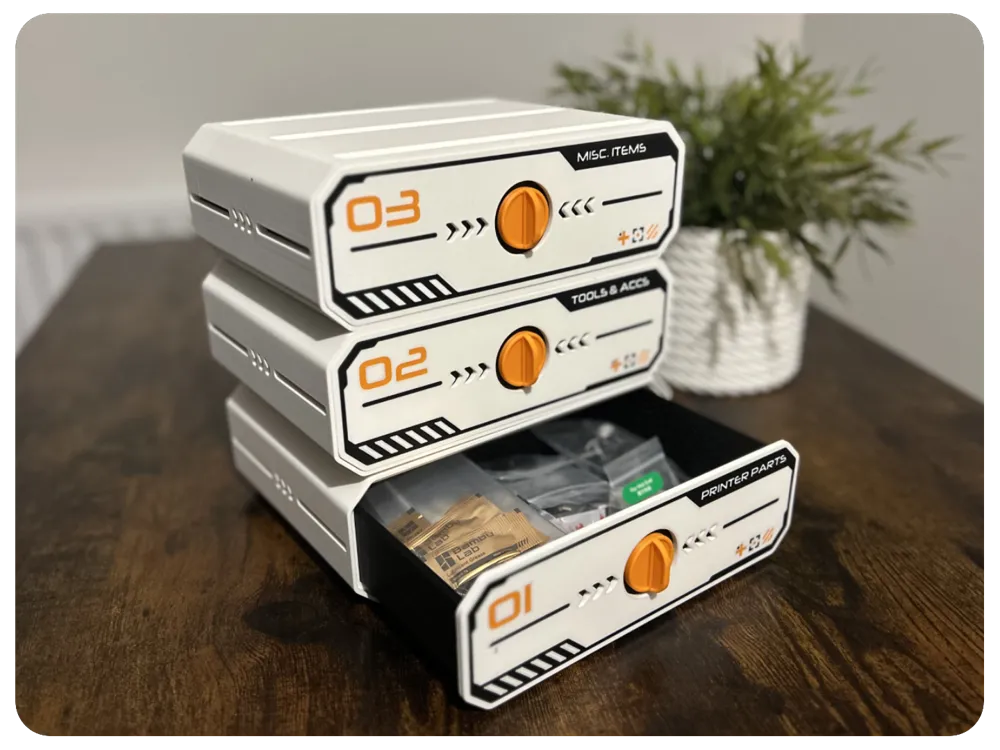
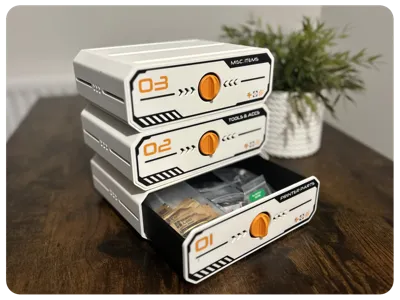
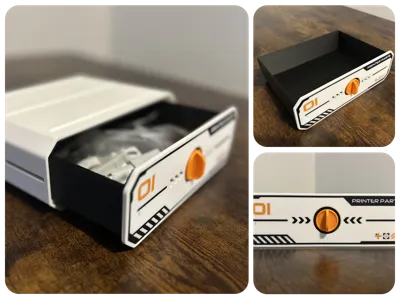
Pretty straight forward print and assembly. You will find there are 3 types of tray to choose from and you will need a little super glue for the handle, please follow the simple instructions below for assembly:
- STEP 1 - Glue the Handle Plug into the Handle
- STEP 2 - Attach the Faceplate to the tray of your choosing. This should be a press fit and not require any glue.
- STEP 3 - In a horizontal or vertical orientation, glue the assembled Handle to the Tray.
- STEP 4 - Slide the assembled Tray into the Main Body! NOTE: Make sure the tray and the main body are free from any rough edges or ‘burr’ to ensure smooth operation. Use some 400 grit sandpaper on the inside of the main body if necessary.
To edit the Number and the Label text on the Faceplate, please use the slicers text tool as shown in the video below:

This model has been made available to download and print for free with a great deal of time and effort going into designing and presenting it here on MakerWorld. If you enjoyed this model please give generous consideration to leaving a Boost or a Rating — it’s a quick, easy and free way to show appreciation and helps support my work here on MakerWorld. Thanks for checking out my designs!
Boost Me (for free)
Boost here for free!
License

You shall not share, sub-license, sell, rent, host, transfer, or distribute in any way the digital or 3D printed versions of this object, nor any other derivative work of this object in its digital or physical format (including - but not limited to - remixes of this object, and hosting on other digital platforms). The objects may not be used without permission in any way whatsoever in which you charge money, or collect fees.


Comment & Rating (74)