EZVIZ CB2 Bracket for A1 MINI


Print Profile(1)

Description
Remix for A1 mini and EZVIZ CB2 of the excellent model by BderKhan
I made several modifications to best adapt it for A1 mini, and converted the support for the Ezviz CB2 cam
substantial modifications;
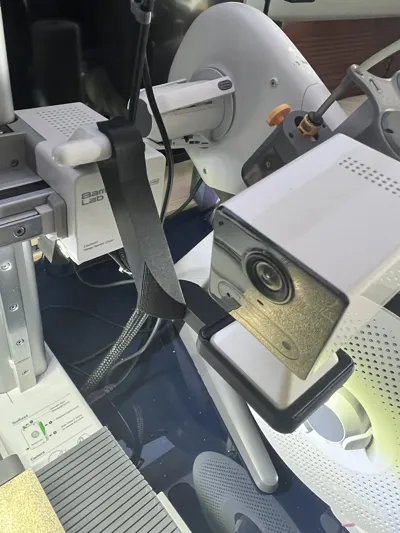
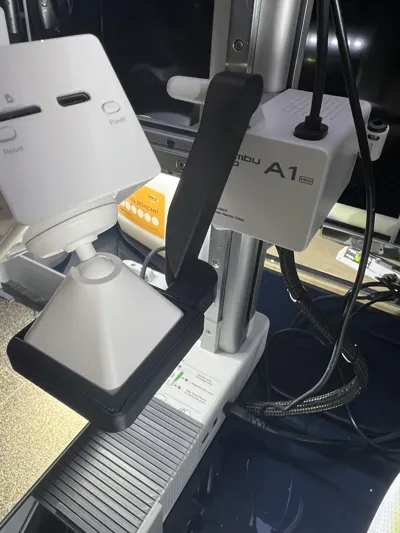
- modified the bracket's attachment to A1 mini which previously did not fit (it only fit on A1)
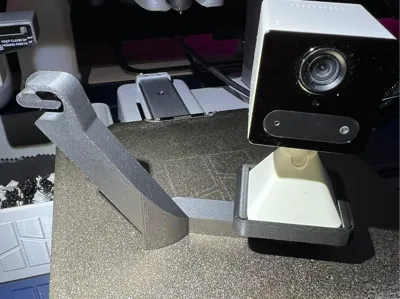
- straightened the cam support (Ezviz CB2), since “unfortunately” it is not possible to rotate the image of this cam in its app
- divided the bracket into 4 pieces for optimal printing without supports
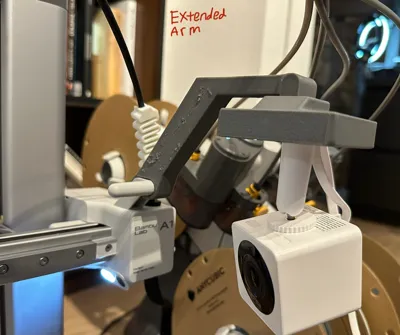
- modified and distanced the bracket from the print bed, to avoid collisions between the cam and printed objects
- added a support “ring” to firmly lock the cam to the bracket
ASSEMBLY INSTRUCTIONS
Of course, print all necessary parts.

Assemble the 2 pieces of the bracket using slide-in connections (if you wish, you can add glue to secure the 2 pieces of the bracket, but the connection is still tight enough to prevent the 2 pieces from moving once inserted).


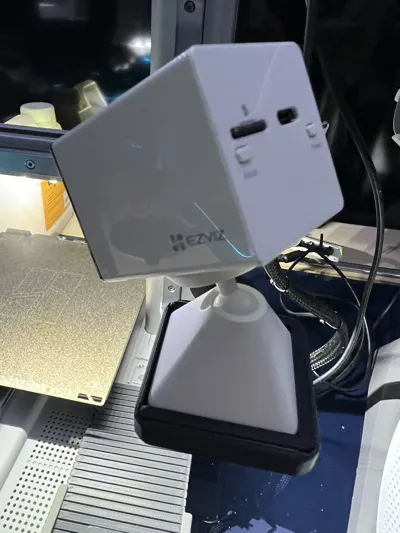
Assemble the bracket with the CAM support.


Insert the original articulated support included with the Ezviz CB2 cam into the newly printed support, sliding it in with a “drawer-like” motion. Pay attention when inserting the articulated support to orient the maximum extension “notch” outwards (this will allow you to orient the cam more accurately).


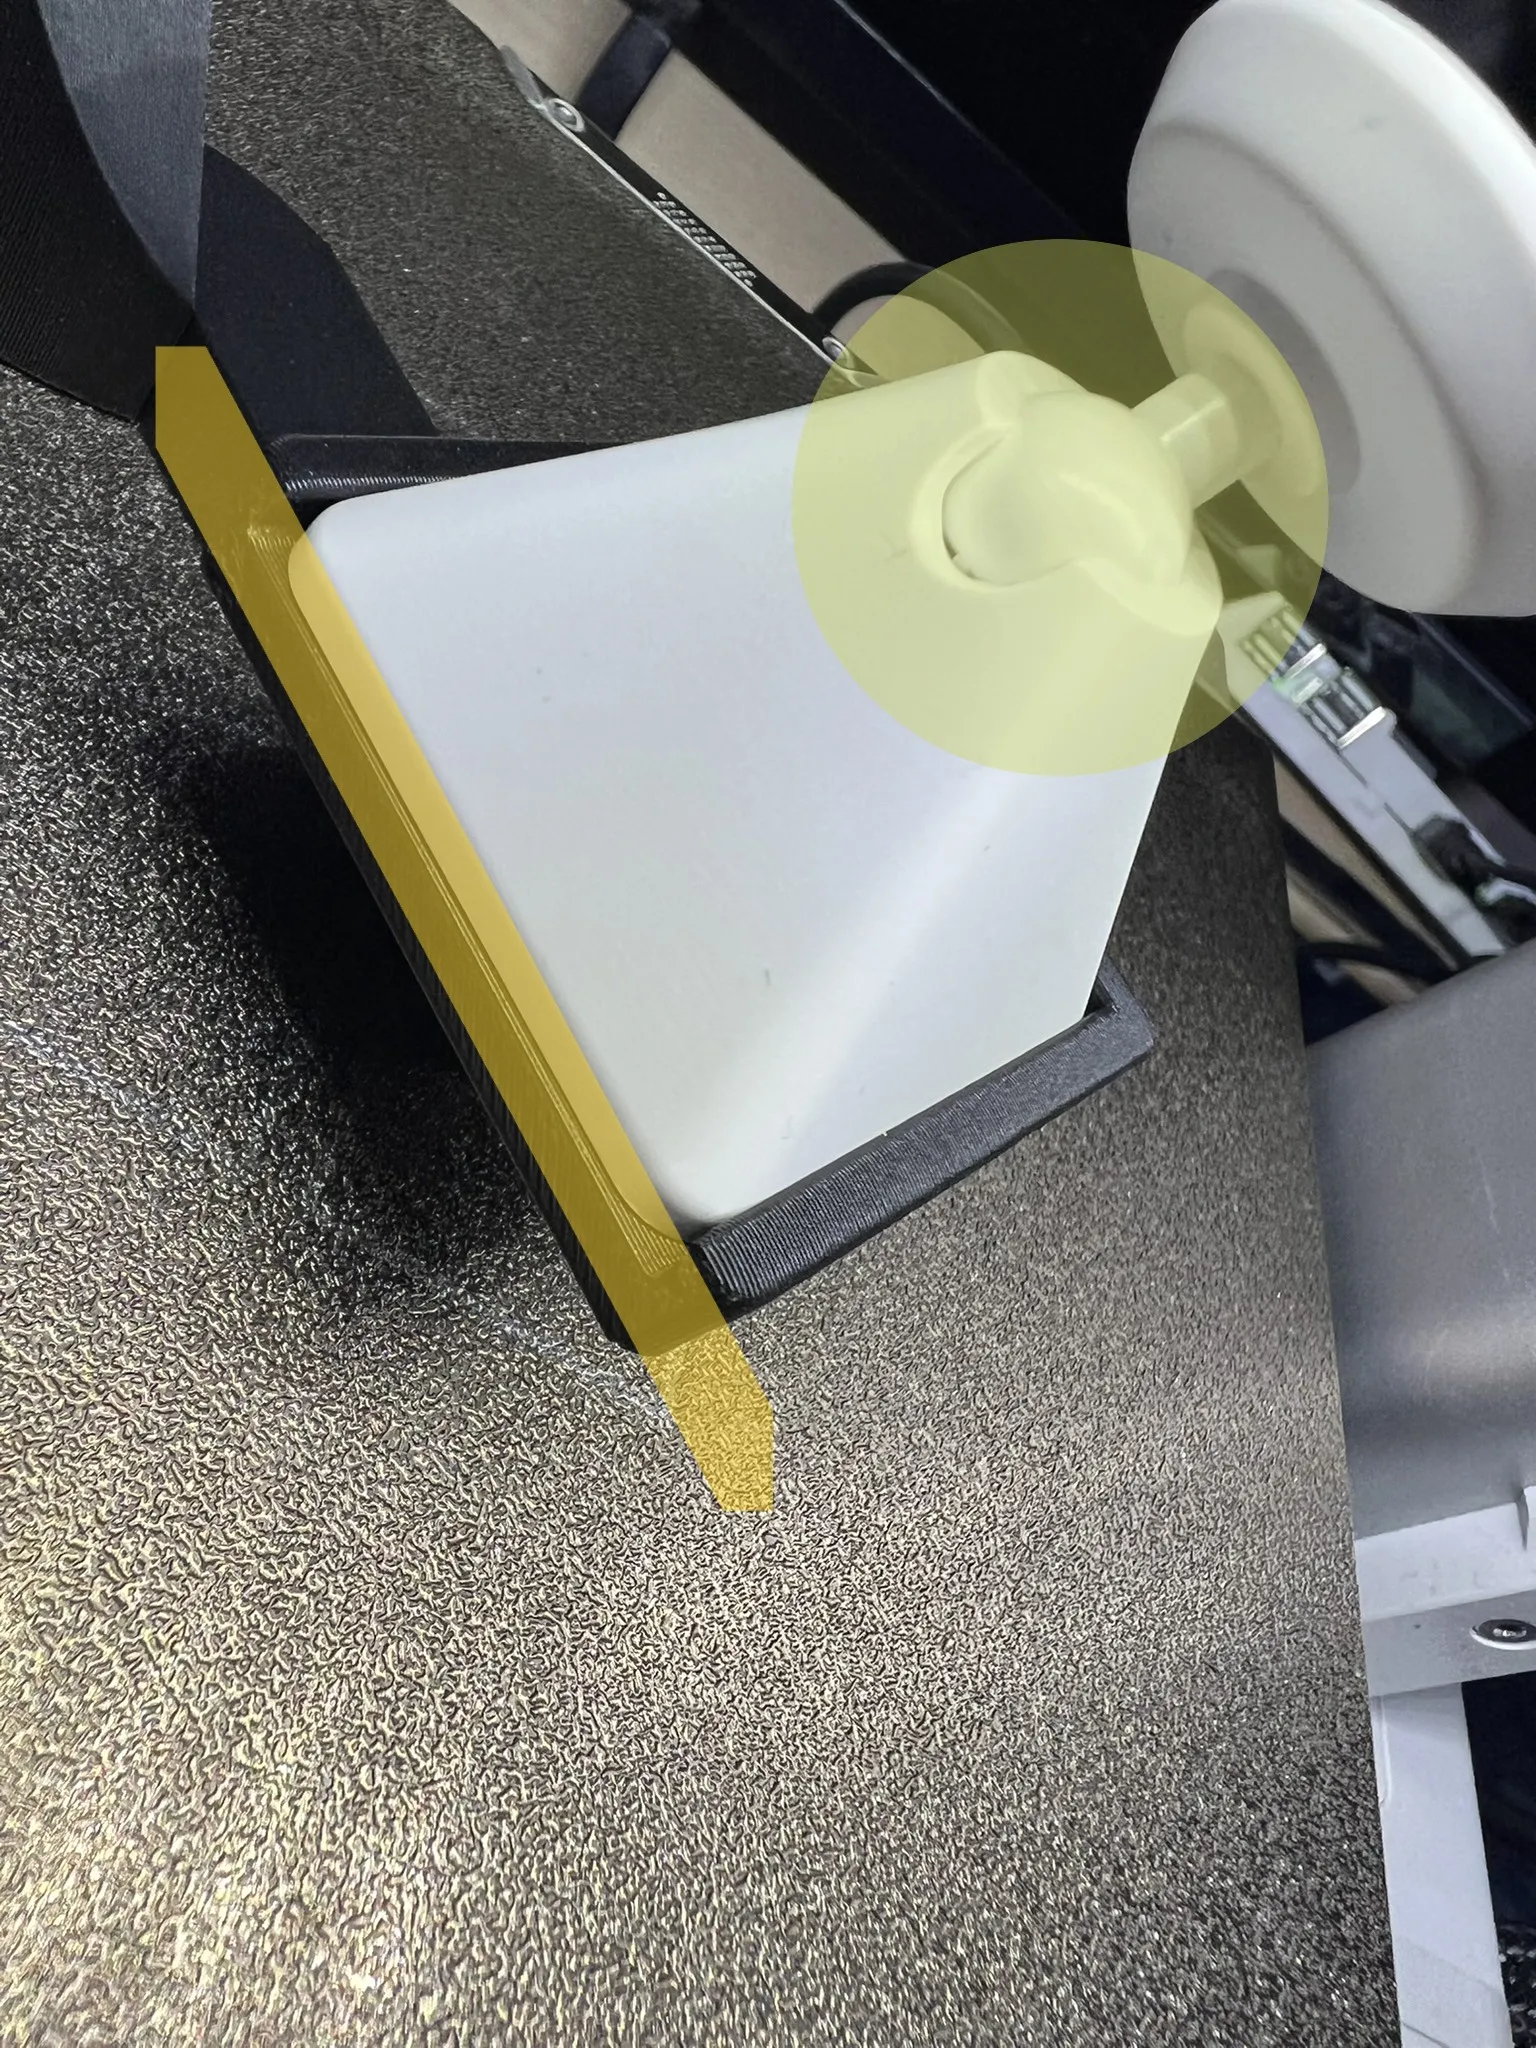
“Optionally” you can insert the ring to lock the articulated support to the cam support.


Attach the bracket to the A1 mini printer.


Now you can secure your Ezviz CB2 to the magnetic articulated support, and adjust the cam's position according to your needs.


For any advice or feedback, please write in the comments, thank you.
Boost Me (for free)
If you appreciate my work and want to support me.
Comment & Rating (2)