MAXi Train is a remix based on the Mini Train Collection of BamBam Design, applying a 2.5x upscale ratio to make it maxiiii…
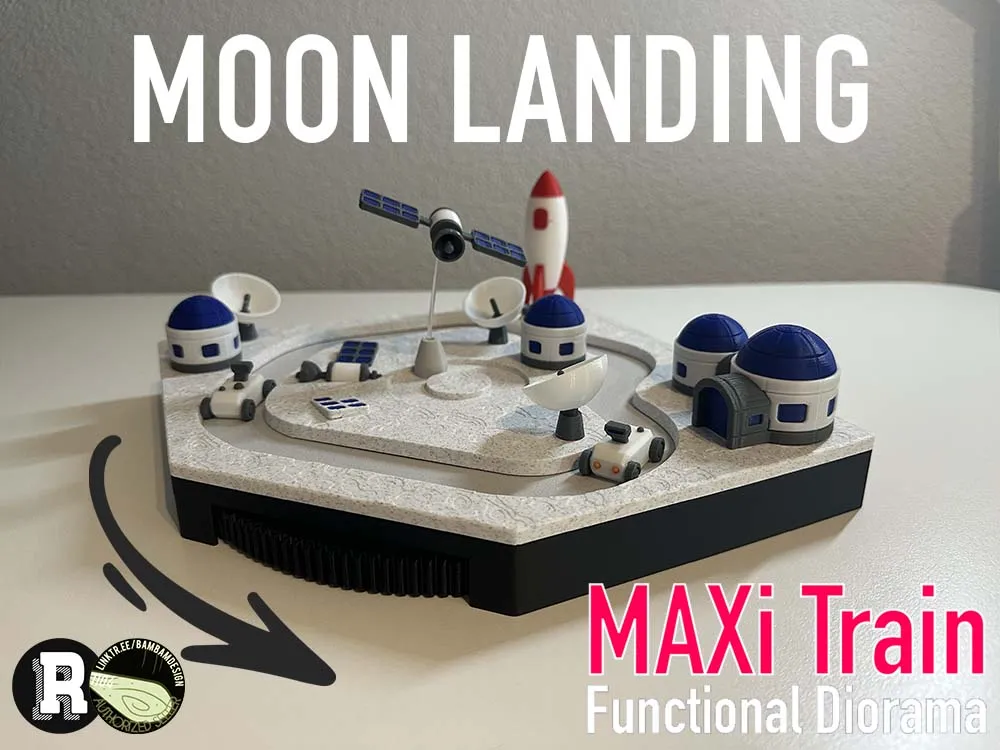

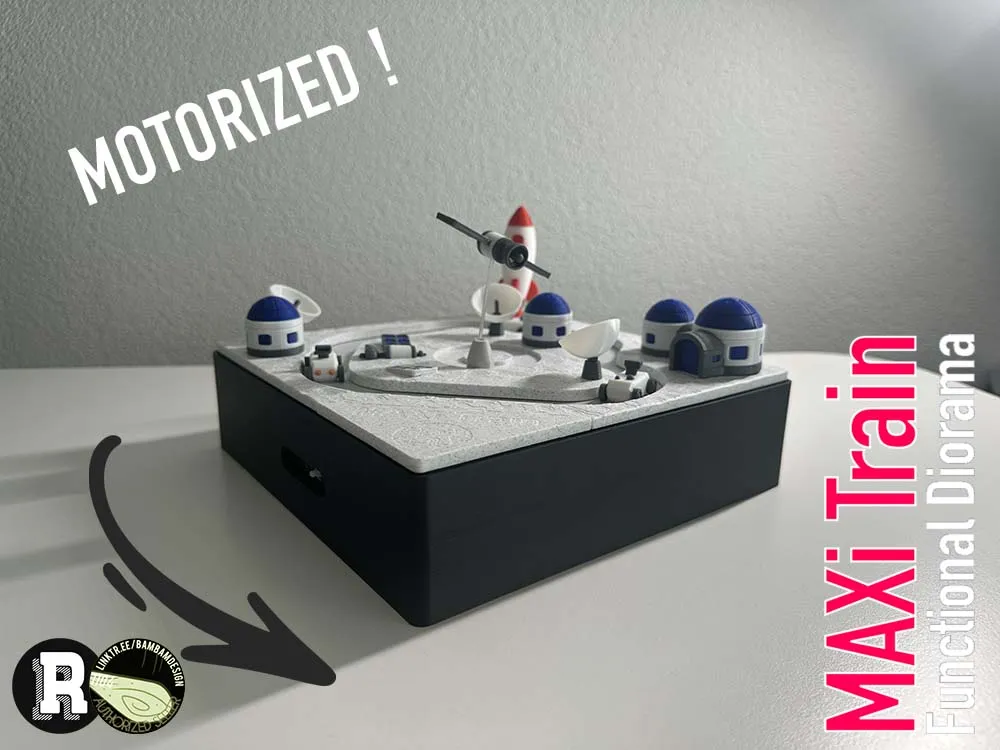
The MAXi Train series leaves Earth behind to explore the final frontier with an immersive Moon Landing diorama. This scene recreates a rugged lunar landscape featuring a realistic cratered surface, where a towering rocket stands ready for take-off. Above the base, a satellite levitates and orbits gracefully, adding a sense of dynamic motion to the cosmos. On the lunar ground, three rovers tirelessly circle the base, exploring the harsh terrain. Scattered around are small lunar stations and parabolic antennas, evoking the atmosphere of a futuristic moon colony. For a touch of storytelling, a crashed satellite lies half-buried in the lunar dust, reminding explorers of the perils of space. As with previous entries in the series, this diorama combines interactive motion with iconic elements of space exploration, creating a playful tribute to humankind’s greatest adventure.
This new design is based on the Mini Train Collection of BamBam Design (https://linktr.ee/bambamdesign). This model is 2.5X bigger than usual BamBam Design Mini Train Collection. You are free to adapt the scale if you want to make it compatible with other designs. In this case, be aware that some piece might be very small and also make sure to also apply the same ratio for magnets. Apply a 40% or 0.4 ratio to be compatible with BamBam Design Mini Train Collection.
Boost Me (for free)
Boost Me (for free)
Printing:
Following PLA Filaments are used:
PLA Basic Black (10101)
PLA Basic Light Gray (10104)
PLA Basic Silver (10102)
PLA Basic Dark Gray (10105)
PLA Basic Jade White (10100)
PLA Basic Red (10200)
PLA Basic Orange (10300)
PLA Basic Blue (10601)
PLA Marble White (13103)
Support for PLA/PETG
Feel free to use any color you like!
The motorization system is now ready! Bring your diorama to life with smooth, continuous motion. 👉 For 250% MAXi Train https://makerworld.com/models/1629676
Insert 3pcs magnets (10x5mm) in the vehicles (rover).
Insert 1pc magnet (10x5mm) in the flying pin.
Insert 1pc magnet (10x5mm) directly in the wheel. This magnet must attract the flying pin.
Insert 3pcs magnets (10x5mm) in the wheel’s pin. These magnets must attract the vehicles (rover).
Add the wheel’s pin onto the wheel, fix the wheel to the base by pressing gently. Wheel’s pin must follow the designated path. You can use the vehicles or some spare magnets to prevent the wheel’s pin movements of the path while doing so.
Fix the terrain to the base by using pin holders dedicated. You can add a bit of glue to combine.
Cut a piece of filament ~50-75mm and insert/glue one side into the flying pin and insert/glue the other side into the satellite hole.
Fix others elements such as rocket, station and antenna using pin holders dedicated. You can add a bit of glue to combine.
Turn the wheel and have fun!
If you want to support me, you can simply follow, boost & like the model.
This user content is licensed under the MakerWorld Exclusive License.
You may create derivative works based on this object, provided that all such derivative works are published exclusively on the MakerWorld platform and include proper attribution to the original creator. You may not share, upload, host, distribute, or publish this object—or any derivative work of this object—on any other digital platform, marketplace, or distribution channel. Commercial use of this object and any derivative works is strictly prohibited. This includes, but is not limited to, selling, renting, sublicensing, or using the object in any context in which you receive monetary compensation or other financial benefits.

![[V1.1] 0.2mm layer, 2 walls, 15% infill](https://makerworld.bblmw.com/makerworld/model/USba78aeed8918f4/343201123/instance/2025-07-03_7066b8de06283.jpg?x-oss-process=image%2Fresize%2Cw_100%2Fformat%2Cwebp)
![[Mini Train Scale] 0.2mm layer, 2 walls, 15% infill](https://makerworld.bblmw.com/makerworld/model/USba78aeed8918f4/344595507/instance/2025-07-06_79a911b8ea6a4.png?x-oss-process=image%2Fresize%2Cw_100%2Fformat%2Cwebp)














Comment & Rating (17)