
Motor Box - Mini Train Dioramas
Print Profile(1)
![[V1.05] 0.2mm layer, 2 walls, 15% infill](https://makerworld.bblmw.com/makerworld/model/US4e81b1033b8e5a/412783900/instance/2025-02-18_59f2a85bc2c3f.png?x-oss-process=image%2Fresize%2Cw_100%2Fformat%2Cwebp)
Bill of Materials


Description
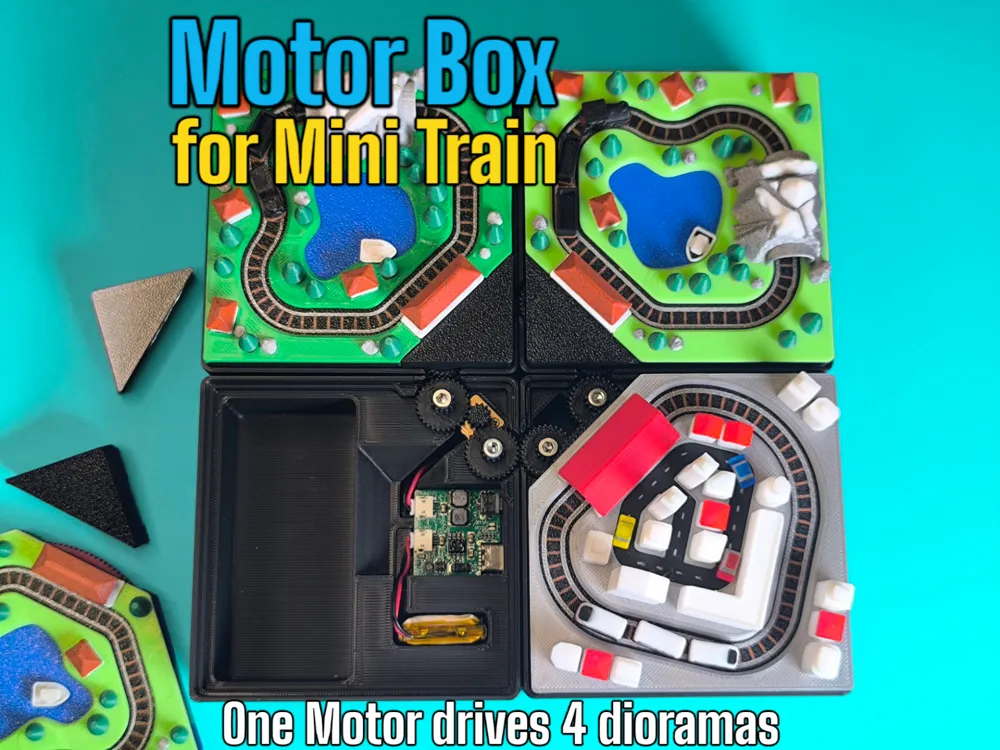
Motor Box for Mini Train Dioramas
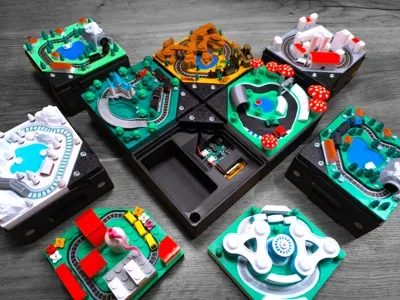
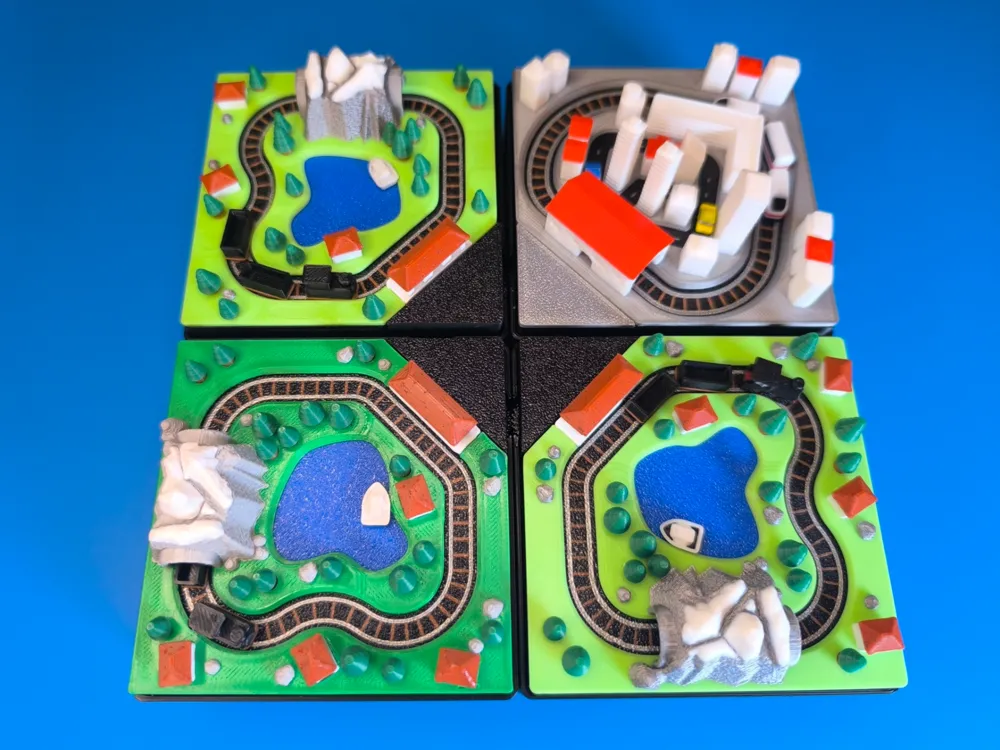
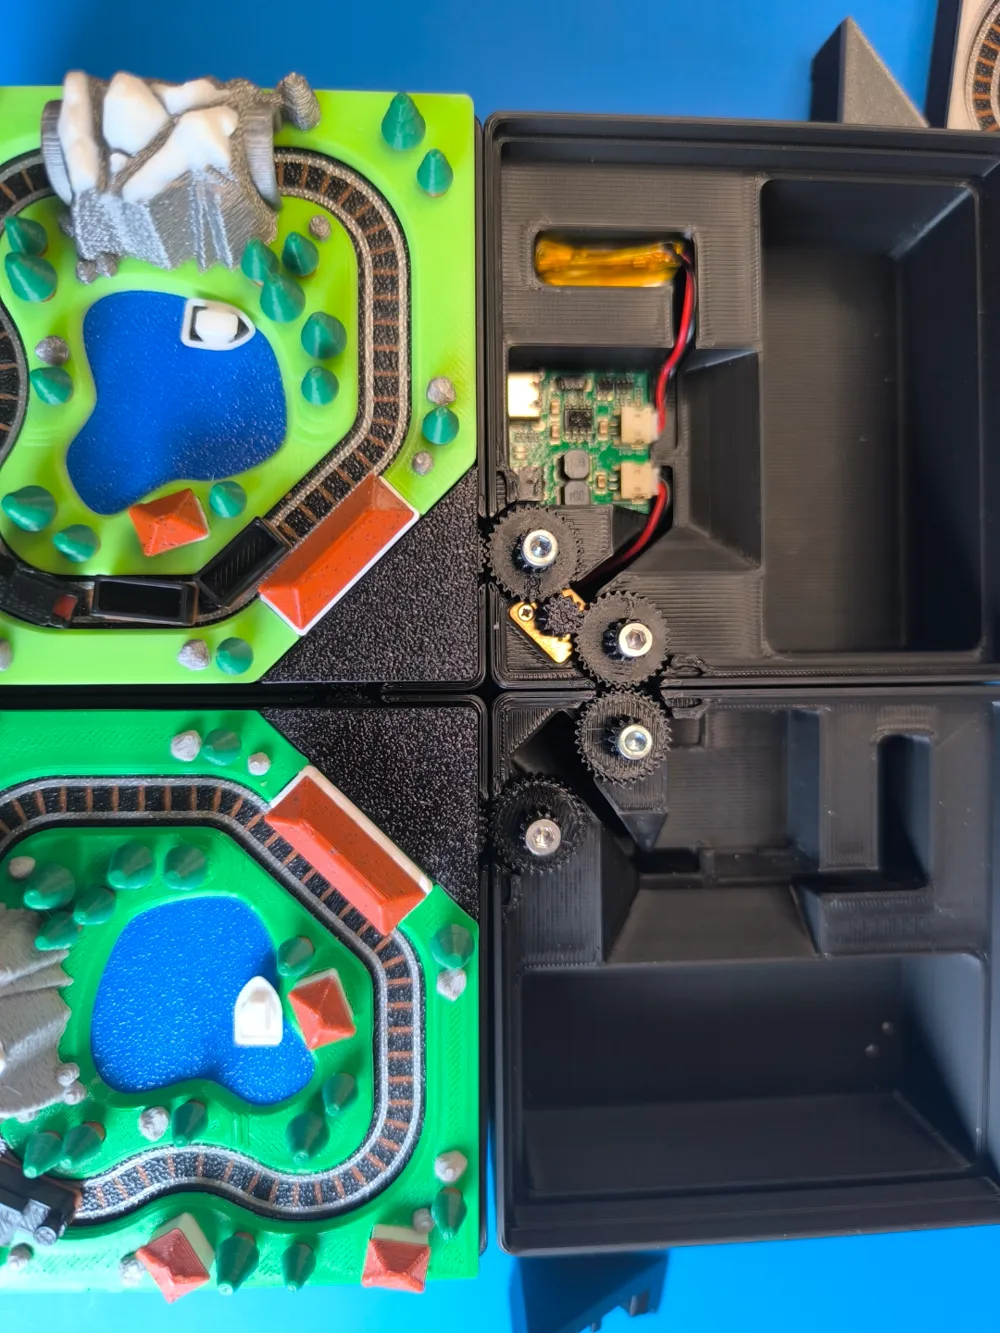
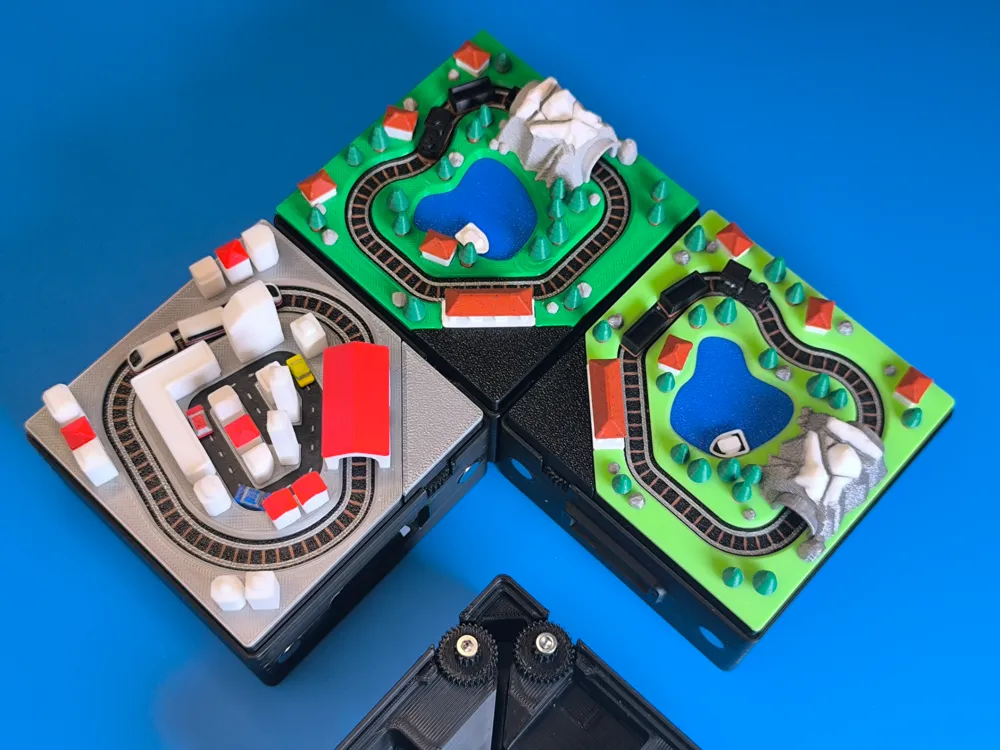
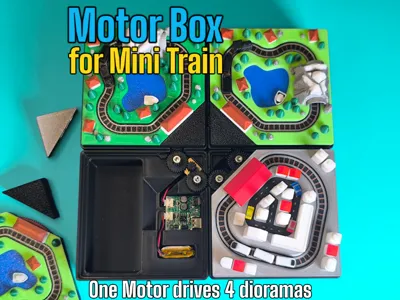
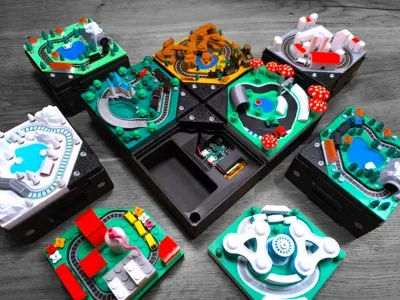
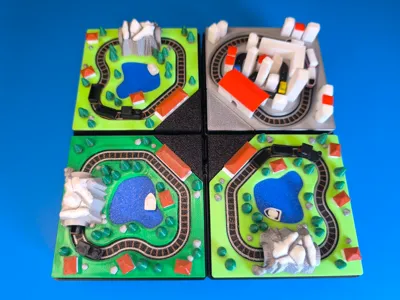
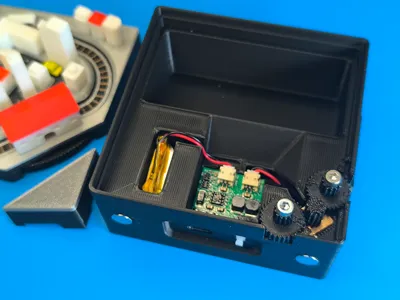
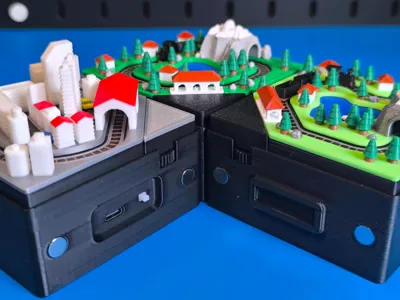
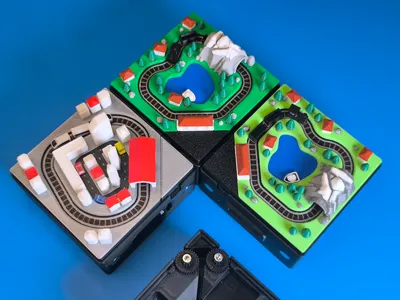
This Motor-box takes the fun to the extreme! One motor can drive up to 4 Mini Train Dioramas.
More is coming….
→ Have a look at the Mini Train Collection ←
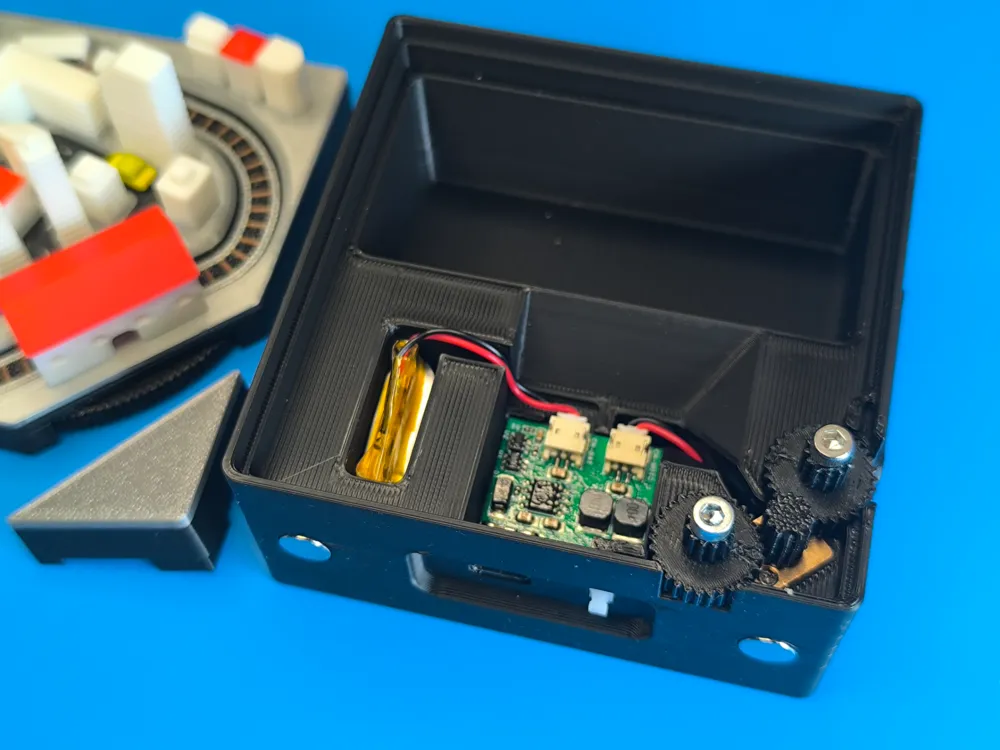
- Uses rechargeable Kit from Maker Supply
- One motor drives up to 4 dioramas

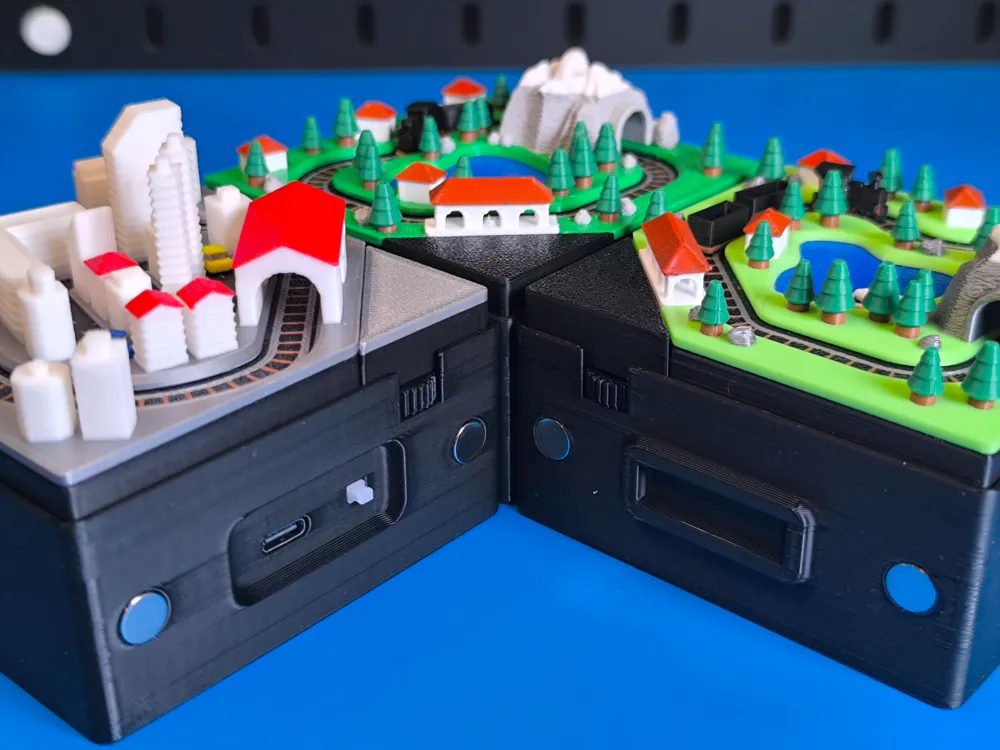
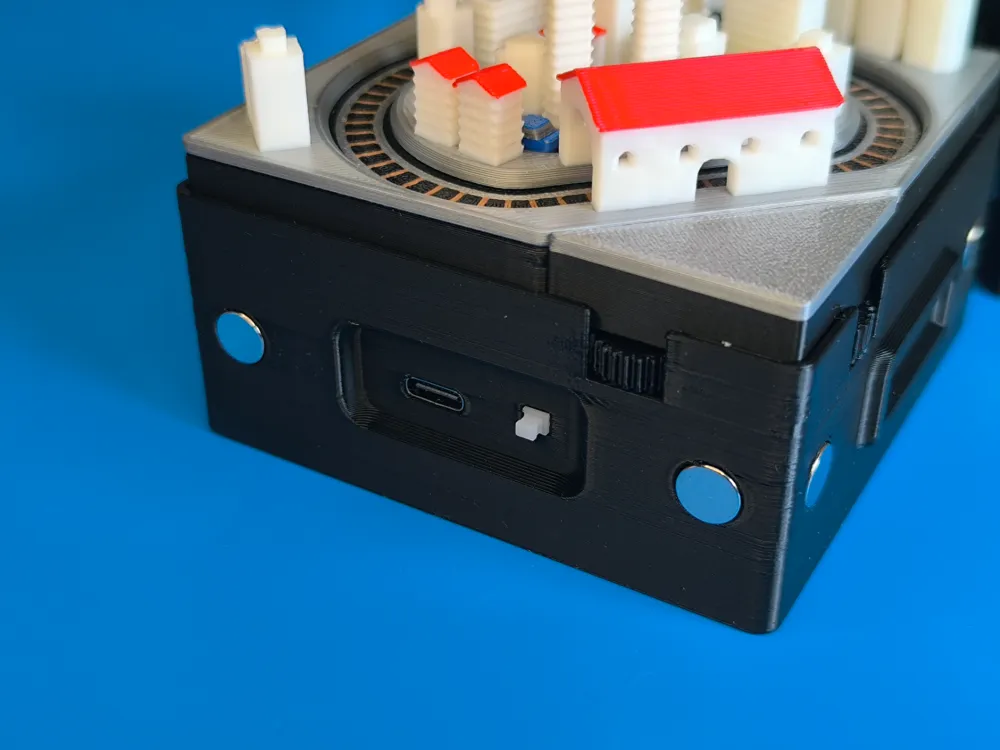
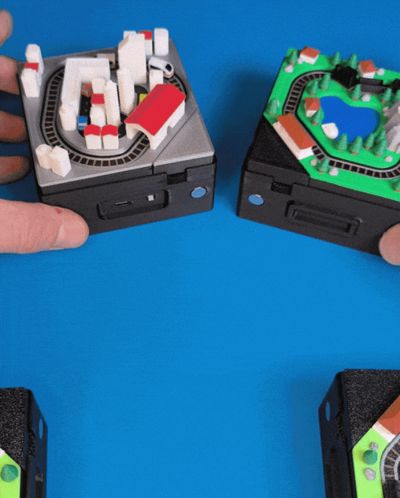
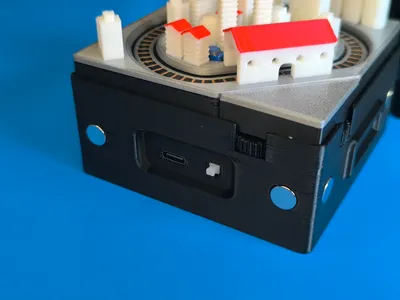
- The boxes Linked with magnets on the outside
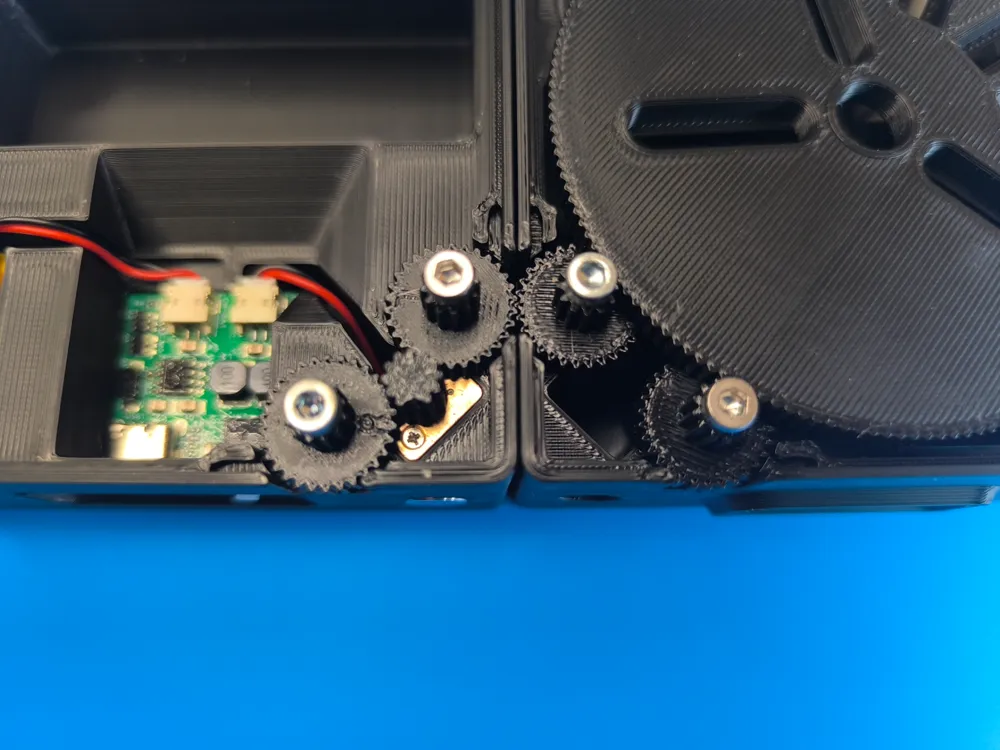
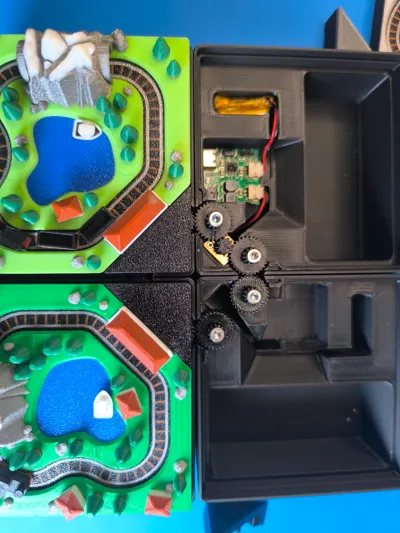
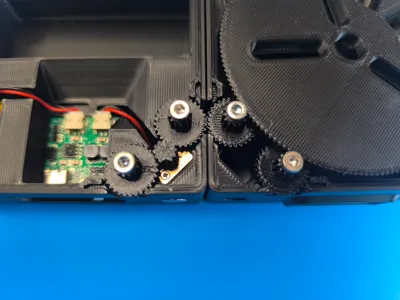
- Gears interact from box to box
- No glue needed → Dioramas could be removed anytime
- No changes to the Dioramas (Wheel V1.1 needed for Mountain Mini Train)
Boost Me (for free)
Membership
Wanna Support my work even more?
Motorbox Overview:
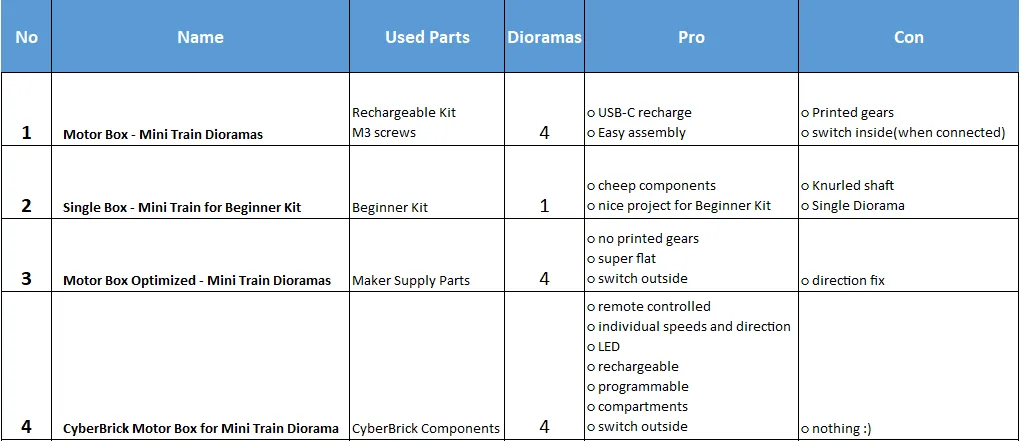
- → You are here ←
- https://makerworld.com/models/1630995
- https://makerworld.com/models/1657124
- https://makerworld.com/models/1886257
Printing:
Print Buildplate 1 which includes Box, Edge and 3 gears.
Optional Buildplate 2 for an colored edge if you like to match with your diorama.
The boxes without motor, which should linked to a driven box, uses the same parts exclude the tiny motor gear.
Tip for gears:
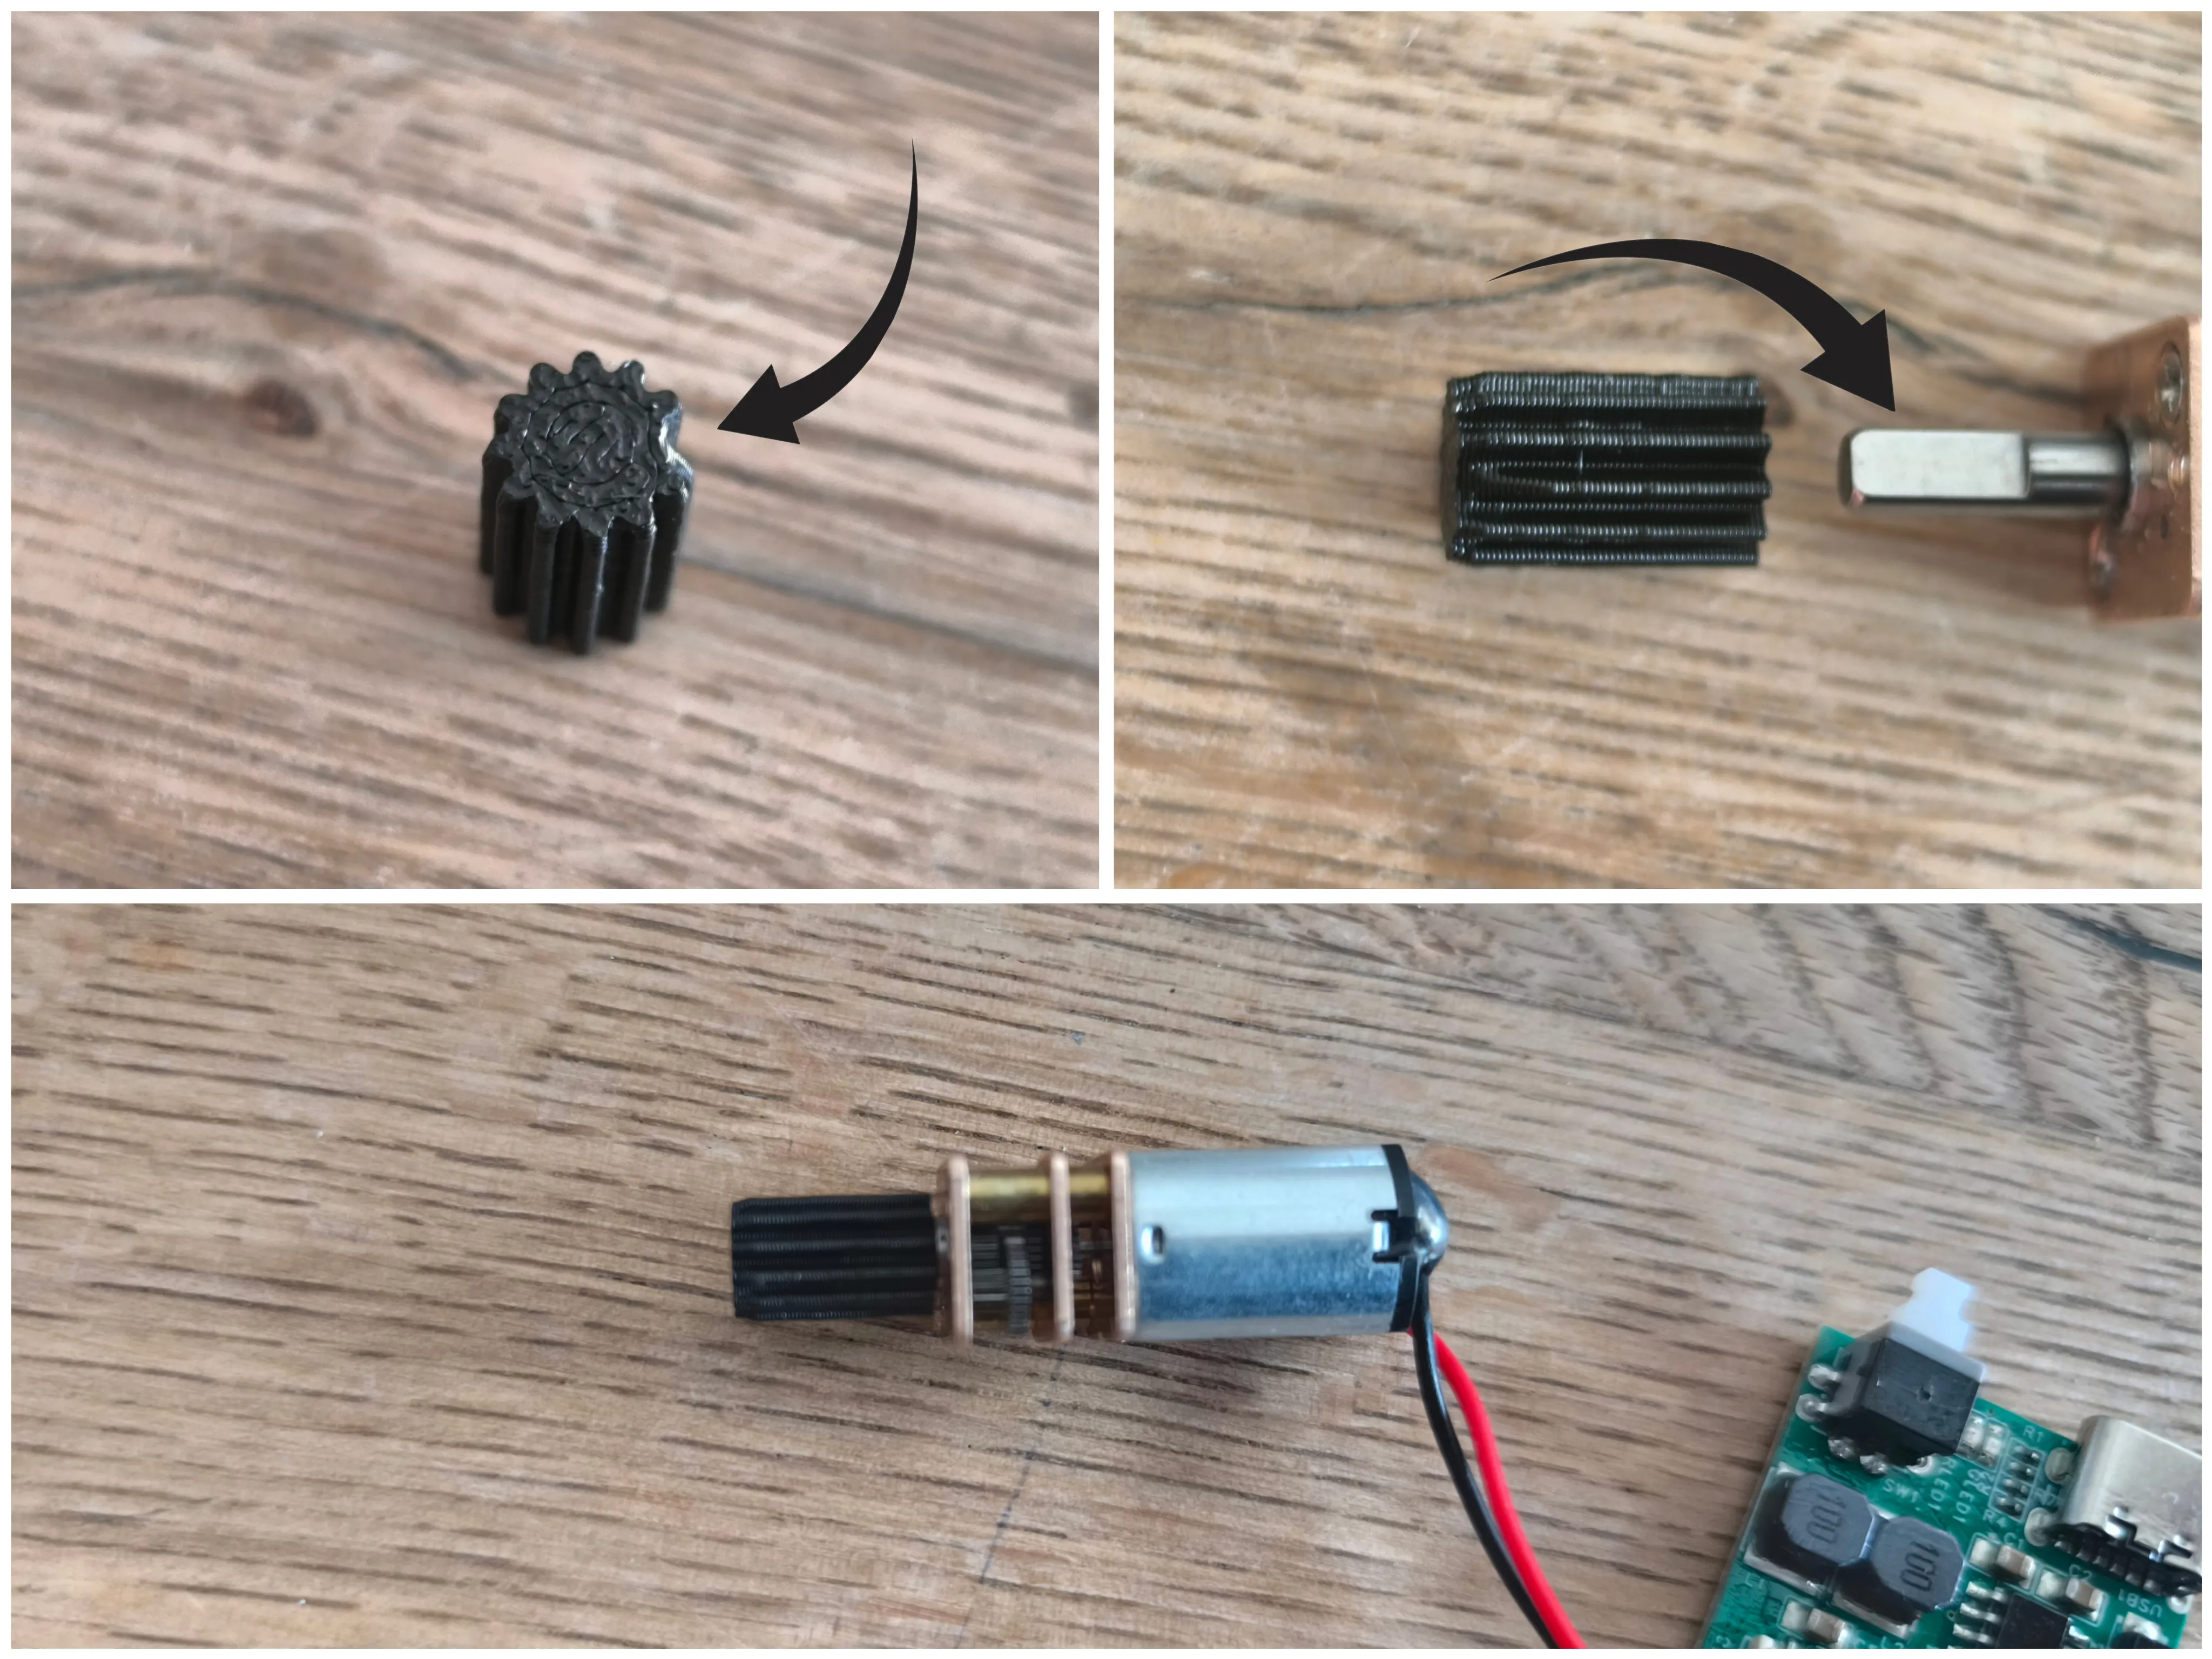
I've received some feedback (maybe A1 Printer) about no good fitting gear distance / skipping gears.
First make sure your outer line width is around 0,35.
If you have ongoing problems, you can try adding a positive value (0.1 to 0.2) to “contour compensation” in Bambu Slicers quality section. It is recommended to reprint all gears with the same compensation.
What you need:
→ check BOM for links
- 4pcs magnets Ø8x2
- 2pcs M3 screw 20mm
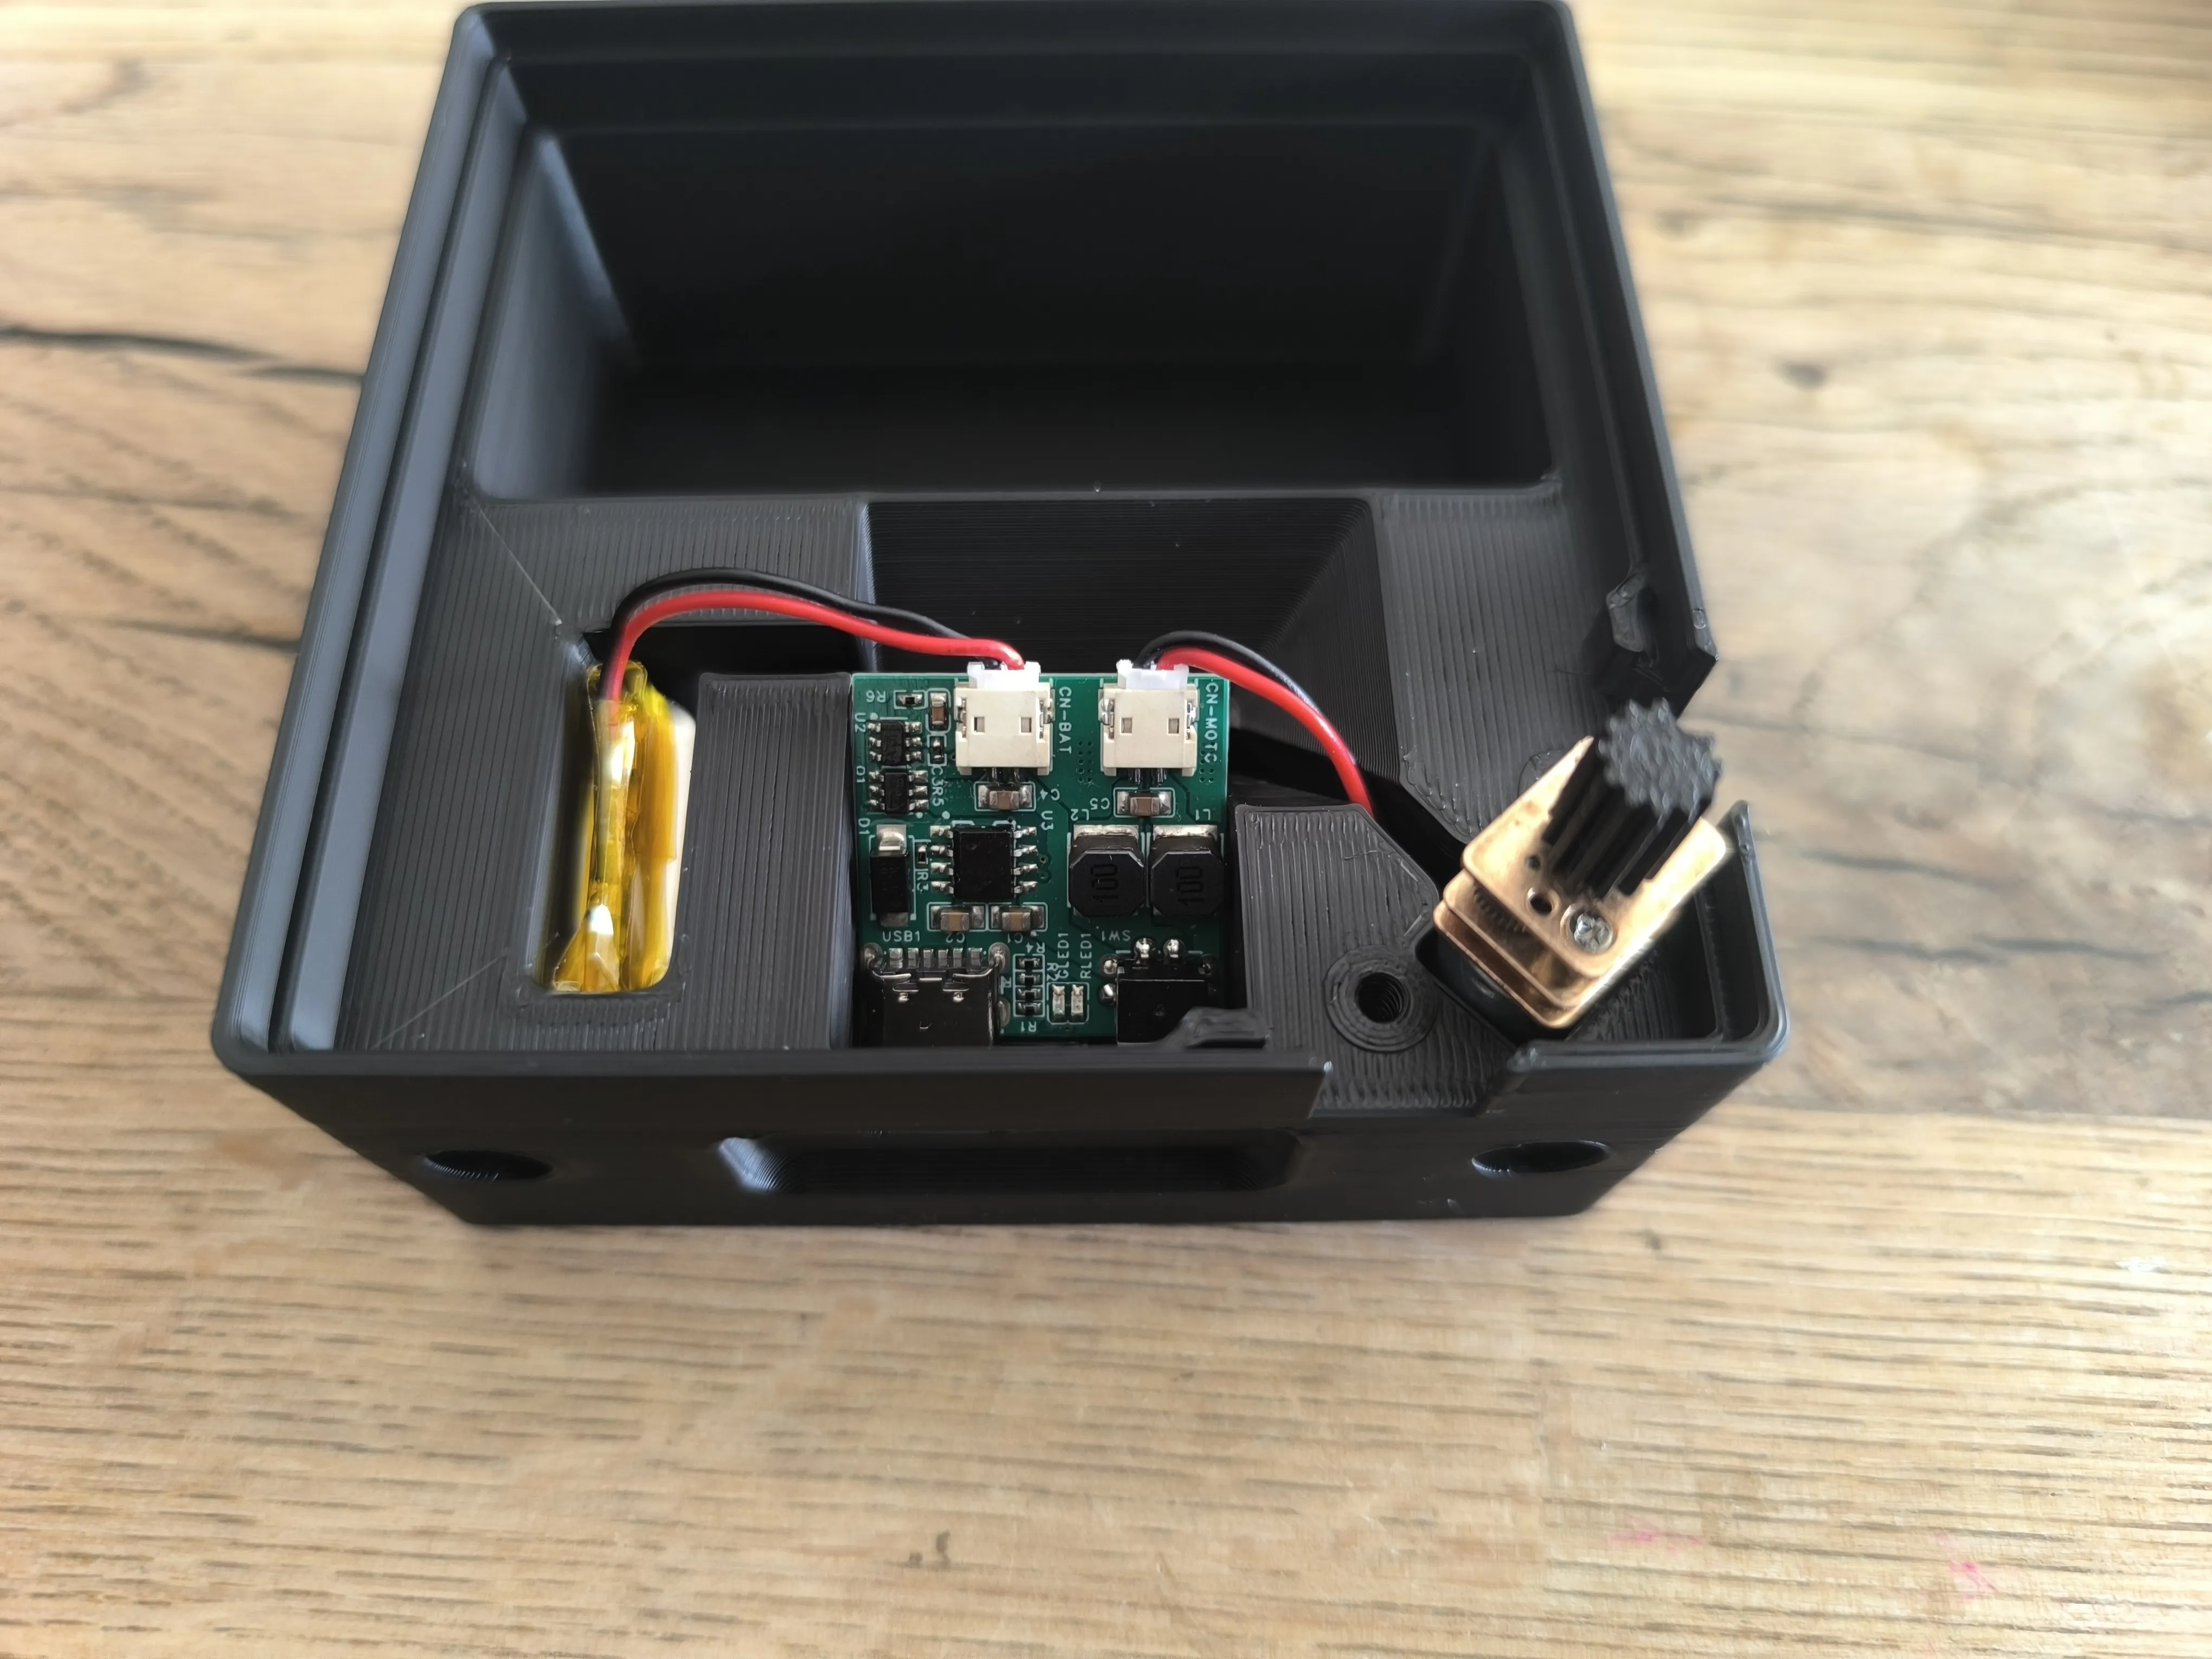
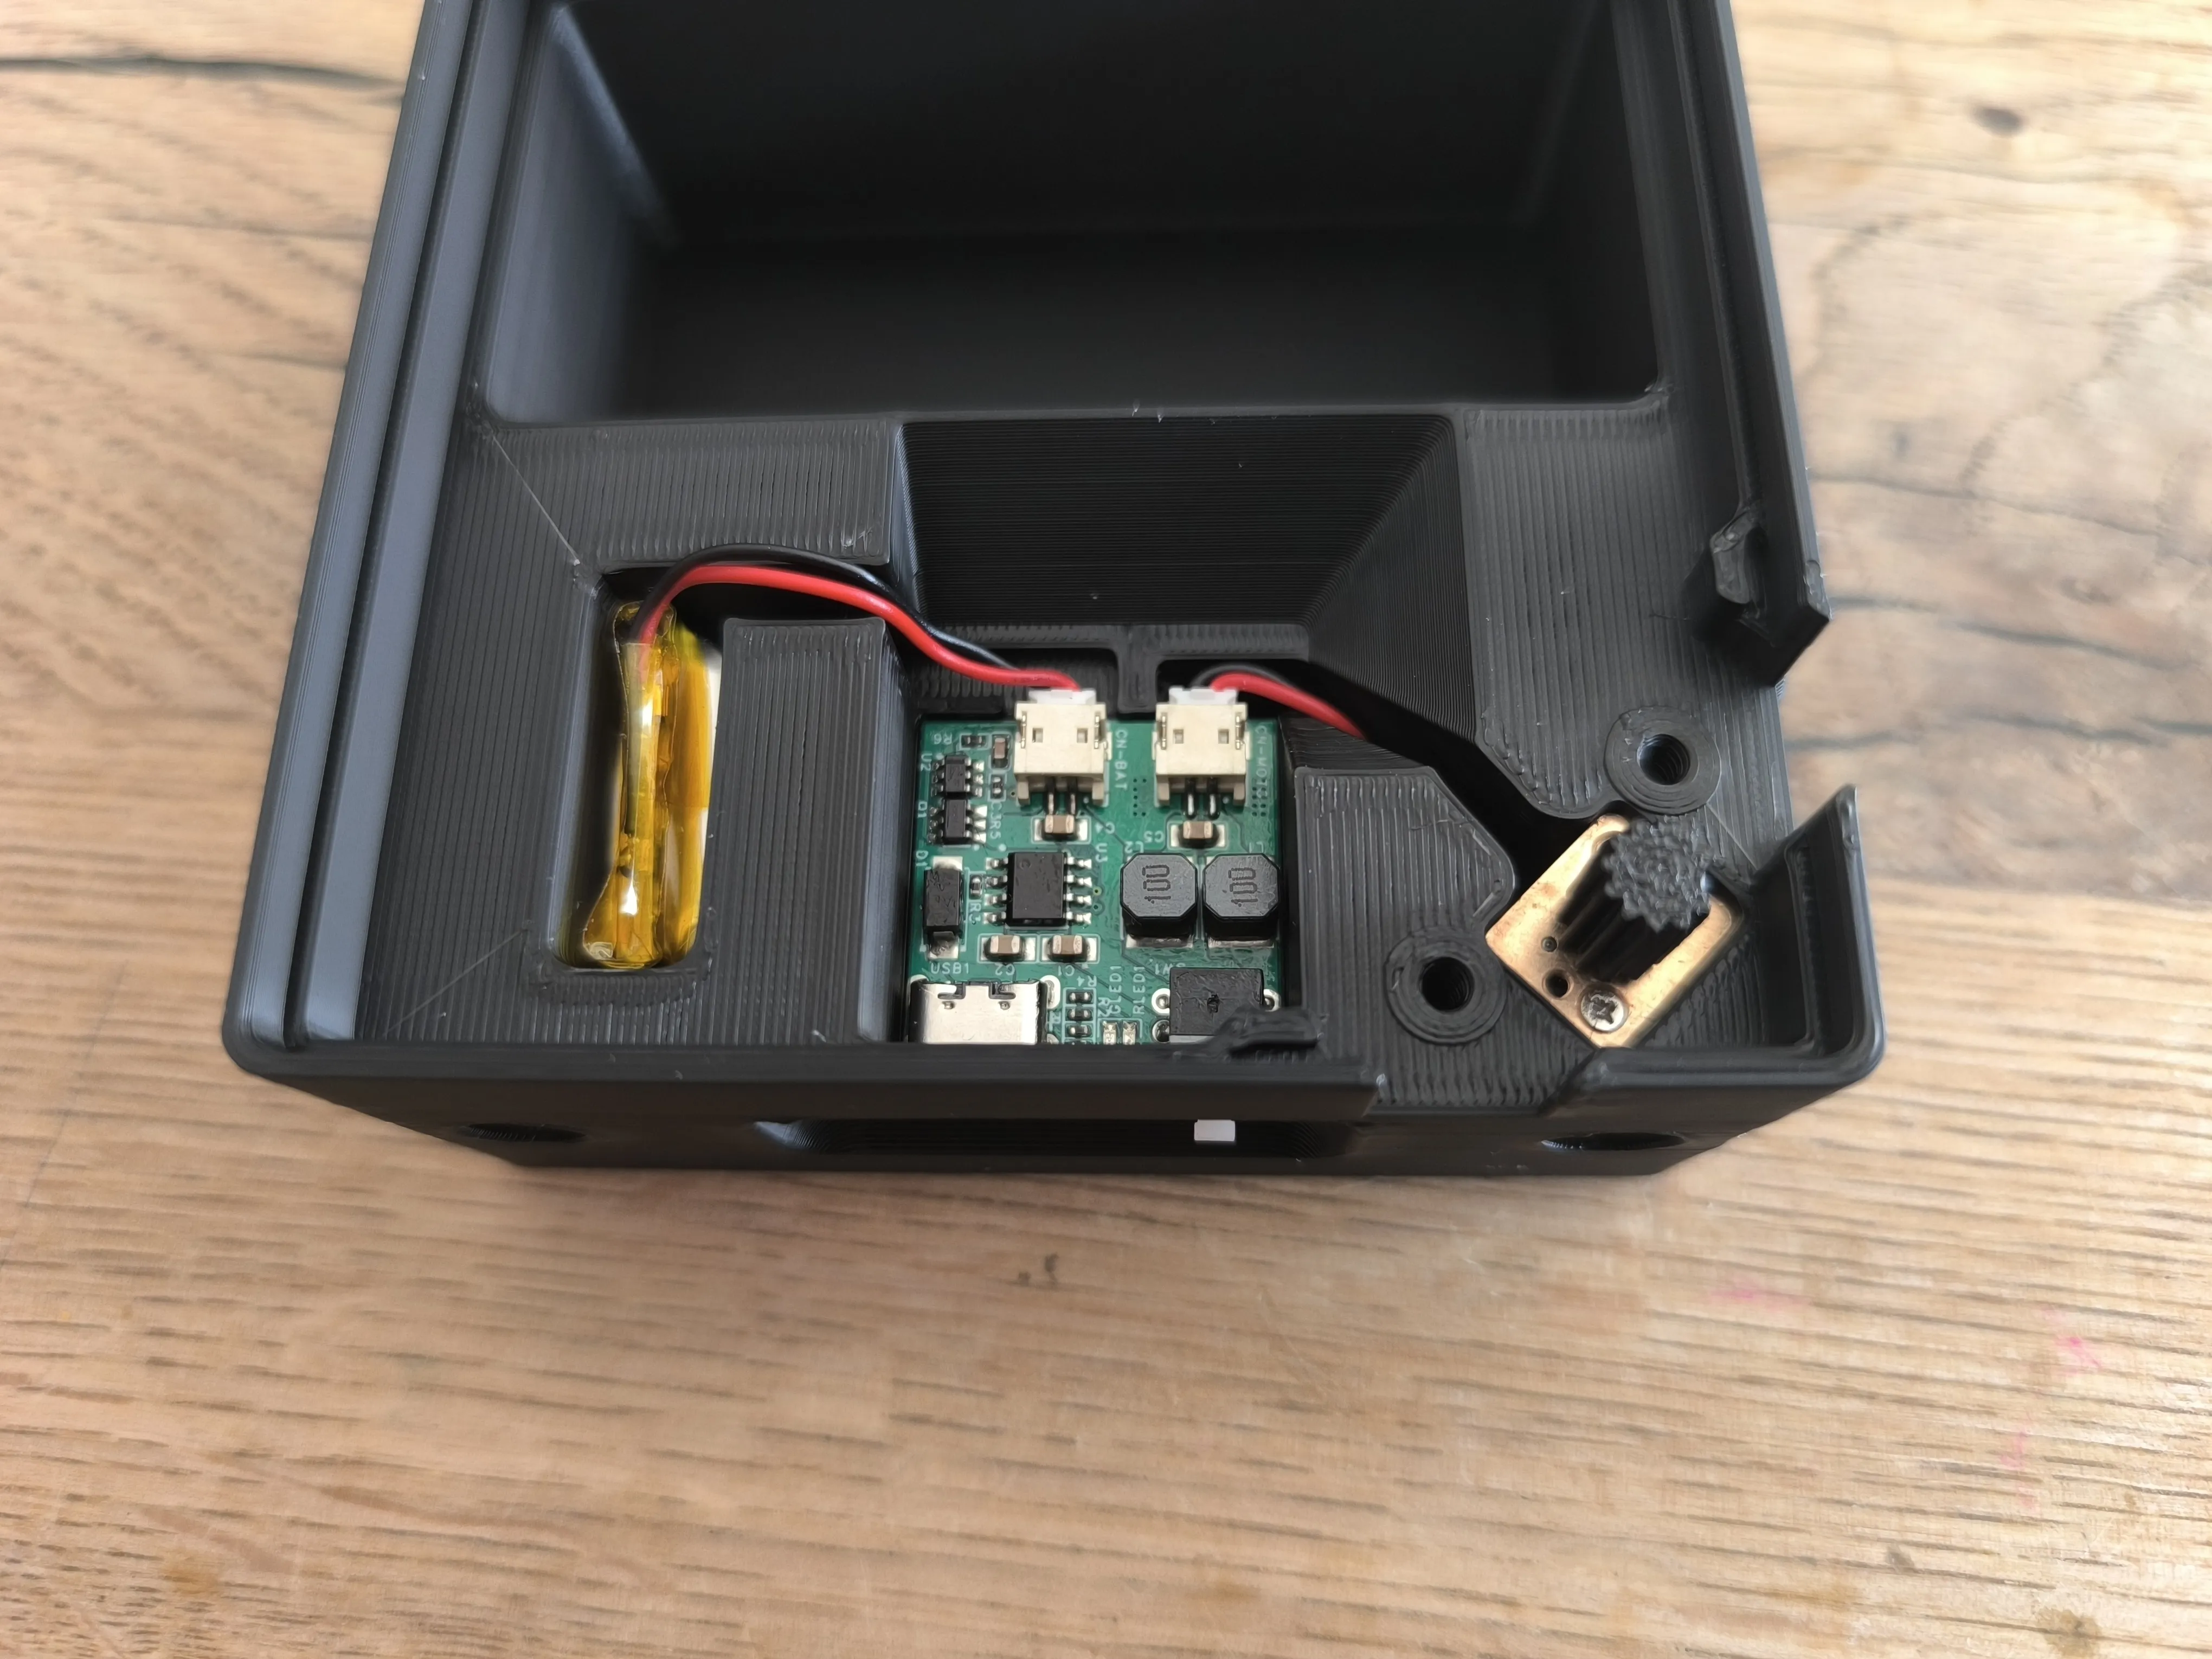
- 1pcs rechargeable kit (Only for one box)
Assembly:
Lubricant all gears, this will reduce the noise. You can lubricant the inner track path from your diorama, as well.
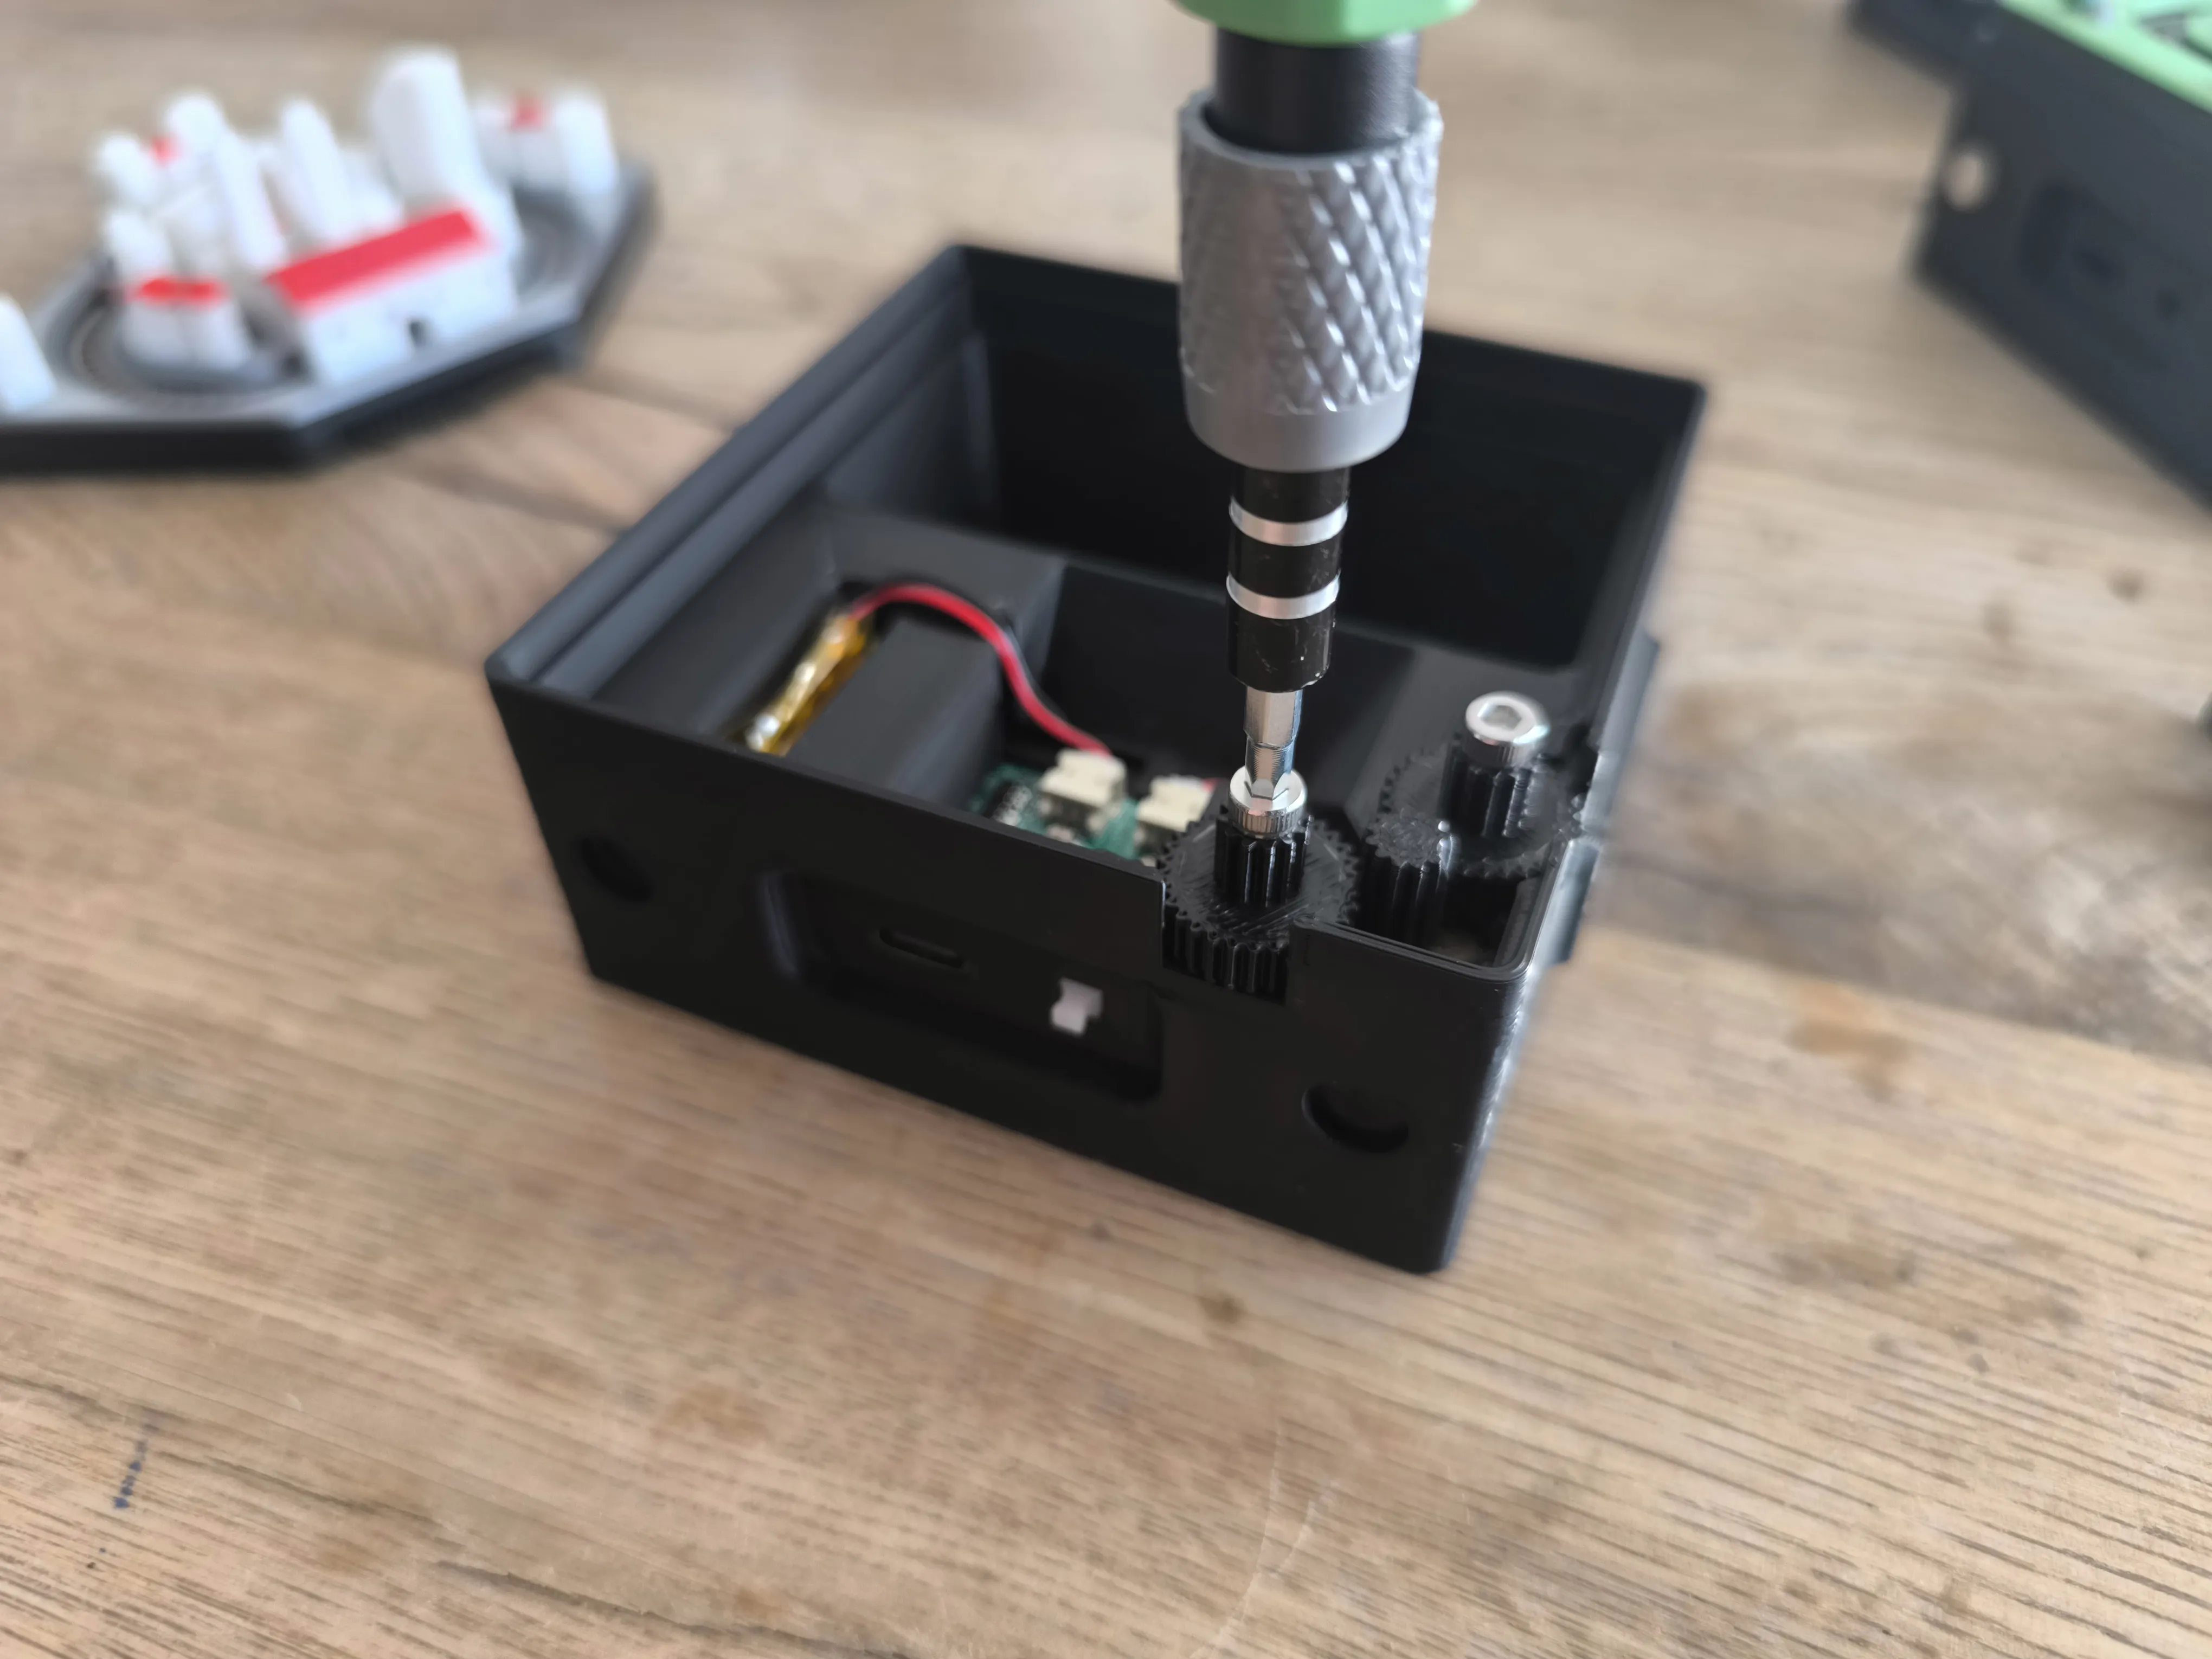
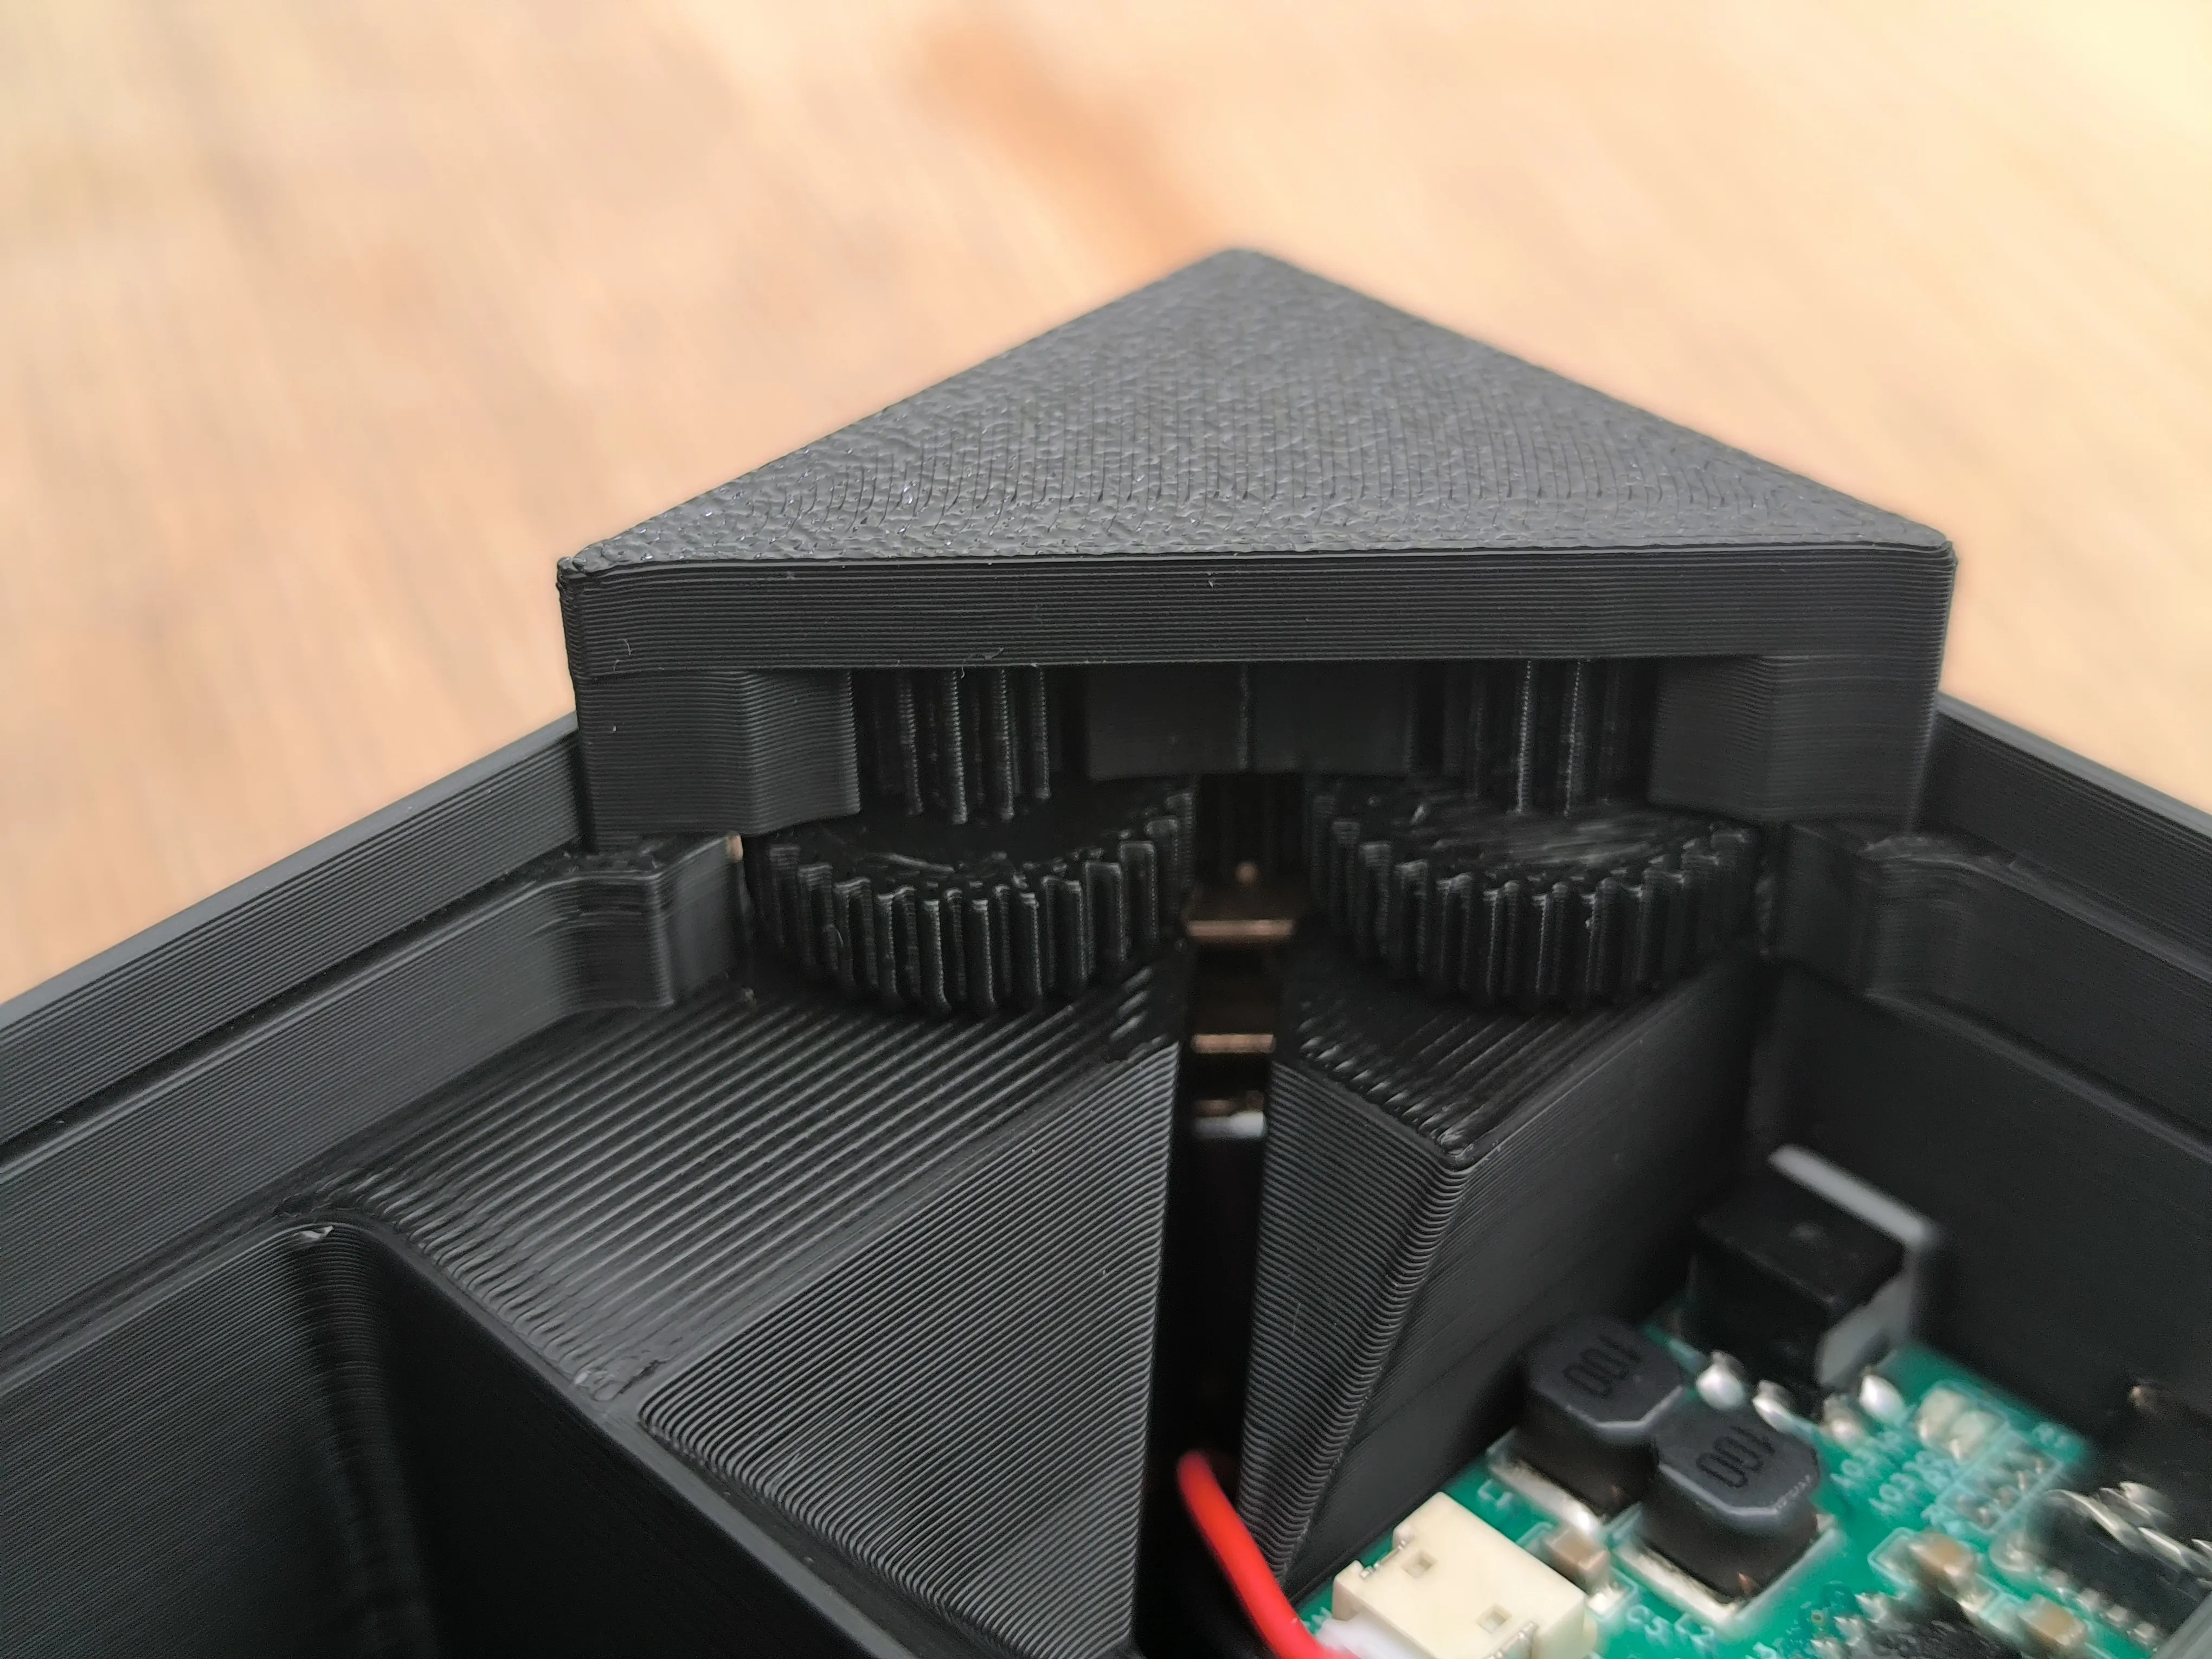
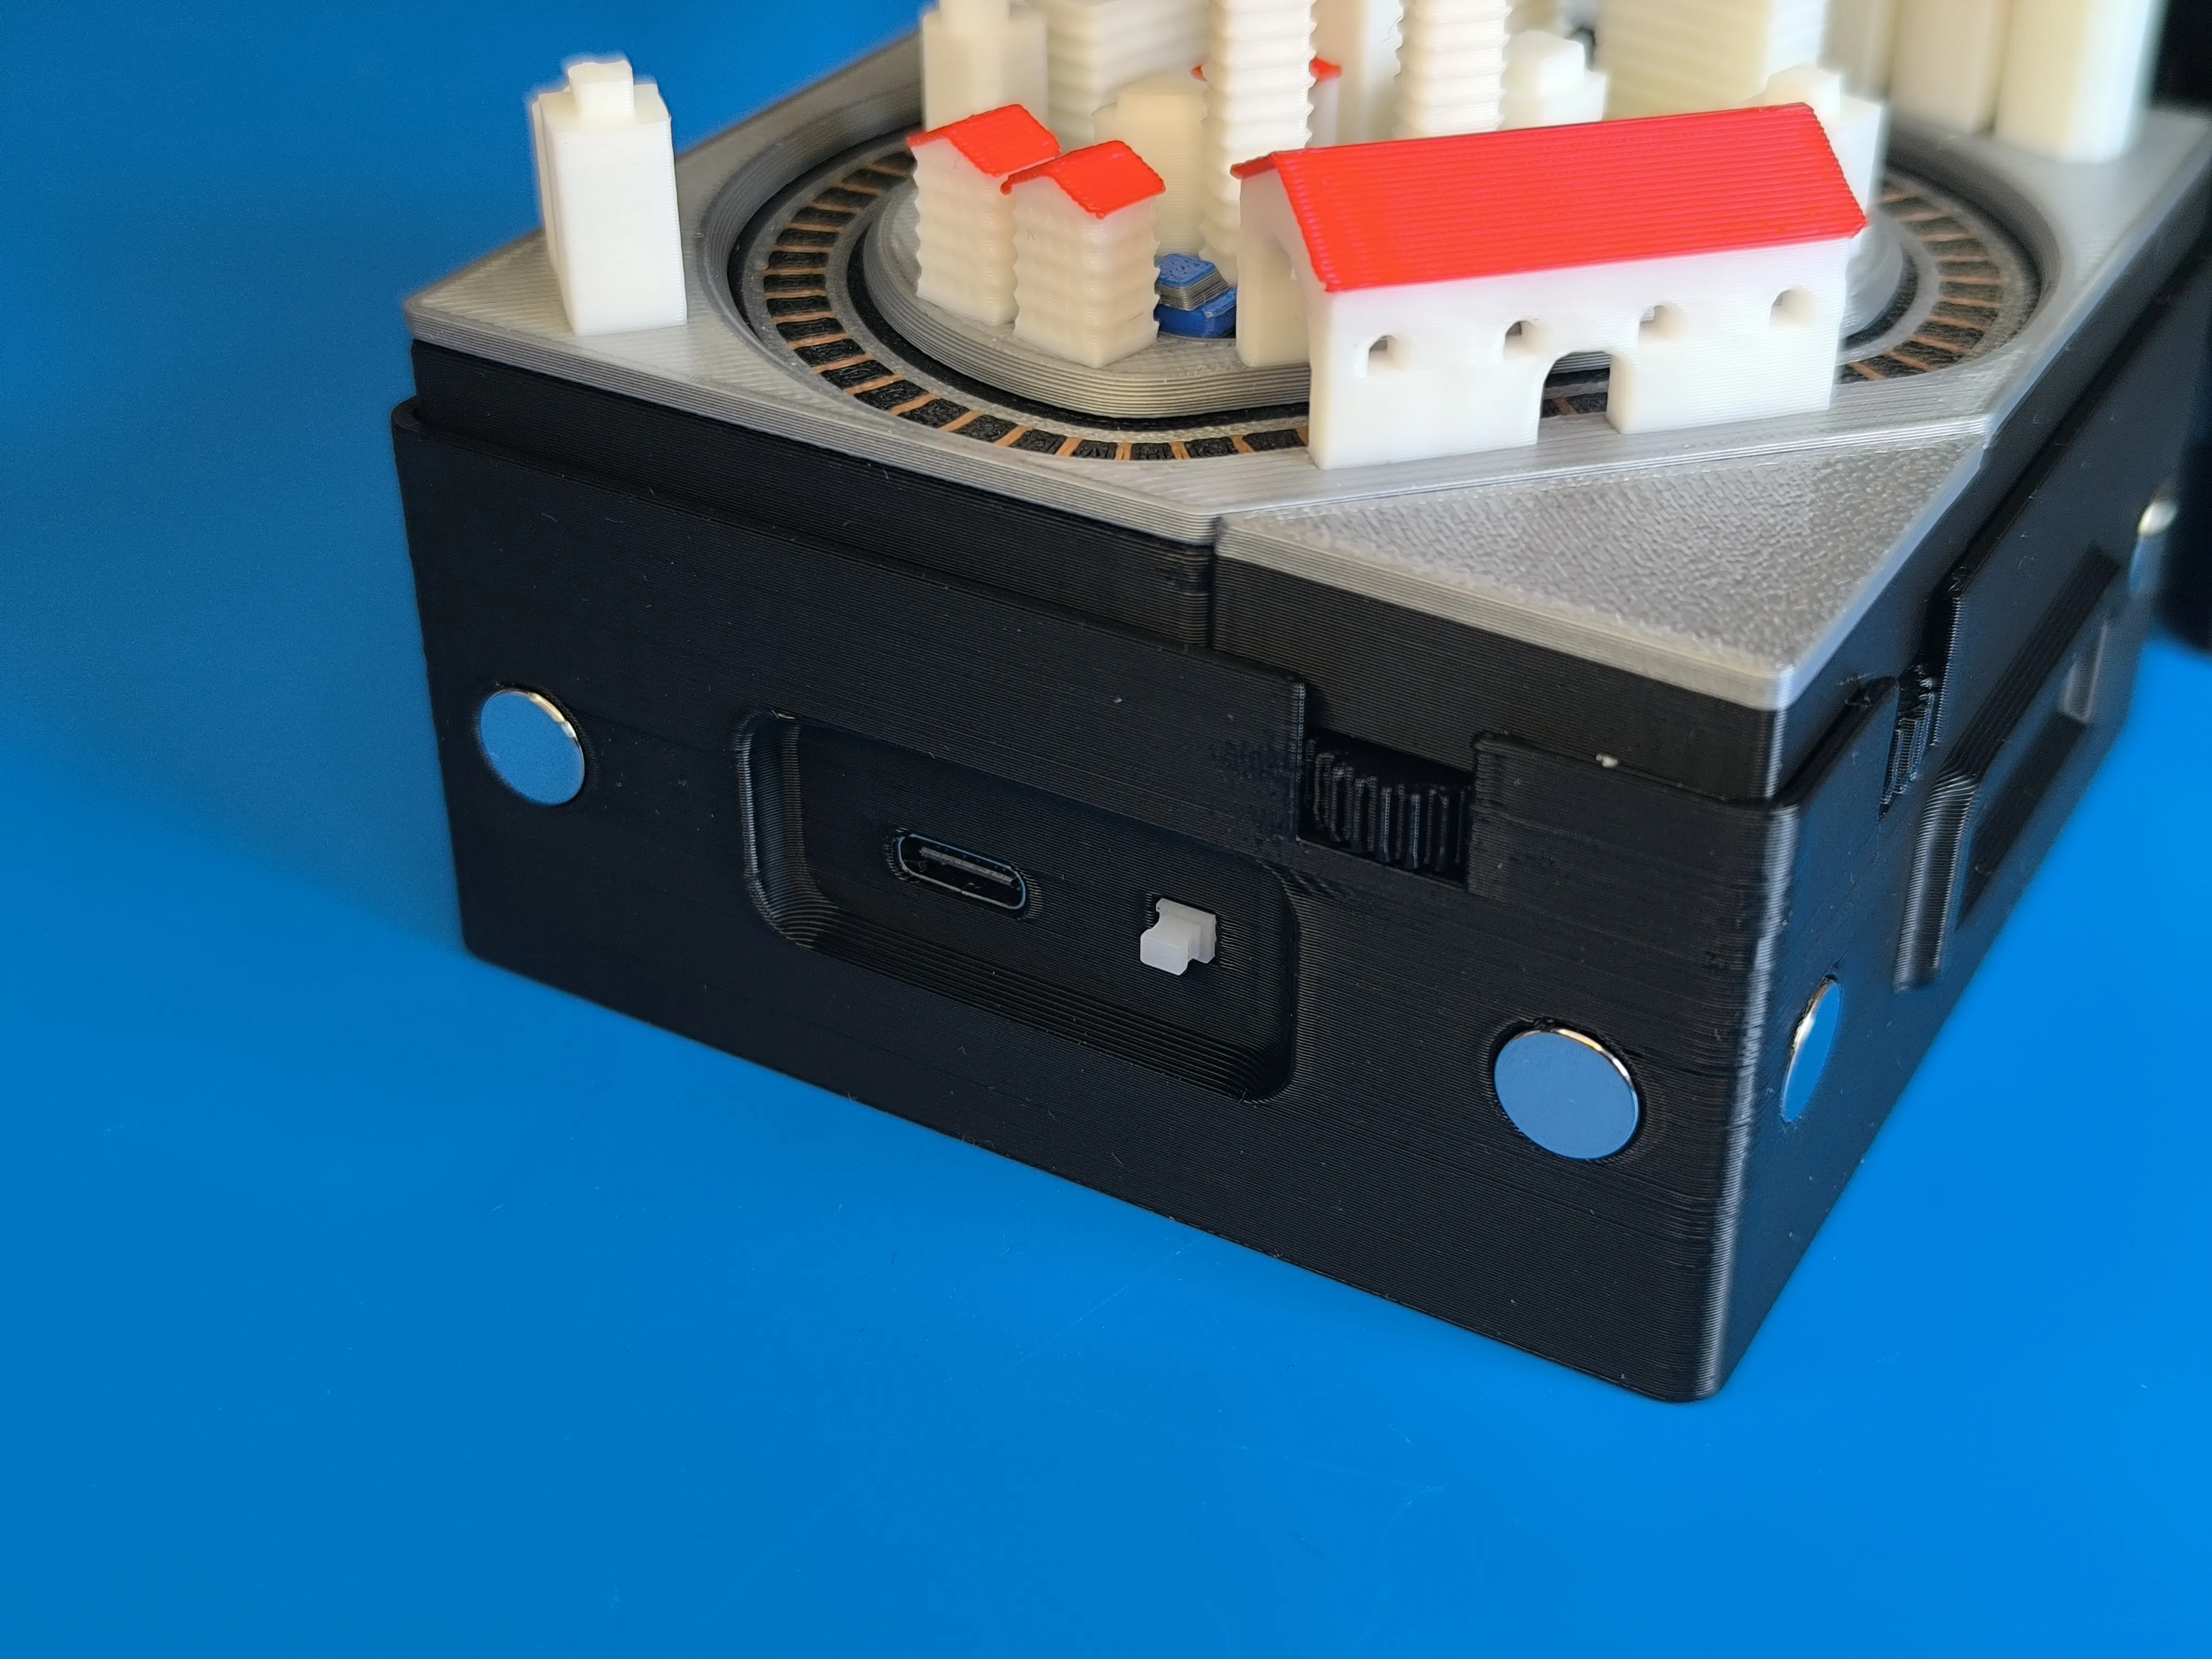
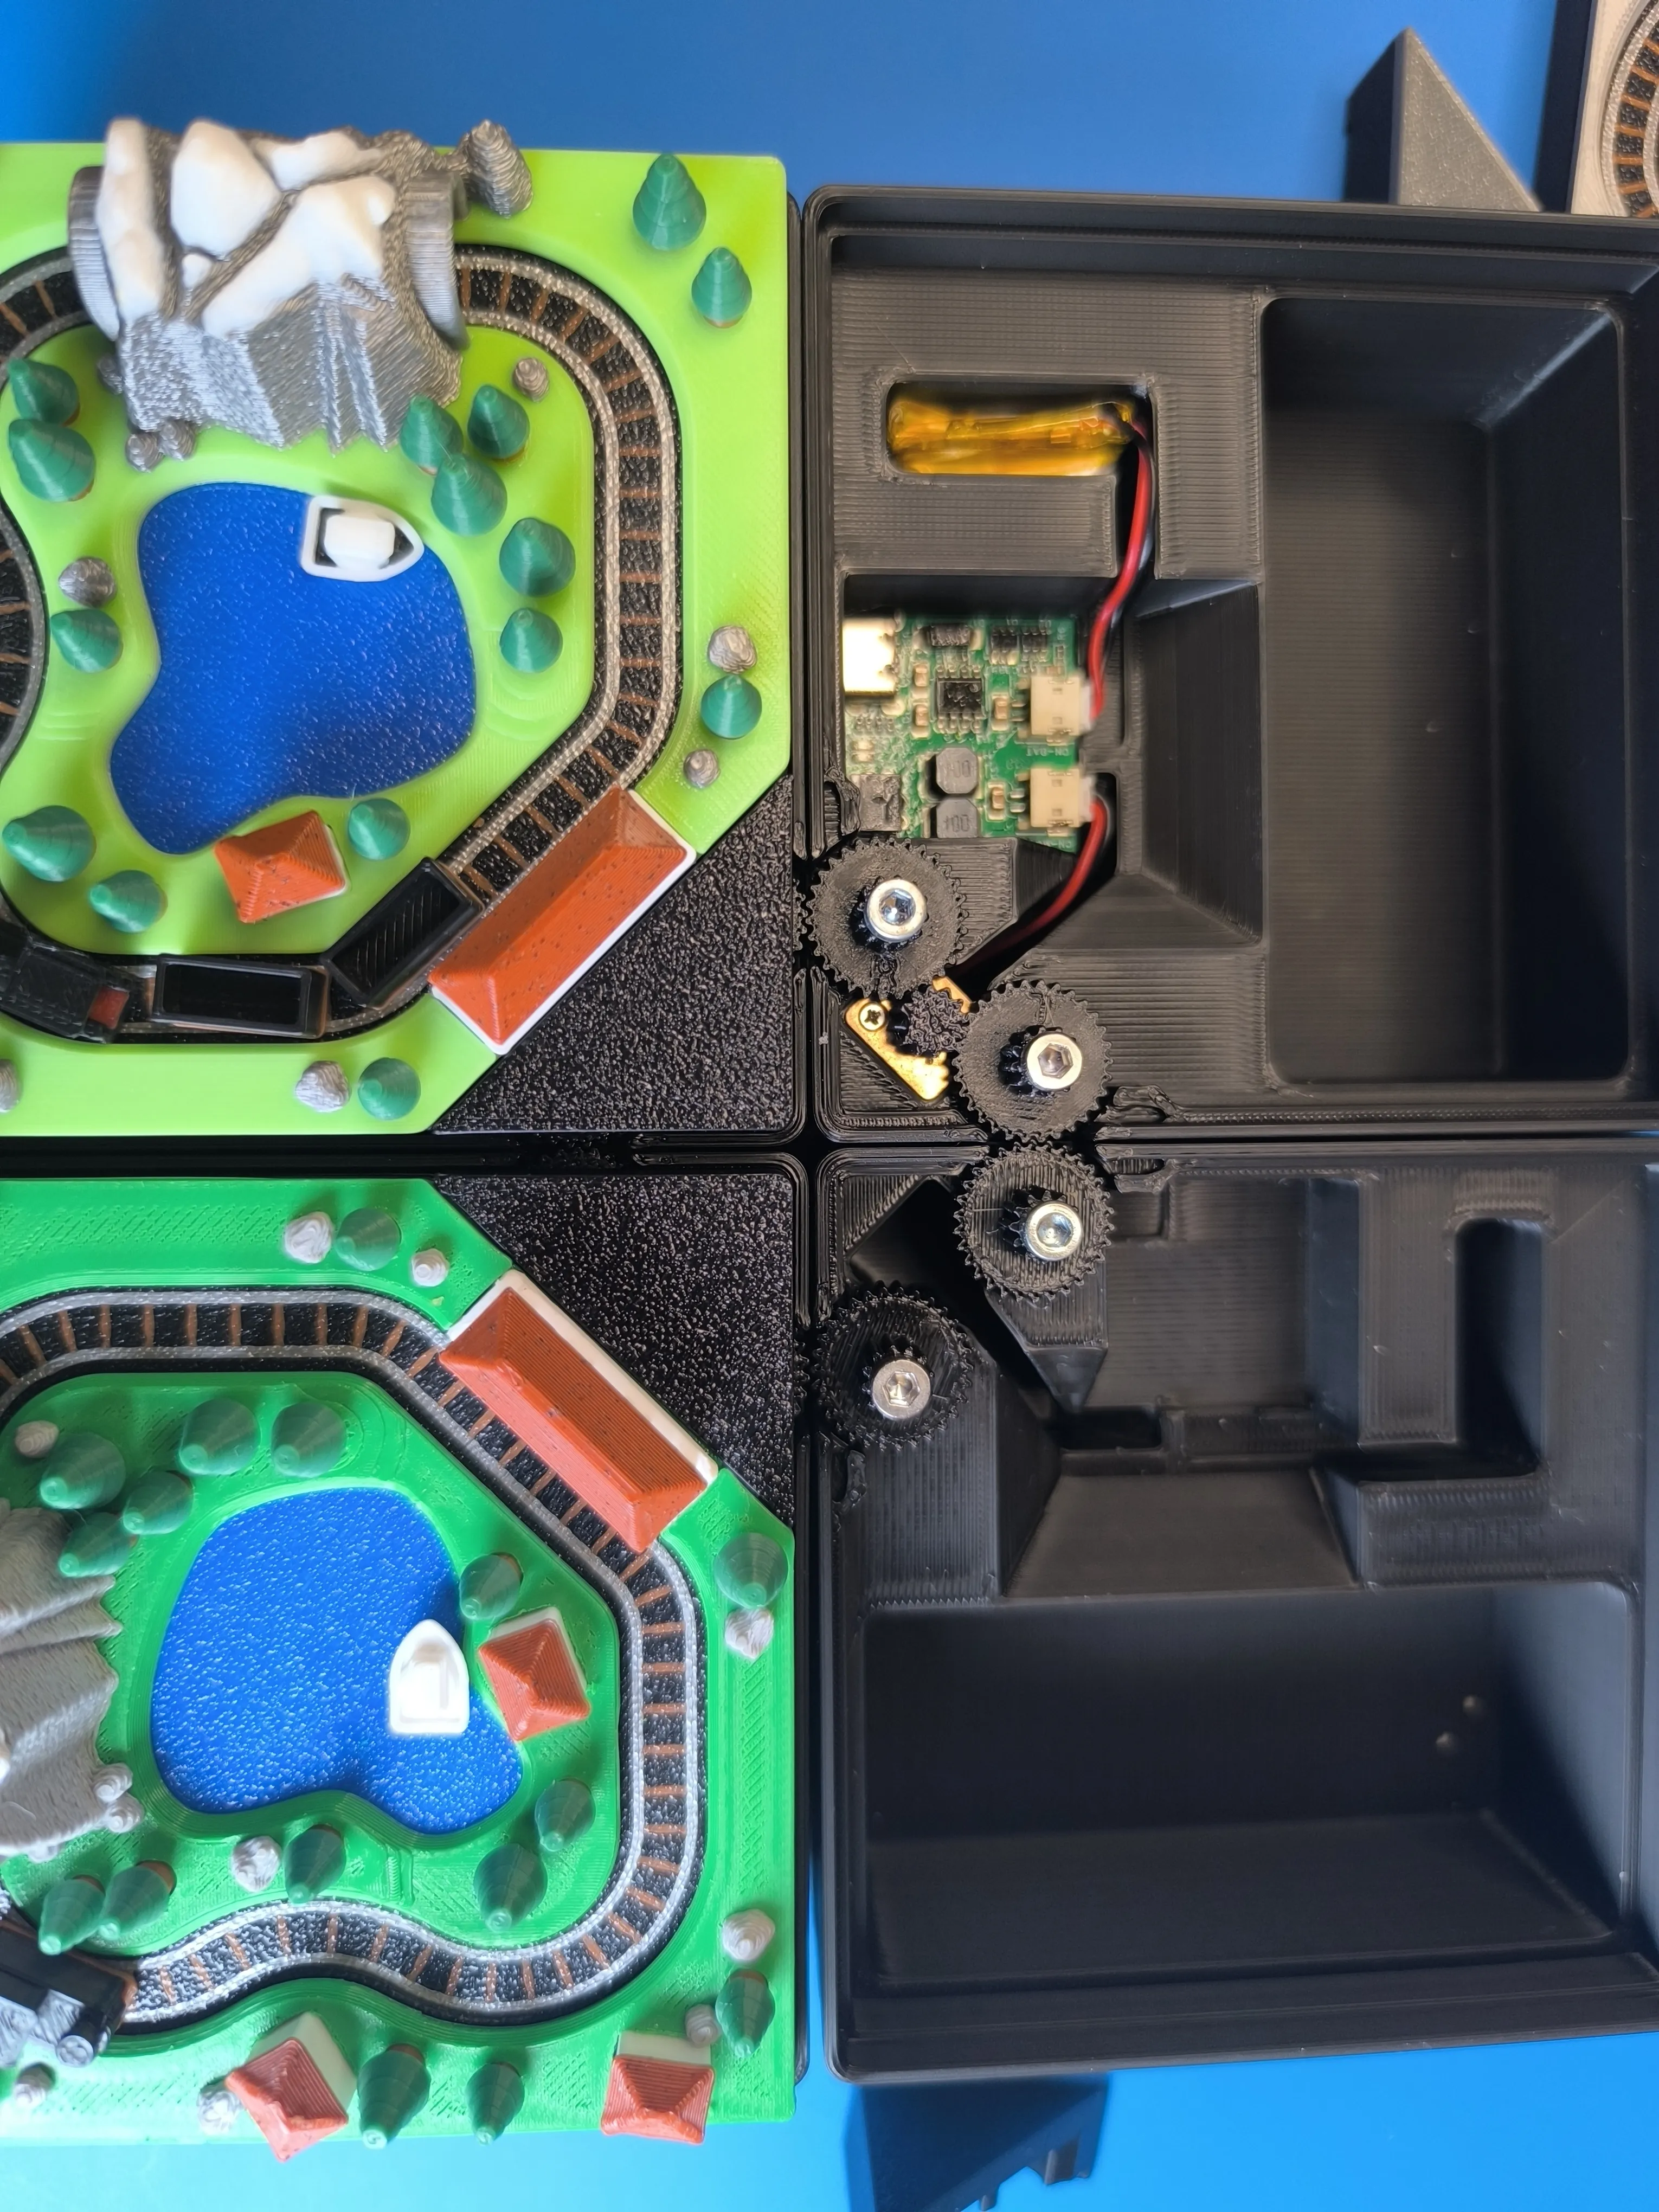
I hope you like this little project.
If you want to support my work, you can simply follow✔, boost 🚀& like👍 the model.
Happy Printing 😃
Membership
You want to sell printed objects from my designs or just support my work? Now you can subscribe on Makerworld! Thank you!
License

You shall not share, sub-license, sell, rent, host, transfer, or distribute in any way the digital or 3D printed versions of this object, nor any other derivative work of this object in its digital or physical format (including - but not limited to - remixes of this object, and hosting on other digital platforms). The objects may not be used without permission in any way whatsoever in which you charge money, or collect fees.


Comment & Rating (281)