Search models, users, collections, and posts

Baby Gate Receiver Cup Mount - Improve Retention!
IP Report
Print Profile(1)

0.2mm layer, 6 walls, 50% infill
Designer
1.2 h
1 plate
Open in Bambu Studio
Boost
4
21
1
0
39
32
Released
Description
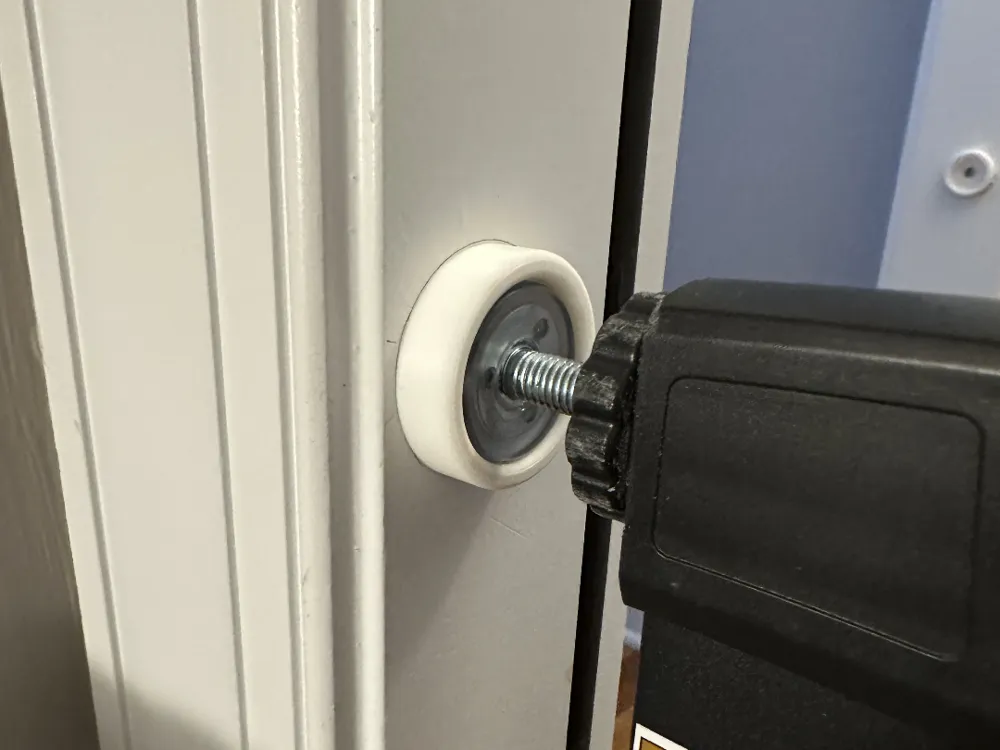
If you’ve used a pressure-mounted baby gate, you know they tend to shift over time—especially after repeated use or slamming. This quick 3D print will help lock the gate in place and keep it secure!
Recommended Print Settings:
- Material: PLA
- Infill: At least 25%
Installation Instructions
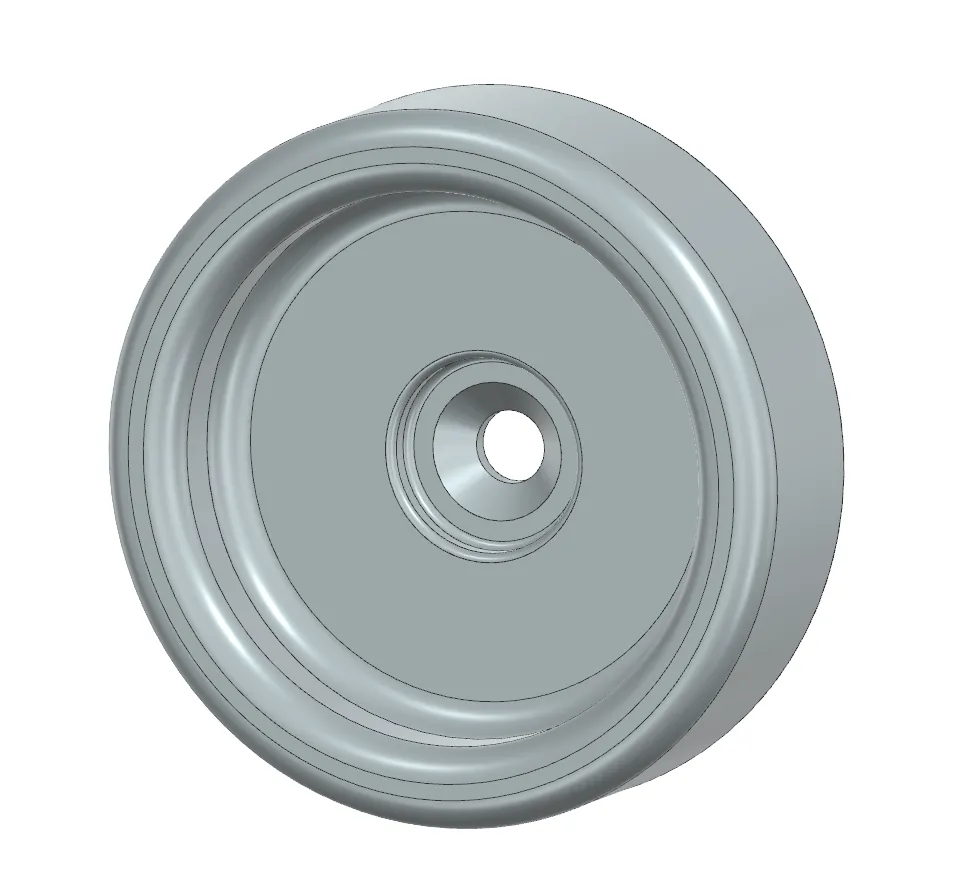
- Position the Bottom Receiver Cup Mounts
- Use the Receiver Cup Mounts to mark the center hole at the bottom of the gate on both sides.
- Space them off the floor using a consistent spacer (a thin scrap of plywood works well) to ensure even height.
- Pre-drill the center holes and secure the mounts using a countersunk screw of your choice—drywall screws work fine.
- Loosely Mount the Gate
- Install the gate into the bottom mounts just tight enough so that it can still rotate with a small amount of force.
- Align and Mark the Top Receiver Cup Mounts
- Place the Receiver Cup Mounts onto the upper gate pads.
- Rotate the gate into the upright (vertical) position—use a level to confirm it’s straight.
- With a pencil, trace the location of the top mounts, then rotate the gate out of the way.
- Drill and Install Top Mounts
- Use the mounts and your pencil markings to locate and pre-drill the center holes.
- Secure the top Receiver Cup Mounts with screws.
- Final Setup
- Reinstall the gate into all four mounts and check for secure fit and proper tension. Adjust as needed for a tight, stable hold.
License

This user content is licensed under a
Creative Commons Attribution-Noncommercial


Comment & Rating (1)