
3D-scanner markers ( magnetic and stackable )
Print Profile(1)
Description
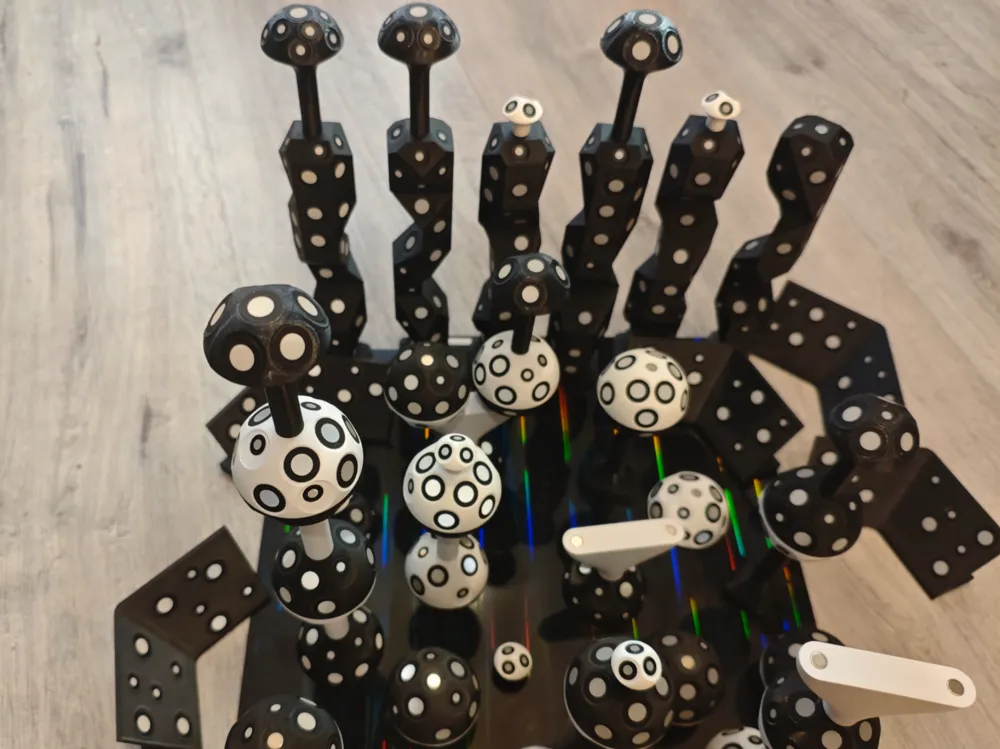
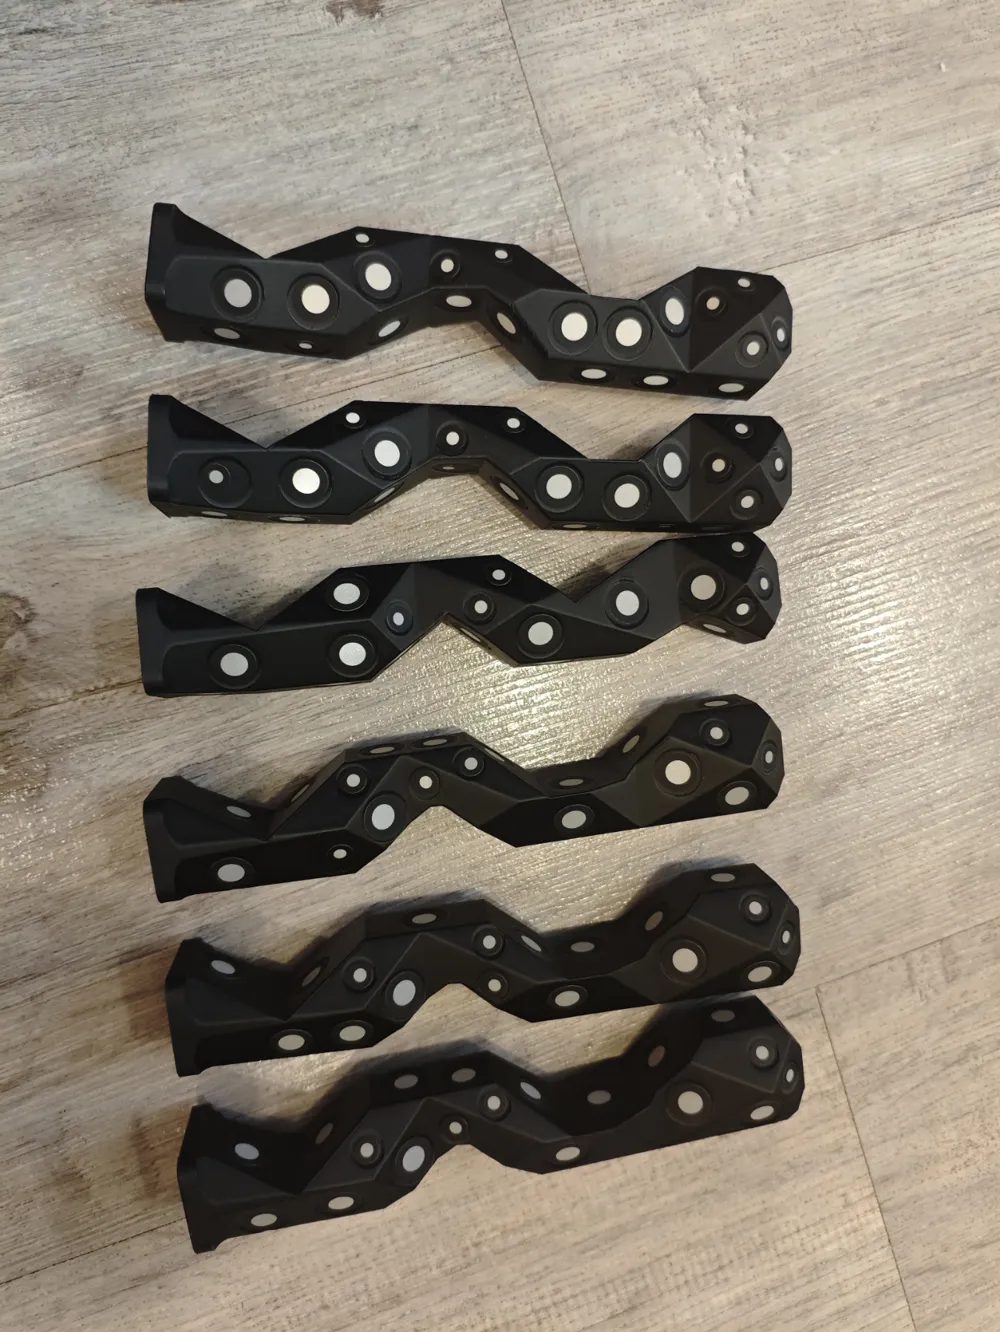
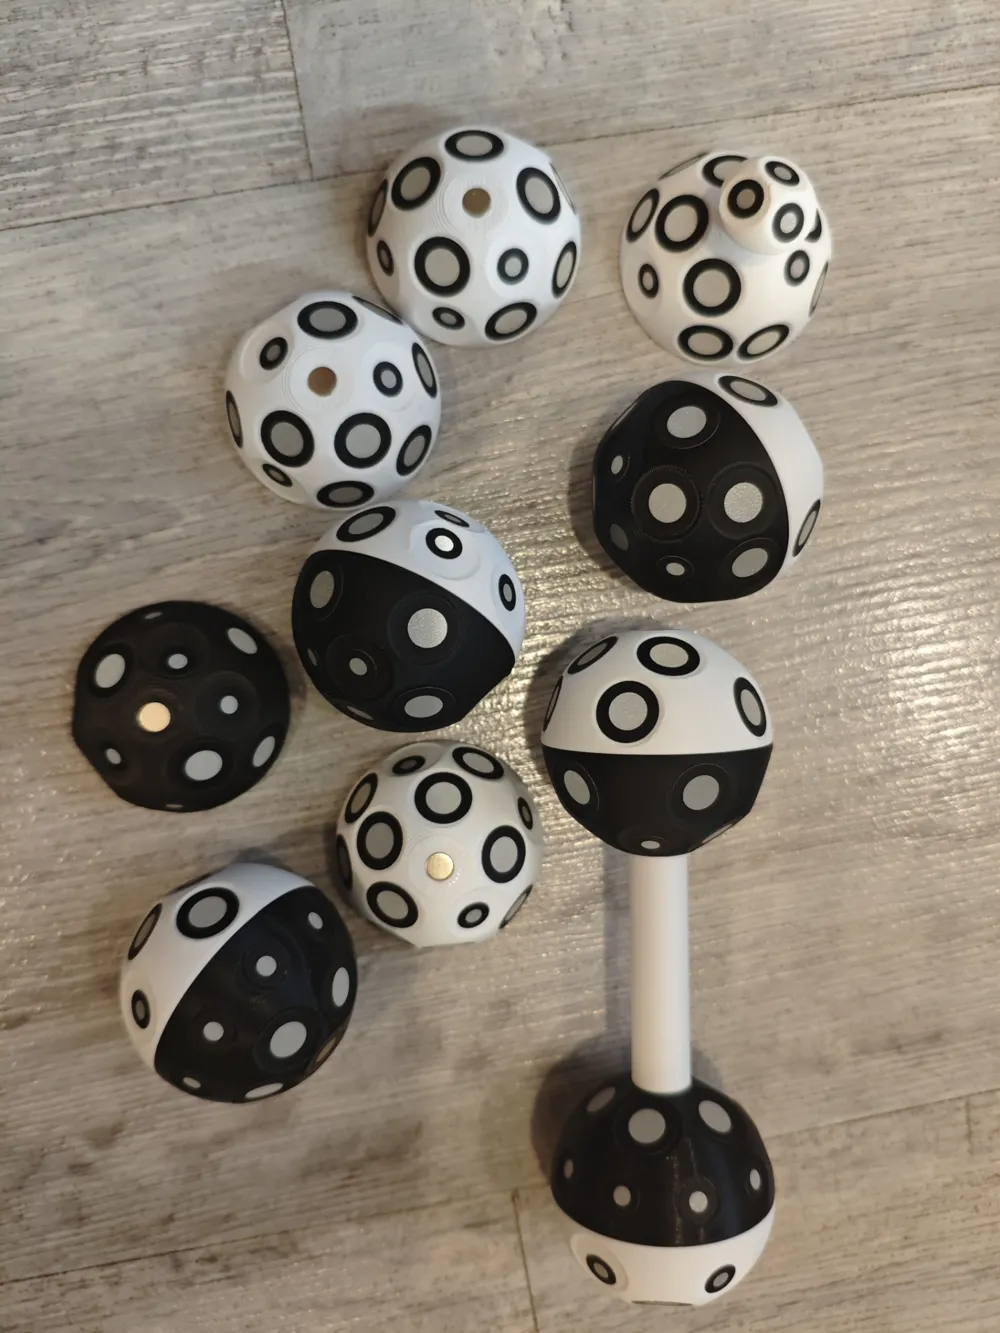
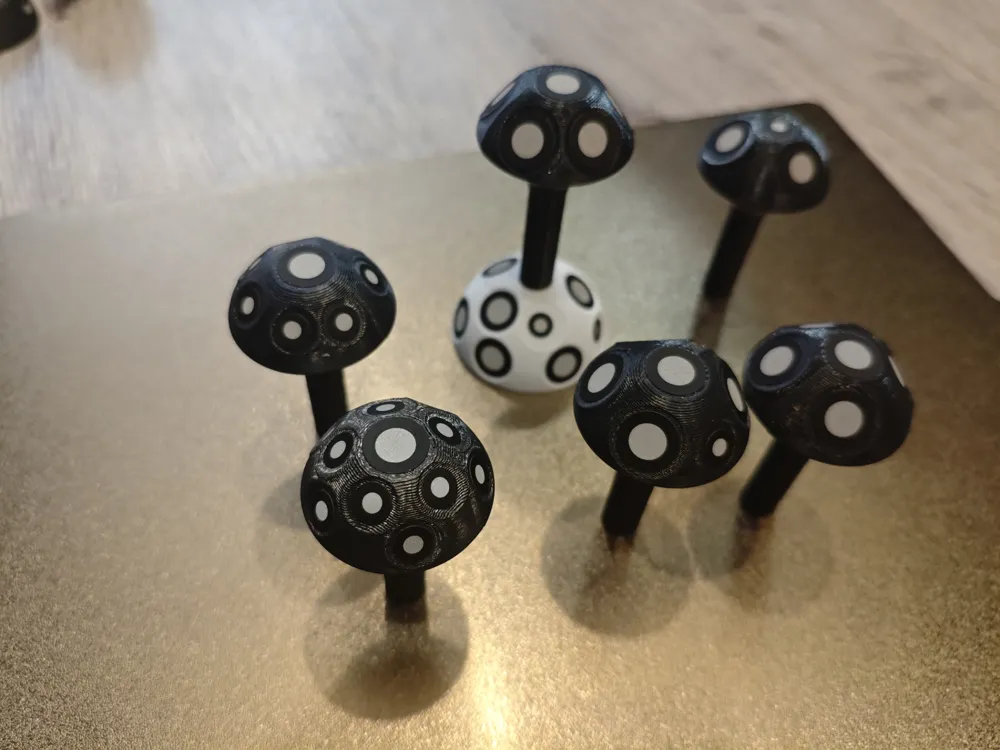
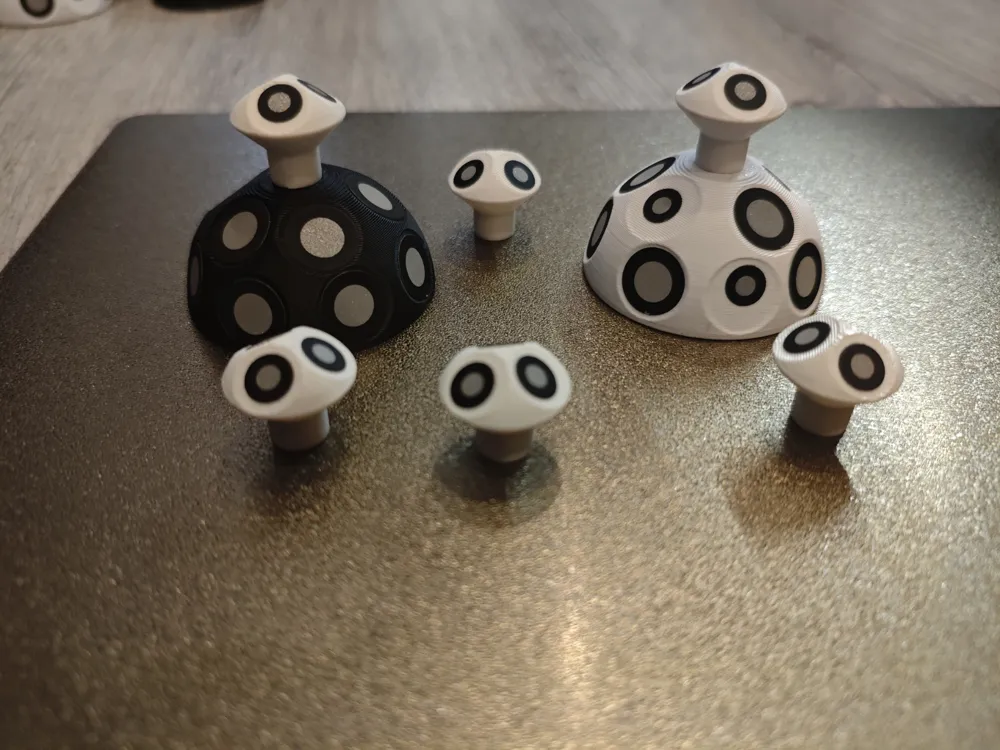
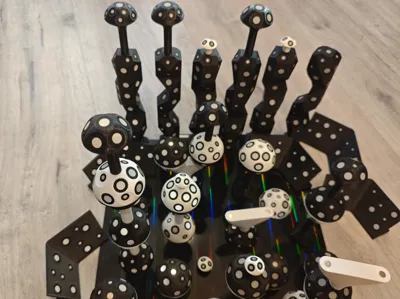
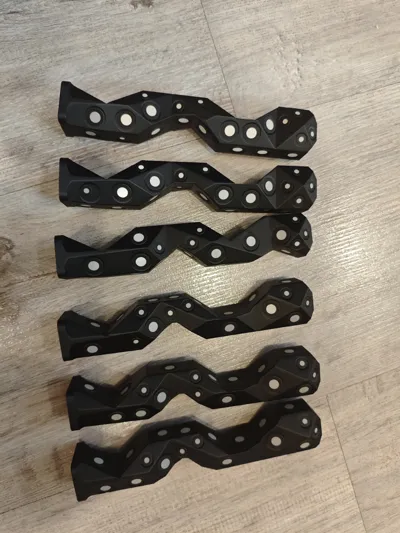
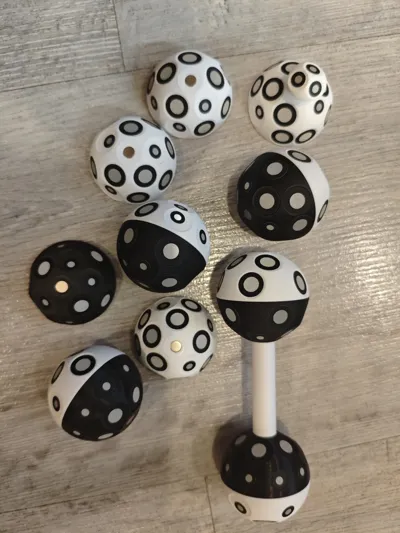
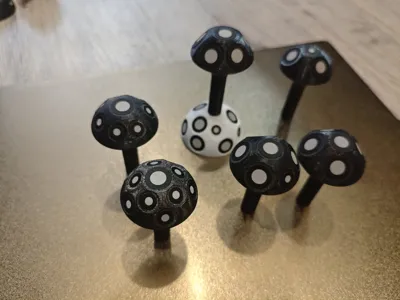
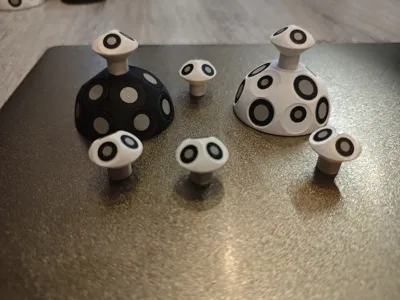
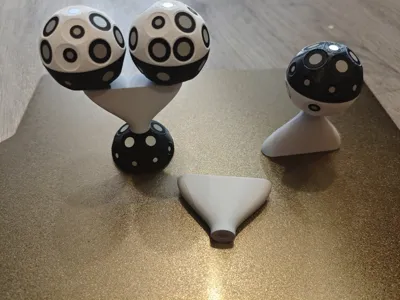
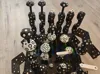
System of objects for 3D scanner markers. All figures have shallow cutouts for 6 and 10 mm markers (8 and 12 mm cutouts). The cutouts allow the markers to stay in place longer, since they do not catch on the edge during storage. The cutouts for markers on the objects are located in different places: there are 8 different hemispheres, 6 different columns, 6 different large tops.
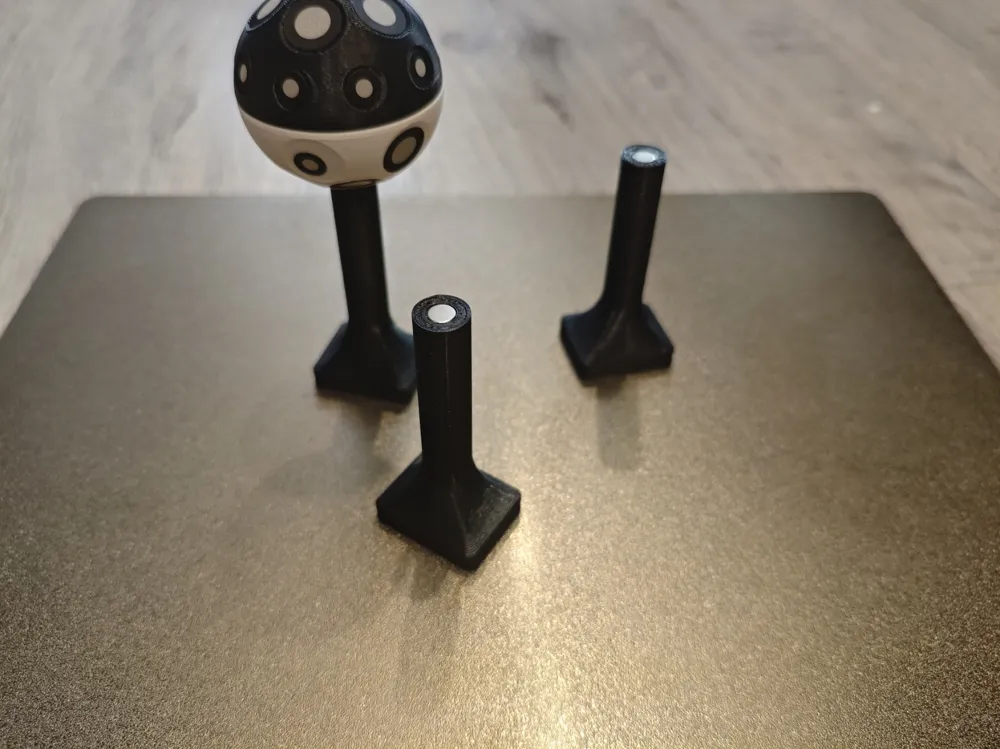
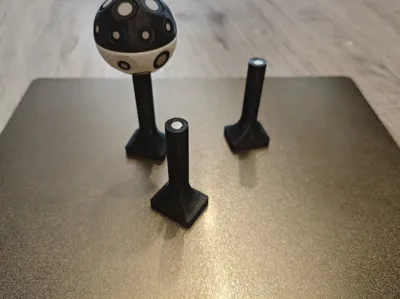
The columns and 50 mm bases have internal cavities for 20x15x2 mm magnets. In the print profile of the columns and 50 mm bases, a pause is made, during which you need to install the magnets in the slots. After the pause, the cavities will be closed.
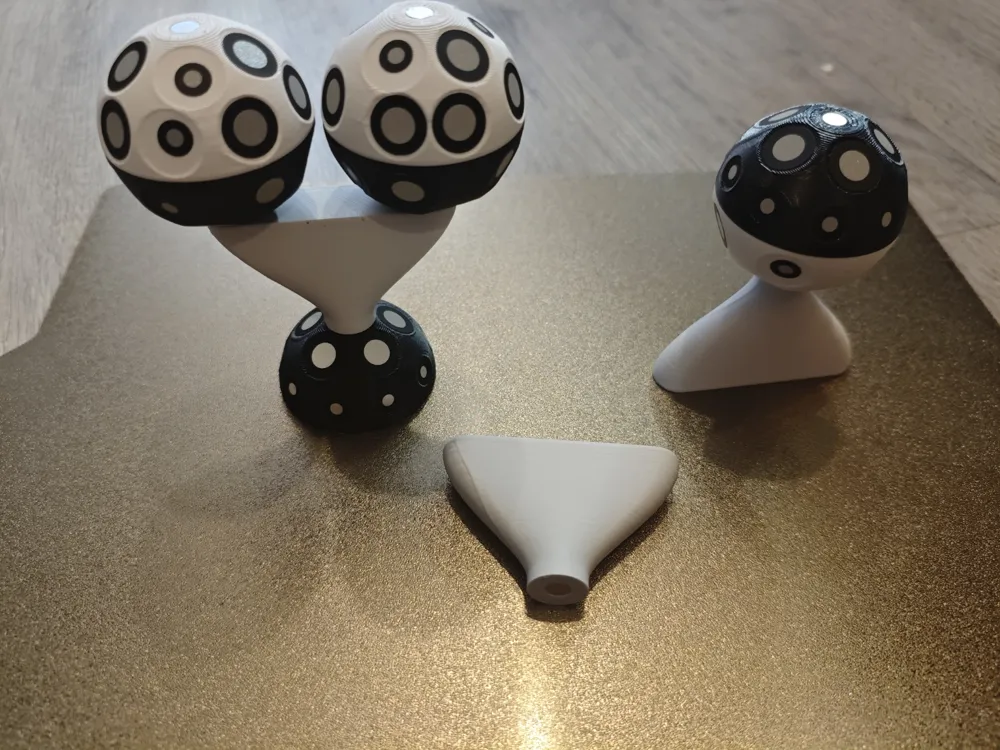
All parts have holes for 5x2 mm cylindrical magnets. This allows you to connect parts to each other, make high markers, attach them to iron parts or an iron table for scanning. The hemispheres can be used as a base. The magnets should be installed like this:
1. install one magnet in the base of one white hemisphere.
2. attach the second magnet to it and press it into the base of the black hemisphere. Repeat with all the black hemispheres.
3. attach 1 additional magnet to the base of the black hemisphere and press it into the base of the white hemisphere. Repeat with all the white hemispheres.
Now all the white hemispheres can be magnetized to the black ones to get a black and white ball.
4. press 1 magnet into the top of any hemisphere.
5. magnetize 1 more magnet to the top of the hemisphere. press it into the spacer. Repeat with all the white parts: spacers, all the tops (small and large), bases.
6. magnetize 1 additional magnet to any white spacer. Press it into the top of the column. Repeat with all columns
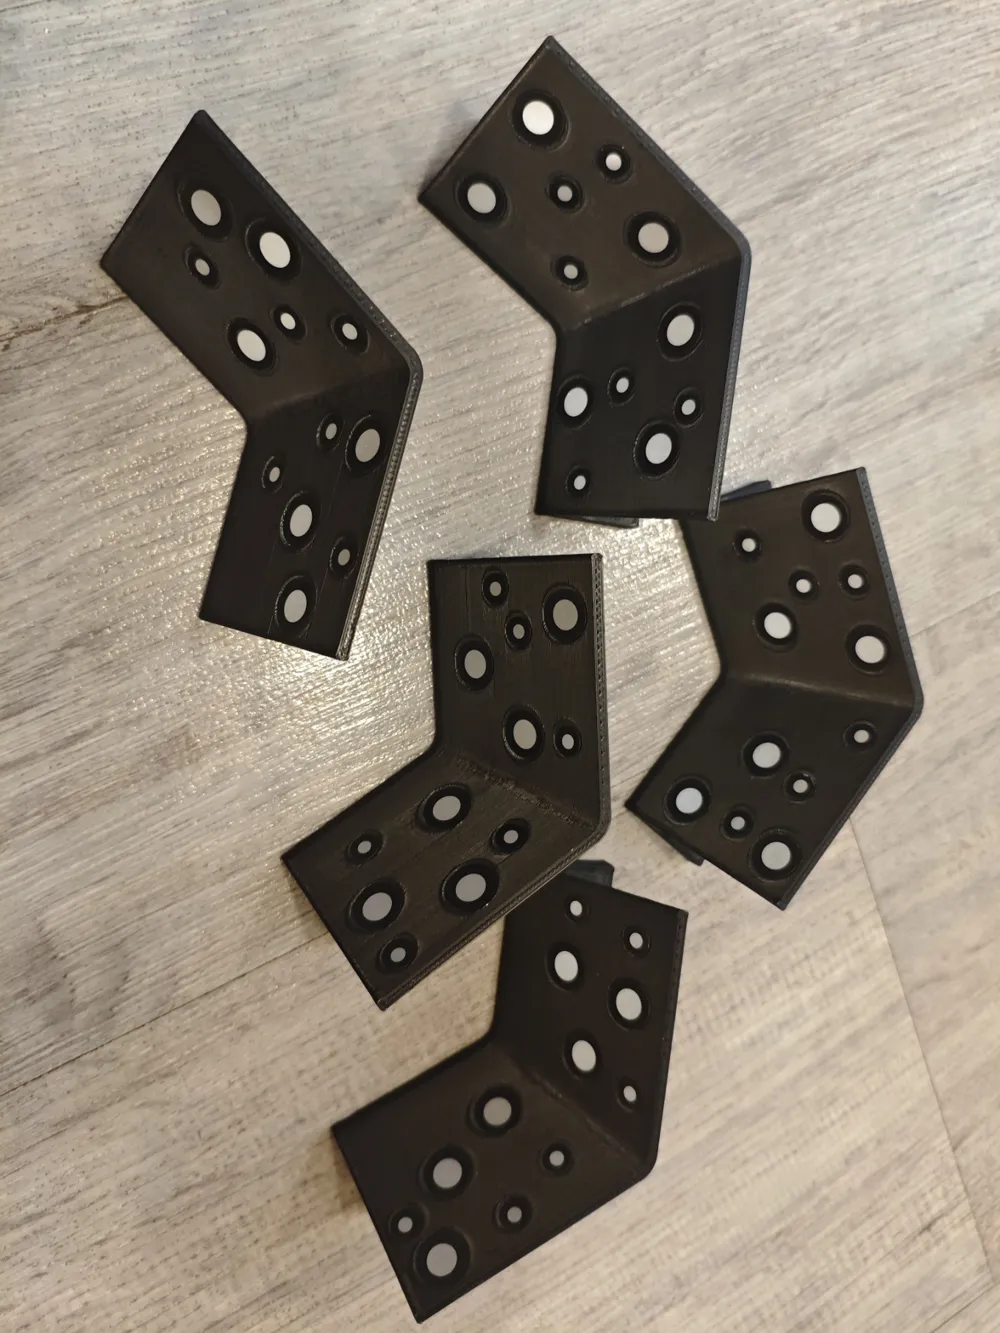
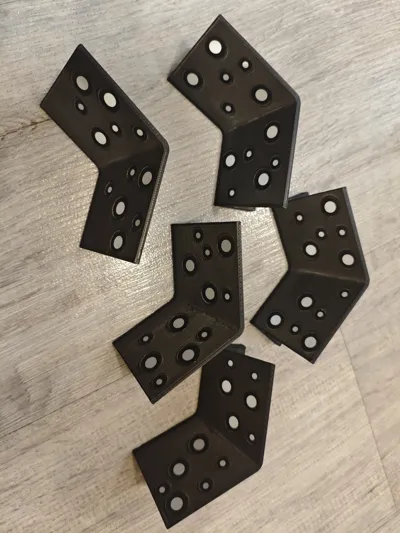
7. Repeat step 6 with all corner markers
After installing the magnets in this way, you can make a ball from black and white hemispheres (this is easier than picking up single-color hemispheres to assemble the ball), all spheres and black objects can be attached to any white objects. If necessary, you can assemble high multi-component markers.
Система объектов для маркеров 3д-сканера. На всех фигурах сделаны неглубокие вырезы под маркеры 6 и 10 мм (вырезы 8 и 12 мм). Вырезы позволяют маркерам дольше оставаться на месте, т.к. их не цепляет за край при хранении. Вырезы под маркеры на объектах расположены в разных местах: есть 8 разных полусфер, 6 разных колонн, 6 разных больших наверший.
В колоннах и 50 мм основаниях сделаны внутренние полости под магниты 20х15х2мм. В профиле печати колонн и 50мм оснований сделана пауза, во время которой надо установить магниты в прорези. После паузы полости будут закрыты.
На всех деталях есть отверстия под цилиндрические магниты 5х2мм. Это позволяет соединять детали друг с другом, делать высокие маркеры, примоединять их к железным деталям или железному столу для сканирования. Полусферы можно использовать как основание (базу). Магниты должны быть установлены так:
1. установите один магнит в основание одной белой полусферы.
2. присоедините к нему второй магнит и запрессуйте его в основание черной полусферы. Повторите со всеми черными полусферами.
3. при соедините 1 дополнительный магнит к основанию черной полусферы и запрессуйте его в основание белой полусферы. Повторите со всеми белыми полусферами.
Теперь все белые полусферы можно примагнитить к чёрным, чтобы получился чёрно-белый шар.
4. запрессуйте 1 магнит в вершину любой полусферы.
5. примагнитьте к вершине полусферы ещё 1 магнит. запрессуйте его в проставку. Повторите со всеми белыми деталями: проставками, со всеми навершиями (маленькими и большими), основаниями.
6. примагнитьте 1 дополнительный магнит к любой белой проставке. Запрессуйте его в вершину колонны. Повторите со всеми колоннами
7. повторите пункт 6 со всеми угловыми маркерами
После такой установки магнитов можно сделать шар из черной и белой полусфер (это проще, чем подбирать однотонные полусферы для сборки шара), все сферы и черные объекты можно присоединить к любым белым объектам. При необходимости можно собирать высокие многосоставные маркеры.

💥 You can leave a donation here: https://boosty.to/prosmp/donate
💥All our contacts on one page: https://hipolink.me/prosmp
YouTube Channel: https://www.youtube.com/@prosmp
Our Telegram channel: https://t.me/prosmp
VK Group: https://vk.com/pro_smp
License

You shall not share, sub-license, sell, rent, host, transfer, or distribute in any way the digital or 3D printed versions of this object, nor any other derivative work of this object in its digital or physical format (including - but not limited to - remixes of this object, and hosting on other digital platforms). The objects may not be used without permission in any way whatsoever in which you charge money, or collect fees.


Comment & Rating (61)