
Noodle Nexus - Compact AMS Stacker
Print Profile(2)


Bill of Materials

Description
Update
New version available! This uses significantly less filament, is more compact and uses steel drawer slides.
Description
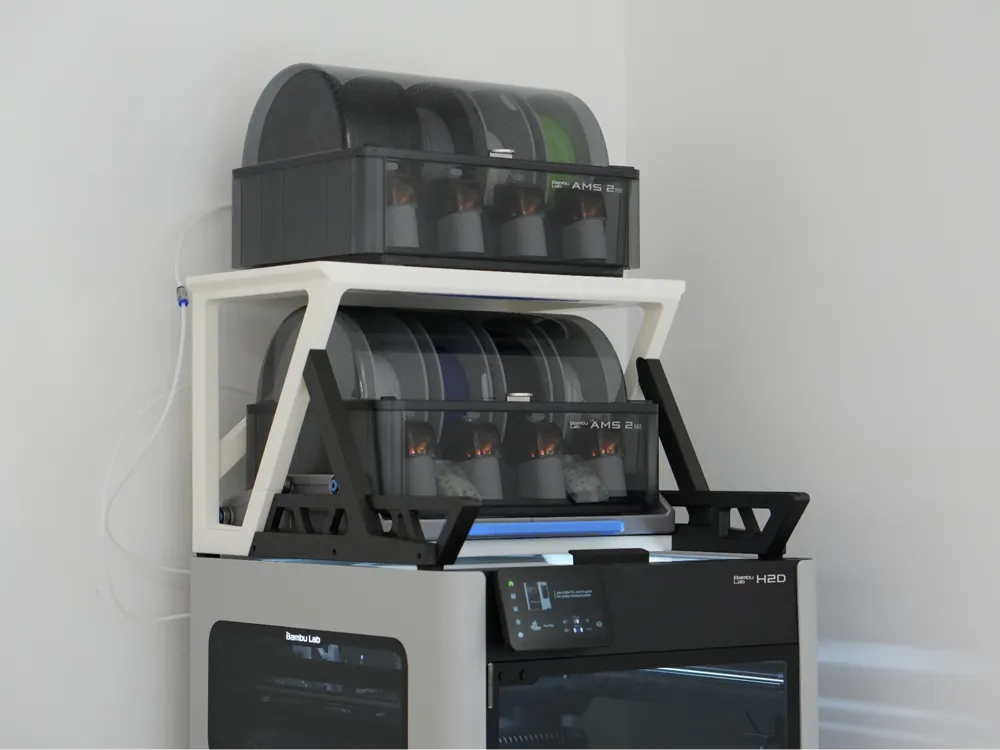
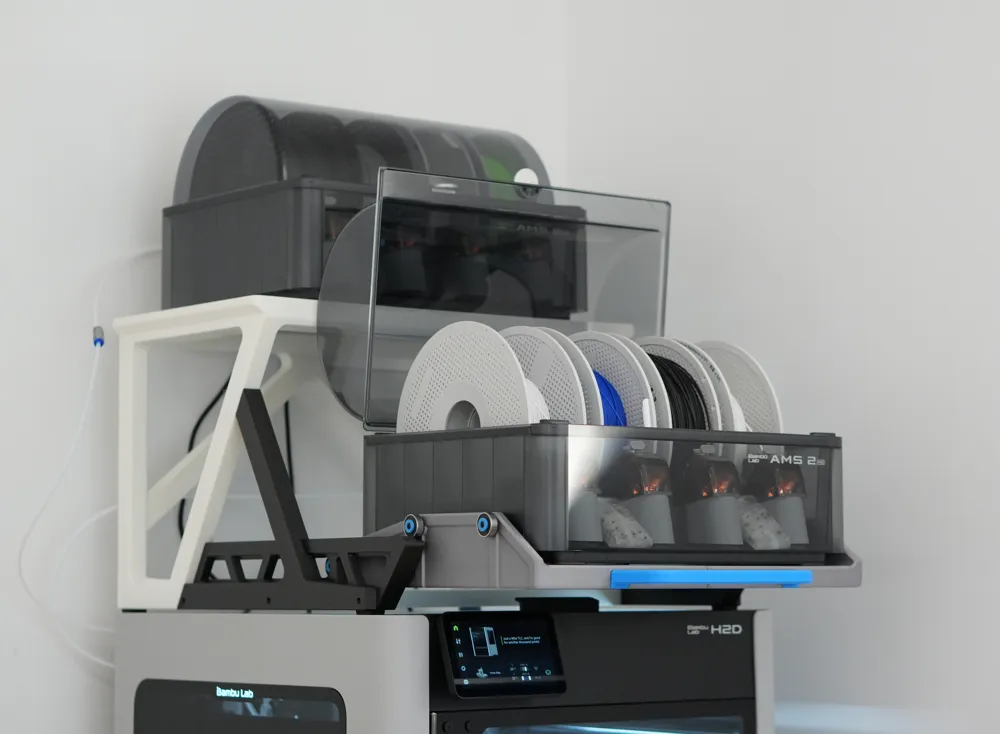

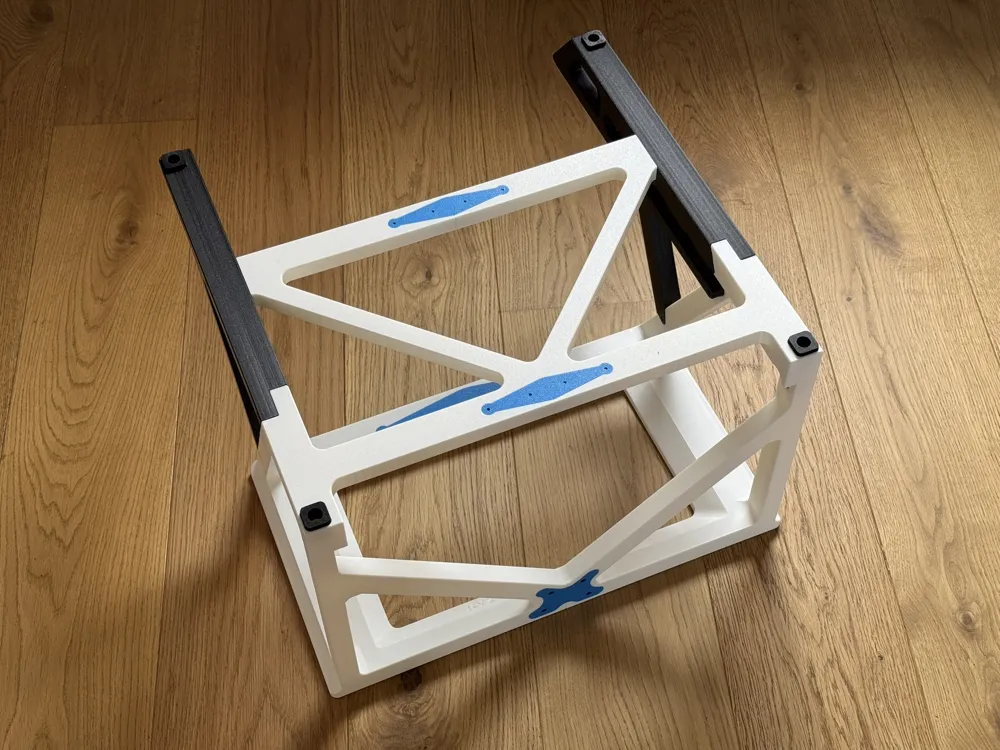
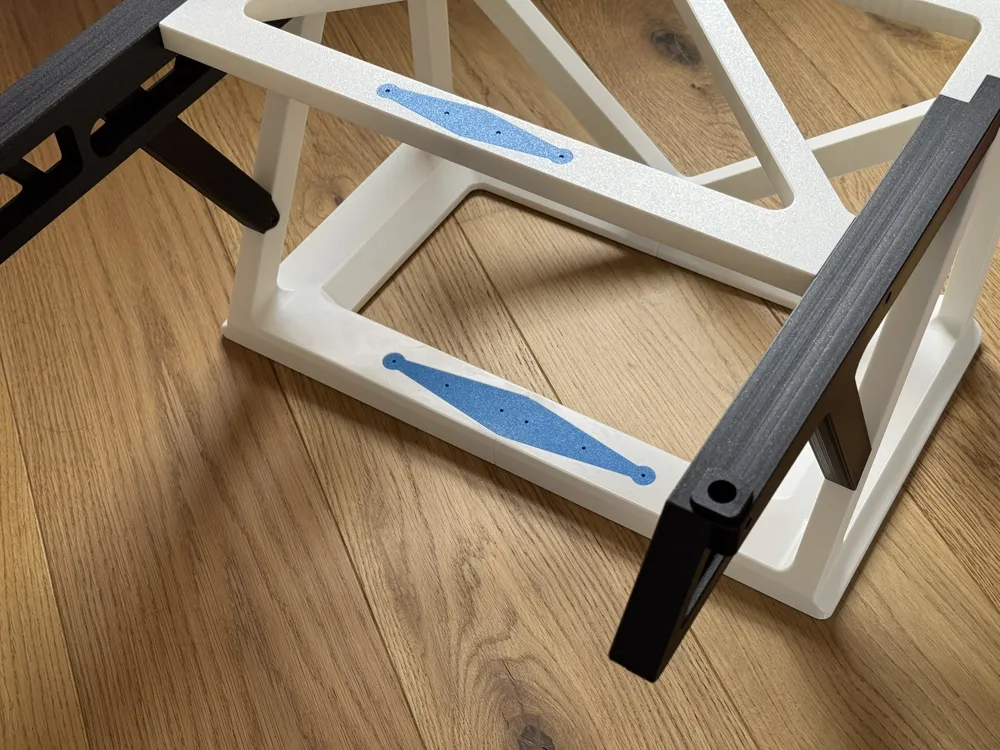
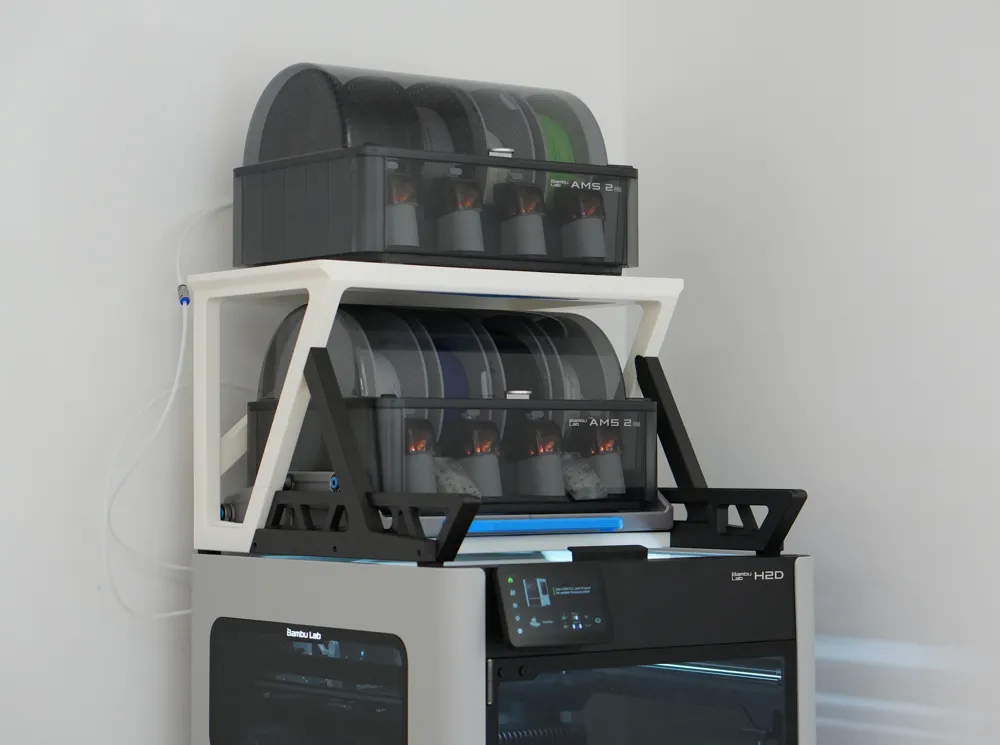
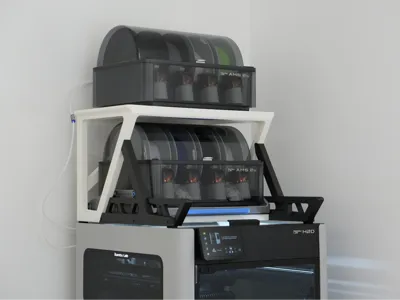
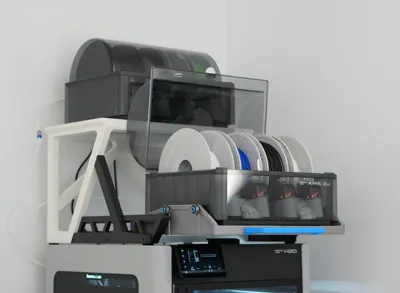
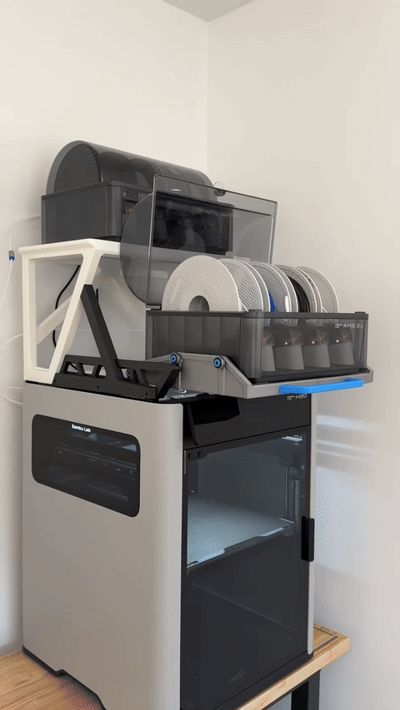
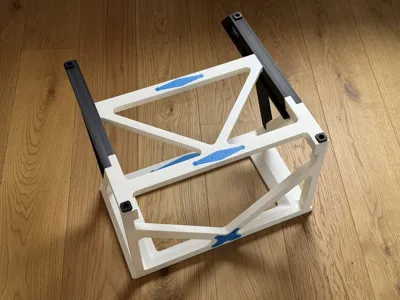
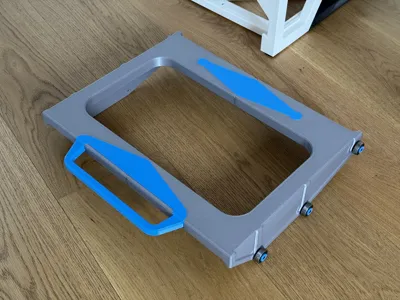
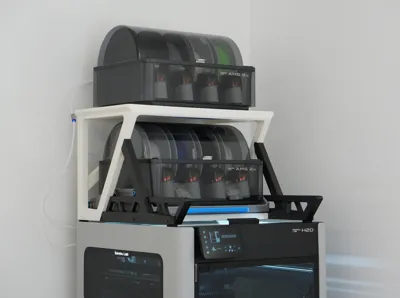
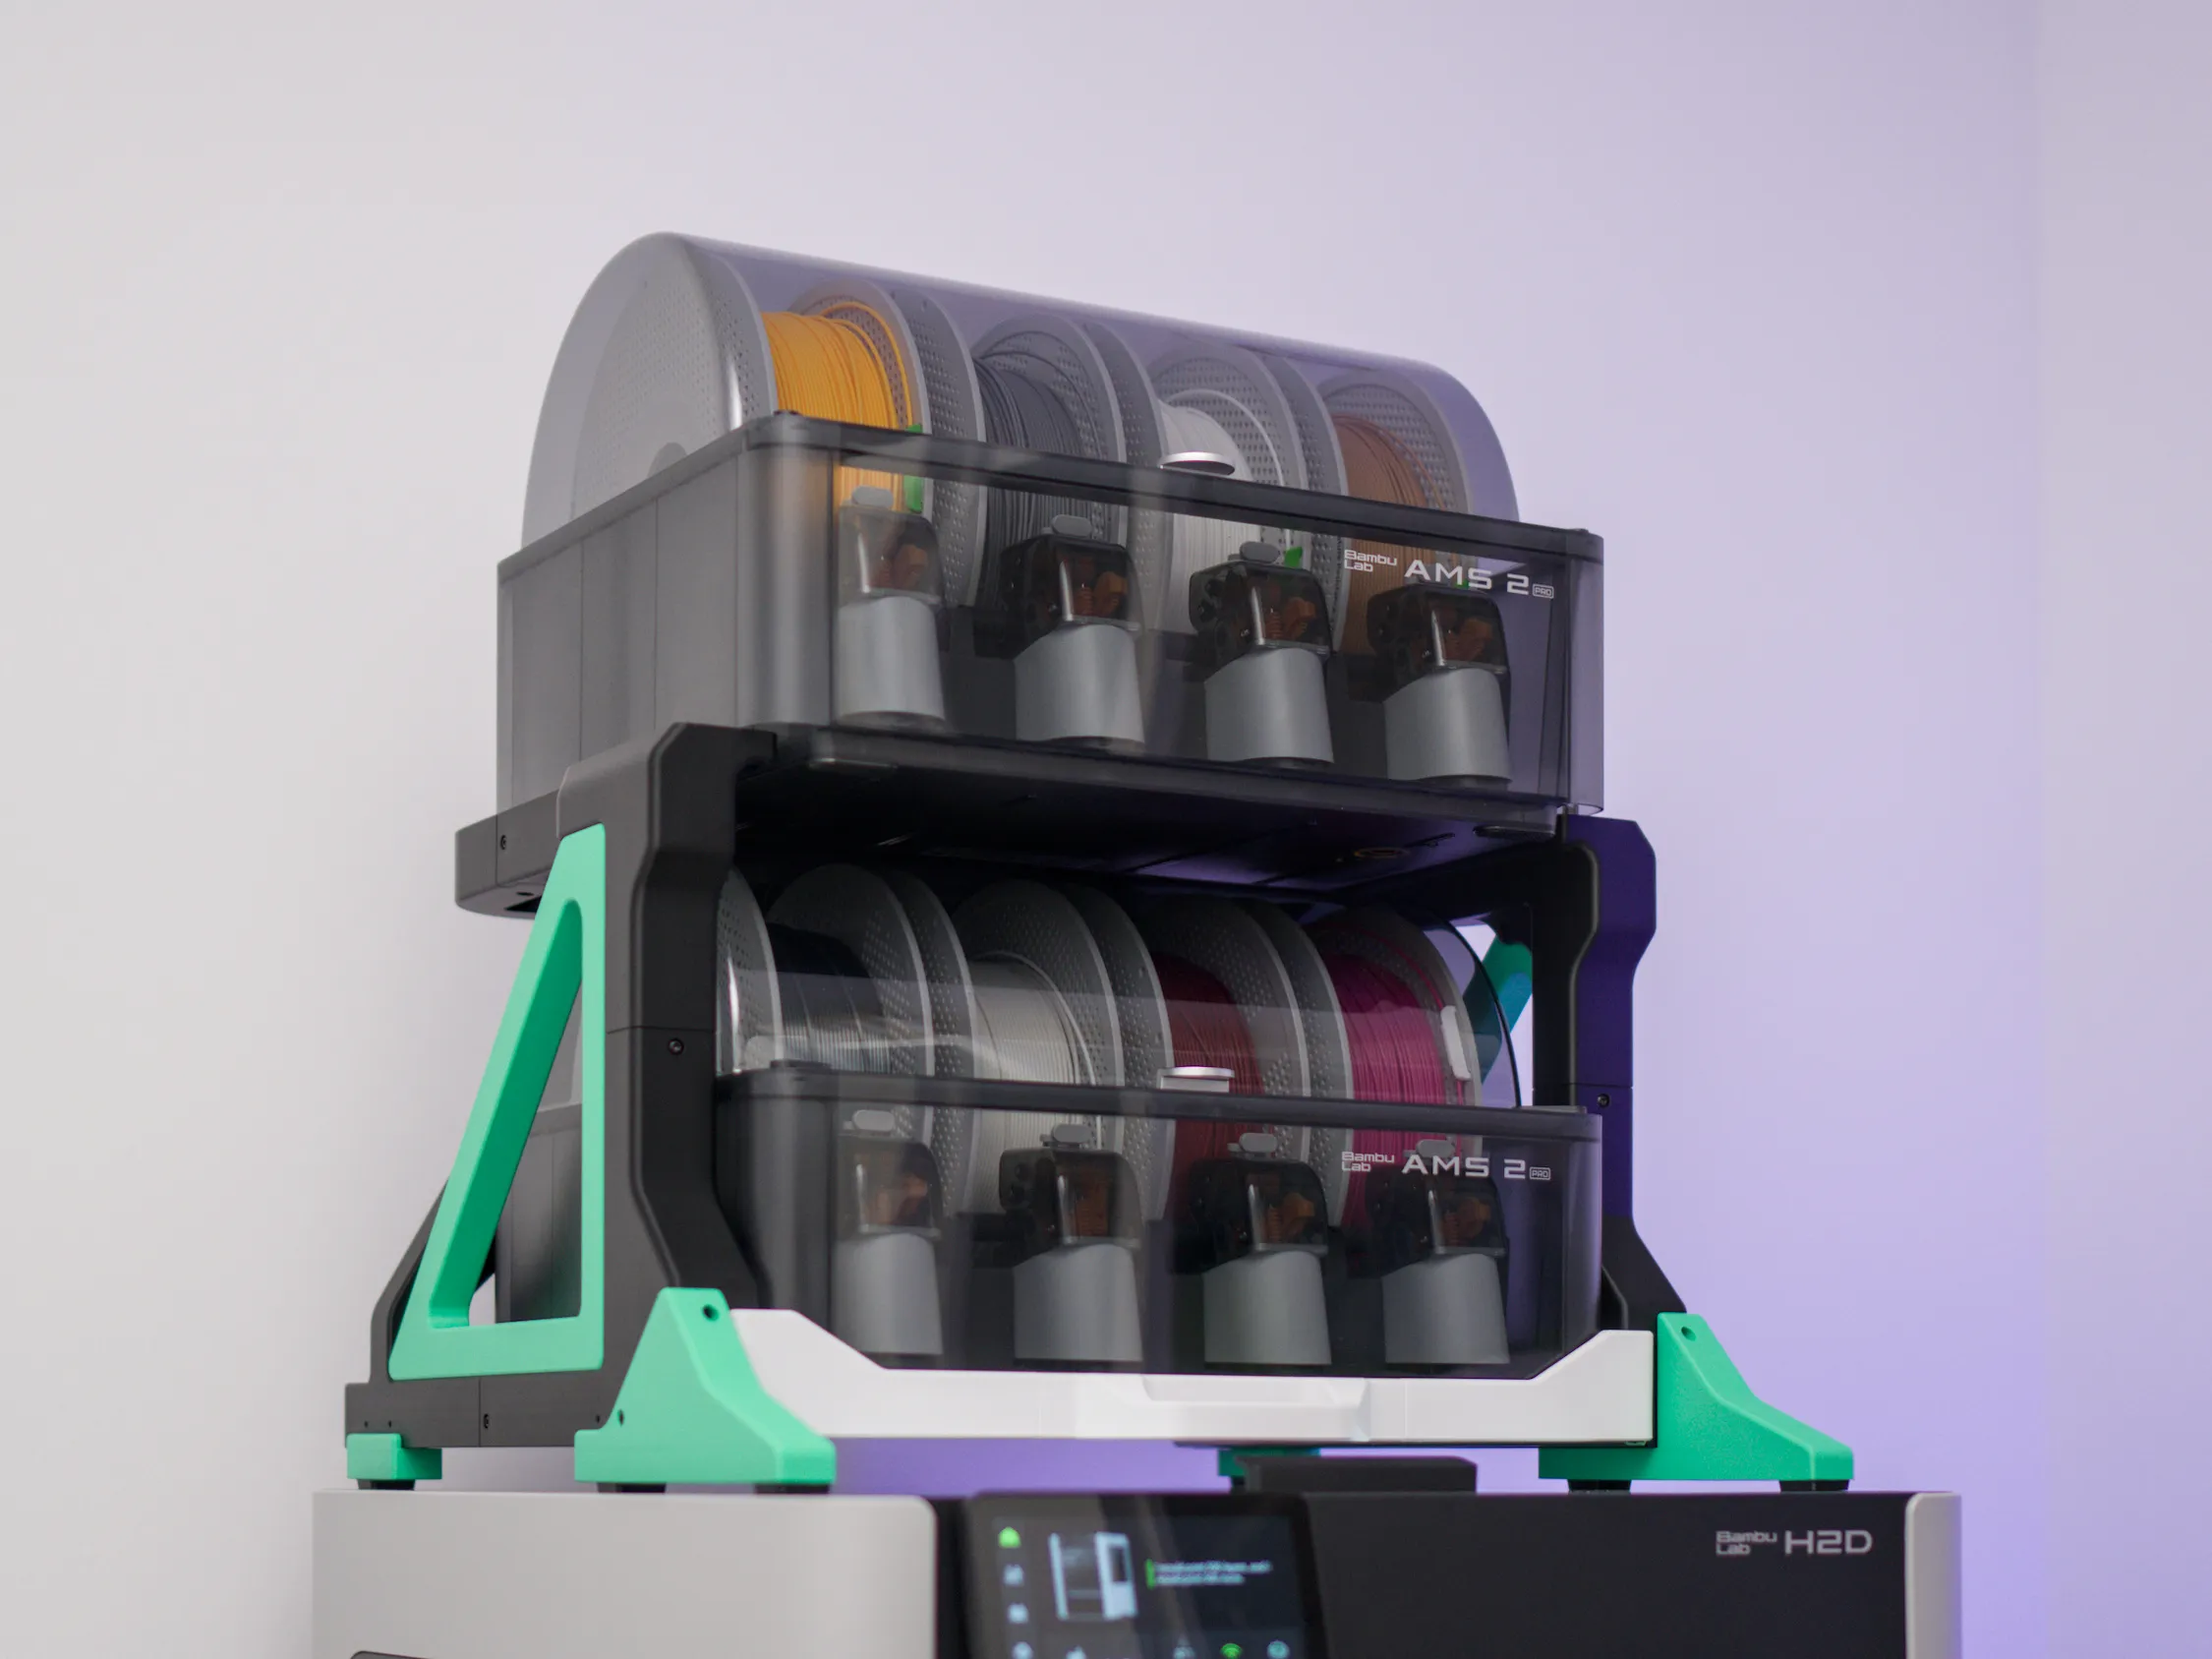
Stack 2x large AMS's (Original or 2 Pro) and an AMS HT on top of your H2D for a compact setup! Bottom AMS slides out for access. The bottom AMS pushes far back so you can look through the top glass.
You will need a H2 series printer or an A2L to print this.
The Top shelf is 305mm high.
Print Materials and Settings
- The printer and AMS's with built-in dryers can get very warm. I suggest using a material with a suitable heat deflection temperature. PETG or better.
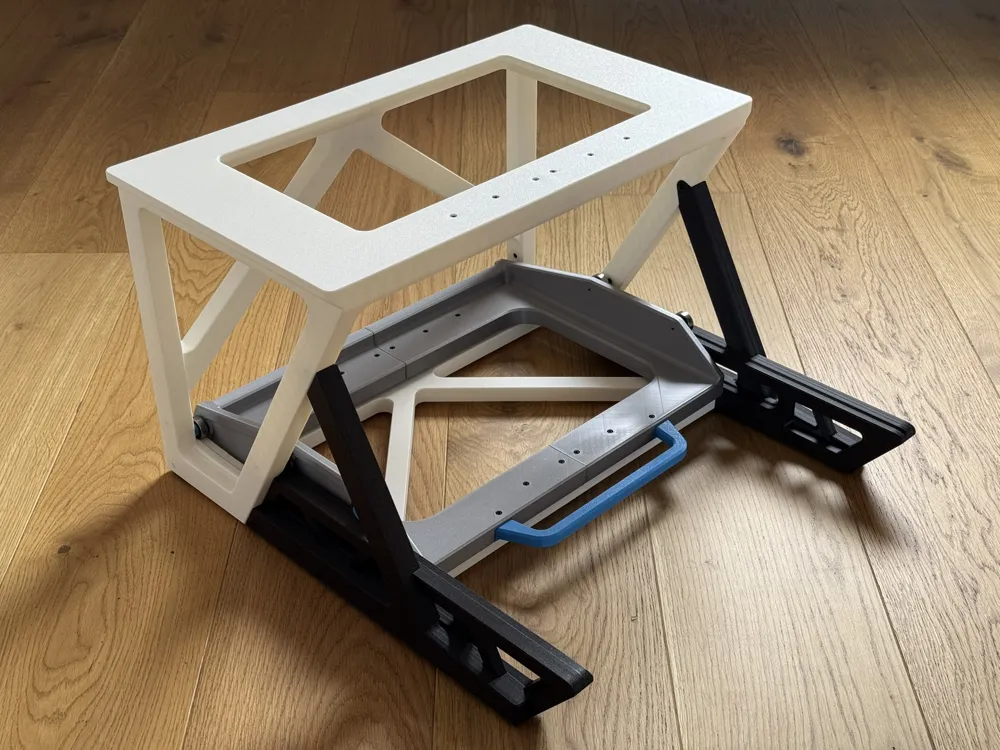
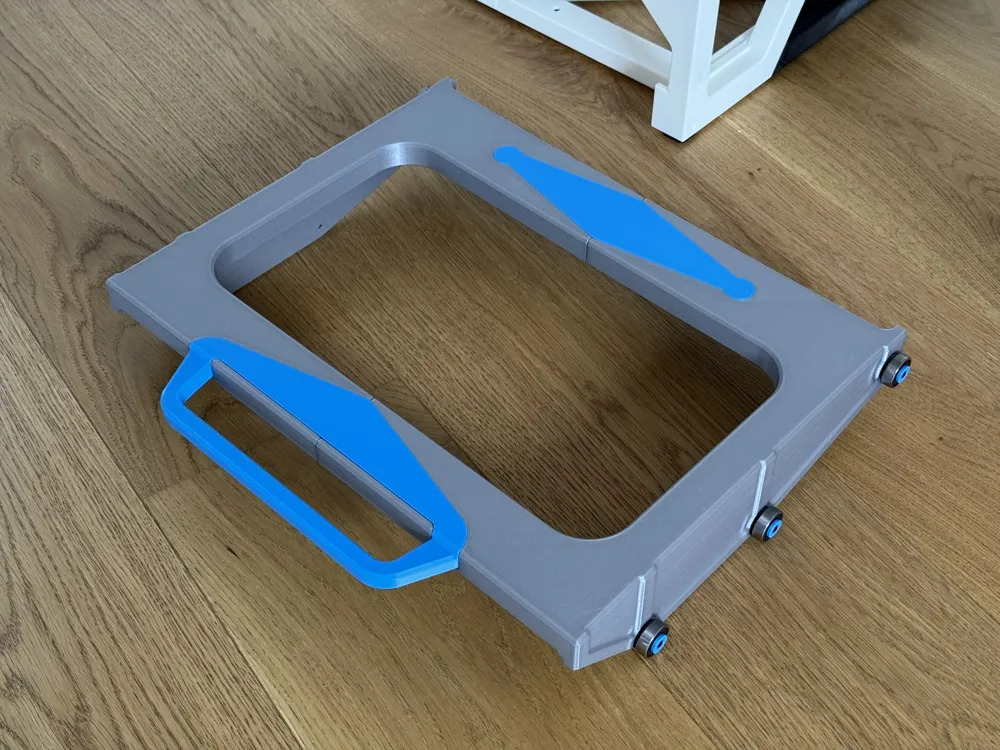
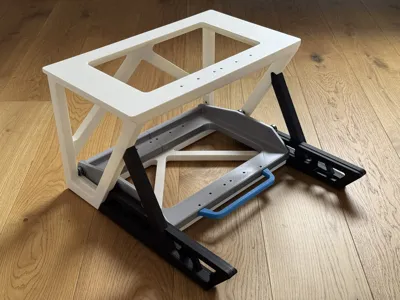
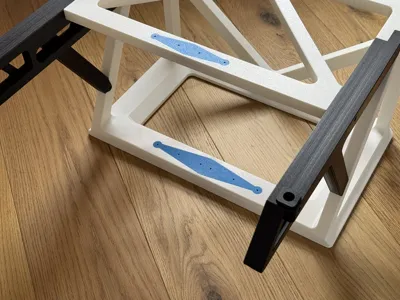
- The feet should be printed in TPU 90A or softer for gripping onto the glass. I used TPE and it works great. I have not tried TPU 95A.
- Please use the included profiles and use a suitable support interface material.
- Warning: if you are using PLA interface to support PETG - this should work OK for bridges but may not work for overhangs.
Note: the white parts in my build were supposed to be grey/silver to match the H2D colour scheme but I didn't have enough grey/silver on hand!
Non-printed parts
- 6x 608zz bearings
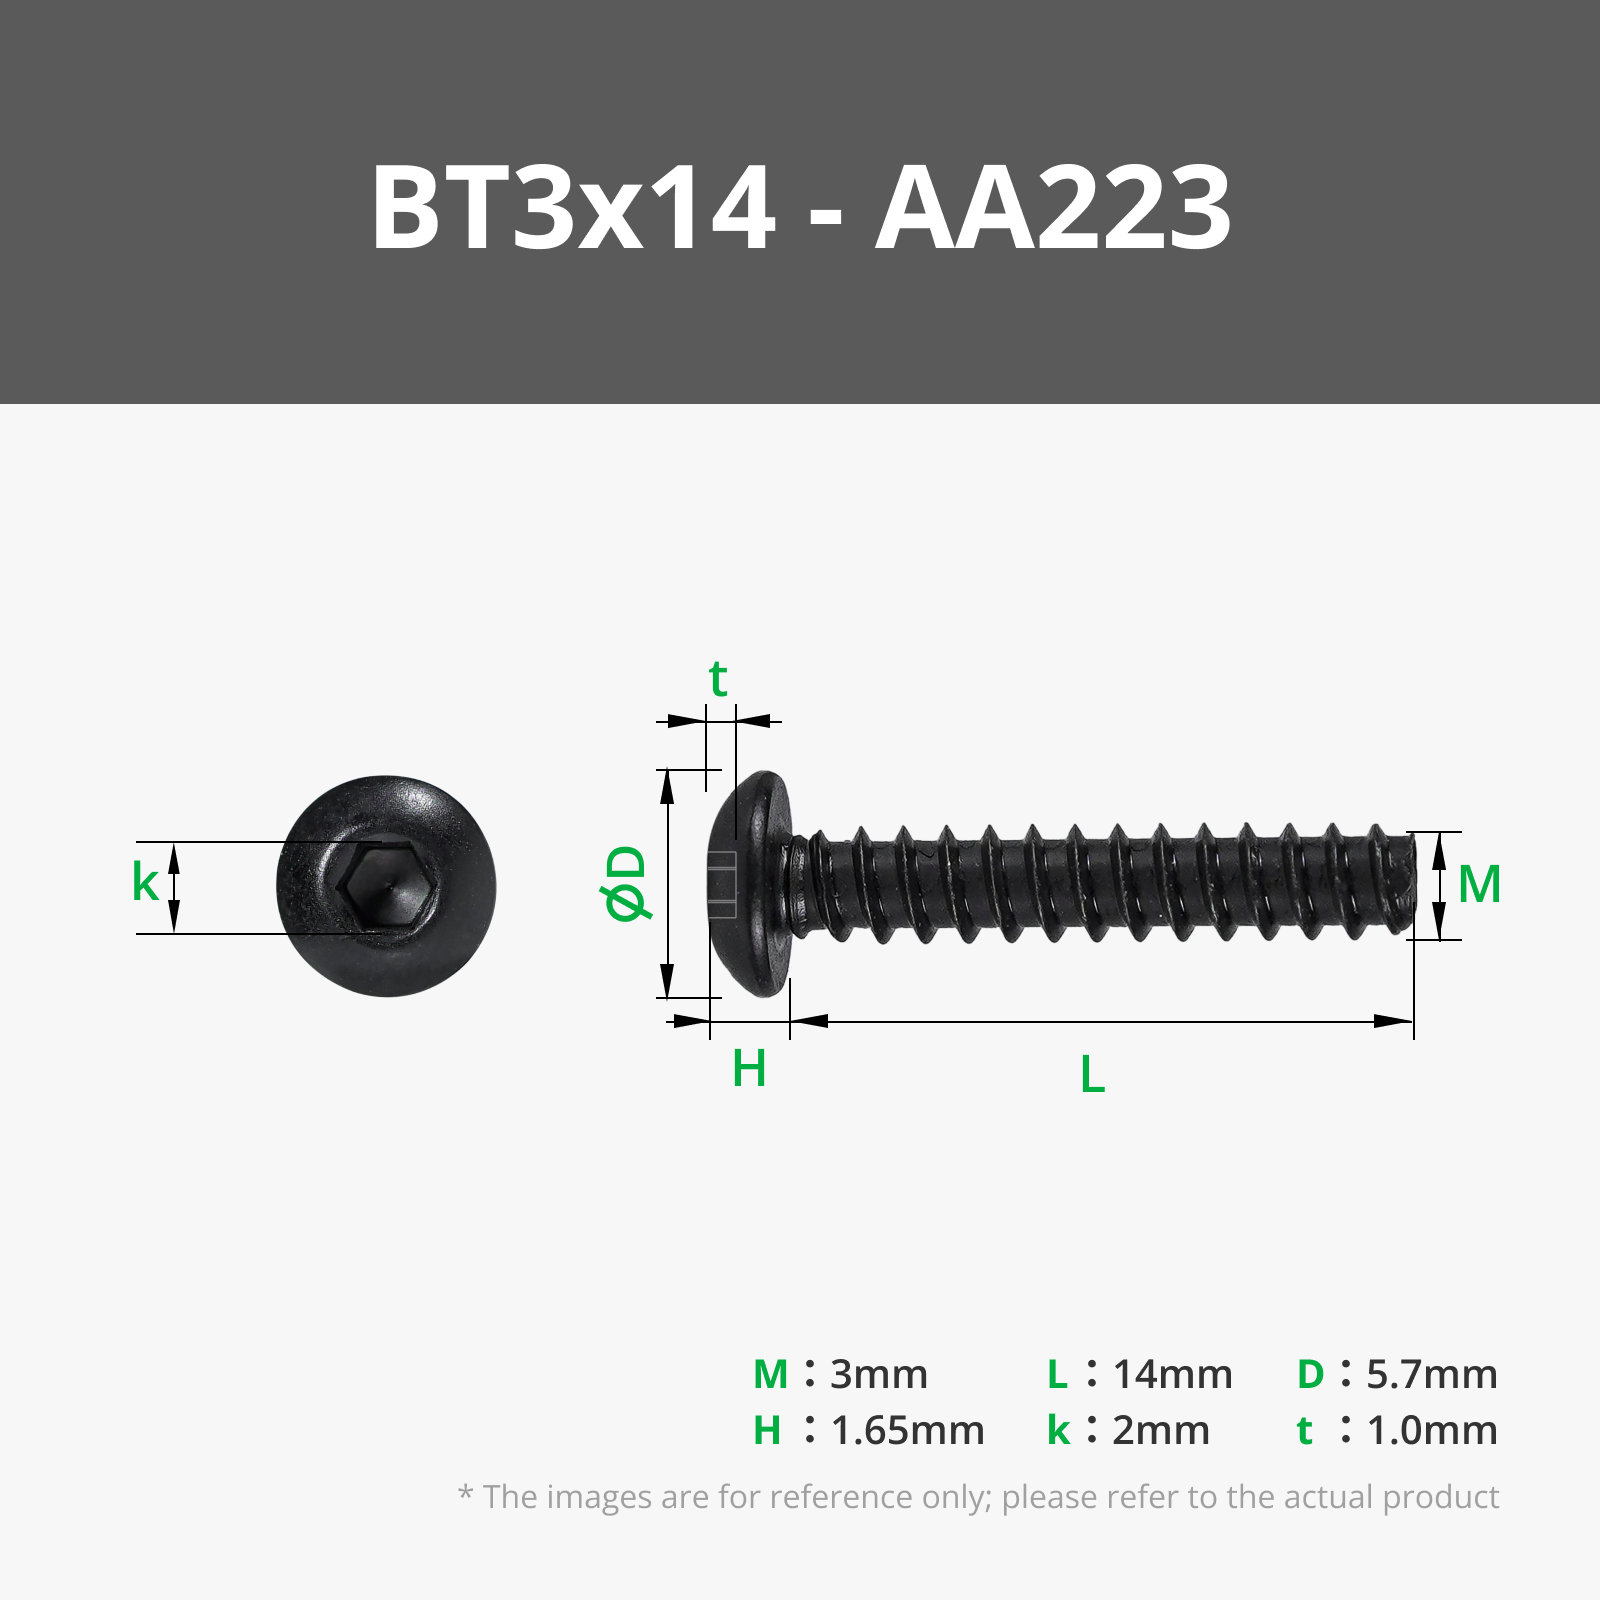
- 8x BT3x14 BHCS - 3mm Button Head Screws for Plastic
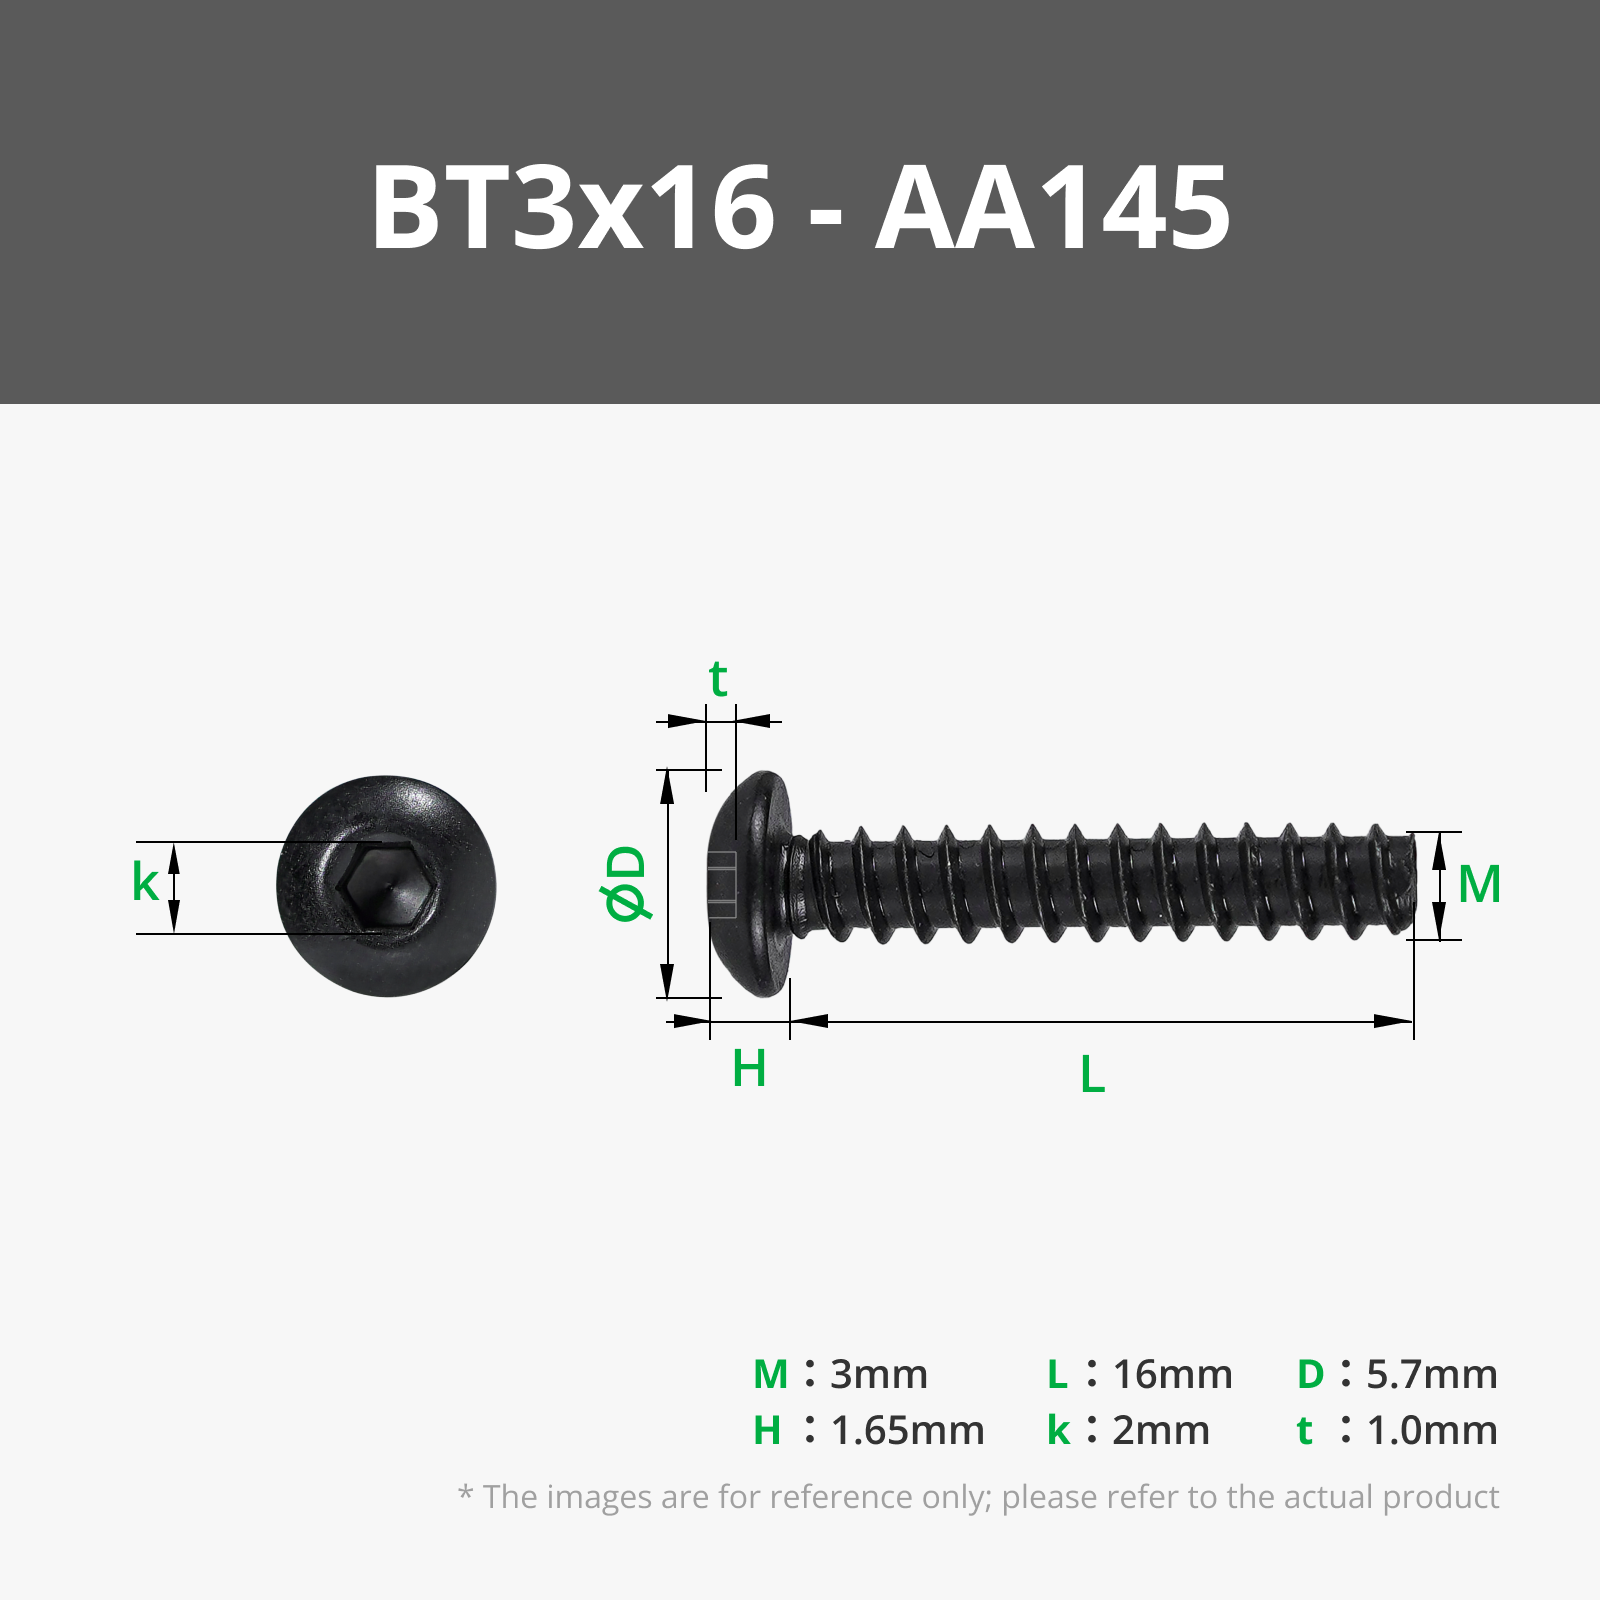
- 38x BT3x16 BHCS - 3mm Button Head Screws for Plastic
Assembly
There are three clues, I trust that you can figure out everything else!
- The screws get hot as you drive them into the plastic due to the friction. The heat softens the plastic. Let the screws cool for a minute before the final tightening.
- The feet do not need screws to stay in - the screw holes there are just provisions for other parts.
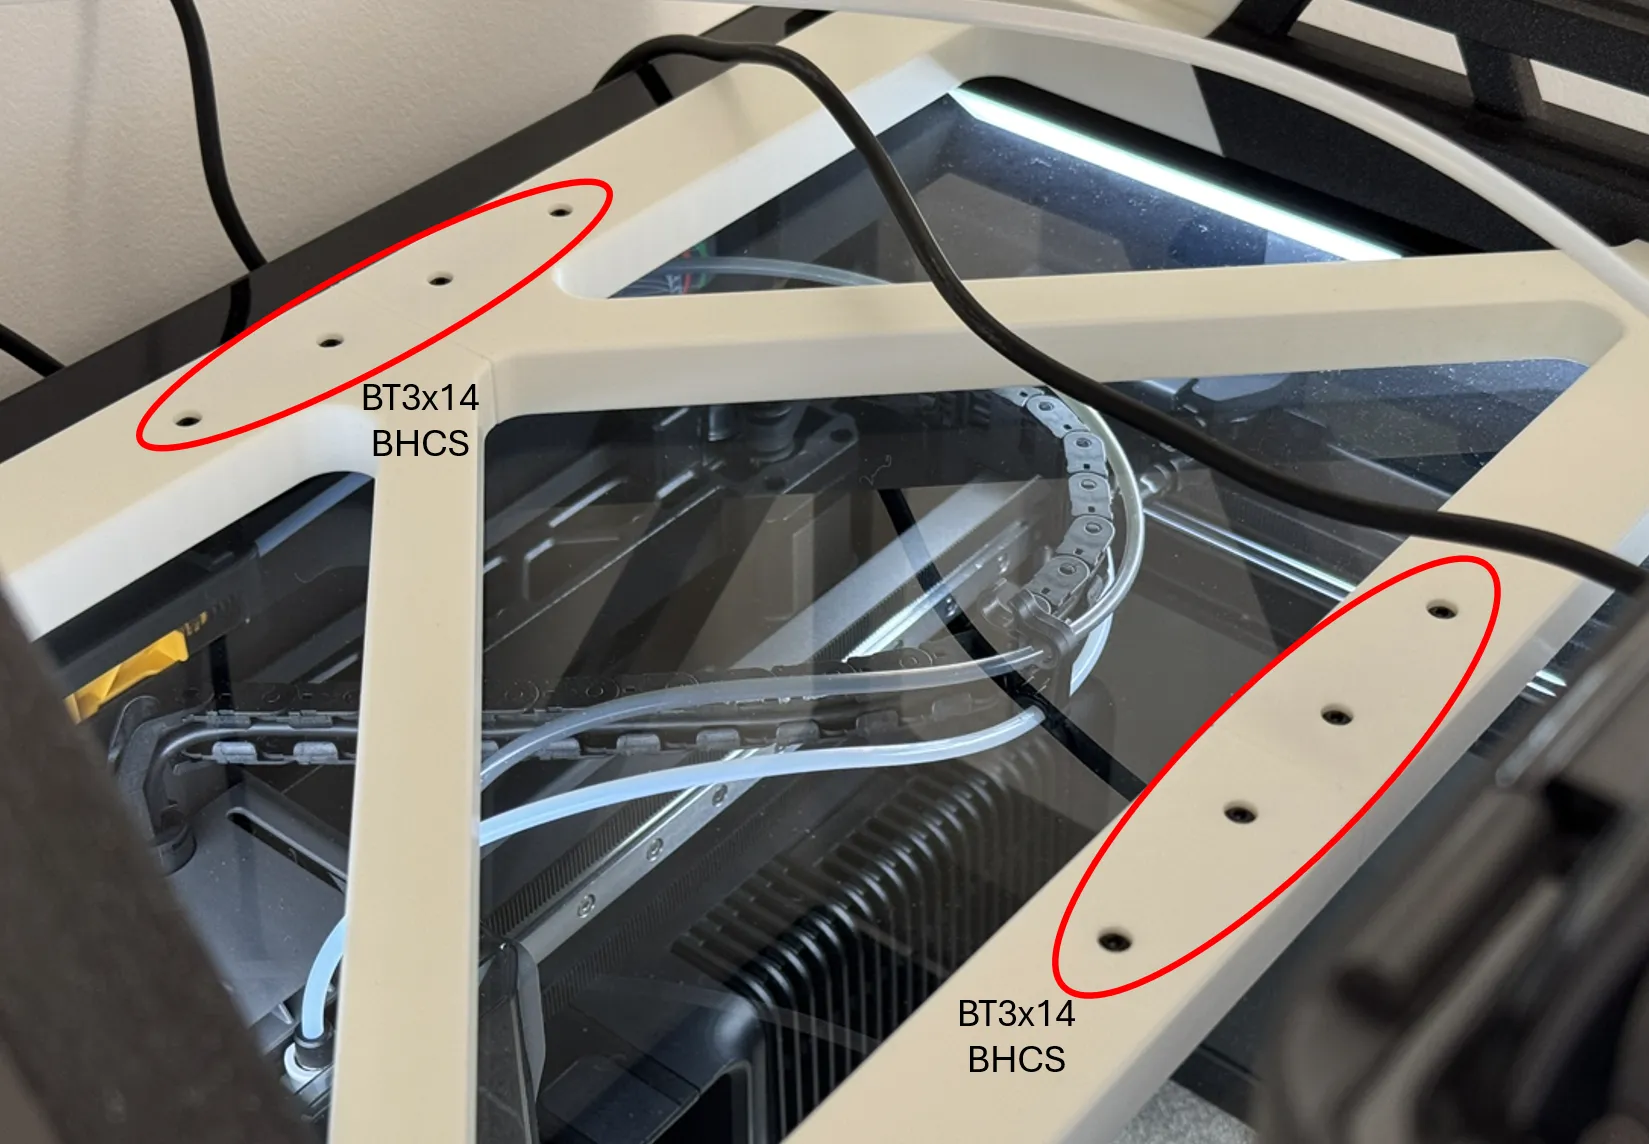
- The 14mm screws go here and 16mm screws are used everywhere else.
EDIT 14/05/2025 - people are reporting that they have some concerns that the top AMS can fall off due to all the printer shaking and I think this is a valid concern. I will be adding some kind of lip/fence on the next version but in the meantime, I suggest you add some double sided tape of some kind under 2 of the feet.
Similar Models
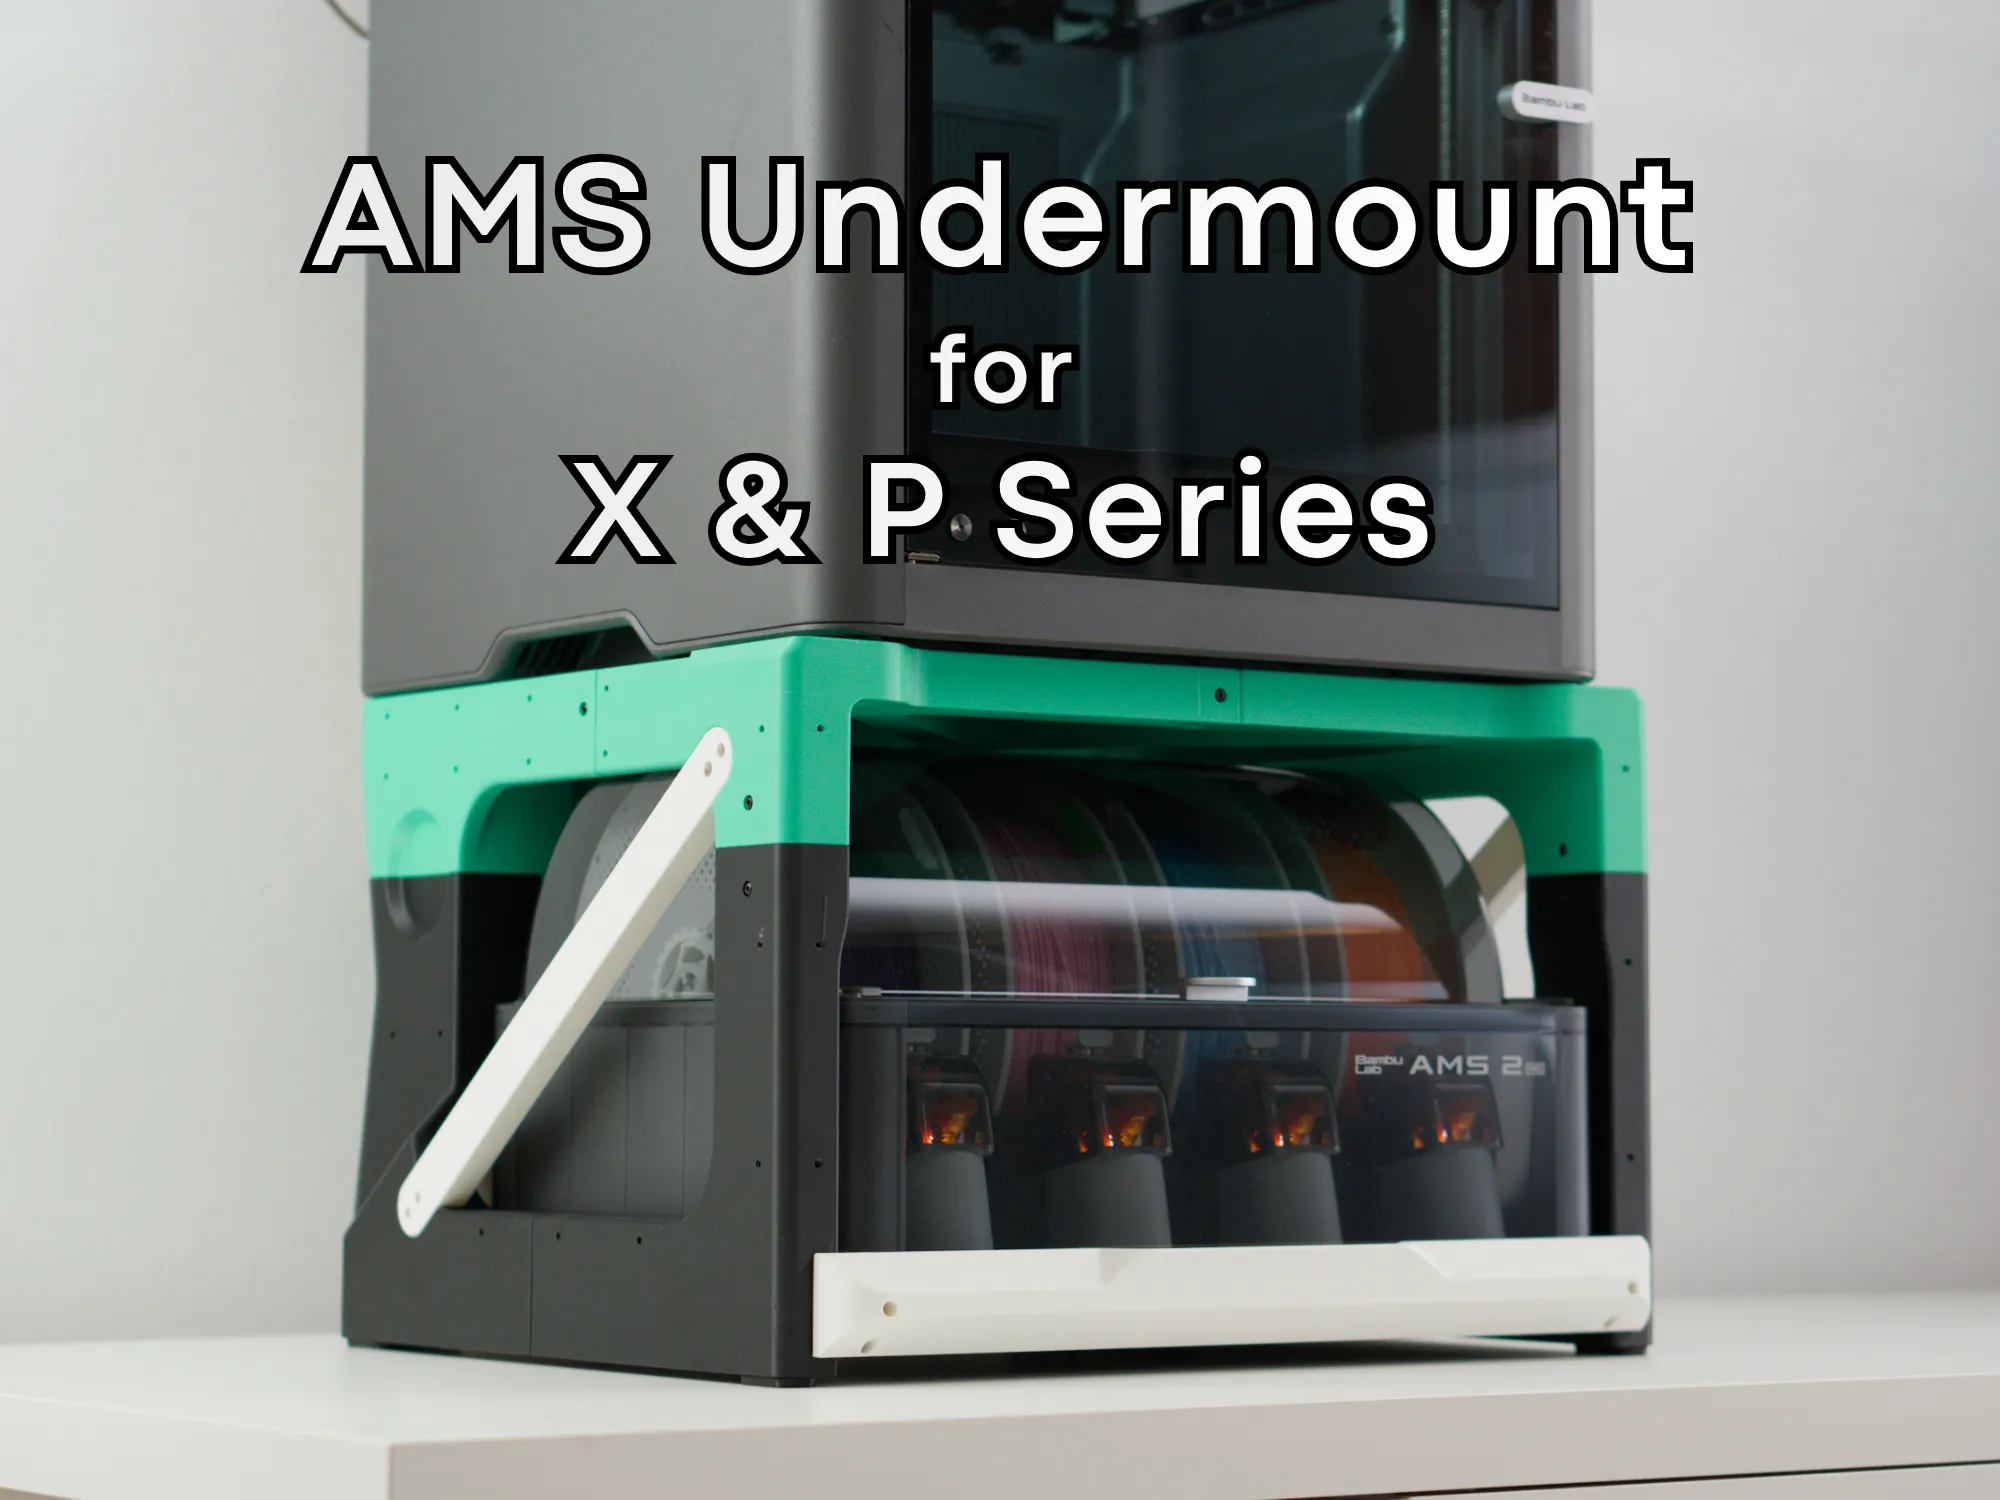
For your X and P series printers, check out this model:
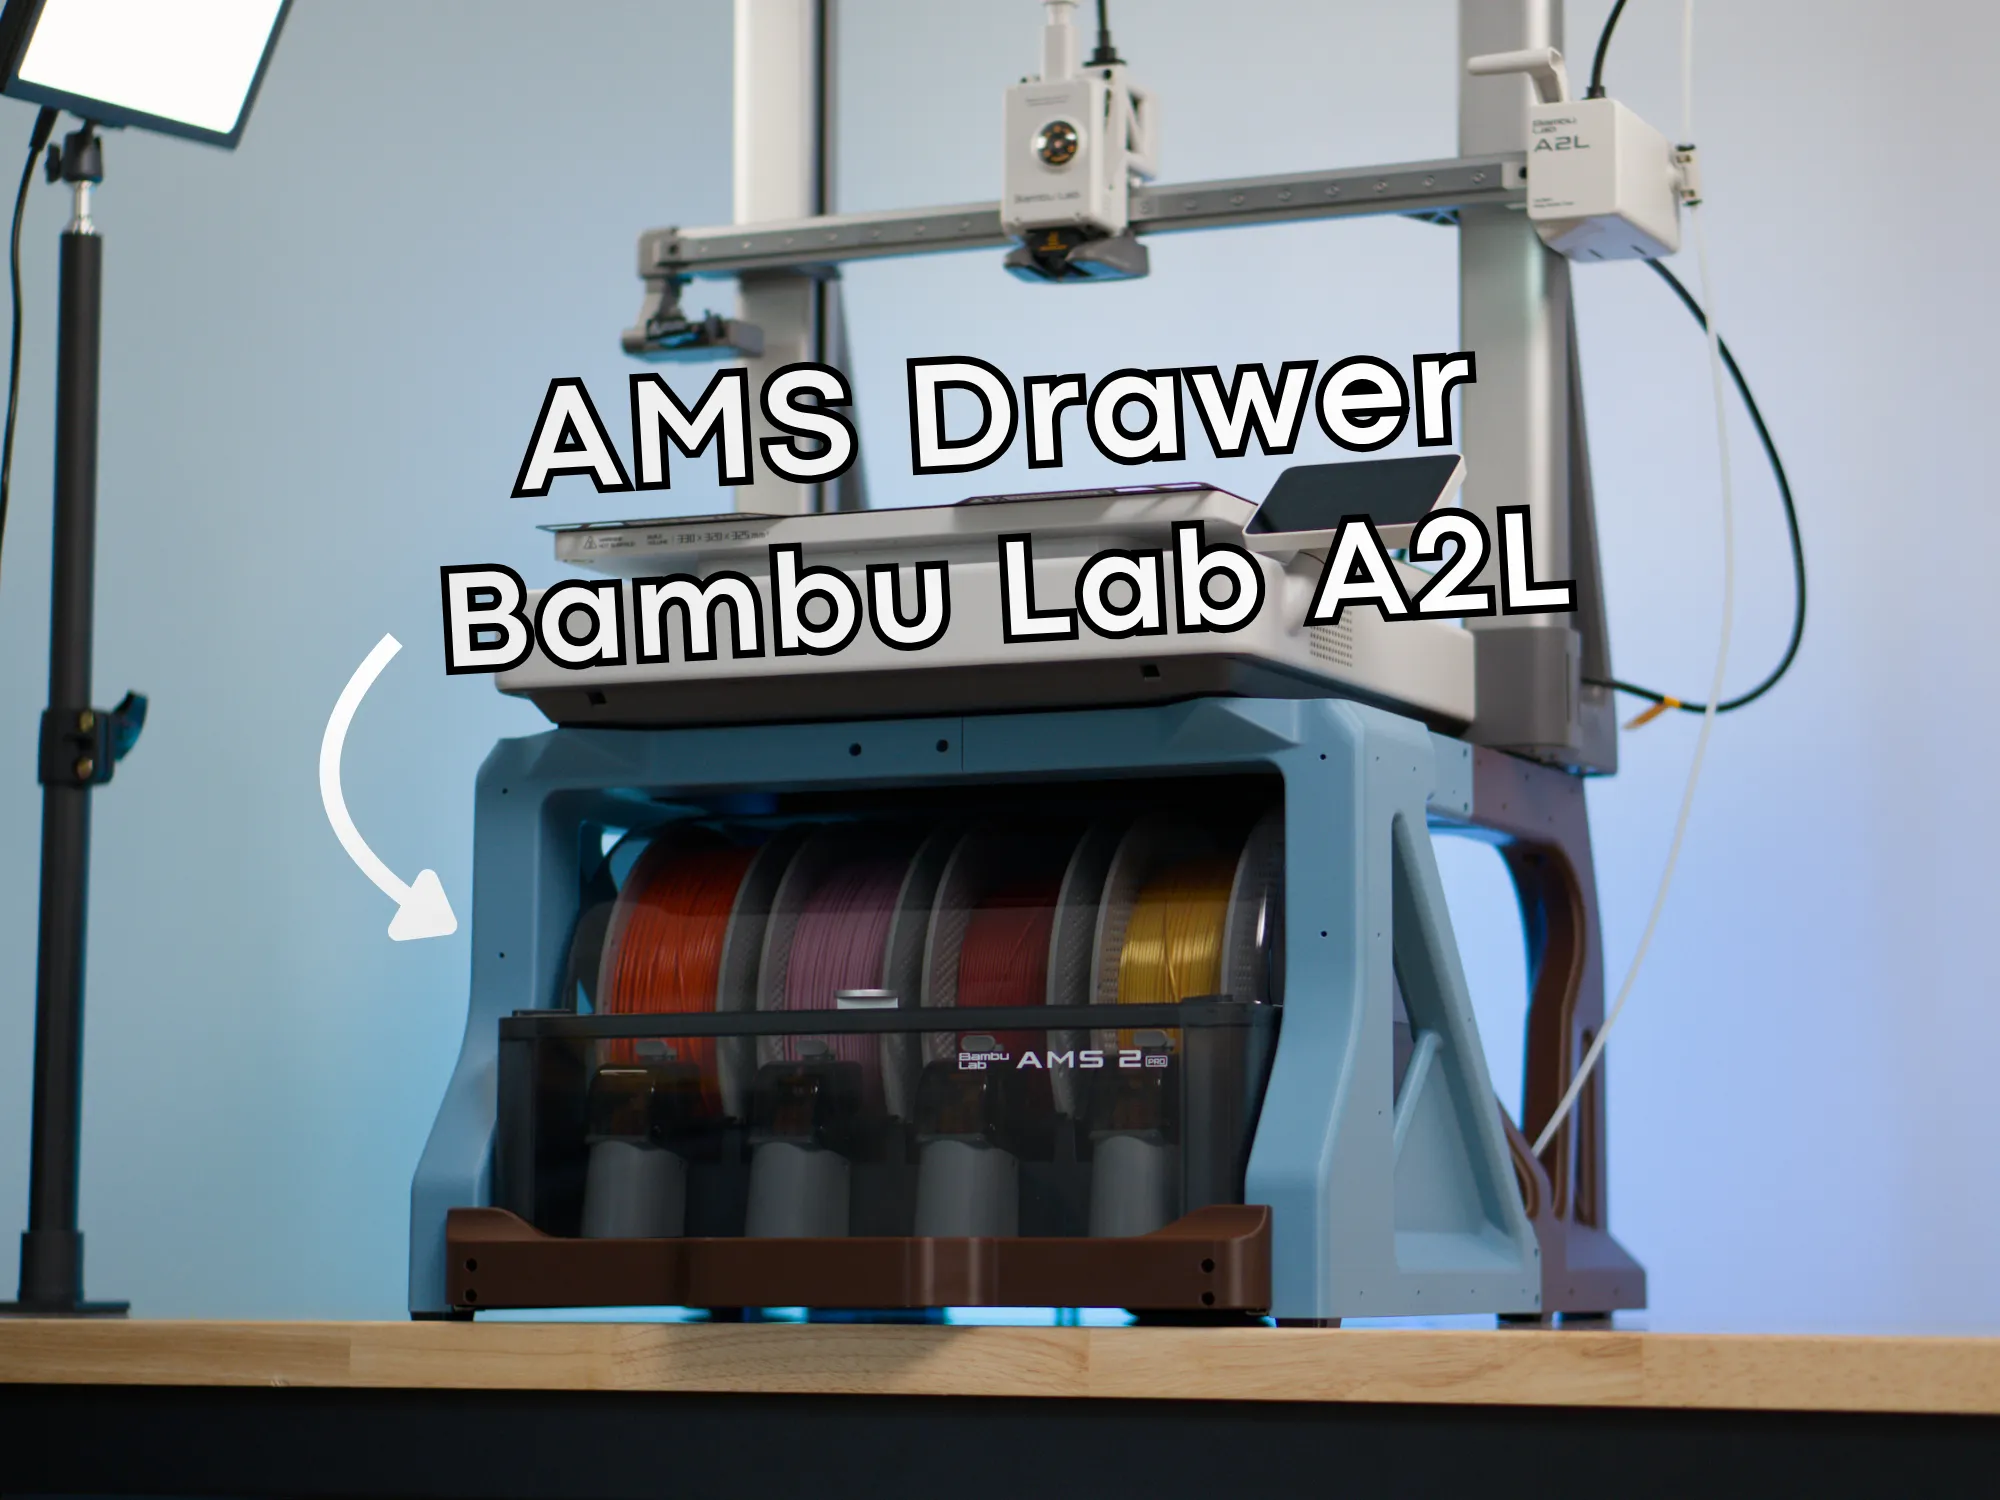
And for your A2L, this one! (Printables Store)
License

You shall not share, sub-license, sell, rent, host, transfer, or distribute in any way the digital or 3D printed versions of this object, nor any other derivative work of this object in its digital or physical format (including - but not limited to - remixes of this object, and hosting on other digital platforms). The objects may not be used without permission in any way whatsoever in which you charge money, or collect fees.


Comment & Rating (192)